4rnnr33's 94 excab build
 12-02-2010, 05:38 PM
#41
Registered User
Thread Starter
Join Date: Jan 2008
Location: castle rock, wa
Posts: 327
Likes: 0
Received 0 Likes
on
0 Posts
Recharge? With this setup its not charged it uses an in line oiler to lube it then a oil separator after the pump to take it out of the air and I had this setup on my 4runner and just used a 5w30 high grade synthetic oil for lube and its worked great so far.

 12-02-2010, 09:13 PM
#43
Registered User
Thread Starter
Join Date: Jan 2008
Location: castle rock, wa
Posts: 327
Likes: 0
Received 0 Likes
on
0 Posts
Oh I see what youre saying. My truck didnt have ac stock I got the pump and bracket from a friend so it was already uncharged but on my 4runner i took a hose and put a fitting on it that screwed into the schrader valve thats used to recharge the system and stuck the hose in a bottle to drain it. Kinda like an air tool used to pump up a tire but I just used it in the opposite way if that makes any sense? And im also pretty sure that i read somewhere that freon is non toxic unless its burnt. I could be wrong though
Last edited by 4rnnr33; 12-02-2010 at 09:20 PM.
 12-05-2010, 10:50 AM
#46
Registered User
Thread Starter
Join Date: Jan 2008
Location: castle rock, wa
Posts: 327
Likes: 0
Received 0 Likes
on
0 Posts
1) heavy duty metal bowl Coilhose pneumatics inline oiler bought from MSC industrial supply I believe it was around $80
1) heavy duty coilhouse pneumatics inline coalescing filter bought from MSC around $70
1) Intake filter from Kilby Enterprises $28
1)3.5" air manifold from Kilby $40
1)pressure switch from Kilby 120 psi on/ 150 psi off $40
1)Check valve unsure of where I bought it
1) safety release valve off an air compressor I had
1) air tank that was off a dump truck I parted out at work
For the hose I used 1/2" semi truck air brake hose and fittings
1) air pressure gauge from summit $70
I think thats about everything
12-05-2010, 09:39 PM
#53
Registered User
Thread Starter
Join Date: Jan 2008
Location: castle rock, wa
Posts: 327
Likes: 0
Received 0 Likes
on
0 Posts
 12-13-2010, 04:57 PM
#54
Registered User
Thread Starter
Join Date: Jan 2008
Location: castle rock, wa
Posts: 327
Likes: 0
Received 0 Likes
on
0 Posts
Havent updated for a little while but heres somthing i found that i thought was cool. For anyone who is thinking about buying the trail gear LED strips if you look on ebay you can get the same exact ones for less than half the price. I paid $19.00 for 2 120cm ones (47.5") and from trail gear it would have cost $47.50 each so thats a huge amount to save on these things. Ill post up some pics tomorrow. I also ordered 2 more smaller strips that shipped out of hong kong and they were only $8 for 2 24" ones so Ill see if they actually show up.
03-07-2011, 02:59 PM
#55
Registered User
Thread Starter
Join Date: Jan 2008
Location: castle rock, wa
Posts: 327
Likes: 0
Received 0 Likes
on
0 Posts
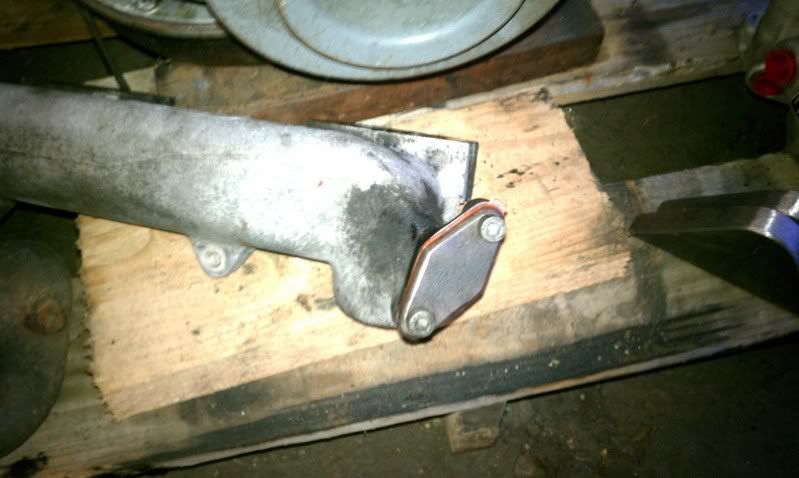
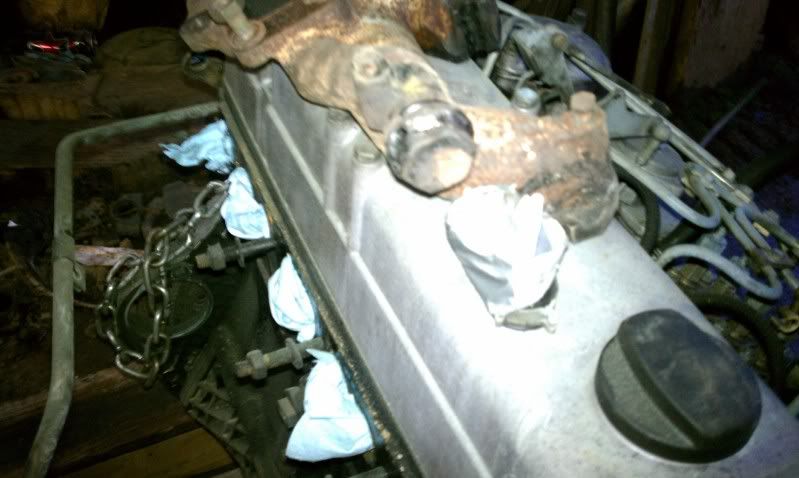
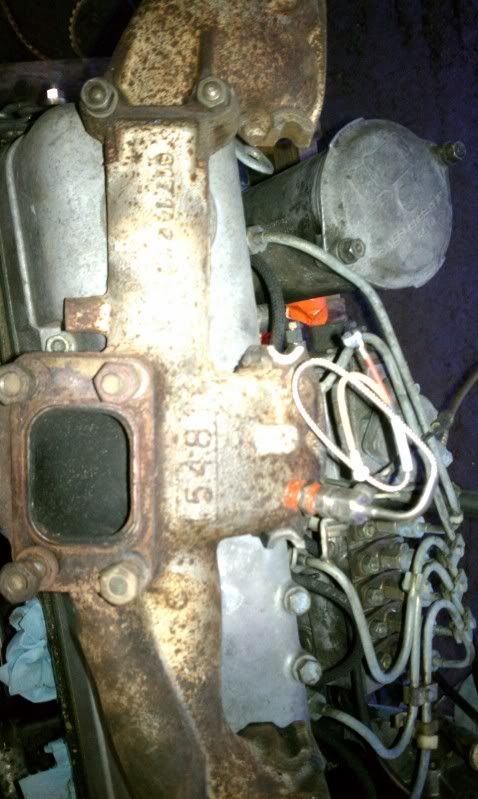
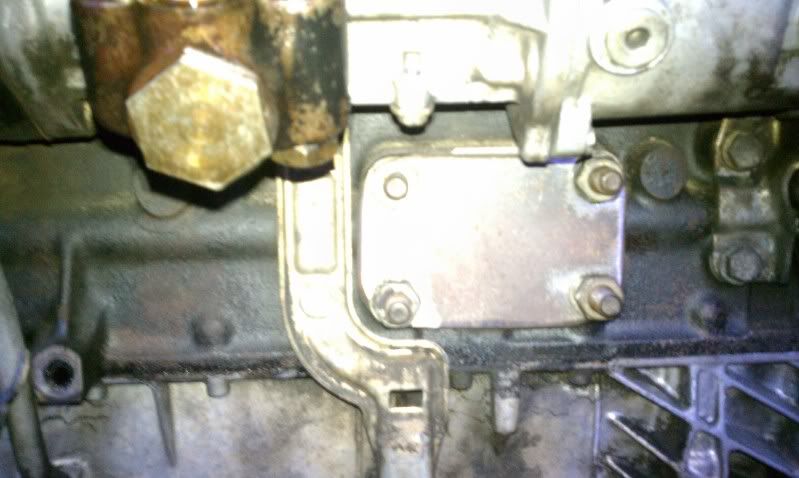
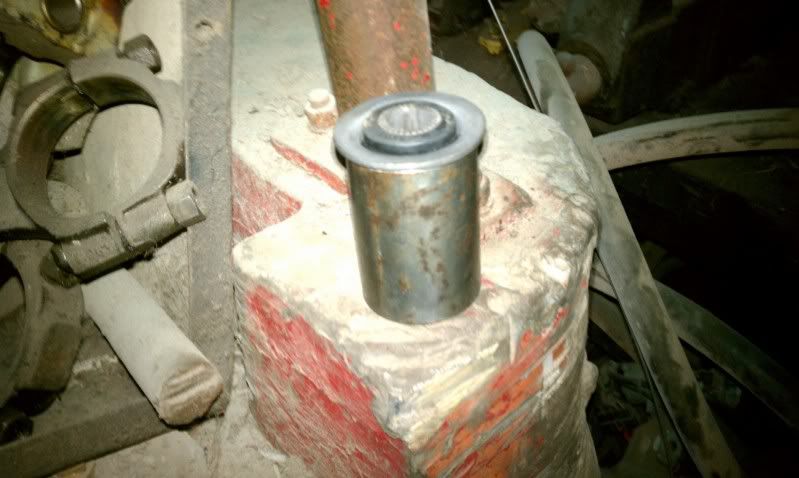
time to get this thread rolling again. Right now im in the middle of swapping a mercedes om617 turbo diesel into my truck. heres what i have done so far:
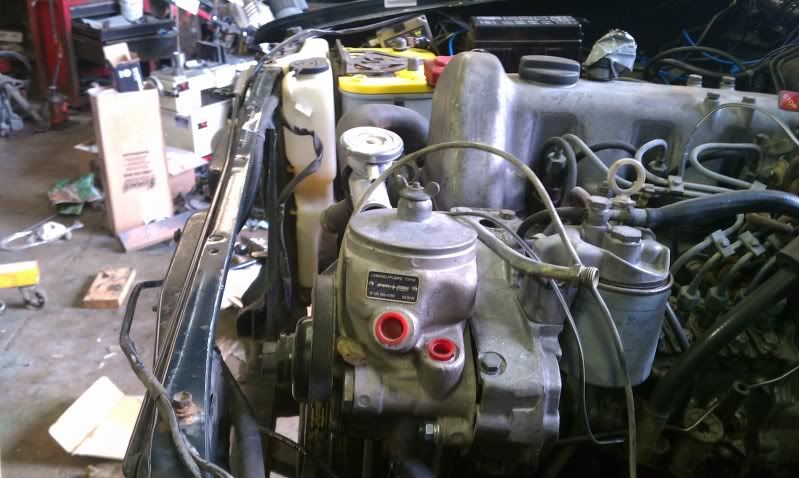
Heres the engine
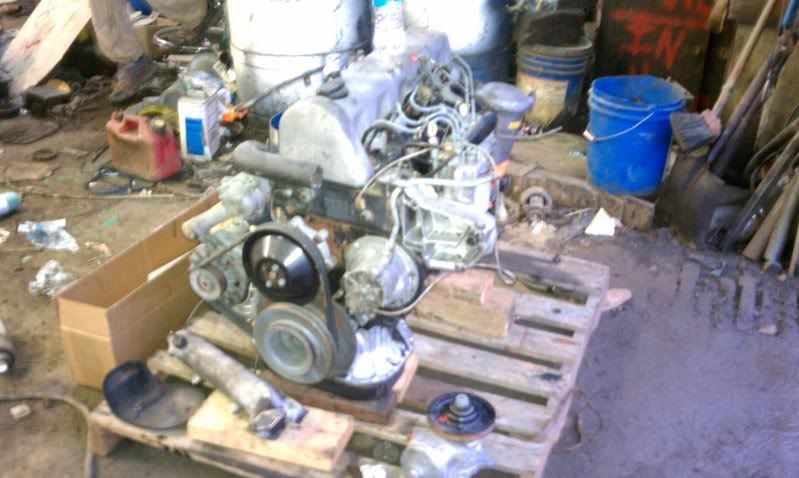
Started off by blocking off the egr and installing the sending unit for a pyro
And built the motor mount plates and cut some tubing for the bushings
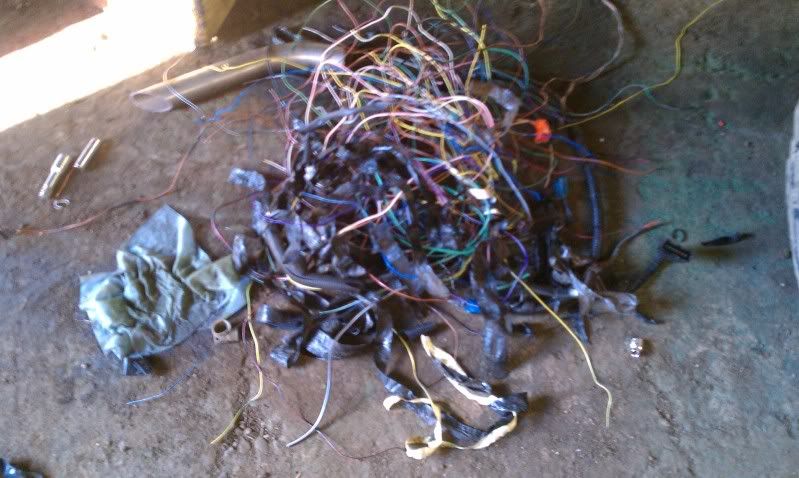
Then pulled out the 22re and gutted the wiring harness
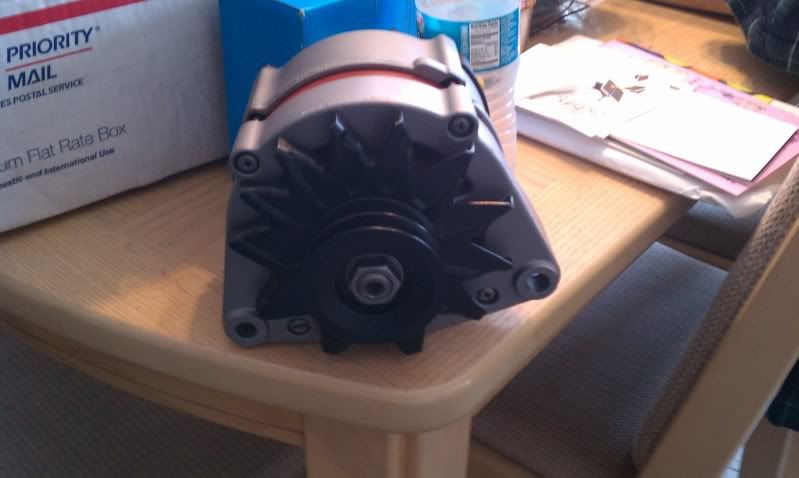
Ill be using a 115 amp bosch alternator that bolts right up to the 617
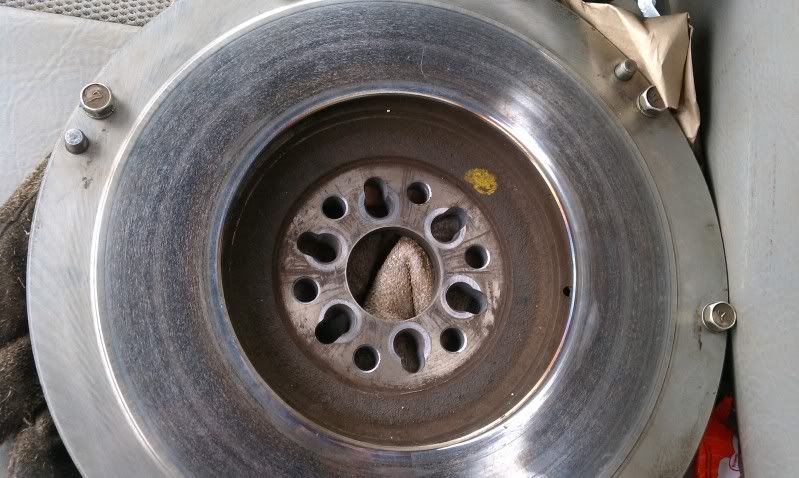
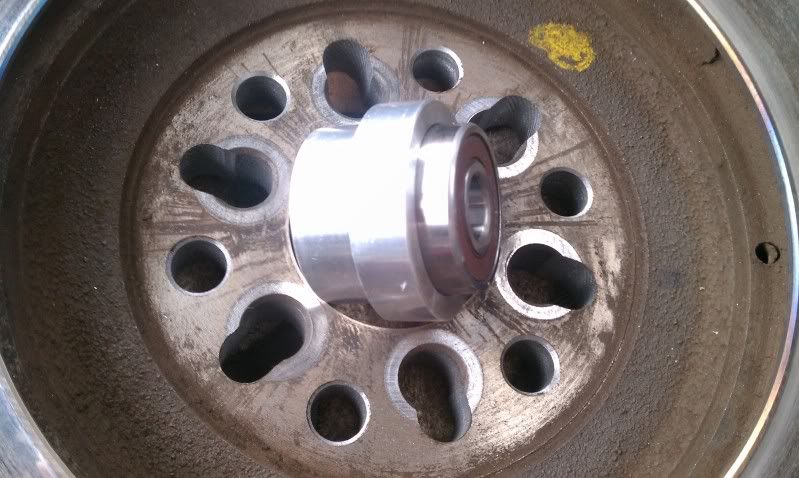
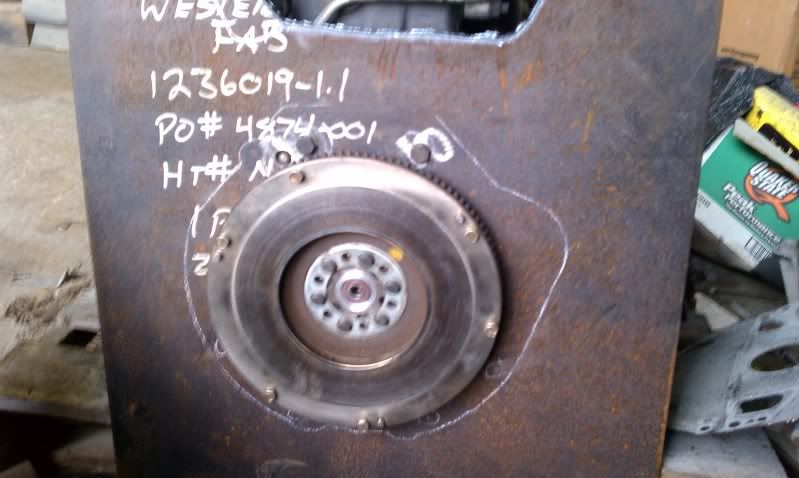
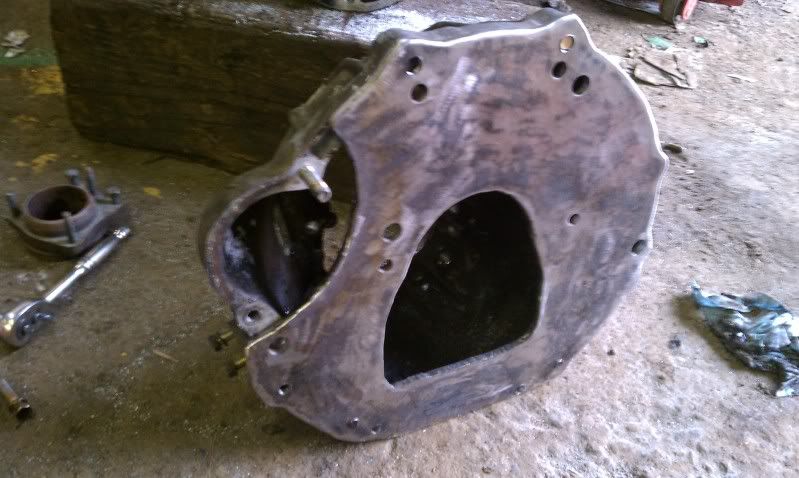
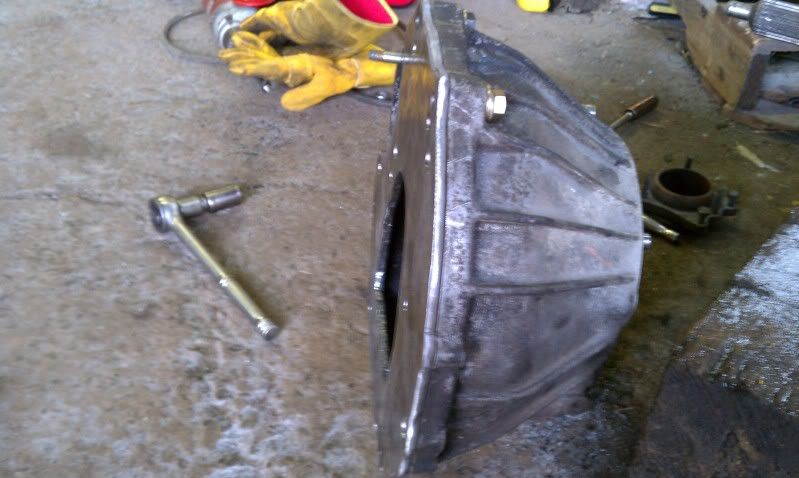
Heres the pilot bearing adapter drilled toyota flywheel and bellhousing adapter plate
Heres the engine
Started off by blocking off the egr and installing the sending unit for a pyro
And built the motor mount plates and cut some tubing for the bushings
Then pulled out the 22re and gutted the wiring harness
Ill be using a 115 amp bosch alternator that bolts right up to the 617
Heres the pilot bearing adapter drilled toyota flywheel and bellhousing adapter plate
03-07-2011, 03:04 PM
#56
Registered User
Thread Starter
Join Date: Jan 2008
Location: castle rock, wa
Posts: 327
Likes: 0
Received 0 Likes
on
0 Posts
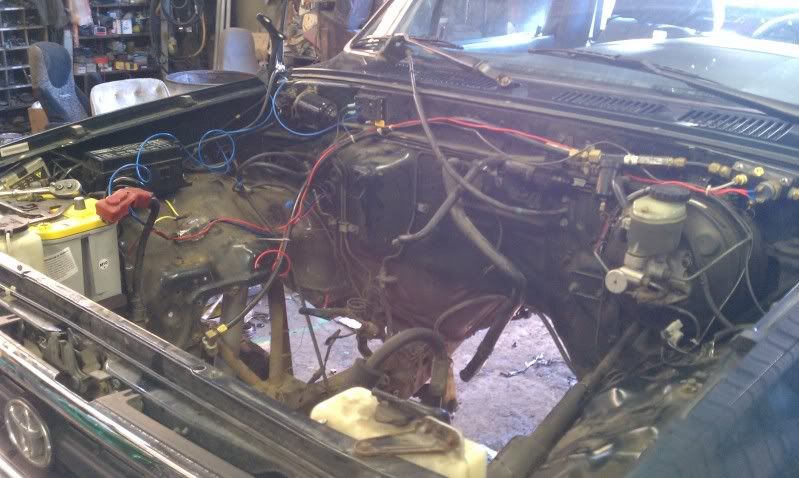
And heres where im currently at the engine sitting in its new home

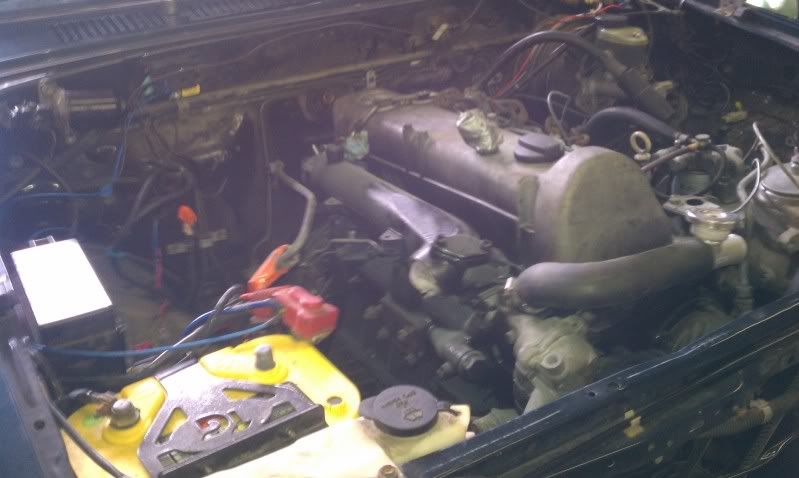
I had to cut out some of the core support for the radiator. I am using a saab radiator that is skinnier shorter and wider than the toyota radiator
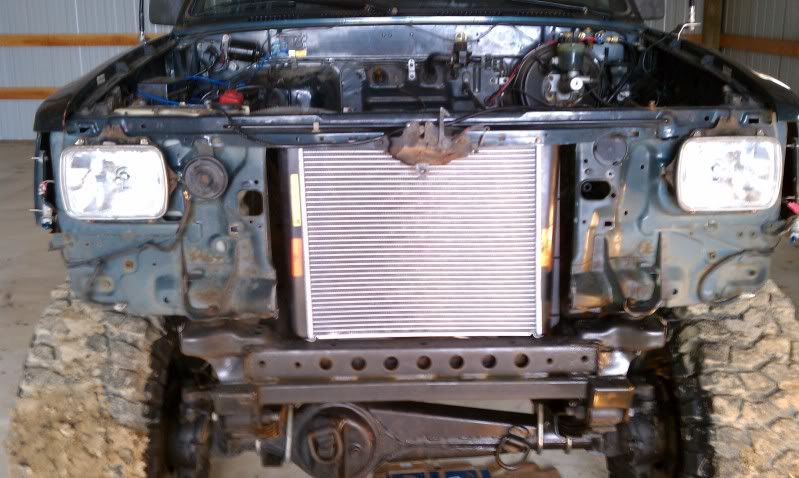
Thats all for now hopefully should have some more updates this weekend
03-15-2011, 12:51 PM
#59
Registered User
Thread Starter
Join Date: Jan 2008
Location: castle rock, wa
Posts: 327
Likes: 0
Received 0 Likes
on
0 Posts
Didnt get a chance to take much pictures this weekend but i did get it running and have a video of it. My phone didnt record the sound very good but you can kind of hear it. should hopefully be driving it next weekend just mainly have to figure out how to stuff the radiator in it.
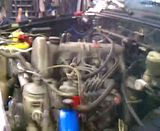
Just click on the picture to see the video
Just click on the picture to see the video
Last edited by 4rnnr33; 03-15-2011 at 12:52 PM.


