When you click on links to various merchants on this site and make a purchase, this can result in this site earning a commission. Affiliate programs and affiliations include, but are not limited to, the eBay Partner Network.
I created a thread on first gen runner showing how bad the HVAC fan can get with nest in them. On a truck that has been sitting for years, I can understand that happening but I have worked on some trucks that get driven often and you would not think nest getting built in them would happen but I have seen it.
Maybe rodents getting into trucks was an issue in the past and just got over looked but sure seems like it is happening more often lately or some reason I have just noticed it. Not sure what would attract them now.
Spent way too much time trying to recreate our Jetta's dash lights. Still not perfect, but I've made quite a bit of headway.
Changing the color stupid-style....
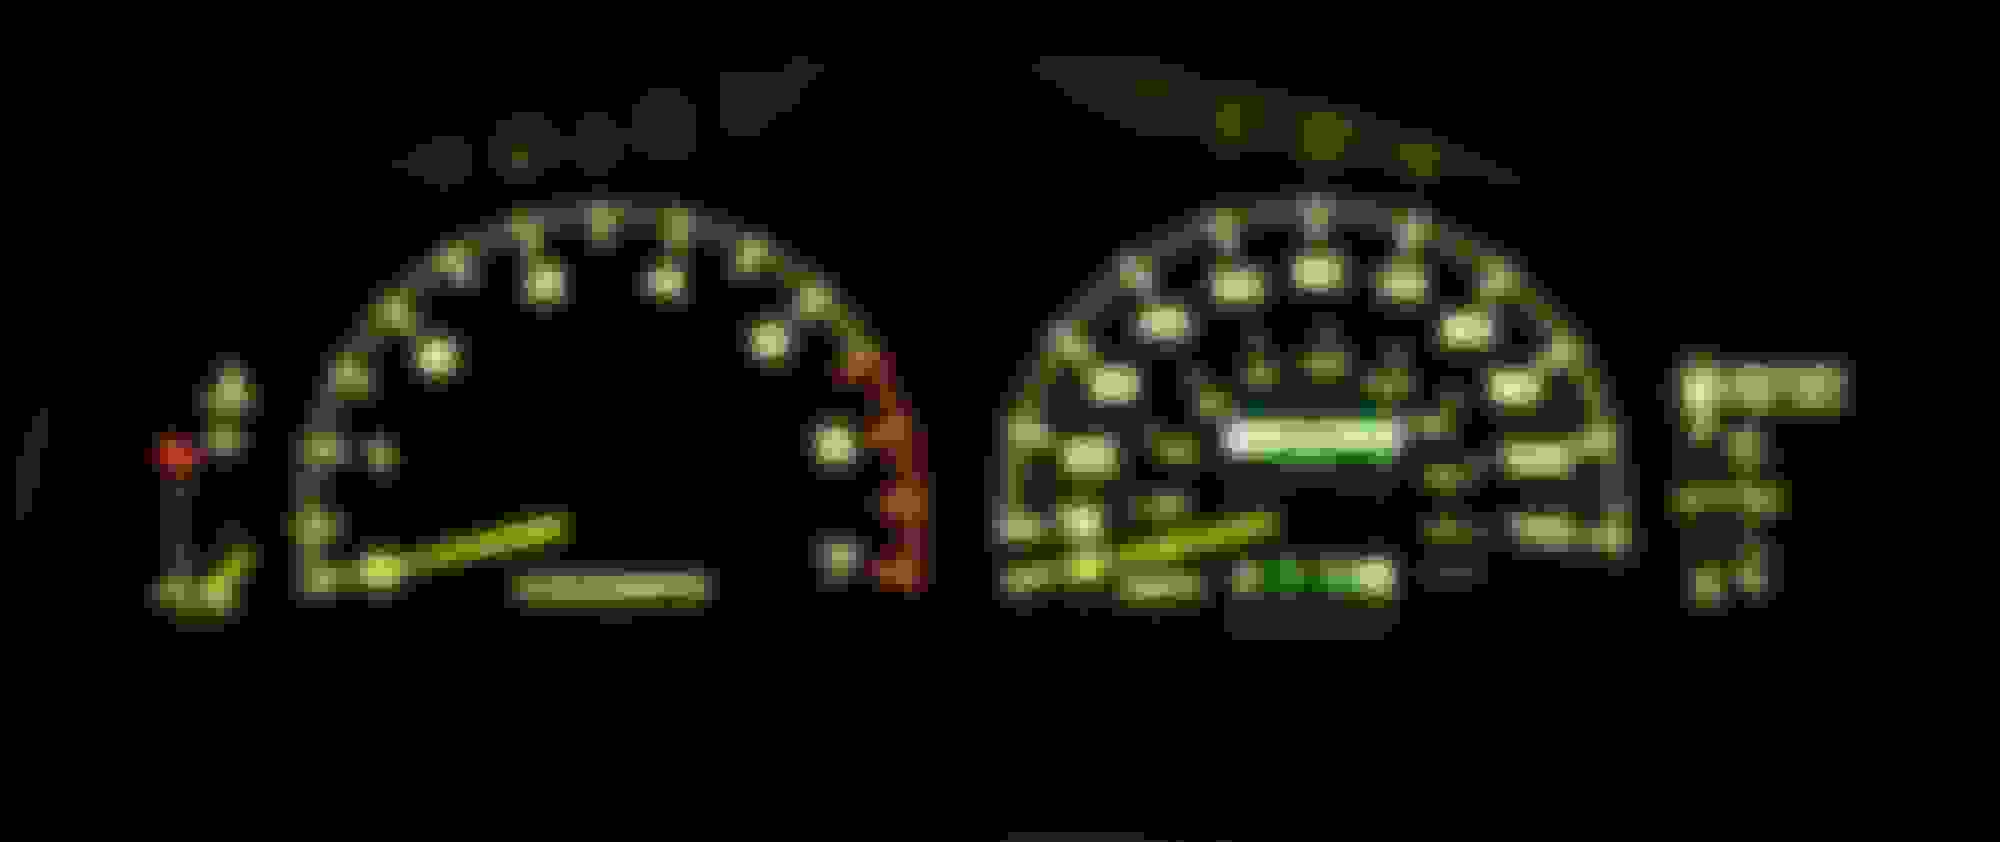
What I have
What I really want:
Tearing into it:
And doing it the hard way:
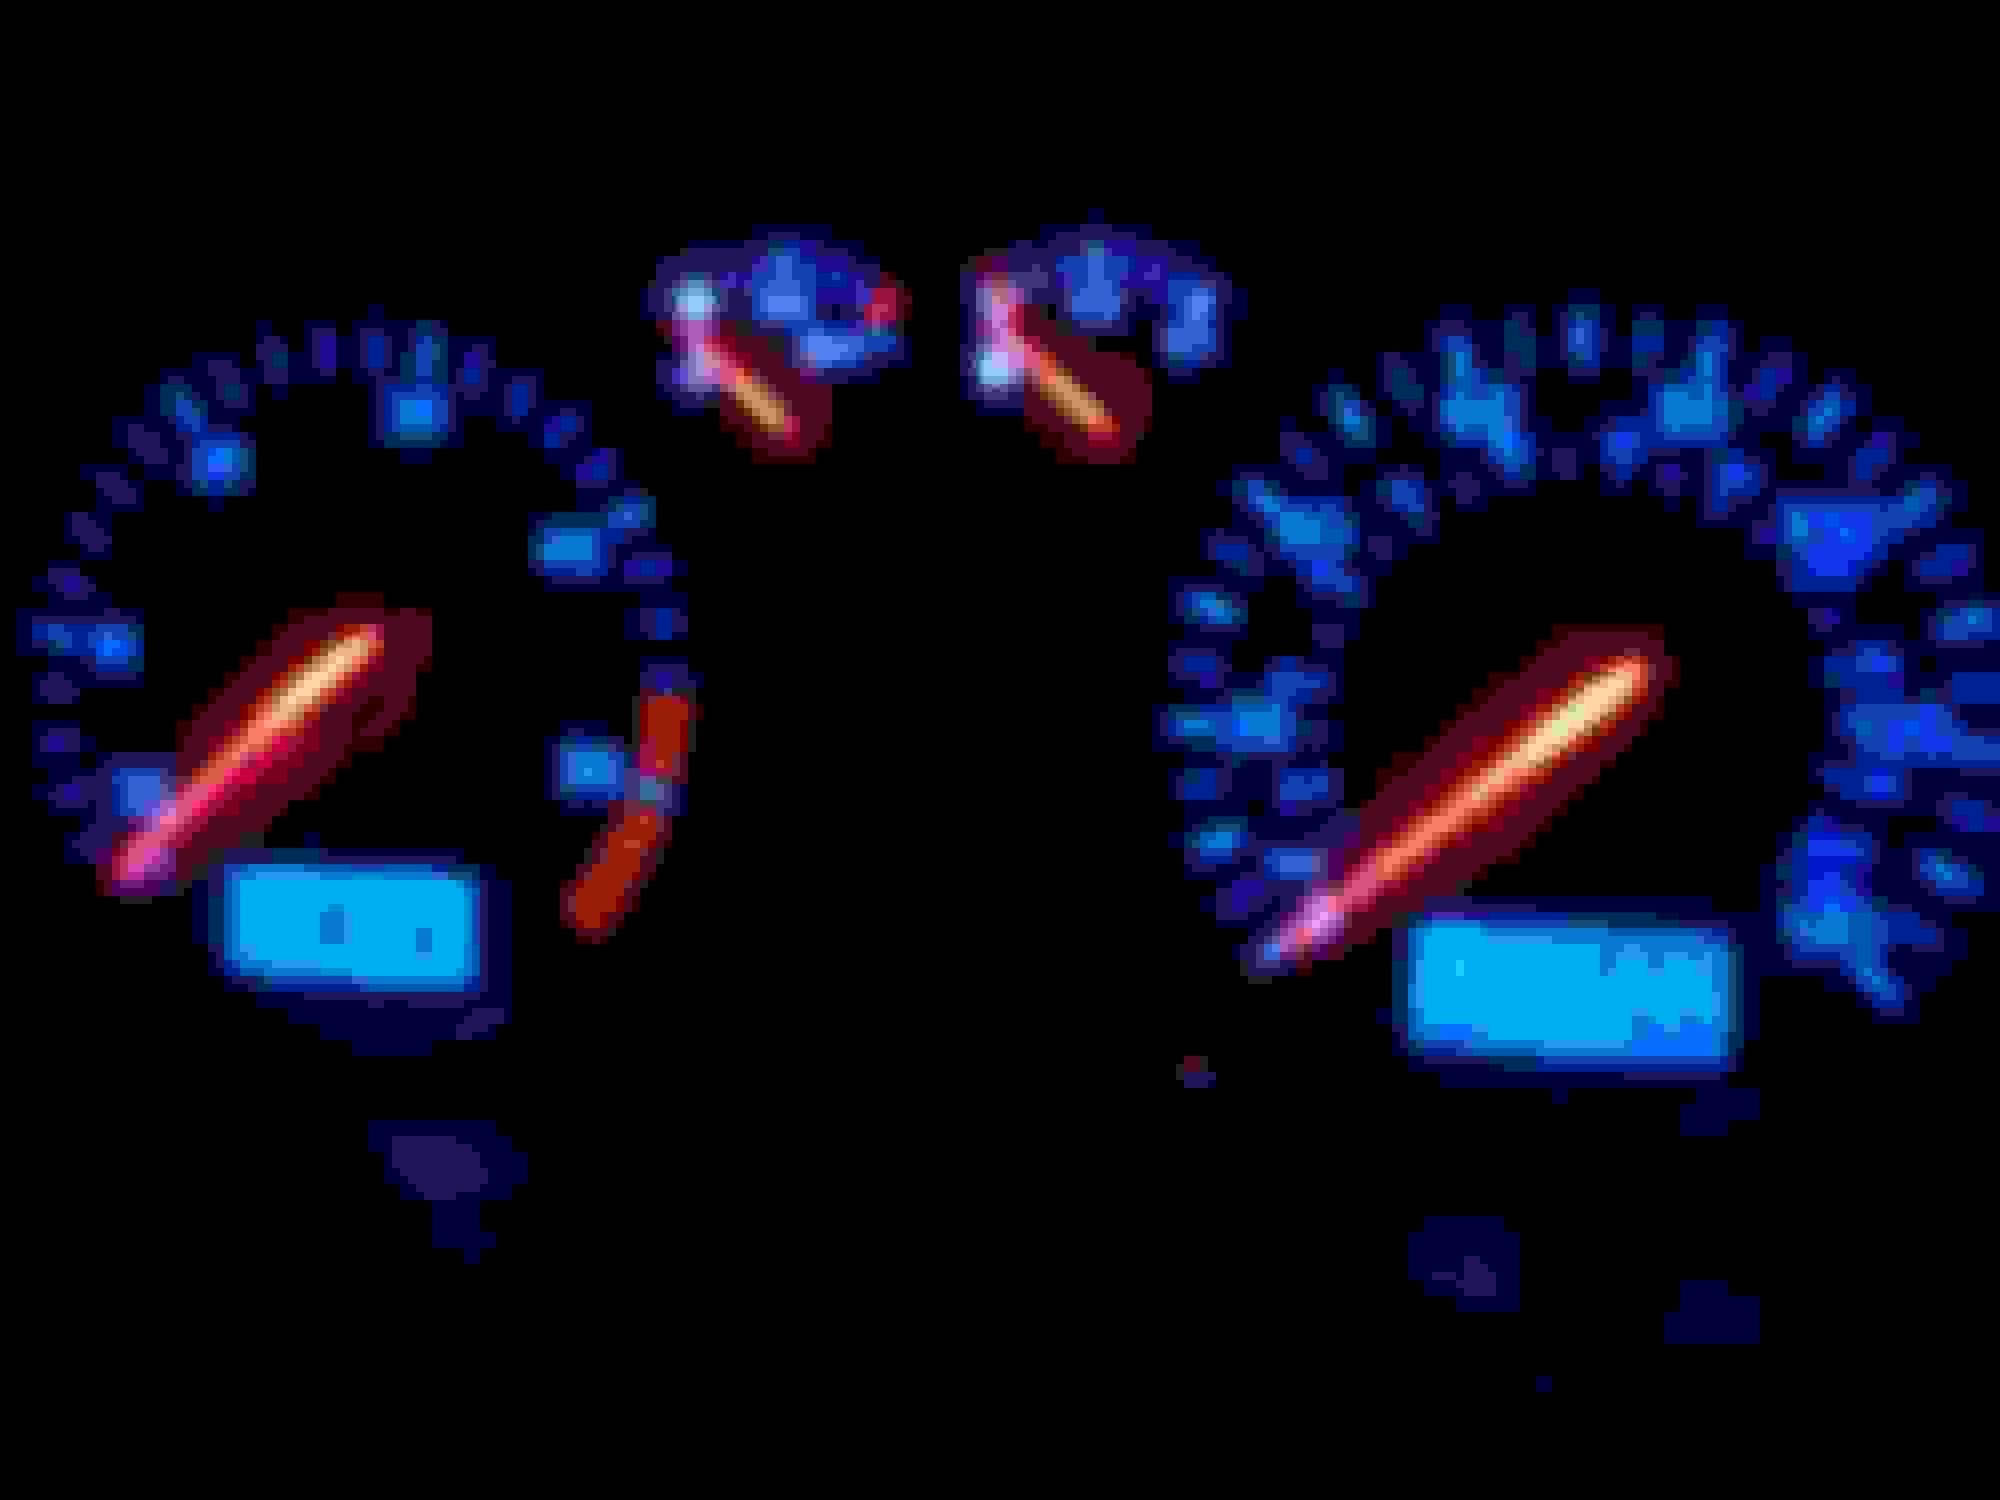
What I've got so far...looks better in person but I can see there's room for improvement...still missing the 'glass' and surround...
The most common way to do this is either by leds or another option is to replace the green bulb covers with blue ones. I want to retain the dimmer and red needles.
More laters.
Good morning Terry! Looks scarier than it is....or it that the other way 'round?
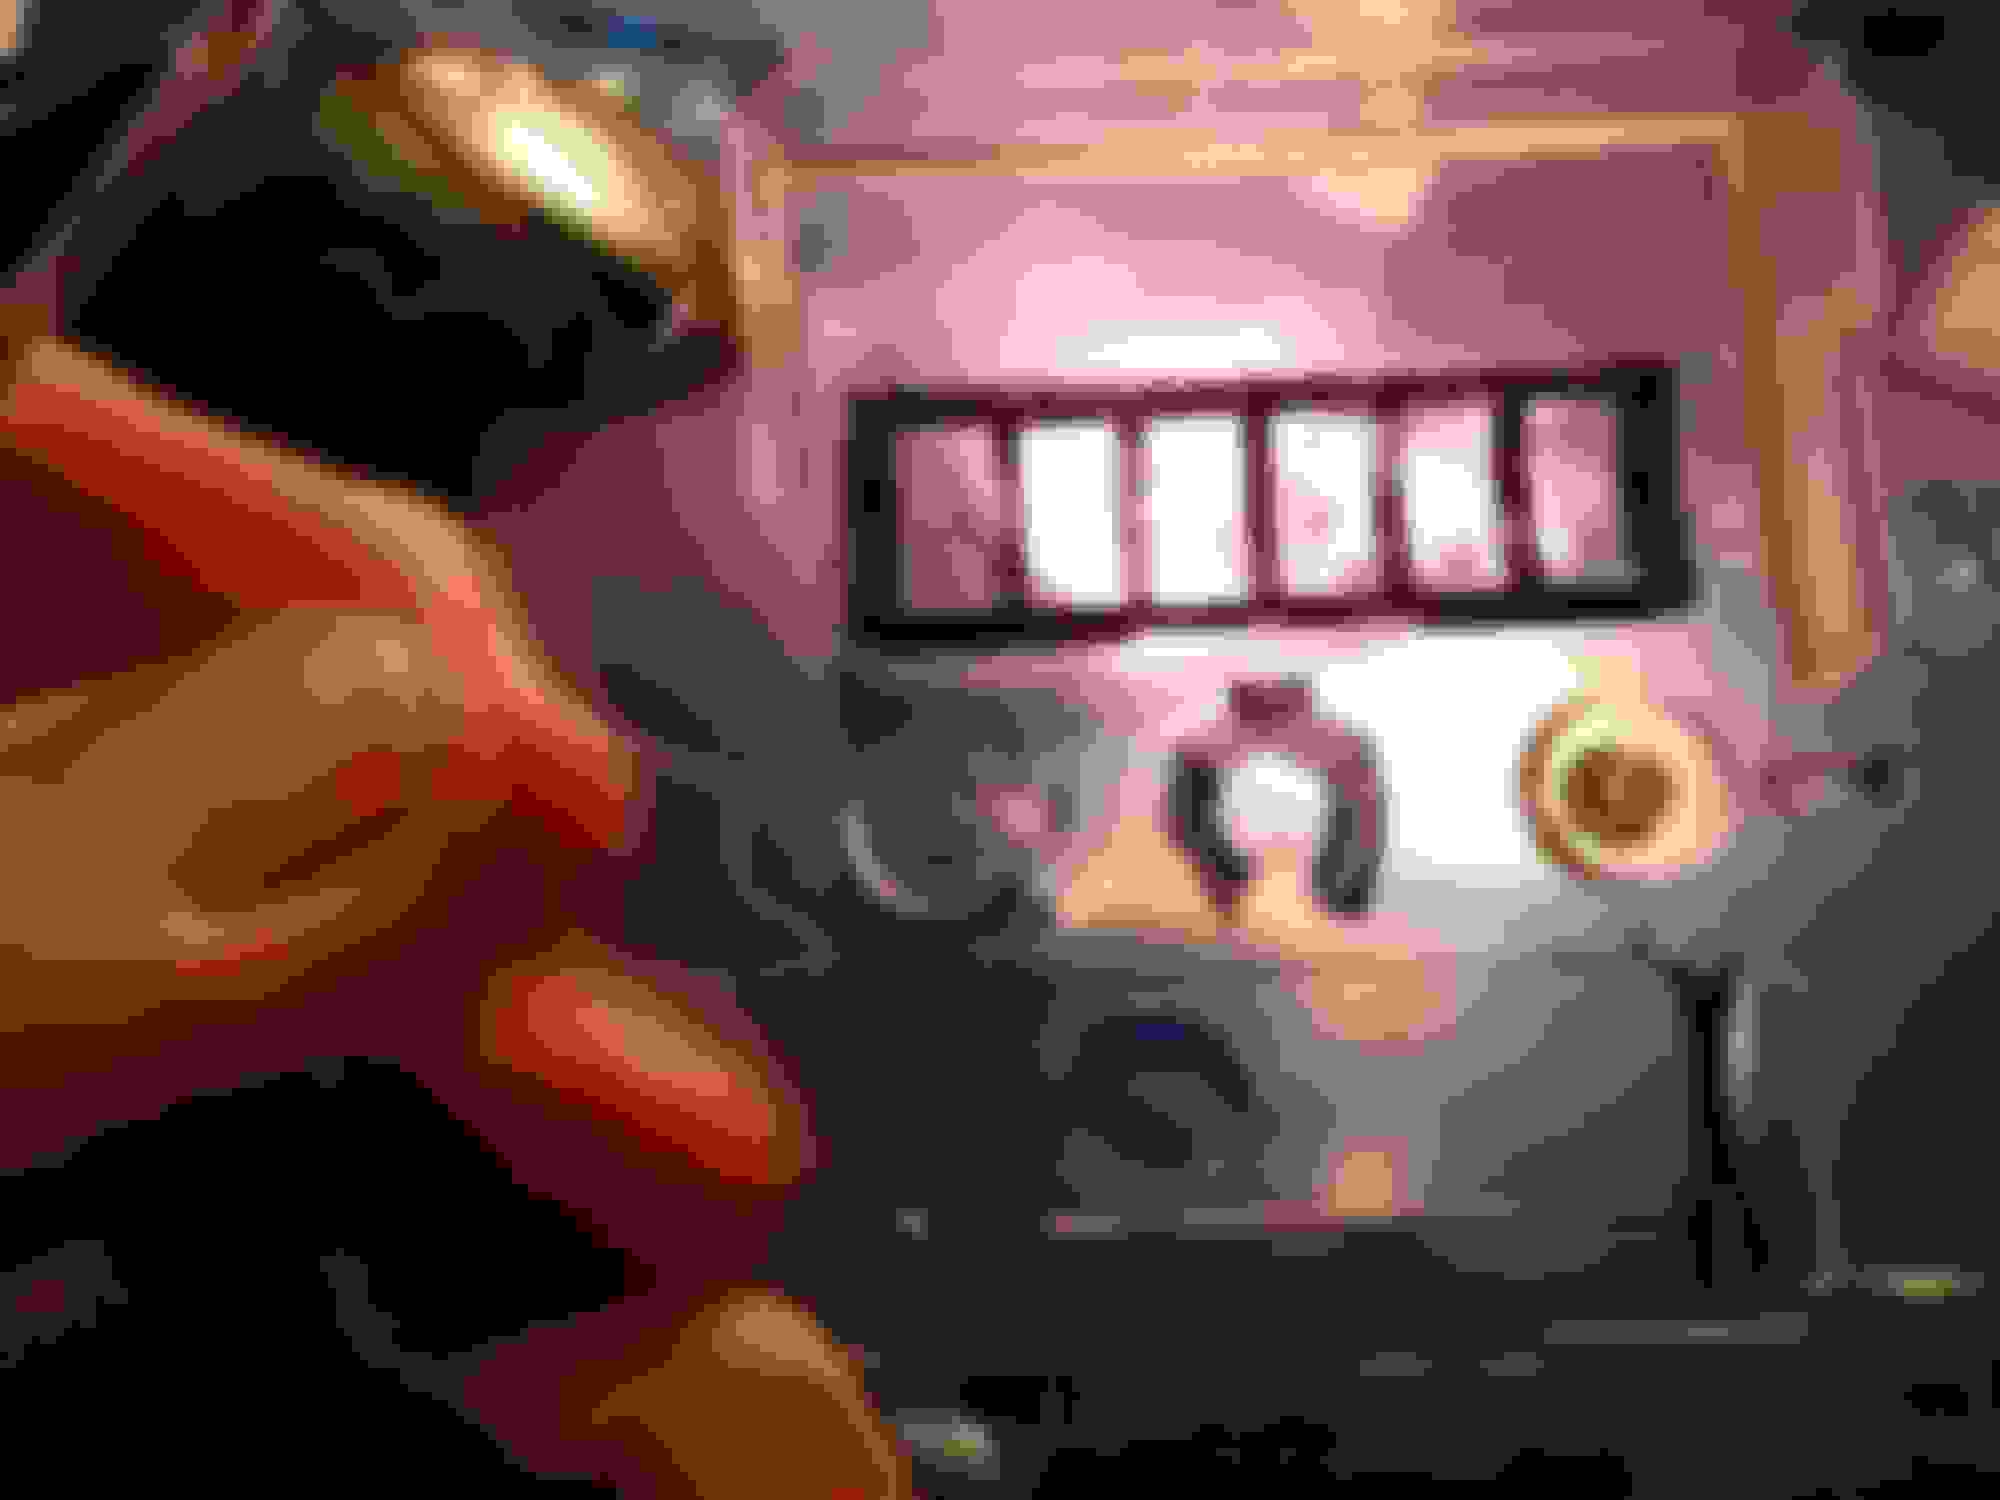
Went back in to try to get the color a little less aqua and also to try to dim down the odo and trip odo as they've always been ridiculously bright at night.
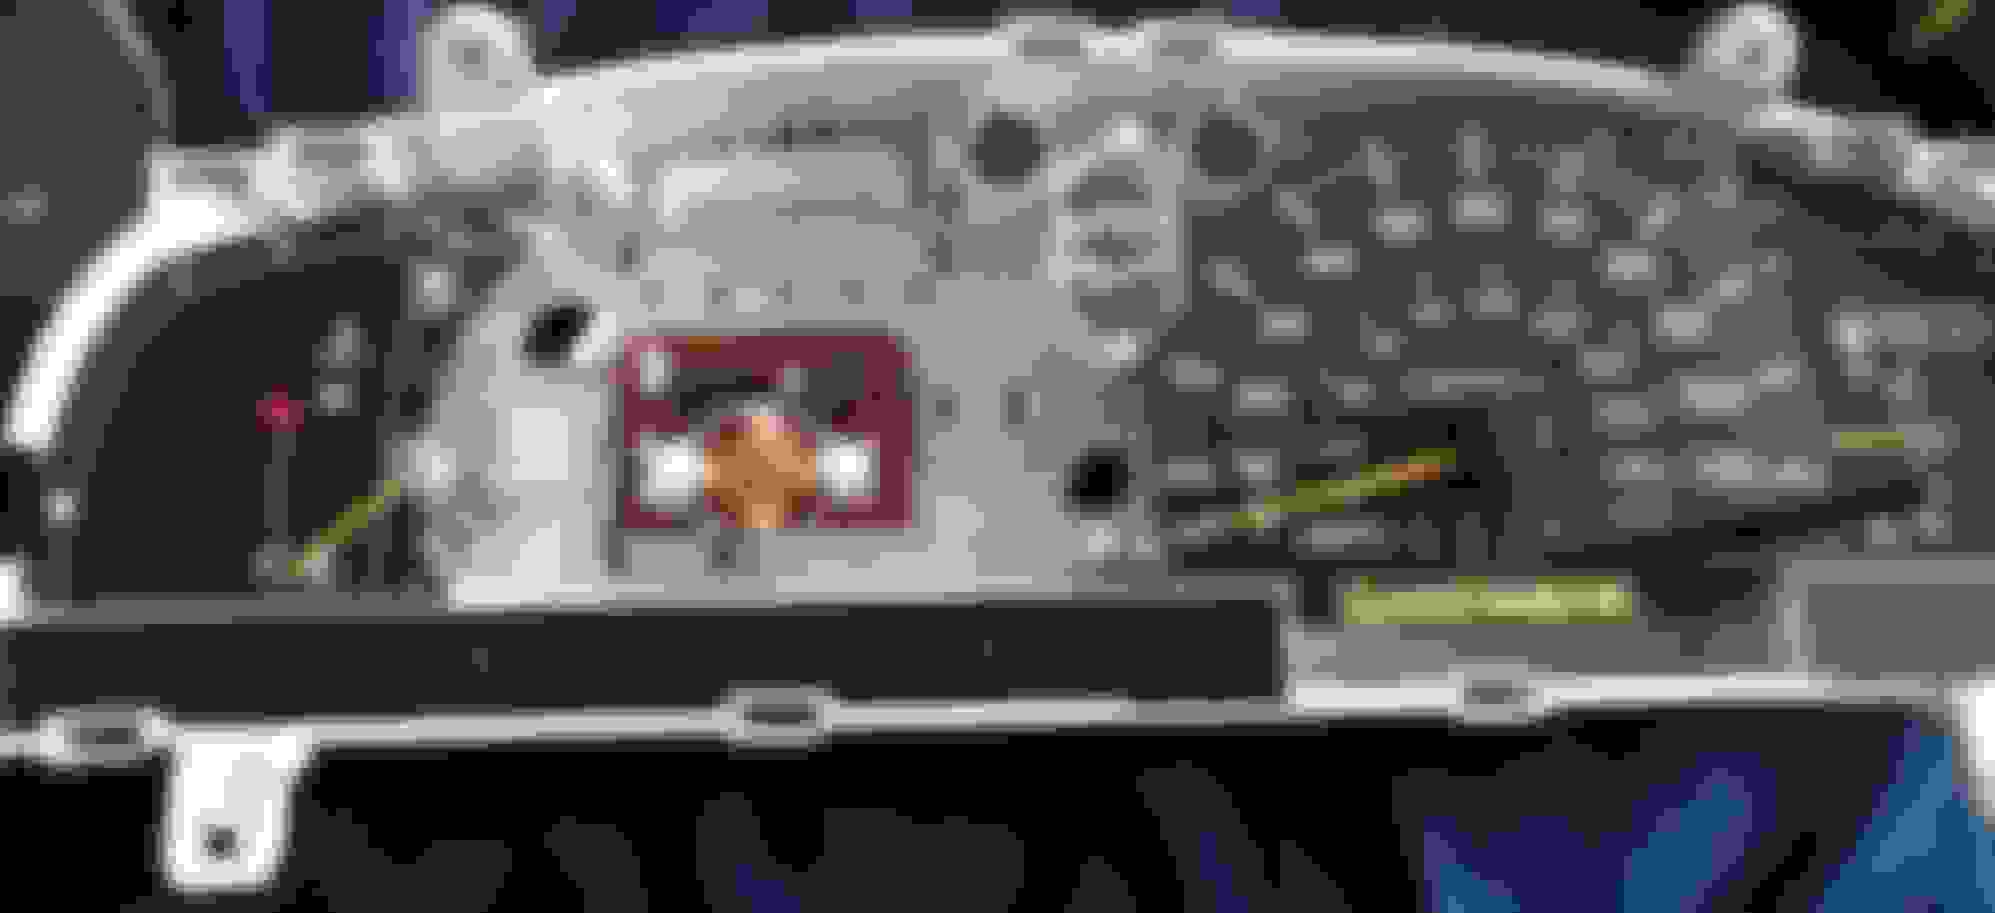
Toyota has an acrylic backing on all the gauges that they use to direct the light from 3 #194 bulbs. To dim the odo and trip odo I used a bit of sharpie marker to coat the areas the acrylic carries the light to:
It looks like I darkened the needle surround too but it's only a trick of the light. I wanted to keep that part as bright as possible.
And I also removed one of the 2 blue filters and added a purple to alter the color a little. The odos are much easier on the eyes now. There is too much light coming from the edge of the acrylic at the 90mph area that a bit of marker would help:
More than 3 of the filters I made and it gets too dim. A single darker purple rather than 2 lighter ones would have worked better but at least this way I was able to cut out the odo area so just a single filter covered them. I only covered them because it looks more 'done' that way. The best color actually came from the combo in one of the above pics, but the blue material on that one was too opaque so far too dim. There is a good amount of light bleed on the side gauges, I may try to address that, but because of the acrylic transferring the light via the needle it won't be as easy as pie. More marker again, across the front of the needle's base, might help. I'll have to see how much it bothers me.
I also ran a blue filter behind the climate controls, cutting out a section so the red wouldn't get muddied. Just threw it in there to test, will put a small dot of glue or bit of tape to hold it in place. You can see where it's slipped out of place in the photo.
I used a blue sharpie on the key surround bulb but it came out too purple, I will likely replace with a blue bulb cover or something. Completely forgot there's a light at the power outlet until I saw the pic below. Or is that the usb charger? I'll have to look.
And the whole blurry thing. I have no plans to change the clinometer's light as I don't usually have it lit. IF I were to do it I would use a bulb cover on that one.
And how it looks during the day. I am much happier with the needle color than the sickish greenish orange of the original.
You have got bigger you know whats than me when it comes to pulling apart a cluster! i will eventually throw in some LED's for the dash but that is as far as I will go!
That's why I wear a special undergarment dropzone! Oh....lower down....
If I wasn't so keen on the red needles and keeping the dimmer blue leds would have been the way to go. If not the red needles replacing Toyota's green bulb covers with blue ones would also work. Even got all the research done on lumens and had just about decided to go with that. Since I've already repaired the trip odo I knew that other than the tiny tiny copper wires the cluster isn't that big a deal to, um, deal with. Popping the needles off went well other than one, but I had a couple donor needles for just that sort of issue. Other than that don't over-tighten the teeny tiny screws (or drop them!).
96 4Runner, 286,xxx miles
Moved the gauge light power source (in the center console) over to the start battery.
Repaired the corroded wiring for the air compressor, good old salty state.
Got the waranteed airbag in (the old one developed a split during vacation). It was the left side. Kind of a pain, but more a patience job than a difficult one thanks to those soft land cruiser coils.
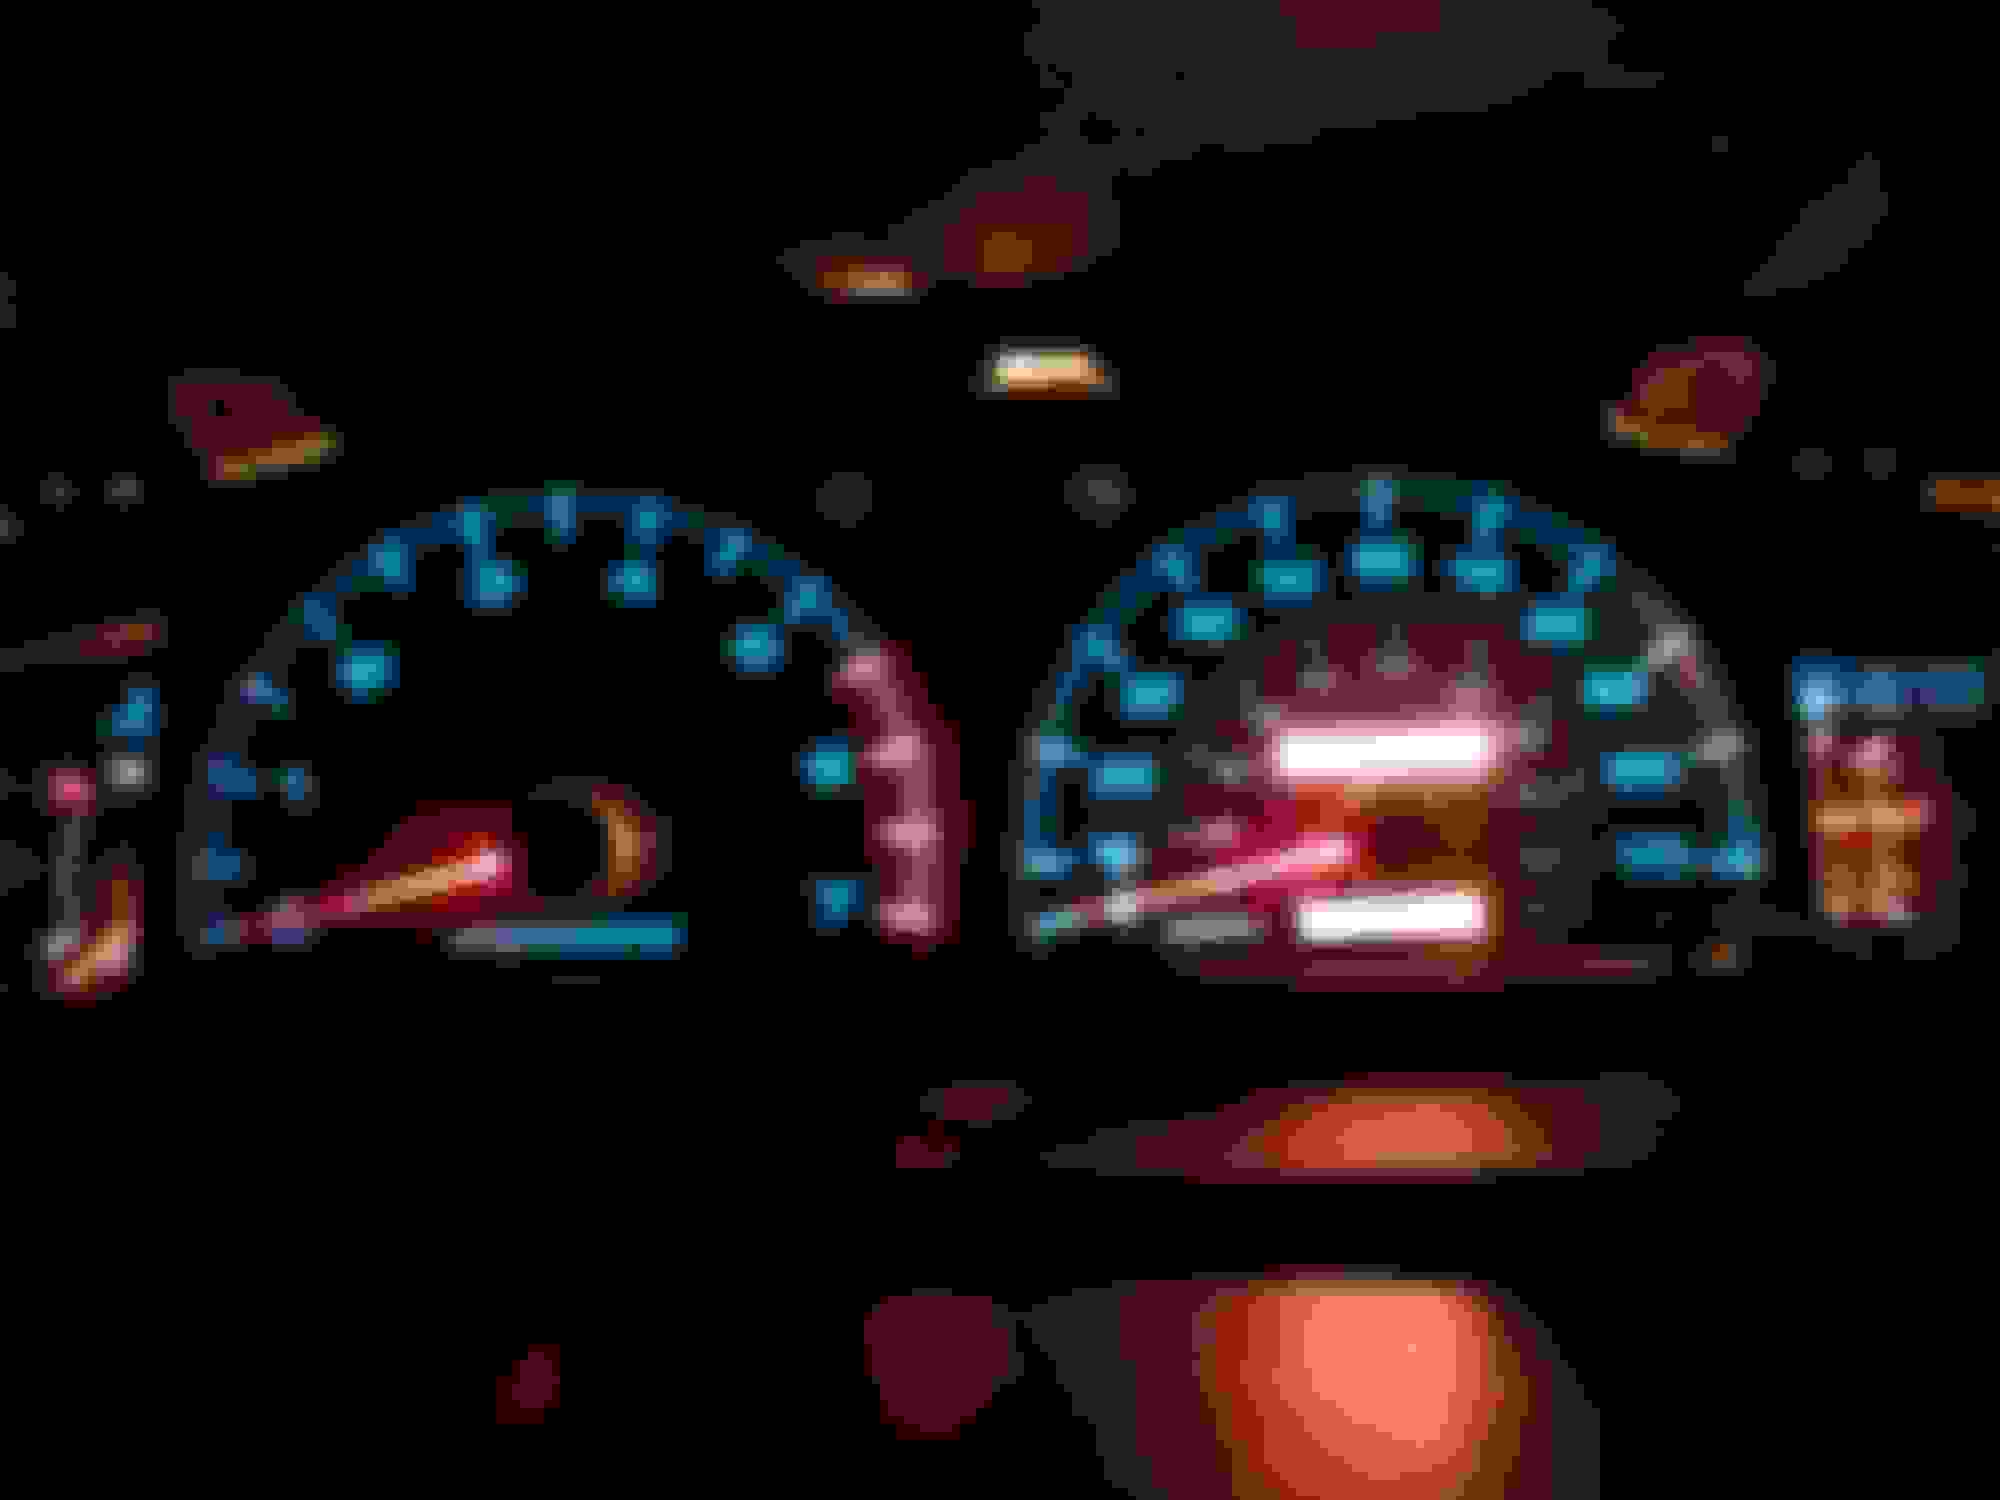
After filling in some of the sides of the acrylic behind the gauges with marker the lighting is getting better and more even. Sill working on the light bleed, got it covered on the fuel gauge but still working on the temp side. The fuel needle may need adjusting too, I've got it a little too high, I think. Will watch it another day or two.
Also put a switch in on the OBDII port. Got a reader and want to leave it in but it's normally always hot. I'm trying out Torque Pro for curiosity. It's the Violet wire.
From a post by JamesD:
The only 4 pins on the OBD 2 connector is 2,4,5 and 16.
2 is White and that is the serial data line
4 is White/Black is ground
5 is Brown/Red and that is ground
16 is Violet and that is fused 7.5 amp 12 volts
Some long time ago the TPS on the 99 threw a code so we swapped it with the one on the 96. No more codes and none on the 96 at all. Messing with the Torque Pro app revealed the TPS showing the throttle only opening at 72%. A quick look shows the throttle plate is opening fully. Curious. All the tests I can find show 4 pins but this is 3 pin. Swapped the TPS's between the trucks this morning, will see what it says. Don't know if I trust what Torque Pro says but this has my curiosity up and this is a cheap way to satisfy it. I'll keep looking for a 3 pin TPS test....must be what I'm finding is for the wrong years?
Got the light bleed down to a reasonable level- the camera makes it look a lot brighter than it is. It also catches a lot more tones than my eyes do, it looks pretty even to me. Spent a lot of time arguing with it but it's just not seeing what my eyes are. Okay, it's seeing more than what my eyes are.
The fuel needle to what is hopefully a good spot. May have to tweak it again, time will tell. The cluster can be pulled in minutes, 4 bolts and 8 screws total.
96 4Runner 286,666 miles
Still tweaking the cluster....
A trip to the junkyard netted me a little piece that I didn't know the newer style needles had- the style needles I used.
Comparison of the original needle on the 96 with a clear base vs one out of a newer 3rd gen with some light-obstructing black plastic on the base:
The original needles are a dull orange, the newer style started out a dull red. I wanted more color so I painted the bottom edge and partway up the sides. Don't cover the entire needle, actually just the bottom edge needs to be painted. I was going for something a little more.....dramatic.
Toyota uses the acrylic to guide and direct light from the 3 bulbs, including that which are the needles. Kinda clever, really. The backs of the face plates are also selectively colored with lighter and darker areas.
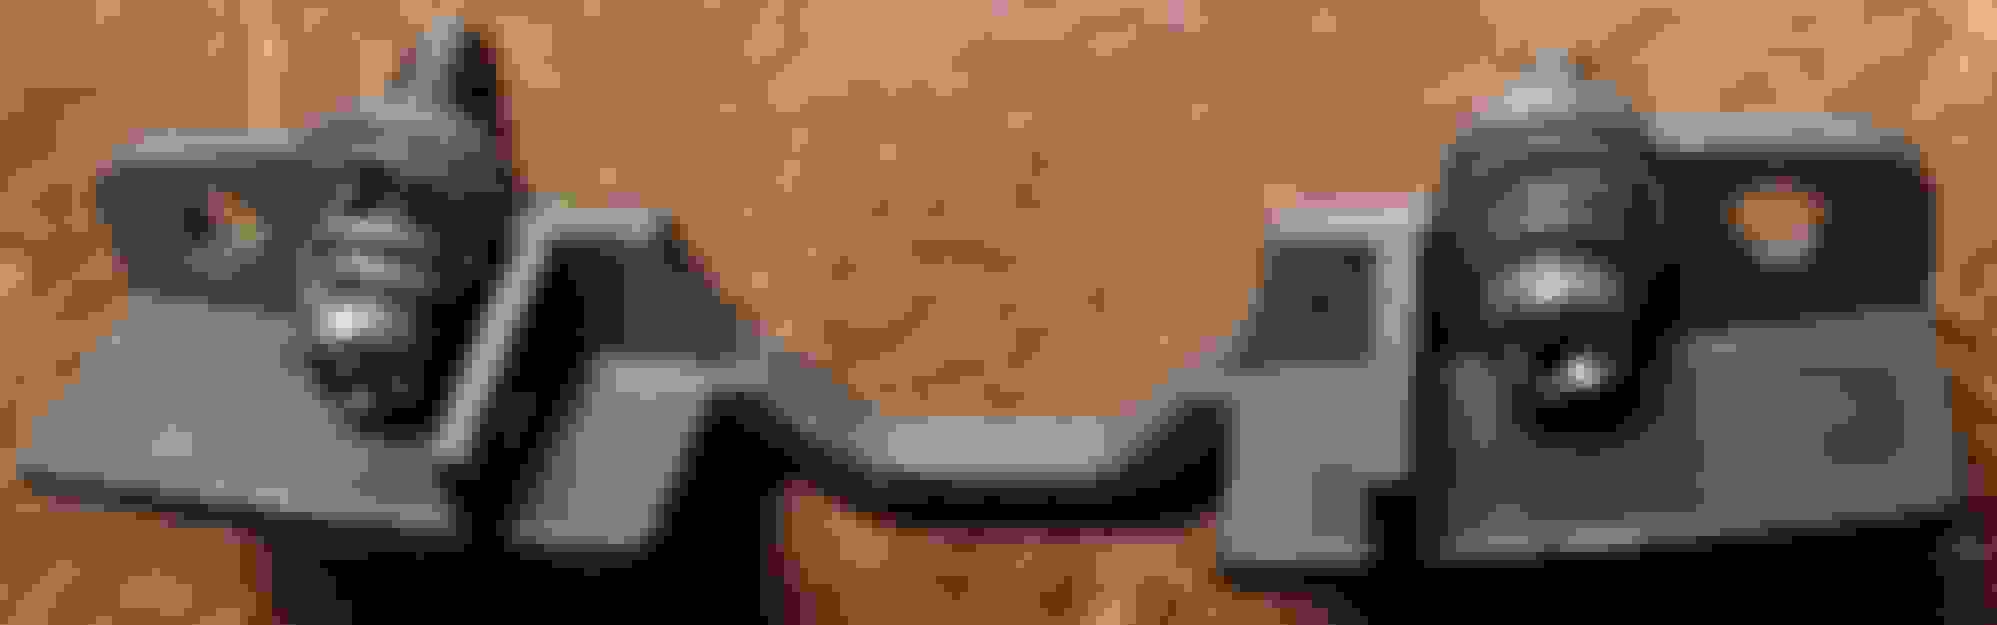
The 2 outer original needles have stops just in front of the mount that works with a special cut-out to limit travel:
But the new needles don't have the stop, instead they use a small plastic piece to limit needle travel:
I wanted to use the newer style needles for their light blocking capabilities, the old style lets too much light bleed out, especially on the temp side. I've installed the needle stops and am very happy with the results. Will drive it around for a bit to make sure I've got all the needles in the right spot, then put everything back together. This was a lot of work to get a specific color. I didn't get exactly what I wanted, but it's still pleasing enough.
Camera still does not rock at the colors...my eyes see it as fairly even all the way across...
Couple of pics, it really is hard to show the (so far) end result...
Driving yesterday I noticed both the o2 graphs on Torque looked weird. Right after the CEL came on. P0420. Not running weird. 2nd emissions CEL since July but the first was the Colorado one after driving in extremely dusty conditions. Slow rear o2 response. Air filter and cleaned maf and no more code before now but that doesn't mean related.
Looked through this thread, found I replaced the front o2 about 45,000 miles ago and the cat a year after that. Can't find any posts about replacing the rear 02 though I think I have at least once. I know it would have been no earlier than 45,000 miles. Will be checking the wiring to start. Also not ruling out the cat- it's a Walker.
Got all the needles on the cluster set up except the fuel gauge. Think I've got it just right too, but have to get to the gpod, which happens after burning 15 gallons. Oh, and I figured out my gpod (the low fuel light or gas pump of doom) comes on after 15 gallons. I did say I was doing the cluster color change the hard way, right?
Been running around with one GP Thunder 6500k and one Sylvania Basic 3100k bulb since vacation. I actually liked the light output of the Sylvania Basic over the GP Thunder. I also like the yellower color though it was a bit too yellow. Did some research and came up with Philips X-treme vision 3700k. Took lousy compare pics mostly in the daylight.
X-Treme Vision, GP Thunder, Sylvania Basic
Sylvania 3100k vs Philips X-treme vision 3700k
GP Thunder vs Philips X-treme vision 3700k
Both Philips X-treme vision 3700k
The 99 with GP Thunder 6500k vs the 96 with Philips X-treme vision 3700k
The Philips appears to be way brighter than the GP, about comparable with the 99s brights vs the 96s normal. As true to the color temp they are less blue than the GP and less yellow than the Basic. Many people reported they weren't having problems with getting flashed, I'll have to wait to see if that's true. Will also have to drag both trucks out to get a better idea of how far the beams go.
96 4Runner 287,099 miles
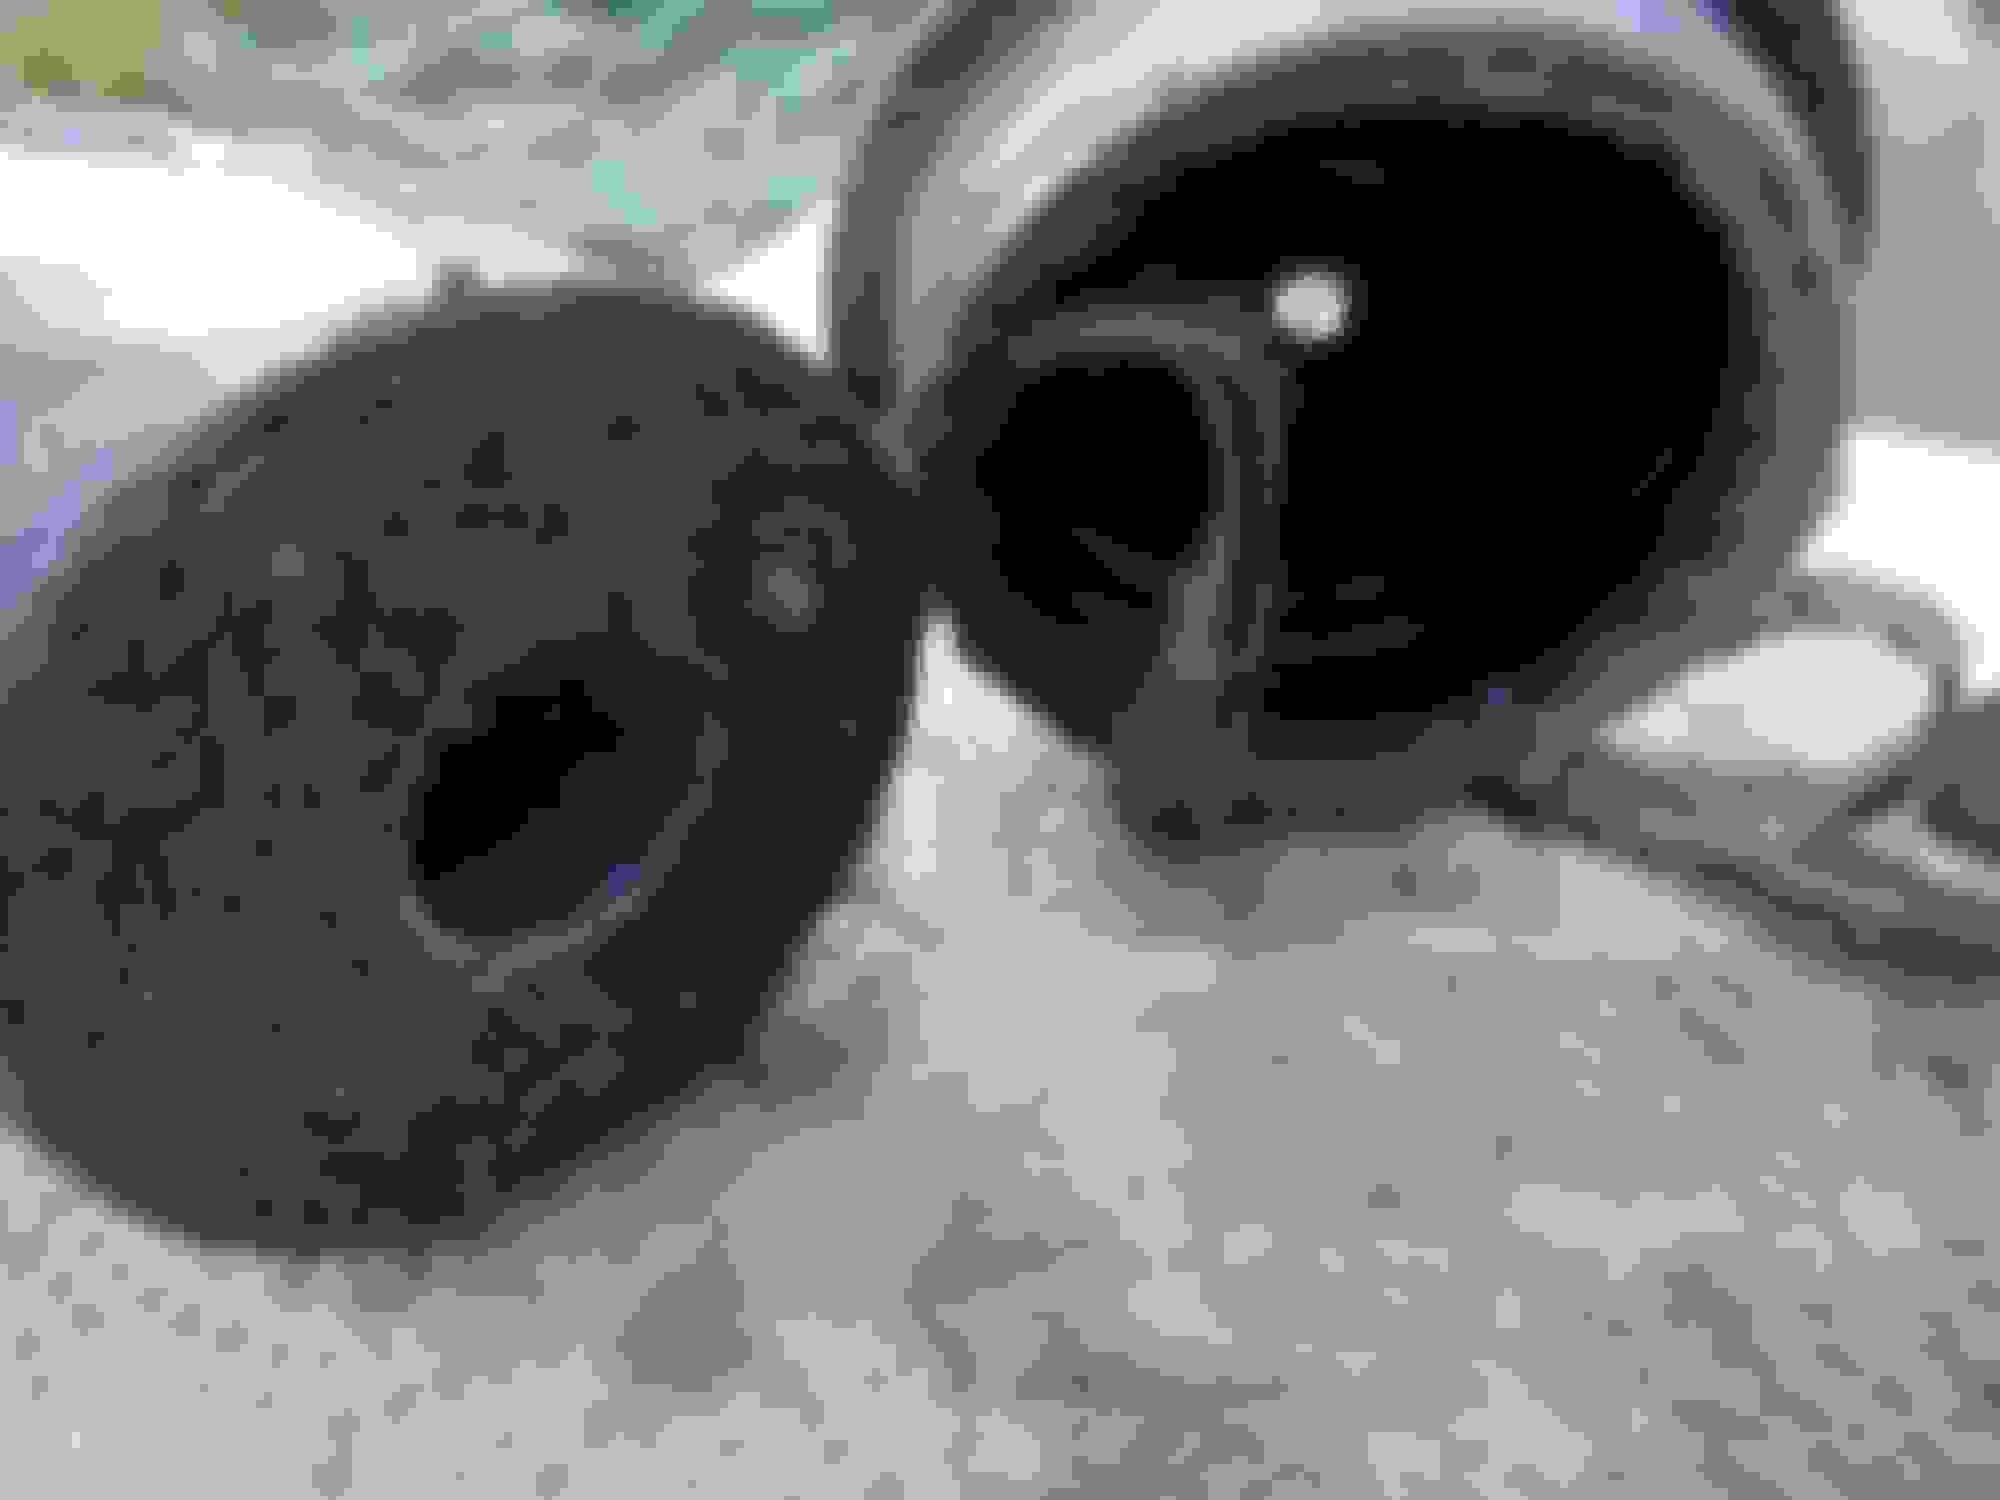
FUEL FILTER! Seriously! How have I not done this since '08??? Thought I'd done it since but that's the date on the filter. Oh noes! That's a little under 100,000 miles
14mm flare wrench, 19 mm wrench for the filter, 10 mm socket for the bracket nut. Something to catch the little bit of fuel that comes out. Beware there could be some pressure in the line (mine had a tiny bit). Located on the inner side of the frame up against the body below the driver's door.
Also went ahead and replaced the rear o2 sensor with a Denso 234-4154. I had replaced the nuts with stainless steel ones when I replaced the exhaust a couple of years ago- they were in great shape. There's something rattling inside the old sensor, just a little something.
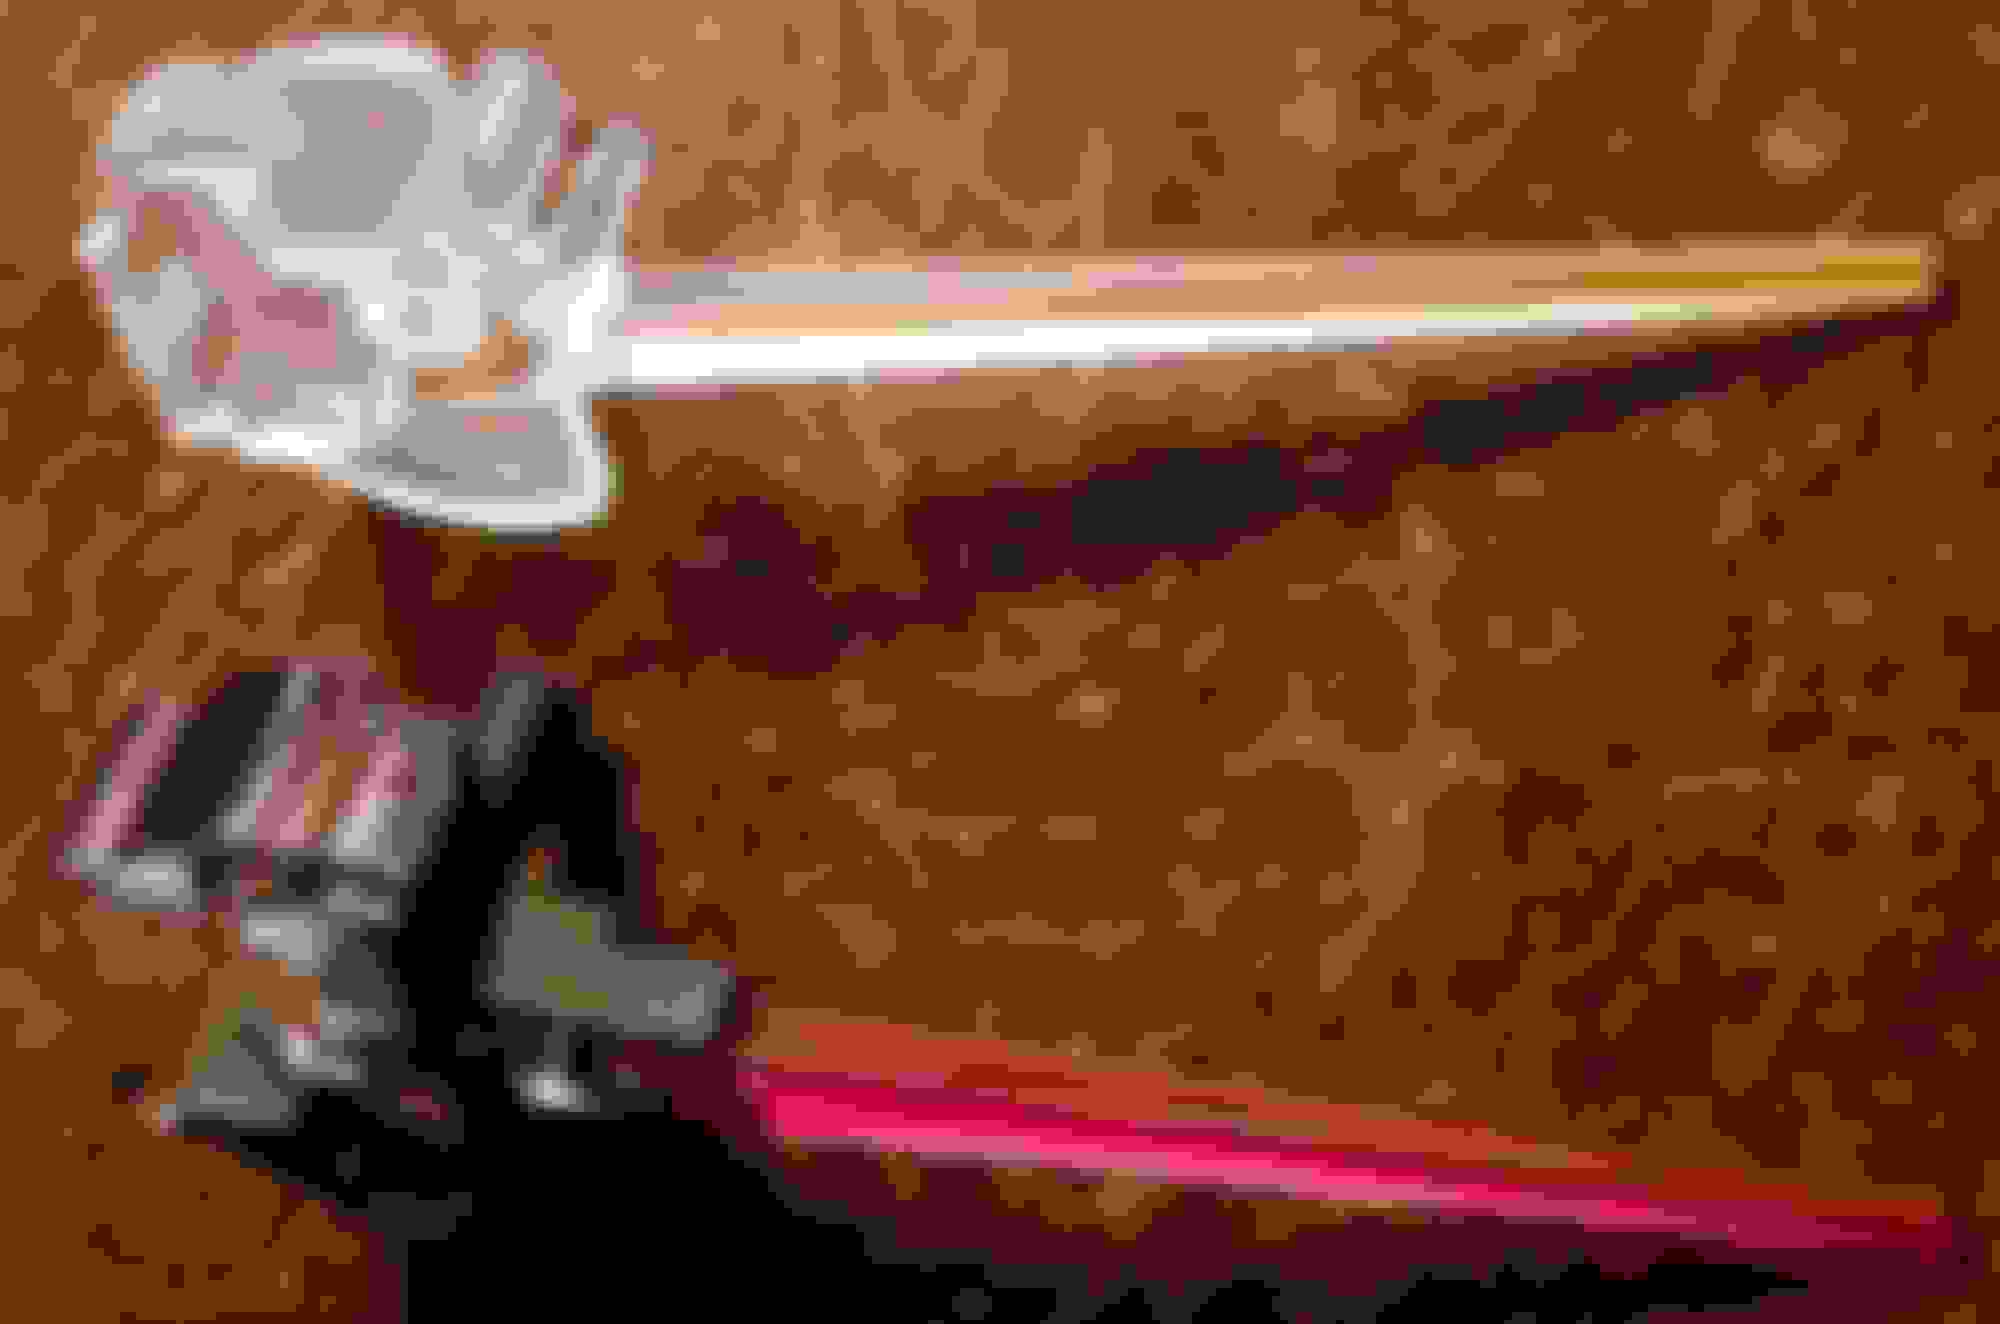
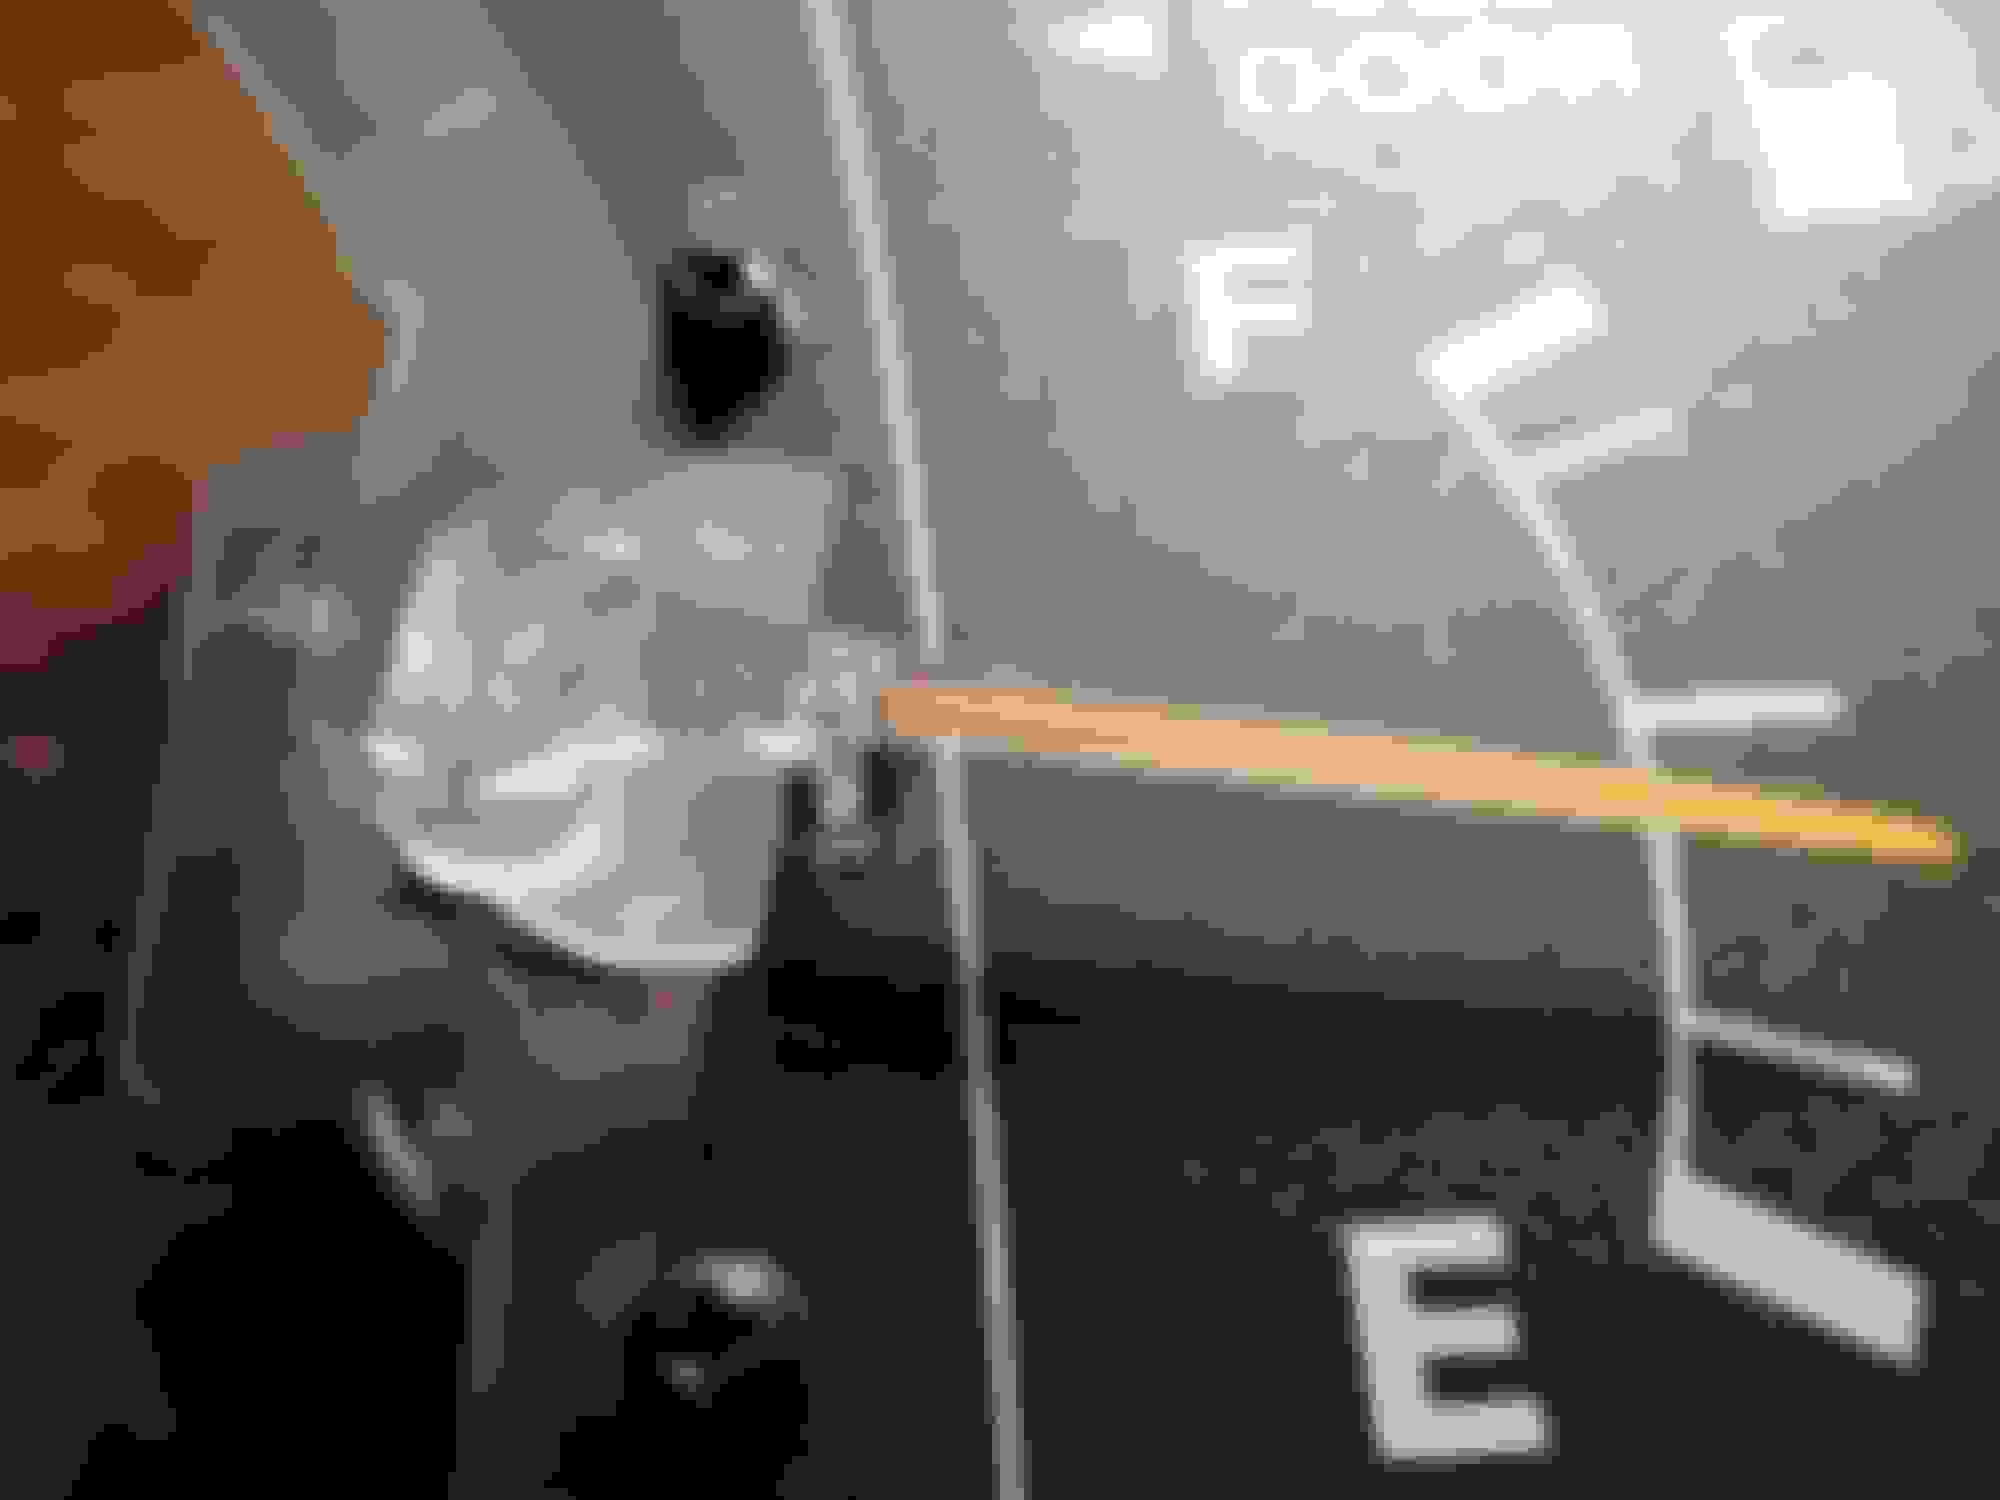
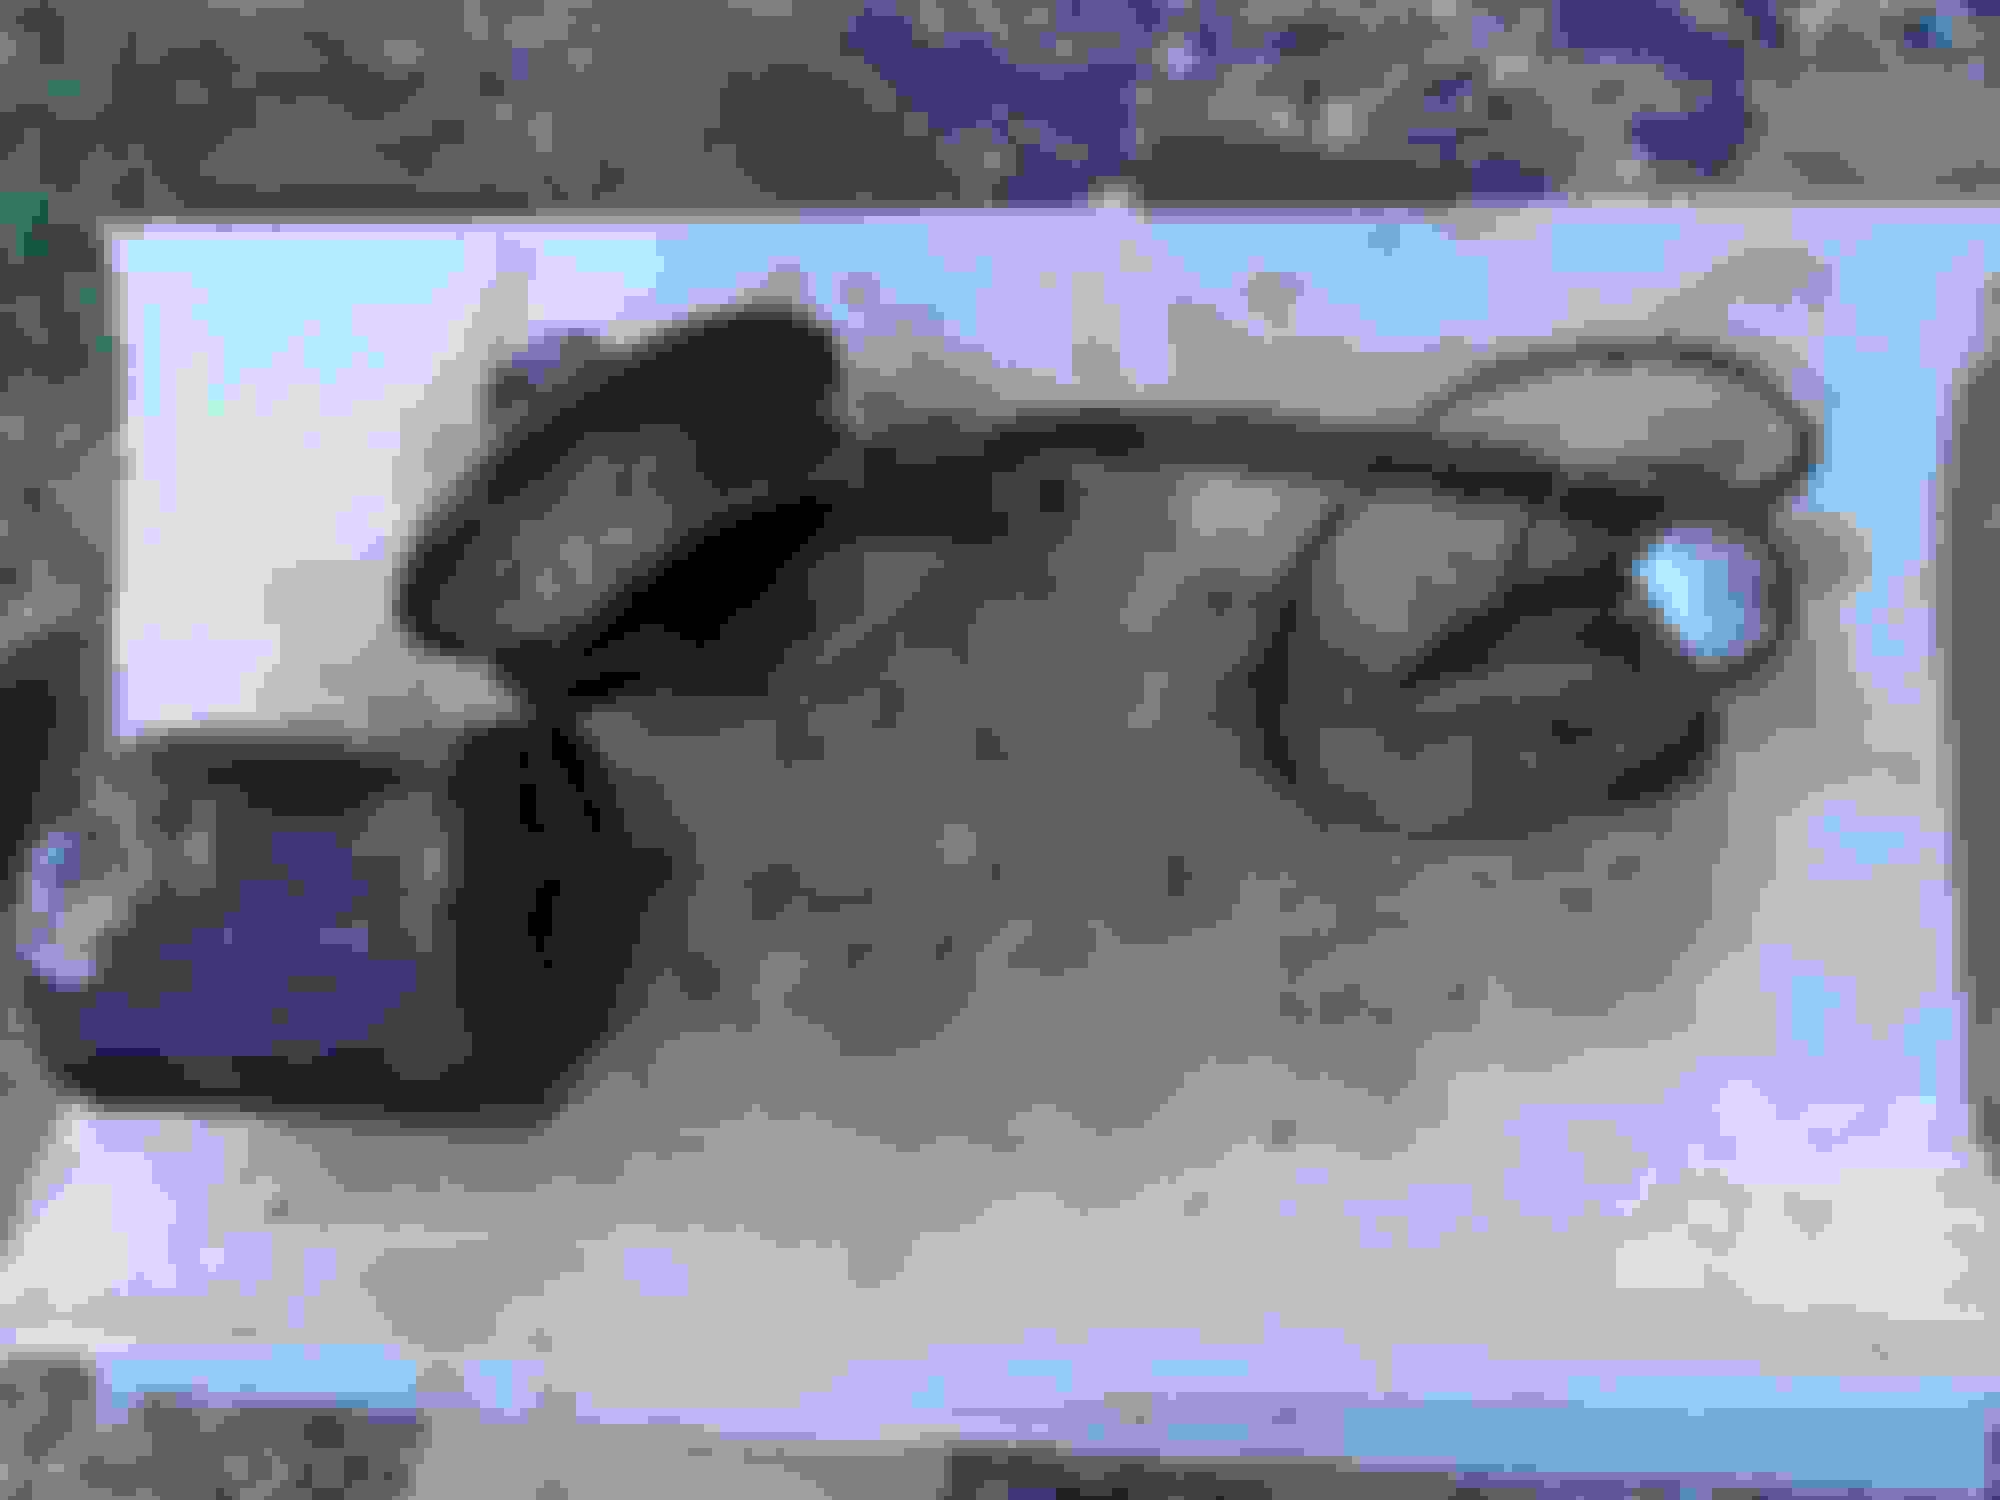
Problem: Want phone holder for when I'm using google maps or Torque. It can't interfere with the cup holder or switches or cb mic or all the junk in the dash or the air. Must be easy to use and to see at a glance.
Solution: Make bracket and drill holes (ACK!) and secure. Add a PanaVise PortaGrip 15575 to the bracket. Have not driven with it yet, will have to see how it works. Pardon the mess!
 08-23-2016, 10:53 PM