brian2sun's 1997 4Runner Build-Up Thread


 09-01-2010, 11:42 PM
#24
Registered User
Thread Starter
About 1/2 hour.
Thanks! It's been a great truck, I don't think you'd ever regret getting a 3rd gen.
Thanks! It's been a great truck, I don't think you'd ever regret getting a 3rd gen.
09-06-2010, 05:37 PM
#25
Registered User
Thread Starter
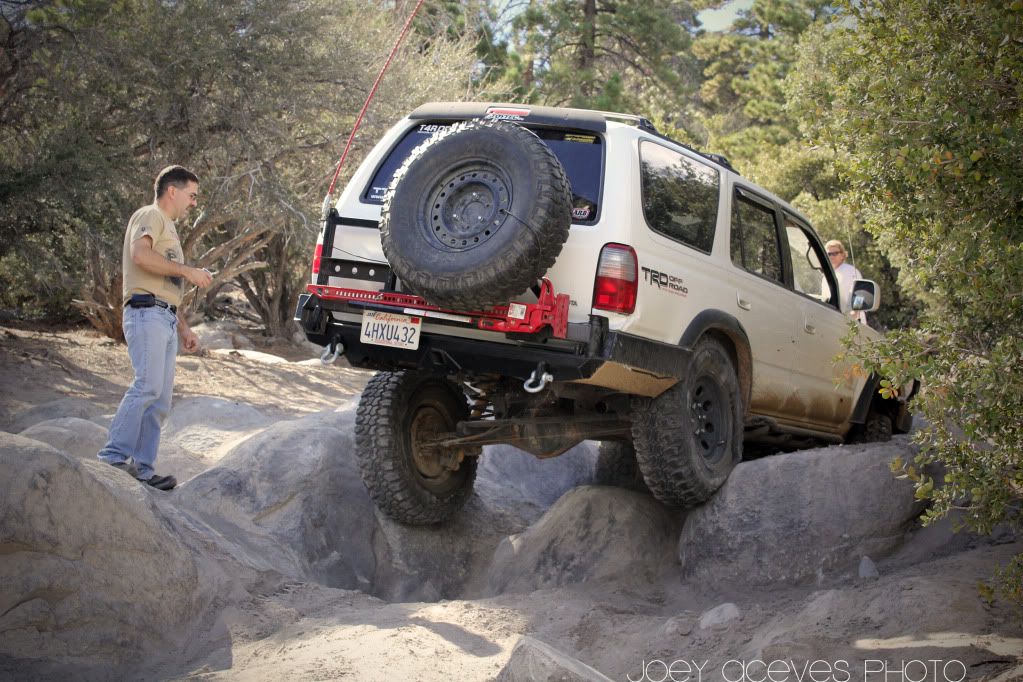
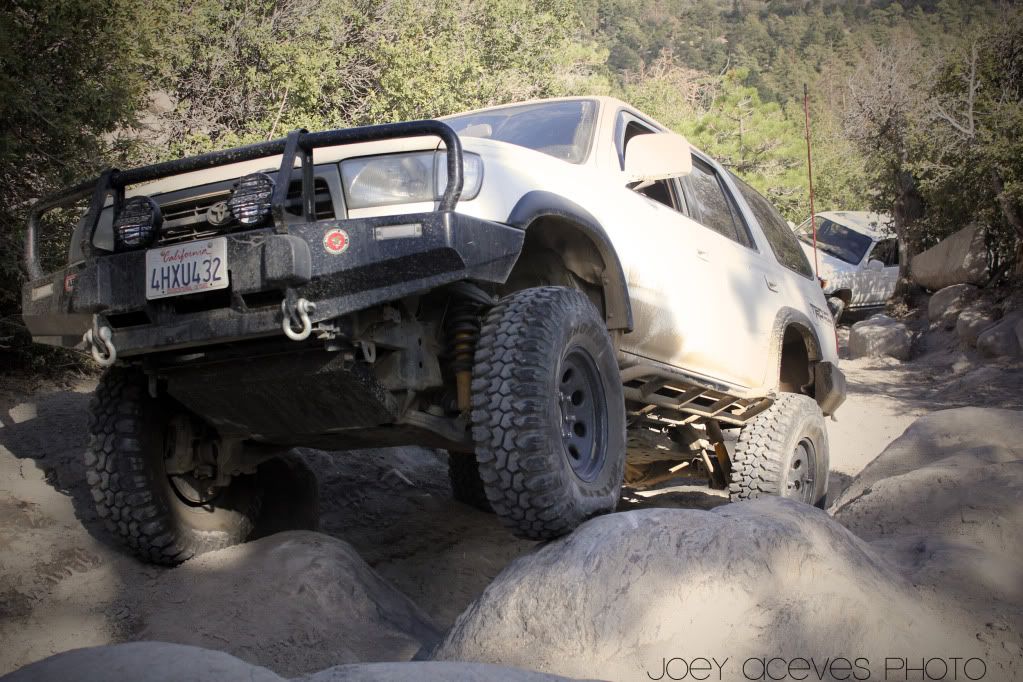
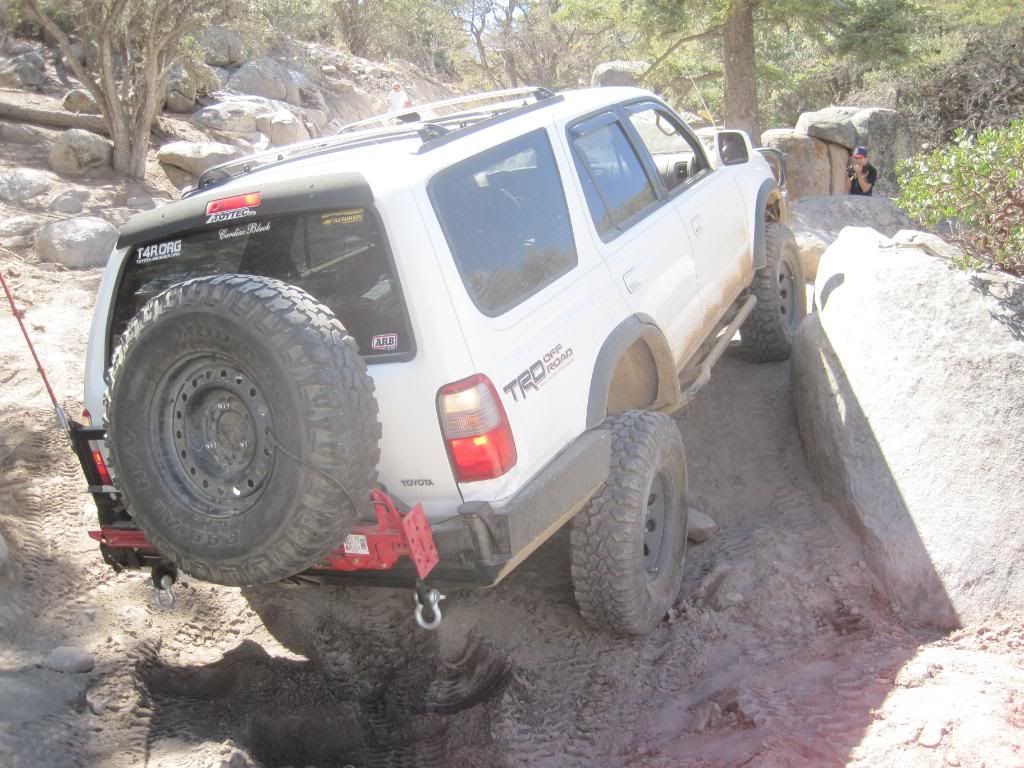
This Labor Day weekend I did a little wheelin and exploring and then got some work done on the truck. Sat. we went to Big Bear and checked out a few trails we have never ran before and found a couple new ones to check out next time.
Then on Sun., I went down to a friend's house and we installed my new sliders. I had some Trail Gear 58" HREW sliders on the truck for the last few months and they just didn't give me enough protection (both my rear doors can attest to that) so I upgraded to some 4xInnovations 66" DOM sliders with the kick-outs. I have to say I'm very happy with the new ones and how much better they protect.
Rather than cut and grind the old sliders' legs, gussets, and backing plates off my frame, we chose to leave all that stuff on and just cut the sliders off and leave about 3" of each the old legs still attached. Then we fused the new legs (~ 2.5" long) to the old ones. If anyone is planning on changing sliders, I recommend doing it like this...
The way we fused them was run a 5" long smaller diameter pipe (1.5") inside the legs (1.75"). We then ground the ends of the 2 legs (where they come together) creating a "V" to fill in with the weld and also put some notches in each leg to fill with weld for more surface area. For added strength, we also drilled holes in the legs and made "rosette" welds to further attach the inner tube to the outer tube. The great part is that not only was this method way easier than cutting and grinding all the old stuff off the frame, but the legs are now even stronger than normal legs because they are double-walled now.
Sliders cut off..

Inner pipe..


And welded up.. (Don't talk ˟˟˟˟˟, it's hard to weld upside-down with a cheap welder in a tight spot, haha). They aren't the prettiest welds in the world, but they're definitely solid. You can see the rosette welds in this pic too...

Here's a little comparison..
BEFORE (Old Trail Gear sliders):
AFTER (New 4xInnovatons) You can see how much longer the are:
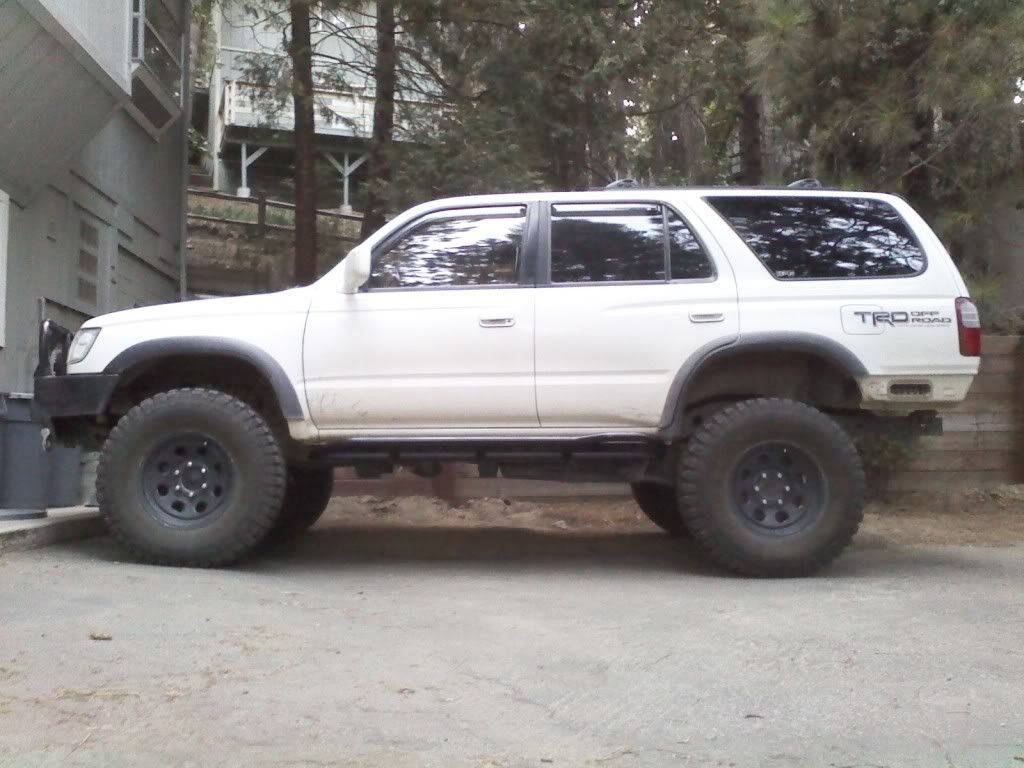
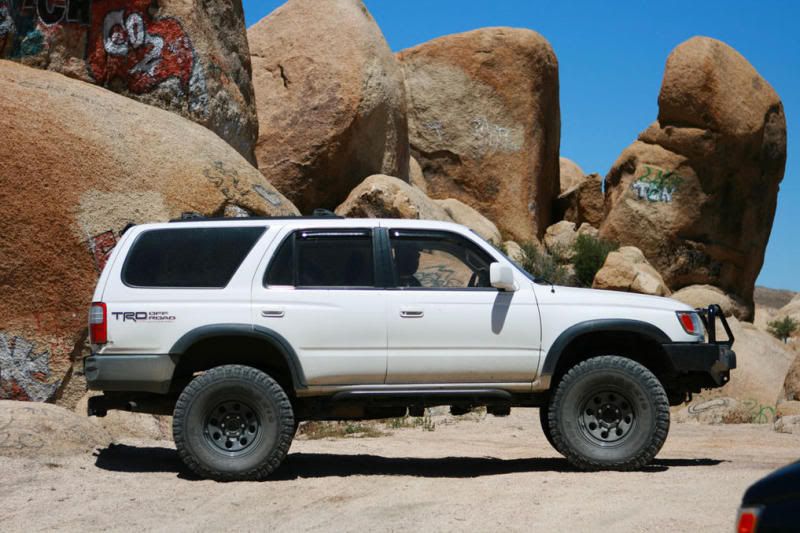
Side shot BEFORE:
Side shot AFTER:
And since I was off work today (Mon.) for Labor Day, I installed my new IPF off road lights I got from Toytec..
Then on Sun., I went down to a friend's house and we installed my new sliders. I had some Trail Gear 58" HREW sliders on the truck for the last few months and they just didn't give me enough protection (both my rear doors can attest to that) so I upgraded to some 4xInnovations 66" DOM sliders with the kick-outs. I have to say I'm very happy with the new ones and how much better they protect.
Rather than cut and grind the old sliders' legs, gussets, and backing plates off my frame, we chose to leave all that stuff on and just cut the sliders off and leave about 3" of each the old legs still attached. Then we fused the new legs (~ 2.5" long) to the old ones. If anyone is planning on changing sliders, I recommend doing it like this...
The way we fused them was run a 5" long smaller diameter pipe (1.5") inside the legs (1.75"). We then ground the ends of the 2 legs (where they come together) creating a "V" to fill in with the weld and also put some notches in each leg to fill with weld for more surface area. For added strength, we also drilled holes in the legs and made "rosette" welds to further attach the inner tube to the outer tube. The great part is that not only was this method way easier than cutting and grinding all the old stuff off the frame, but the legs are now even stronger than normal legs because they are double-walled now.
Sliders cut off..
Inner pipe..
And welded up.. (Don't talk ˟˟˟˟˟, it's hard to weld upside-down with a cheap welder in a tight spot, haha). They aren't the prettiest welds in the world, but they're definitely solid. You can see the rosette welds in this pic too...
Here's a little comparison..
BEFORE (Old Trail Gear sliders):
AFTER (New 4xInnovatons) You can see how much longer the are:
Side shot BEFORE:
Side shot AFTER:
And since I was off work today (Mon.) for Labor Day, I installed my new IPF off road lights I got from Toytec..
09-06-2010, 06:05 PM
#26
Registered User
Personally Brian, I would have sleeved those legs with some 2" od 1/4" id tube. The way you did it seems odd to me but it looks like it'll hold. 
Lookin good.

Lookin good.
09-06-2010, 06:43 PM
#27
Registered User
Thread Starter
Thanks! That's funny you said that, I was just thinking today that an outer sleeve may have been even better. I guess even if we had thought about it at the time, no metal shops were open to buy 2" tubing yesterday anyways. But we already had some 1.5" pipe at our disposal, so we just used that. I think they're still a lot stronger being double-walled than if we had cut everything off and started over with normal single-walled legs. Definitely not any weaker!
 09-11-2010, 05:13 PM
#29
Registered User
Thread Starter
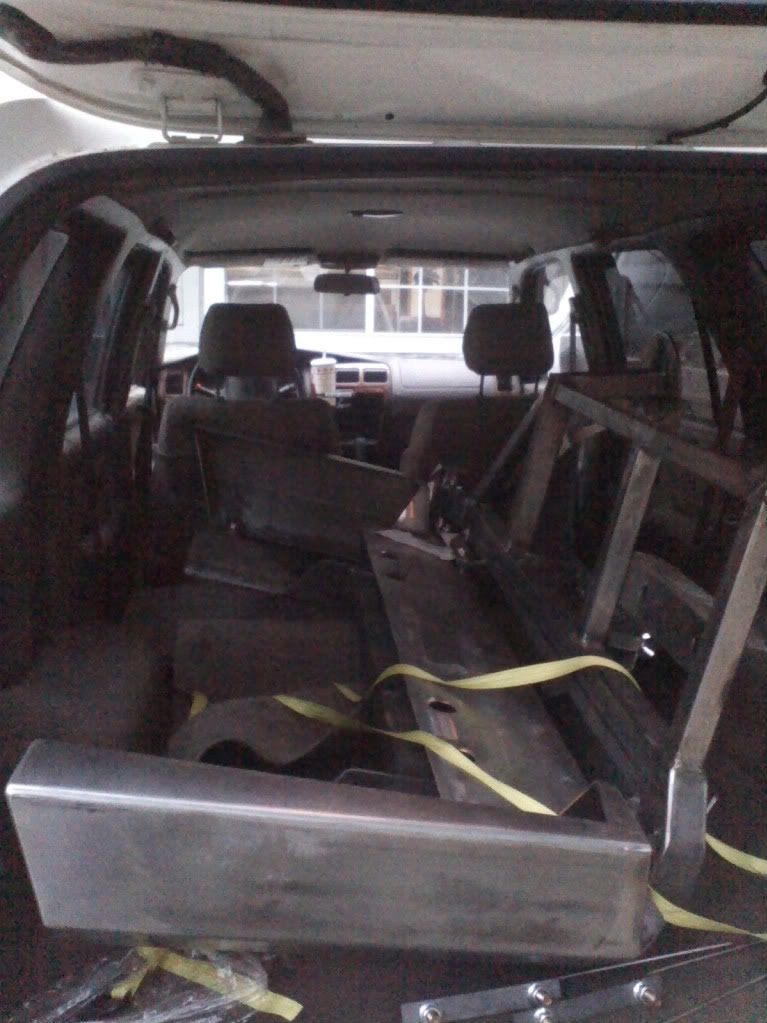
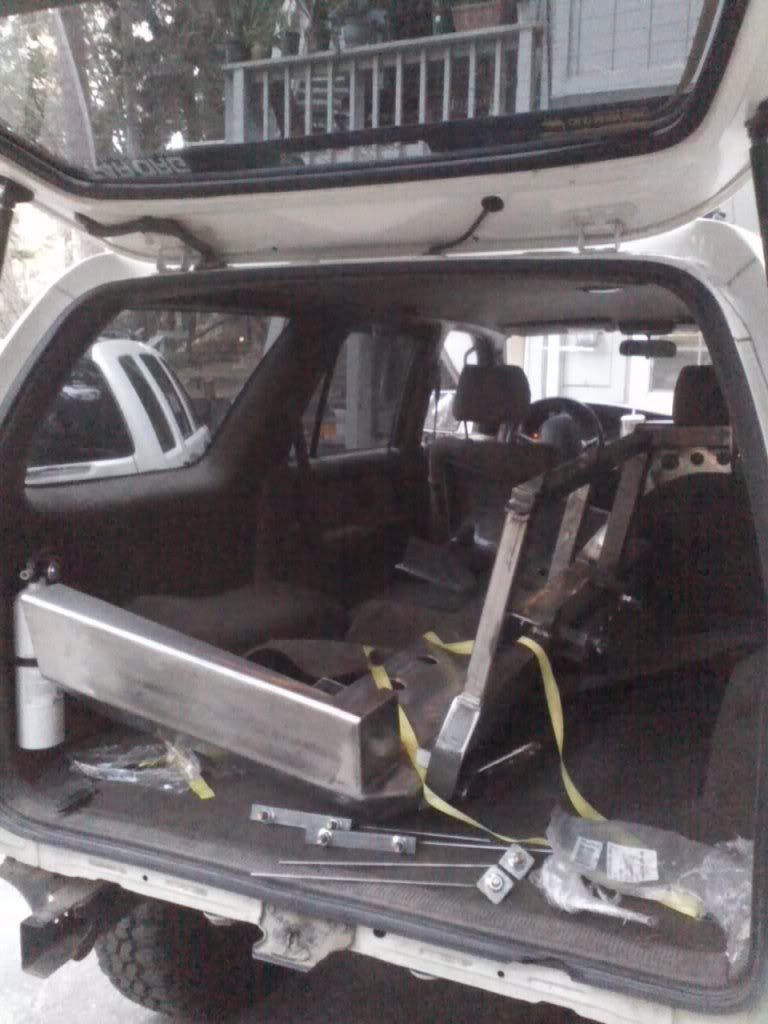
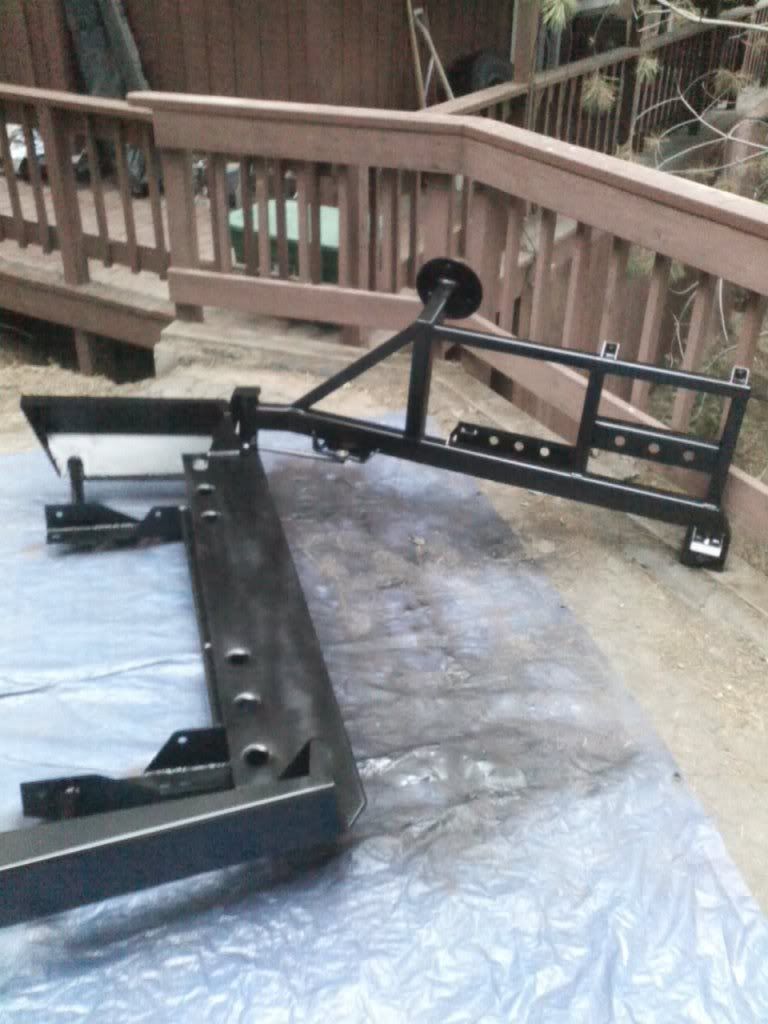
So I got it painted today which took pretty much all day with 2 coats of primer and 3 coats of semi-gloss black. I was going to slap that thing on tonight, but looks like my buddy can't open the shop for me till about 10pm which is pushing it for lateness. So, the plan is to go down tomorrow to install it at my parents house and pick a buddy up on the way to help me out. My Dad has a forklift that will make it a lot easier to hold up when we go to line up the and drill the holes in the frame.
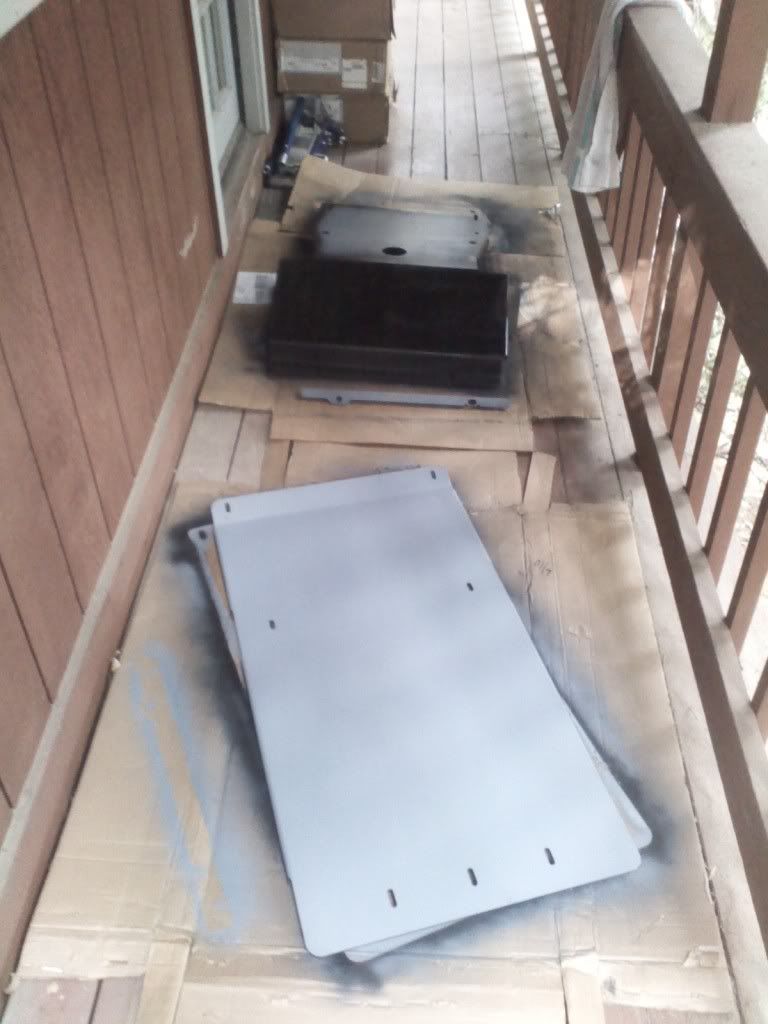
For now, here's some pics in the painting stages:
All wiped down with acetone...
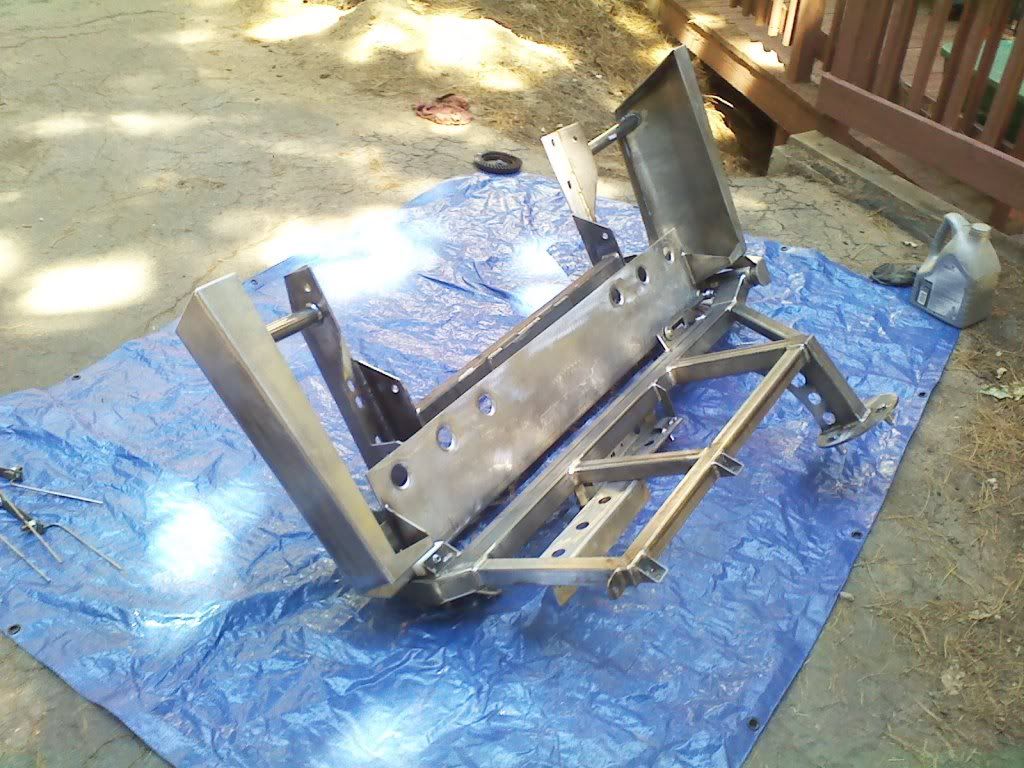
Primed...
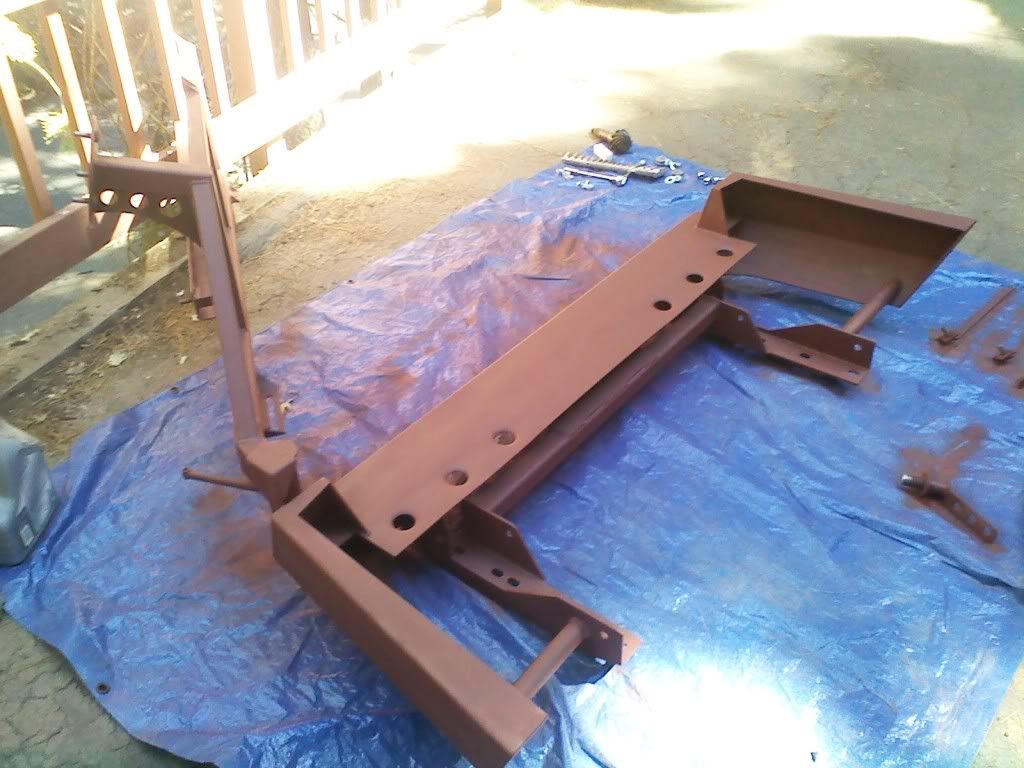
And painted...
For now, here's some pics in the painting stages:
All wiped down with acetone...
Primed...
And painted...
09-13-2010, 02:15 PM
#30
Registered User
Thread Starter
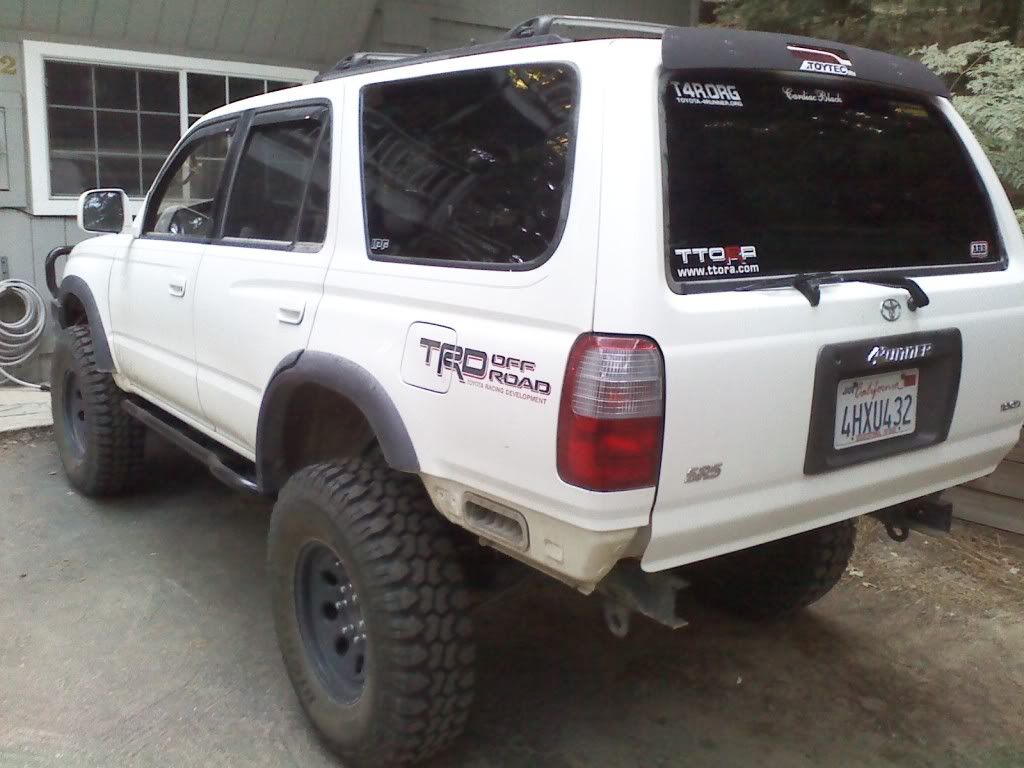
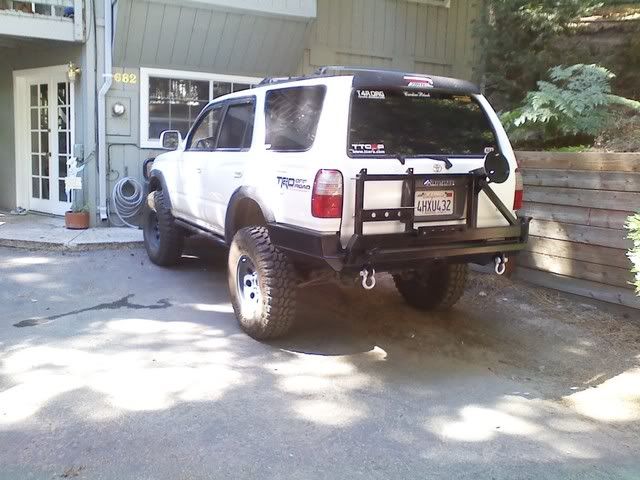
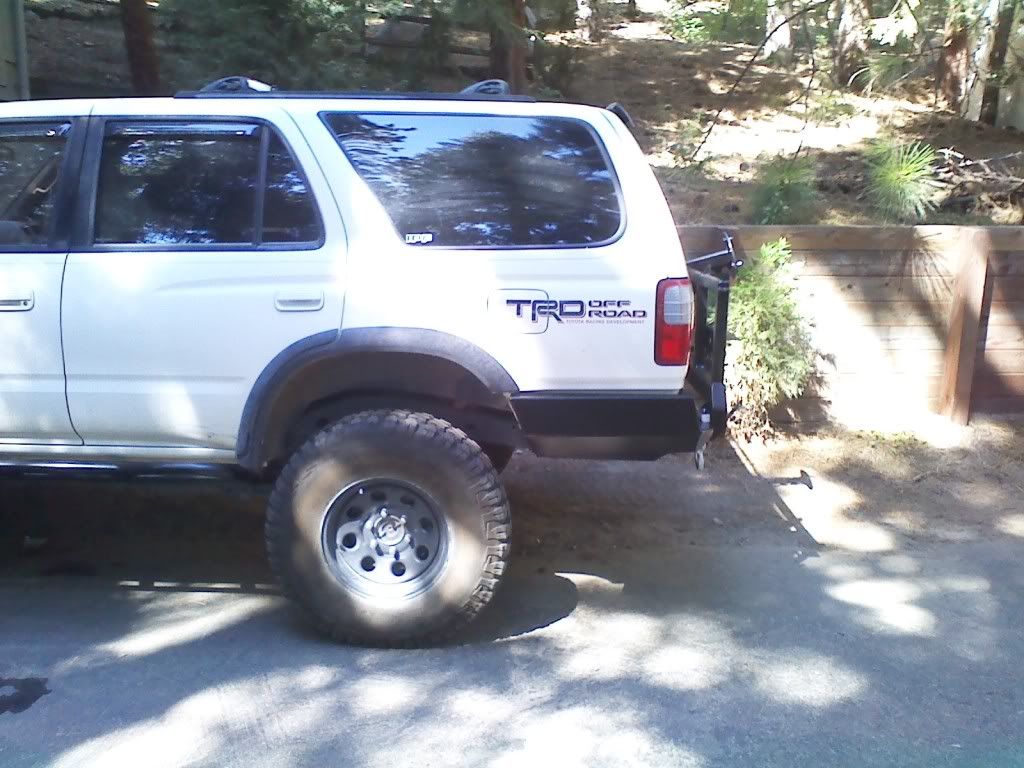
Alright, 1st pics!!! Sorry they're on my crappy cell camera, my good (4.1 MP, haha) is broken so it's all I have to take pics with. I haven't mounted the spare yet because I still need to drill a couple more holes for the mounts, but you get the idea... (each mount has 5 bolts ont the bottom and 3 on the sides for a total of 16 bolts)...

10-02-2010, 05:09 PM
#34
Registered User
Thread Starter
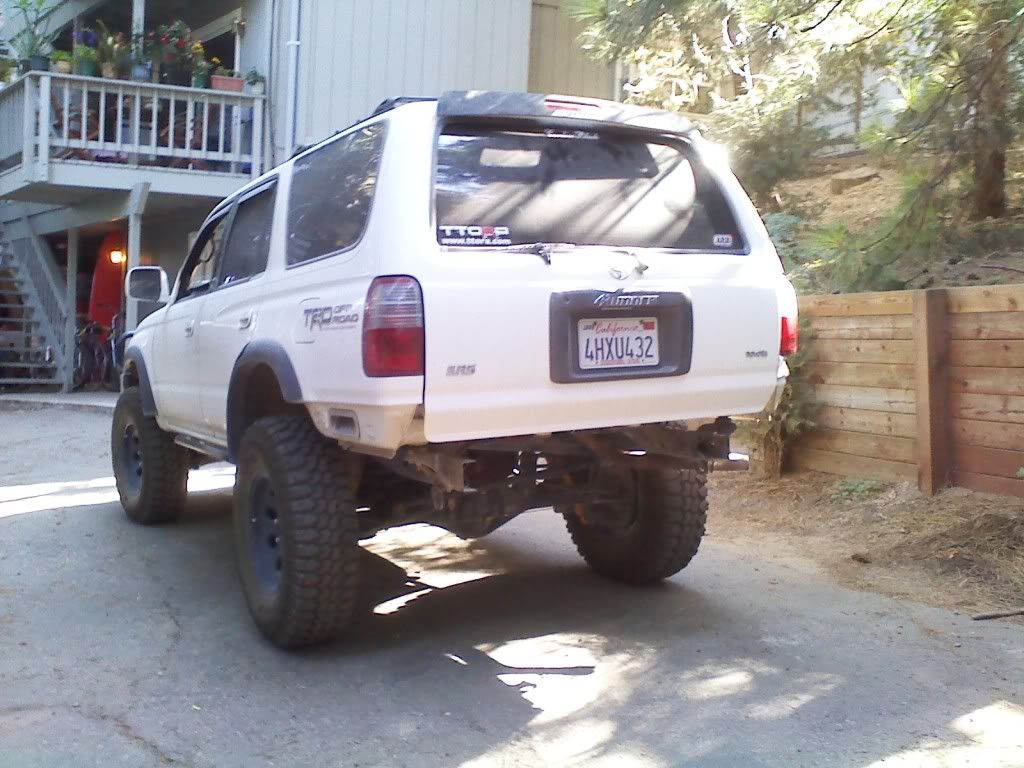
Got my Budbuilts painted yesterday and mounted up today!! Had to say "screw it" on one of the bolts right next to the cat. My arm just wasn't small enough to get in there to tighten the nut on top. Simigeology from TTORA thinks he can get it on there for me when we go wheelin tomorrow, but either way I think I'll be ok with 13 out of 14 bolts. Notice the 3" oil drain access hole I had Bud make special for me...
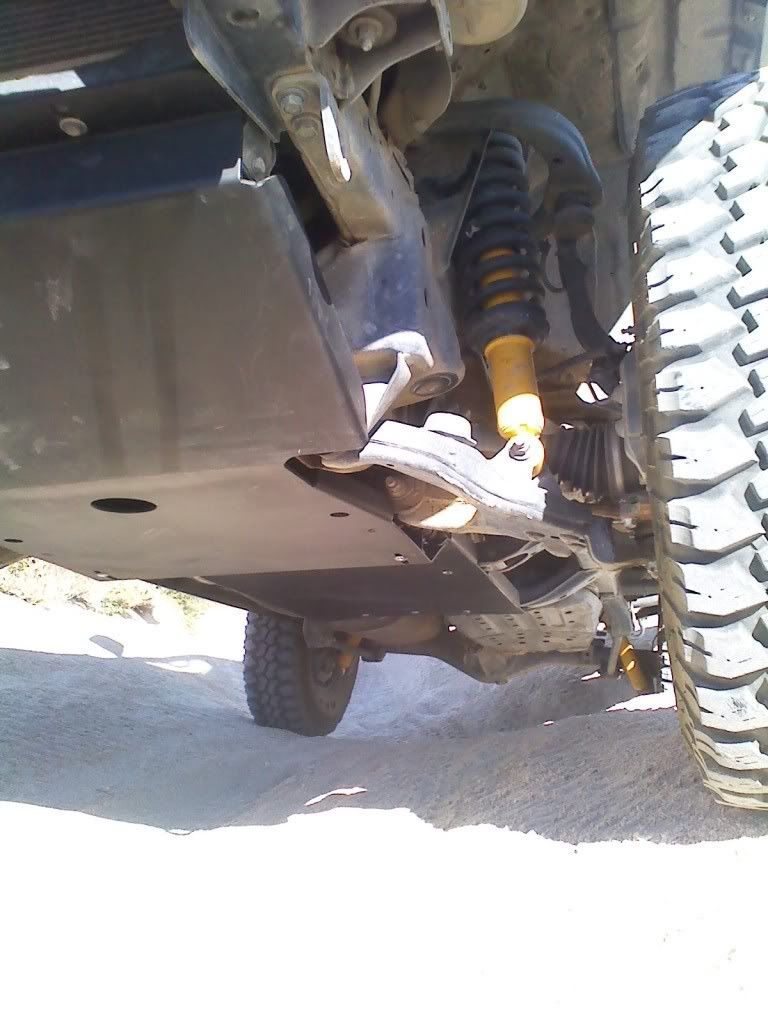

Here's how it is as of today...

Here's how it is as of today...
Last edited by brian2sun; 10-02-2010 at 05:14 PM.
10-03-2010, 03:33 AM
#35
Registered User
Join Date: Oct 2008
Location: Alabama
Posts: 98
Likes: 0
Received 0 Likes
on
0 Posts
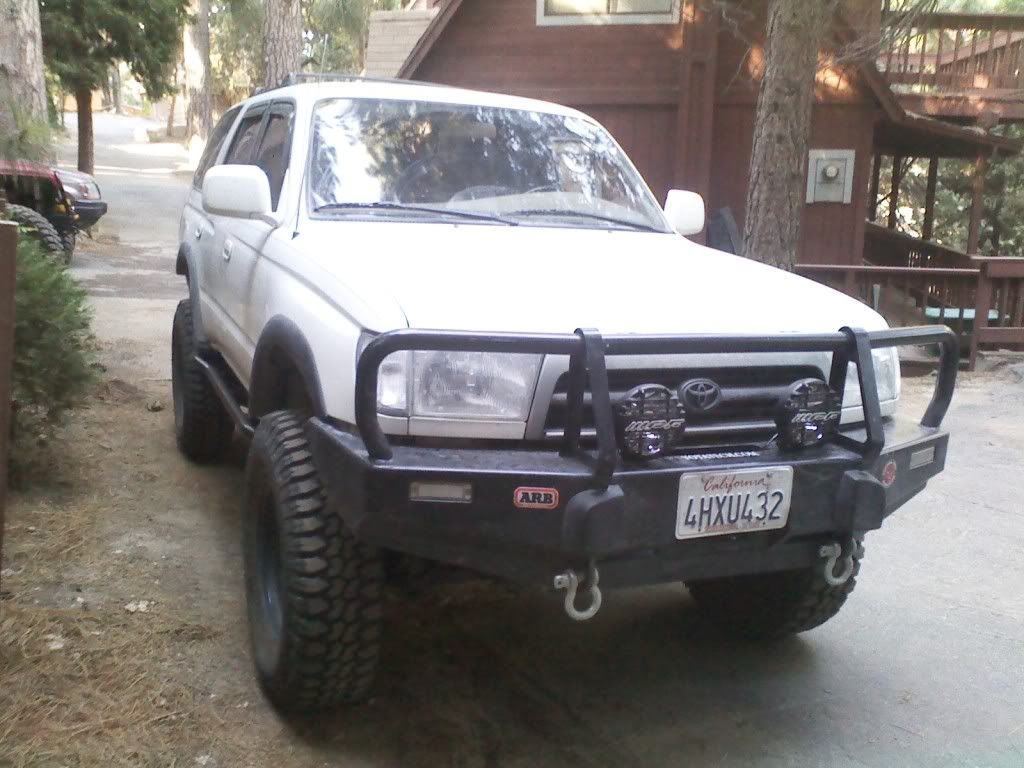
That is one sweet looking bumper, looks great on the 4runner. About how much does it weigh and how much did it cost? I went to their website and that part seems to be under construction. I wanted to build my own but I don't have the equipment to do that level of metalworking.
10-03-2010, 08:06 AM
#36
Registered User
Thread Starter
Thanks! The bumper's not light, I'd say the bumper alone (no spare, hi-lift, etc..) weighs like 160-175 lbs. Mine was ~$1300 shipped. But you can get em cheaper if you don't get the gas can holder and I paid $50 to adapt it to a 1" body lift
10-03-2010, 09:49 PM
#39
Registered User
Thread Starter