When you click on links to various merchants on this site and make a purchase, this can result in this site earning a commission. Affiliate programs and affiliations include, but are not limited to, the eBay Partner Network.
Over the past couple weekends, I had the WabFab team modify my front TJM T15 bumper. Brian and Joey did an outstanding job! Really turned my vision into a reality.
List of modifications include:
-Raise the bumper to accomodate the 1" body lift
-Cut oval slots to mount new clear lense LED turn signals
-Cut holes for 4" round fog lights
-Bob side wings
-Weld side wings to main bumper support
-Replace front bumper pads with a pair of custom low profile welded metal pads
I plan to get my bumper color matched to my 4Runner in the next couple weeks. Nonetheless, here are some pics thus far...
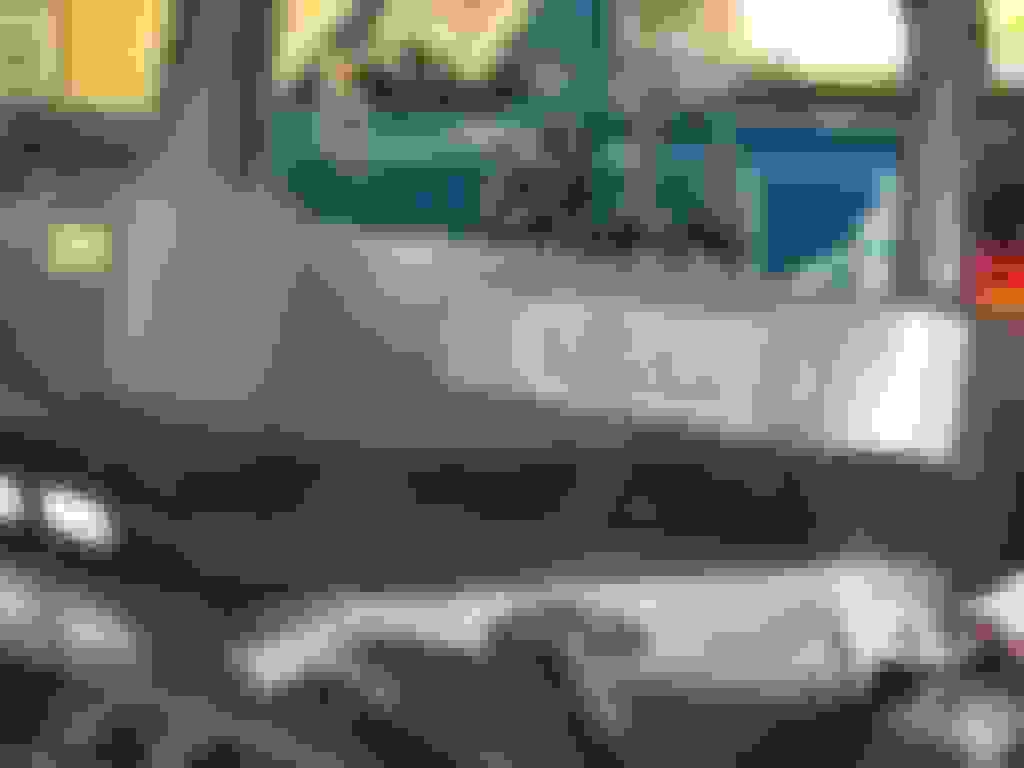
First, had to fill in the stock turn signal slots. Next, took the turn signal template and traced out where we wanted the turn signals to mount:
Cut the holes:
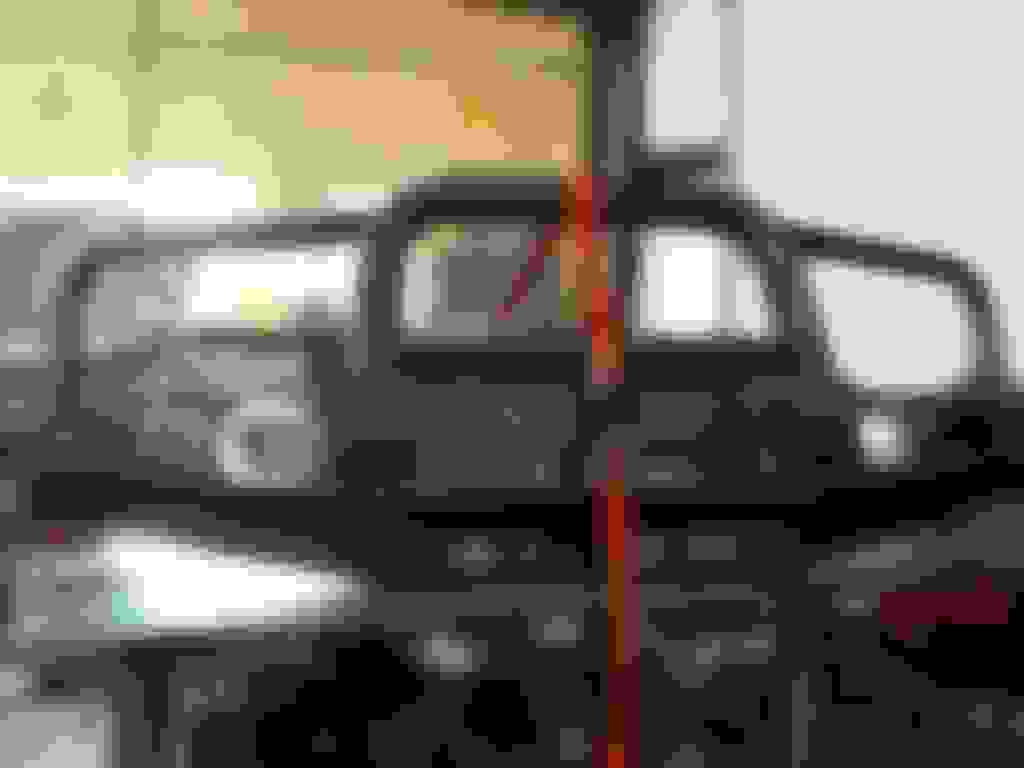
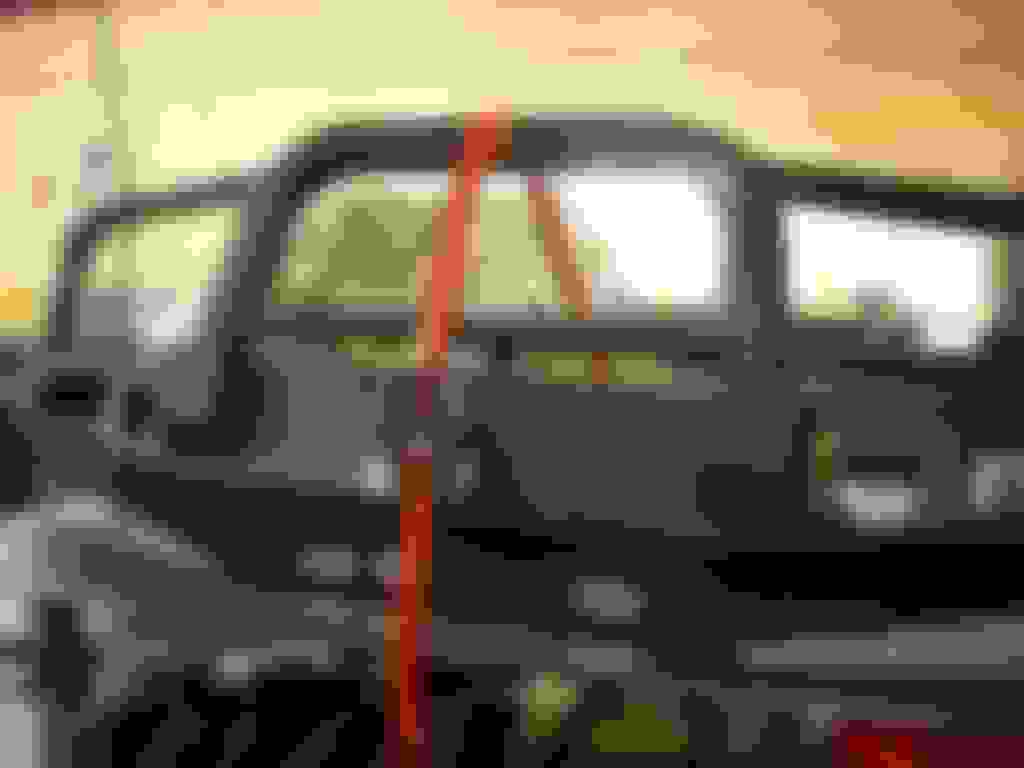
Modified the bumper to accept the 1" BL and it turned out just right. Before any one says my bumper is too close to the body, it's not. I don't go off road on any severe trails in this 4Runner, so I'm not worried about flexing to the point I'll damage my fenders.
Last edited by Rock Slide; 08-17-2017 at 06:00 PM.
those metal bumper pads really improved the look. and the bobbed sides is a great idea too. excellent!
hey, if you're going to paint the bumper to match the body, consider painting the "H" shape of the grille BLACK. it may help that bumper to really stand out, particularly the beefiness of that center tube. can you picture what i'm suggesting?
i'll be watching this thread!
p.s. wab-fab: nice to see more of your work in progress!
dang looks good. May I ask what kind of $$$ you got invested into that thing?
Much less than you might think...let me just say that me and WabFab worked out a killer deal.
Originally Posted by tj884Rdlx
hey, if you're going to paint the bumper to match the body, consider painting the "H" shape of the grille BLACK. it may help that bumper to really stand out, particularly the beefiness of that center tube. can you picture what i'm suggesting?
Not a bad idea...although, I'll probably just keep it silver. I've always like the color matched grille of the SE models.
top notch as always but.....if you're anyting like me and live in the city, those new caps will definitely leave marks on other cars and vice versa if you know what i mean, unlike the rubber.
top notch as always but.....if you're anyting like me and live in the city, those new caps will definitely leave marks on other cars and vice versa if you know what i mean, unlike the rubber.
Thanks, but no worries here as I don't live in the city . Long story short, I ripped off the passenger side rubber pad a while back...it has since been just hanging on by a thread.
BruceTS on UY made some very similar custom metal pads for his TJM a while back. However, to keep his pads functional, he bolted on a small cutout square of old tire thread to each metal pad. Didn't look that bad and made the pads still functional. I could always do something like that if it comes to it.
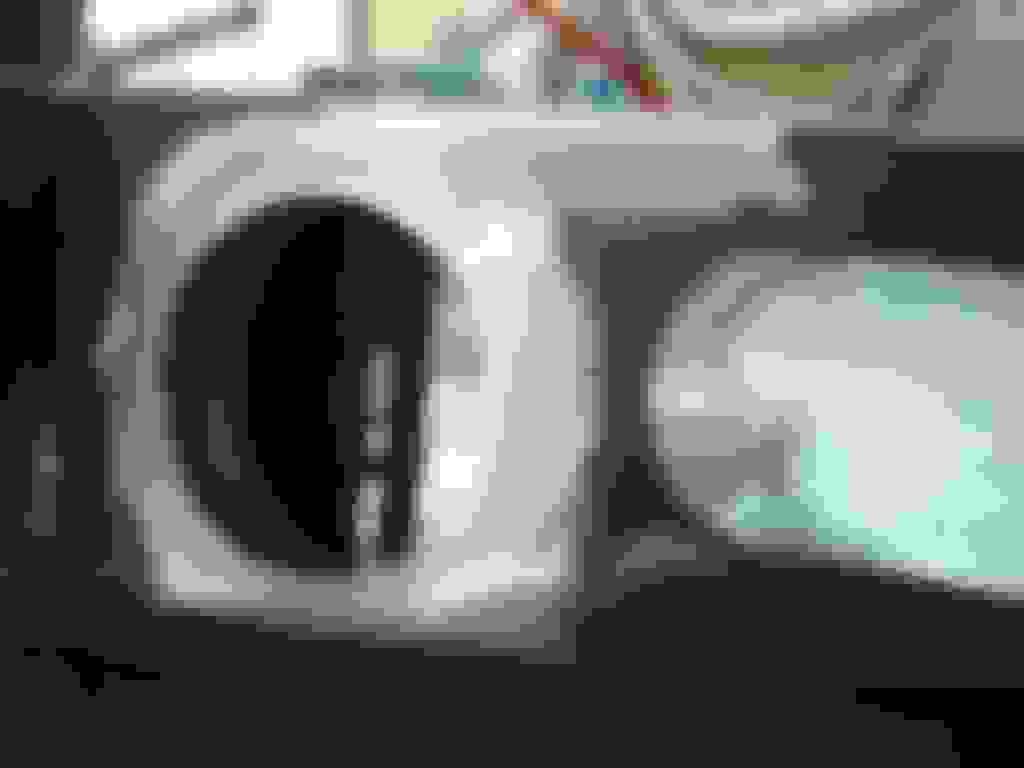
On to the fogs. Earlier I mentioned they were 3" fogs, but after looking at box again they came in, they're 4" fogs. Technically, they measure out to be 3.6" - 3.8" in diameter, but they are sold as 4" fogs.
Used a 4" hole saw bit to cutout the holes and used some 4" SS exhaust tubing for the sleve:
Cut the exhaust tubing down first:
Then, cleaned them all up:
Made some mounting brackets for the fogs:
Brian and Joey have a real skill.
Last edited by Rock Slide; 08-17-2017 at 06:04 PM.
 12-03-2009, 04:51 PM