svdude's 87 4 Runner build up

 02-14-2012, 11:14 AM
#22
Registered User
Thread Starter
iTrader: (3)
Join Date: Nov 2009
Location: Fountain, CO
Posts: 219
Likes: 0
Received 0 Likes
on
0 Posts
A few updates:
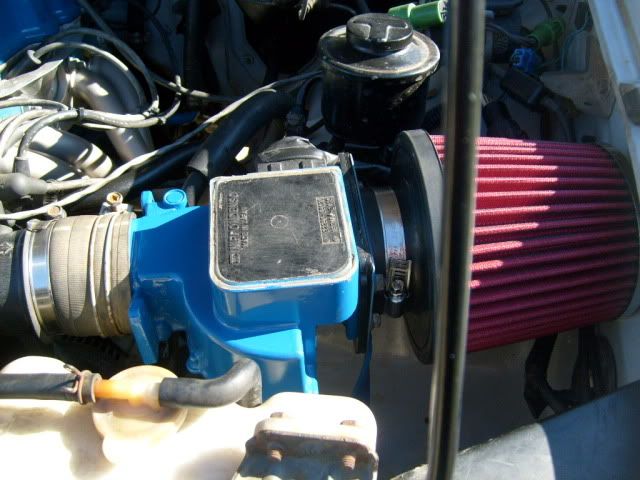
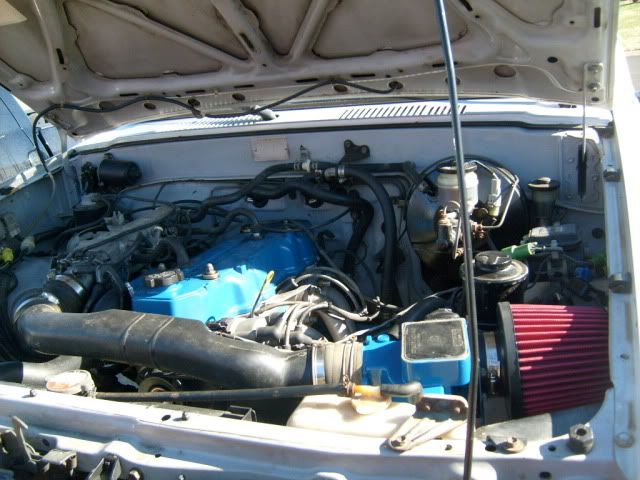
First, I replaced the knock sensor, o2 sensor, water temp sensor and got another AFM and painted it to match the engine bay. I also got an awesome deal on a cone filter so I replaced it as well.
The new AFM and filter setup, the idle is much more consistent and no more fluctuation.
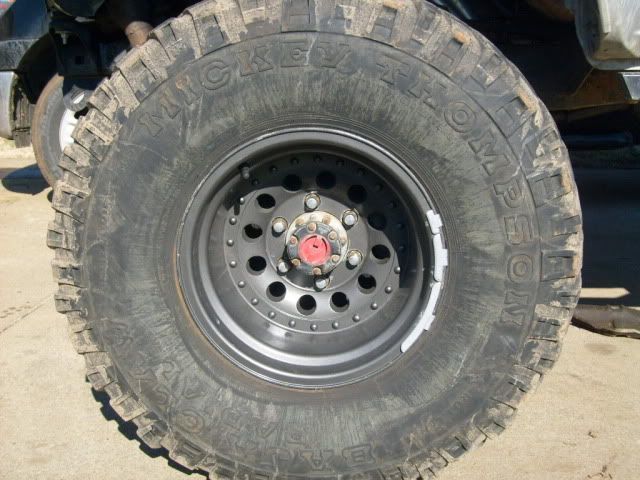
I was also running steel wheels and I switched to some aluminum ones. I thought the steelies were robbing too much power for rotating mass. I got some polished aluminum rims and sanded them down to nothing. Then I used some self etching primer and hit them with a metallic charcoal top coat.
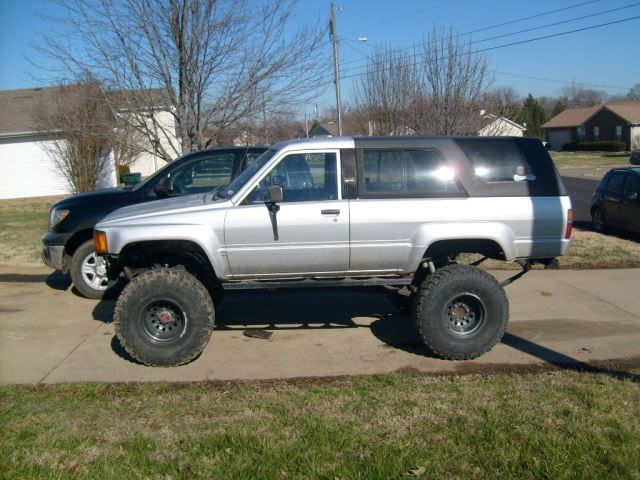
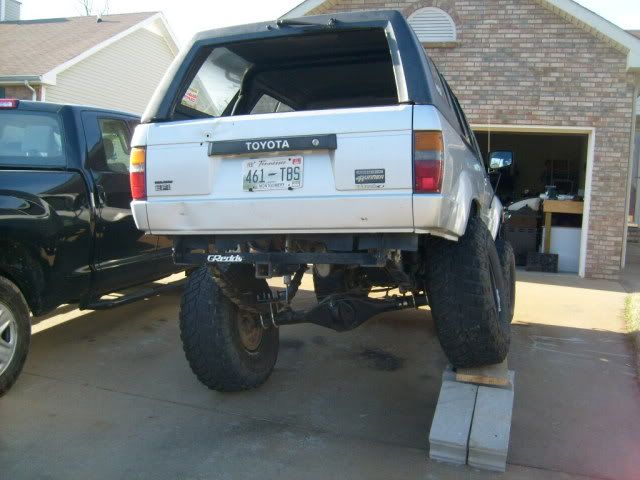
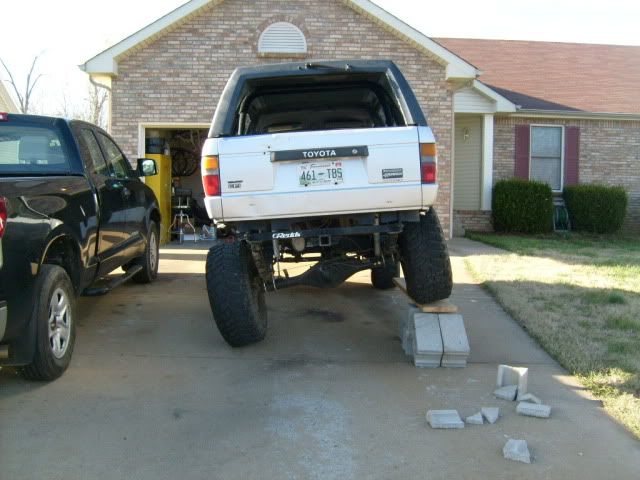
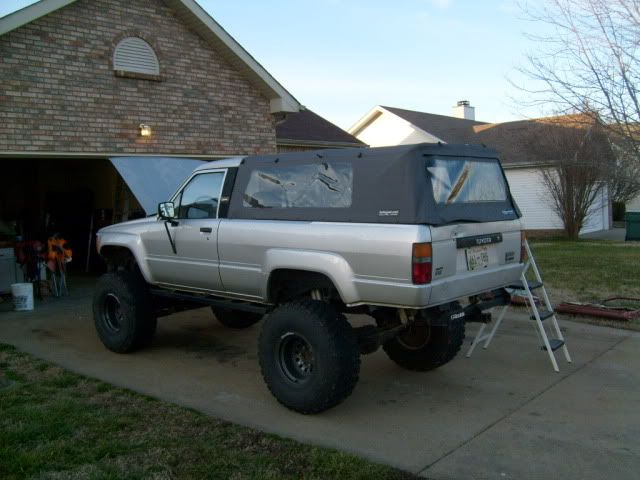
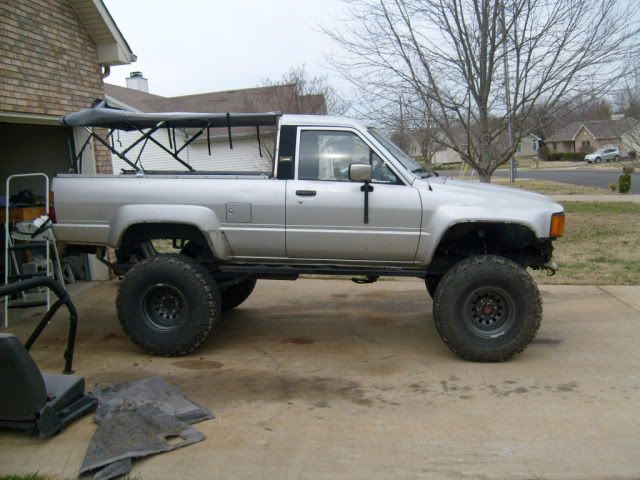
I also needed to more the rear axle forward a bit to get rid of a rubbing issue while flexed. So, like a photo whore that I am... I took a few poser pics. The flex isn't too impressive in this picture but it still gives a decent perspective of what it can do
First, I replaced the knock sensor, o2 sensor, water temp sensor and got another AFM and painted it to match the engine bay. I also got an awesome deal on a cone filter so I replaced it as well.
The new AFM and filter setup, the idle is much more consistent and no more fluctuation.
I was also running steel wheels and I switched to some aluminum ones. I thought the steelies were robbing too much power for rotating mass. I got some polished aluminum rims and sanded them down to nothing. Then I used some self etching primer and hit them with a metallic charcoal top coat.
I also needed to more the rear axle forward a bit to get rid of a rubbing issue while flexed. So, like a photo whore that I am... I took a few poser pics. The flex isn't too impressive in this picture but it still gives a decent perspective of what it can do
02-14-2012, 11:14 AM
#23
Registered User
Thread Starter
iTrader: (3)
Join Date: Nov 2009
Location: Fountain, CO
Posts: 219
Likes: 0
Received 0 Likes
on
0 Posts
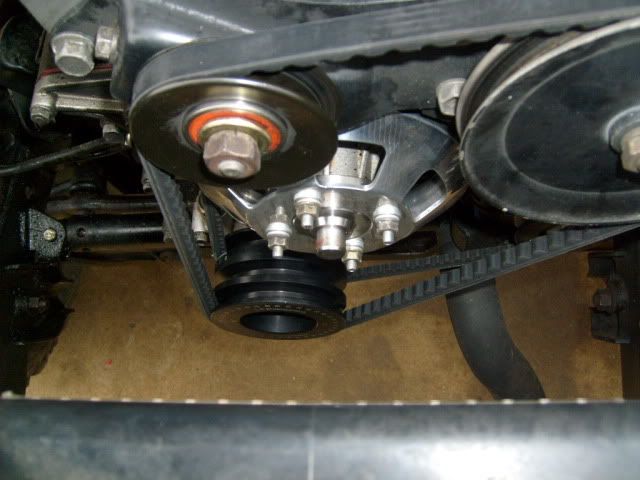
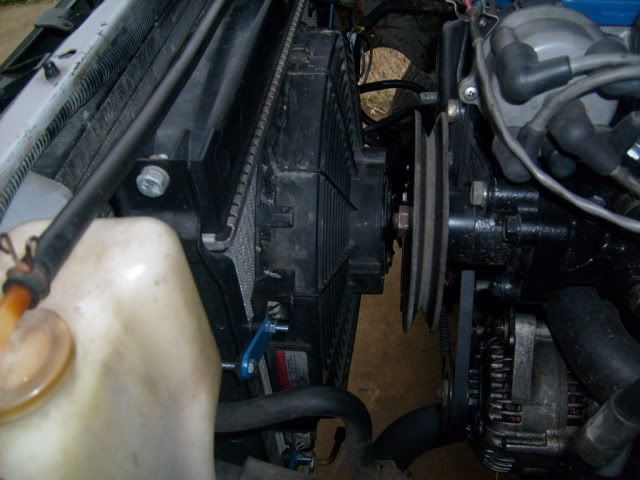
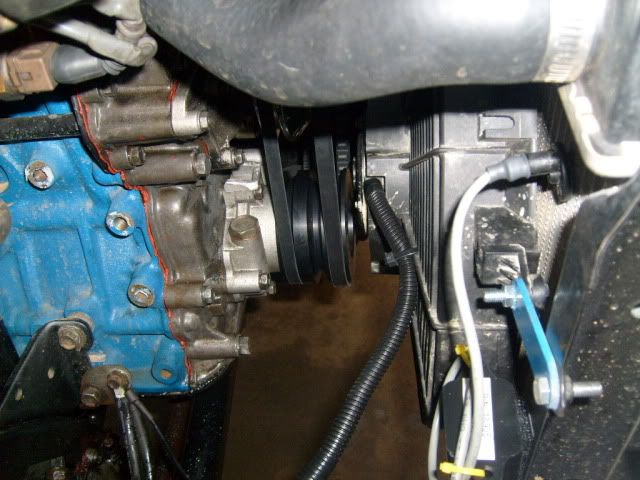
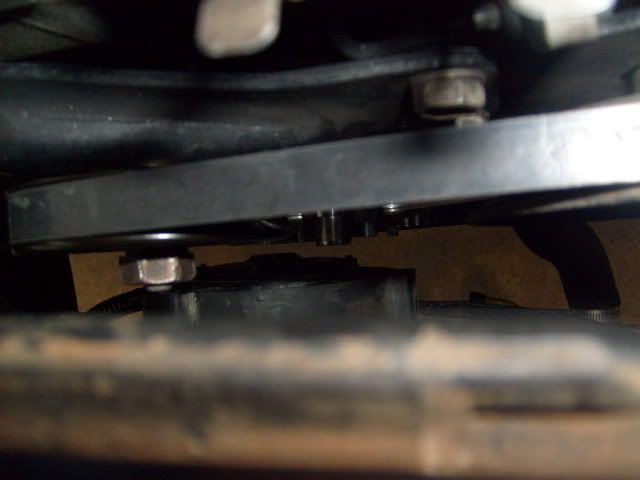
I installed my LCE under drive pulley kit, deleted the A/C system and the belt driven fan, and installed an electric fan using a permacool unit and a 16" hayden fan.
Pics of the under drive kit:
Buh-bye air conditioner:

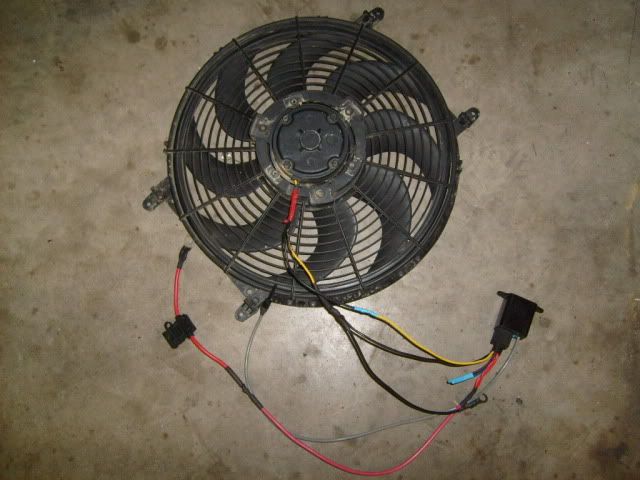
Here's the fan with all the wiring cut to length.
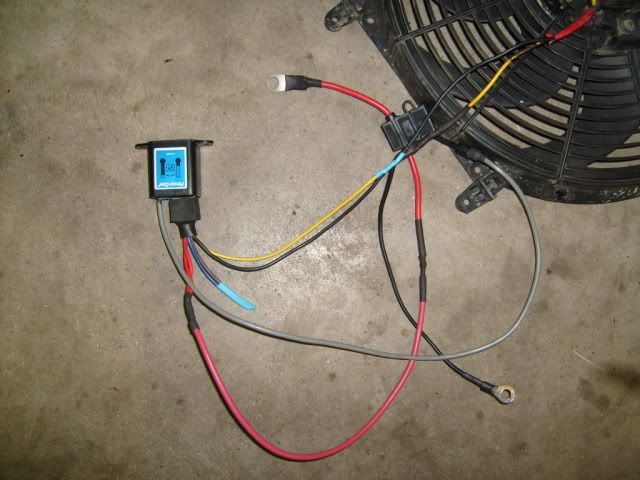
All connections soldered and heat shrink wrapped.
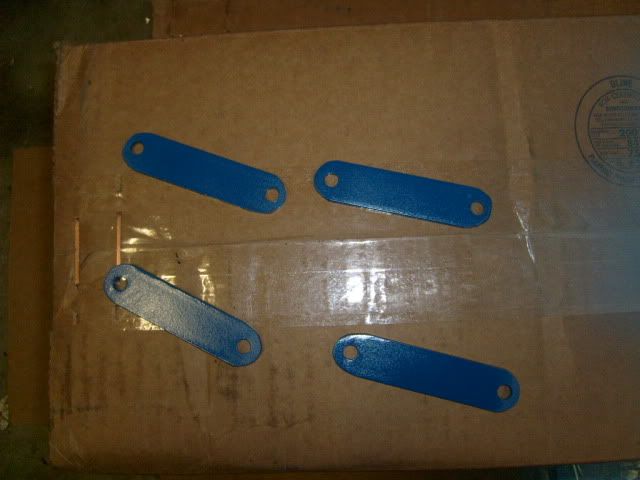
Built some quick brackets to hold the fan to the backside of the radiator. And of course, they had to be painted blue
Fan installed:
All wiring wrapped in split loom tubing:

For now the permacool unit is attached to the radiator using velcro. I'll keep an eye on it and if it seems as if it doesn't hold up then I'll build a permanent mount that will screw to the core support.
It's a little tight but everything fits well
So far everything works very well. The radiator hasn't gotten hot enough to turn the fan on (thermostat is set at 180*) but I used my heat gun on the sensor to get it hot enough to turn the fan on.
Between the under drive pulley taking nearly 10 lbs of rotating mass off of the crank shaft, deleting the a/c and belt driven fan, and all my previous motor mods and performance parts, the 4.10 gears ALMOST seem like they're supposed to be there for the 35" tires. I don't know what I'm at for power at the crank or the wheels but I would love to get it on a dyno and see what I'm getting for actual hp and tq numbers.
Pics of the under drive kit:
Buh-bye air conditioner:
Here's the fan with all the wiring cut to length.
All connections soldered and heat shrink wrapped.
Built some quick brackets to hold the fan to the backside of the radiator. And of course, they had to be painted blue
Fan installed:
All wiring wrapped in split loom tubing:
For now the permacool unit is attached to the radiator using velcro. I'll keep an eye on it and if it seems as if it doesn't hold up then I'll build a permanent mount that will screw to the core support.
It's a little tight but everything fits well
So far everything works very well. The radiator hasn't gotten hot enough to turn the fan on (thermostat is set at 180*) but I used my heat gun on the sensor to get it hot enough to turn the fan on.
Between the under drive pulley taking nearly 10 lbs of rotating mass off of the crank shaft, deleting the a/c and belt driven fan, and all my previous motor mods and performance parts, the 4.10 gears ALMOST seem like they're supposed to be there for the 35" tires. I don't know what I'm at for power at the crank or the wheels but I would love to get it on a dyno and see what I'm getting for actual hp and tq numbers.

 02-14-2012, 11:16 AM
#25
Registered User
Thread Starter
iTrader: (3)
Join Date: Nov 2009
Location: Fountain, CO
Posts: 219
Likes: 0
Received 0 Likes
on
0 Posts
Well, I'm off work for the next two weeks and it's about 60* outside. Who knew that it would be this warm in February?
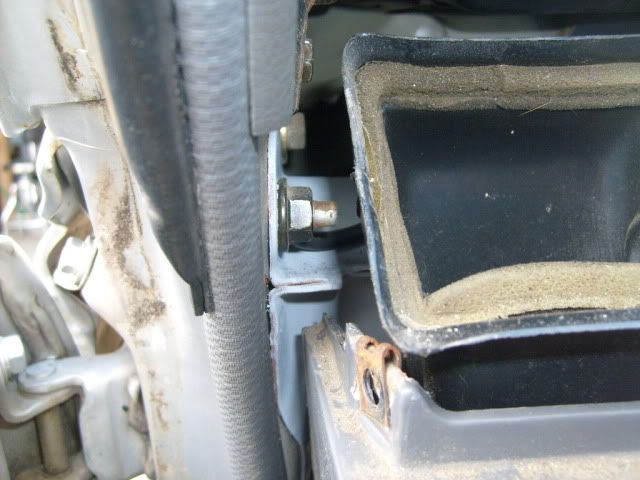
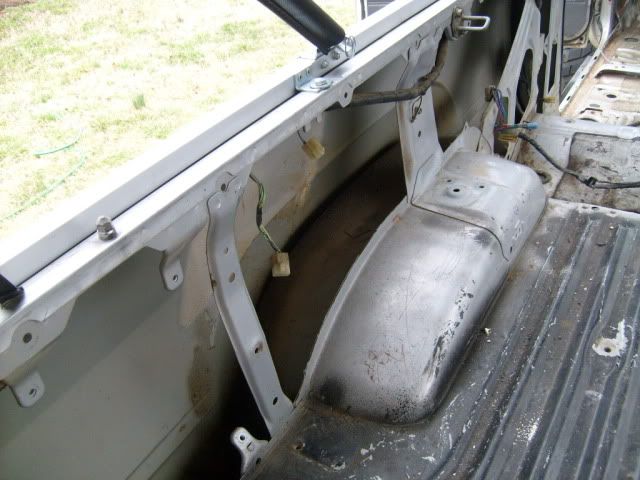
This was done a few months ago but I didn't take pictures during because I was in a hurry. But you know the bar that mounts under the dash and goes from each side of the body? They're ALWAYS rusted and nasty so it had to come out and get cleaned up. It's hard to see in the pics but I cleaned it up and threw a coat of primer over it so it doesn't rust anymore:

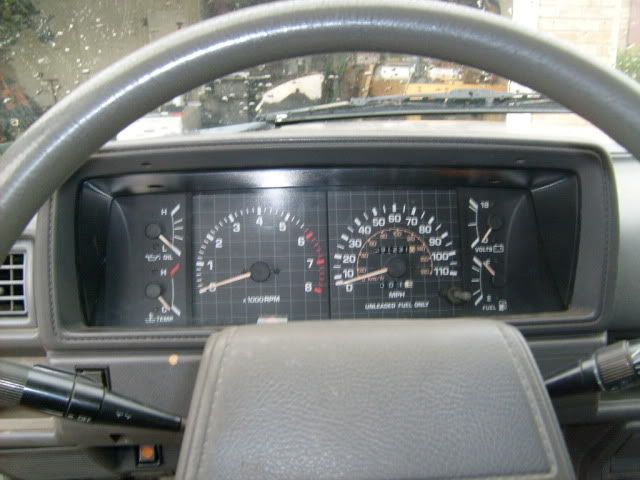
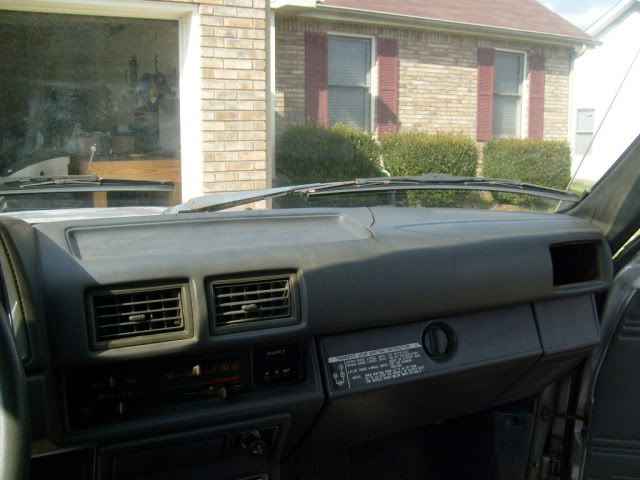
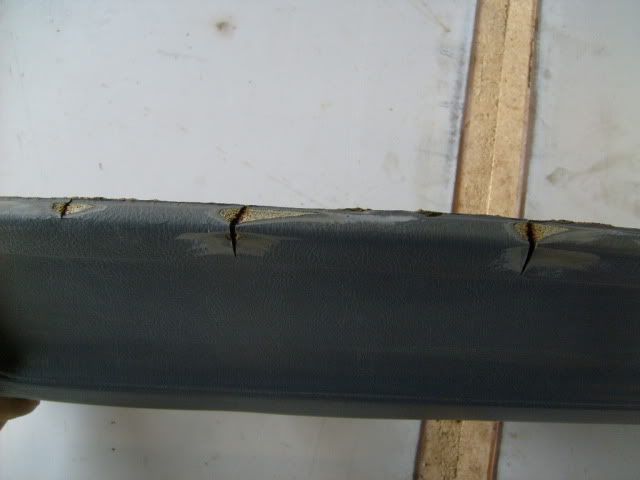
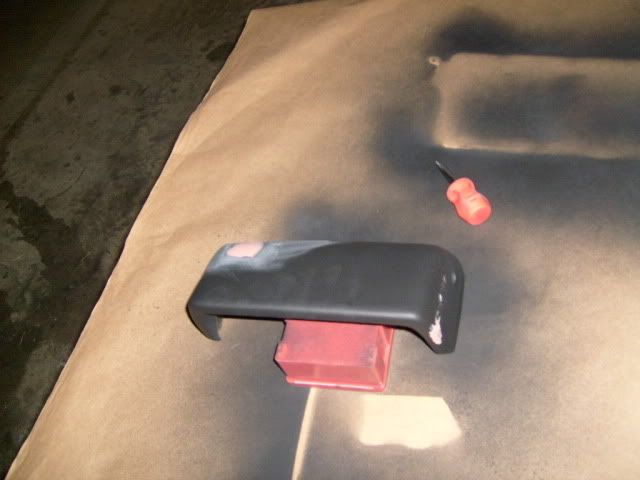
Anyways, I have plenty of time to work in the garage and get some things taken care of on the runner. First on the list is to repair the dash cracks and install an inclinometer
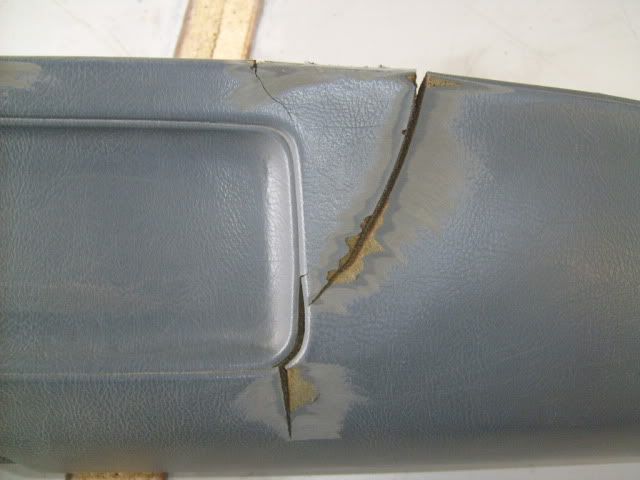
Just a preview of what the dash looked like before:
So I took the dash pad off and sanded down the high spots from where it was cracking:
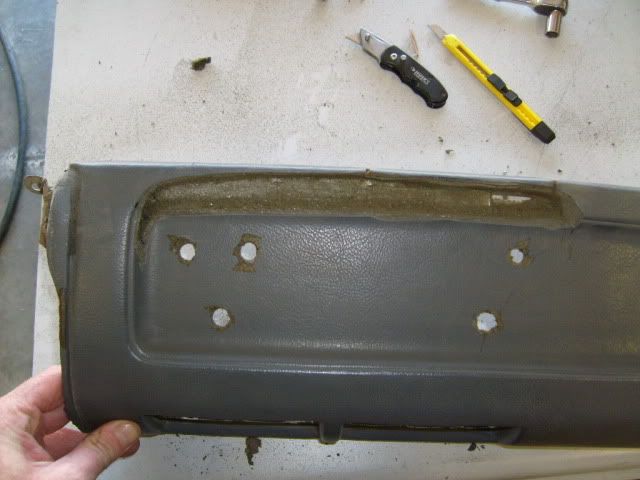
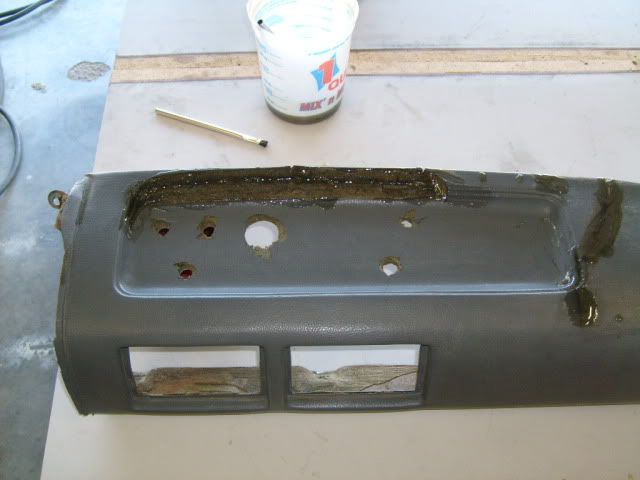
Next I cut and drilled into the dash pad so the inclinometer could sit flush and pretty. Then I applied resin over the cracks to fill them in and over the bare padding from where I cut:
This was done a few months ago but I didn't take pictures during because I was in a hurry. But you know the bar that mounts under the dash and goes from each side of the body? They're ALWAYS rusted and nasty so it had to come out and get cleaned up. It's hard to see in the pics but I cleaned it up and threw a coat of primer over it so it doesn't rust anymore:
Anyways, I have plenty of time to work in the garage and get some things taken care of on the runner. First on the list is to repair the dash cracks and install an inclinometer
Just a preview of what the dash looked like before:
So I took the dash pad off and sanded down the high spots from where it was cracking:
Next I cut and drilled into the dash pad so the inclinometer could sit flush and pretty. Then I applied resin over the cracks to fill them in and over the bare padding from where I cut:
02-14-2012, 11:18 AM
#26
Registered User
Thread Starter
iTrader: (3)
Join Date: Nov 2009
Location: Fountain, CO
Posts: 219
Likes: 0
Received 0 Likes
on
0 Posts
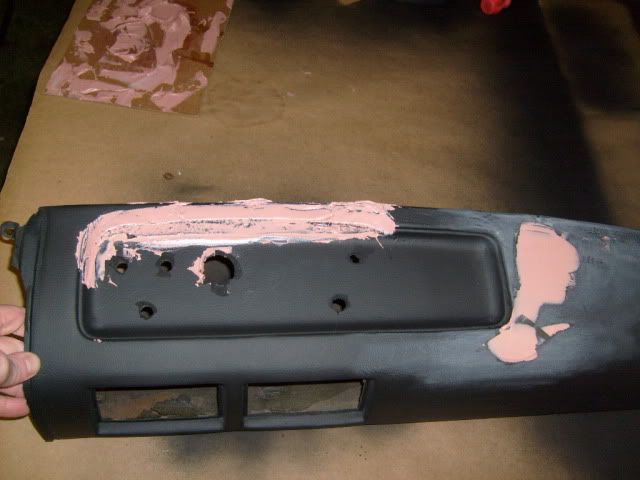
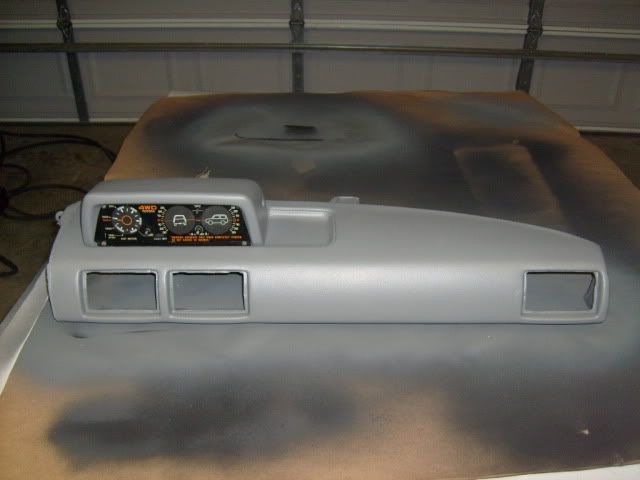
After a coat of high build primer I was able to see all the little imperfections.
Next came the bondo to smooth out the imperfections so it can be all purdy when I apply the texture coating and dye.

Next came the bondo to smooth out the imperfections so it can be all purdy when I apply the texture coating and dye.
02-14-2012, 11:19 AM
#27
Registered User
Thread Starter
iTrader: (3)
Join Date: Nov 2009
Location: Fountain, CO
Posts: 219
Likes: 0
Received 0 Likes
on
0 Posts
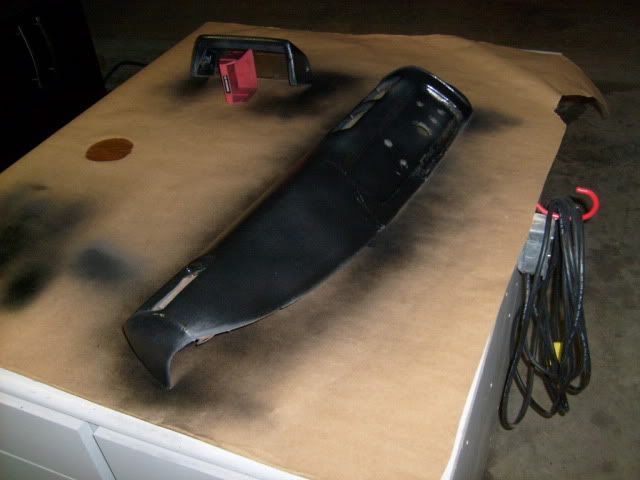
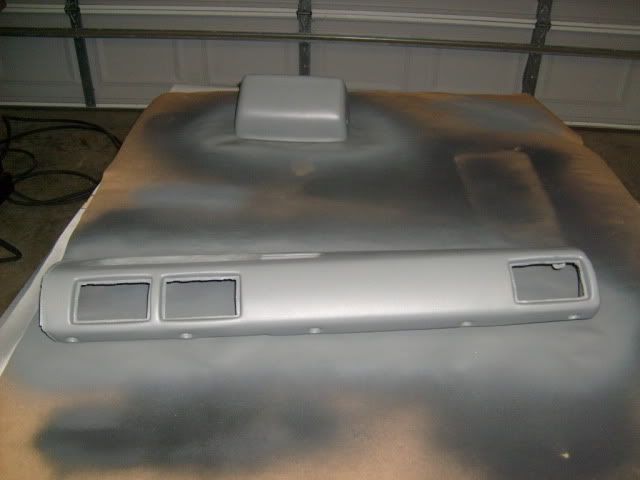
So I put some bondo on and sanded it smooth:
I guess I didn't get any pics of it sanded down but you get the idea.

Next was a few coats of gray vinyl dye:
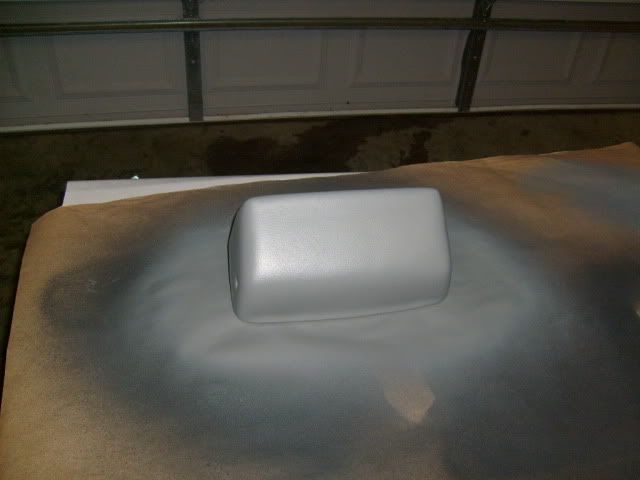
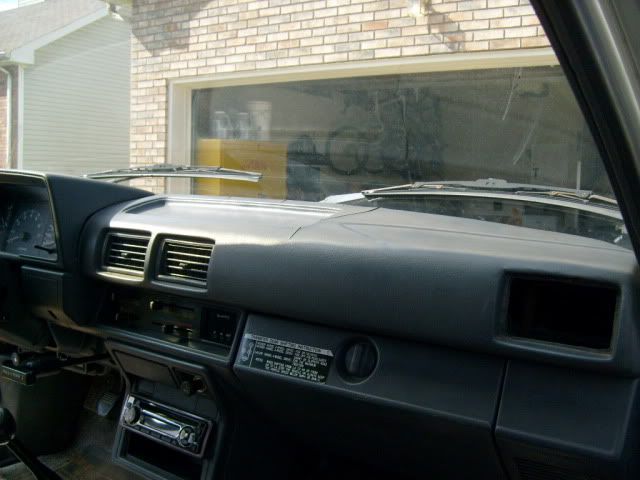
Assembled:
And installed:
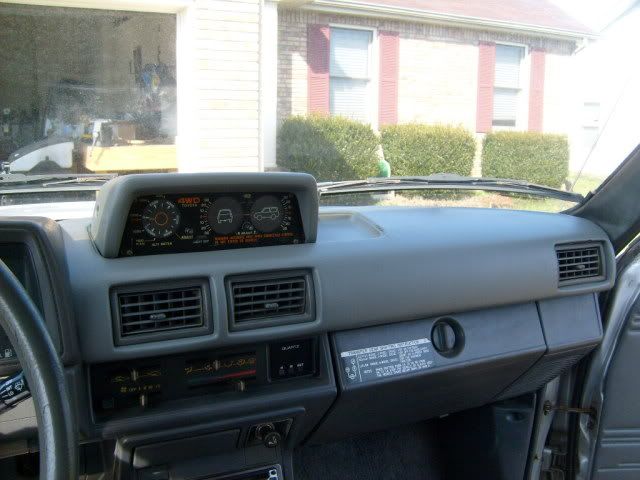
The color match isn't all that great. It looked like a better match when I compared the can to the vents... Some day I'll pull it again and paint it with a darker shade of grey.
It's far from perfect but it looks 10X better than before:
I guess I didn't get any pics of it sanded down but you get the idea.
Next was a few coats of gray vinyl dye:
Assembled:
And installed:
The color match isn't all that great. It looked like a better match when I compared the can to the vents... Some day I'll pull it again and paint it with a darker shade of grey.
It's far from perfect but it looks 10X better than before:
02-14-2012, 11:19 AM
#28
Registered User
Thread Starter
iTrader: (3)
Join Date: Nov 2009
Location: Fountain, CO
Posts: 219
Likes: 0
Received 0 Likes
on
0 Posts
Time for some more updates
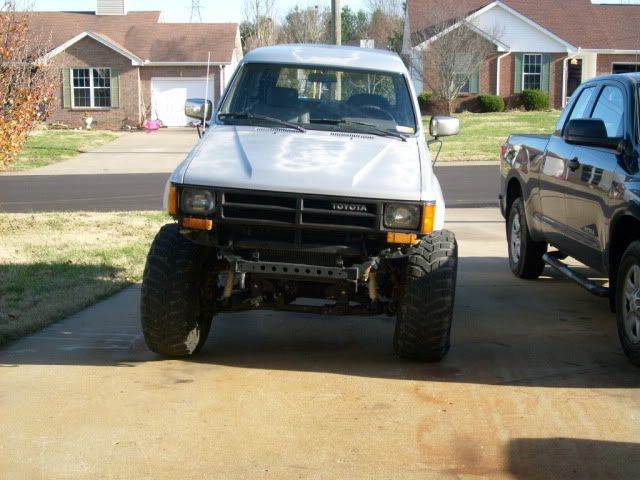
I finished removing all the a/c related stuff from the front of the 4runner. Eventually I'll remove all the junk under the dash but that's another project for another day. With everything removed I should have a LOT better airflow to the radiator.
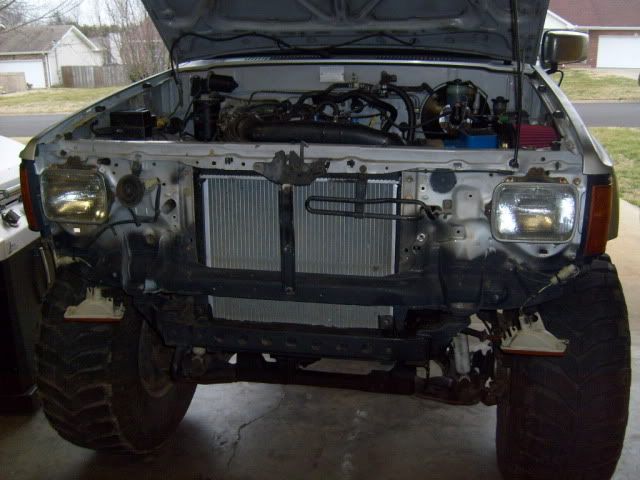
All this junk went bye bye
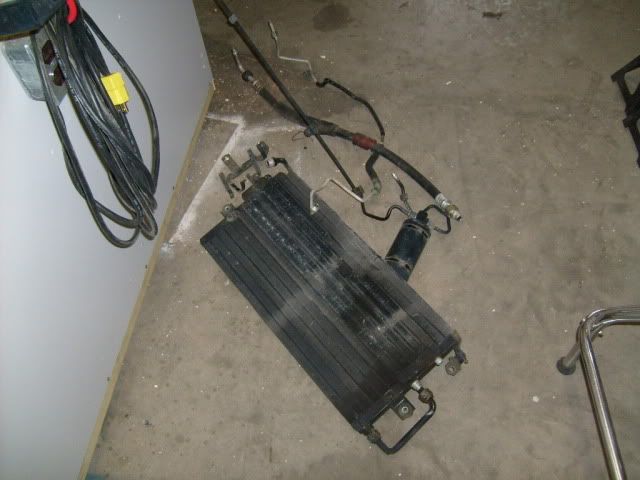
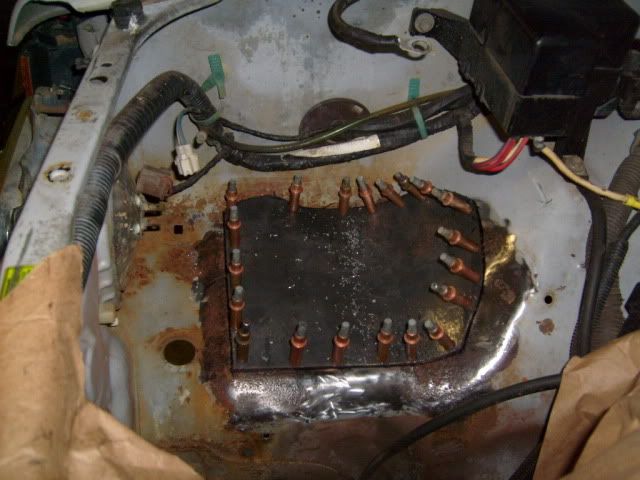
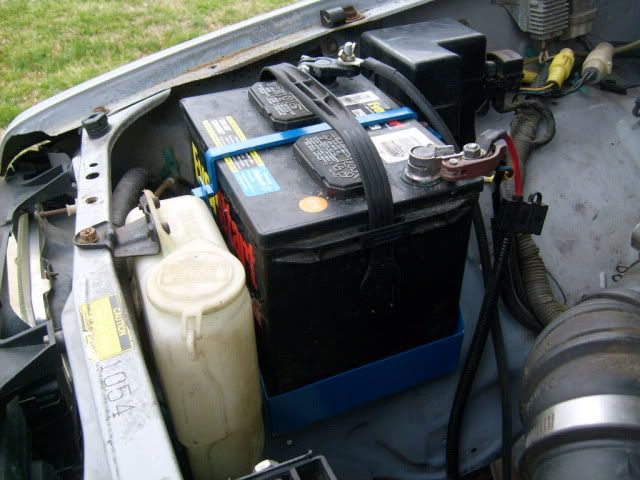
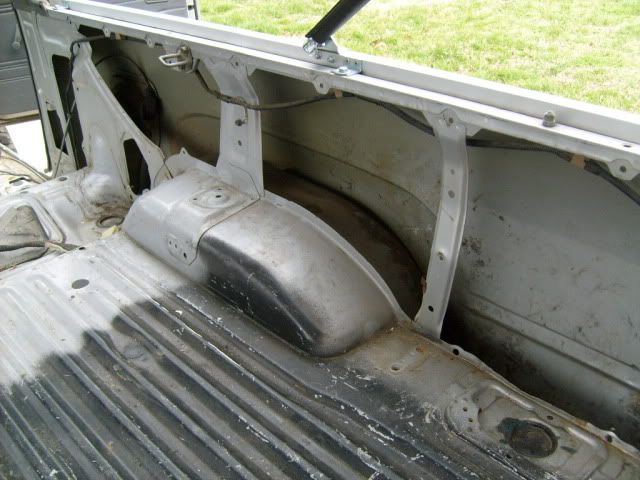
I also had a big rust hole under the battery. The p/o had a bad battery and it destroyed the whole area. Good thing though is that is the only rust on the whole vehicle.
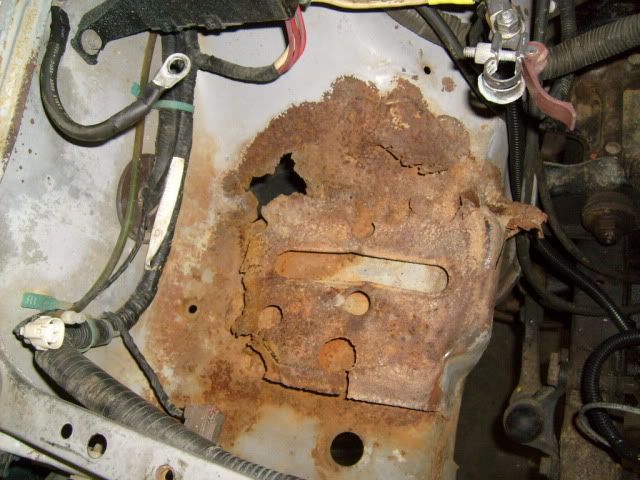
I grinded away the spot welds and removed the rusted battery tray.
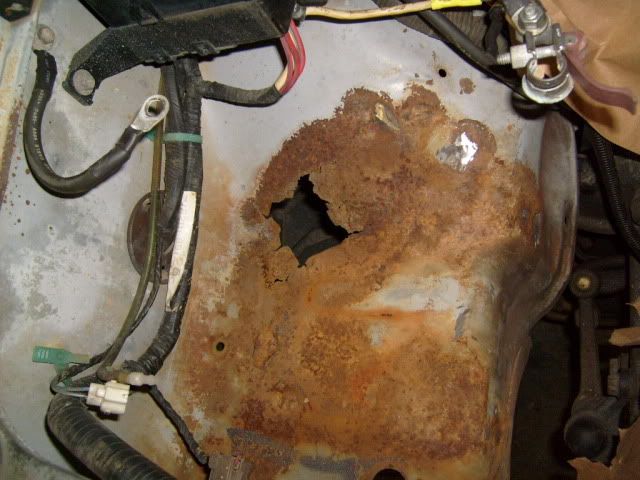
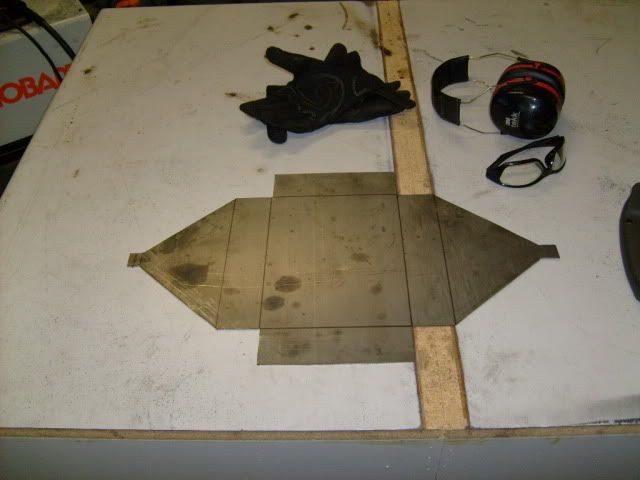
Next I cleaned the area a little bit and started cutting and forming my new inner fender. I drew a template with a piece of paper and cut the sheet metal to size. I used 16ga because it's what I had in the shop. I would have liked to use 18ga or 20ga but I didn't want to drive 45 minutes to the metal yard. I formed it to shape using a body hammer on a soft rubber mat then slowly formed it to shape once temporarily attached to the 4runner. Once it was completely formed I traced the area around it with a black sharpie.
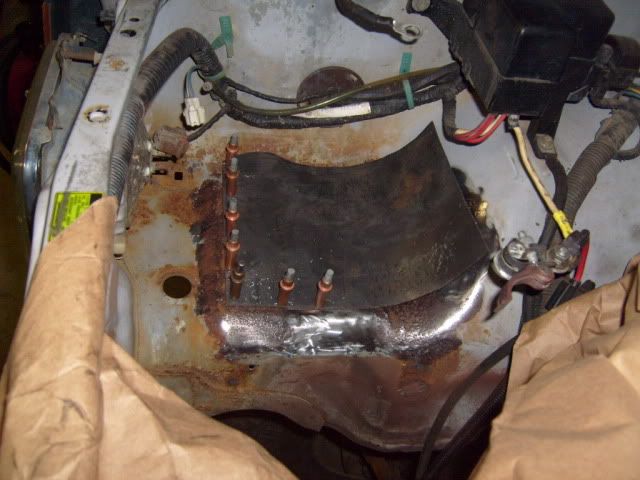
I came inside to get out of the cold for a little bit. But now I need to cut out the traced area then weld in the new piece then fab up a battery box. More pics to come.
I finished removing all the a/c related stuff from the front of the 4runner. Eventually I'll remove all the junk under the dash but that's another project for another day. With everything removed I should have a LOT better airflow to the radiator.
All this junk went bye bye
I also had a big rust hole under the battery. The p/o had a bad battery and it destroyed the whole area. Good thing though is that is the only rust on the whole vehicle.
I grinded away the spot welds and removed the rusted battery tray.
Next I cleaned the area a little bit and started cutting and forming my new inner fender. I drew a template with a piece of paper and cut the sheet metal to size. I used 16ga because it's what I had in the shop. I would have liked to use 18ga or 20ga but I didn't want to drive 45 minutes to the metal yard. I formed it to shape using a body hammer on a soft rubber mat then slowly formed it to shape once temporarily attached to the 4runner. Once it was completely formed I traced the area around it with a black sharpie.
I came inside to get out of the cold for a little bit. But now I need to cut out the traced area then weld in the new piece then fab up a battery box. More pics to come.
02-14-2012, 11:20 AM
#29
Registered User
Thread Starter
iTrader: (3)
Join Date: Nov 2009
Location: Fountain, CO
Posts: 219
Likes: 0
Received 0 Likes
on
0 Posts
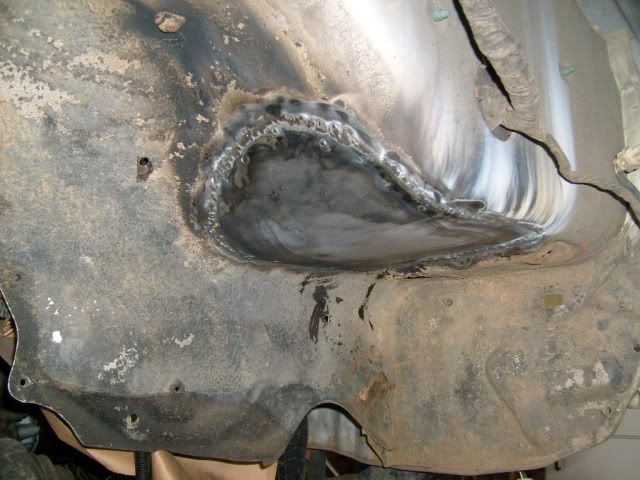
Cut out the inner fender:

Test fit:
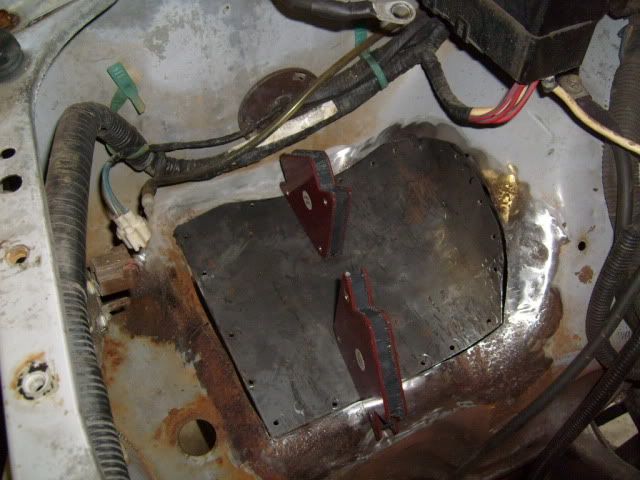
Welded in place. Some of the welds are ugly but I am no pro at welding, especially this thin body sheet metal. But the welds are good and strong.
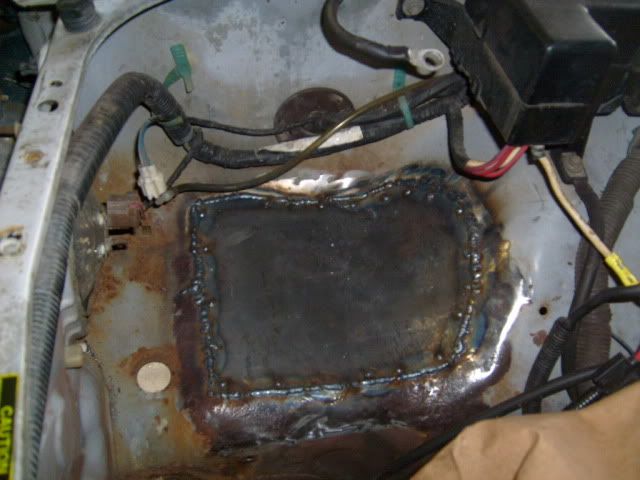
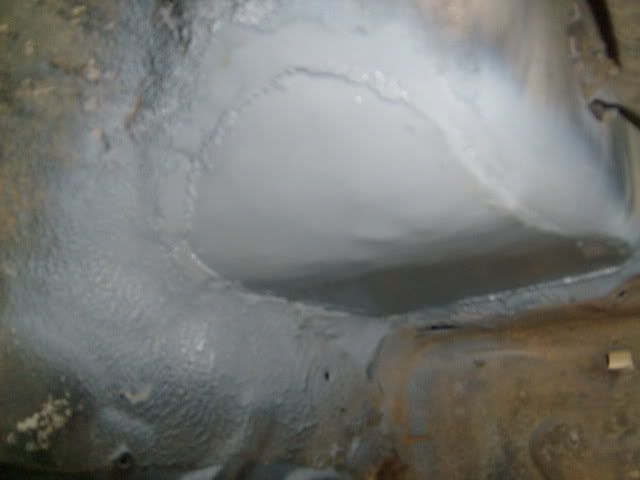
Welds all cleaned up and smooth:
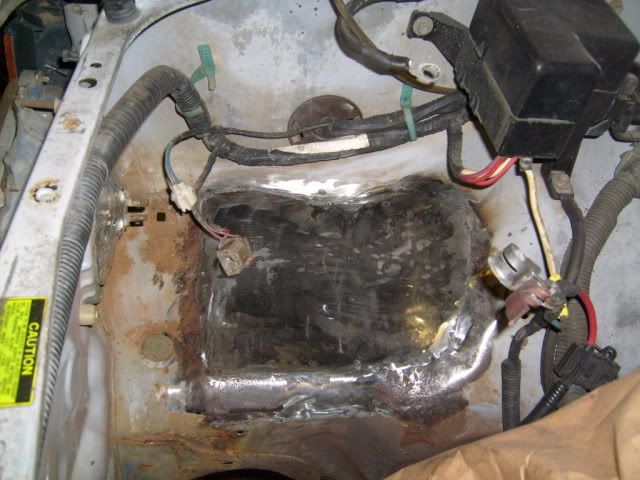
The bottom:
And primered gray:

All finished:
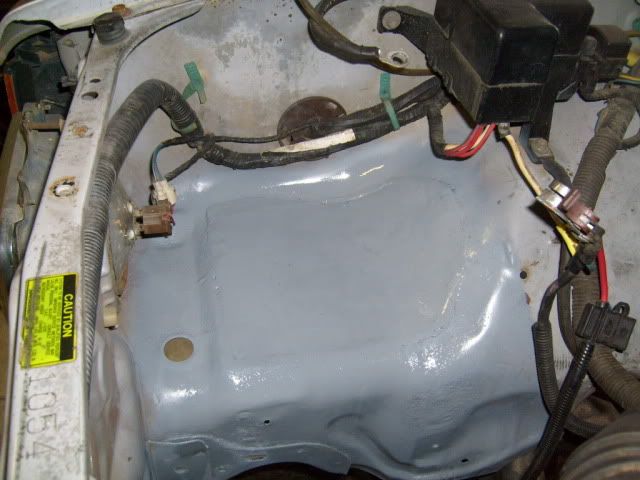
Now I get to build the battery box.
Test fit:
Welded in place. Some of the welds are ugly but I am no pro at welding, especially this thin body sheet metal. But the welds are good and strong.
Welds all cleaned up and smooth:
The bottom:
And primered gray:
All finished:
Now I get to build the battery box.
02-14-2012, 05:30 PM
#30
Registered User
Thread Starter
iTrader: (3)
Join Date: Nov 2009
Location: Fountain, CO
Posts: 219
Likes: 0
Received 0 Likes
on
0 Posts
Battery box is done!
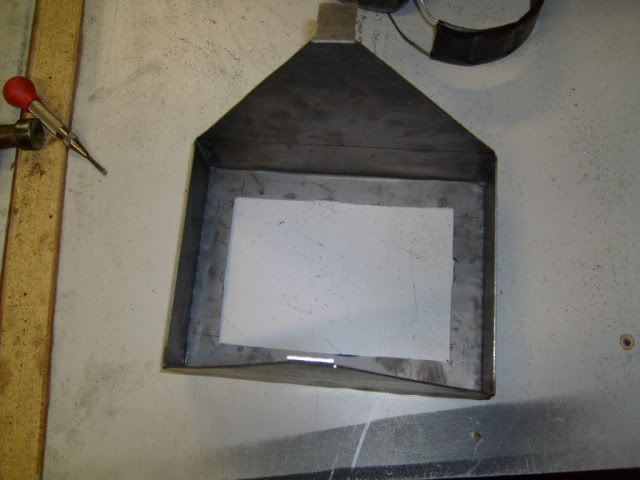
I drew a template with cardboard then cut it out of sheet metal:
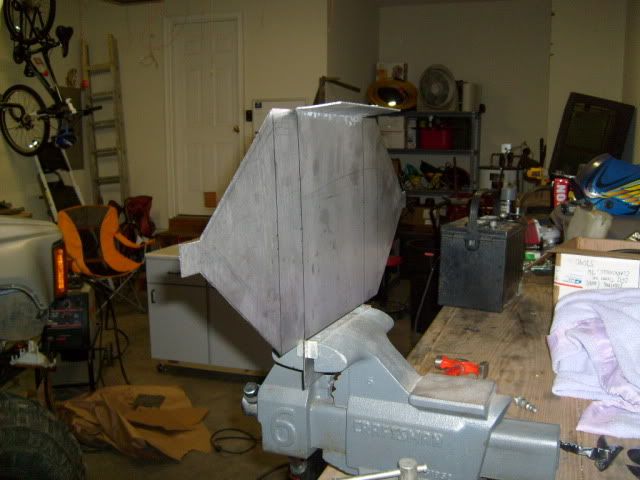
Started bending the sheet metal into the battery box:
Only the best of high tech tools to bend this stuff
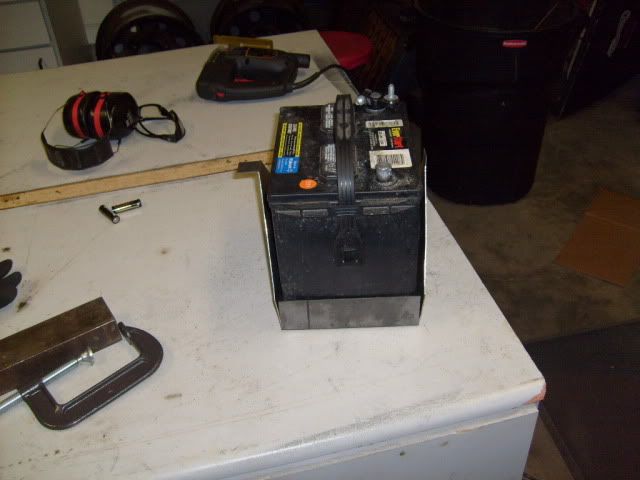
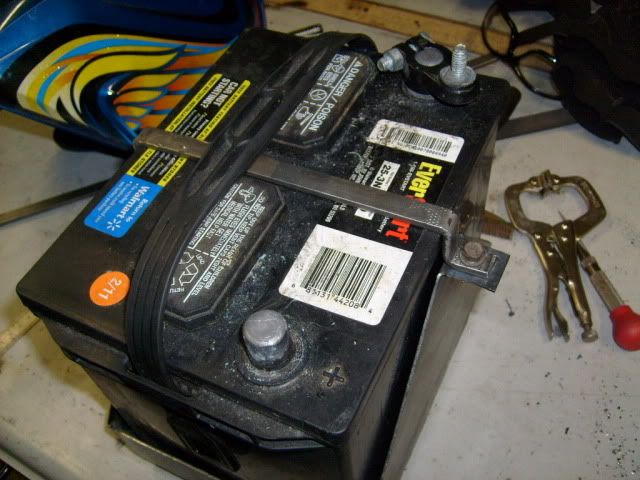
Box formed and a test fit with the battery:
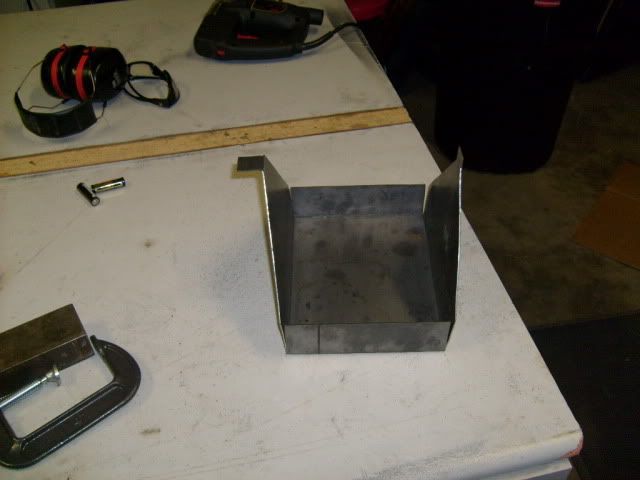
Now to start building the base. I cut out the center of the box leaving a 1" perimeter for the battery to sit on. I used some 1/2"x1/8" strap to lower the base to give the mounting hardware clearance from the battery then welded the base back on.
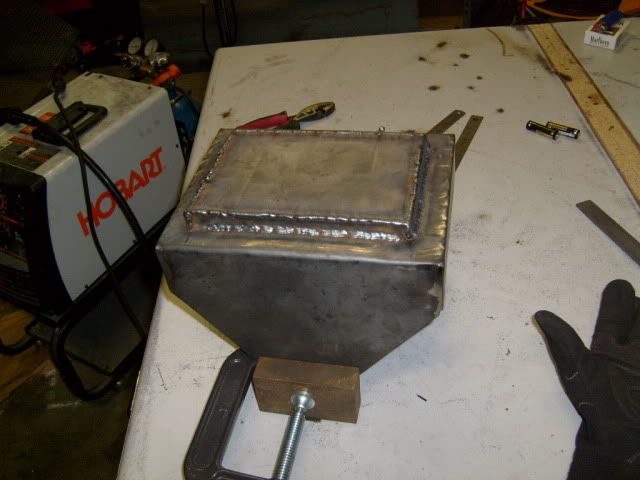
All welds on all edges were ground smooth:
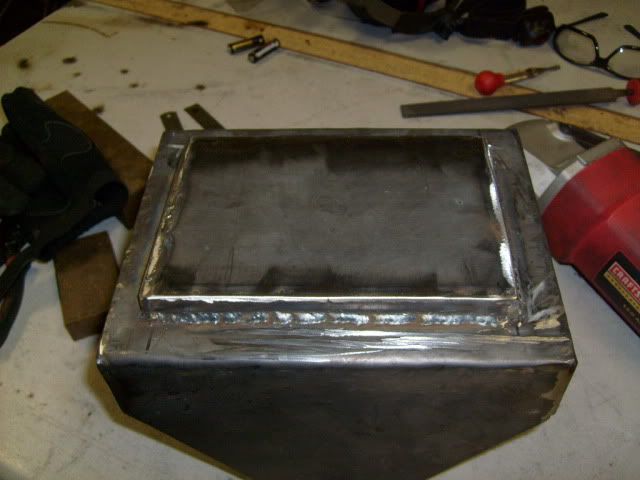
Battery tie down strap bent up and another test fit of the battery:
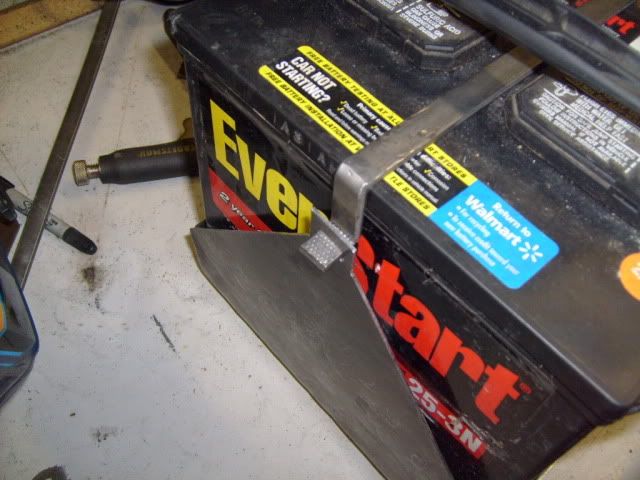
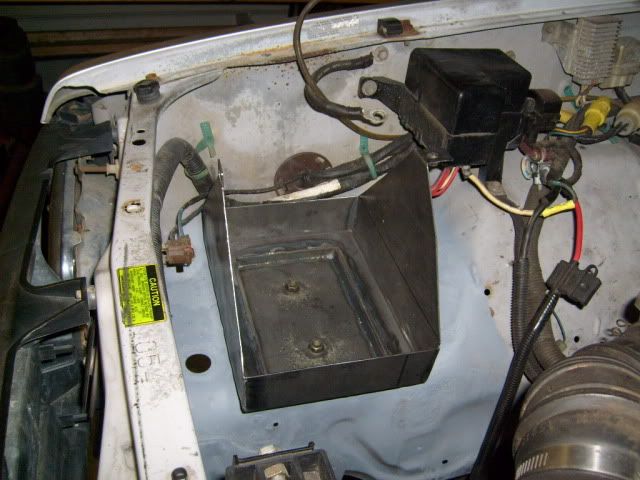
Then a test fit in the engine bay:
Right now I'm waiting on paint to dry. I'll post finished and installed pics tomorrow.
I drew a template with cardboard then cut it out of sheet metal:
Started bending the sheet metal into the battery box:
Only the best of high tech tools to bend this stuff
Box formed and a test fit with the battery:
Now to start building the base. I cut out the center of the box leaving a 1" perimeter for the battery to sit on. I used some 1/2"x1/8" strap to lower the base to give the mounting hardware clearance from the battery then welded the base back on.
All welds on all edges were ground smooth:
Battery tie down strap bent up and another test fit of the battery:
Then a test fit in the engine bay:
Right now I'm waiting on paint to dry. I'll post finished and installed pics tomorrow.

 02-15-2012, 11:15 AM
#35
Registered User
Thread Starter
iTrader: (3)
Join Date: Nov 2009
Location: Fountain, CO
Posts: 219
Likes: 0
Received 0 Likes
on
0 Posts
Now on to the next project
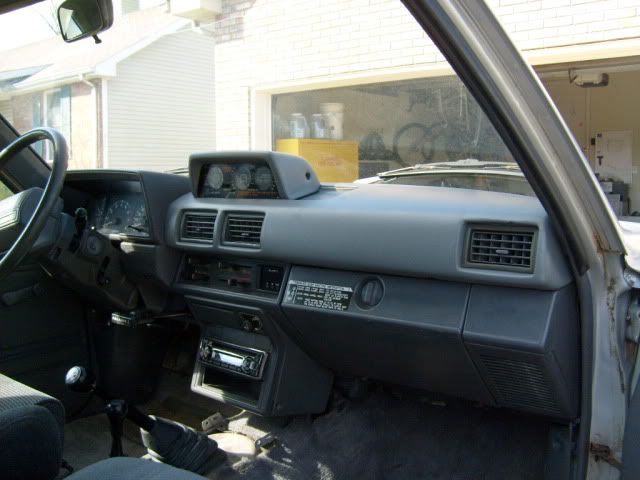
Interior before:
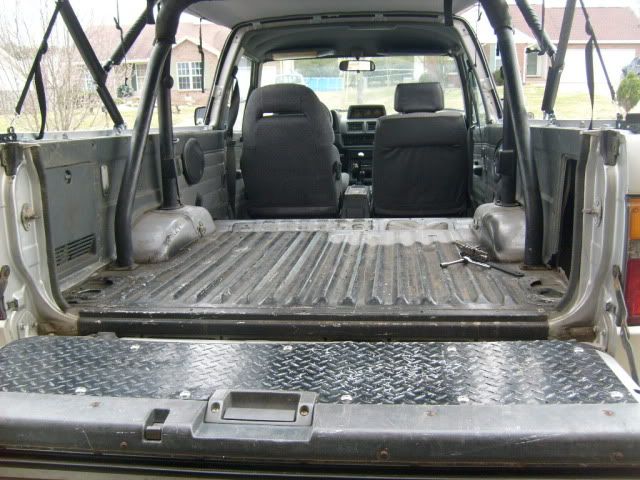
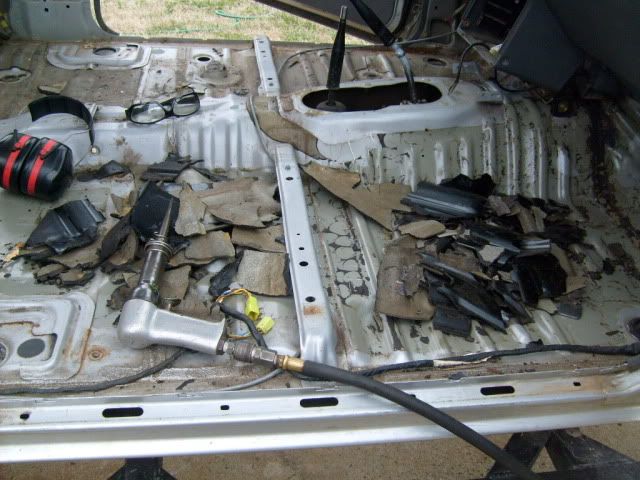
All stripped out:
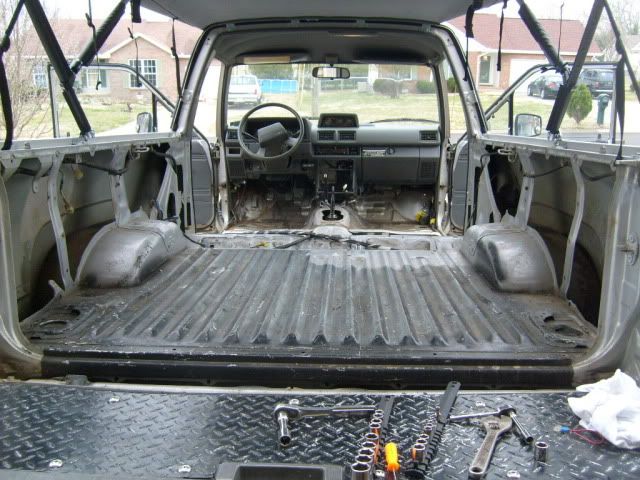
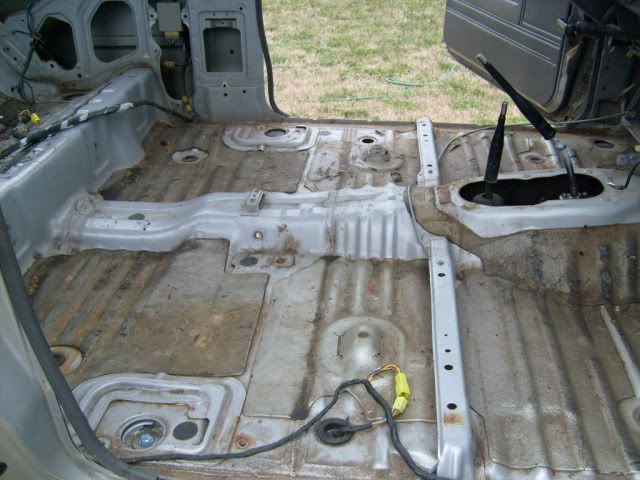
Gross!!
And the exterior:
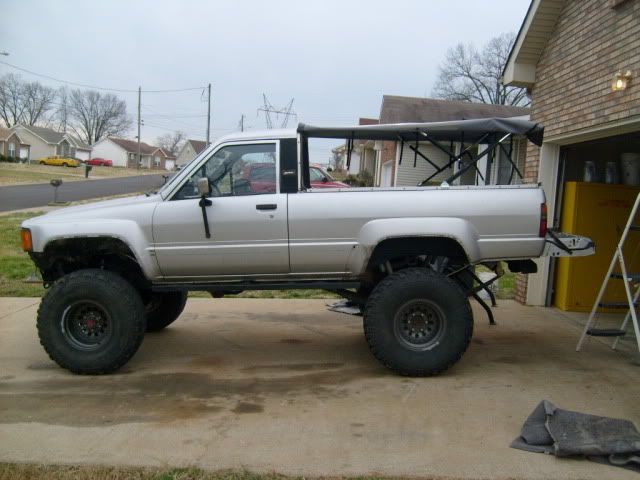
The plans are to give this runner a pretty good cleaning and a little bit of a make over. I'll clean the snot out of the whole entire lower half of the interior then line it with some chassis saver and some monstaliner. I'll also put a coating of dark gray monstaliner alone the bottom edge and the fenders of the runner.
That should clean things up and make the inside a lot better looking and stop any future rust from showing its ugly face!
Interior before:
All stripped out:
Gross!!
And the exterior:
The plans are to give this runner a pretty good cleaning and a little bit of a make over. I'll clean the snot out of the whole entire lower half of the interior then line it with some chassis saver and some monstaliner. I'll also put a coating of dark gray monstaliner alone the bottom edge and the fenders of the runner.
That should clean things up and make the inside a lot better looking and stop any future rust from showing its ugly face!
Last edited by svdude; 02-15-2012 at 12:26 PM.
02-15-2012, 12:22 PM
#37
Registered User
Thread Starter
iTrader: (3)
Join Date: Nov 2009
Location: Fountain, CO
Posts: 219
Likes: 0
Received 0 Likes
on
0 Posts
Thanks! After taking my neighbor wheeling a couple of times, he ended up getting an 86 4runner. He got first dibs on the a/c parts. If he decides that he doesn't want them then I'll send them your way.
02-15-2012, 12:25 PM
#38
Registered User
Thread Starter
iTrader: (3)
Join Date: Nov 2009
Location: Fountain, CO
Posts: 219
Likes: 0
Received 0 Likes
on
0 Posts
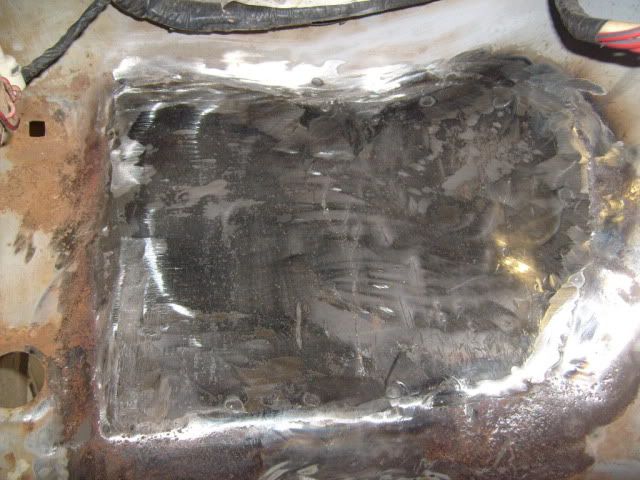
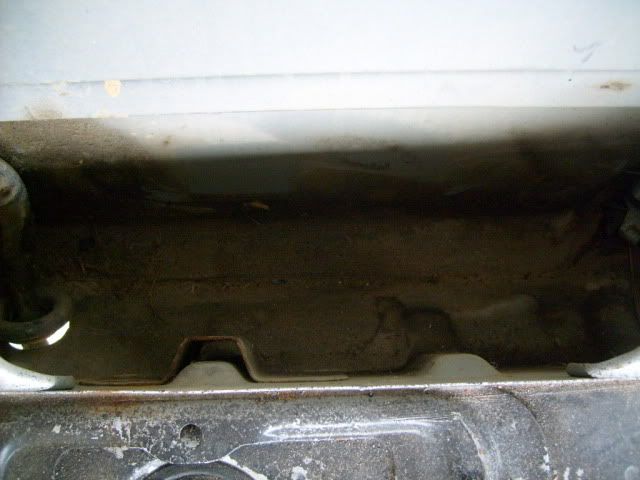
For anyone wanting to strip the factory sound deadening... use an air hammer! I started chipping away at it with a flat head and a small hammer until I remembered that I have a chisel tip for my air hammer. All I can say is wow! This stuff peeled and jumped off with ease. About 30 minutes with the air hammer and all of the factory sound deadening in the whole runner was gone. I love air tools!!
02-15-2012, 02:40 PM
#39
Registered User
Subscribed! You do excellent work. I'll throw it out there that they sell chisel tips for reciprocating saws. It might be a good choice for those who have tiny air compressors.
What part of the country are you in?
What part of the country are you in?


