When you click on links to various merchants on this site and make a purchase, this can result in this site earning a commission. Affiliate programs and affiliations include, but are not limited to, the eBay Partner Network.
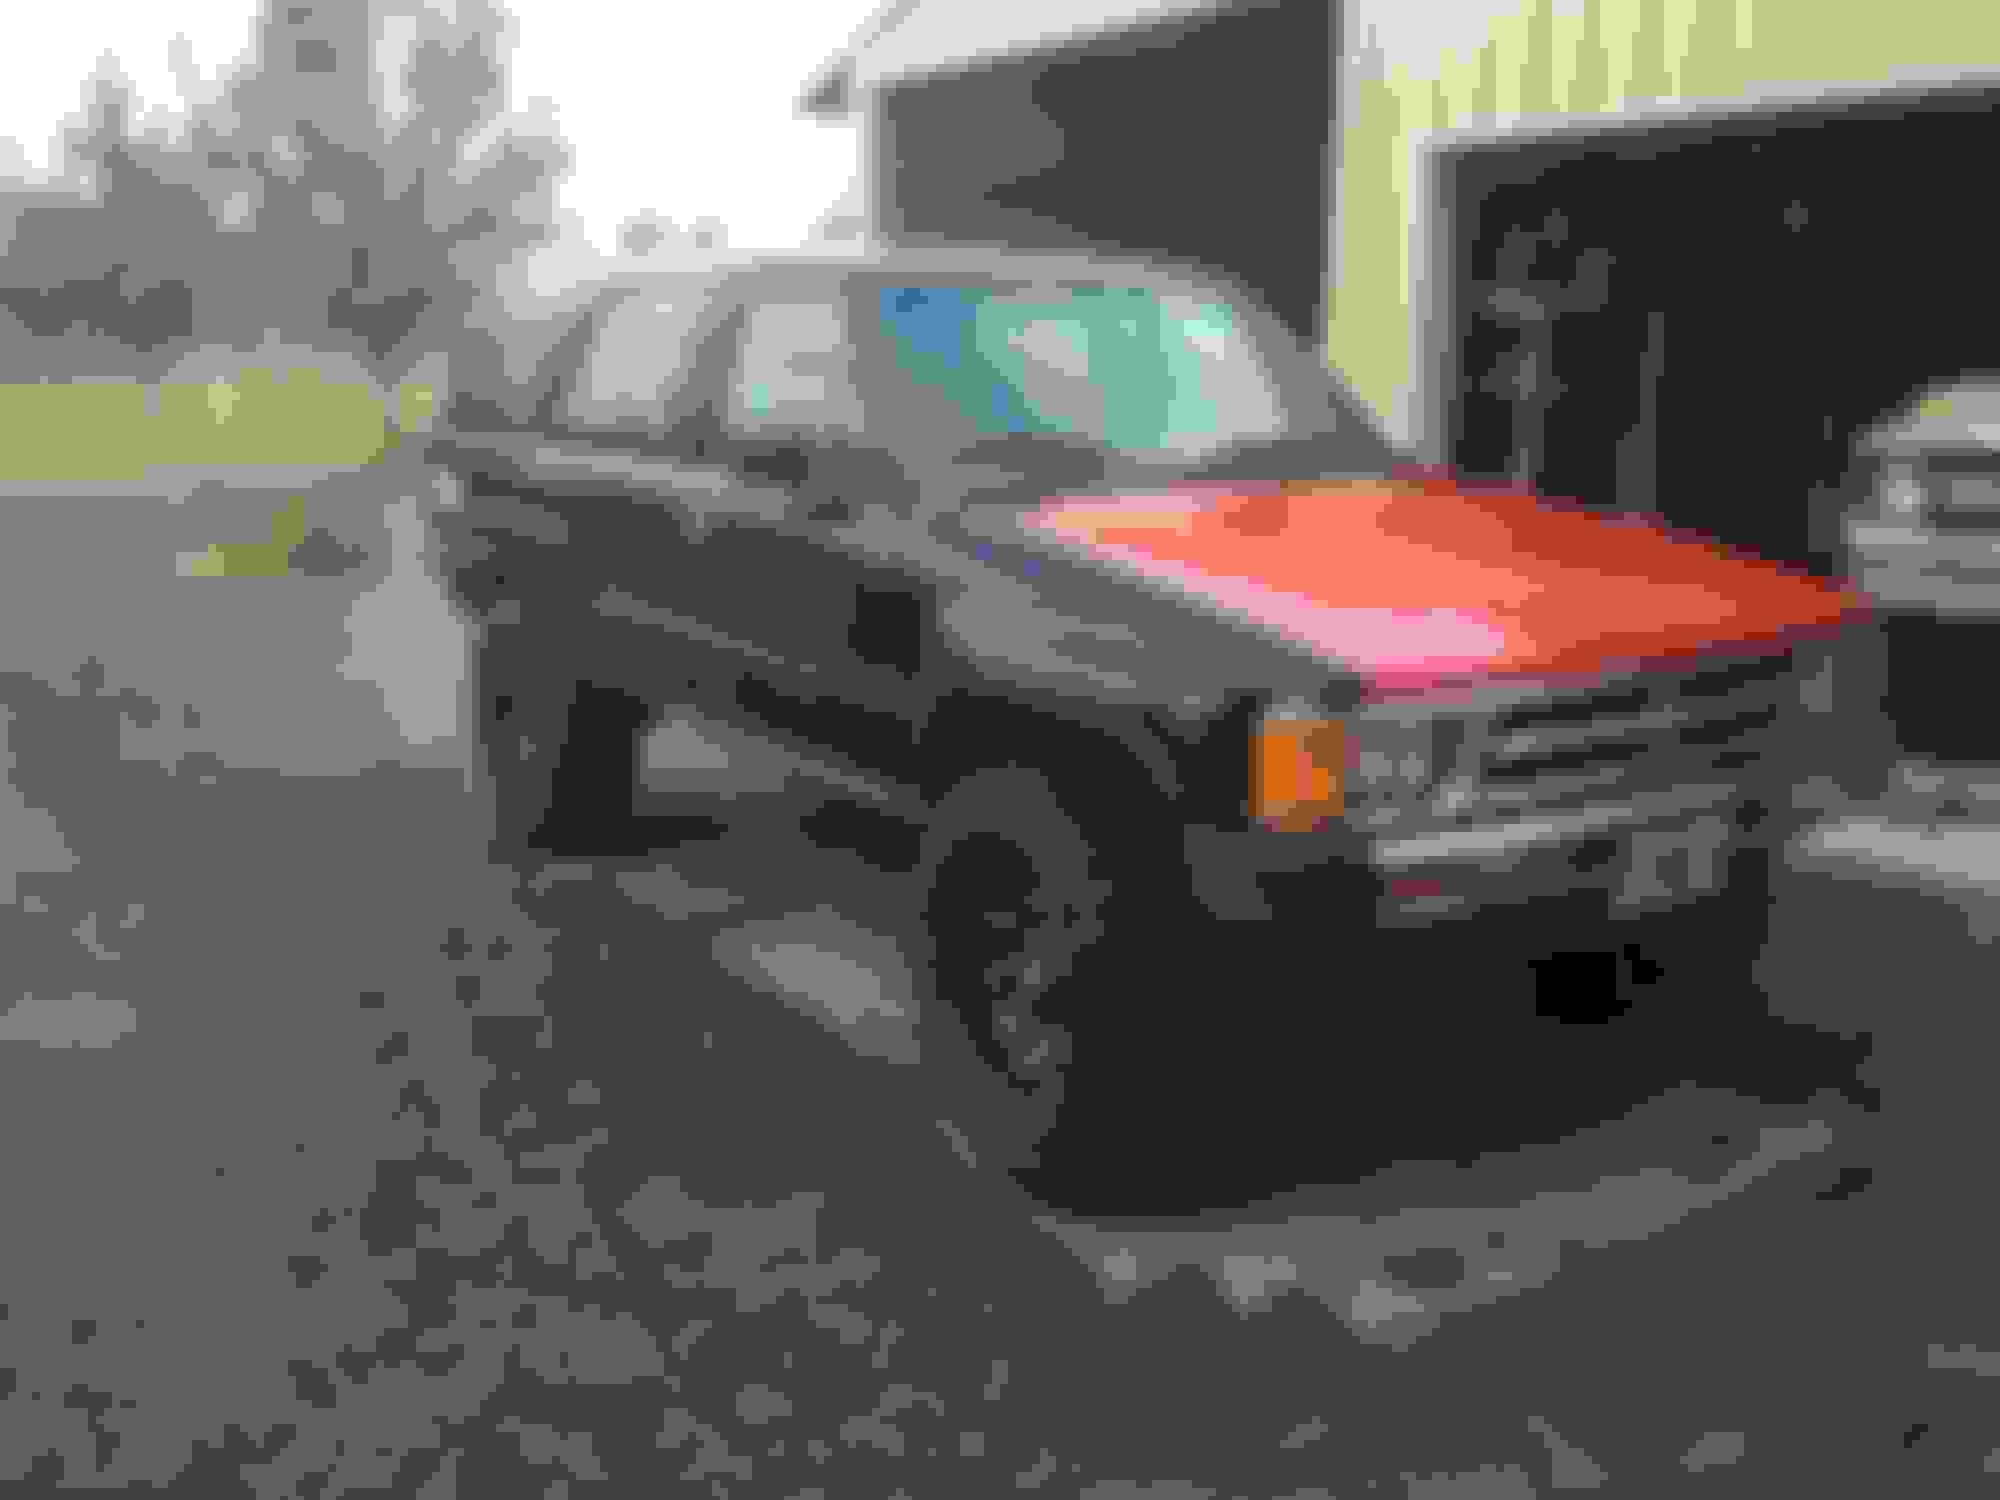
Hello all, been silent for a while but I'm back (not that anyone would've necessarily noticed). Picked up this beauty about two years ago and have let her sit in the horse field up until July of 2016. Figured I'd get to it eventually but life happens and other projects can take priority. Back story is, I picked it up with a smashed front end, interior torn to pieces and thrown in the back and the transmission sitting next to it. Figured at $500 it was a heck of a deal, right!? Previous owner claimed "somethings wrong with the tranny, so we pulled it." Here's how I bought it.
Last edited by Mudd Duck 1; 02-10-2018 at 04:45 PM.
Once I got to working on it, I cleaned the snot out of the interior, then had to make the decision: do I rebuild the transmission seeing as how it's already out or install it and diagnose the problem myself? The problem with installing the transmission and diagnosing myself is that I could potentially be pulling it right back out in order to overhaul it. Another factor was not knowing for sure what kind of shape the engine was in. Without a transmission I was unable to run the engine due to the starter mounting to the bell housing. So I removed the bell housing from the transmission and installed it on the rear of the engine to facilitate installation of the starter. I was then able to support the rear of the engine with a floor jack and after draining old fuel, replacing fuel filter, etc. was able to run the engine and verify that it was in descent shape. Upon closer inspection of the transmission (which had been stored outdoors w/o the shifters installed) I realized it was full of dirt and debris and would need to, at the very least, be cleaned out. In the end I took a gamble and opted to rebuild it. A rebuild kit bought locally (seals, bearings and synchros) was $185 which I didn't think was bad. I overhauled the transmission and installed. There are little to no photos of this seeing as how I was just doing it. However while trying to back it out of the shop for the first time there was a heck of a grinding, popping sound that turned out to be the rear end. I believe there was never an issue with the transmission, it was likely the rear end all along. After installing a used third member I was able to take it for a spin and it actually drove out quite well. I had a slight issue with run-ability which ultimately ended up being a bad air flow meter. The ultimate goal for this 4Runner will be to build a very capable overland expedition/ camping type rig for the family. Although it will definitely do some wheeling on the weekends. From here on out there will be more pictures and less jibber jabber.
Here are a couple more photos of where I started. I have since tracked down a new drivers side fender, grill, a straighter hood as well as some misc. interior pieces.
Wow, you kind of glazed right over it, but for $185 you bought a tranny rebuild kit and did it yourself? That's impressive, any pictures of the rebuild? Did you need any special pullers to get some of the gears/bearings off? The truck looks like a great start.
Wow, you kind of glazed right over it, but for $185 you bought a tranny rebuild kit and did it yourself? That's impressive, any pictures of the rebuild? Did you need any special pullers to get some of the gears/bearings off? The truck looks like a great start.
Yes, a local transmission shop sells a rebuild kit for the W56, the $185 price was threw a friend of mine who works for an auto shop here. I may still have pictures but they were just a couple I snapped for reference upon reassembly. I'll see if I can find them. As far as special pullers etc. I used a three jaw puller and a bearing splitter with a hydraulic shop press. So I guess that would qualify as special tooling that not everyone has at their disposal. Once you've split the cases and disassembled to the point where you've just got your counter shafts it's not bad using a press to pop it apart if you have access to one.
Couple shots of it with the new sheet metal. Hoping to get it into the body shop for some paint soon but we've had enough snow lately they're pretty busy with fender benders.
^^^ We like our Toyotas in case you can't tell
Nice Mudd Duck, thank you for the pics. I guess tranny work has always intimidated me, but you just threw it out there like you were changing your oil Very cool, you've really cleaned that truck up in a very short time. And that's a nice looking pickup you have there too.
Nice Mudd Duck, thank you for the pics. I guess tranny work has always intimidated me, but you just threw it out there like you were changing your oil Very cool, you've really cleaned that truck up in a very short time. And that's a nice looking pickup you have there too.
Thanks, in reality it's taken me more like 5 months to get it to the point it's at now. It really hasn't been a priority since the green 3rd gen is my daily and I have a few projects. But it'll be ready to go by the time we have some good weather, at least as a clean stocker. I hear you on the transmission being intimidating, this was only my second time digging into one of these Toyota 5 speeds. But really they aren't much more than gears and bearings. Lots of notes and pictures are always a good idea.
Also, thanks for the compliment on the other pickup. Bought it about 7 years ago stock and put it together, contemplated selling it for a newer Tacoma several times but always talk myself out of it.
Another tid bit, picked up a couple decent side panels for the rear cargo area last fall. They were weathered but not broken to pieces like my old ones (and most others that I've seen). I was able to clean them up and repaint them a gray that more or less matches the rest of the interior. No I did not use a paint made for plastics so we'll see how well they hold up, but a can of paint for touch up is pretty cheap if need be.
The original center console was in ok shape but the center section had a crack in the left side as well as being broken out on the underside. The bottom piece that mounts to the floor would've been in good shape except the previous owner had cut the front where it meets the trim piece that surrounds the shifters. Surprisingly enough the armrest on top is in great shape with no punctures or tears. The piece that houses the rear window switches was also in good shape. So I ordered a new center section off of eBay (still in the mail) and a complete bottom section. I was able to piece together a decent console for now, and once my middle piece shows up I will be able to use my original armrest and assemble a complete console.
Never got around to posting last week, but had a busy Saturday last weekend. My factory manual locking hubs did not function, fortunately I had an extra set I snagged from the wrecking yard at one time. I decided to swap them out, I figured this would be the time to re-pack wheel bearings and replace front brakes if necessary. I took the 4Runner into work (heated shop) and in doing so also took it for its longest trip yet (about 20 miles round trip). I removed the front hubs and found that the wheel bearings were shot, the previous owners seem to have had this thing in some deep mud at one time or another. It had brand new brake pads on the front but the passenger side rotor was grooved and appeared to have been down to metal on metal at one time. I opted to replace inner and outer wheel bearings, rotors, pads and the hubs. I snapped a couple photos along the way when I thought of it.
Quick update after not posting for a while, work has continued and the interior is 95% complete. Installed a brand new carpet kit which came out pretty decent for the most part.
And she finally got some new shoes, Ball joint spacers are in the mail from the Wabbit to get her up a couple inches in the front.
I also picked up a new top over this past weekend with good glass upon discoving that half the windows in the top it came with were leaking. The guy even threw in a couple banged up doors that I'll build half doors out of eventually.
Last edited by Mudd Duck 1; 08-10-2017 at 06:02 AM.
Been a busy month between work, obligations on the weekends pertaining to work and of course hunting season. But in the little spare time I've had, I've managed to get the front ball joint spacers installed as well as a set of Old Man Emu rear springs. New bilstein shocks all around and she'll be getting an alignment on Saturday. No pictures of the ball joint spacer install, and please excuse my lack of pictures during the rear spring installation as well. I do not condone, nor did I want to broadcast pictures of the way I worked around my lack of proper tooling (tall jack stands) at home
The passenger side had a broken leaf, the reason I opted to purchase new springs in the first place.
.
Last edited by Mudd Duck 1; 10-12-2017 at 08:29 PM.
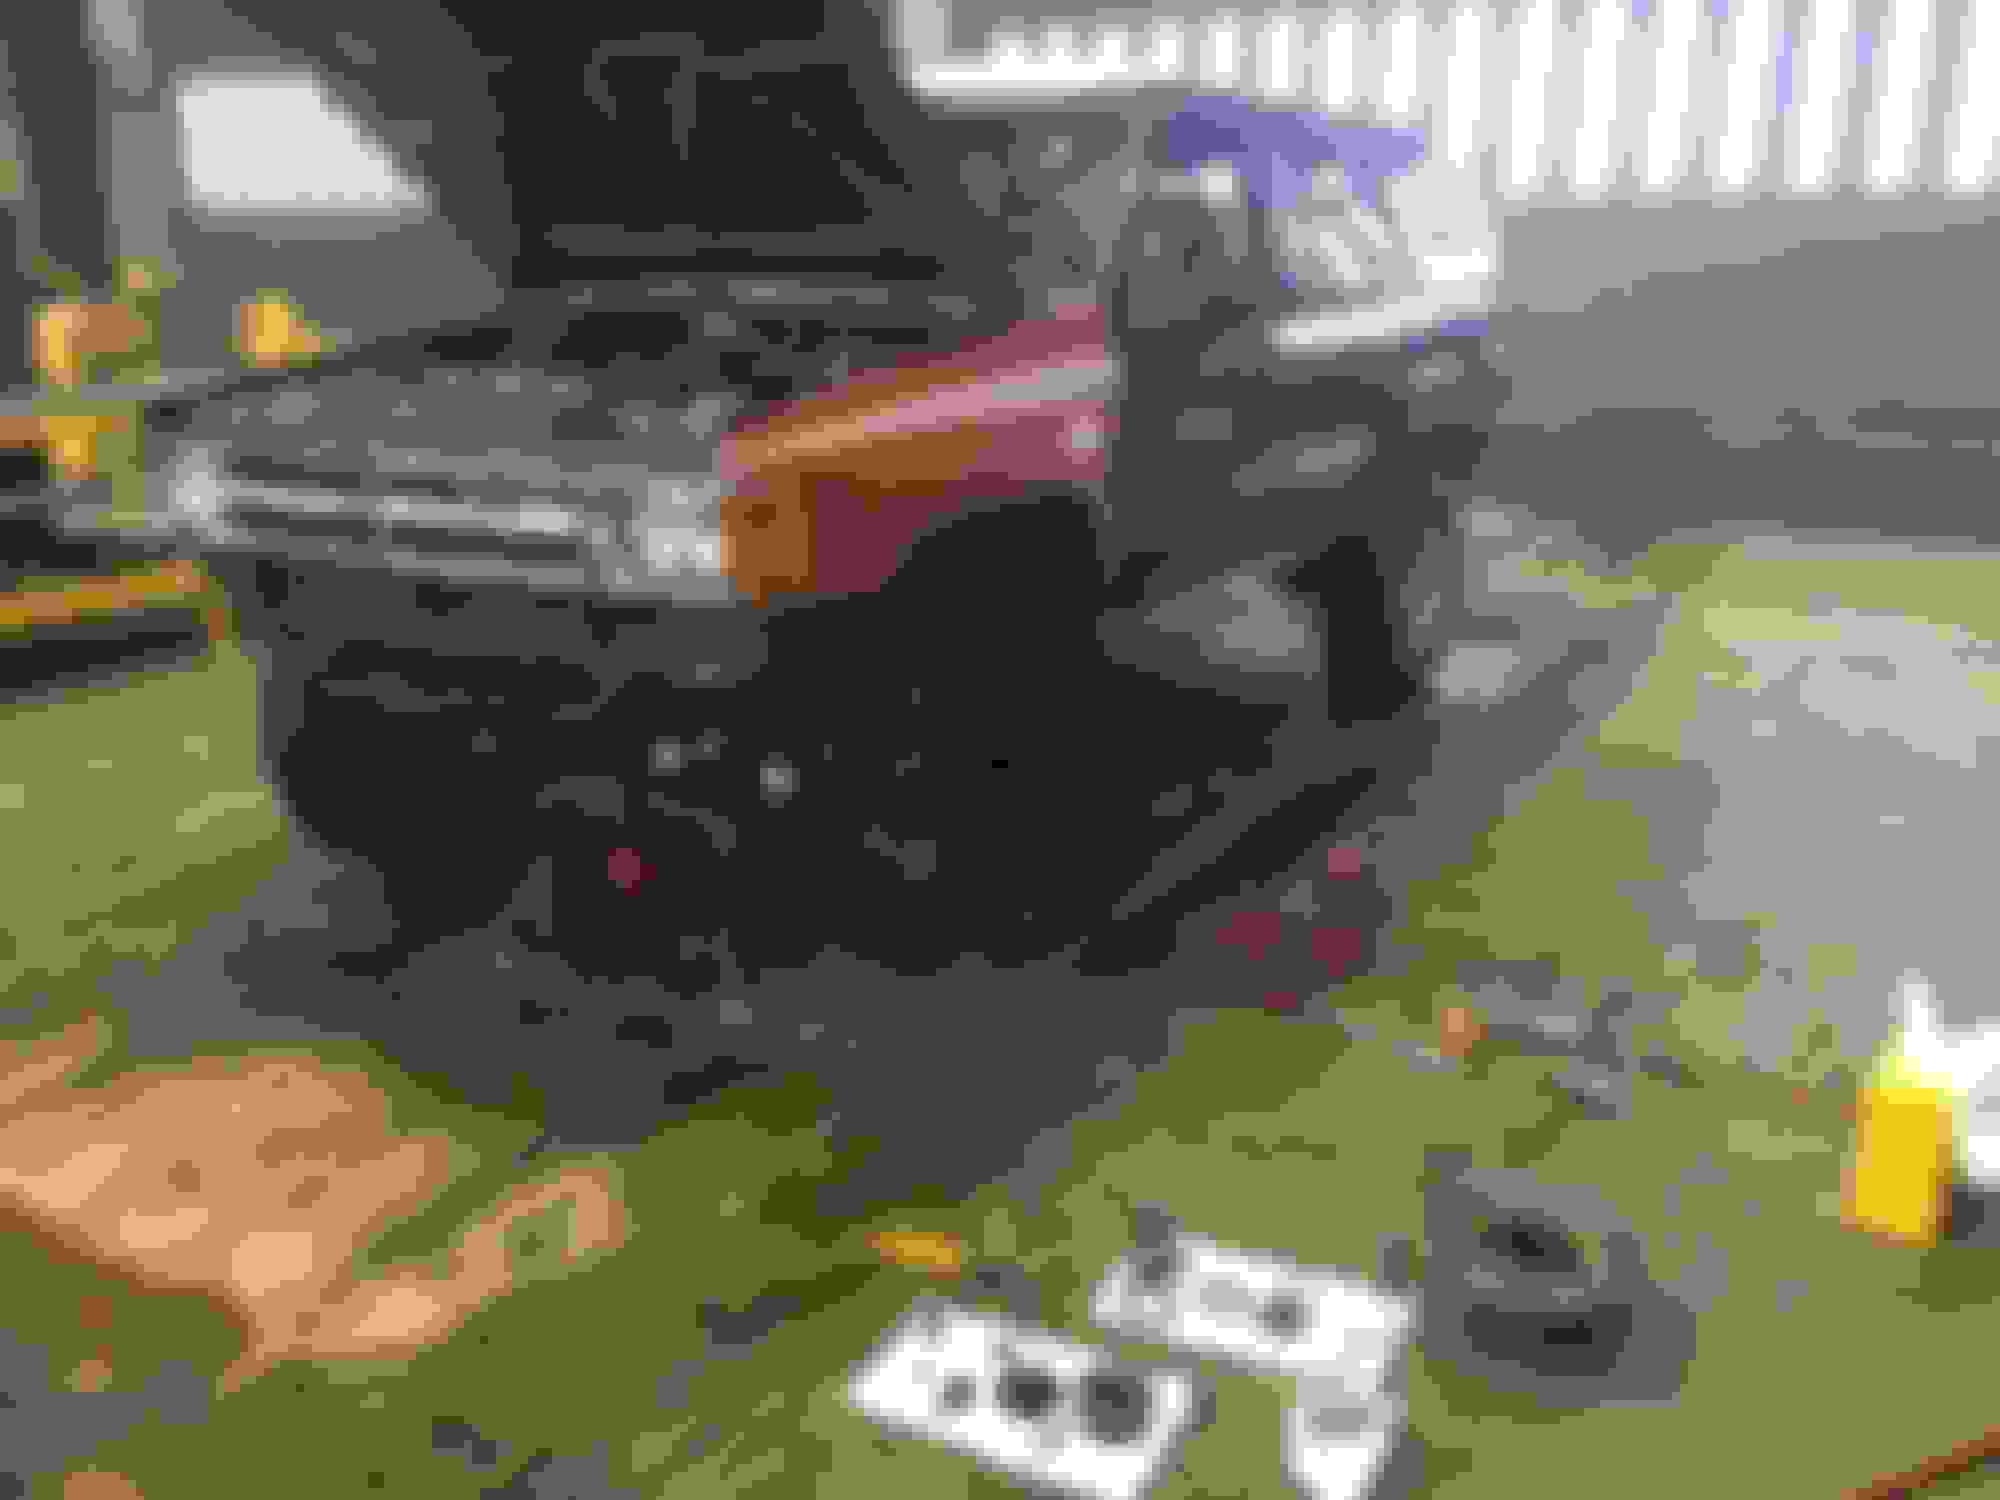
Been a while since I�ve updated this post, or done much work on the rig at all for that matter. Been busy with my countless other projects. However, I did get out to play a little behind my house. I decided the rear end wasn�t settling enough and opted to remove a leaf on either side which set it down to a more tolerable hight. Sorry, no pics during and after pics to come. I played a game trying to get it aligned and after trips to three different local shops finally got someone to do it and got it pretty good. I was informed it could be better as the right side had no more adjustment. They determined the frame was slightly tweaked. On my way to the alignment shop I had noticed an engine noise that was slightly alarming. Sounded to me like a rod knock although I knew it was a more recent development and was likely in its early stages. I opted to pull the engine at my earliest convenience and replace rod and main bearings as well as the crankshaft if need be. The was a prime time to replace the timing chain that had unknown miles on it and the rear main as it was accessible.
Now you're up up to speed.
Last edited by Mudd Duck 1; 02-10-2018 at 09:30 AM.
Nice work, I'm jealous of that interior. You've got a nice area out behind your house to go play too, I'm hours away from anywhere to get my tires dirty.
 01-09-2017, 06:23 PM


 Very cool, you've really cleaned that truck up in a very short time. And that's a nice looking pickup you have there too.