Mr. Gold444's 1986 Pickup build
 08-16-2013, 07:47 PM
#1
Registered User
Thread Starter
Join Date: Jul 2011
Location: Truckee, CA
Posts: 43
Likes: 0
Received 0 Likes
on
0 Posts
Mr. Gold444's 1986 Pickup build
Since I haven't posted on here for a while and seeing that I've done quite a bit these last few months, I figured it's time for a build-up thread.
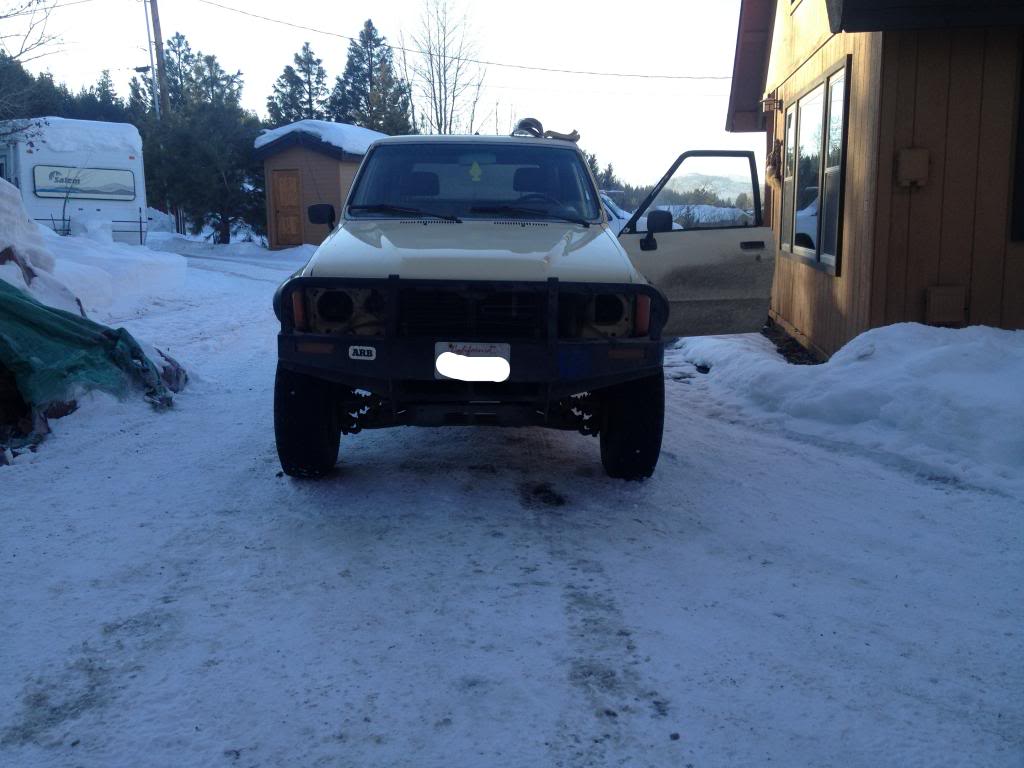
Before I go any further, here's how she stood
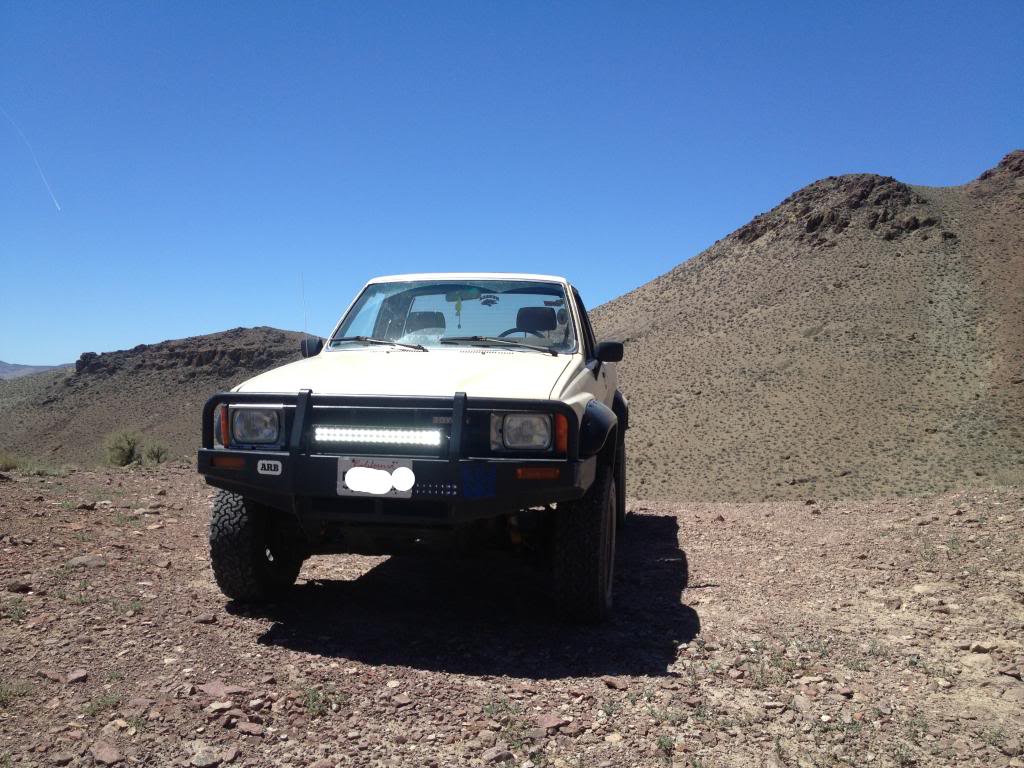
The last thing I did (pre-post) was install OME springs in the back, however I mistakenly got the wrong shackle which led to this, however SierraExpeditions was kind enough to swap me the right ones.
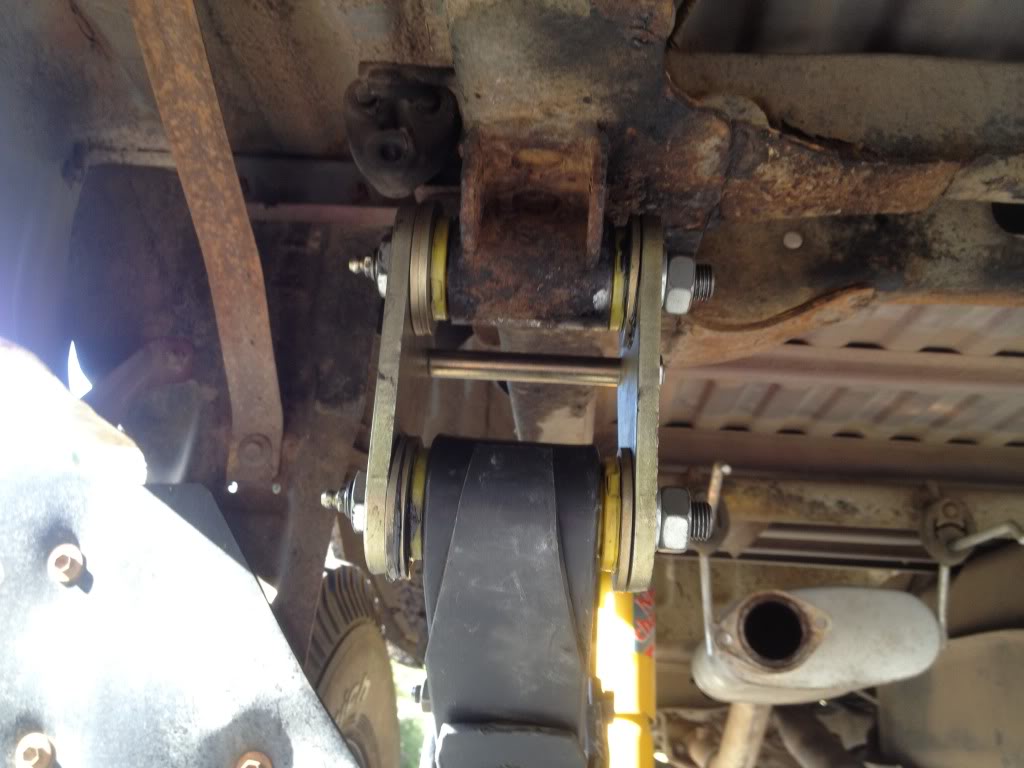
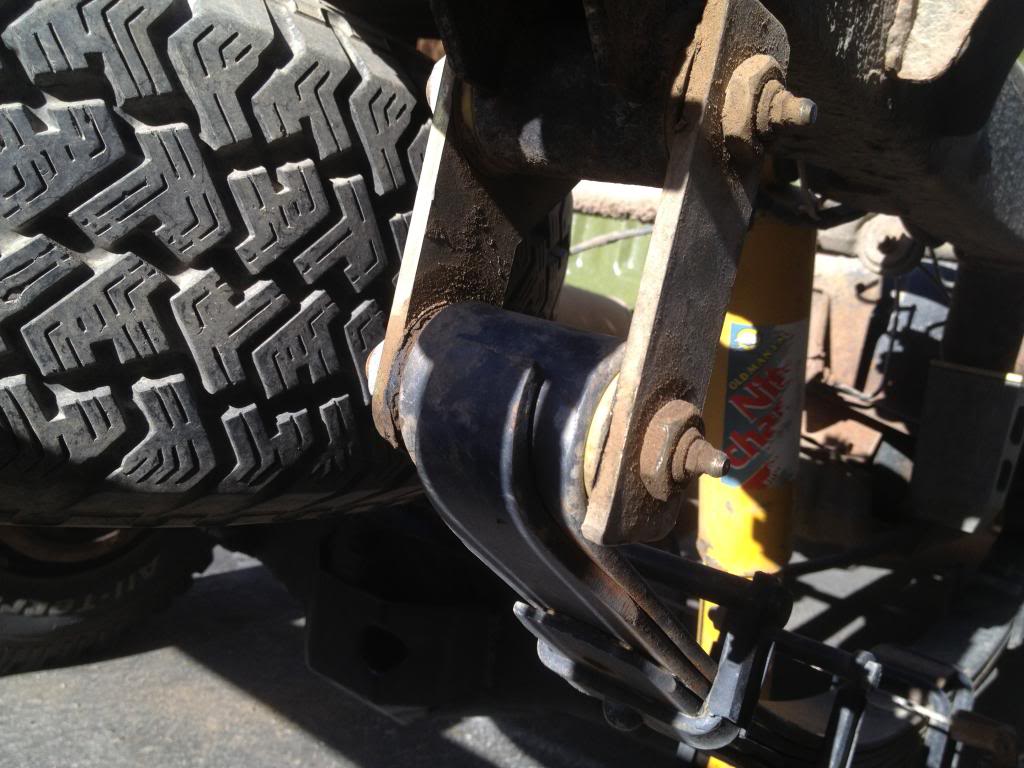
It's almost been a year since they've been on and they seem to be taking their time settling down (Yes I know a bed would help haha).
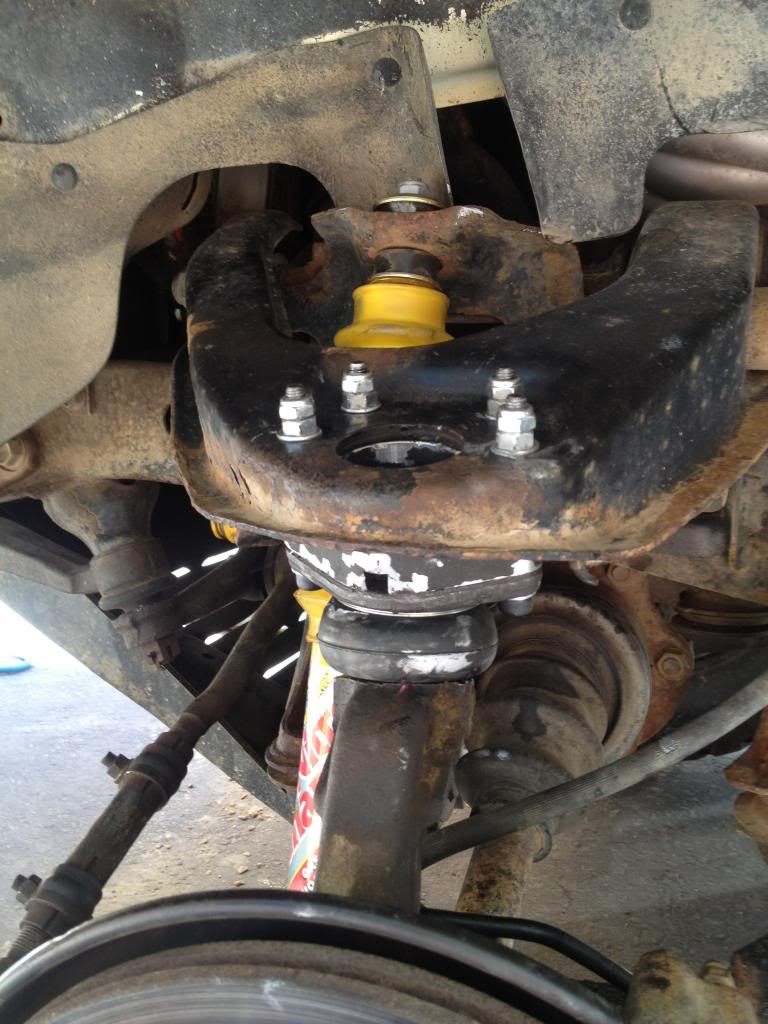
A short while after I installed some BJ spacers
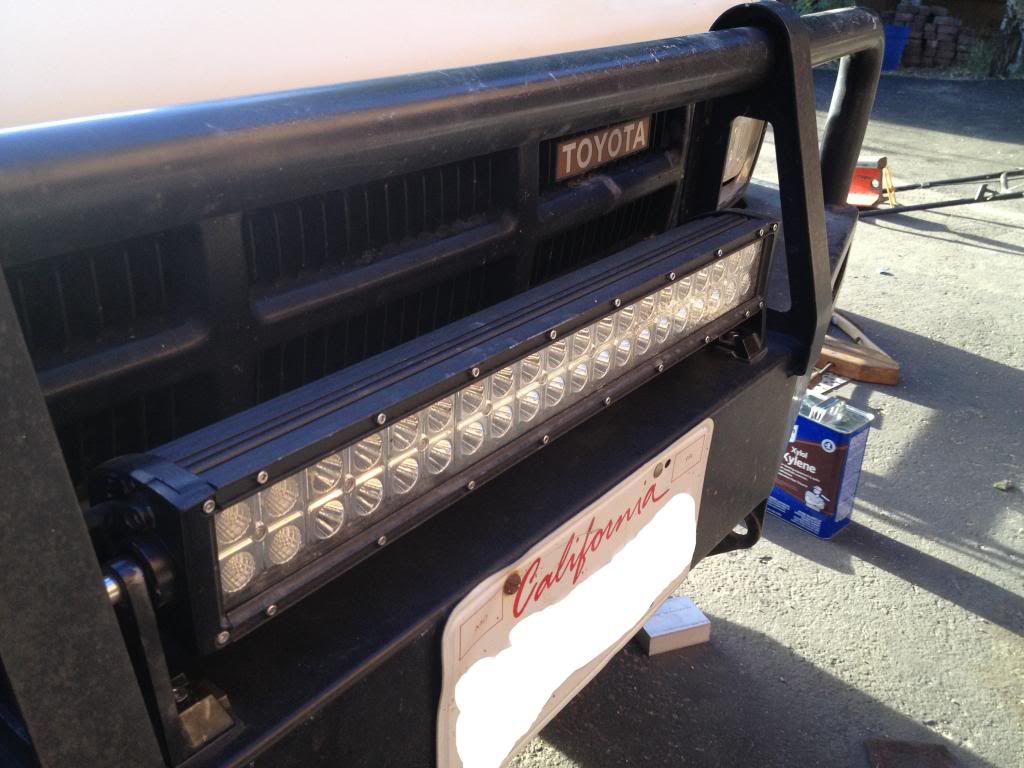
Next on the list, I disguised myself among the ranks of TacomaWorld and purchased a 20" OKLED light bar rated at almost 10,000 lumens. A short time before, I did the Hella H4 headlight replacement because the stock headlights made me a danger to myself haha. The H4's were not only easy to install (except for removing the clip on grill ) but the light output is tons better than stock.
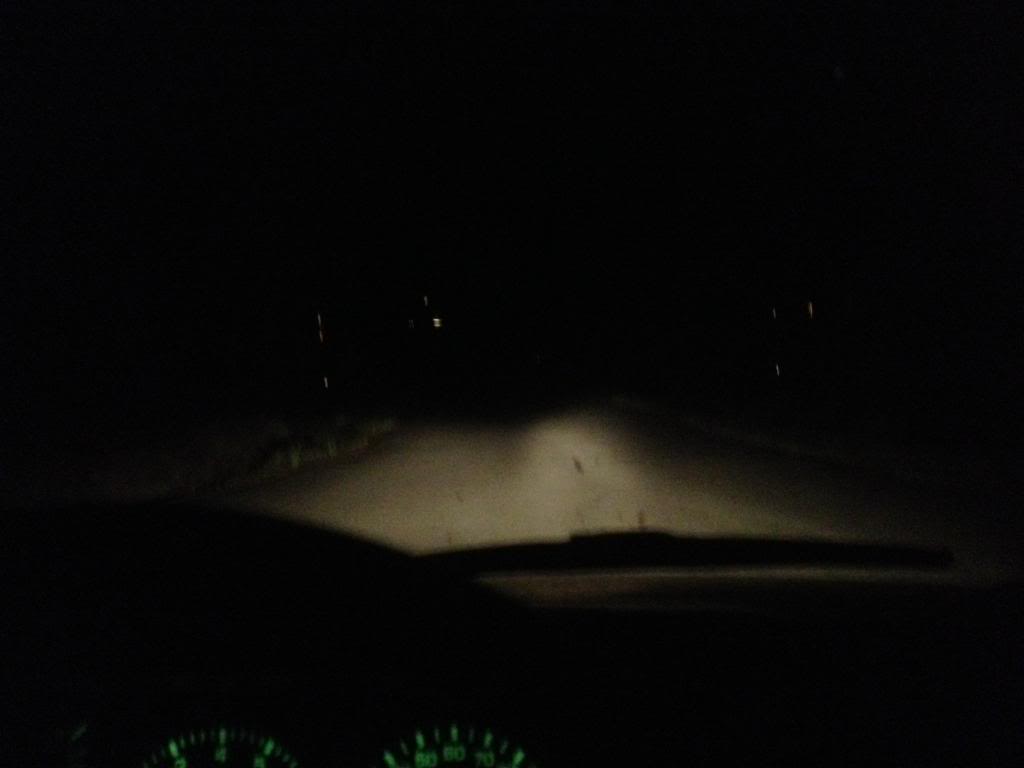
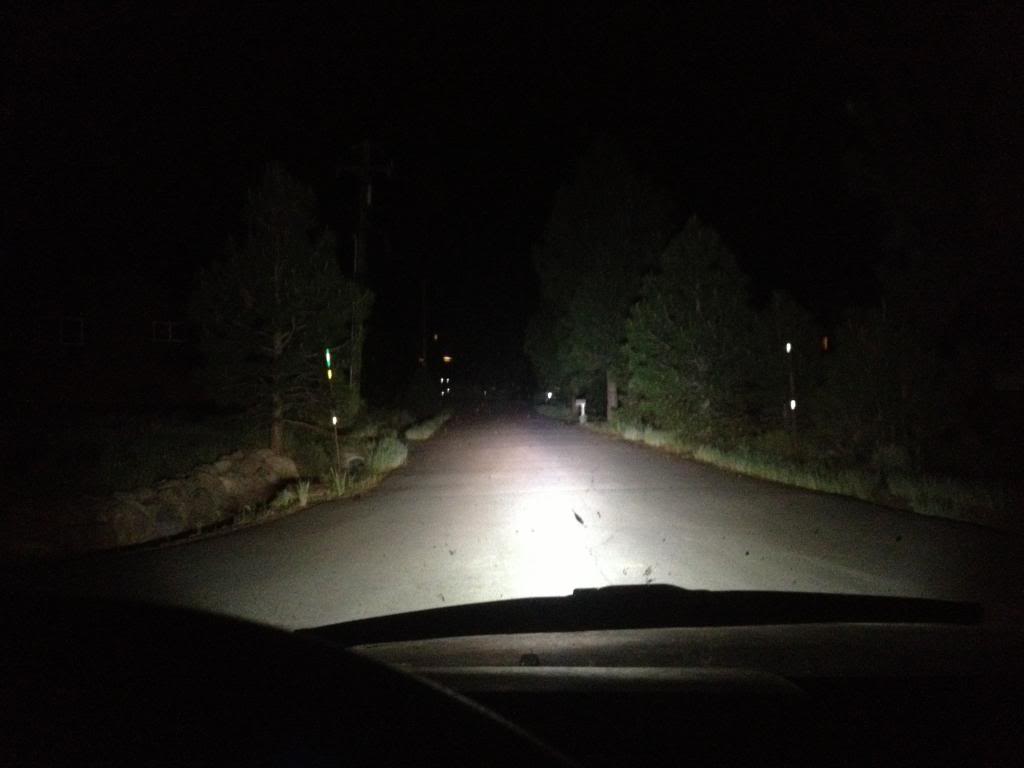
Some night pics, the low and high beam pictures don't do it justice.
Low
High
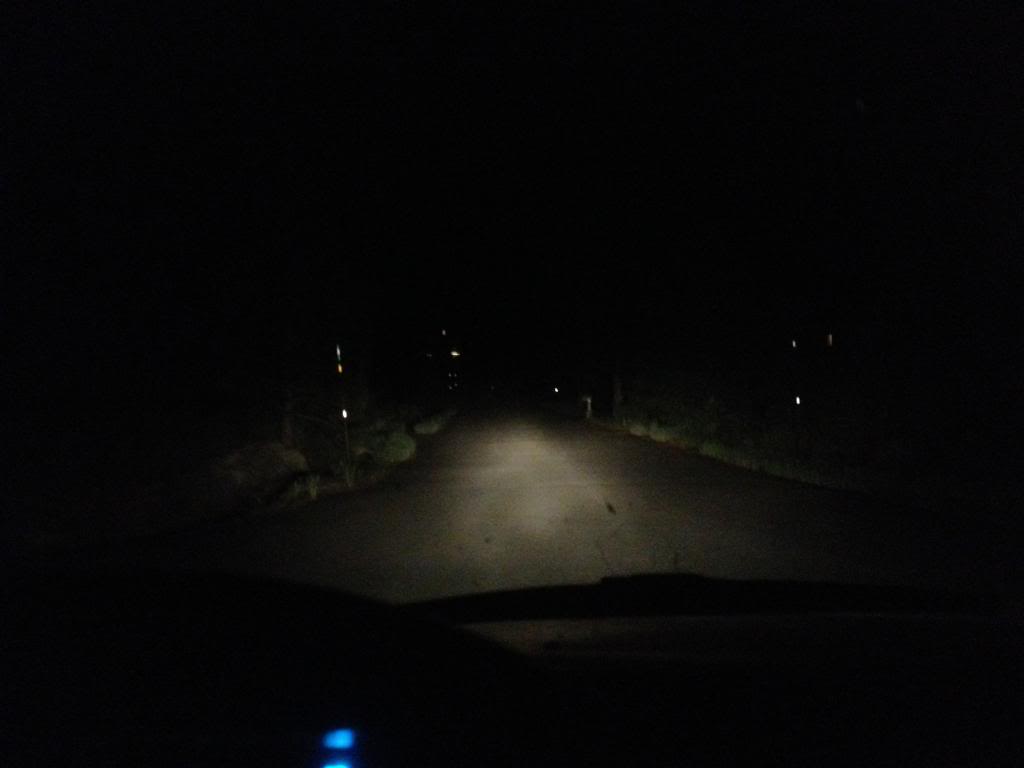
High plus light bar
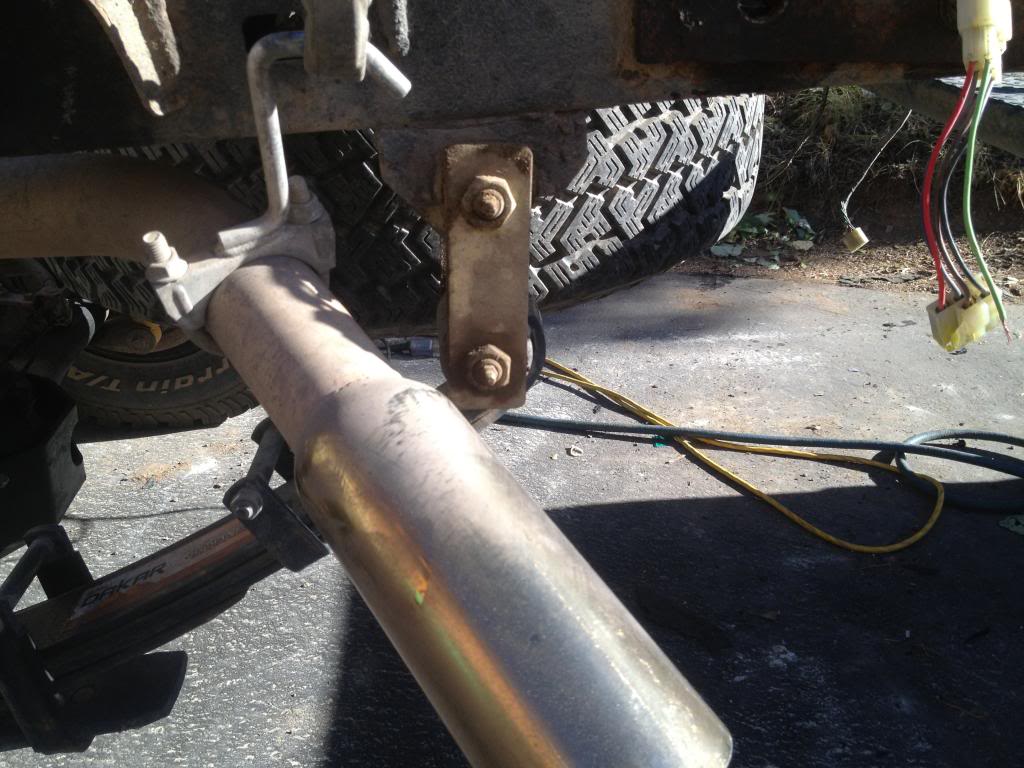
After getting hung up on the stock cross member more times than I would like, I hopped on the BudBuilt bandwagon.

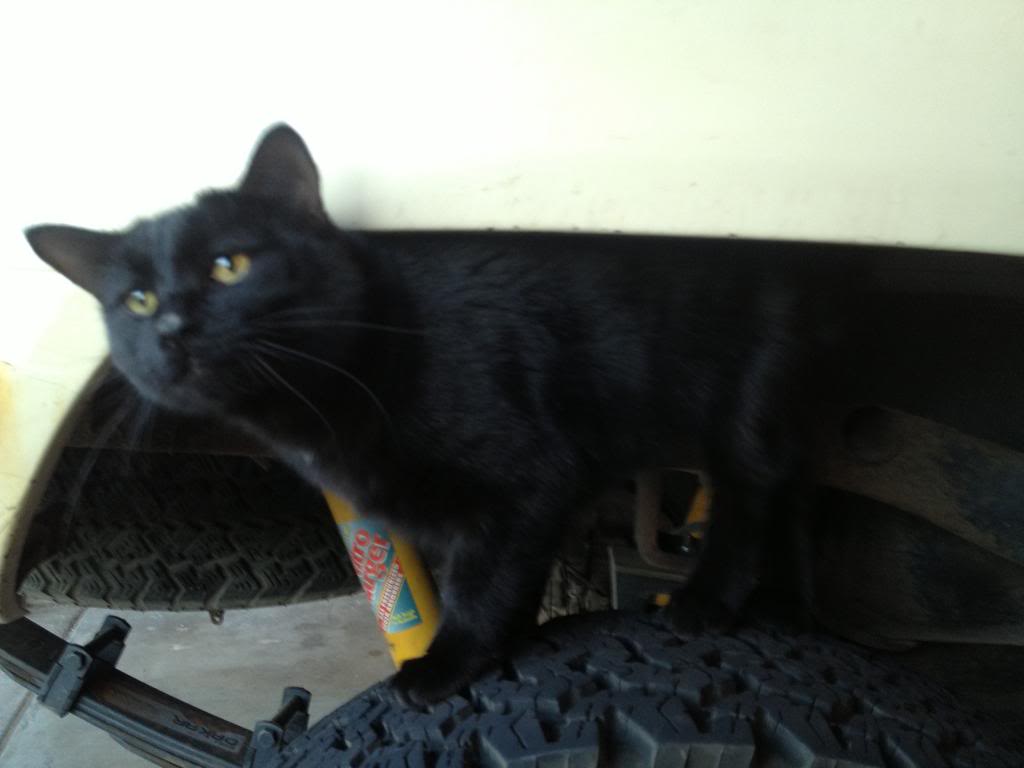
As of now, I've decided to tackle the unsightly rust issues that I've been plagued with. I decided to attempt a college kid version of a fix which consisted of POR-15 and some matching paint. Being the first time I've done this, it came out...not so well, however I did have some help from the neighbor's cat. I did a total of four patches on the bed, however I've spared you from all the pictures haha.
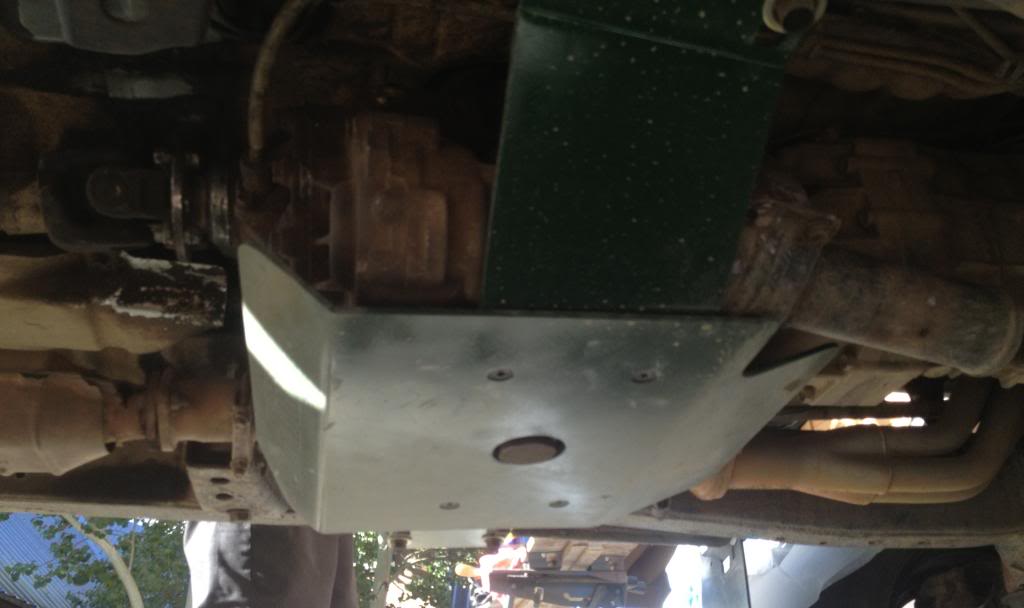
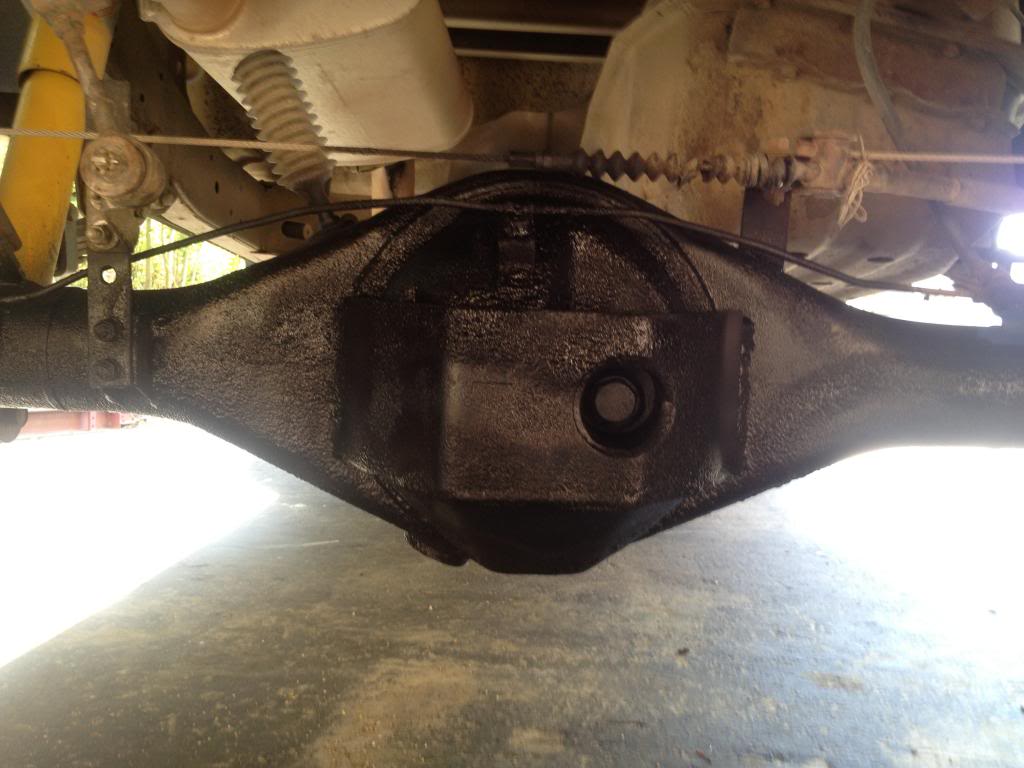
In the meantime I got some diff armor welded up and coated it with some rubber undercoating.
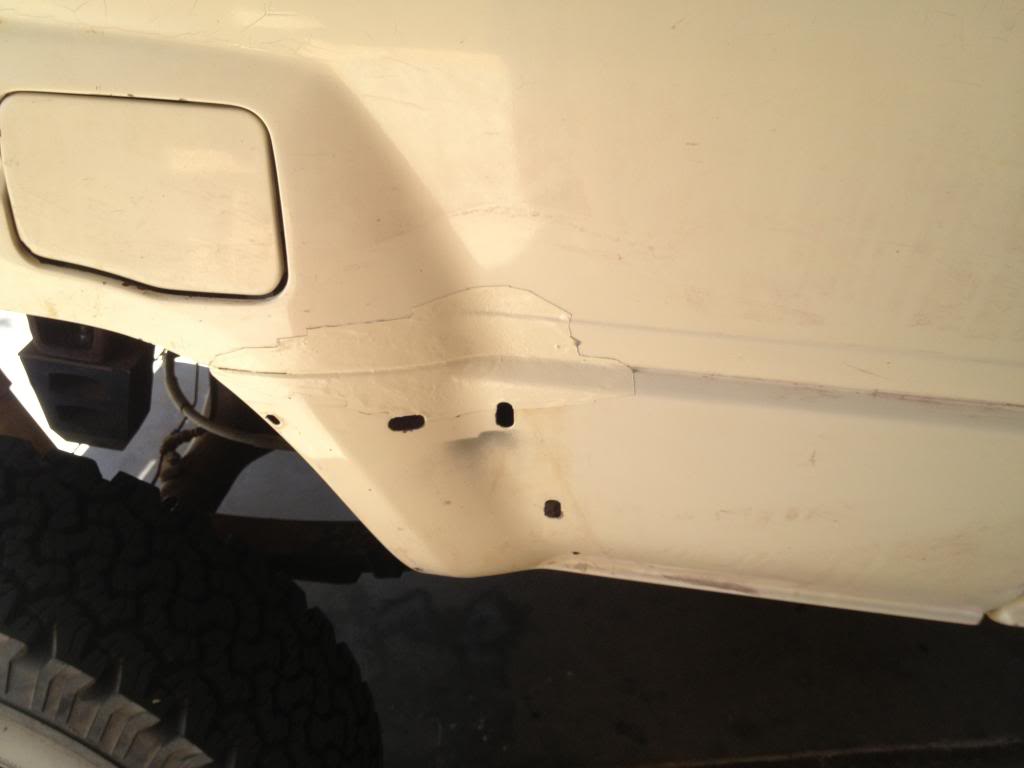
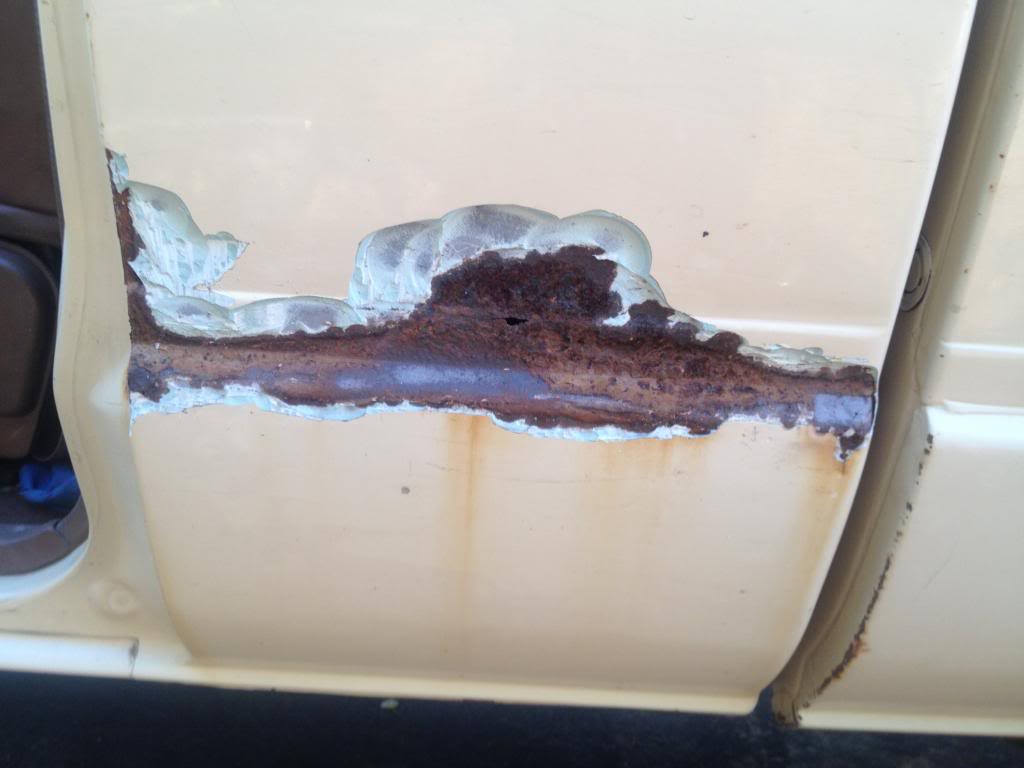
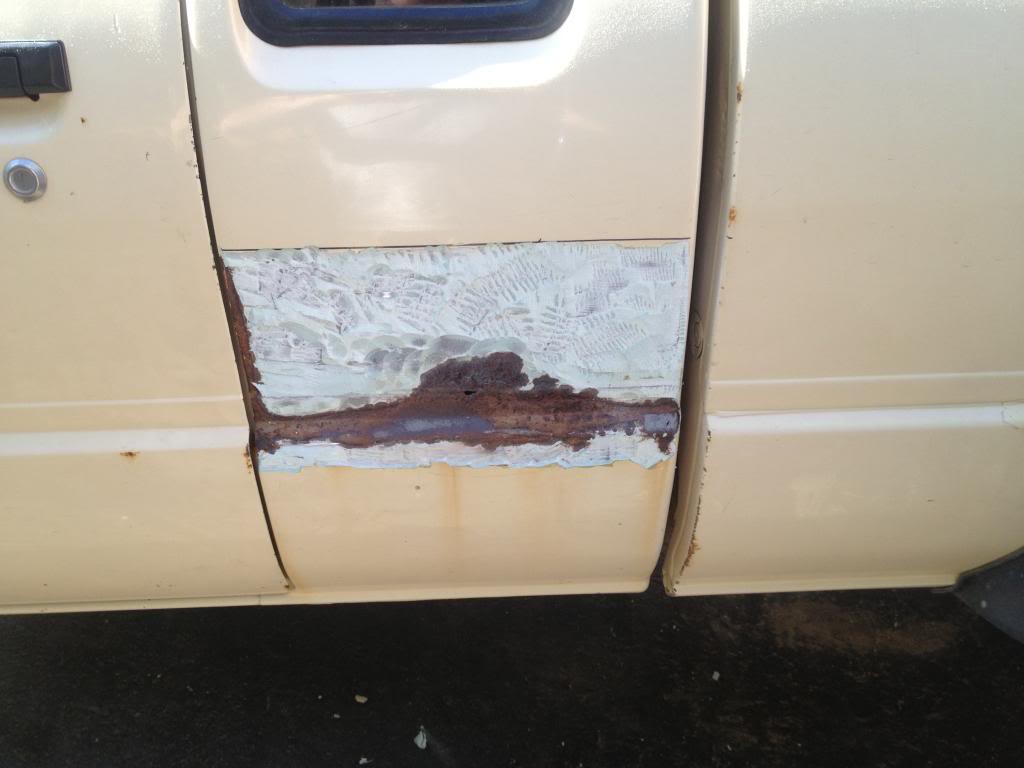
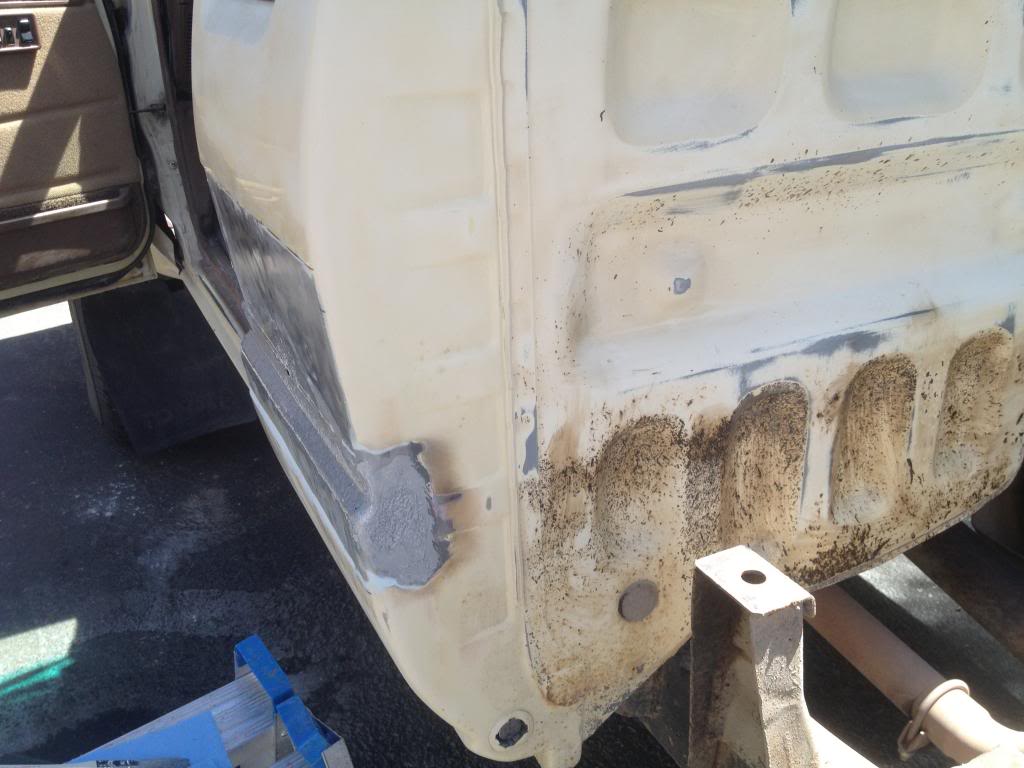
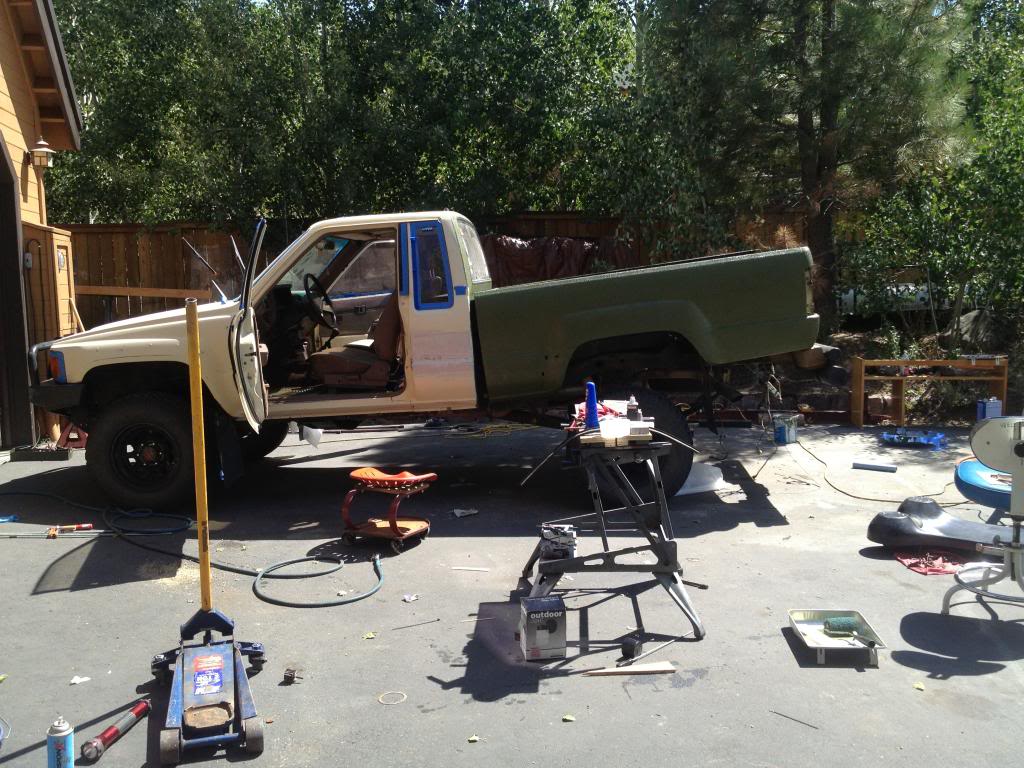
Now this brings me to where I am today. The cab seam is experiencing some not so nice rust, so I've tackled it once again. It didn't seem horrible at first, but for some reason the PO did a major Bondo job, it seems the whole side is covered in it. The rust also wraps around the cab, so I had to take the bed off to access it. With experience under my belt, I opted for POR-15 again.
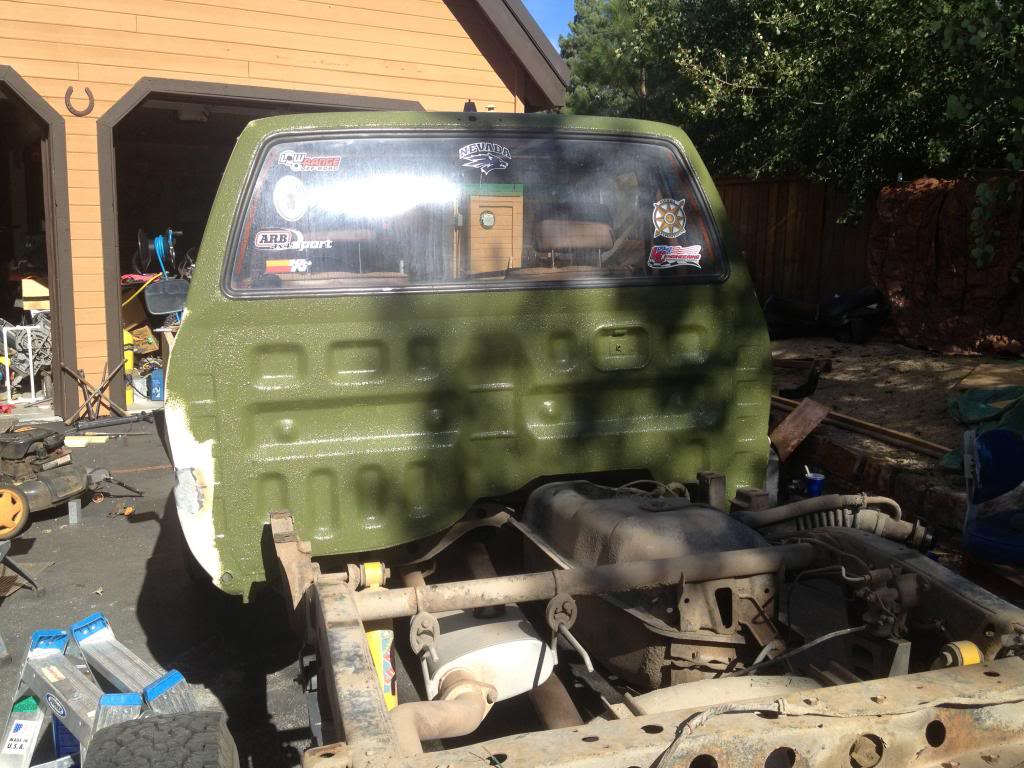
During this process and seeing how my paint has seen much better days and since everything was in pieces, I bit the bullet and decided to paint my whole truck with OD green Durabak.
I started painting today after about three days of sanding and other prep work. I was a little hesitant at first but everything seems good so far.
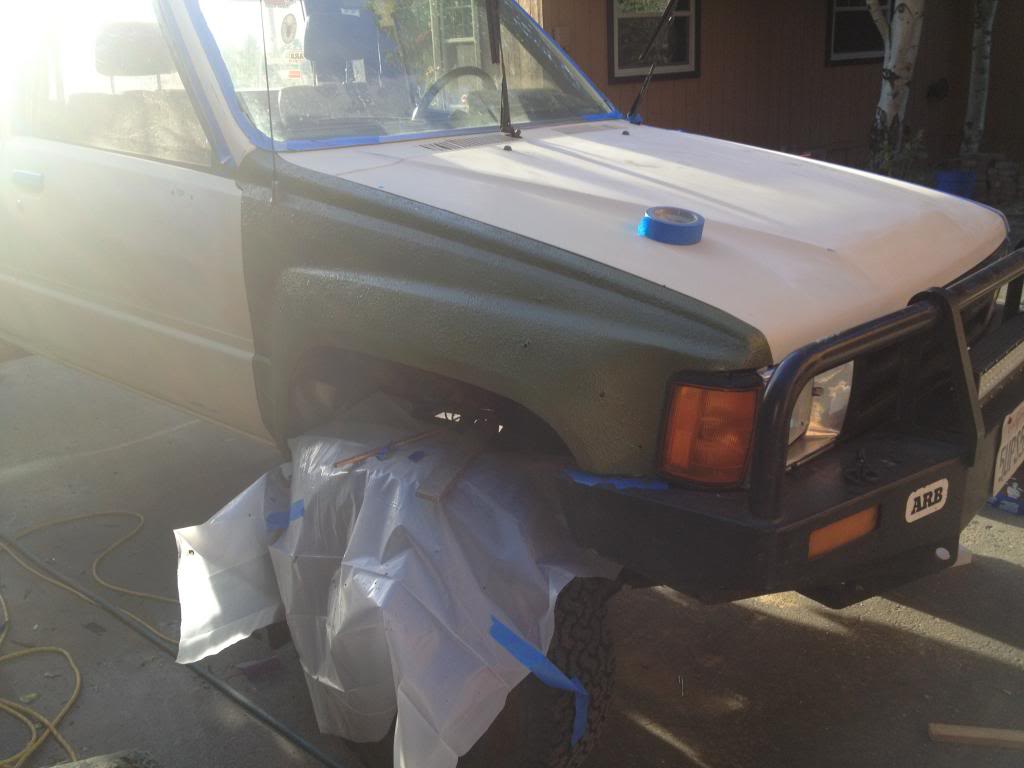
I should be done painting everything in the next few days and I'm excited to see how it's going to look! (I've done more mods than what I've shown, however I was lacking in the picture department, 'cause I know words are really interesting without some pics to back them up haha).
Before I go any further, here's how she stood

The last thing I did (pre-post) was install OME springs in the back, however I mistakenly got the wrong shackle which led to this, however SierraExpeditions was kind enough to swap me the right ones.


It's almost been a year since they've been on and they seem to be taking their time settling down (Yes I know a bed would help haha).

A short while after I installed some BJ spacers

Next on the list, I disguised myself among the ranks of TacomaWorld and purchased a 20" OKLED light bar rated at almost 10,000 lumens. A short time before, I did the Hella H4 headlight replacement because the stock headlights made me a danger to myself haha. The H4's were not only easy to install (except for removing the clip on grill
) but the light output is tons better than stock.

Some night pics, the low and high beam pictures don't do it justice.
Low

High

High plus light bar

After getting hung up on the stock cross member more times than I would like, I hopped on the BudBuilt bandwagon.


As of now, I've decided to tackle the unsightly rust issues that I've been plagued with. I decided to attempt a college kid version of a fix which consisted of POR-15 and some matching paint. Being the first time I've done this, it came out...not so well, however I did have some help from the neighbor's cat. I did a total of four patches on the bed, however I've spared you from all the pictures haha.


In the meantime I got some diff armor welded up and coated it with some rubber undercoating.

Now this brings me to where I am today. The cab seam is experiencing some not so nice rust, so I've tackled it once again. It didn't seem horrible at first, but for some reason the PO did a major Bondo job, it seems the whole side is covered in it. The rust also wraps around the cab, so I had to take the bed off to access it. With experience under my belt, I opted for POR-15 again.


During this process and seeing how my paint has seen much better days and since everything was in pieces, I bit the bullet and decided to paint my whole truck with OD green Durabak.

I started painting today after about three days of sanding and other prep work. I was a little hesitant at first but everything seems good so far.


I should be done painting everything in the next few days and I'm excited to see how it's going to look! (I've done more mods than what I've shown, however I was lacking in the picture department, 'cause I know words are really interesting without some pics to back them up haha).
Last edited by Mr. Gold444; 08-18-2014 at 09:34 AM.

 08-17-2013, 07:50 AM
#3
Registered User
iTrader: (1)
Join Date: Oct 2011
Location: Tahoe, California
Posts: 987
Likes: 0
Received 0 Likes
on
0 Posts
Her Erik? I think we talked before but if you ever want to work on the trucks or go 4wheeling sometime, let me know! I also see you riding around with the Taco with the ARB bull bar up front.. However i'm moving to Idaho next week so we may have to put that off.. Keep up the good work!
08-17-2013, 02:57 PM
#4
Registered User
Thread Starter
Join Date: Jul 2011
Location: Truckee, CA
Posts: 43
Likes: 0
Received 0 Likes
on
0 Posts
Her Erik? I think we talked before but if you ever want to work on the trucks or go 4wheeling sometime, let me know! I also see you riding around with the Taco with the ARB bull bar up front.. However i'm moving to Idaho next week so we may have to put that off.. Keep up the good work!
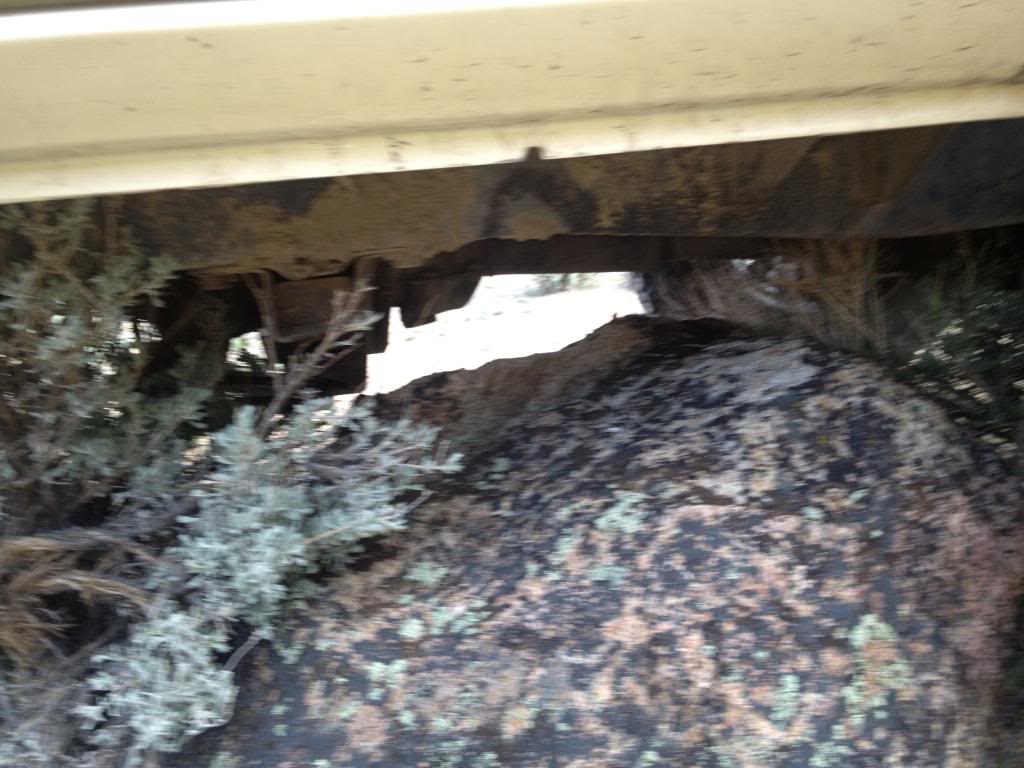
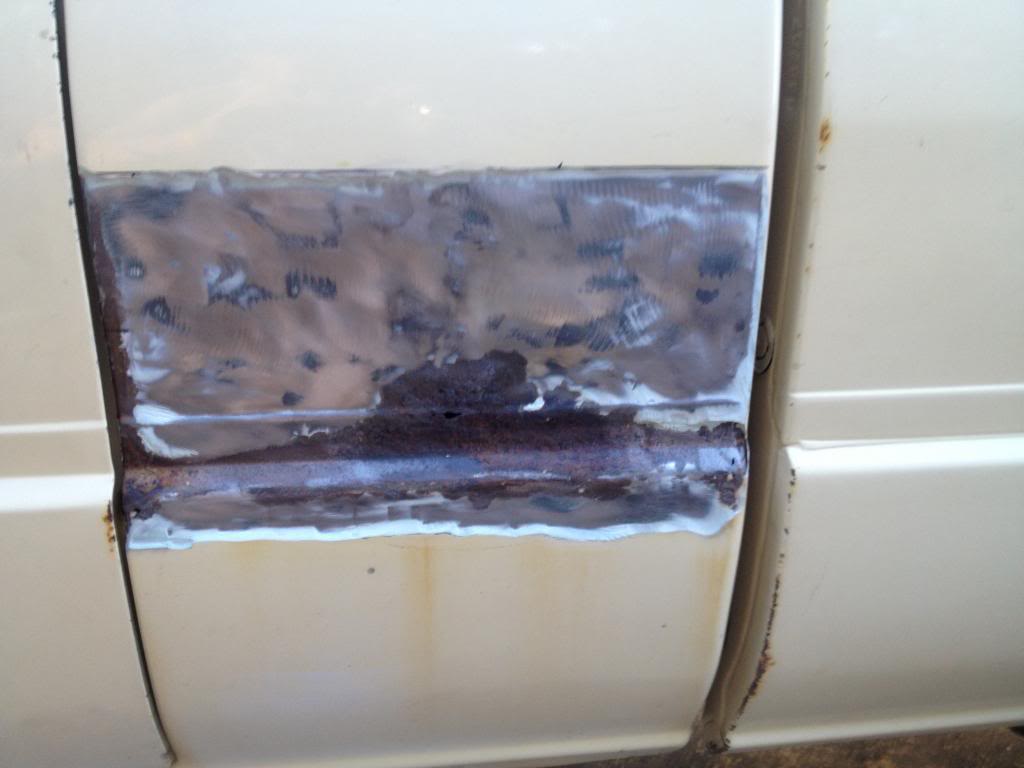
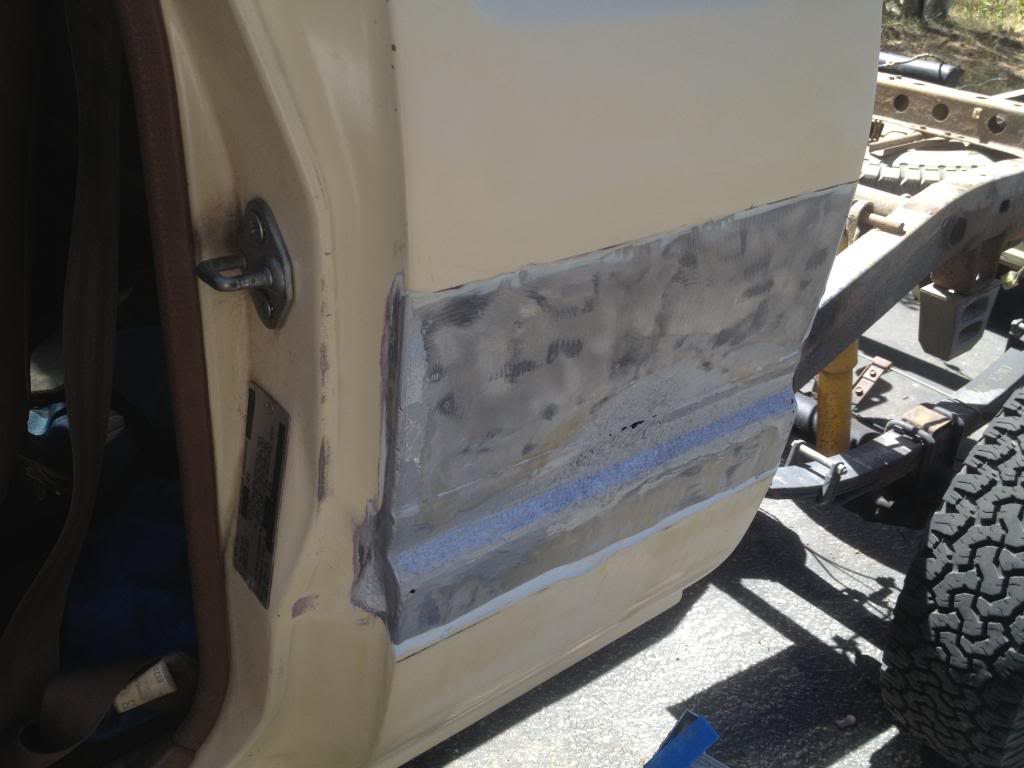
Anyway here's the latest progress. To patch up the valley of Bondo, we tack welded this panel over it. It may not be awfully purty, but it works. A layer of Bondo will go over the panel to level things out.

 08-19-2013, 07:07 PM
#5
Registered User
Thread Starter
Join Date: Jul 2011
Location: Truckee, CA
Posts: 43
Likes: 0
Received 0 Likes
on
0 Posts
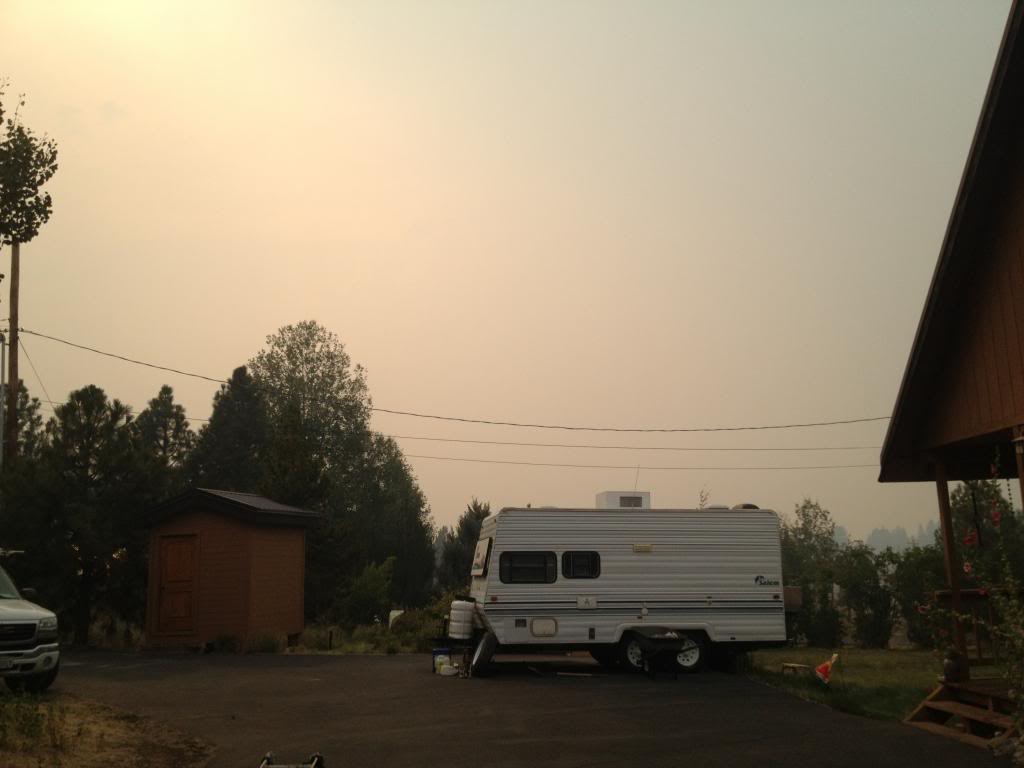
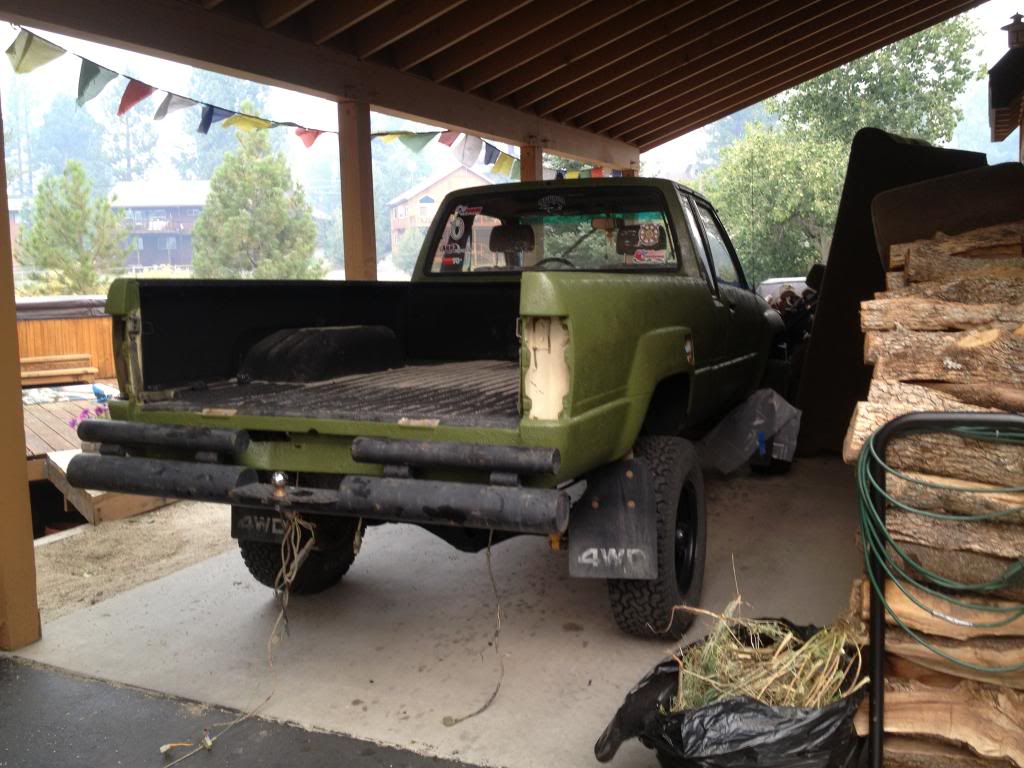
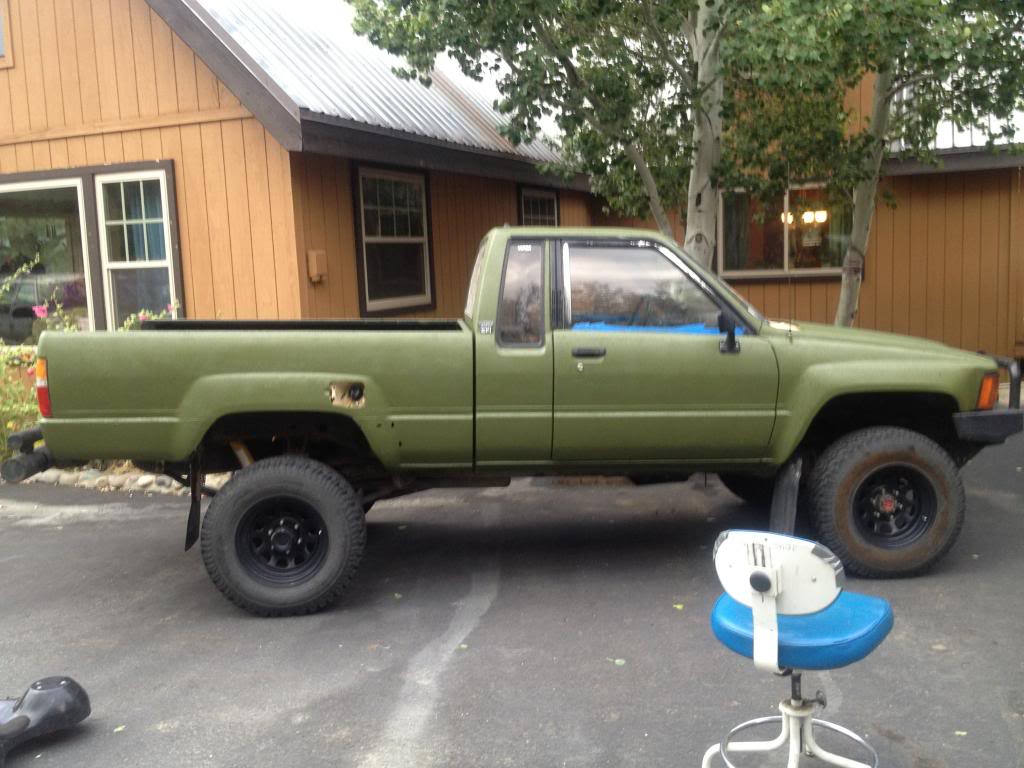
Well after battling the on and off rain and this plume of smoke these last few days, I am just about finished! It's been a lot of work, but I'm pleased with the outcome. I still have a few light coats to apply along with minor touch up.


Last edited by Mr. Gold444; 08-18-2014 at 09:35 AM.
08-18-2014, 10:13 AM
#7
Registered User
Thread Starter
Join Date: Jul 2011
Location: Truckee, CA
Posts: 43
Likes: 0
Received 0 Likes
on
0 Posts
My latest progress has been quite a journey up to this point. Before I go any further, here are some more mods from these last few months.
Installation of Marlin�s short shifter
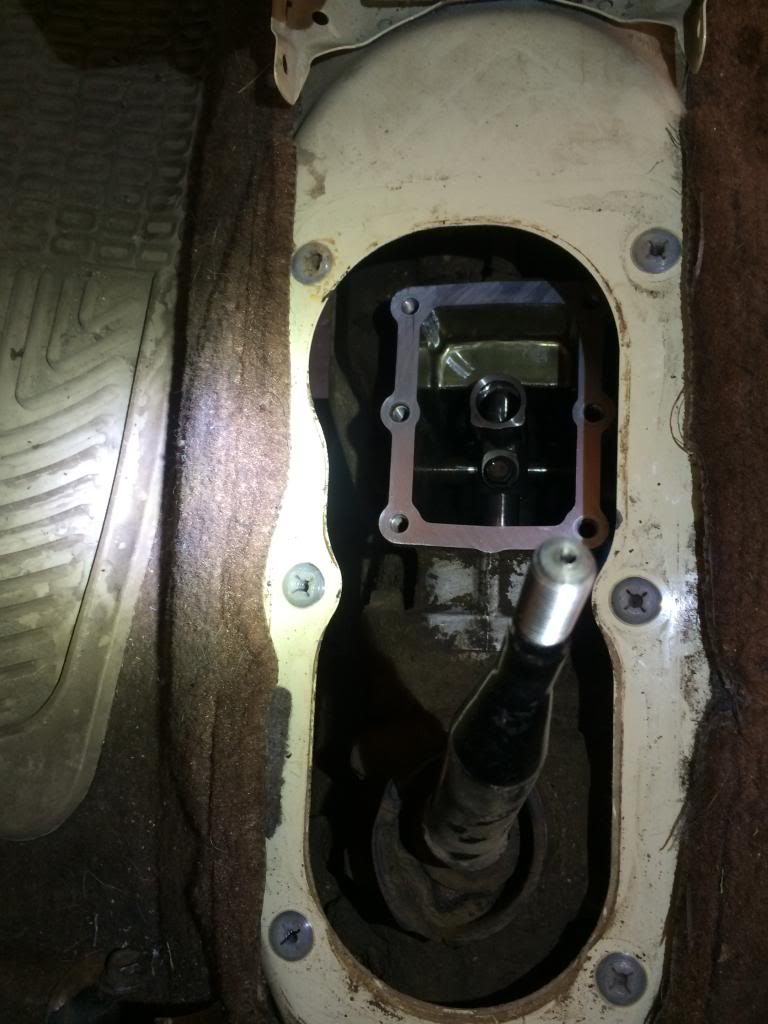
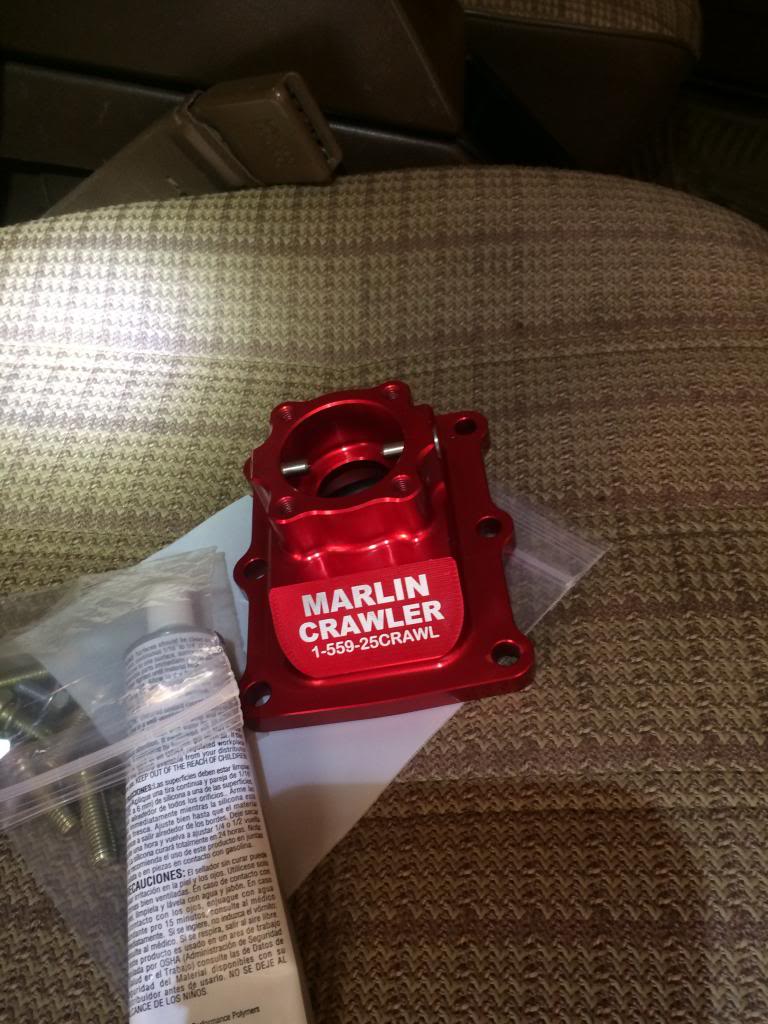
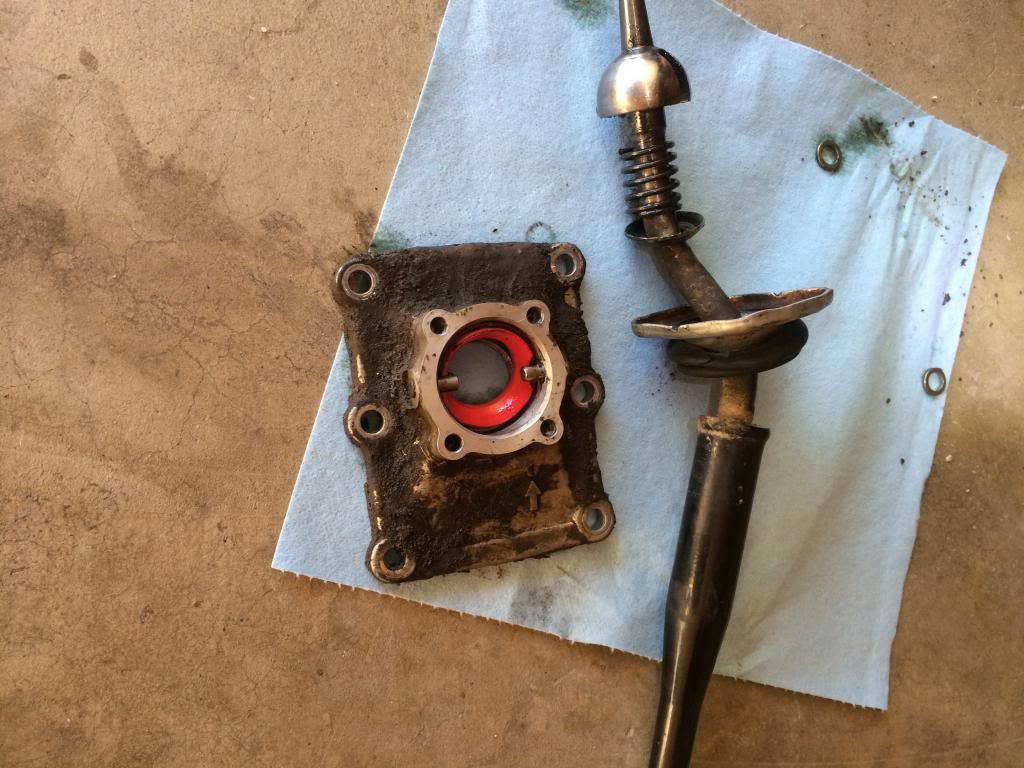
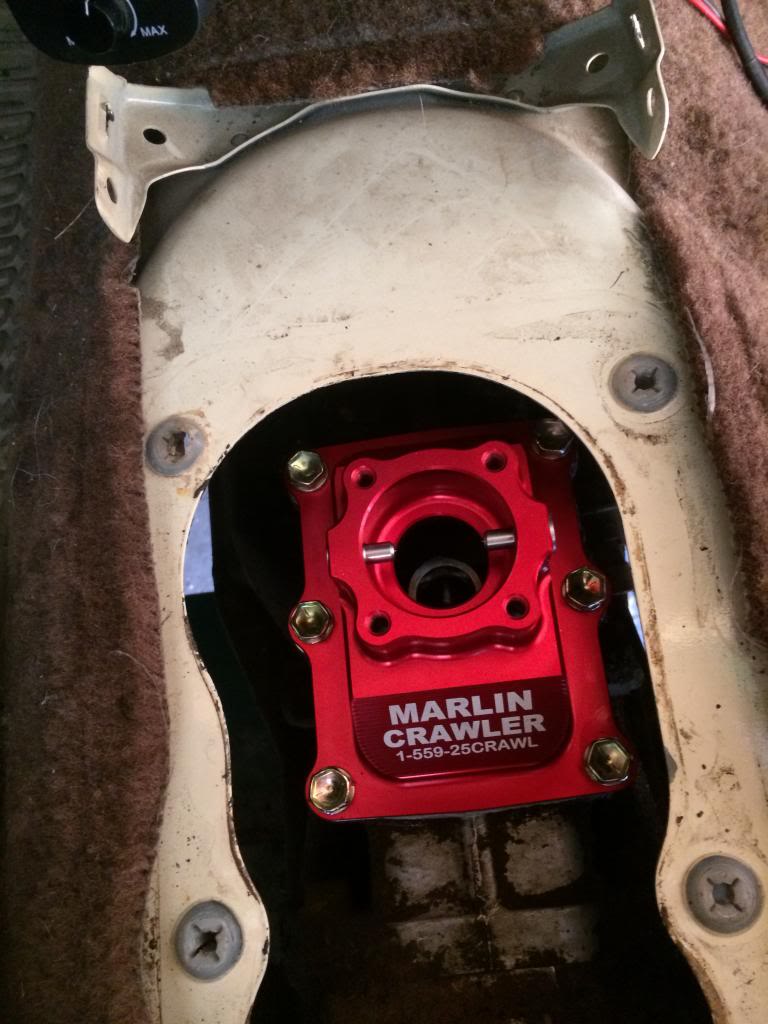
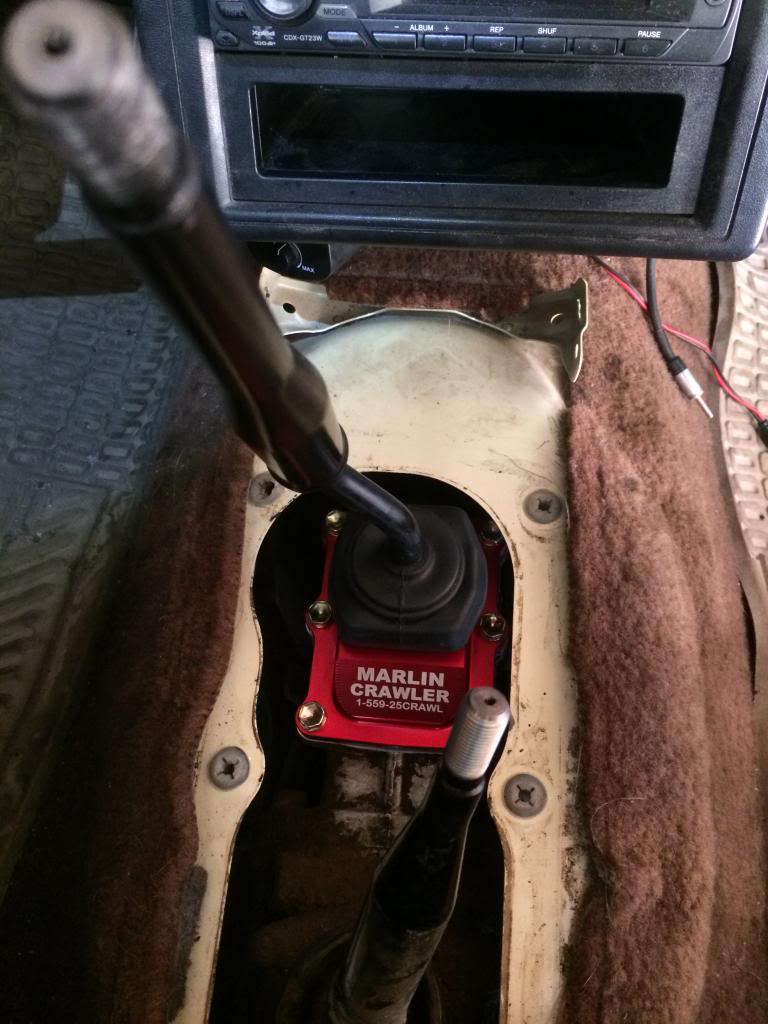
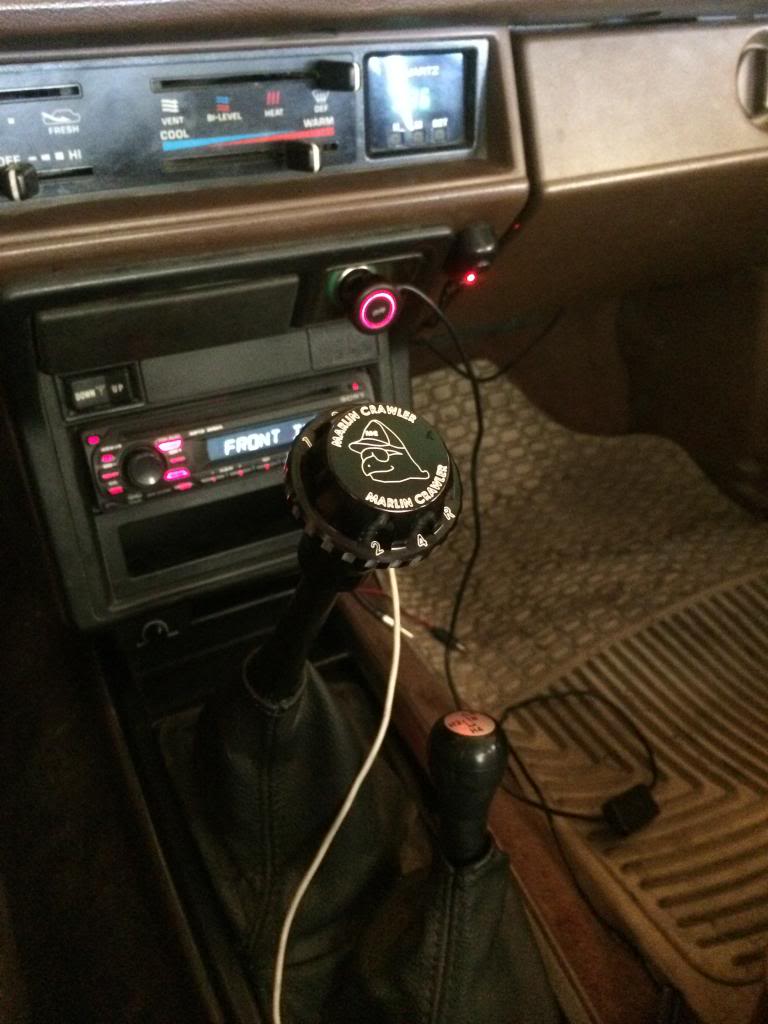
My only complaint with the new shift knob is that it gets blazing hot in the sunlight. I might have to invest in a sock to cover it up when I park in the sun.
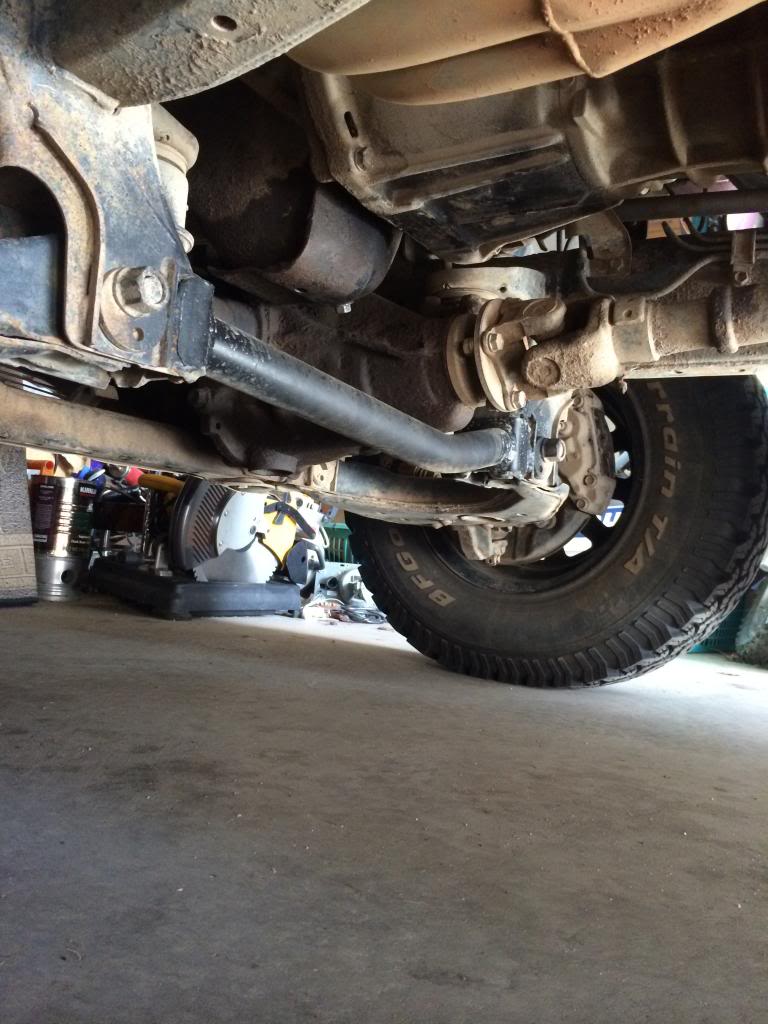
Trussed the frame with the Total Chaos truss
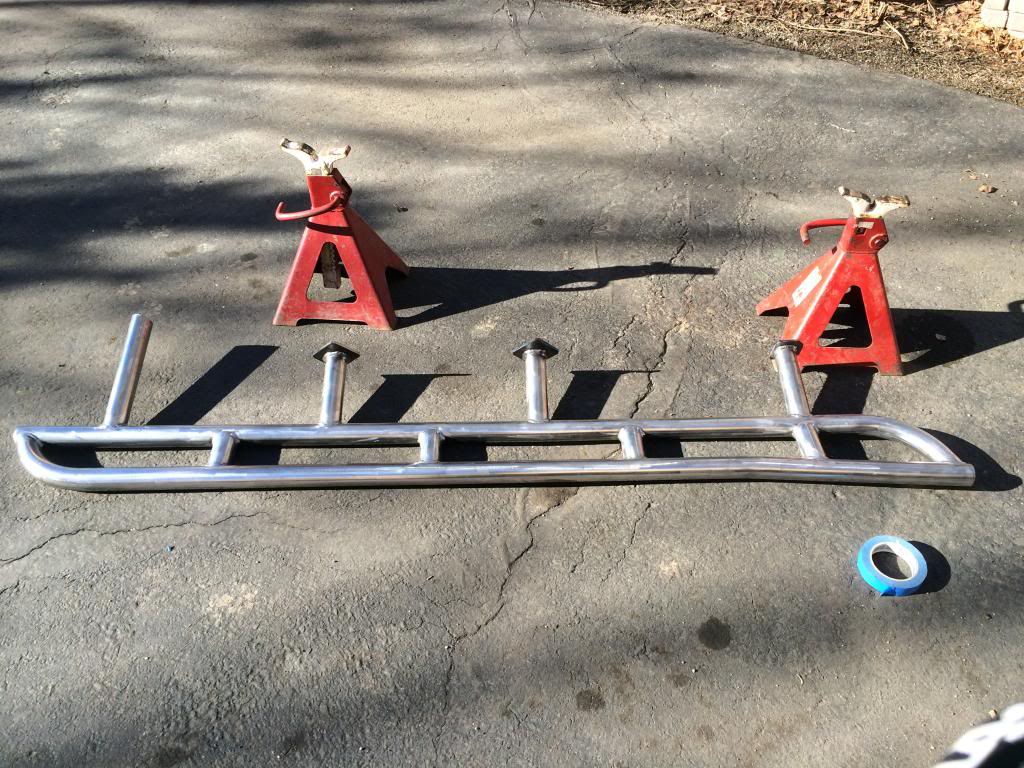
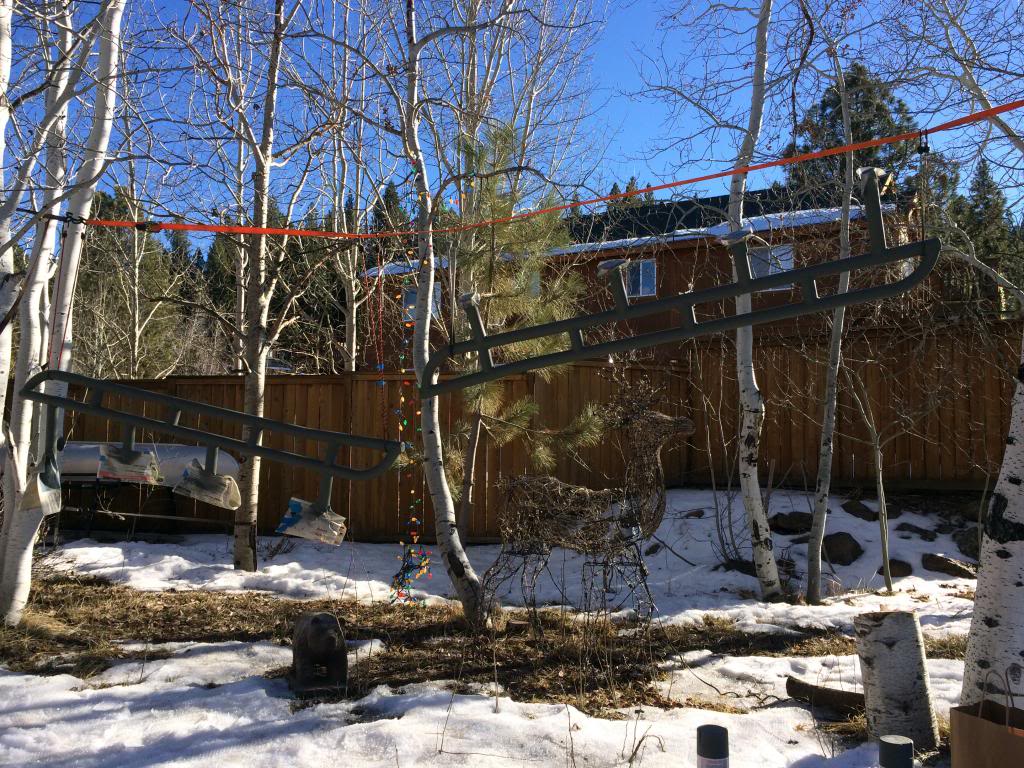
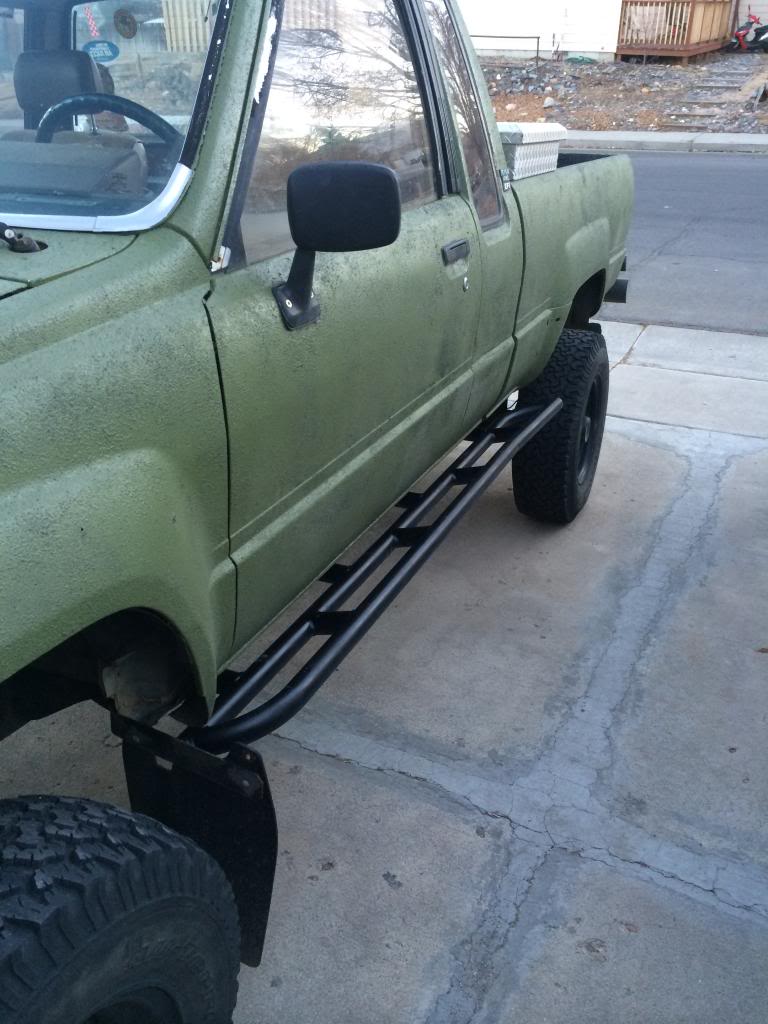
Picked up a set of sliders from Stubbs Welding
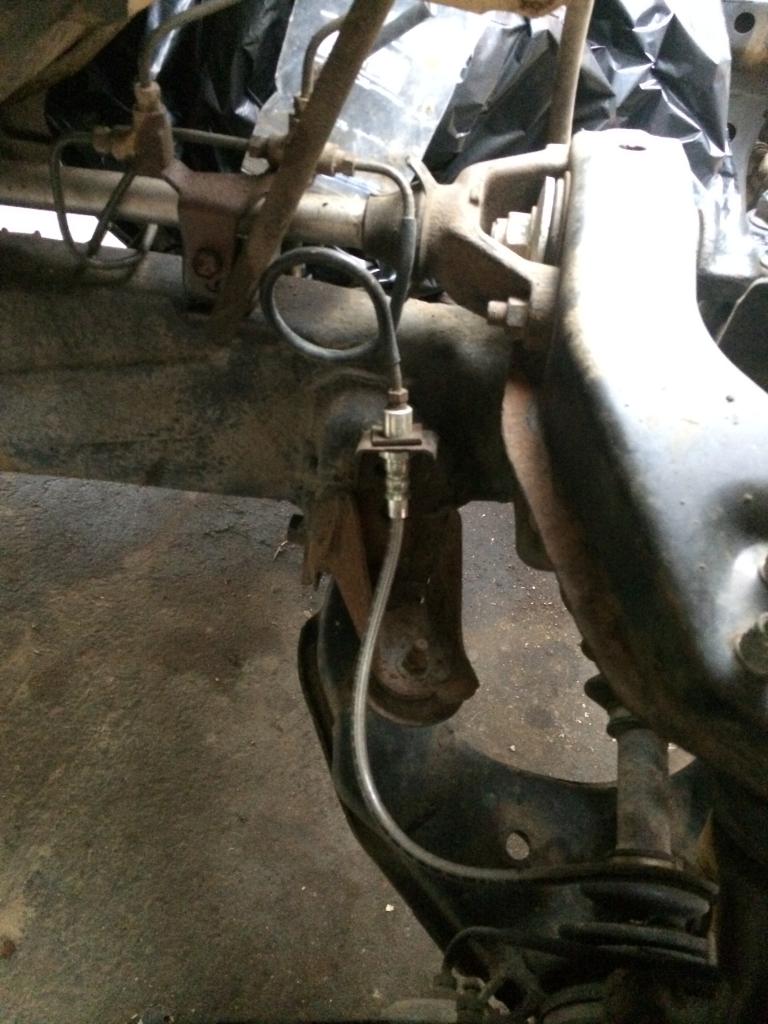
Installed stainless brake lines all around
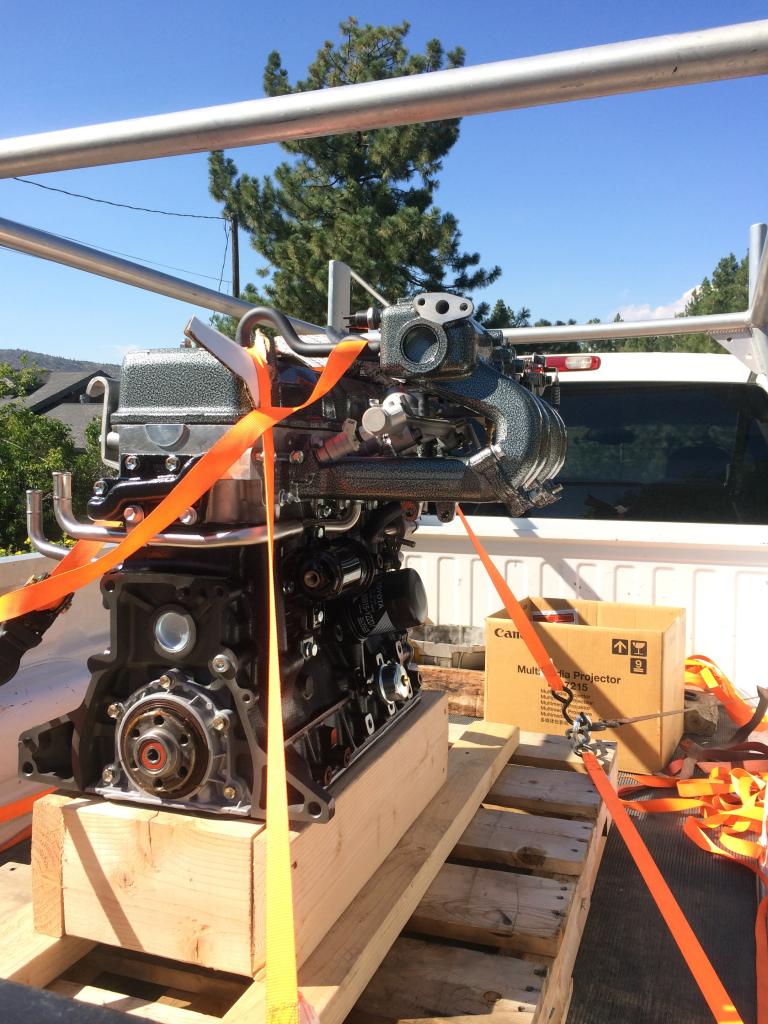
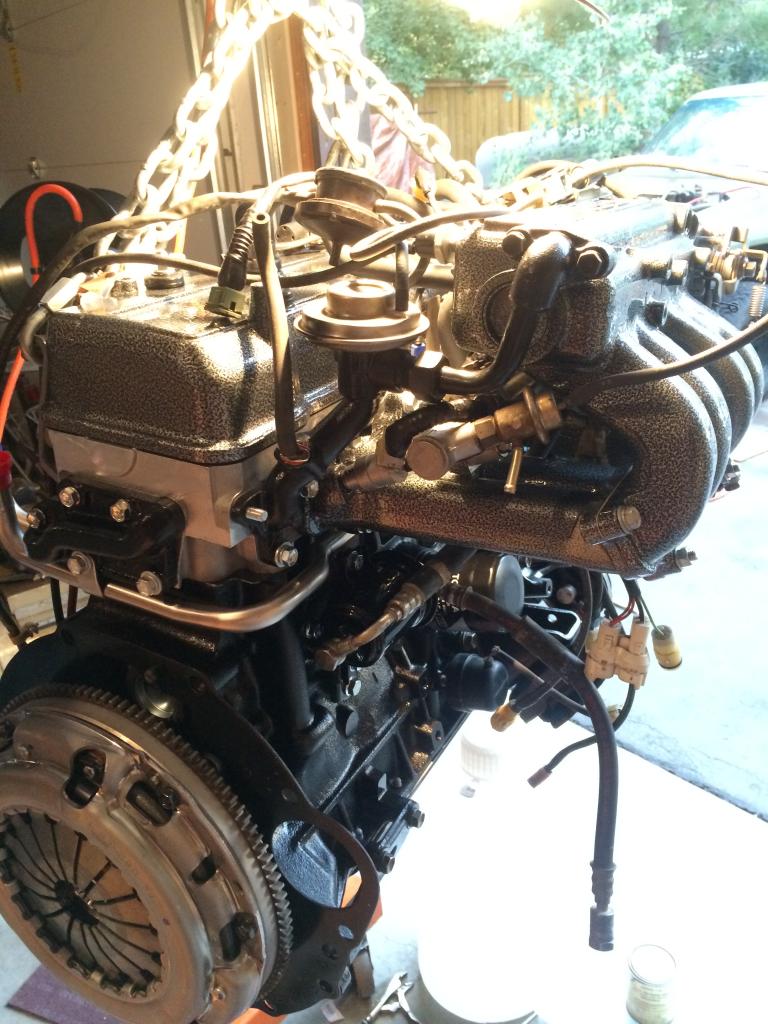
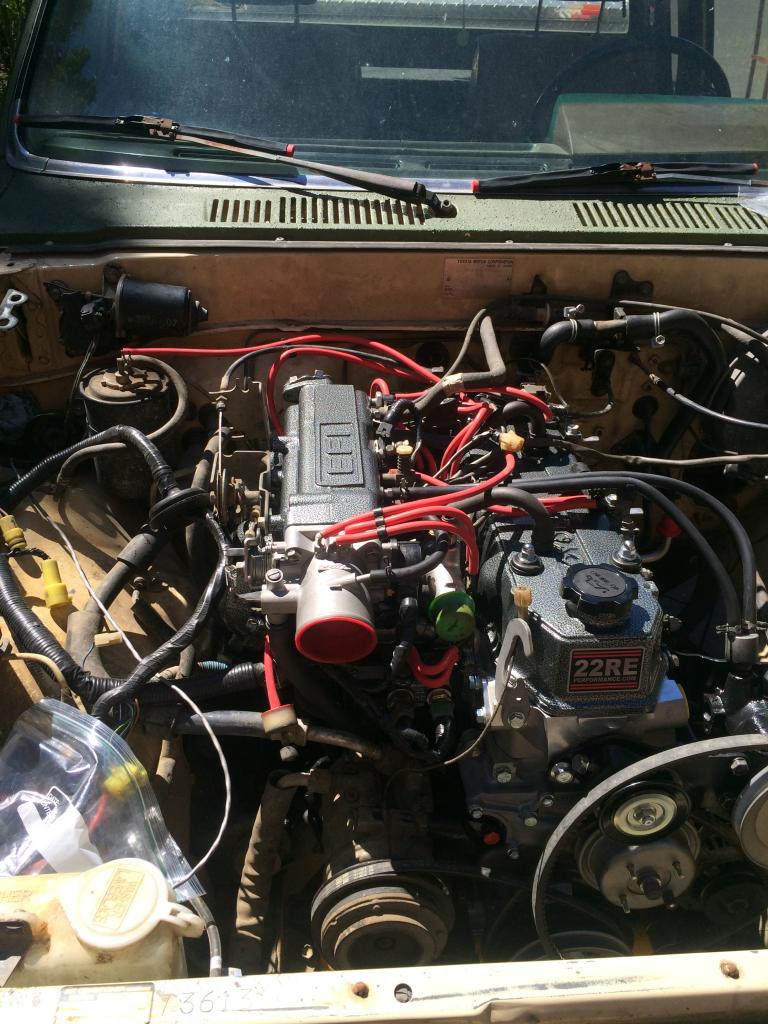
And here lies the latest project. Due to extraneous medical conditions I was unable to drive for three months. With that being said we opted to have the engine rebuilt from 22RE Performance.
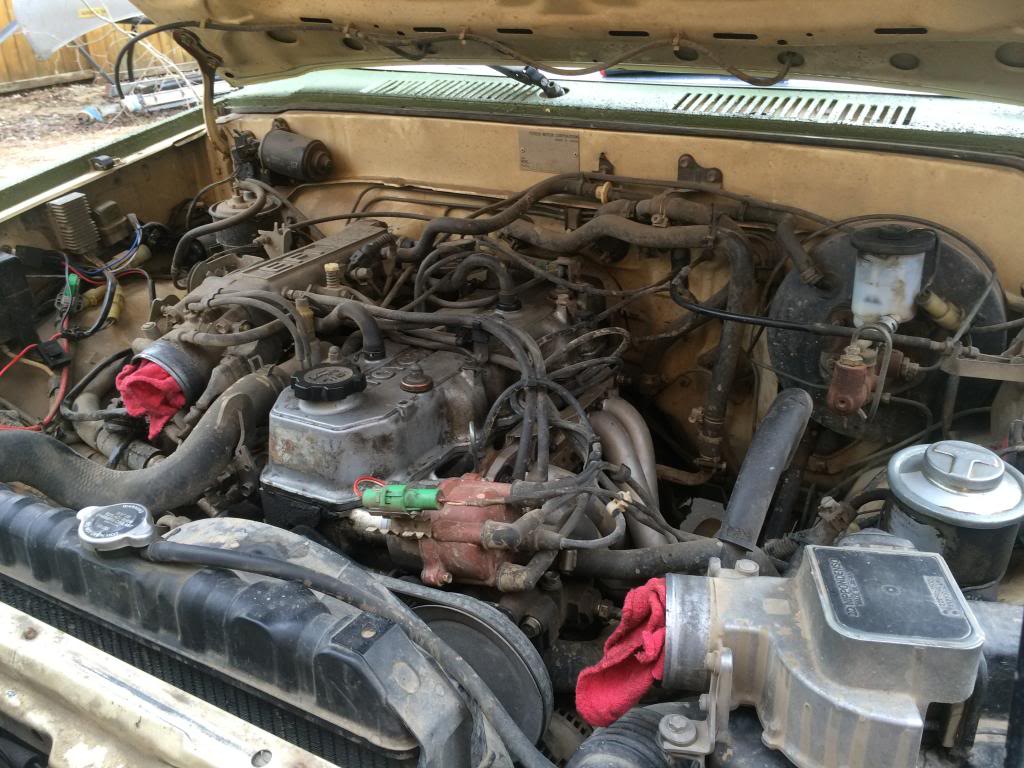
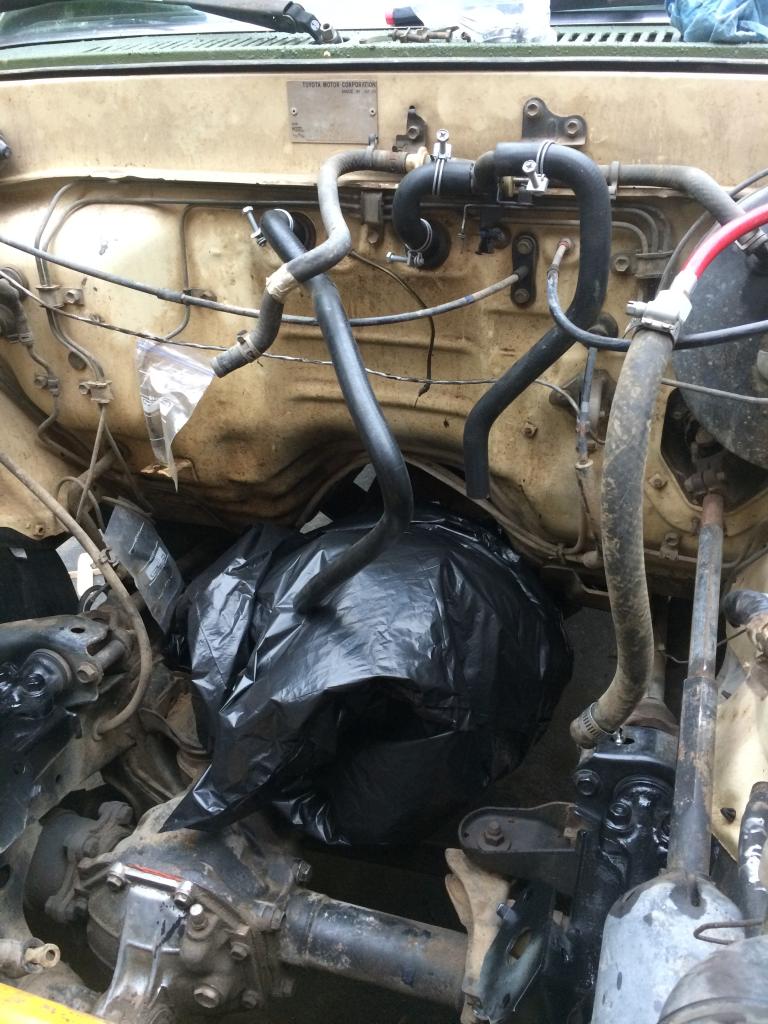
I have dozens of pictures during the removal but I�m just showing the gist of it

Took the engine down to Chico April 17th
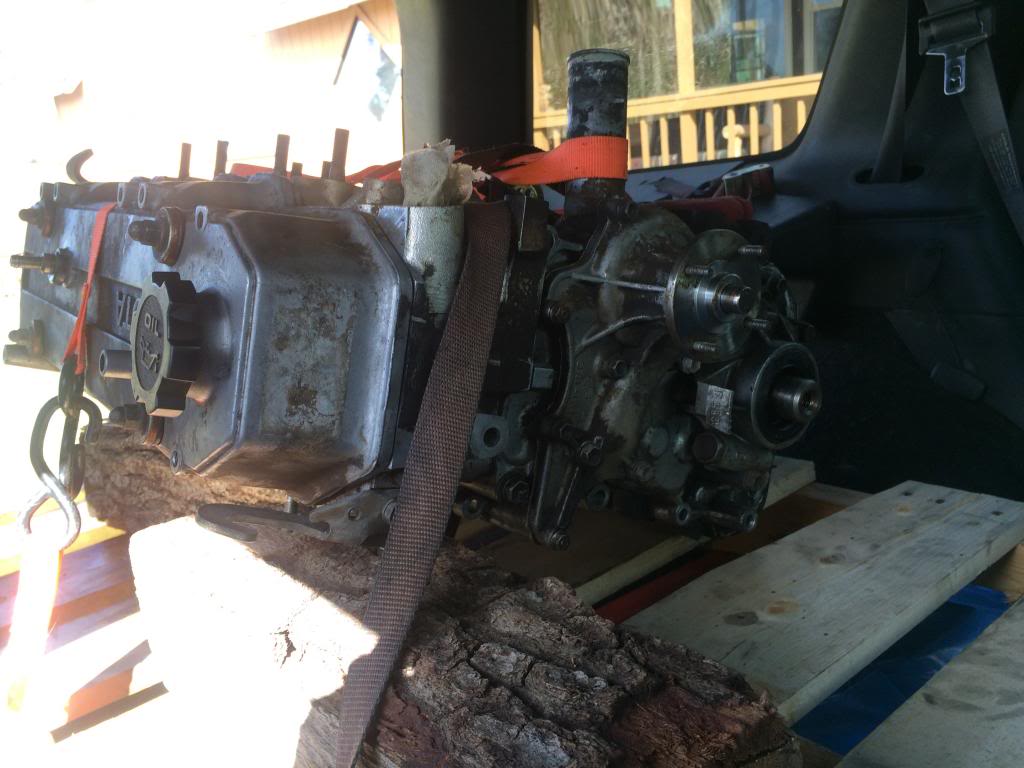
Got it back August 1st
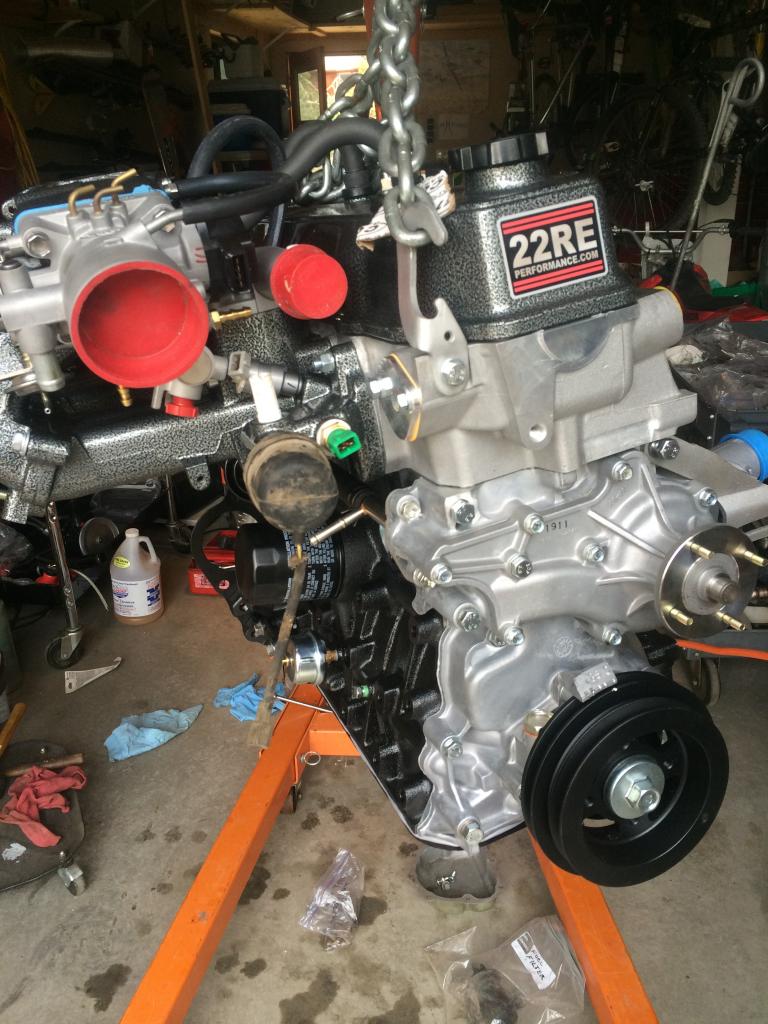
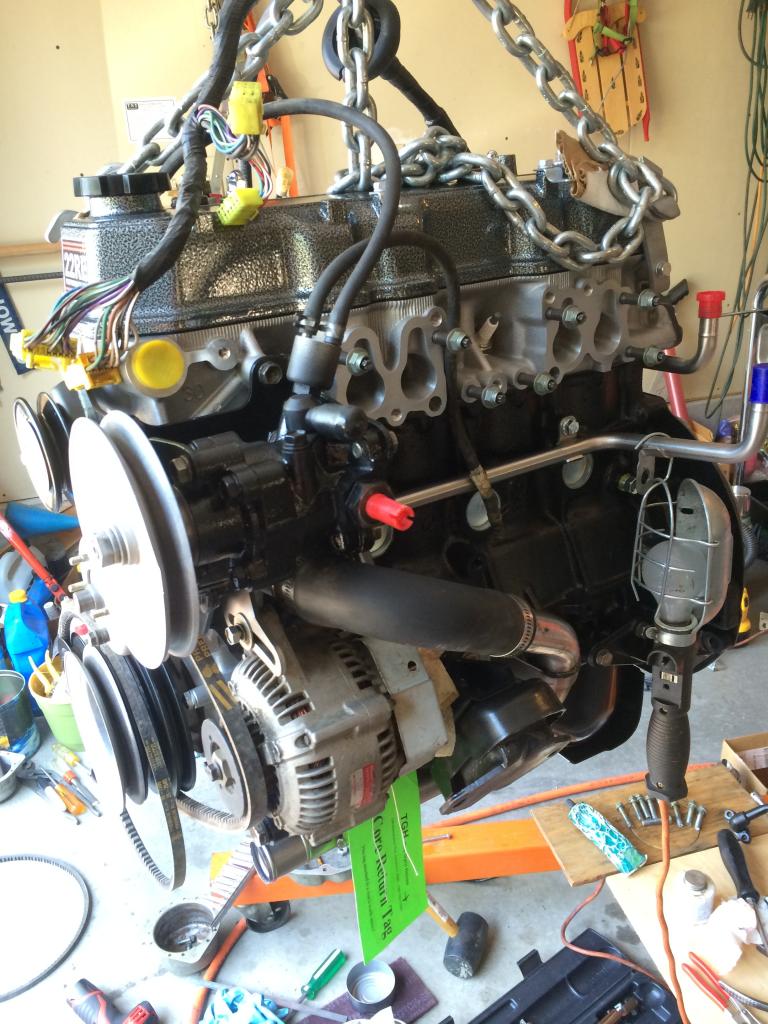
Painted just about any small piece we could
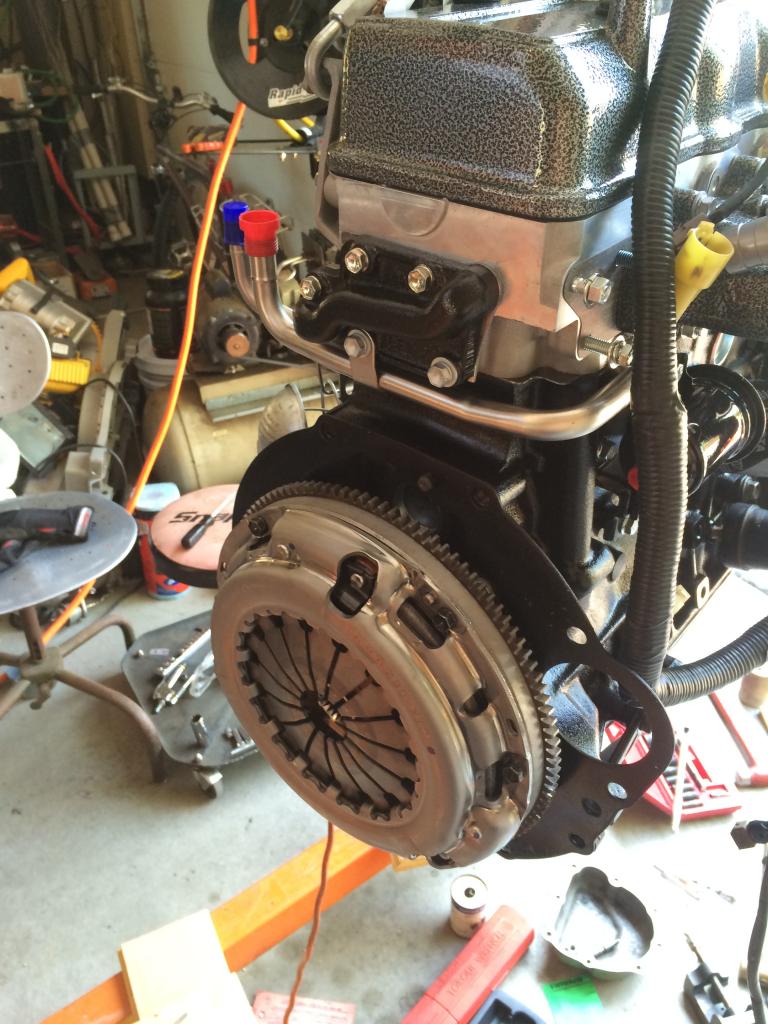
New heavy duty clutch
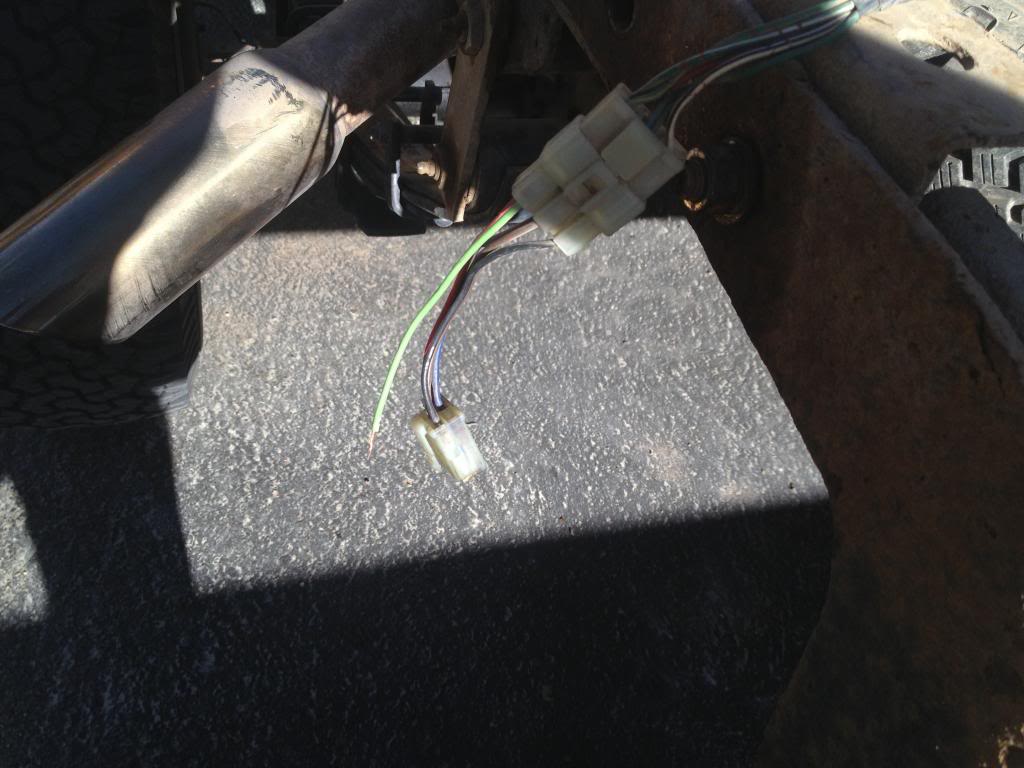
ECU harness
Installed new front seal and gasket for the transmission. New heater hoses also.
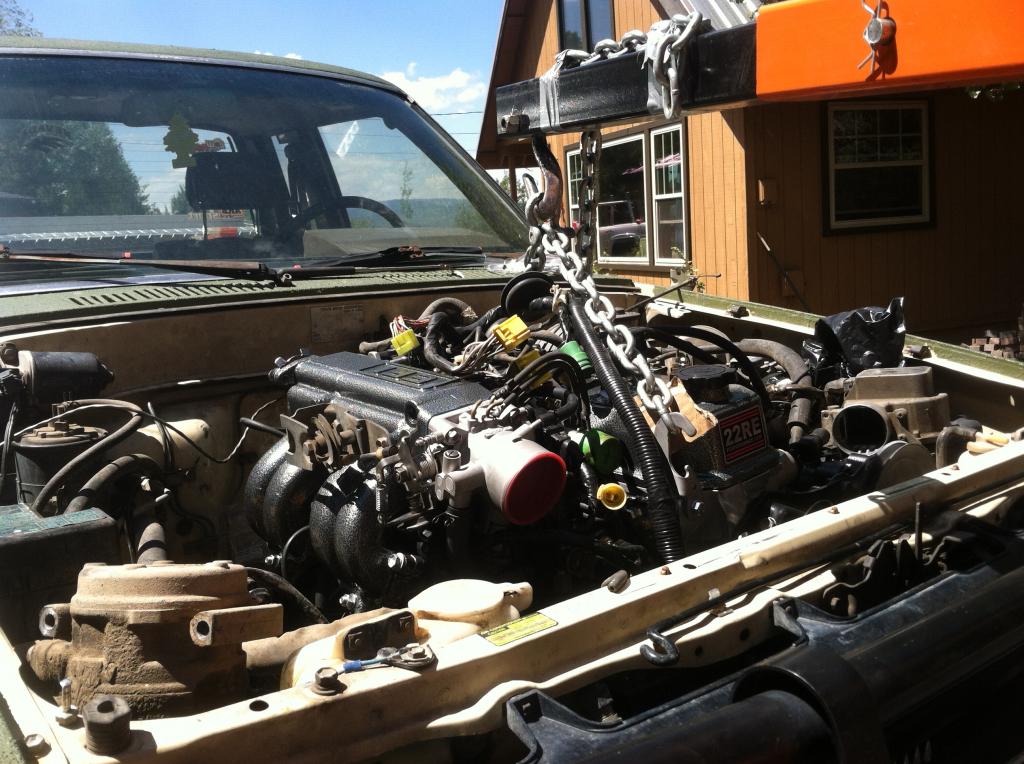
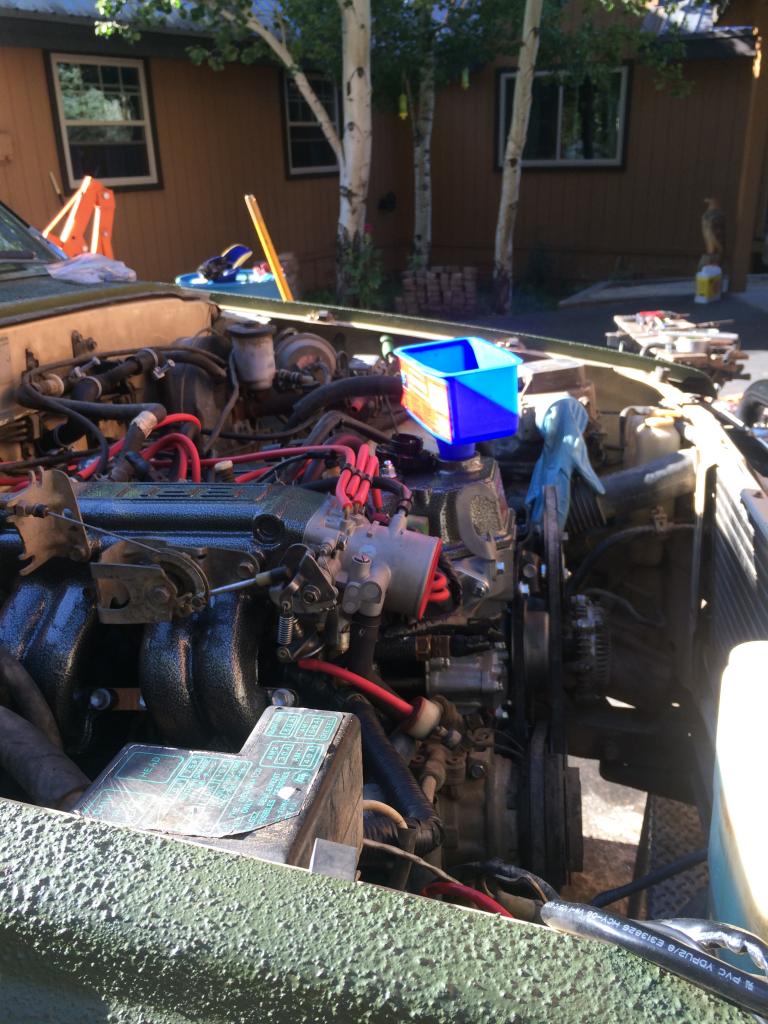
Dropped her in about a week ago
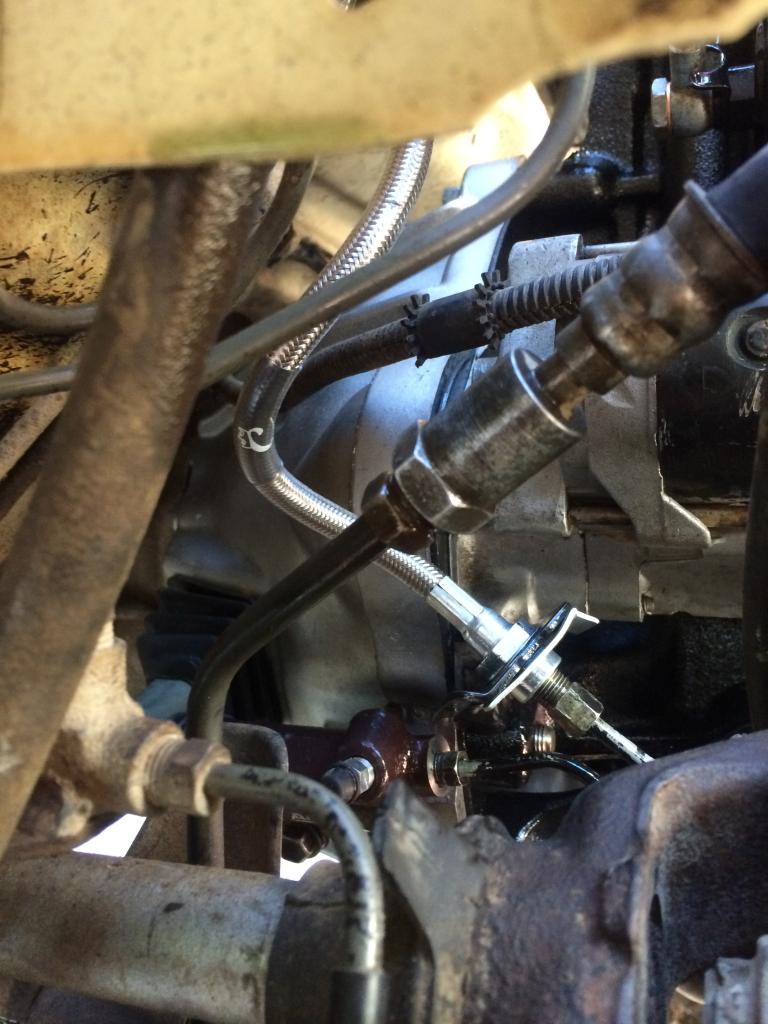
New slave cylinder with stainless line from Marlin. Also painted the bellhousing.
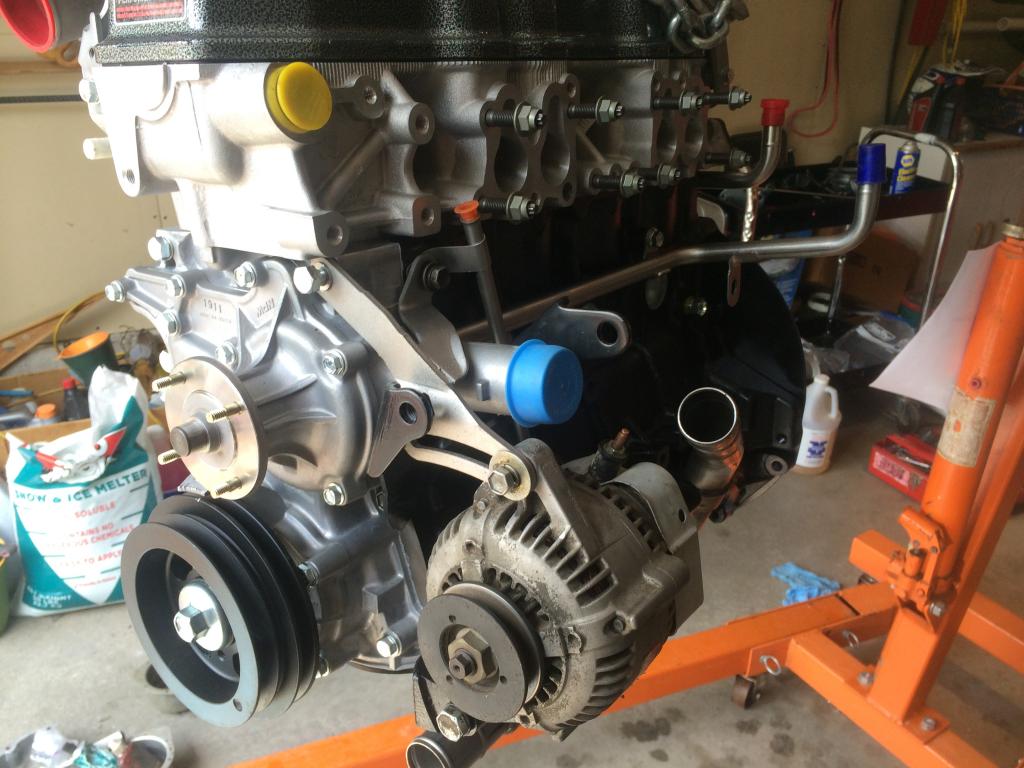
While I was at I also put in new contacts for the starter and new brushes for the alternator.

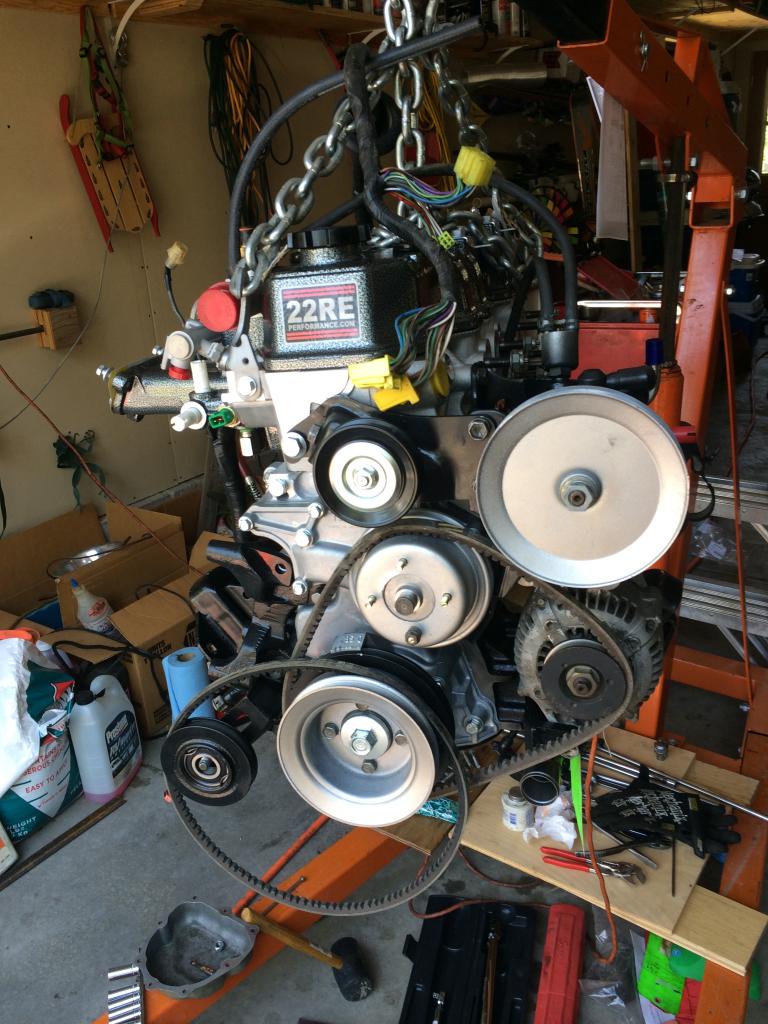
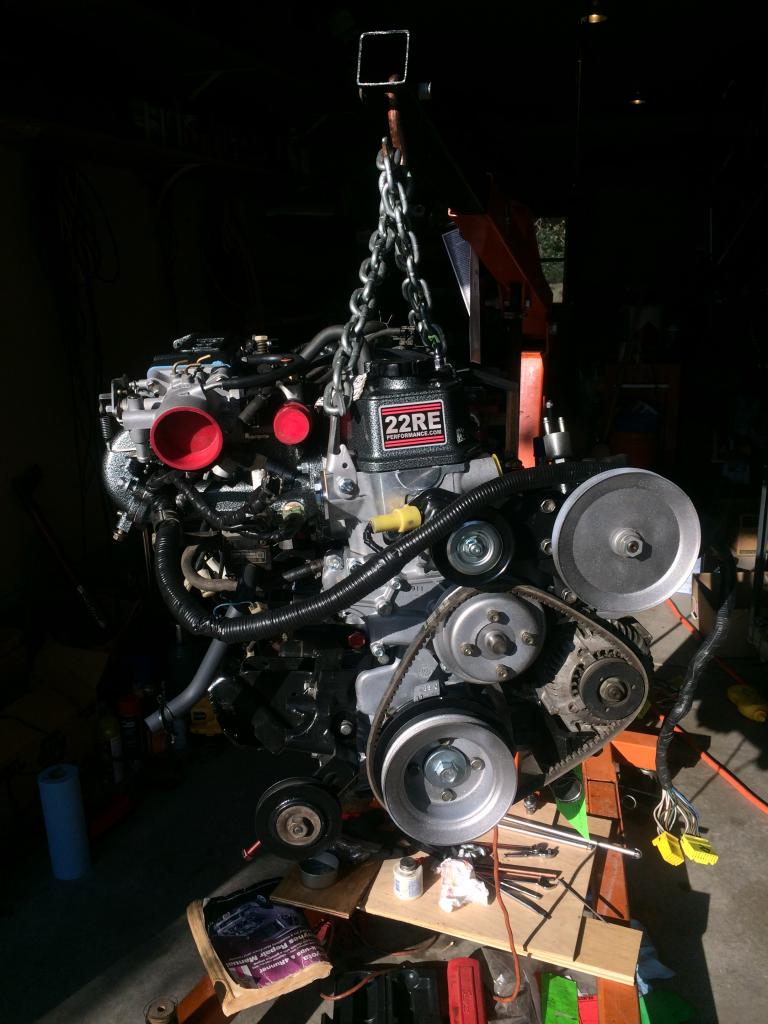
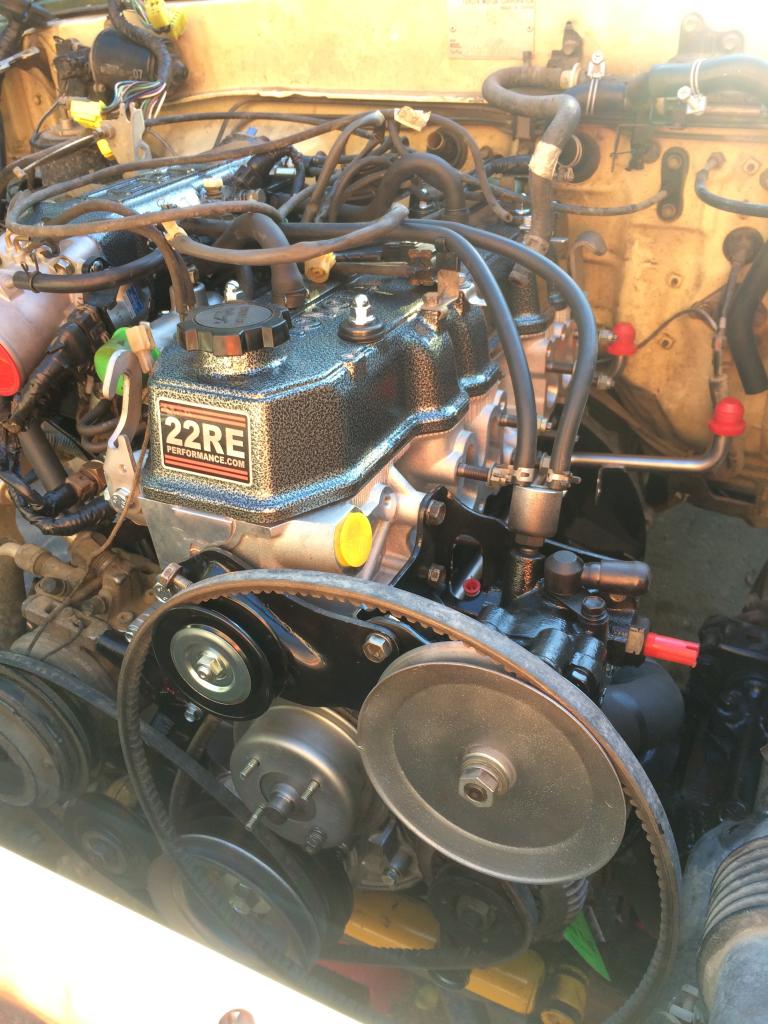
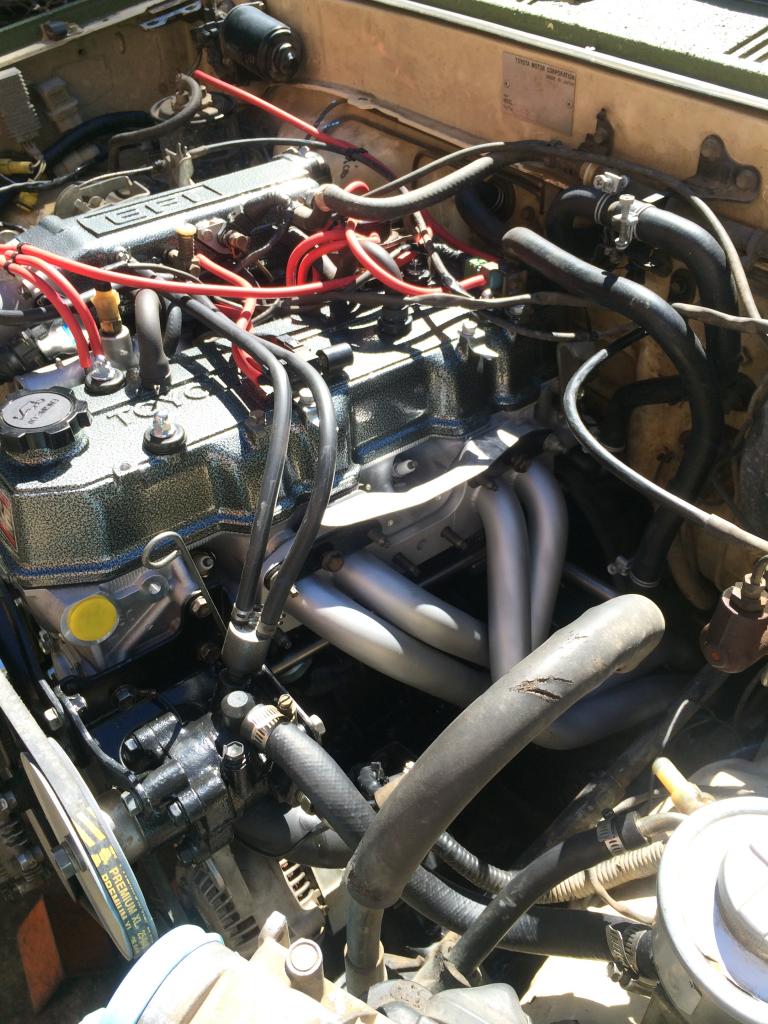
The last steps of installation
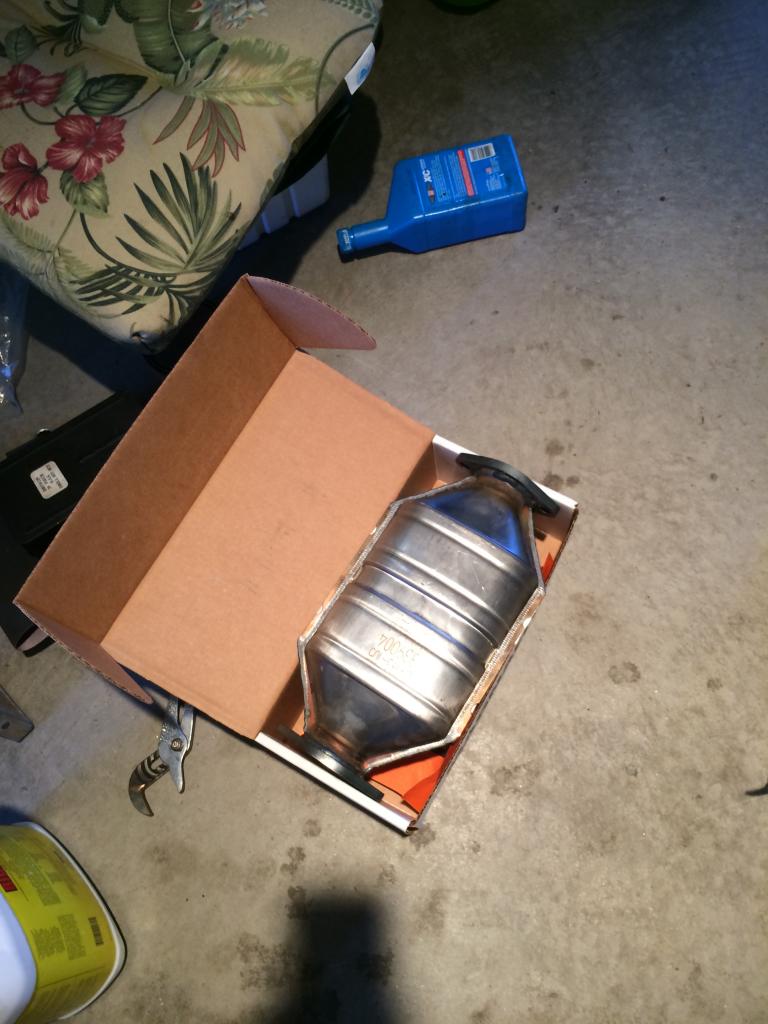
New cat to match header and exhaust
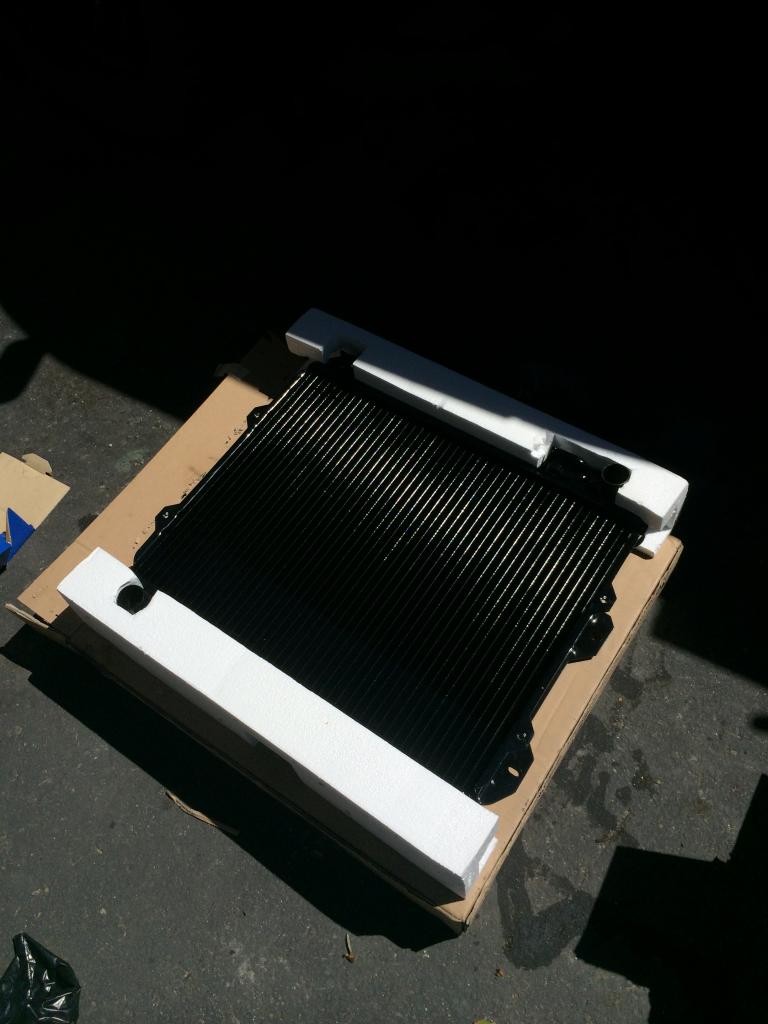
New radiator
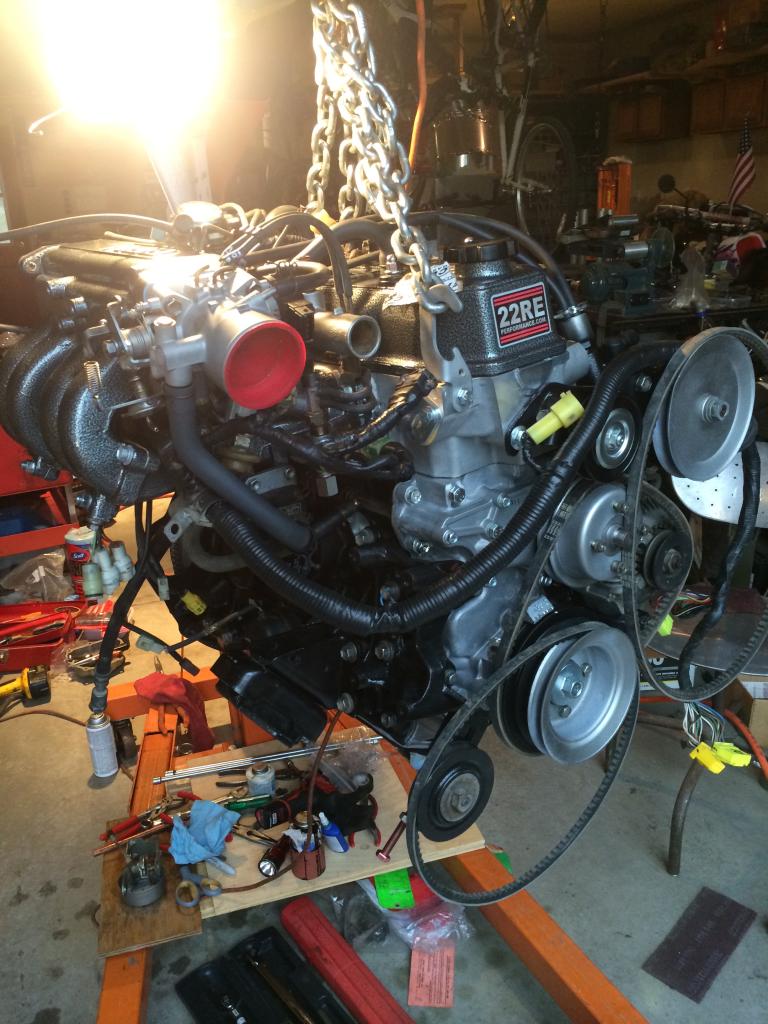
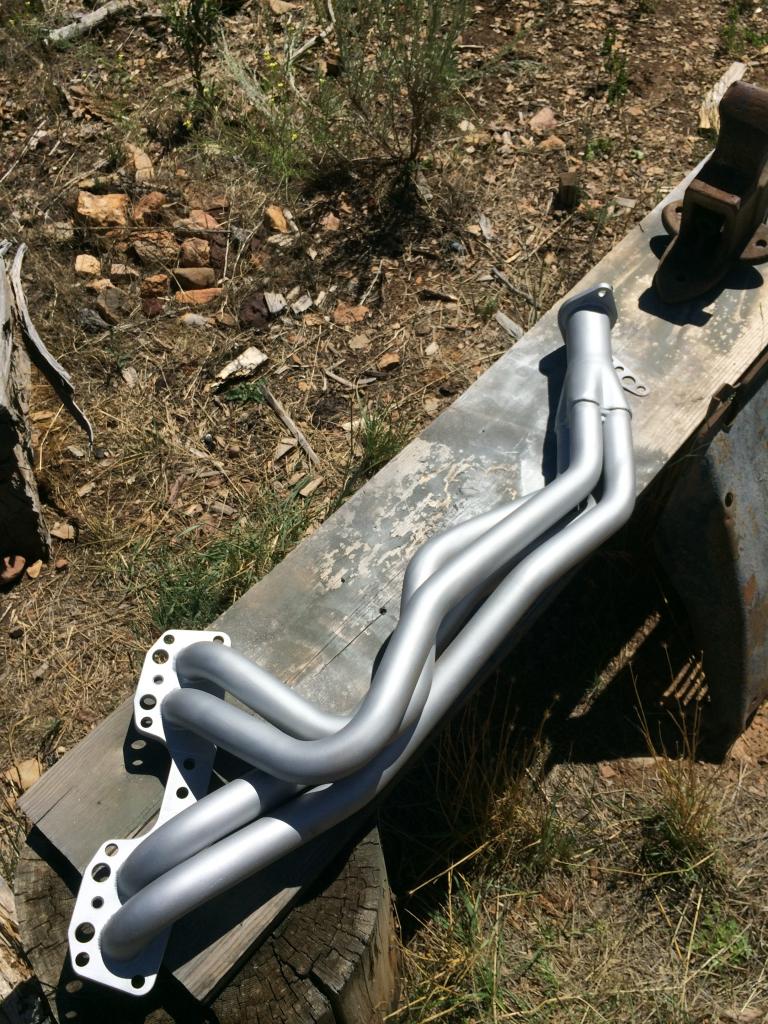
Cleaned the flanges on the header and applied fresh paint to the minor dings of the ceramic coating
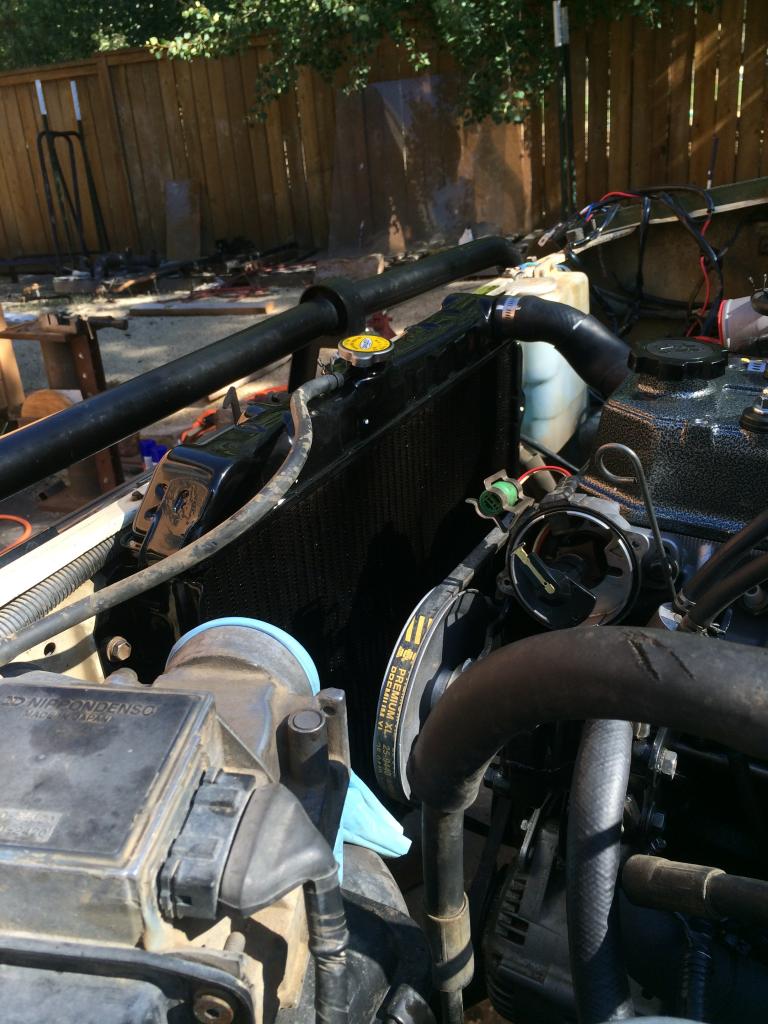
Ready to fire her up
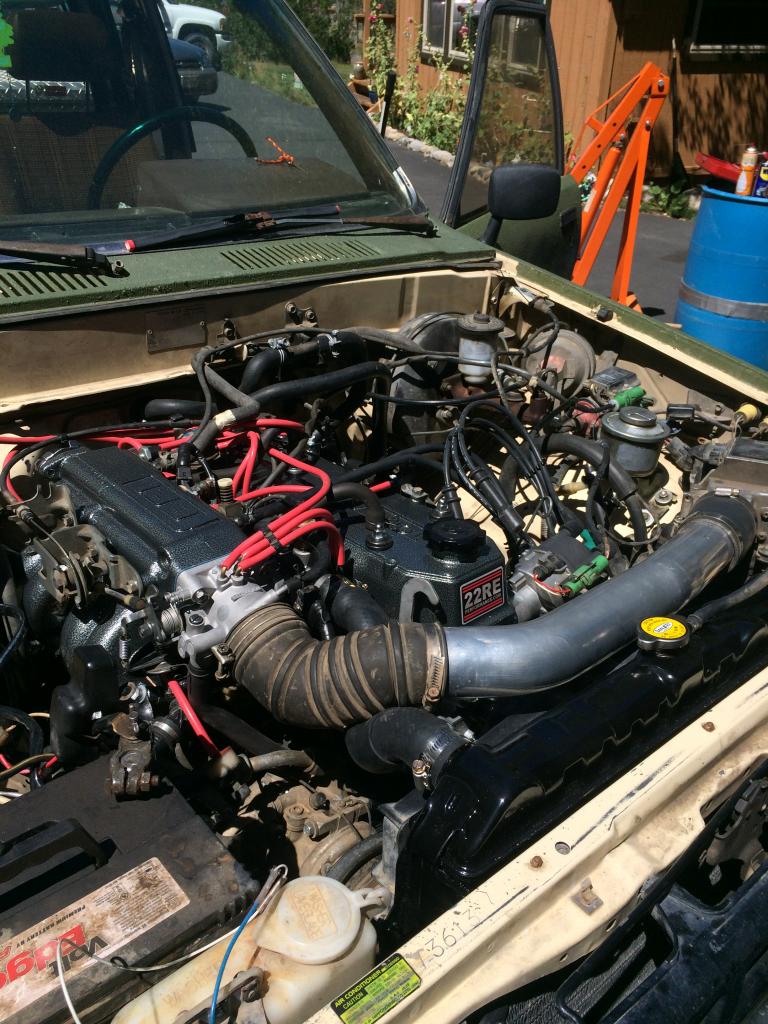
Cranked her over yesterday (four months to the day) and she started right up. Timing is set. Everything is looking good. No leaks, no error codes. Have yet to take her out on a test drive yet. Probably will happen today.
Until then that�s everything that has happened up until now.
Installation of Marlin�s short shifter


My only complaint with the new shift knob is that it gets blazing hot in the sunlight. I might have to invest in a sock to cover it up when I park in the sun.
Trussed the frame with the Total Chaos truss

Picked up a set of sliders from Stubbs Welding


Installed stainless brake lines all around

And here lies the latest project. Due to extraneous medical conditions I was unable to drive for three months. With that being said we opted to have the engine rebuilt from 22RE Performance.

I have dozens of pictures during the removal but I�m just showing the gist of it

Took the engine down to Chico April 17th

Got it back August 1st


Painted just about any small piece we could
New heavy duty clutch

ECU harness


Installed new front seal and gasket for the transmission. New heater hoses also.

Dropped her in about a week ago


New slave cylinder with stainless line from Marlin. Also painted the bellhousing.
While I was at I also put in new contacts for the starter and new brushes for the alternator.


The last steps of installation

New cat to match header and exhaust

New radiator

Cleaned the flanges on the header and applied fresh paint to the minor dings of the ceramic coating


Ready to fire her up

Cranked her over yesterday (four months to the day) and she started right up. Timing is set. Everything is looking good. No leaks, no error codes. Have yet to take her out on a test drive yet. Probably will happen today.
Until then that�s everything that has happened up until now.
Trending Topics
08-16-2015, 12:10 PM
#12
Registered User
Damn boy. I'm happy to see such a gorgeous ol' 86' Extra Cab being treated so well.
Also, I'l follow along to see how that 22REPerf. Engine goes. I'm at 167K and rising, and just want to keep an eye on their worksmanship for when mine croaks... But hey, I'll bet yours is tick-tick-ticking along nice and happy!
Big ups!

Also, I'l follow along to see how that 22REPerf. Engine goes. I'm at 167K and rising, and just want to keep an eye on their worksmanship for when mine croaks... But hey, I'll bet yours is tick-tick-ticking along nice and happy!
Big ups!

Thread
Thread Starter
Forum
Replies
Last Post
RedRunner_87
95.5-2004 Tacomas & 96-2002 4Runners (Build-Up Section)
84
06-01-2021 01:51 PM
nanhodges2733
86-95 Trucks & 4Runners
16
05-29-2020 03:28 PM


