When you click on links to various merchants on this site and make a purchase, this can result in this site earning a commission. Affiliate programs and affiliations include, but are not limited to, the eBay Partner Network.
Thanks Reluctanse, I've been waiting for a while to splurge a little on the rig.
So, I finished the temporary dual battery install. I wanted it ready for camping this weekend. It's temporary because it is not in it's final resting place right now. In the pic you can see it's just sitting in the cargo area. I am going to mount it in the little cubby hole on the right. It will stick out a little bit, but I should still have enough room to fit a 4X8 piece of plywood or something. I also need to add a fuse bank and a 200 amp fuse on the line going to the front battery. I know, I need to have that NOW, just didn't have time to pick one up yet. Heck, I can even install it at camp this weekend
Also, I washed the hell out of the interior. My 3 month old is gonna be taking the 3.4 hour trip with us, can't have him breathing the dust . Smells so fresh.
Also, found cheap, old, but not used tire for spare. Old spare was brand new, but can't use it with new big tires.
And this is when we tried to clear the trail... failed. lol.
As life would have it.. it has been a while since I've had time to tinker on the 4Runner. Well, that has now changed. Couple days ago on my way home at night i realized my idle is way up there at 2.5k rpm. I checked for codes, code 12. Weird code to have because there is not an easy way I have found to test the igniter which is where I think the problem is. I think this because it is the oldest component in the system, original 248k miles 27 years old. However, I was never able to get rid of my code 41 for code, it comes back often. I quit on it because everything seems to run perfectly fine with the code 41 showing up here and there.
During research on yotatech, i found this thread https://www.yotatech.com/forums/f116...le-fix-188519/ . It talks about the idle going high and the cause being a clogged temp controlled air passage switch in the TB. Interesting....
So, any advice is welcome. Meanwhile, I will be testing the code 12 related circuits, then the TB. I wish I had a spare igniter to test with :/
So, I am chasing my Code 12 issue certain that it is related to the high idle, especially at higher temps. I test the distributor, which is a toyota original off my 1995 donor, and it tests fine, but so does everything else in the code 12 circuit. So, after reading on here that the distributor could still be bad even with all the specs within tolerences, I purchased a cardone reman. Installed, same problem, but no more code 12. Turns out the code 12 was not related to the high rpm issue. I noticed that if i push on the throttle butterfly valve at idle (push towards close dposition) the idle would go back to normal. I thought, hey, clean throttle body, should be fine. Upone removal of the air hose i noticed it had a huge rip, letting in dirty un-metered air. I thought, this must be the problem. Got a replacement, still same problem. BUT, my throttle response and power seem to go back to normal. (through the last few weeks I have noticed a major drop in gas mileage!) Cleaned TB, put everythign back together.. same thing.. high rpm.
Then as i was trying to see what was holding hte throttle plate open, i saw the stupid adjusting screw for the damper... it was missing the locking nut and had moved fwd. That was it, that was the problem. lol.. who woulda guessed!
Next thing is to rack the mileage and hopefull see my standard 240 miles per tank again... instead of the 190 i had been getting recently :/
I have a huge itch and no time to do anything about it! So I am here writing instead
I am in the midst of deleting my ABS actuator and just now decided that I will keep my LSPV valve and not mess with a manual valve and those headaches.
I had previously purchased the Non ABS version of the steering pressure line and decided I'll use regular tranny fluid hose for the low pressure side. I also decided I'll make my own bypass brake line to bypass the actuator at the junction(s), according to my friend he's done it with a rental flaring tool from autozone. If he can do it, I can do it!
Meanwhile a decision I'm finding harder to make is which replacement idler arm to go with. Mine is all stock and obviously has a bit of play in it. The only none new part of all of the steering linkages.I have done my research, I want to Duralast (McQuay-Norris) FA5040. However, thanks to 4crawler's website, I have knowledge that anyone can stamp FA5040 on their product but it doesn't mean it's the good stuff. And $400 is definitely not worth the Total Chaos product, for me... ANyway... suggestions are always appreciated, meanwhile I need to decided soon!
And now I'll go research the forum for the necessity of steering fluid cooler.
I scrounged some time to clean up and tune my braking and steering system.
First thing, ABS actuator delete. It was fairly straight forward to remove it. I had previously purchased a new high pressure line for a non-abs vehicle and it fit perfectly (it goes from steering pump to steering gear). I used some transmission oil line (rubber hose) I had laying around to bridge the gap from the stock hard line that comes to where the ABS actuator was to the steering pump. Easy. Fishing all of the hoses into the right space was a pain though.
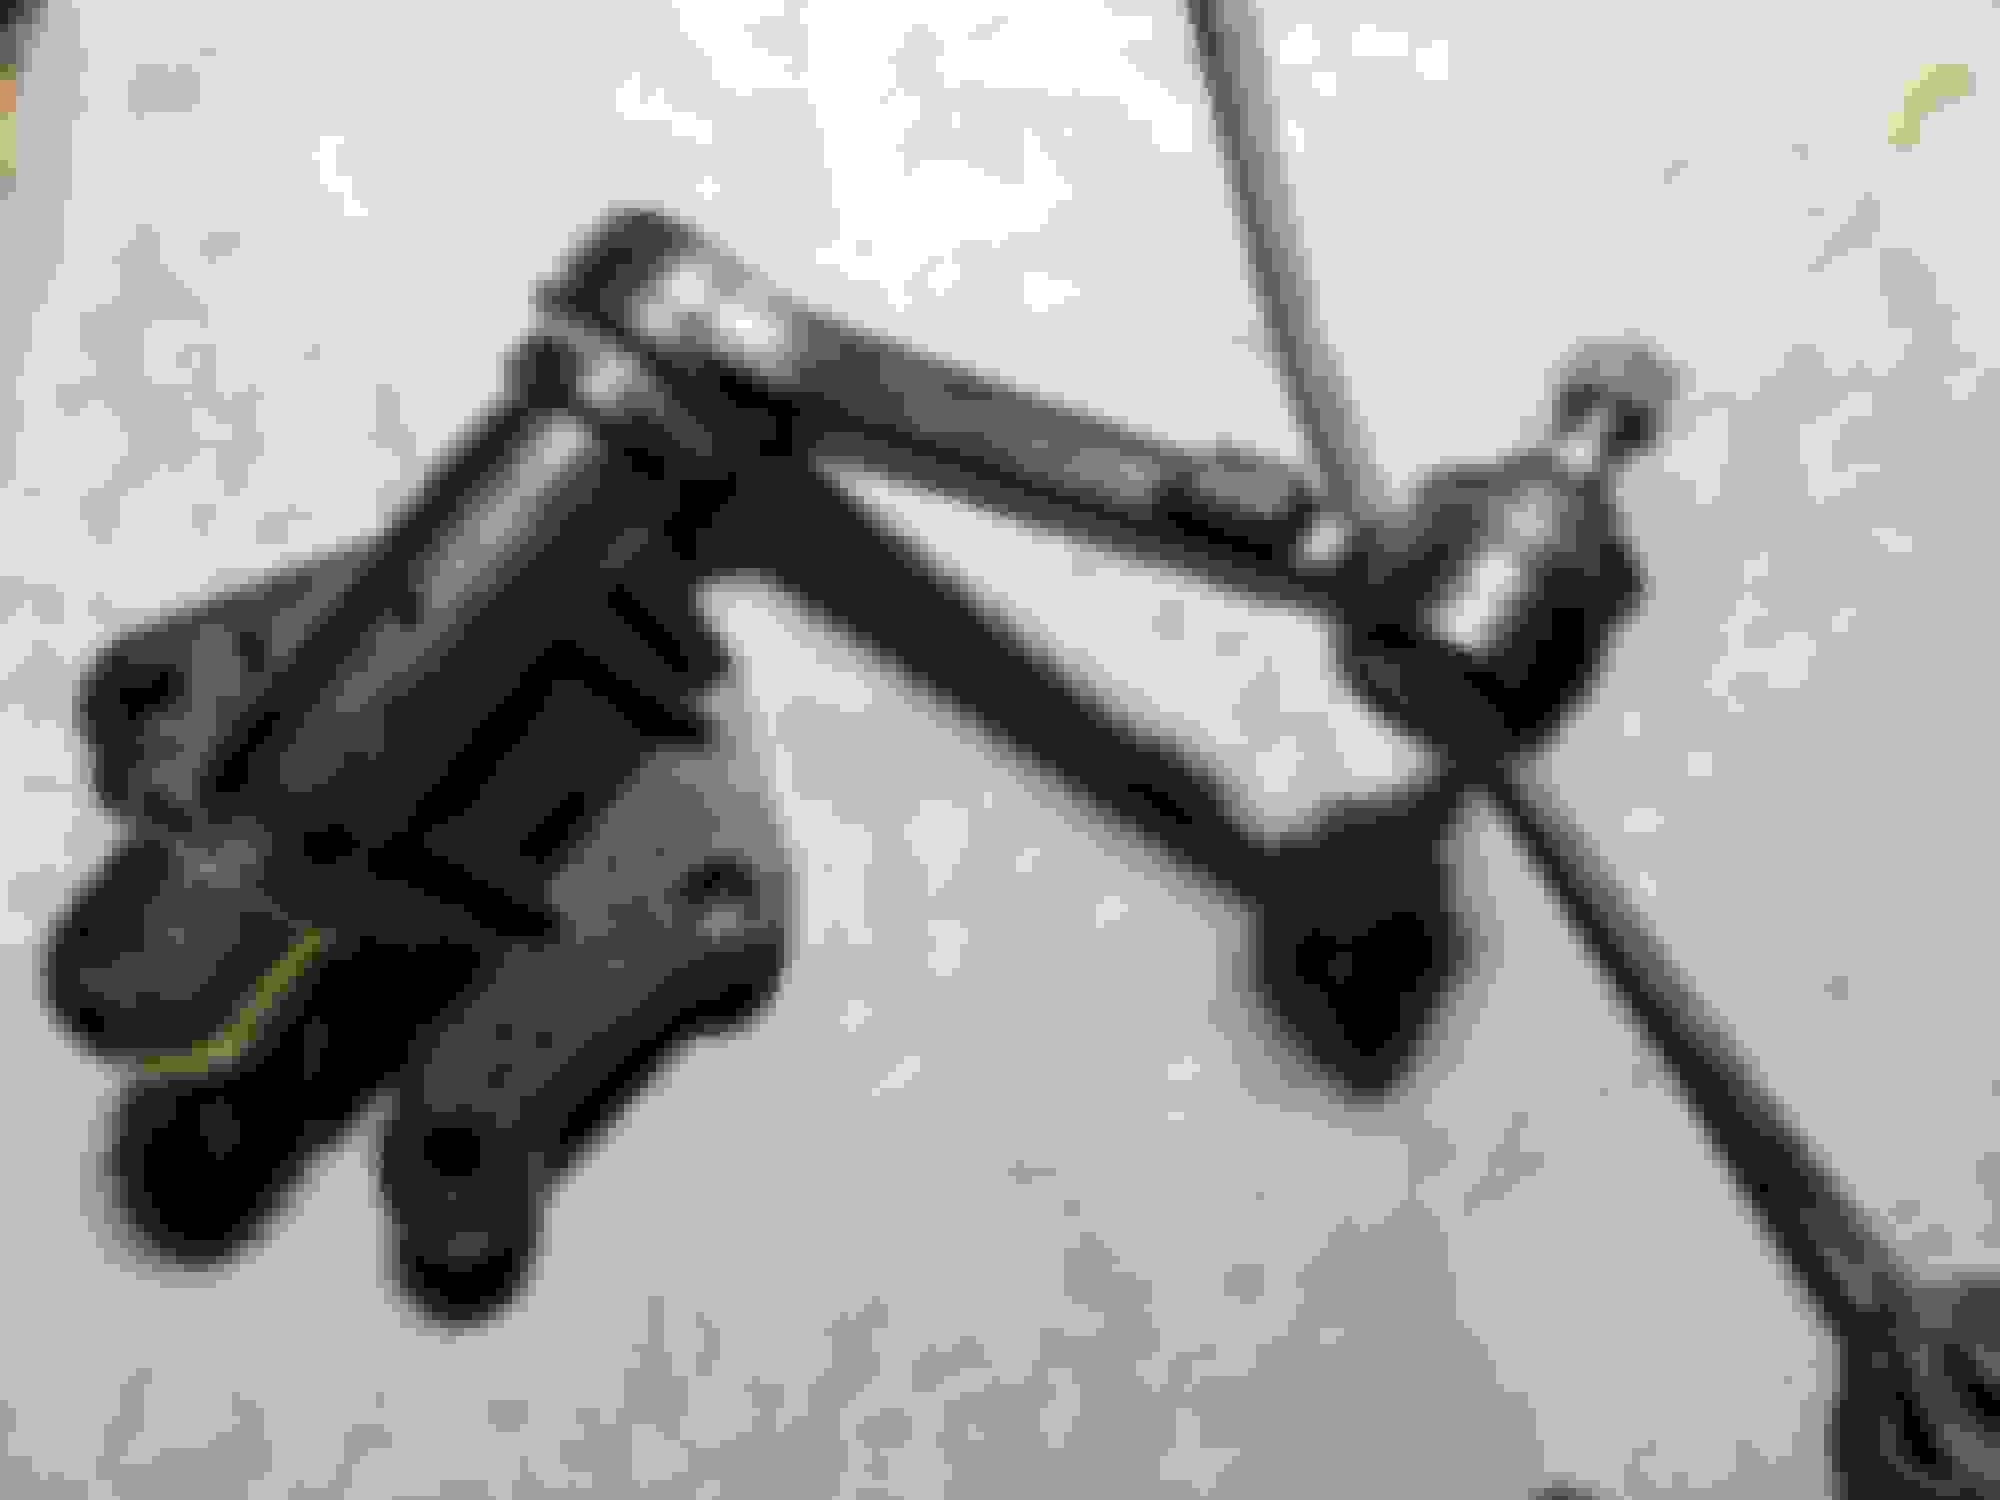
Next item, tighten the steering pump pulley belt. Basically, with the ABS actuator in place i could not do this at all. Without it... I was able to utilize a floor jack Worked so well! Jack with a bar that is pushing against steering pump to keep it nice and tight.
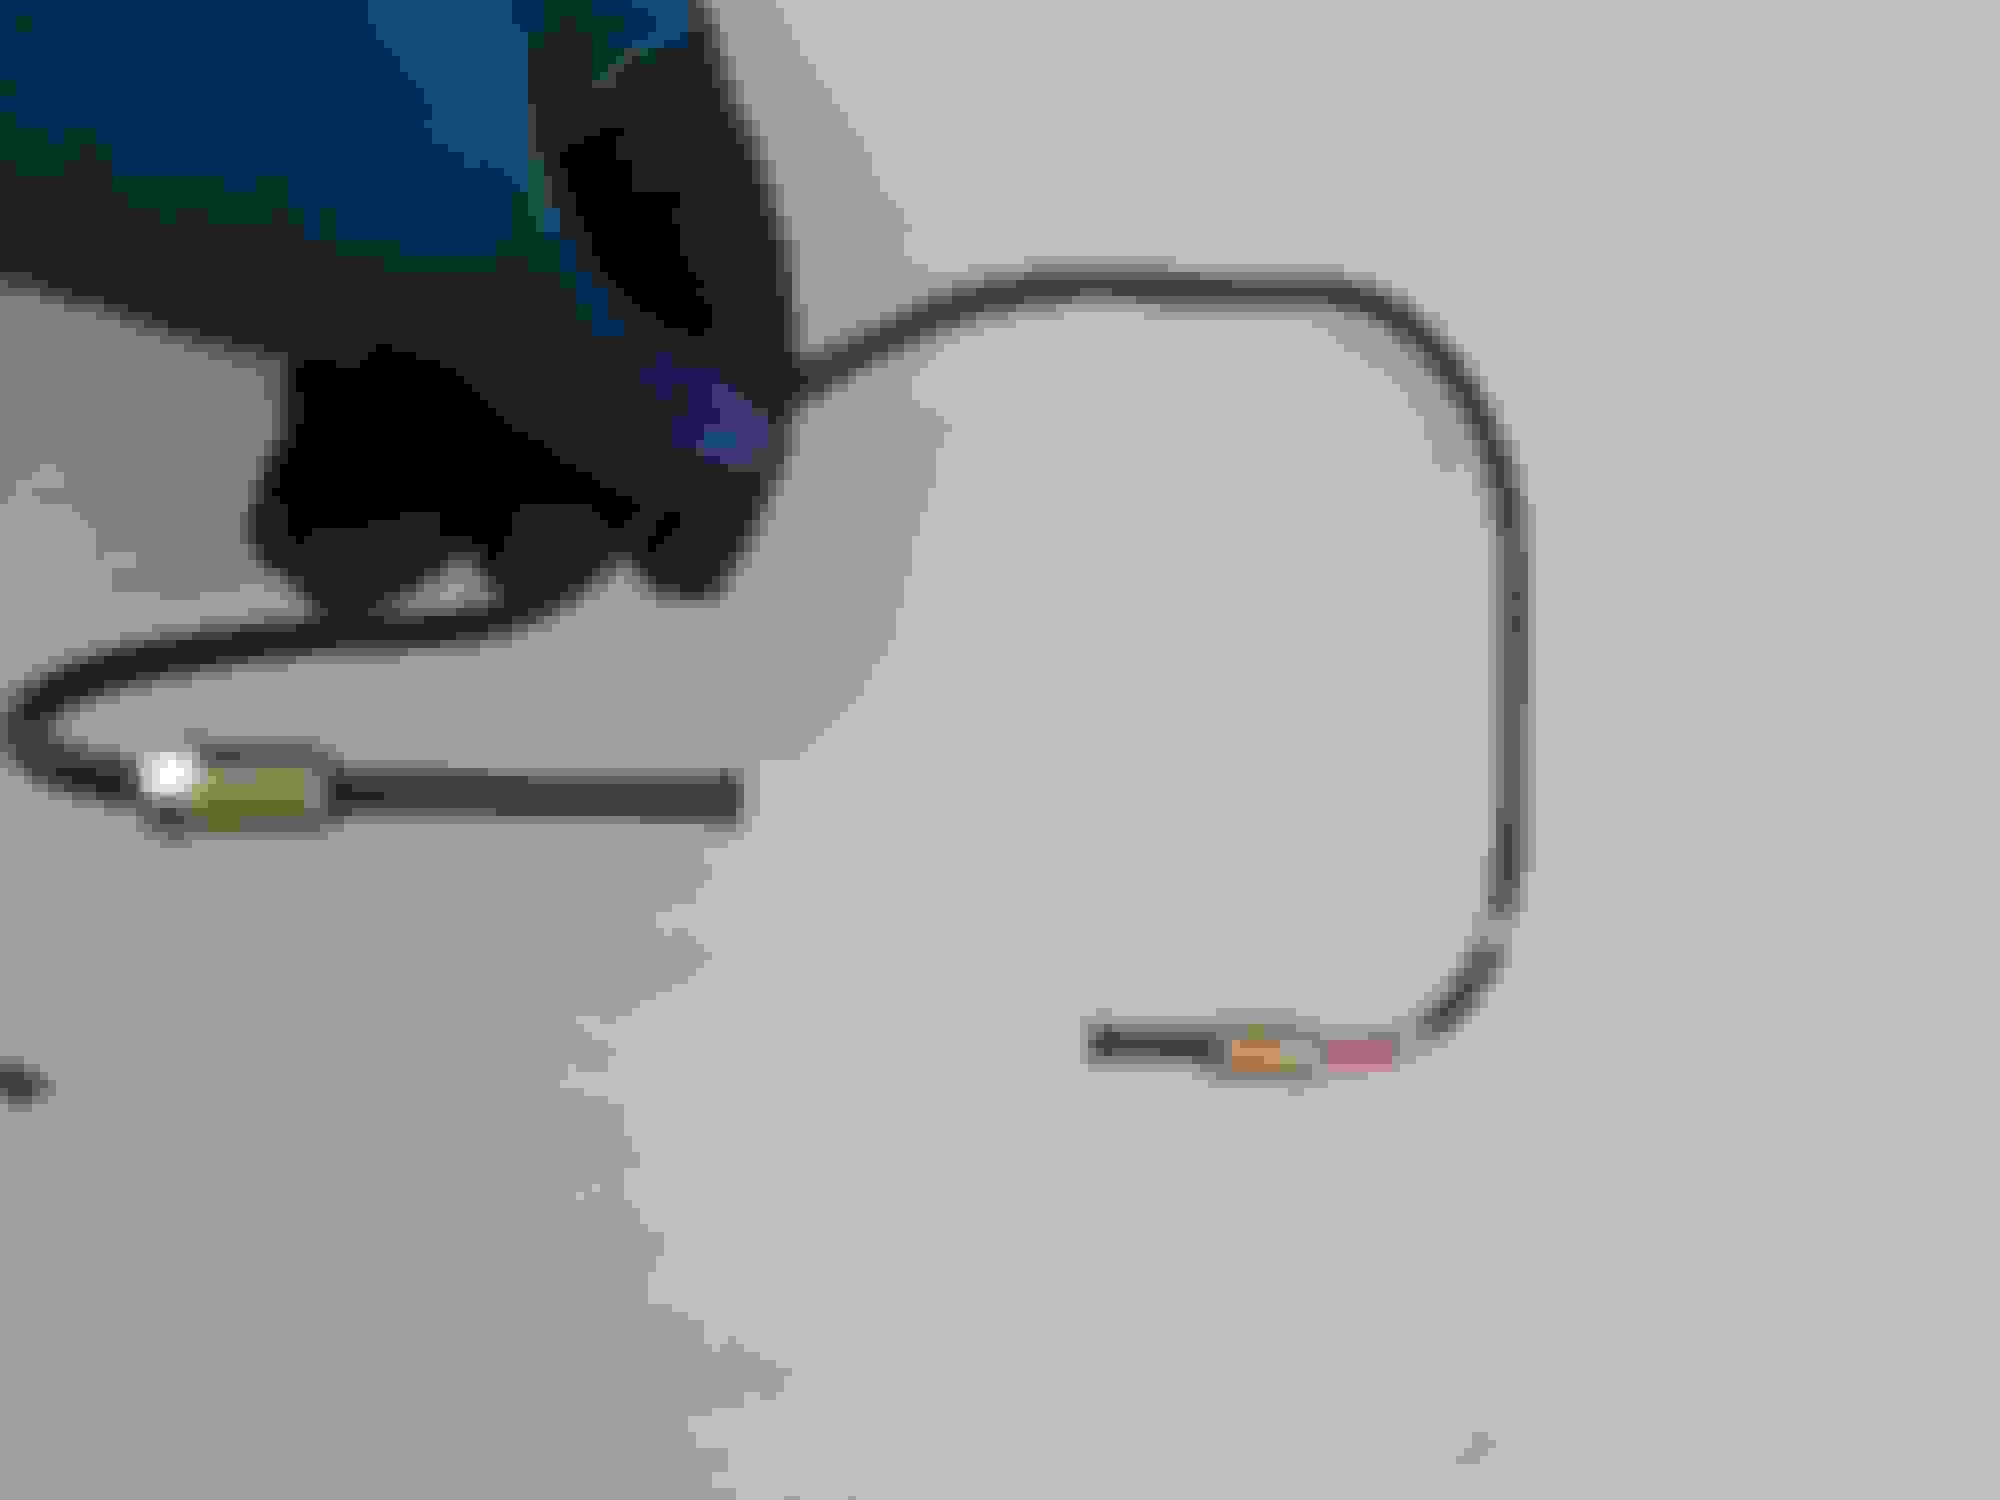
Next, came the bypass brake line that is to bypass the ABS actuator. Luckily there was some 'make it yourself' metal pipe that matched the stock Toyota size and type, including the connector bushings. (part number PAJ320). That is a double flared 20-inch, 3/16 I.D. , pipe with the right length of connectors. The length is important, otherwise it will not work! I failed on my first try. $4 bucks wasted. I got another piece and it came out very well. This was my first time ever doing such work.
Final shape Installed. I opted to wrap it around the back and along the top to keep it further away from protrusions. This area is very poorly protected from branches and rocks and such on the trail. Need to cover properly!
With that done, and the tire off, I decided to swap in my new idler arm. With much research I decided the best one for me is the best one I can find that is a stock replacement, not the ridiculous Total Chaos one. The old one had play in it, but it was not broken. I guess I'll use it as a spare for those tough trail trips. Pretty straight forward swap. New one by pro-forged, Old one. According to 4crawler this is a crappy one.
Now It's off the jacks, but I still have to installed my new auto bleeder screws and bleed the brakes. Hopefully I have some performance increase in my steering and brakes.
So, brakes have been bled and everything feels a little better. That's good news. I'm not sure if it's mental or if there is a tangible difference though. I mean, this system 'should not' effect brake performance right? Oh well... lol.
Then I removed the LSPV valve adjusting bracket that goes to the rear suspension. I cut that round bar and zip tied it to the max braking power position. Went for another test drive and the rears lock up way too soon. I read on the forums that other people do this and didn't read of their complaints about the rears locking up too early. That won't work for me though, so I thought of a different way to fasten it and have it be adjustable. I'll have that picture to share later, forgot to take one So I went o na few more test rides and dialed in the rear braking power just where I like it. That made a pretty big difference in my stopping ability. Which makes sense.... the rear has a 1.5 inch lift, which changed the angle of the lspv adjusting arm to a 'less braking power' position than the stock neutral. Which means the rears do less braking than the tires can handle.
With that under my belt I finally got to install my new radio I purchased for a super killer deal of $30 on last black Friday. Hate taking any of the dash pieces off... and for these cars you have to remove many things to get to the radio :/ All in all, it went well. Now I have full phone and audio bluetooth capability with a very nice mic that pics up my voice clearly. And, the radio has a clean output not like the old messed up one. Everything works great, makes me all happy
Installed Total chaos
Next, I MUST weld my diff armor on before a big bear 4x4 trip on the 17th. I hear they are very rocky trails and I don't want a hole in my diff :/
Good place to hide the bulkiness. Drivers view. My son was my help.
Turns out next was'nt diff armor. But it was a smittybuilt clinometer. Ok, for something that had the smithybuilt name I expected more quality. Oh well, it will do.
Had to open her up and figure out how to adjust since I wanted to point it up at me. If left un adjusted, the pitch would look off at level since i wanted to turn the fave upwards. Here is where I mounted it. Not essential information so didn't want to clutter the view.
Gevo - nice interior mods. Without going thru the who 16 pages, are those switches for lockers or the light bar or what? I really like the look of your 2nd gen.
Ok, turns out I only had to go back 1 page to find out. What type of lockers are those in your diffs? And do you find it hard to steer on the trail in 4WD with that front locker?
Hi Cory, thanks! I try to keep the interior a nice place to be.
The switches are for lights/light bars as of now. I will be adding a 4th switch for a winch soon
The front locker... it is an animal to deal with on any terrain that has good traction. I found myself switching in and out of 4x4 last time I was out on the trail as it went from dirt to rocky. It's a pain in the rear, but the additional ability it gives me on the trail trumps all the inconvenience it causes. I looked into a selectable locker and the only one available is the ARB and the cost is way to high.
An idea I had was to add a switch to manually control the ADD vacuum valves... this will enable me to keep the transfer case in 4x4 but disengage just the ADD, essentially disengaging the front tires from the diff in order to be able to steer for a few seconds as needed then engage it back. Should be an easy mod... I will decide if it is necessary after the 17th. Trip to Big bear white mountain trail and gold mountain trail
PS: the steering and behavior of the car with the front locked will be the same with any locker, unless you have a selectable one you can unlock.
Gevo - there's another member on here who did the mod to control the front diff actuator with a switch. I msg'd him about it once and he told me that he did not find it very useful, mostly because the locker prevents any wheel from going slower than the driveshaft, so even with the actuator "unlocked" one front wheel was still locked to the driveshaft making turns with the locked wheel as the inside wheel difficult. That's just his experience, I would be interested to hear your experience if you do end up doing it.
My question about the lockers wasn't clear, I didn't mean to mix the brand with the question of whether it affected your steering, I just wondered what brand locker you chose, I realize that all the lunchbox lockers will behave similarly in regards to affecting the steering, sorry for that confusion.
I'd love a selectable front locker, and that Harrop e locker is very very interesting to me, I just don't feel like throwing $1300 at the front diff when my truck really needs lots of other things. Now if I could just find a used elocker or maybe an ARB setup for a smoking deal.
Anyhow, on your truck, I'd love to hear your opinion if you do end up controlling the actuator. And post some pics of your trip to Big Bear when you get back.
Ahh, I have the aussi. I installed and used one in the rear for a while before adding it to the front. I had no reason to change to a different brand as research shows the aussie is a good quality locker. This was confirmed when I removed my rear third after a few thousand miles to regear. There was not a single blemish on the aussie.
I always try to share my trips, so look for the big bear trip soon. I will be using my drone for the first time for offroad photography, can't wait
I didn't know anyone else had done the switch mod to the front ADD. I will decide if It's worth my time after big bear.
I wouldn't throw the $1300 at my front IFS diff. I have more or less decided once I absolutely can not drive on the currently terrible front A-arm bushings anymore, I will do an SAS. Then a selectable locker would be worth it
Finally, it is about that time of the 4Runner build to get around to installing a new offroad bumper. As the trip to Big Bear gets closer, I decided to remove the rear bumper side parts to add some clearance. I figured they are going to get beat up on the rocks anyway.
With that, I took some before pictures and starting wrenching. Some pictures for your enjoyment... I find even when looking at pictures of work that isn't groundbreaking or particularly amazing, it is still enjoyable to see pictures
Unfortunately the nice mudflaps go away with this change... :/ So, cleaned up underneath and sprayed some rubberized bedliner. I guess I'm selling these now if anyone is interested. Stock fit, not sure if they are Toyota but they are very good quality. Obviously we can't have the exhaust pipe keep hanging this low now. I don't have any mobile pipe benders, so I used some wood blocks and the jack That's as far up as I can go for now. When new bumper arrives I will revisit this. So, the rear bumper will stay like this for a few weeks.. makes the car look chubby with narrow hips. lol. I cut the rubber overlay of the bumper at the ends so I can put in on the bumper. Sure, the ends don't get covered.. I painted the ends with the bedliner so it doesn't stick out too obviously. Will have to do for now. Here is my adjustable LSPV valve bracket. Quite simple and very effective. Since this pic I replaced the zip tie with real fasteners. Was able to dial the rear end braking power in just right. AND, the trail gear diff armor. Had it forever, finally put it on. Drained the fluid, welded it on, put new fluid back in. Seems solid and the fitment was perfect.I finally decided on the bumper I want. I ran into 4x4 labs couple nights ago and was surprised I hadn't heard of them before. Their bumper is exactly what I'm looking for! Slick, simple, effective with good coverage. PRICEY! But, I will offset that by getting the kit to weld on my own.
So the Big Bear trip was a blast. Sad part was as we were leaving the mountains a fire broke out behind us and it is still going now, 4 days later. Hopefully they put it out asap!
THe trip was a blast, I definitely need to go back to do more of the trails there. I don't want to be bragging, but.... my car was a stud all day. It usually runs perfectly and reliably, so that is always good. But it really shined on the trial and over every obstacle. I was definitely the one making it over everything with ease. I am sharing a link to some pictures and videos of the trip. My car is the black 4RUnner. My two buds are in the blue xj (jeep) and the FJ. The FJ suffers from chronic tire baldness and had to be winched up one obstacle. It could have made it on a different line probably. The other cars you see are just other people on the trail. You will see some drone pics of a long line of cars that are held up at the first obstacle, turns out it was the jeep jamboree weekend.
SO, all of the hard work I've put into this truck really paid of on the trails. I was loving it and looking for more and more challenging things to do!
FOr the front axle on an auto locker. My experience on the trial with it was that it really didn't present a problem. There were some really tight turns on switchbacks that I opted to steer less and do a 3 point turn so as to not stress the parts much, but otherwise it was great. I never had to take it out of 4x4. So, I really won't have a need at this point to install a switch to manually control the ADD.
Gevo - great pics, love that drone footage. I really want a 4x4labs rear bumper, he makes a nice product. I have a nice, simple steel rear bumper, but no tire carrier unfortunately. Good to hear your feedback on the front locker and steering, and I'm going to steal your LSPV bracket idea, that looks simple enough for me to make!
Gevo - great pics, love that drone footage. I really want a 4x4labs rear bumper, he makes a nice product. I have a nice, simple steel rear bumper, but no tire carrier unfortunately. Good to hear your feedback on the front locker and steering, and I'm going to steal your LSPV bracket idea, that looks simple enough for me to make!
I really like the 4x4 labs bumper and can't wait to get back home to get it and install with tire carrier!
You are welcome to steal the lspv bracket idea, that's the point of this place
Well my new rear bumper is on hold because once I got back from my trip I moves offices temporarily and my 45min commutebturned into 2+ hours of sitting on 405, in traffic. Solution? Motorcycle . I have had one fornyear in the past, sold it cause someone crashed into it while parked. Anyway, it is taking my hard to find free time lately for some maintenance and customization.
The bike is a 2002 Vulcan 750. Cruiser. Very comfortable if not a bit dorky looking. All stock when I got it. Changed handlebars to something black and lower. New LED headlight. New tires. New oils. Greased rear final drive drovshaft splines and all that good stuff. Just need some carb adjustments and thats it really. All in for a killer deal of $1700.
Anyway. Im looking fwd for the rear bumper on the yota still. Last weekend at camp i went through adeep ditch and the rear fell on the stock bumper amd bemt the crappy supports.
New bars and headlight Old bars but new headlight
Have a few minutes at work and wanted to post on my camping trip with the 4Runner.
First thing .... halfway through the 4 hour drive I notice something irregular with the car. After i shut down the engine she doesn't want to crank again. I think, ahh crap it's the POS NAPA premium blah blah start that I put in there less than a year ago... So I am down there tapping on it while my friend is cranking and finally it cranks. Next time, same thing... I think it usually doesn't happen this often though! Then I realize the charge-o-meter on my dash is barely keeping at midway which would indicate only about 9 volts (while at fwy speeds) I thought... ohhh snapppssss, it's my alternator!! Basically, it had been charging at around 12 volts for a long time now and we diagnosed that it is only charging to about 12.1 volts at 3k rpm. I was able to make it to the campsite all the way up the hill, but couldn't run the AC fan and it would barely keep up with the headlights on. We survived, my wife and son were asleep and non-the wiser!
At camp we made the final diagnosis and I drove down with my buddies truck the next day and found a replacement at... Napa in Lake Isabella. Easy to replace, short easy job and now no more 'not cranking' problems either Also, seems like the regular battery which is about 5 years old is not damaged. And the dual batteyr is a deep cycle so it charged up on the way back home. All is well
Just a few pics. Didn't have much time for 4x4-ing challenges but we did go on a beautiful offroad drive in the mountains!
I could ride on these roads ALL day. The alternator swap. I should mention, the alternator was an original toyota. Probably the one it came with 26 years ago My son loving the trail of 100 giants. Like I said.. can never get enough of this As I said... not many obstacles.. I did what I can
 08-23-2016, 05:40 AM


 . Smells so fresh.