86 yota project
 12-07-2012, 08:48 PM
#1
Registered User
Thread Starter
Join Date: Dec 2012
Location: Pittsboro, NC
Posts: 59
Likes: 0
Received 0 Likes
on
0 Posts
Ok so i have been poking around and reading builds on here for a while. Finally got around to making a account and starting mine. I'll give yall the whole story; My older brother took a 22r motor out of a late 70's pickup that was wrecked to put in a 86 4runner that had been sitting for a while with no motor. He put the motor in and thats about it; then parked it in the woods. Fast forward 7 years to now. I now have my license and a little mechanical know how so i buy it for 500 bucks. (would have liked to get it cheaper but he said he had 500 in it). It needed so much work and i was ready to blast through some mud holes i bought another 86 for a grand. The body is beat to hell and the #4 cyclinder is low on compression. Now my plan is when the currently running yota gives up it will become the parts truck for the project yota. I will post some pictures in a bit. This is the first time i am really working on anything other than a dirt bike or farm equipment so this should be a real learning experience. I'll post some pic in a bit
Last edited by yotagoon; 02-14-2013 at 08:42 PM.
 12-08-2012, 08:04 PM
#2
Registered User
Thread Starter
Join Date: Dec 2012
Location: Pittsboro, NC
Posts: 59
Likes: 0
Received 0 Likes
on
0 Posts
okay so i got some before pictures of it the night before i pulled it out of its 7 year resting spot. I finally could see the potential of it after i spent more than 5 seconds looking at it.
12-08-2012, 08:16 PM
#3
Registered User
Thread Starter
Join Date: Dec 2012
Location: Pittsboro, NC
Posts: 59
Likes: 0
Received 0 Likes
on
0 Posts
As you can see in interior was completely shot and had terrible mildew smell so it has since been gutted and washed out with purple power and a garden hose. I'll get those pictures posted soon.
 12-08-2012, 08:32 PM
#5
Registered User
Thread Starter
Join Date: Dec 2012
Location: Pittsboro, NC
Posts: 59
Likes: 0
Received 0 Likes
on
0 Posts
I think there is somewhere around 190000 on the blue runner and i think 170000 on the white body but the motor in it has around 90000. Sorry for not putting a better name on my thread. I'm still trying to get everything figured out on posting and what not.
12-08-2012, 08:54 PM
#7
Registered User
Thread Starter
Join Date: Dec 2012
Location: Pittsboro, NC
Posts: 59
Likes: 0
Received 0 Likes
on
0 Posts
i'm not sure yet. It wont be a daily driver for sure because i have a 2011 z71 silverado for that. I am debating weather or not i want to fix all the rust/bodywork and paint it or just get it running. I'll just give yall the list of things to do and possibilities i have thought of:
1. 4in lift (already purchased used) and maybe another 2 or 3 inches of body
2. 35's, maybe 37's. idk if they would fit or if i would have the cash but bigger is always better you know!
3. gears, 4.88's or 5.29's depends on the tire i end up getting
4. detroit locker in the back (possibly)
5. Different wheels! thinking of those cheep pro comp steelies for around 55 bucks a wheel or something like that
6. Interior, diamond plate side panels in the back and rhino-line the floor floorboards. I have 2 kicker comps in a kicker box to put in, just have to get a amp
7. Ow yea i gotta get the motor running!
8. some sort of big beefy bumpers and maybe rock sliders
Trending Topics
12-08-2012, 09:12 PM
#9
Registered User
Thread Starter
Join Date: Dec 2012
Location: Pittsboro, NC
Posts: 59
Likes: 0
Received 0 Likes
on
0 Posts
The starter is not on... or anything else for that matter. Just bolted to the motor mounts and tranny, nothing else is hooked up. It is definitely not locked up. I'll do a compression test soon to see what i'm working with but as far as i know it was running great when taken out of my grandpa's truck. My brother tells me he put a new timing chain in it. I've read somewhere thats one of the few things that commonly go bad on 22r/22re motors.
 12-09-2012, 05:16 PM
#11
Registered User
Thread Starter
Join Date: Dec 2012
Location: Pittsboro, NC
Posts: 59
Likes: 0
Received 0 Likes
on
0 Posts
Ok got the current pictures of this build posted. tell me what you think. Next thing on the agenda is going to be getting the locking lug nuts off.  Hopfully my auto tech instructor will let me use his special tool for that. Then i can start putting on the 4" lift i snagged for 275 bucks. That is in the process of getting powder coated at my buddies shop.
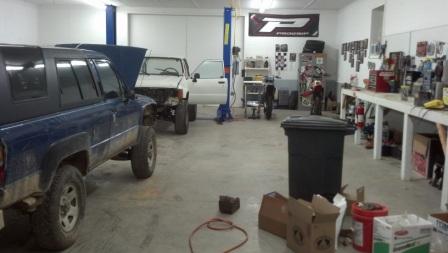
What i am lacking in tools is made up for by an awesome place to work! heated floors and a 12000 pound lift
It doesn't look to shabby after some purple power and elbow grease.
Hopfully my auto tech instructor will let me use his special tool for that. Then i can start putting on the 4" lift i snagged for 275 bucks. That is in the process of getting powder coated at my buddies shop.What i am lacking in tools is made up for by an awesome place to work! heated floors and a 12000 pound lift
It doesn't look to shabby after some purple power and elbow grease.
12-09-2012, 05:33 PM
#15
You'd be best using a photobucket account and using the [img] tags to post our pics instead of attaching thumbnails. There is a "how to" thread in the "tips and tricks" forum section.
:wabbit2:
:wabbit2:
12-09-2012, 09:04 PM
#18
Hi, yotagoon, would you ind posting pics of windshield after you remove the chrome trim? I'm considering removing mine because it just catches and retains water and hastens rusting. However, I'm not sure how much gap there would be.
Best wishes on your build.
Best wishes on your build.
02-14-2013, 09:14 PM
#19
Registered User
Thread Starter
Join Date: Dec 2012
Location: Pittsboro, NC
Posts: 59
Likes: 0
Received 0 Likes
on
0 Posts
I'm back and for good
Alright now i have read the rules and all the "instructional" stuff like i should have before i ever even thought about making a new thread. So now i'm stuck with a bad name for my thread but ow well  live and learn as they say.
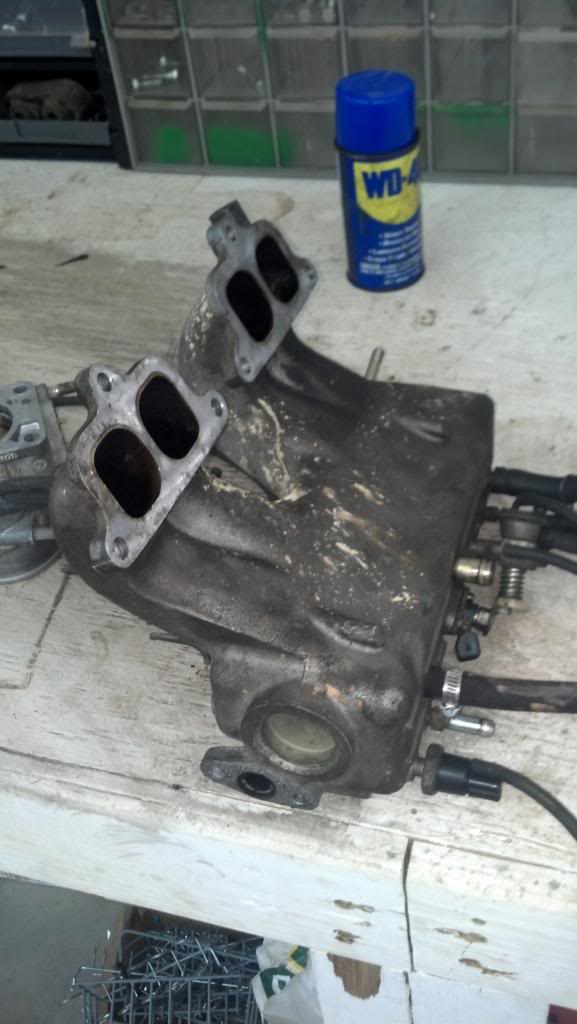
Progress on the runner has been slow but seedy. I'v swaped out the fuel take/pump, computer, starter, and in the process of hooking up the wiring harness. Got the upper and lower intake manifolds off the parts truck cleaned up by soaking in a gas/seafoam mix. That worked really well but idk about putting that stuff in a running engine; all that carbon floating free in the motor sounds like trouble to me. But anyway i'm just not sure this build is going to be as ambitious as when i started; limited funds due to racing season coming around, and lack of know how are taming it down. My current goal is to just get the thing running, put a interior in and drive once summer roles around.
Here are some pics for your viewing pleasure:
Lack of a proper work area is no excuse for me not to get this build done
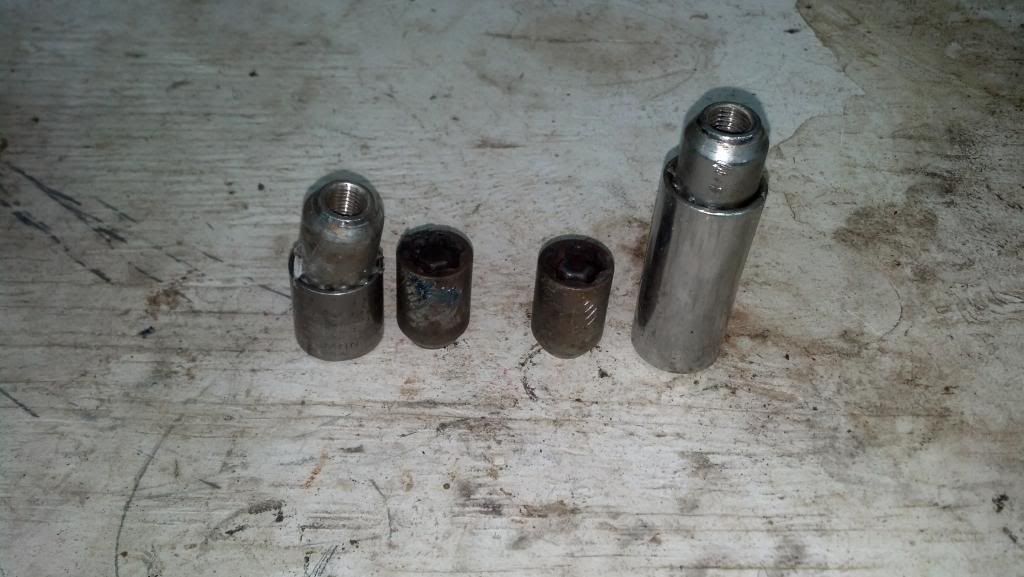
I now hate locking lug nuts with a passion
live and learn as they say.Progress on the runner has been slow but seedy. I'v swaped out the fuel take/pump, computer, starter, and in the process of hooking up the wiring harness. Got the upper and lower intake manifolds off the parts truck cleaned up by soaking in a gas/seafoam mix. That worked really well but idk about putting that stuff in a running engine; all that carbon floating free in the motor sounds like trouble to me. But anyway i'm just not sure this build is going to be as ambitious as when i started; limited funds due to racing season coming around, and lack of know how are taming it down. My current goal is to just get the thing running, put a interior in and drive once summer roles around.
Here are some pics for your viewing pleasure:
Lack of a proper work area is no excuse for me not to get this build done
I now hate locking lug nuts with a passion
02-15-2013, 07:43 PM
#20
Registered User
Thread Starter
Join Date: Dec 2012
Location: Pittsboro, NC
Posts: 59
Likes: 0
Received 0 Likes
on
0 Posts
Made a little progress tonight but i had to help my buddy with his s10 most of the time.
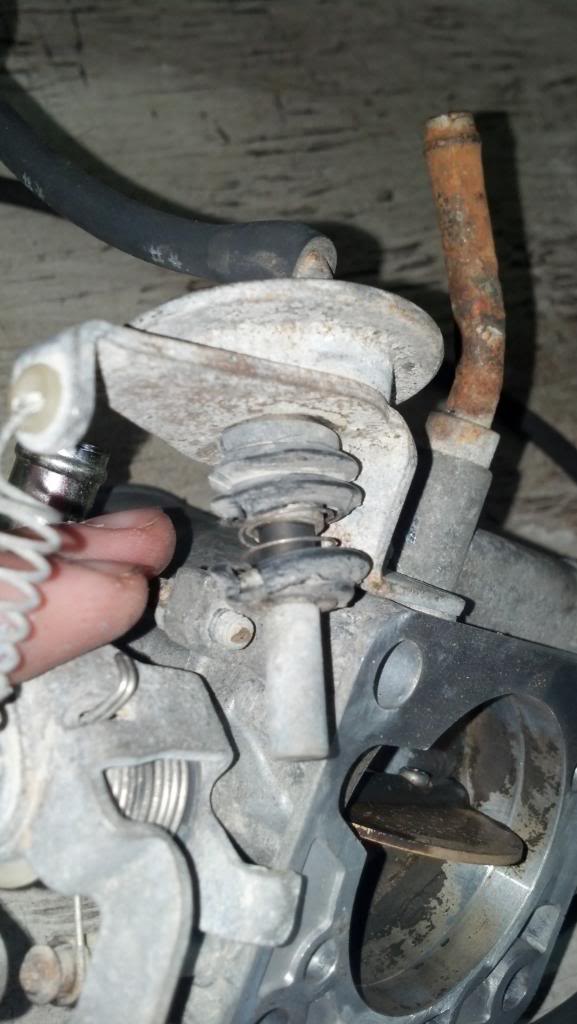
Can anyone tell me what that dry rotted broken rubber boot in the pic and if i should get a new one or not????
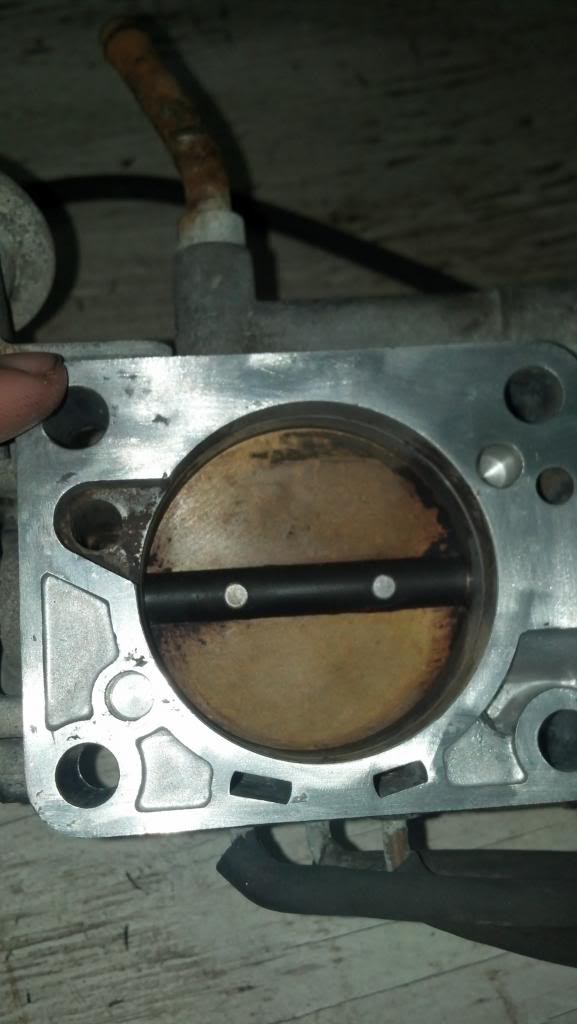
Thinking of cleaning up the throttle body some more but its night and day compared to what is was.
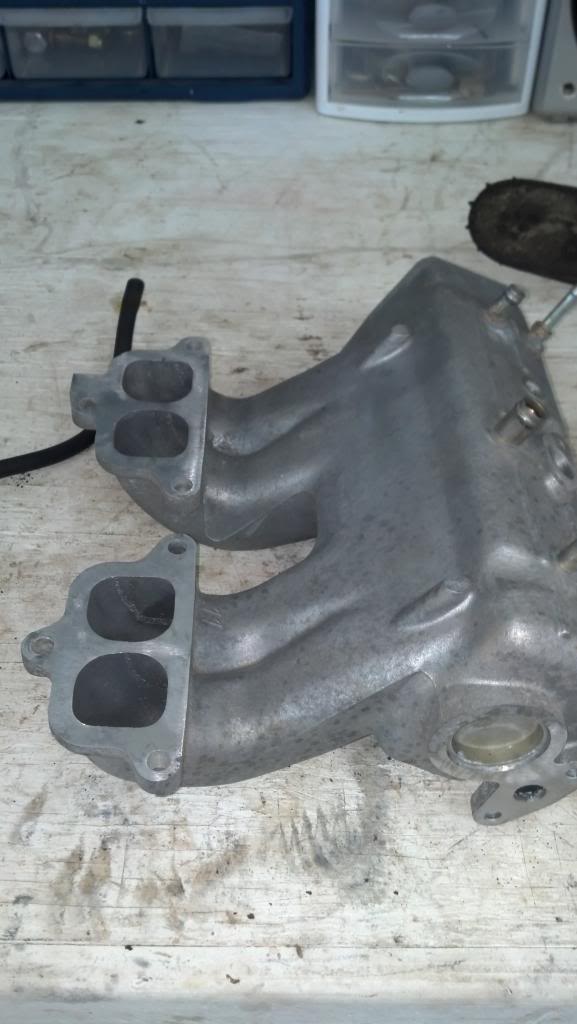
Intake off the blue truck vs the one i cleaned up that came with the white one.
I'm really wishing i labeled these connections on the harness, this is going to be a headache. Now i know for next time.
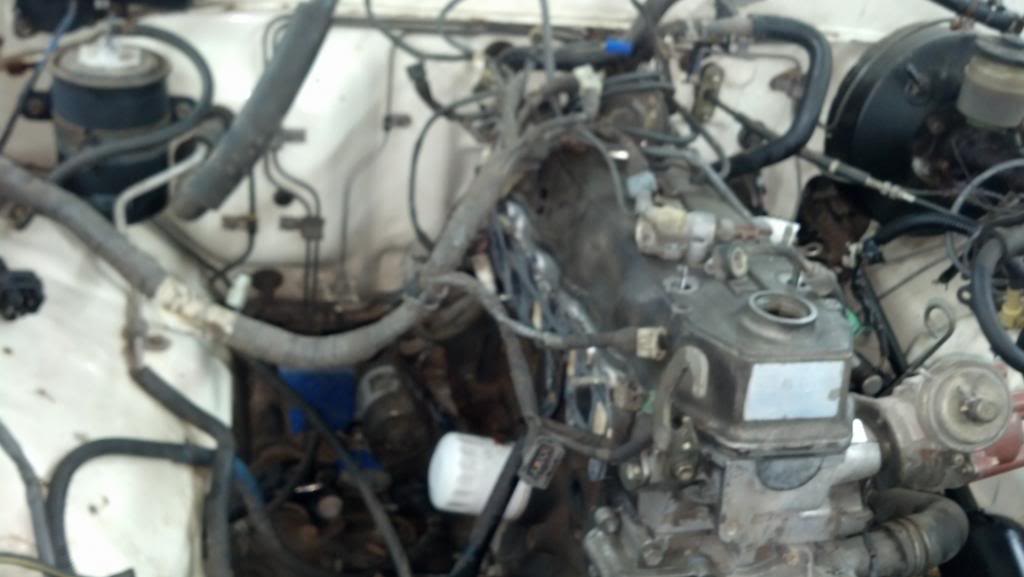
Can anyone tell me what that dry rotted broken rubber boot in the pic and if i should get a new one or not????
Thinking of cleaning up the throttle body some more but its night and day compared to what is was.
Intake off the blue truck vs the one i cleaned up that came with the white one.
I'm really wishing i labeled these connections on the harness, this is going to be a headache.
Now i know for next time.


