When you click on links to various merchants on this site and make a purchase, this can result in this site earning a commission. Affiliate programs and affiliations include, but are not limited to, the eBay Partner Network.
Here's what you do... Pick up that manual, walk across the room and drop it in a trash can. Then go and download a Factory Service Manual. I have the '83 manual, but everything is the same for the 82 except for maybe the wiring colors in the electrical diagrams.
This...a Chilton s or Haynes manual has generic cap in them that just frustrate people.
Here's what you do... Pick up that manual, walk across the room and drop it in a trash can. Then go and download a Factory Service Manual. I have the '83 manual, but everything is the same for the 82 except for maybe the wiring colors in the electrical diagrams.
Yeah, I already downloaded it. I just like reading things, while I'm waiting for parts to arrive. I just thought it was an odd requirement, unless its to scratch your nuts when your hands get filthy.
I didn't realize how many tools I don't have for engine building, until I started looking at the tools I need. I know a lot of these I don't actually need, and I could leave it up to the machine shop to do a lot of it, but I like to "check" peoples work, and also know what things are within spec.
I won't price list this stuff, but the tools can get expensive.
So far I've got:
Shop Crane (Harbor Freight)
Engine Stand (Harbor Freight)
Torque Wrench (Craftsman Dial Indicator)
*note: I know many people use the click indicator wrenches. I use to work on F-16s in the Air Force, and we used snap-on dial indicator torque wrenches, because you had a better chance of catching an un-calibrated tool without snapping bolts, than one where you keep torqueing an un-calibrated tool expecting a "click", and snap the bolt.** (I also have a cheap digital torque meter I can connect to a regular wrench as a way to double-check things)
Piston Ring Compression Set (OTC)
Telescoping Gauge (Starret)
Micrometer Set 0-4" (Fowler)
Valve Keeper/Remover set (Lisle)
Valve Lapper set (Wilmar)
Straight Edge (Central Tools)
...I think I have most everything else...but I will see.
Most of this stuff I got on ebay, for a huge chunk off retail.
I'm planning on getting a cheap Subaru Outback Sport as well at some point, and I already know I'll be doing a tear down on the boxer engine for the < 1000 I plan to spend on the car. Those things have head gasket problems that once rebuilt, the car will run for forever.
My fianc�'s old Mazda is blowing oil, so that's probably going to need rebuilt at some point as well.
AWESOME!! Box 1 of 2 (1 Ton Folding Shop Crane) arrived from Harbor Freight today, with the whole top of the box missing, and missing 3 of the 6 casters.
They at least have good customer service, and are sending me all new casters and all new hardware...so I'll have a lot of spare stuff.
Someday...real soon...I'll be able to start this thing.
Torque Wrench (Craftsman Dial Indicator)
*note: I know many people use the click indicator wrenches. I use to work on F-16s in the Air Force, and we used snap-on dial indicator torque wrenches, because you had a better chance of catching an un-calibrated tool without snapping bolts, than one where you keep torqueing an un-calibrated tool expecting a "click", and snap the bolt.** (I also have a cheap digital torque meter I can connect to a regular wrench as a way to double-check things)
Air Force too huh? My dad laughed at me when I told him I wanted to get a torque wrench or two for my rebuild. He was a mechanic in the army back in the day so he'll never understand haha. I'm surprised you used dial type wrenches on the airplanes, we almost exclusively used the clicking ones in our business. Of course we had pretty strict torque wrench rules, to the point where they would basically crucify you if you over torqued or used one out of calibration. Fun stuff.
Also, I love the old outbacks. That's on my list of vehicles to own once I finish up the truck.
I might build a tool list off of yours for my rebuild haha.
Anyone know how to remove this shift lever. It seems to me that I should just unscrew the 4 screws and it will pop out. The manual says there is a special tool...however.
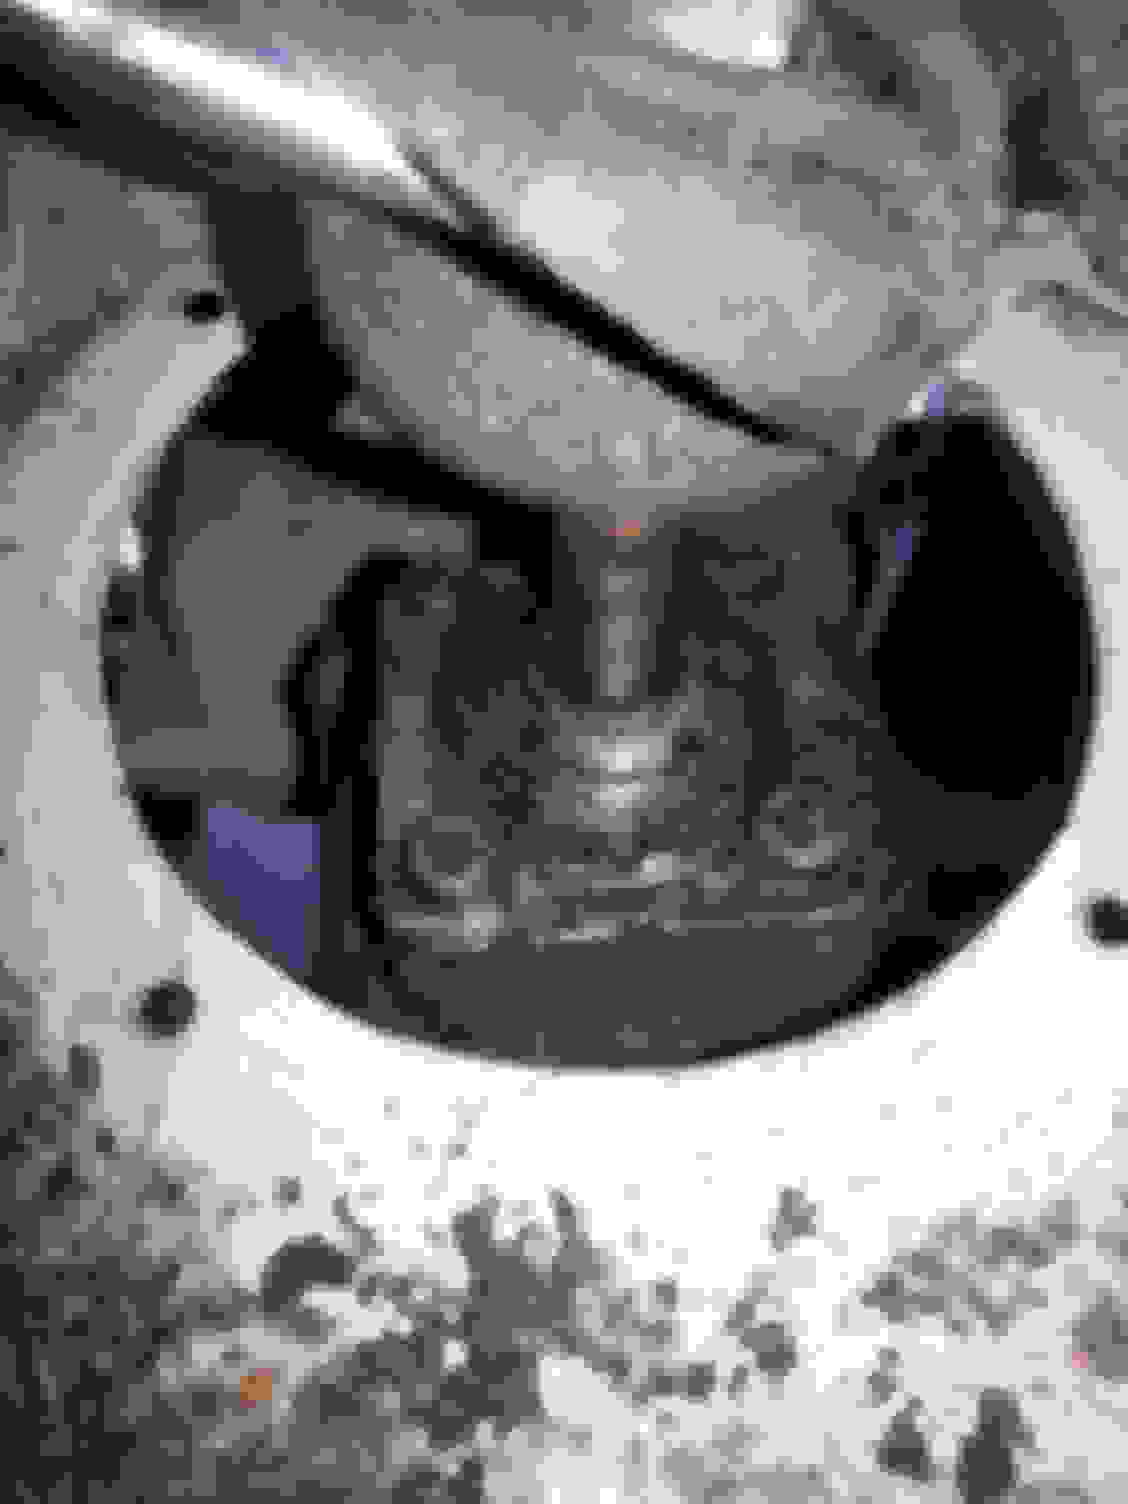
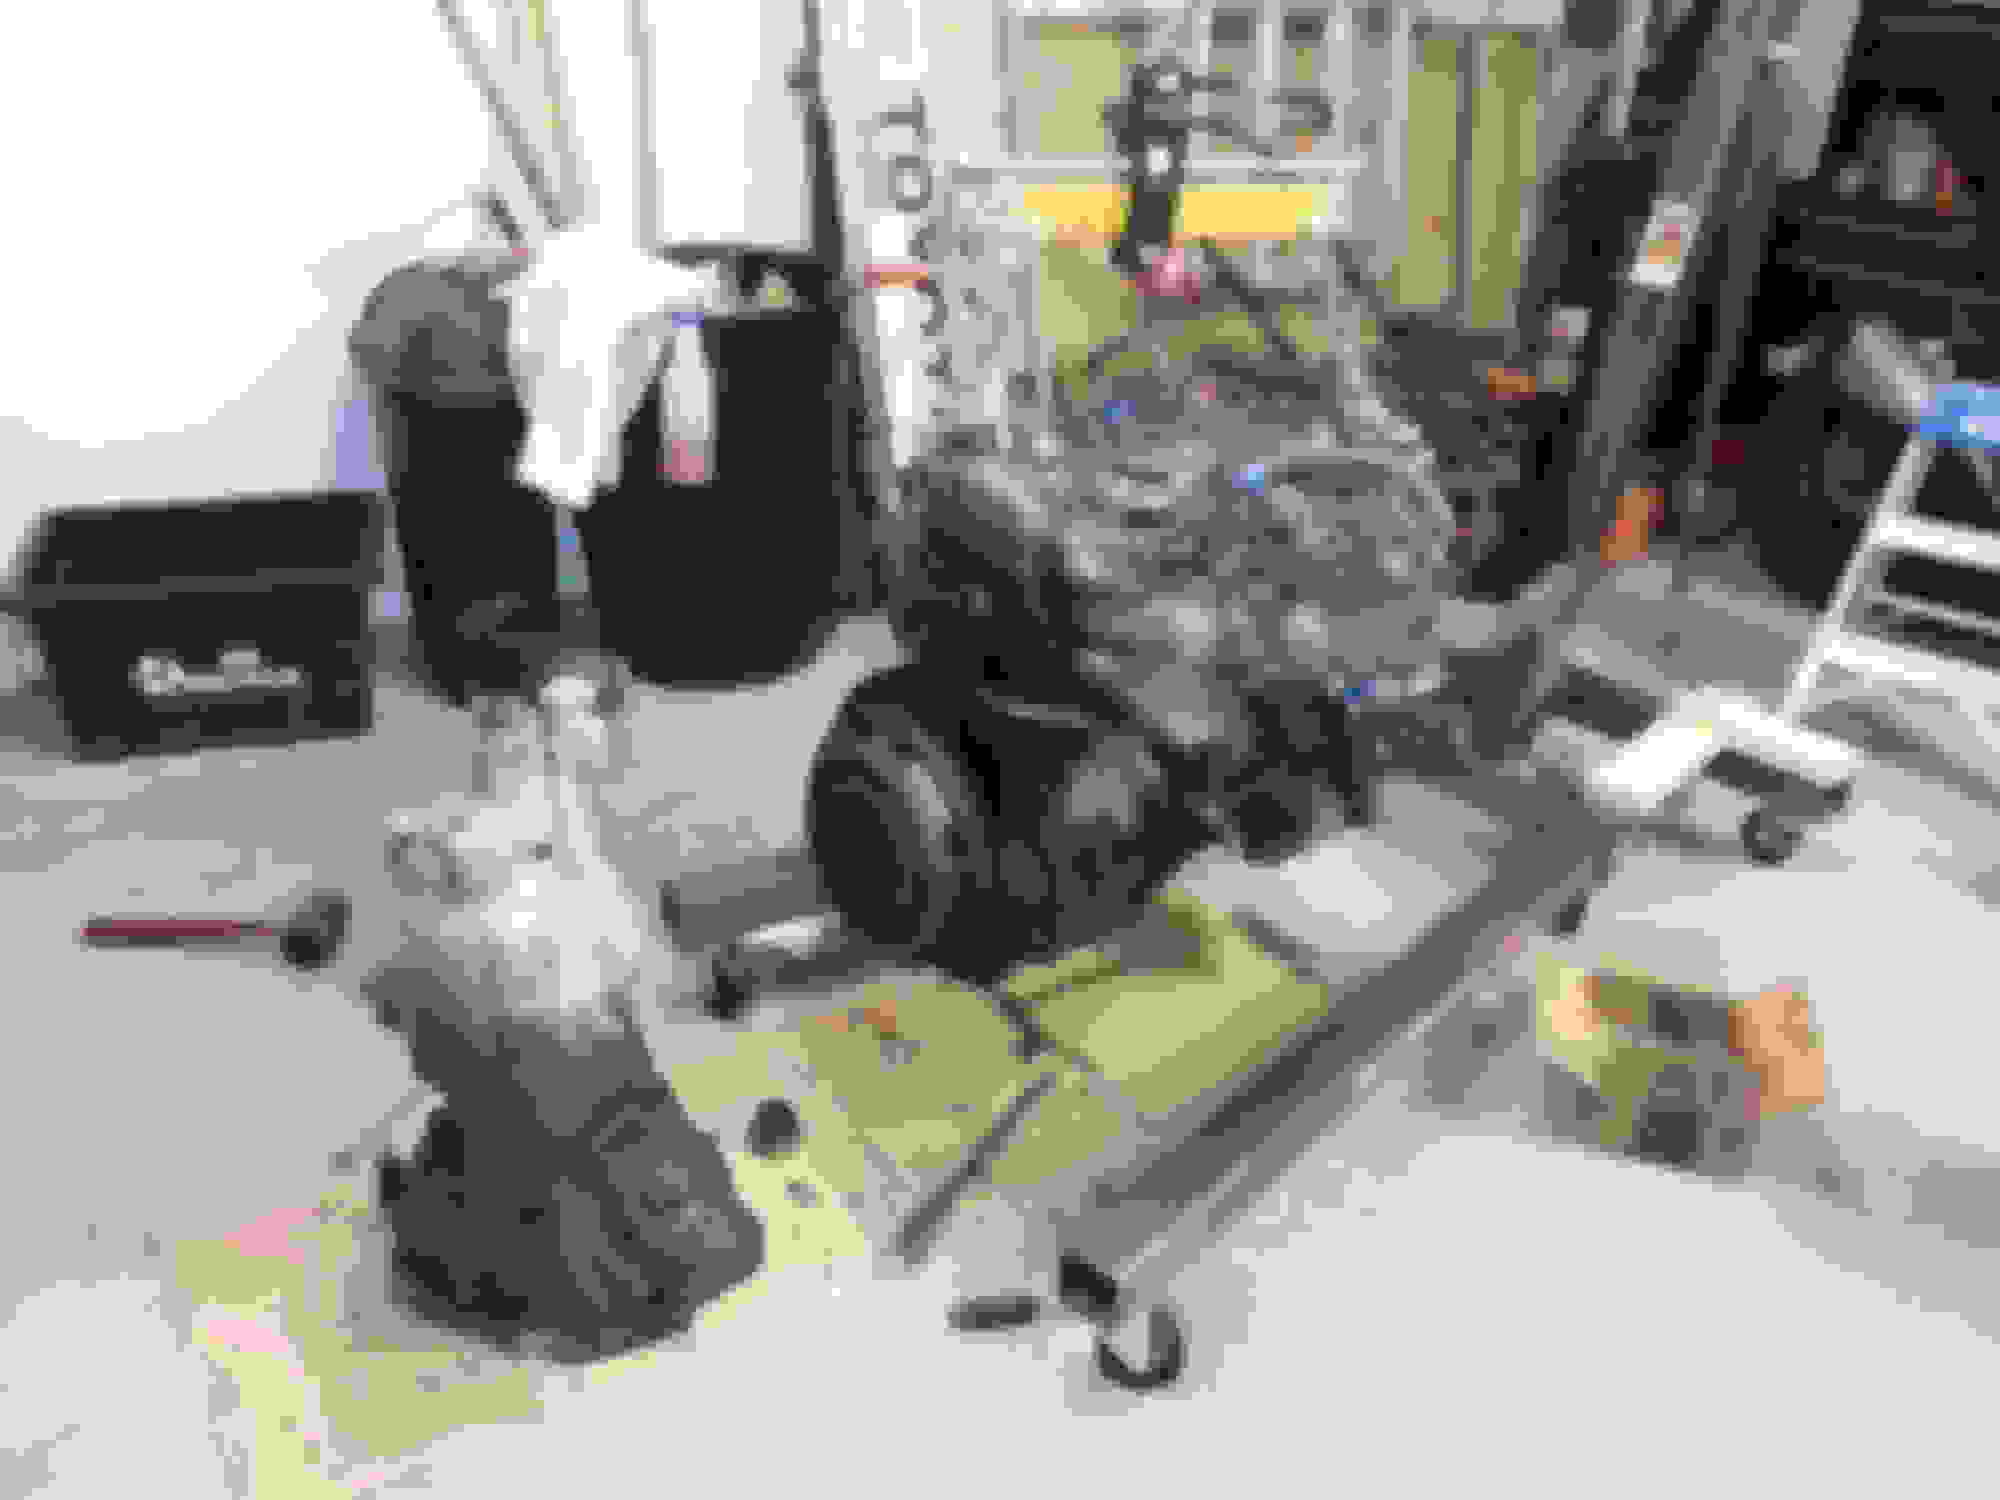
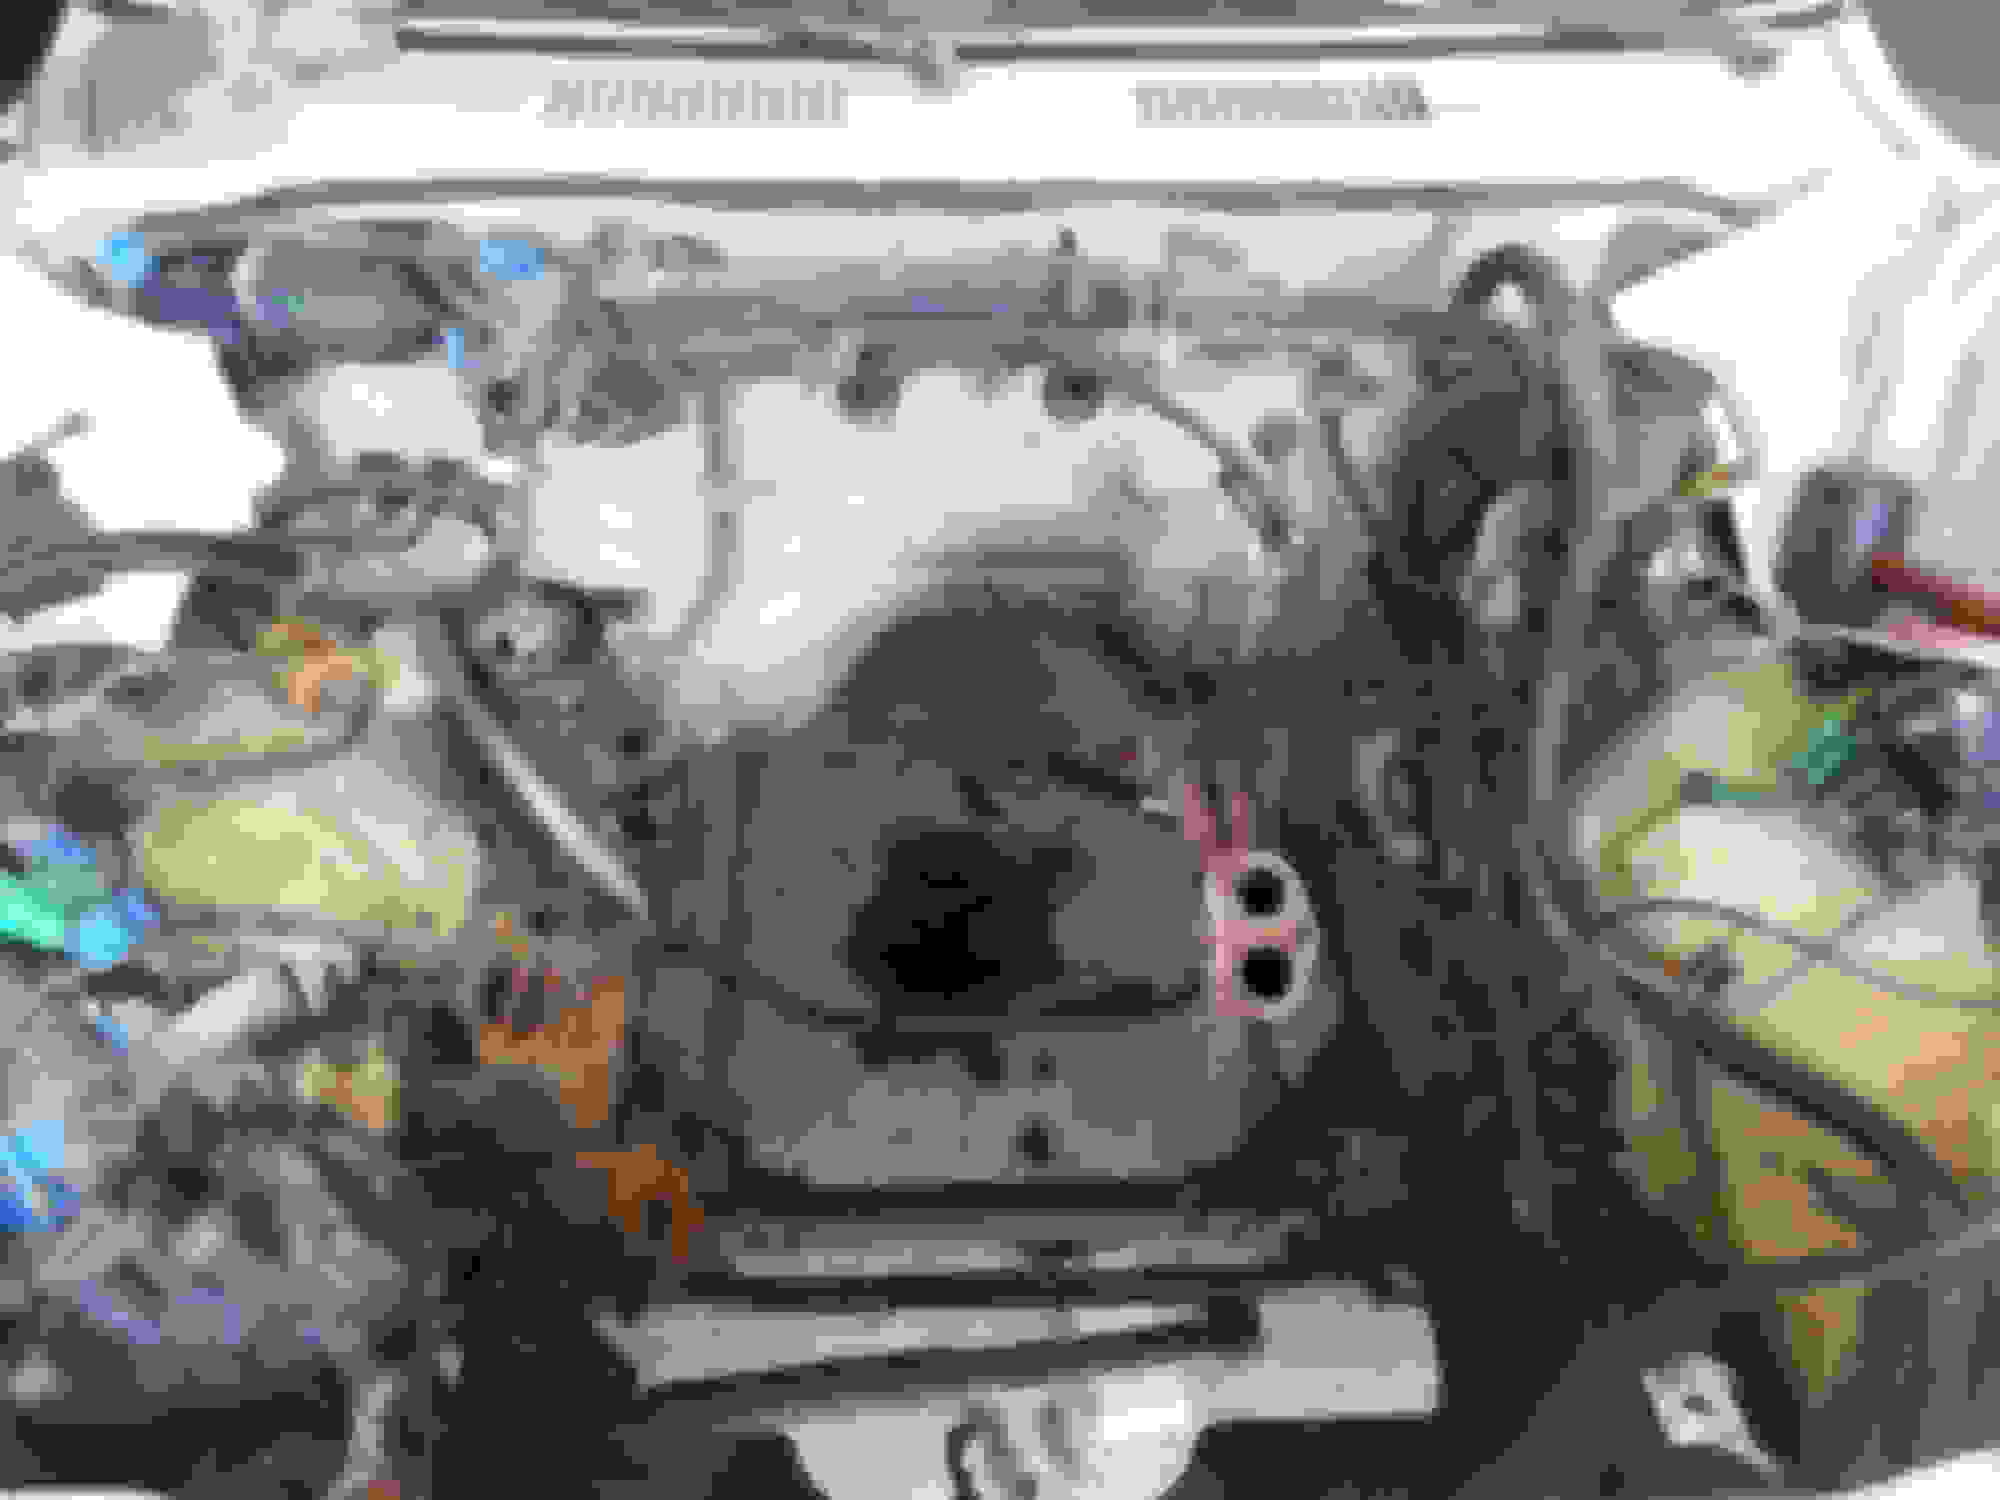
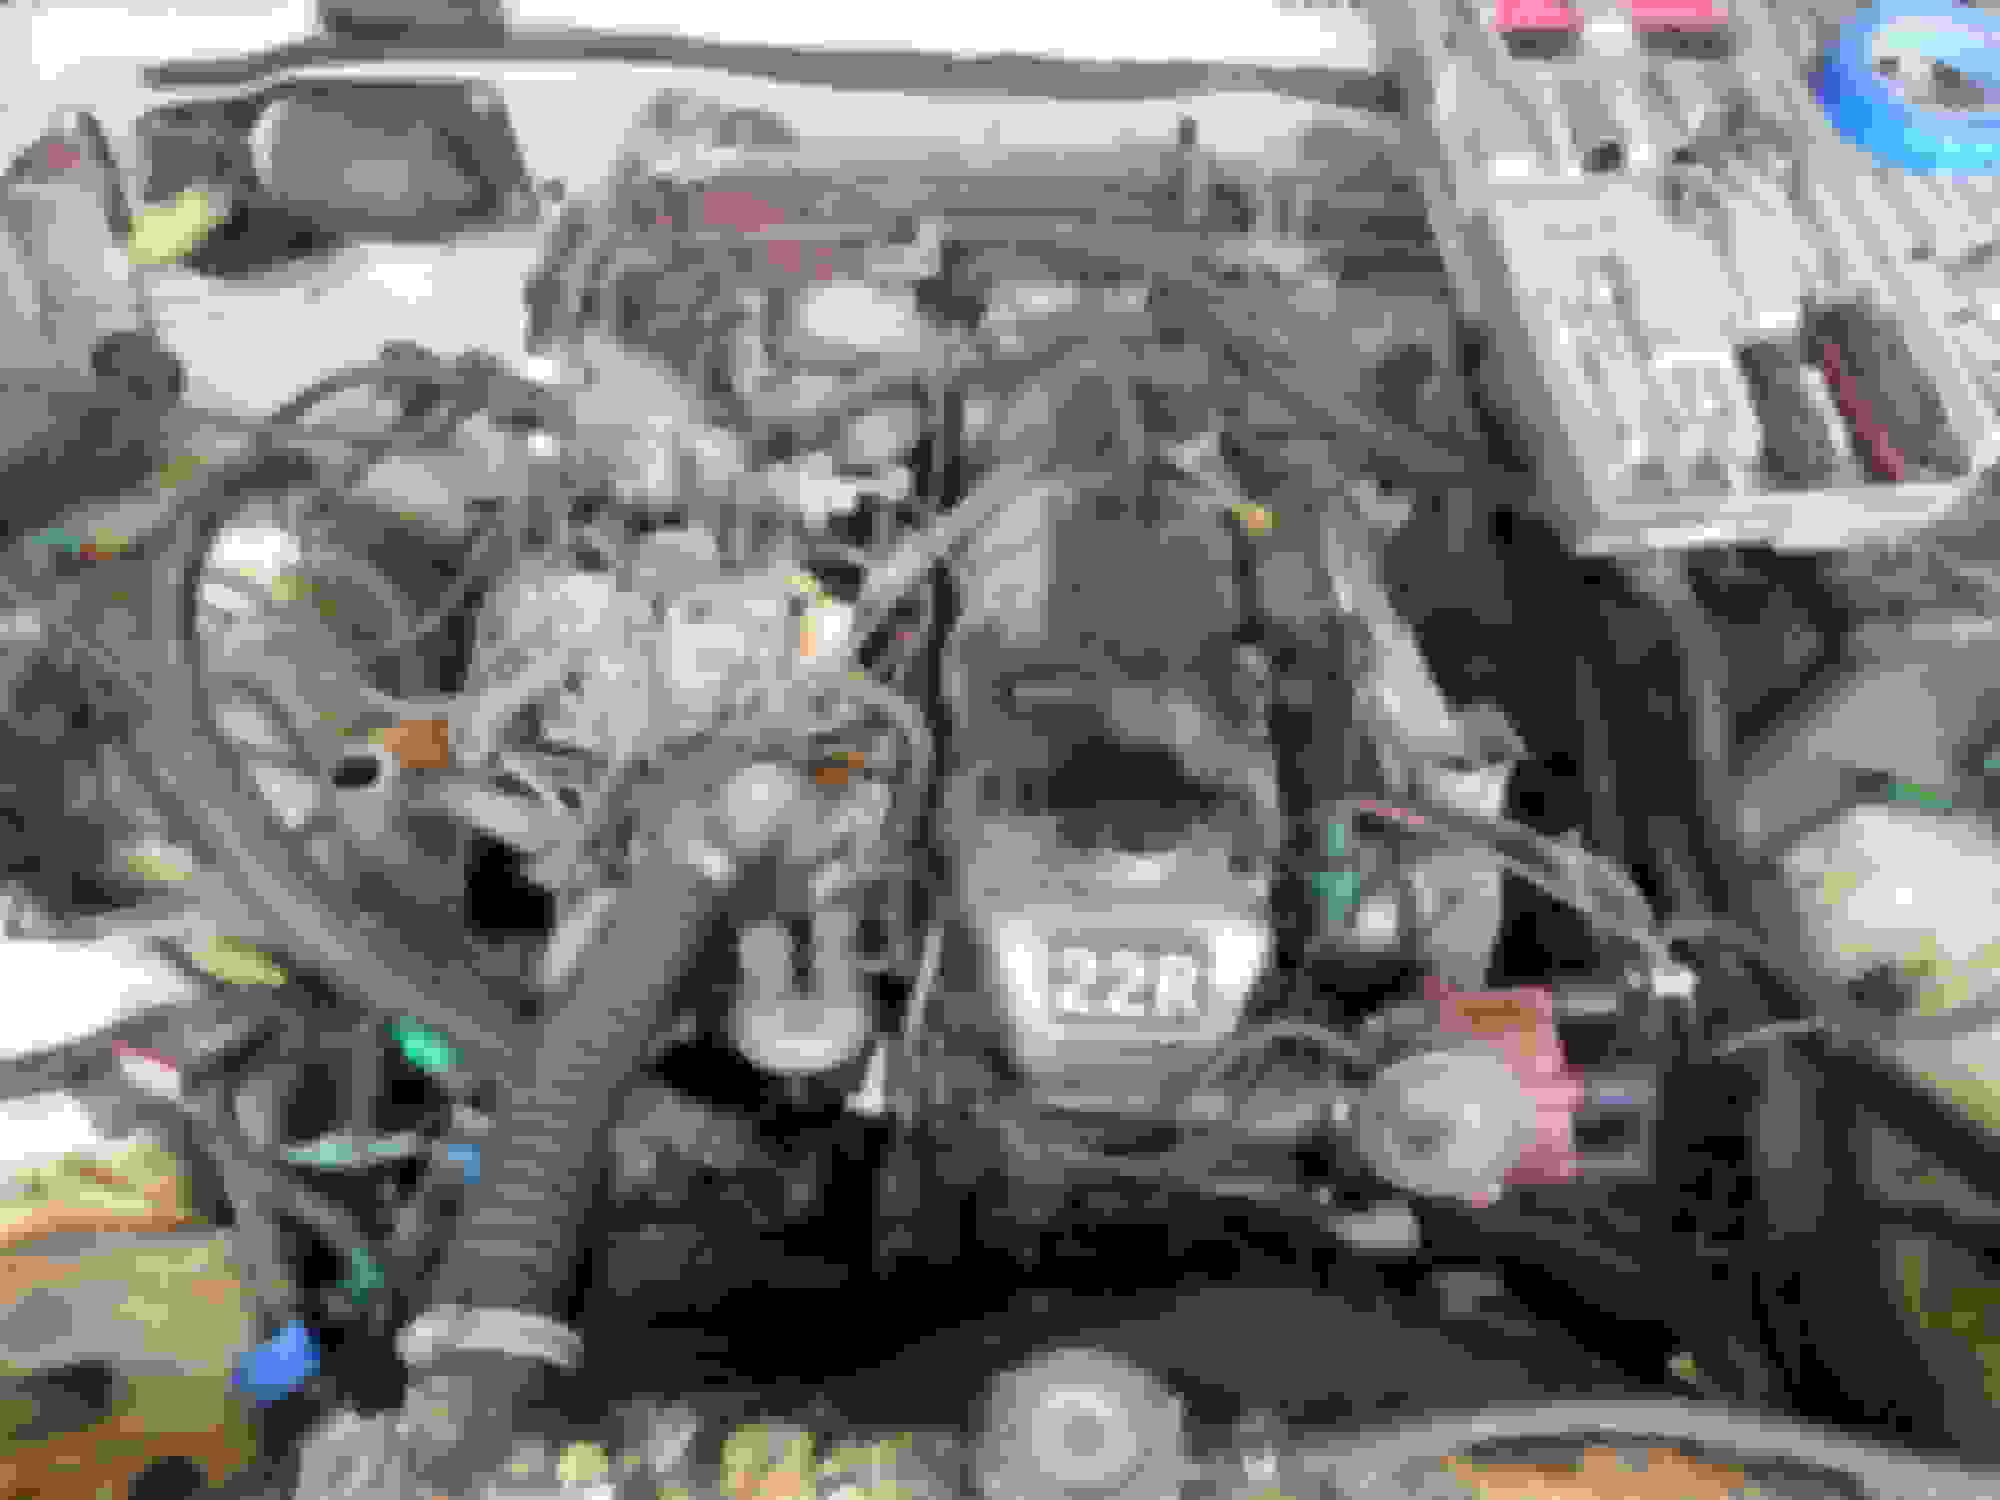
Engine and Trans pulled. Not a single stuck bolt on this entire thing. There was an inch of oil covering the entire engine. Not sure how long this Valve Cover gasket has been leaking (and whatever else), but its been years.
Nice story to go along with this truck! My wife hates my truck too (mainly because I have spent so much time and money on it) and she still refuses to go for a ride in it even after I have finished up the restoration. So far she hasn't left me for a younger guy, but I think she'll stick around since I don't work on it nearly as much anymore. My oldest son (3 years old) absolutely loves it so that brings me the happiness and enthusiasm that my wife doesn't.
Look, don't let the fine details about a restoration scare you - it is much easier than most think, but not easy enough for the average Joe to handle. You don't have to have every skill set imaginable to do it (you can learn A LOT along the way), but you MUST have patience and you MUST take your time. I restored my truck 99% by myself - the ONLY things I didn't personally do was the machine work on my engine, the windshield installation and the bedliner. I've been around cars and motorcycles all my life so I've picked up bits and pieces of restoration work along the way, but I am by no means a professional. I learned most of what I needed to know by spending countless hours researching on line before I dive into the next step. I've made a lot of mistakes over the years too, but that's the best way of learning - when it involves wasting time and money you learn VERY quickly.
As for restoring these particular trucks...
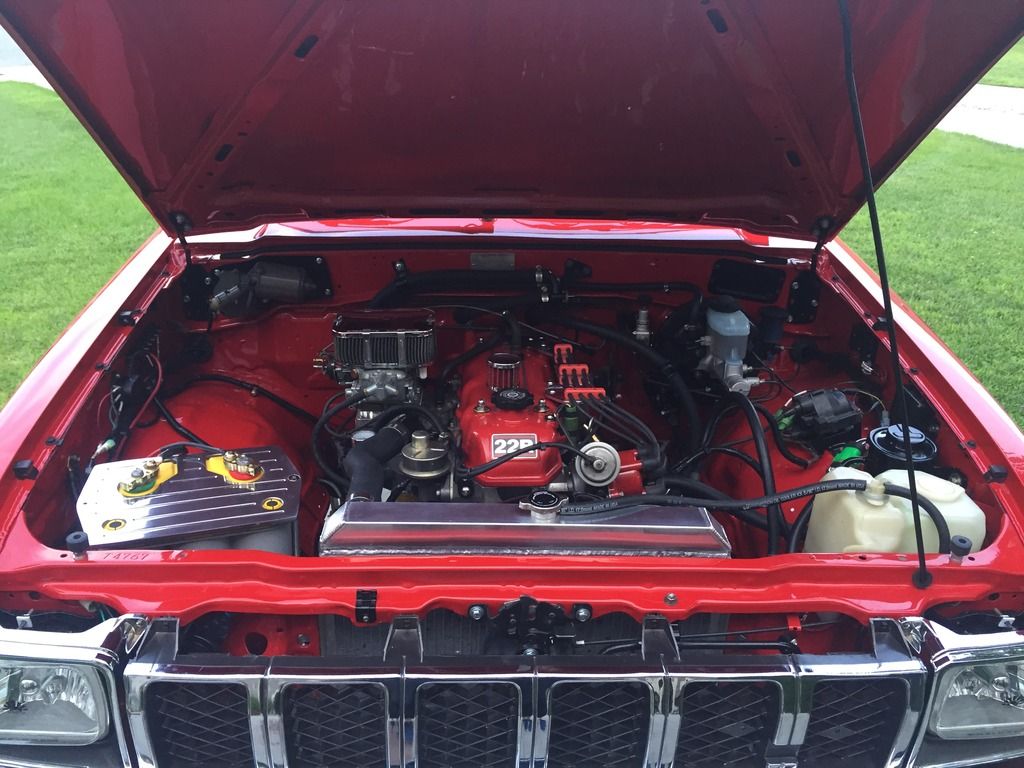
-The engine is EASY to rebuild. I've built dozens of engines from big blocks down to 600CC motorcycle engines and none of them were as easy as a 22R. None of them required less specialized tools to rebuild the engine either!
-The chassis, axles and drivetrain are fair simple as well. A lot of them are still in great shape just need a quick cleaning and rebuild to bring them back to good operating condition.
-Bodywork can be tough, but is very do-able - This is where patience is a must. Learn to weld quick! Replace as much as possible with metal and use as little filler as possible. I cringe when I see people slap gobs of bondo over hug rusted holes in body panels - that stuff DOES NOT last and I wouldn't even call it a quick fix especially since the second time it needs to be fixed will be that much harder. You CANNOT cover up rust and expect it to stay away. Get rid of it properly now and you won't see it again.
-Interior pieces are very hard to find - I actually just got the final two pieces of my interior today that I have been searching for the past 6 months for. Lucky for you, your interior looks fairly complete, just needs to be cleaned up.
I'm in the same boat as you with friends not into cars and such. My Pop's has a bunch of friends that are total motorheads and build stunning cars, but not my direct group of friends. For the 2.5 years I spent working on my truck, my friends would constantly say, "when are you going to get that thing done?" "what's taking so long?" "why are you even bothering with that thing?" They didn't understand the passion that I had for the truck and that it was among my list of "dream" vehicles. They couldn't see the pleasure and satisfaction that I got out of spending time on it. Don't rush through the project to appease your friends - take your time and blow their minds when you pull up to their houses when you're "finally done." My friends were begging for a ride when I was "done" and one even wants to have it at his wedding!
You've come to the right place for help and documentation on this project. There are a lot of very knowledgeable folks on here that are very willing to help. You seem serious and passionate about what you want to do to your truck so if you need any help or advice along the way don't hesitate to ask me. I have completely documented my restoration very well if you want to read through that. I also documented my engine rebuild and created a desmog tutorial. Here are the links: https://www.yotatech.com/forums/f197...ration-264229/ https://www.yotatech.com/forums/f114...azx636-261494/ https://www.yotatech.com/forums/f114...torial-264405/
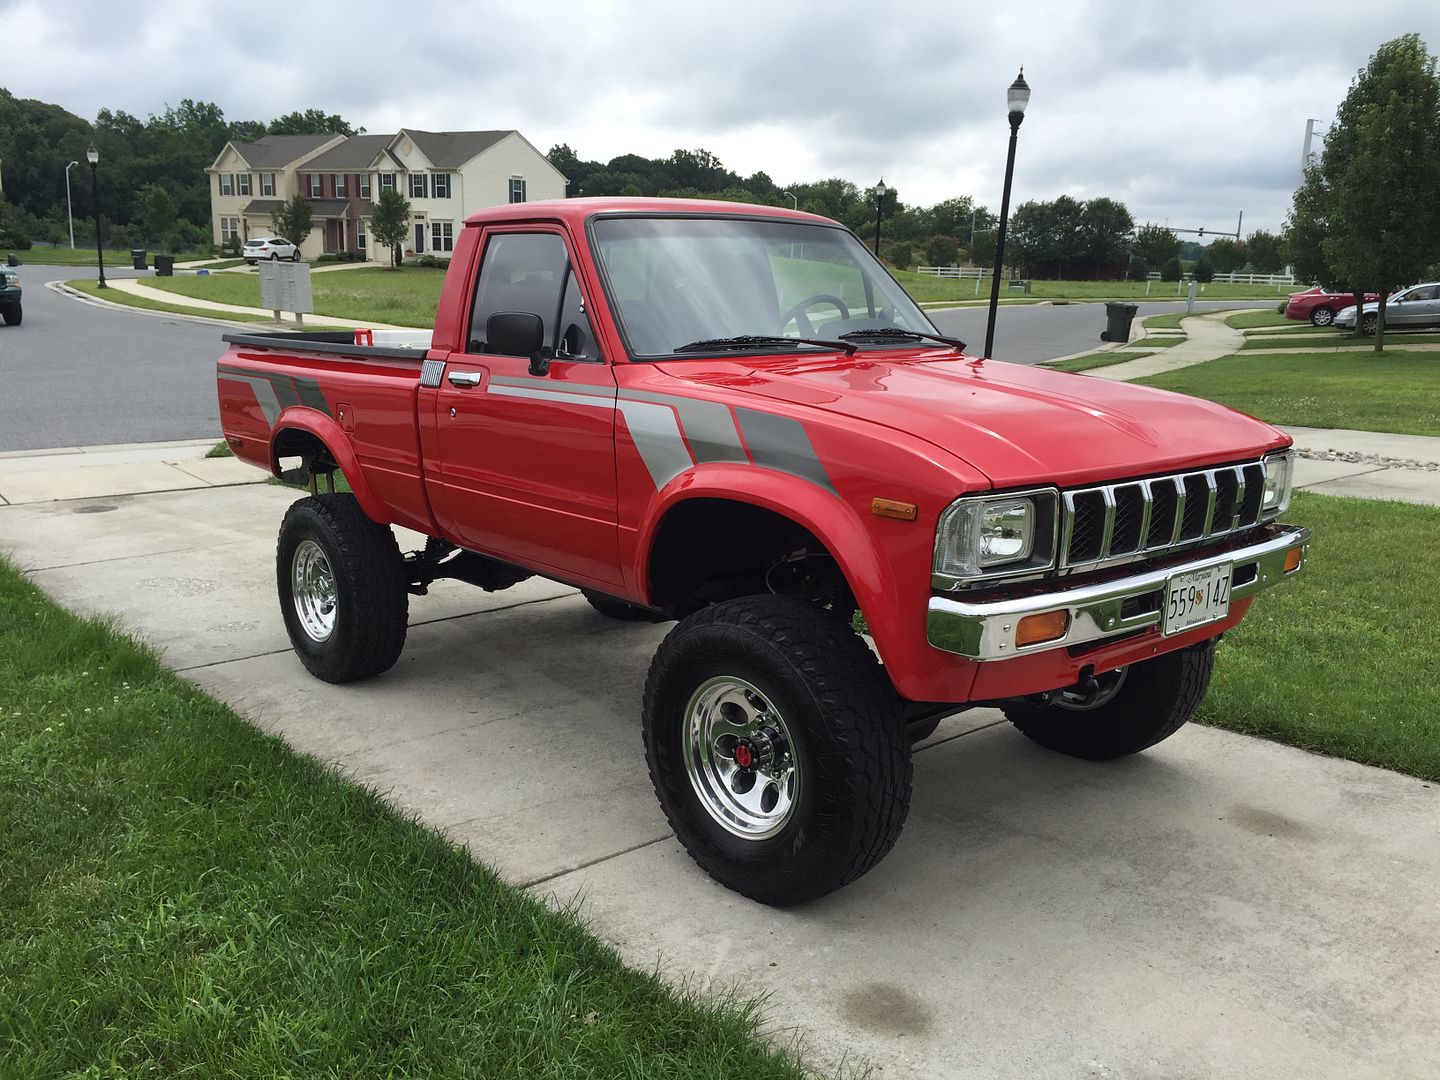
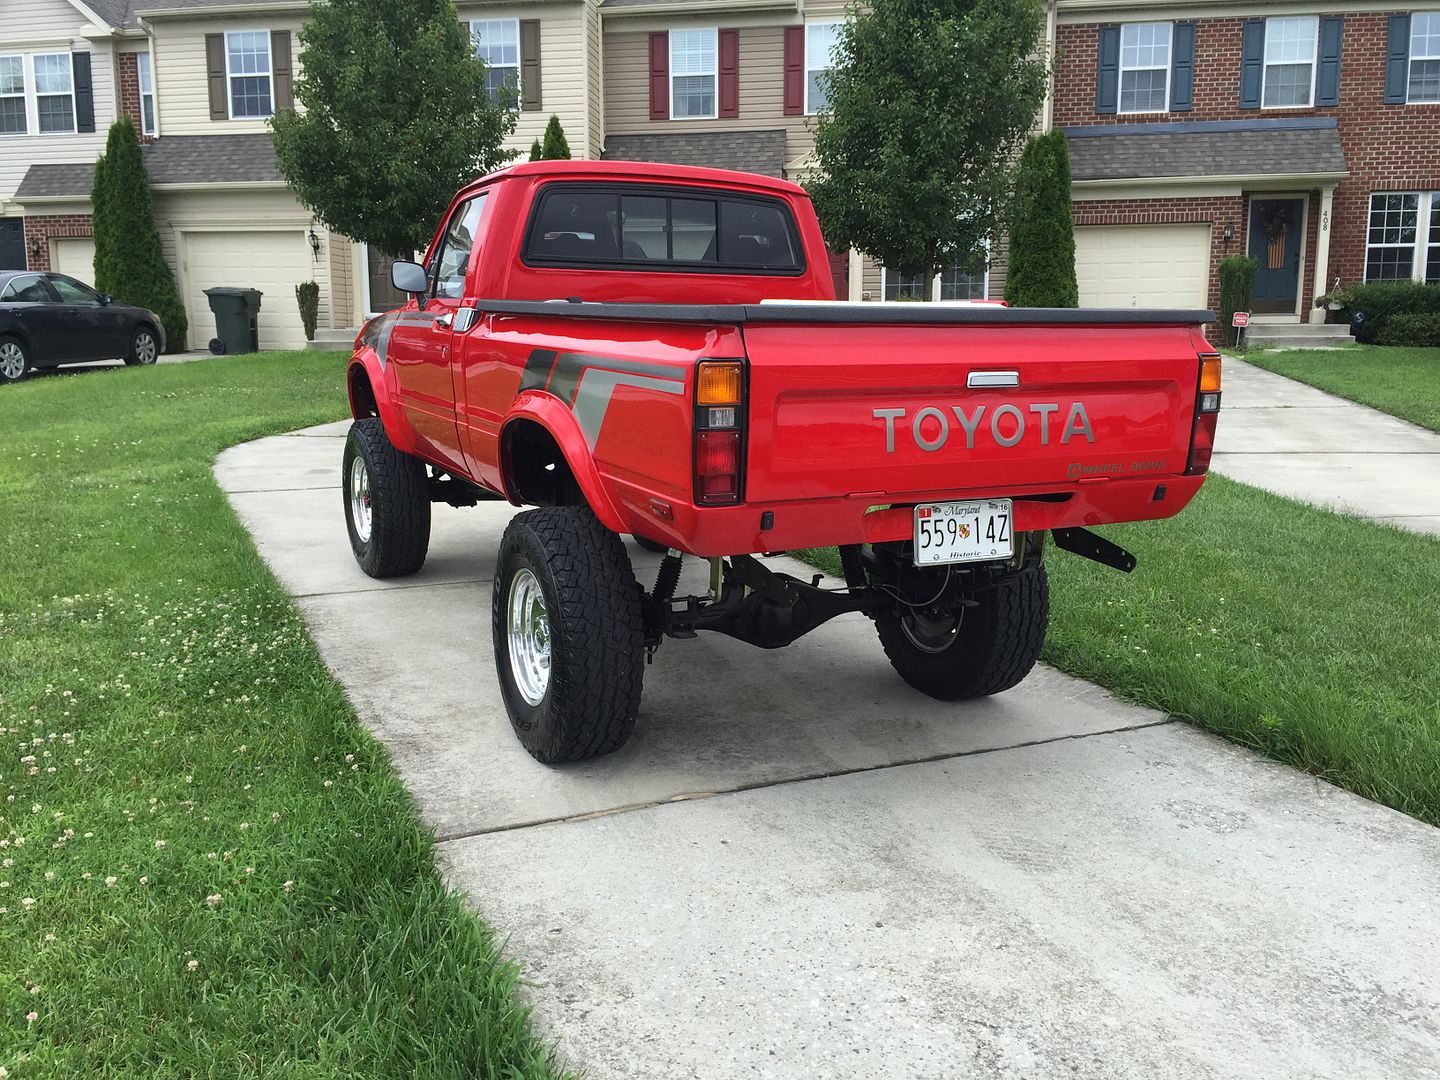
Here's a little inspiration for you... I got mine "done" (they are never truly DONE) a couple months ago and these pictures were taken prior to heading off to my first car show with it:
Slowly but surely the engine is coming apart. Its so hot out right now, I can usually get about 1/2 hour in before I'm a giant sweat ball, and that's when you start breaking things, so I'm taking my time.
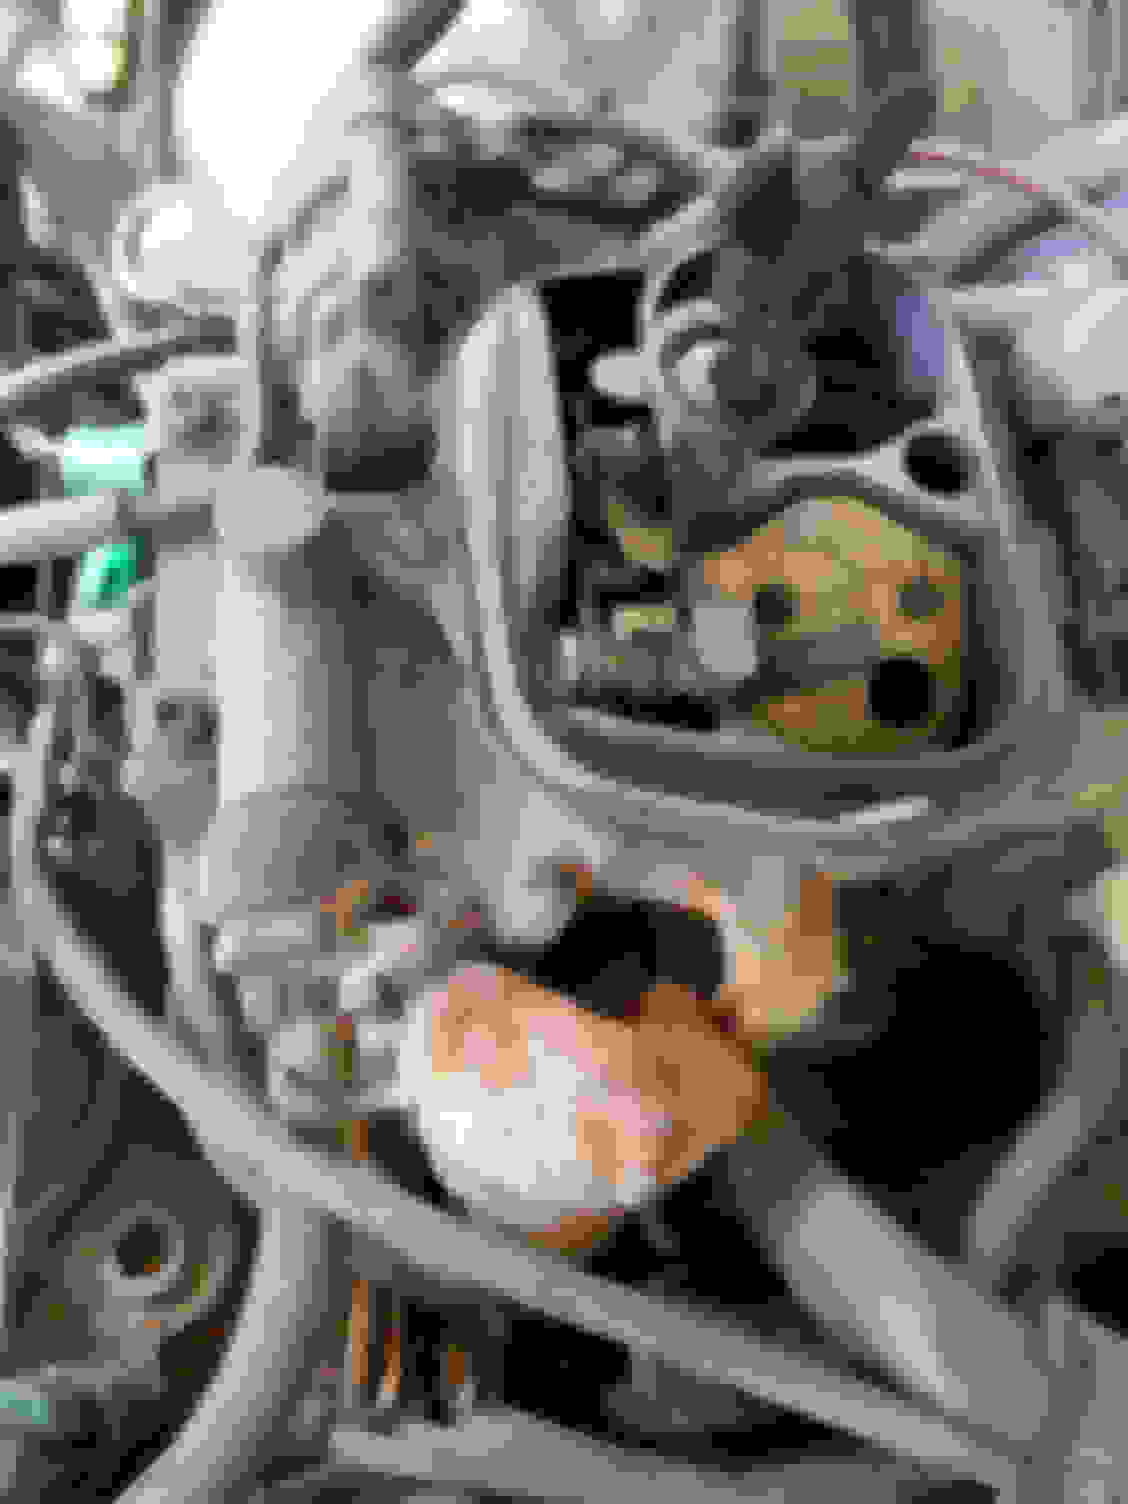
That head looks like it could have gotten pretty hot while low on oil and/or oil pressure (Thus the golden-brown oil varnish look). Make sure you check for warping of the head.

 07-18-2015, 10:56 AM