
Frame Rot Repair (Lots of Pics)


 01-26-2011, 07:10 AM
#22
Registered User
Thread Starter
01-31-2011, 07:26 AM
#25
Registered User
Thread Starter
While I'm waiting for my replacement hands fabricator (still sidelined with a broken wrist), I can start some side projects on the truck. Clutch kit, flywheel, slave and master cylinders have been replaced, thank you for 186k miles of service.
My Poly Urethane bushing kit has arrived:
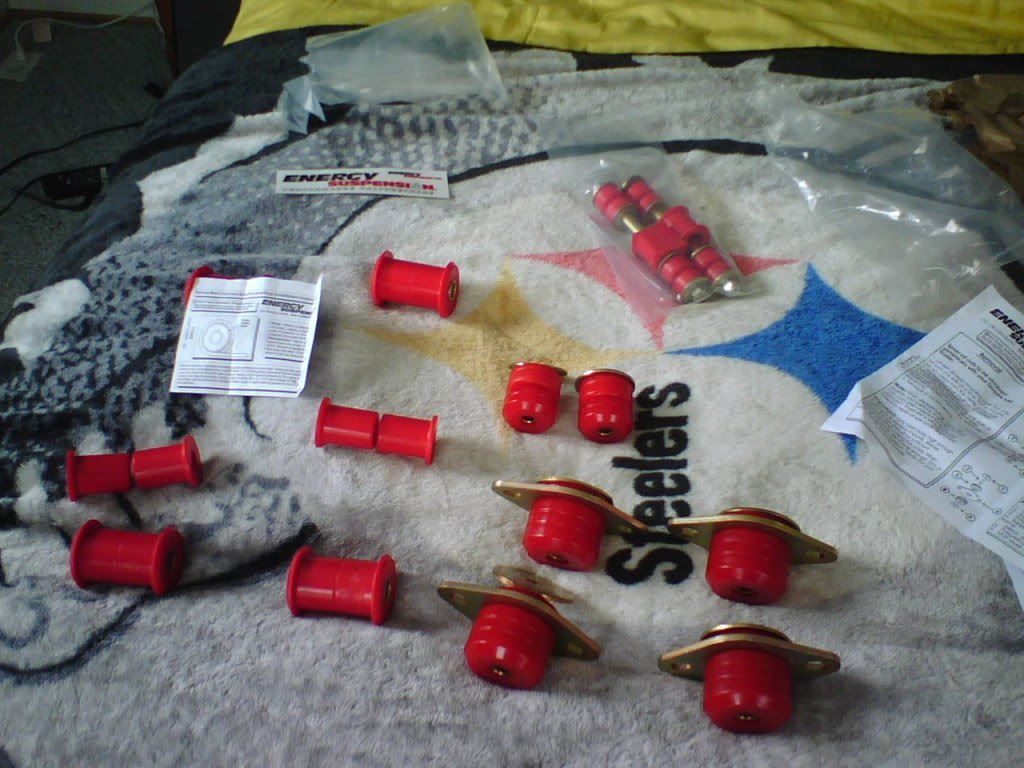
So now I can prep the body mounts, spring hangers, sway bar links, I think the control arms will have to wait until warmer months when I can do this outside with some more space.
My Poly Urethane bushing kit has arrived:
So now I can prep the body mounts, spring hangers, sway bar links, I think the control arms will have to wait until warmer months when I can do this outside with some more space.
02-05-2011, 03:15 PM
#26
Registered User
Thread Starter
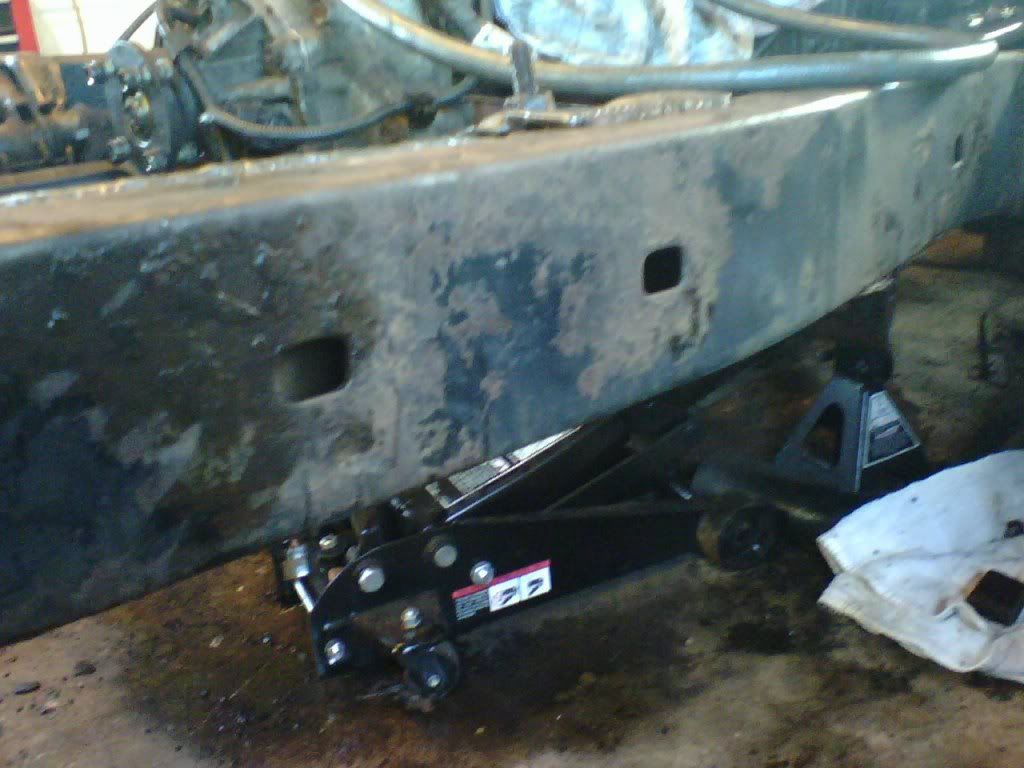
Well I got an afternoon out of my welding hands (my brother) and got a lot accomplished.
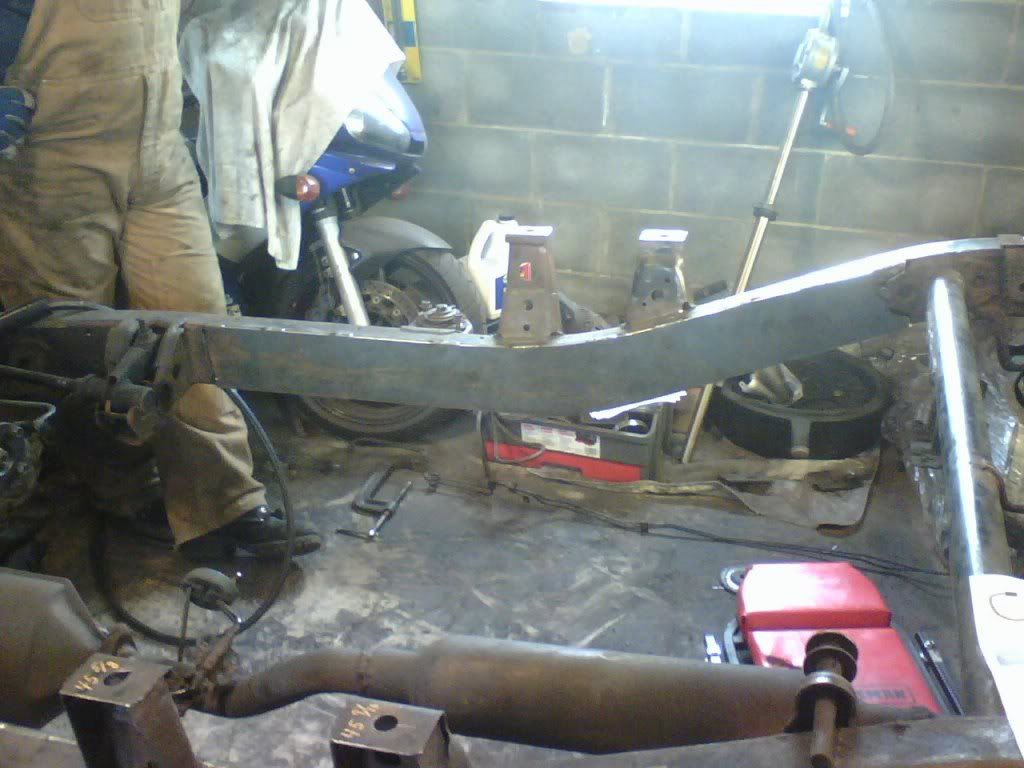
Which sure beats the open hole I've had for the passed.... um I dunno a long time.
Which sure beats the open hole I've had for the passed.... um I dunno a long time.
02-05-2011, 03:18 PM
#27
Registered User
Thread Starter
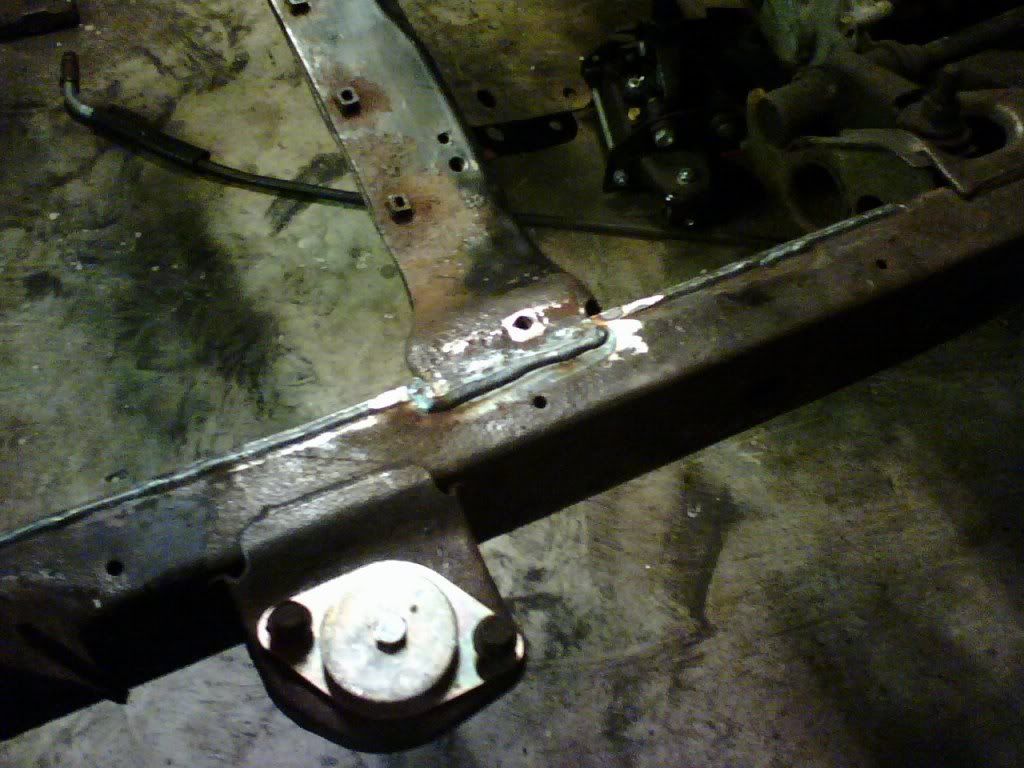
He also got my spring hanger re-attached
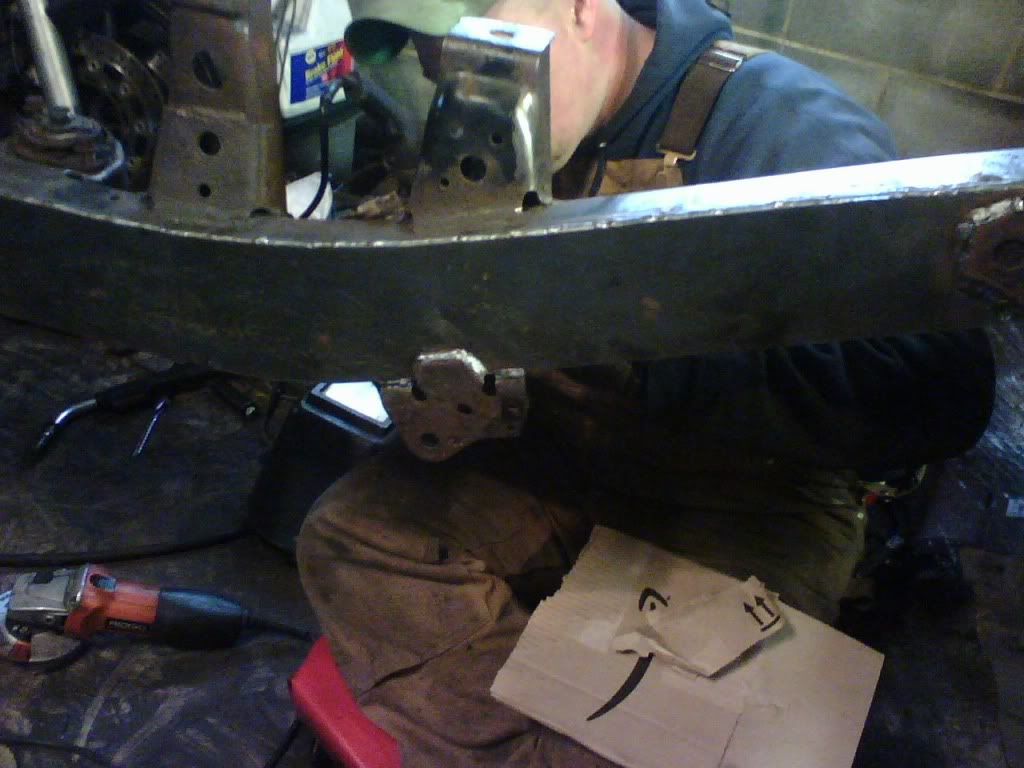
I'm sure my ride will be improved over a free folating hanger.
Tomorrow the cross member should go back in. Then POR-15 and reassembly. I was shooting for 30 days for a turn around. I'm cutting it a little close. I think without a detour to an orthopedist I would have easily finished in a month.
I'm sure my ride will be improved over a free folating hanger.
Tomorrow the cross member should go back in. Then POR-15 and reassembly. I was shooting for 30 days for a turn around. I'm cutting it a little close. I think without a detour to an orthopedist I would have easily finished in a month.

 02-11-2011, 05:58 AM
#31
Registered User
Thread Starter
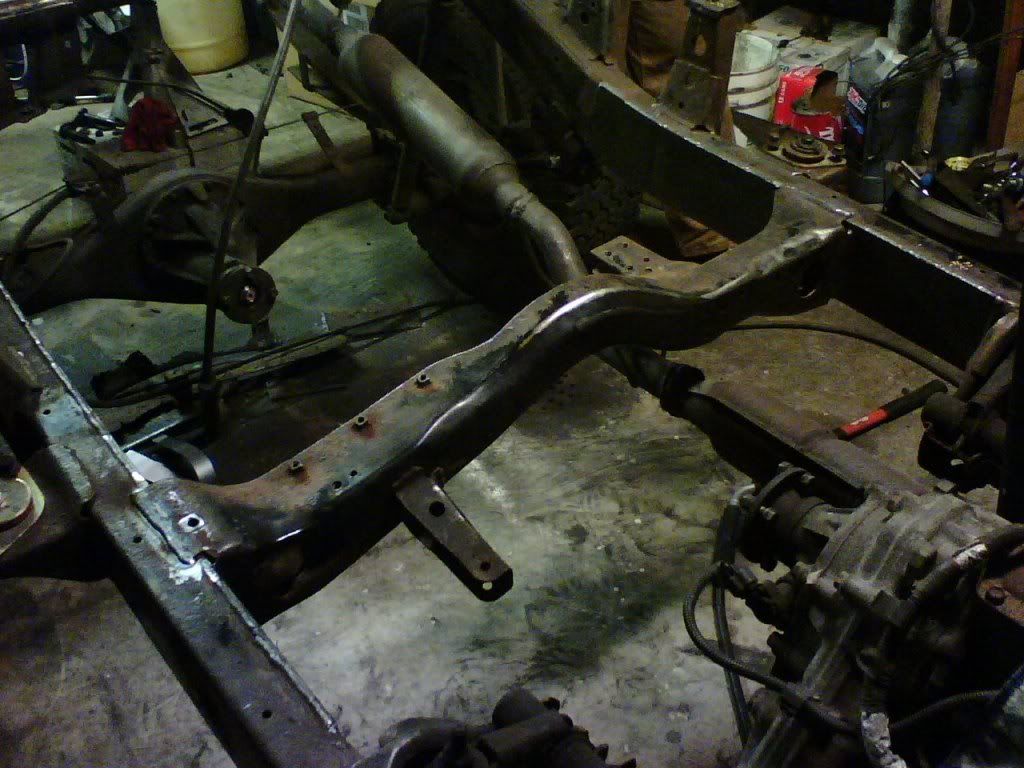
So there was only a few things left on my punchlist before reassembly could begin. I needed to reattach the crossmember, patch a small hole near the transfer case crossmember, patch a small hole near the spare tire carrier, fab up a new o2 sensor perch, and replace my shackles that I had to torch off.
02-11-2011, 05:58 AM
#32
Registered User
Thread Starter
Well the UPS man brought my shackles.
I underestimated the HD quality of TrailGear parts. Apparently they have a different definition of stock replacement then I do.
I underestimated the HD quality of TrailGear parts. Apparently they have a different definition of stock replacement then I do.
02-11-2011, 06:00 AM
#33
Registered User
Thread Starter
I made a "new", and I use that term loosely, o2 Sensor perch:
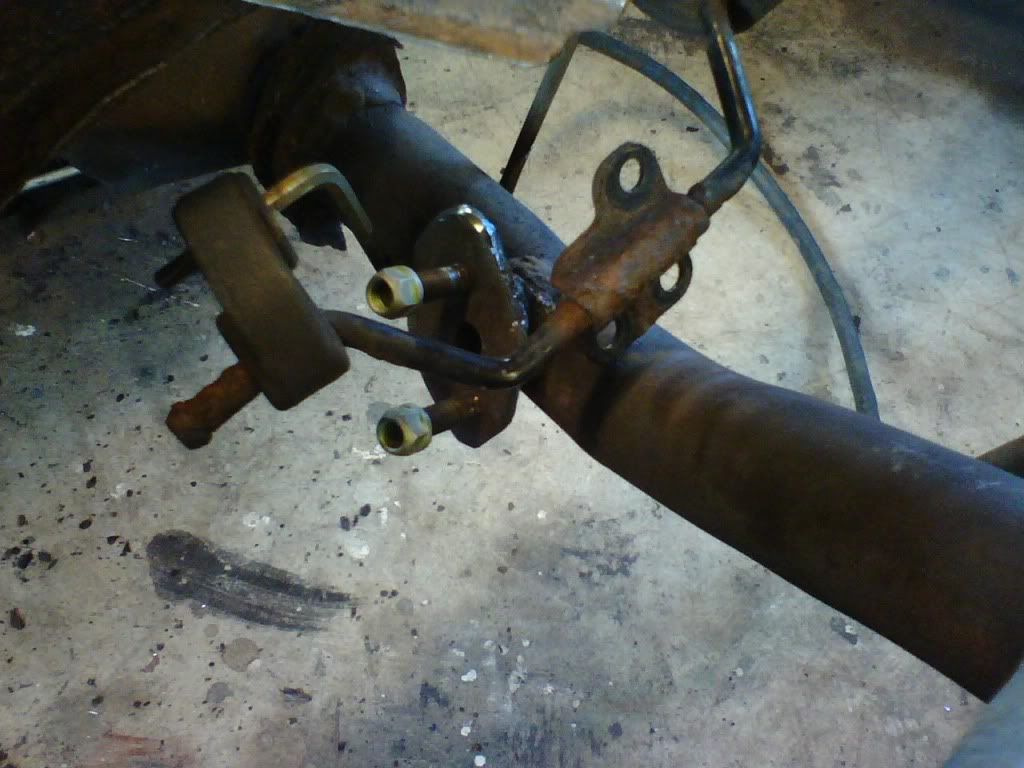
If you can see the gobs of weld, well thats what happens when you try to weld left handed.
If you can see the gobs of weld, well thats what happens when you try to weld left handed.
 02-11-2011, 06:02 AM
#35
Registered User
Thread Starter
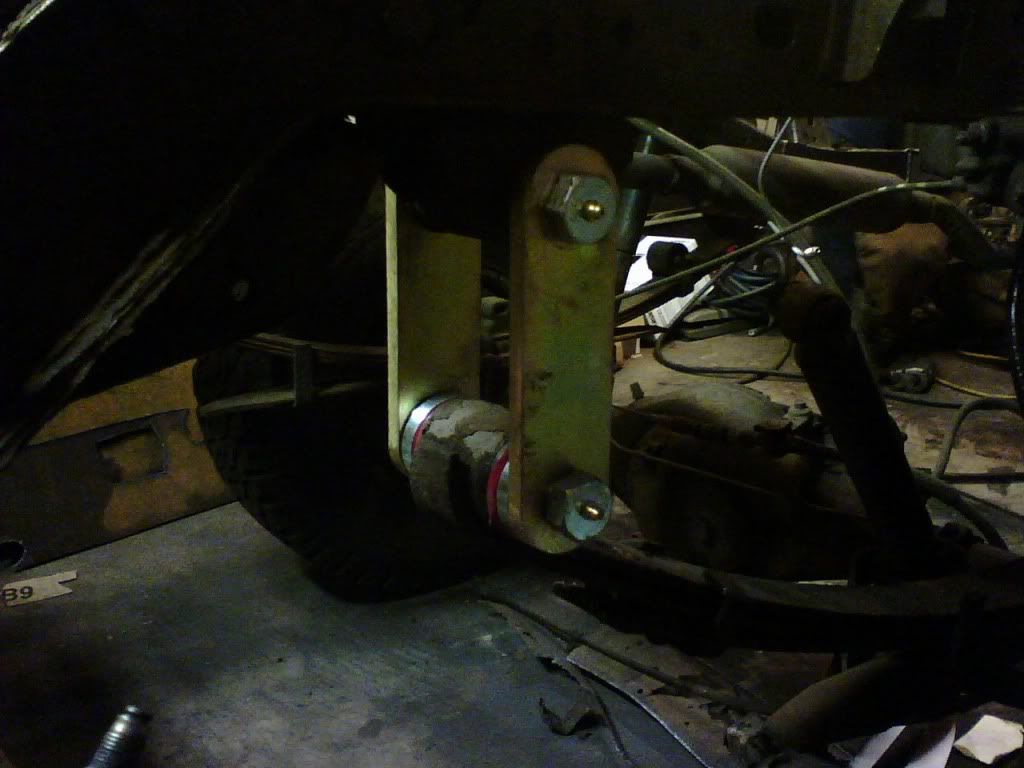
He even threw in some extra protection for the spring hanger so I don't run into problems in the future.
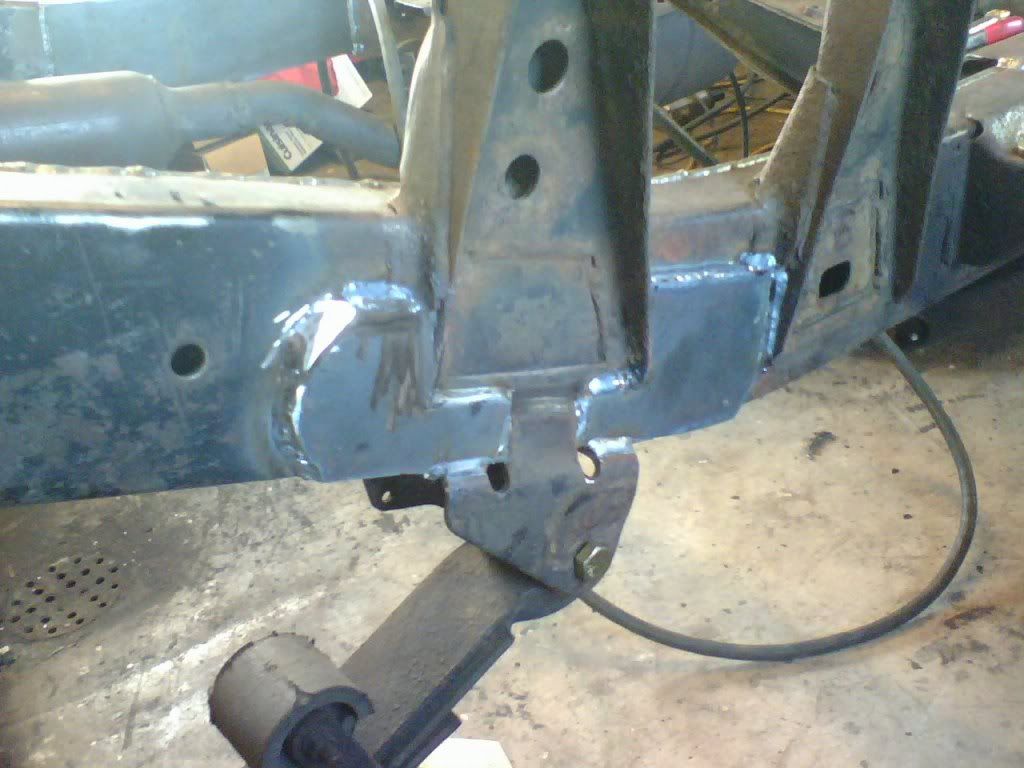
I guess he thinks I'll have this truck for another 17 years to need frame repair again.
I guess he thinks I'll have this truck for another 17 years to need frame repair again.
02-11-2011, 06:04 AM
#36
Registered User
Thread Starter
And now I've started the process of the POR-15 application with a good cleaning of Marine Clean:
which washed off this:
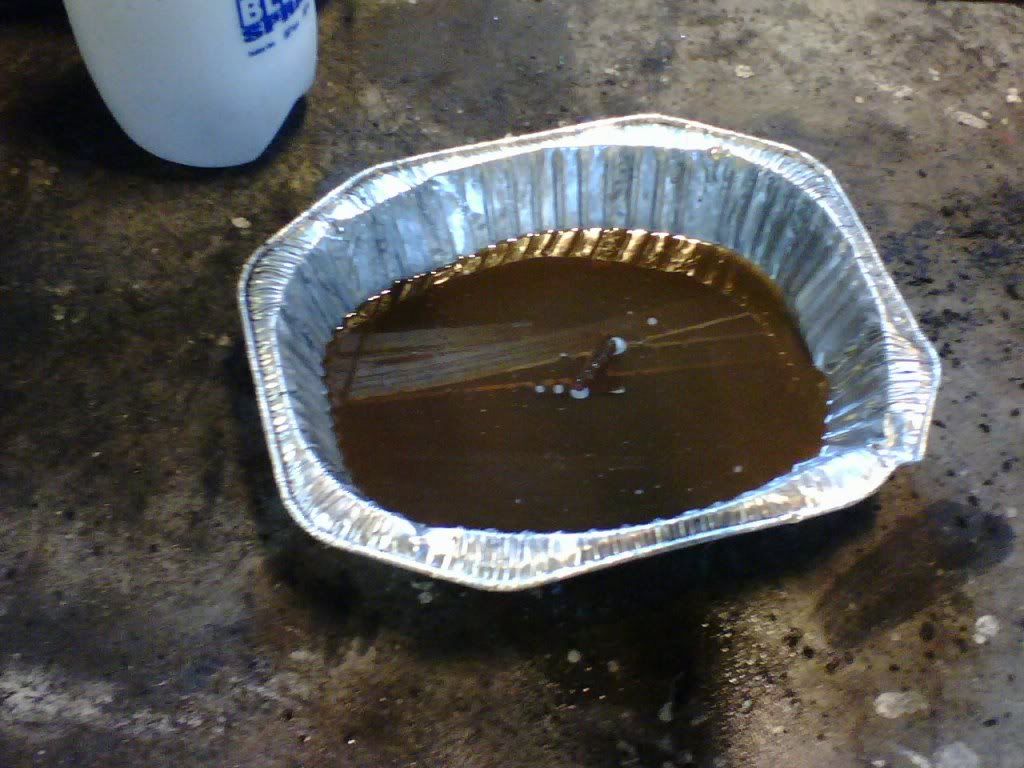
For mostly new steel, there is a lot o dirt and grime that stuff takes off.
which washed off this:
For mostly new steel, there is a lot o dirt and grime that stuff takes off.
02-11-2011, 06:05 AM
#37
Registered User
Thread Starter
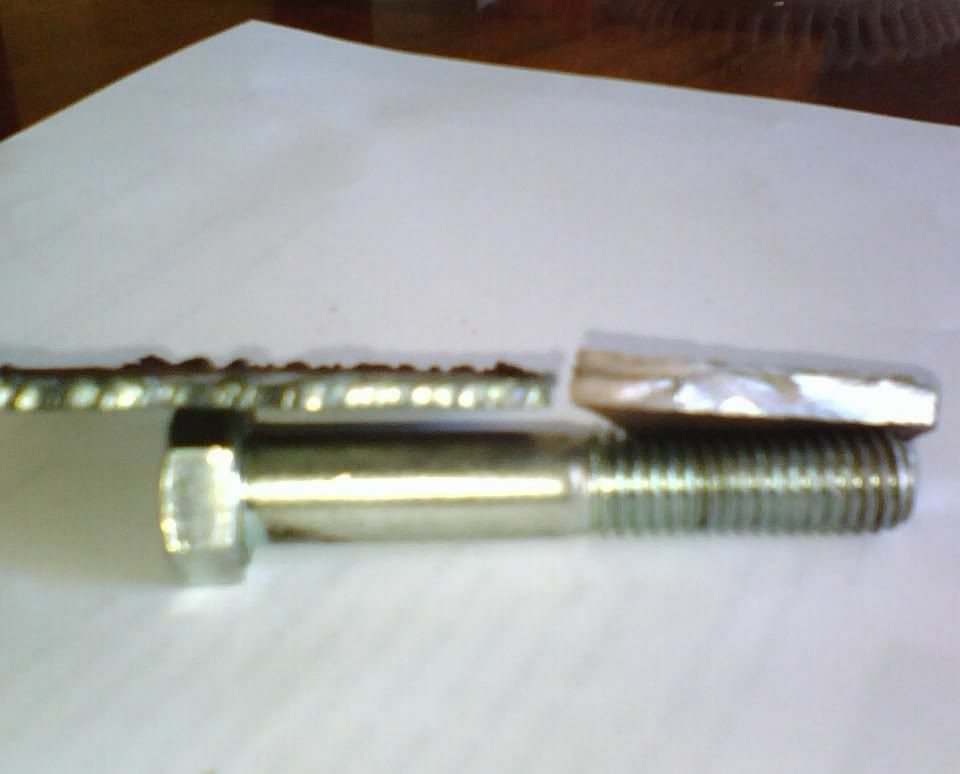
And just for comparison, this is a piece of metal I cut out of the frame:
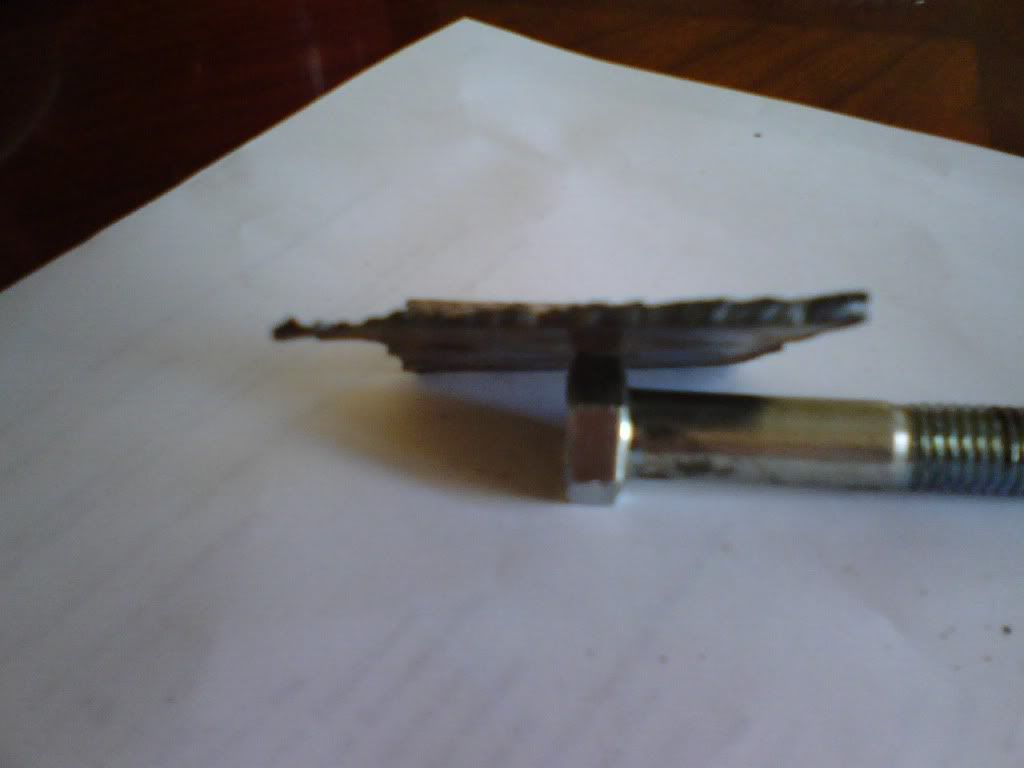
It is full factory thickness on the right of about 2.5mm steel and over time rust and rotted to nothing along the left side.
It is full factory thickness on the right of about 2.5mm steel and over time rust and rotted to nothing along the left side.
 02-11-2011, 01:32 PM
#39
Registered User
Thread Starter
So I mentioned before that the Marine Clean portion of the POR-15 process was done, and now so is the Metal Ready:
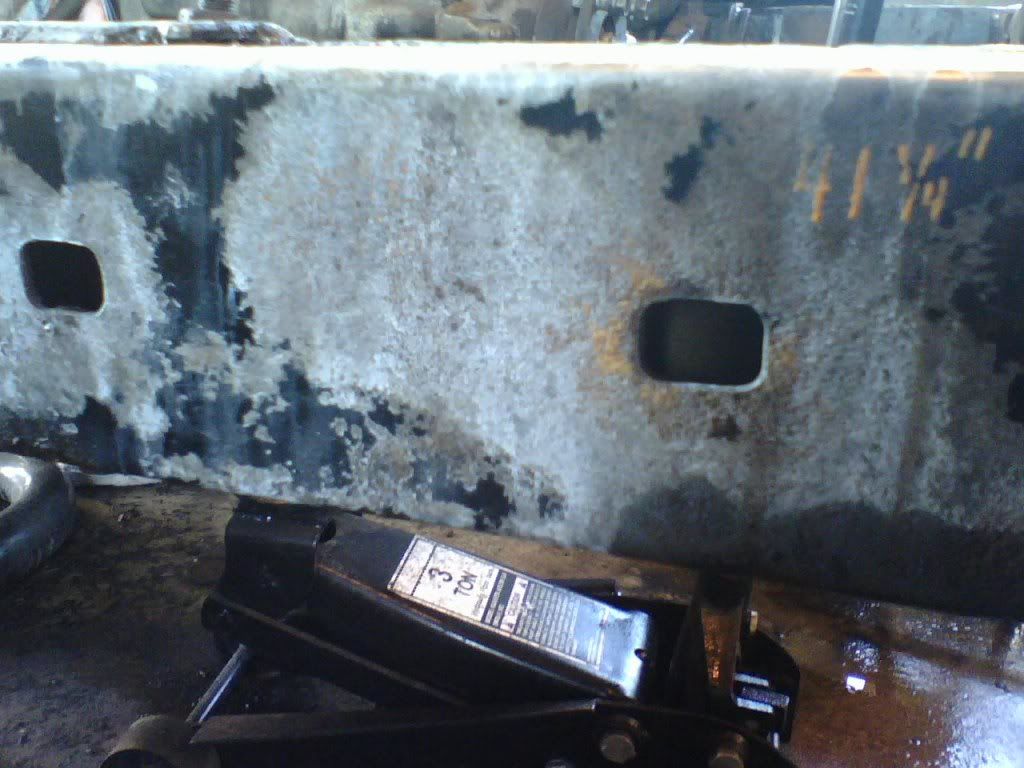
That whitish coating is a zinc plating/etching that allows the POR-15 to bind harder with the metal. Awesome.
That whitish coating is a zinc plating/etching that allows the POR-15 to bind harder with the metal. Awesome.


