Toyota Tundra: How to Replace Fuel Pump
Having a malfunctioning fuel pump can have drastic consequences for your Tundra. If you see any signs of it needing to be replaced, follow the DIY below and learn more.
This article applies to the Toyota Tundra (2000-Present).
The fuel pump is an extremely essential part of your fuel system. It uses a motor to drive fuel from the tank to the engine. Since this motor is constantly working, it wears out over time and becomes noisy or not functional. Having a malfunctioning fuel pump will cause many issues, including loss of power, fuel starvation and engine failure. It's a great idea to replace your fuel pump if you ever hear it making noise or if your car has high mileage. Check out how to replace it below!

Materials Needed
- 10mm wrench
- Pressure bleeding system
- Flat screwdriver
- Rags and bucket to collect fuel
- Bottle Jack
Step 1 – Bleed pressure from fuel system and disconnect battery
Use your pressure bleeding system to bleed pressure from the fuel lines. Usually, you can open the Schrader valve and have rags as well as a bucket ready to collect any fuel in the lines. To find more on this process, refer to the related posts below. Also, you can disconnect the negative (black) terminal from the battery to make sure the pump doesn't turn on while you are working.
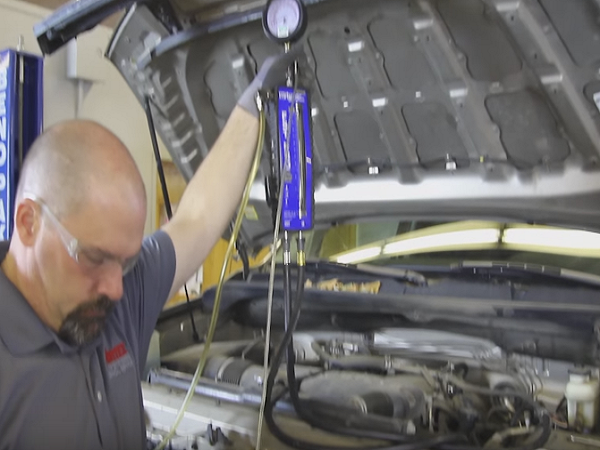
Figure 1. Bleeding pressure from fuel system. 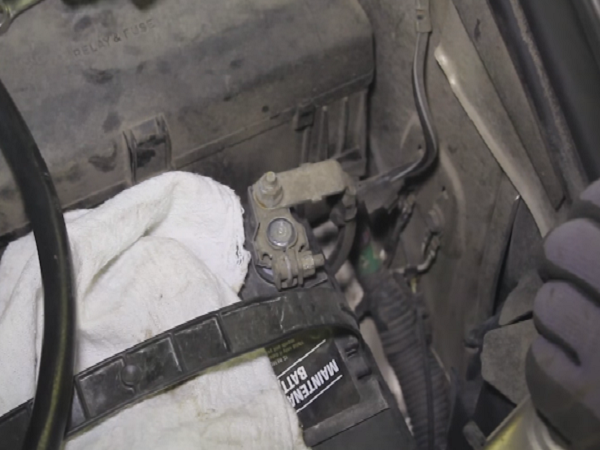
Figure 2. Negative battery post.
Pro Tip
Do not attempt to bleed the pressure from the fuel system without protective equipment and an understanding of what to do.
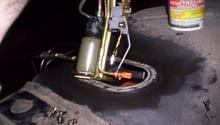
Step 2 – Remove fuel filler hose, vent tube and emissions line
Next the front driver's side tire, there is a fuel filler hose and vent tube that need to be disconnected. The locations of these hoses are shown in Figure 3. Use a screwdriver to un-clamp the hoses and pull them off. Now, at the rear of the tank, disconnect the emissions line with the red clamp on it.

Figure 3. Filler hose and vent tube. 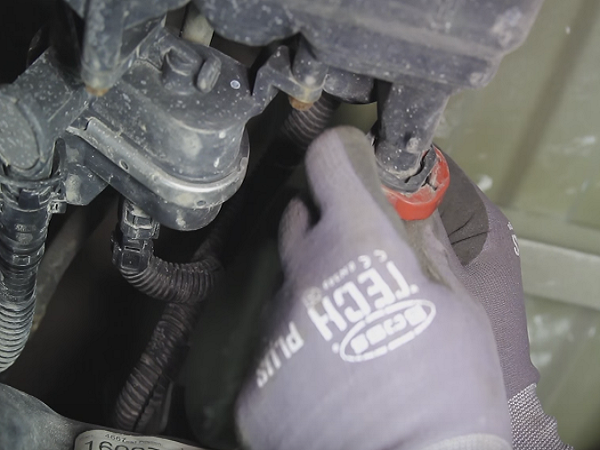
Figure 4. Emissions line.
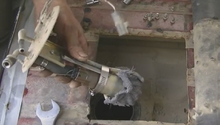
Step 3 – Remove wiring harness and fuel line connectors
At the top of the tank, remove the wiring harness as shown in Figure 5, then remove the two fuel line connectors at the front of the tank as seen in Figure 6. The fuel lines will drip some residual fuel once the connectors are removed, so have your bucket ready!
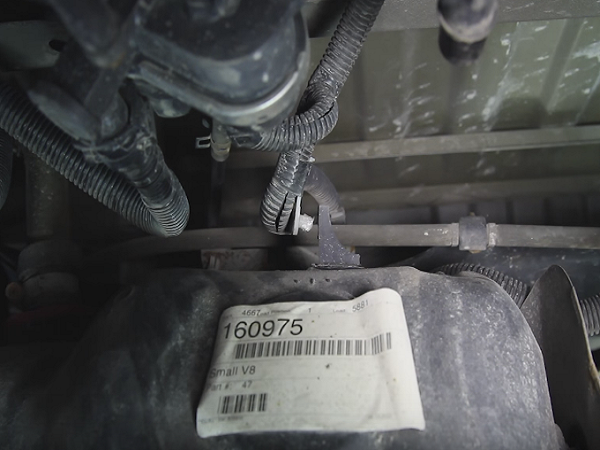
Figure 5. Wiring harness. 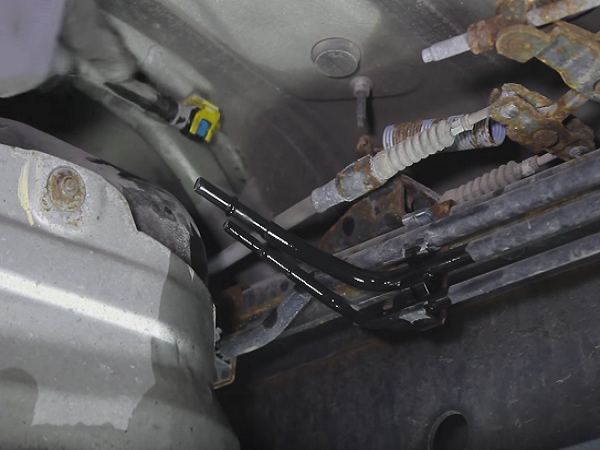
Figure 6. Fuel line connectors.
Step 4 – Remove fuel tank
Before removing the fuel tank, you will need to support it with a bottle jack and something flat to help balance the fuel tank. Then, you can unbolt the straps on the fuel tank with a 10mm wrench or socket. The straps will come loose and allow the tank to come down. Before dropping the tank all of the way, make sure you remove the electrical connector on top of the tank.
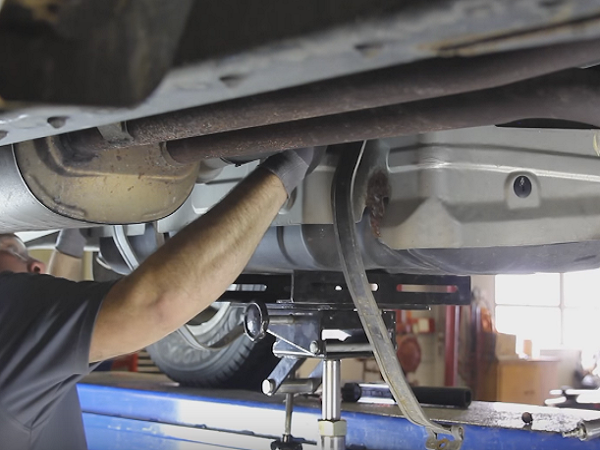
Figure 7. Fuel tank removal. 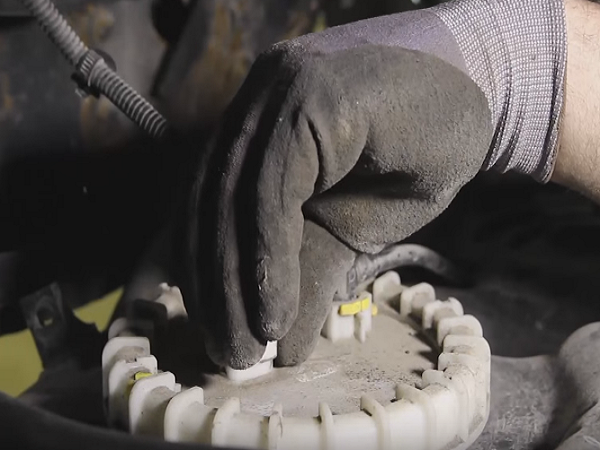
Figure 8. Fuel tank connector.
Step 5 – Remove fuel pump assembly
Now that the tank is removed from the truck, you can remove the fuel pump assembly. First, remove the two fuel lines on top of the fuel pump assembly; this is done by prying the clips off and pulling the lines out. Next, you need to unscrew the retaining cap on the fuel pump assembly. This is done by unlocking the little white tab with a screwdriver and spinning the cap counterclockwise. Now, the fuel pump assembly can be lifted out of the tank.
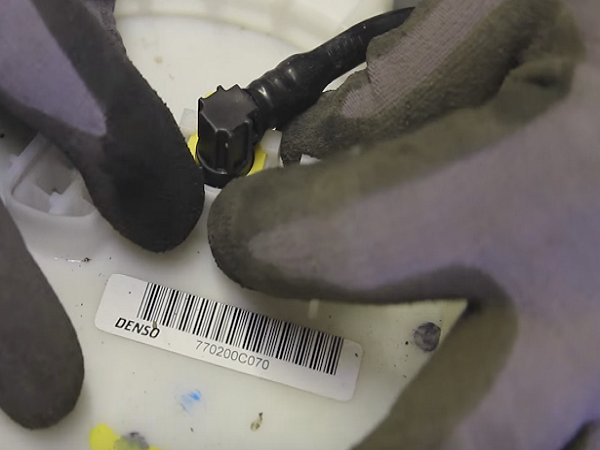
Figure 9. Removing fuel lines. 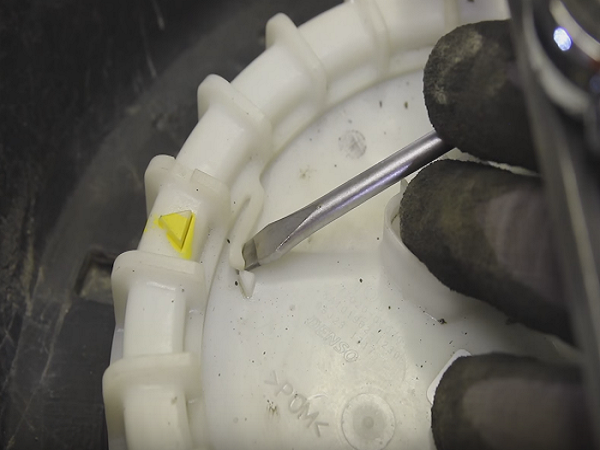
Figure 10. Retaining cap. 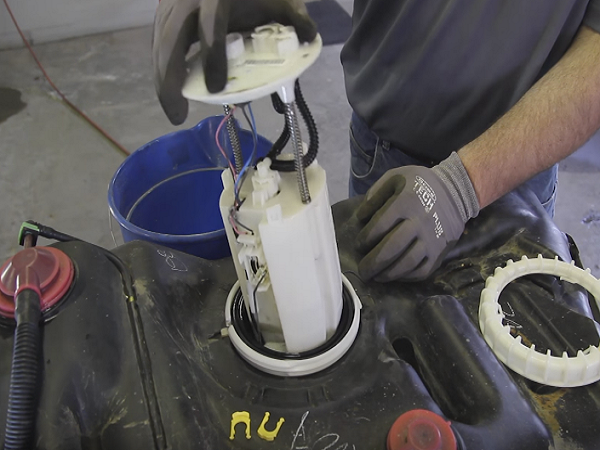
Figure 11. Pump removal.
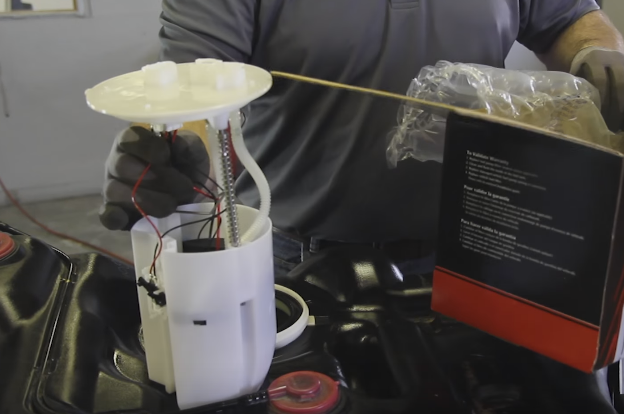
Step 6 – Install new pump
If your truck has high mileage or sees a lot of off road duty, it might be a good idea to thoroughly clean your fuel tank. Also, replace the rubber seal on top of the tank because that can deteriorate with age. Now, just drop in the fuel pump assembly in the same way the old one came out and re-install everything in reverse order. Fill the tank with some gas and prime the pump, then you will be on your way!
Featured Video: How to Install Fuel Pump Assembly in Tundra
Related Discussion
- 01 Tundra 5vzfe Running Lean - YotaTech.com