Toyota Tacoma: How to Replace Dash and Center Console Lights
Having burnt dashboard and center console lights can ruin the whole look of your Toyota Tacoma's interior. Learn how to replace them here.
This article applies to the Toyota Tacoma (2000-2015).
All the dashboard and instrumental panel lights are lit by tiny bulbs. To replace them, you have to remove some of the trim. If one of these bulbs get burnt, your interior lighting will look uneven and dark. Be sure to purchase the right light bulbs for the specific section you're replacing the bulb. Be sure to not force any pieces of trim off, as they can break. If they don't come off gently, then you're pulling them out wrong. Read on to learn how you can replace some of the dashboard and instrumental panel's light bulbs on the Toyota Tacoma.

Materials Needed
- Wrench
- Phillips head screwdriver
- 10mm socket
Step 1 – Disconnect battery
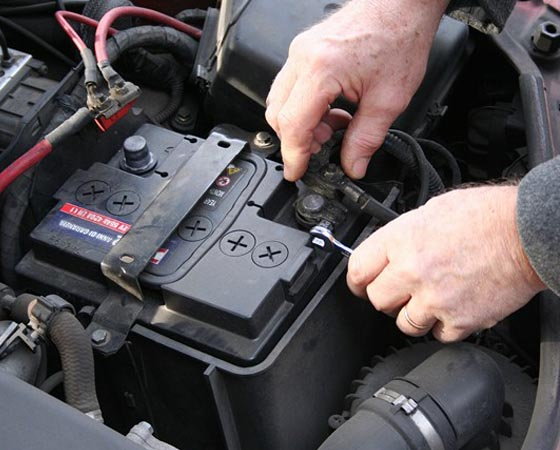
Disconnect the negative (black) battery terminal from under the hood. Use your wrench to remove the nut holding the negative terminal in place, then wrap it in a towel so it doesn't touch any metal and cause a spark.
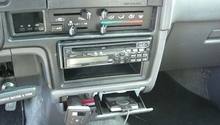
Step 2 – Remove center console trim
Remove the HVAC knobs by pulling them out. Then remove the face off by pulling it out. At the bottom of the center console, there are clips. You can remove the clips by pressing them in using your Phillips head screwdriver. Then remove the whole bottom section out by pulling it straight out. Remove the Phillips screws holding the trim in place. Finally, gently remove the center console trim straight out.
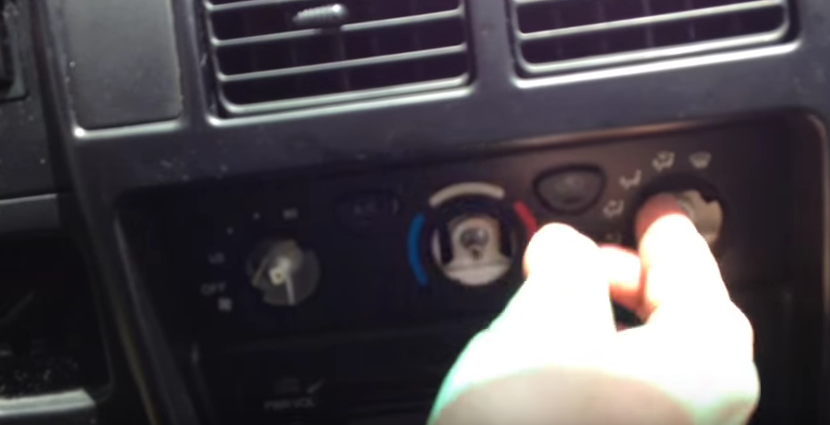
Figure 3. Pull face off. 
Figure 4. Push bottom clips in. 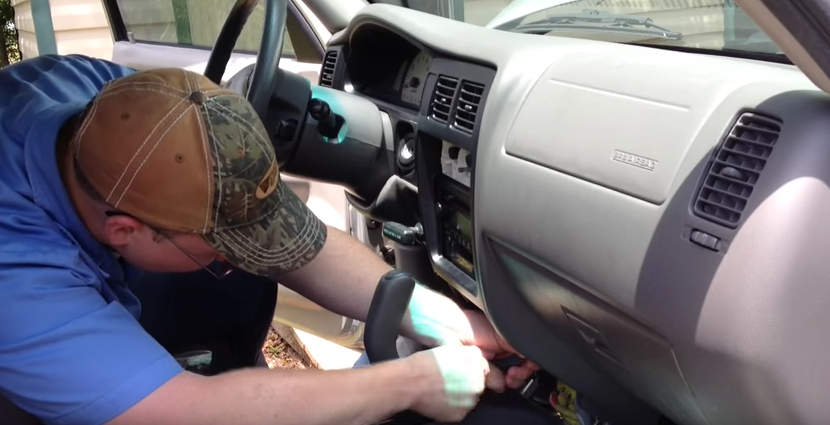
Figure 5. Remove trim screws. 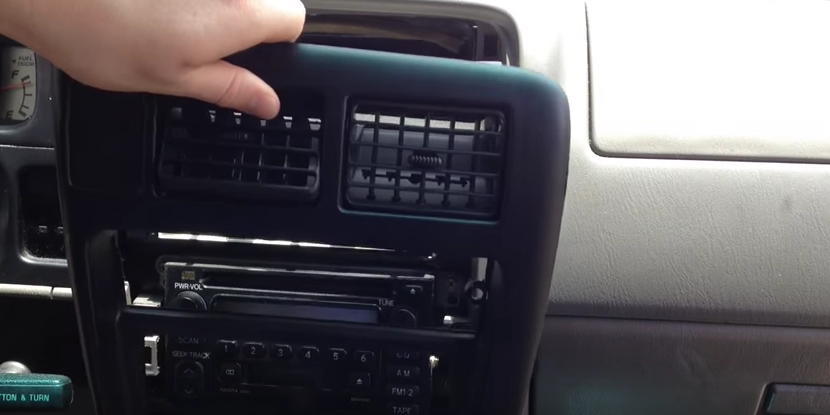
Figure 6. Pull trim out.
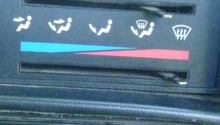
Step 3 – Remove climate control system
Remove the Phillips screws holding the climate control system in place. When you pull it out a little bit, unplug the electrical connections plugged into it. If you need to replace any bulbs on the back of it, just twist the bulb to remove it, then install the new one in place.
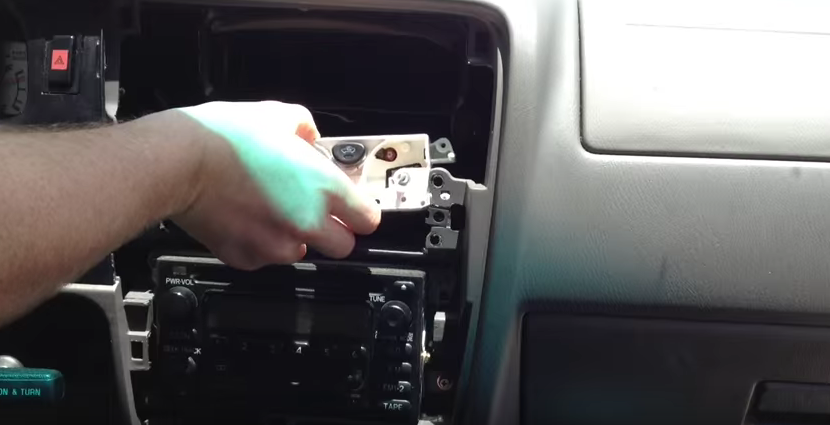
Figure 7. Remove climate control. 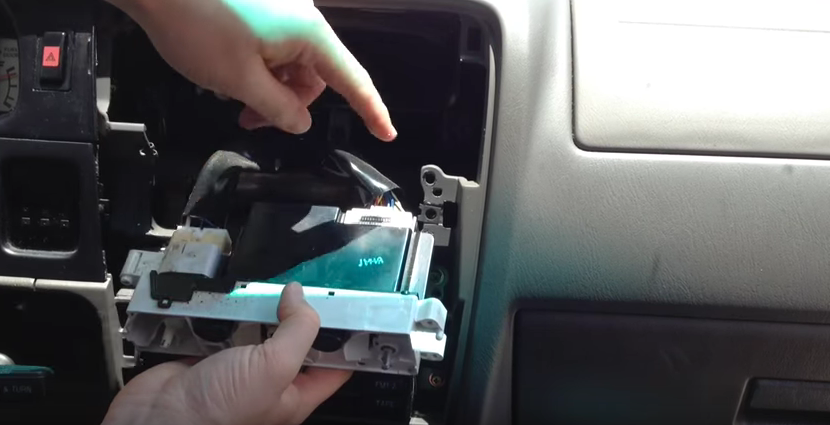
Figure 8. Unplug electrical harnesses. 
Figure 9. Red tabs are bulbs.
Step 4 – Remove dashboard trim
- Remove the two Phillips screws at the top holding the dashboard trim in place.
- Remove the bottom trim. There is a Phillips screw, and two 10mm bolts on each side of the steering wheel.
- Lower the bottom trim, but don't remove it all the way.
- Remove the Phillips screw in the bottom center of the steering column.
- Turn the steering wheel 90 degrees, then remove the two Phillips screws on each side of the steering wheel.
- As you're pulling the dashboard trim out, start disconnecting any wiring harnesses, such as the AC vent.
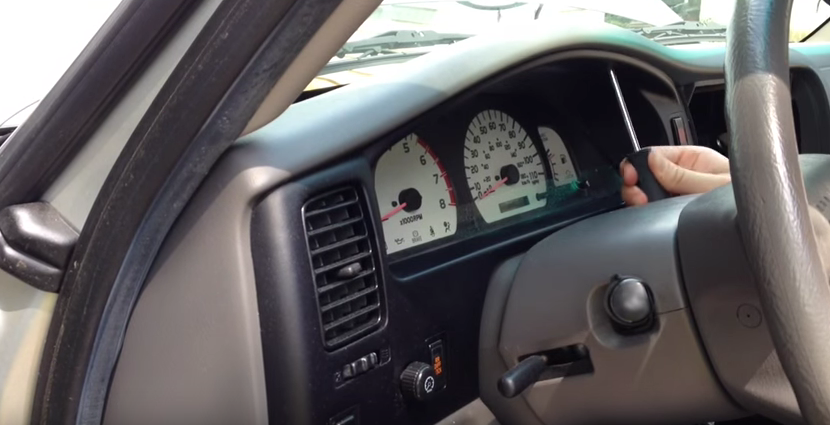
Figure 10. Dash screws. 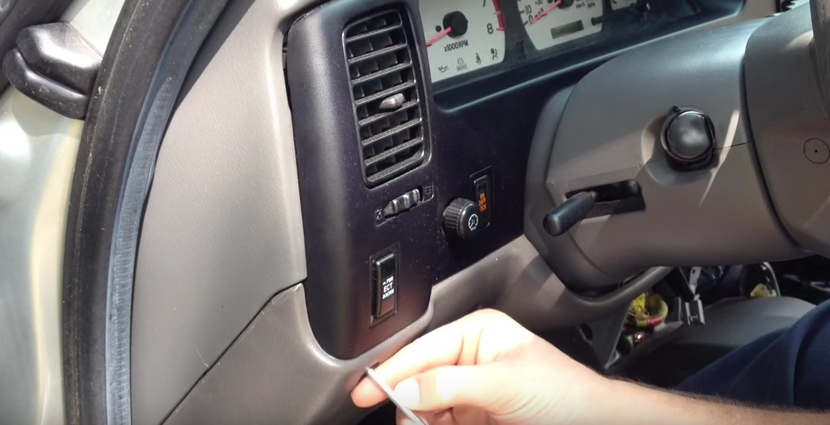
Figure 11. Lower trim screws. 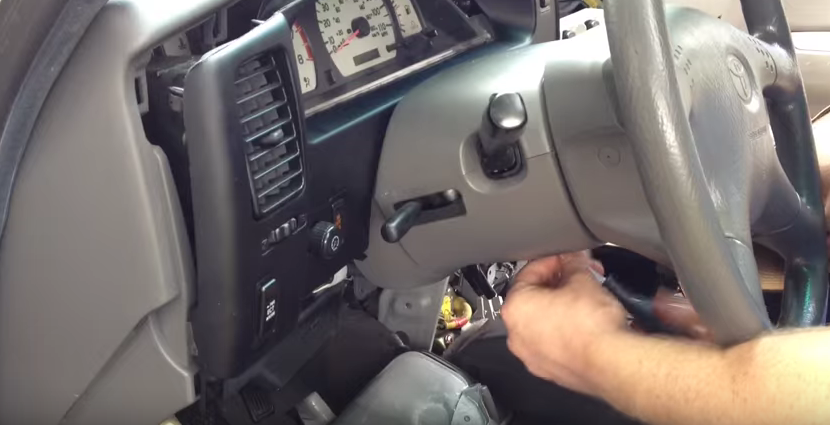
Figure 12. Steering column screws. 
Figure 13. Pull dash trim out.
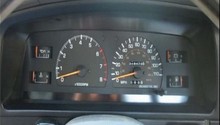
Step 5 – Replace dash lights
- Remove the two screws holding the instrument cluster in place, then gently pull it out.
- Unplug the electrical connections from the back of it.
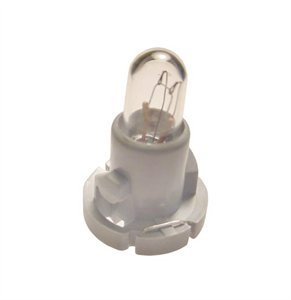
- Replace the bulbs needed. The bulbs are the green plastic tabs.
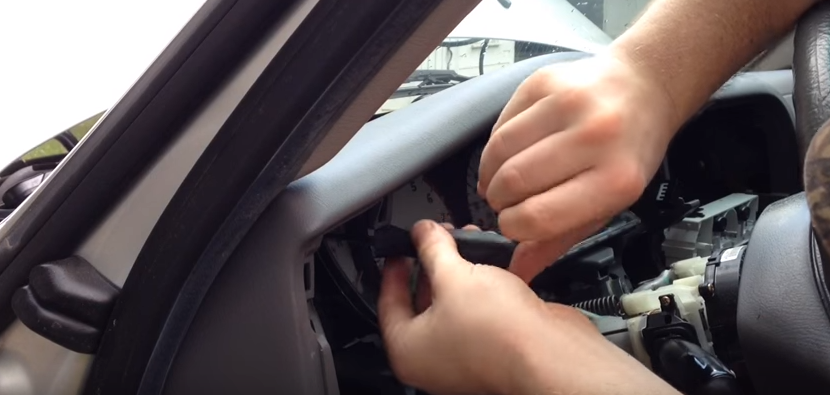
Figure 14. Remove cluster. 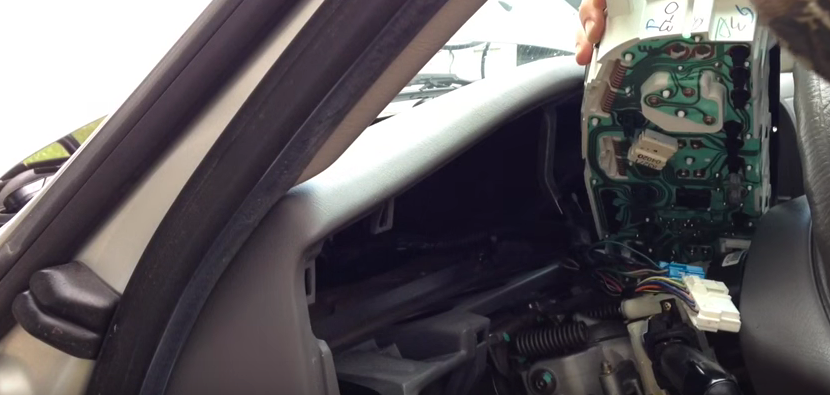
Figure 15. Remove electrical harnesses. 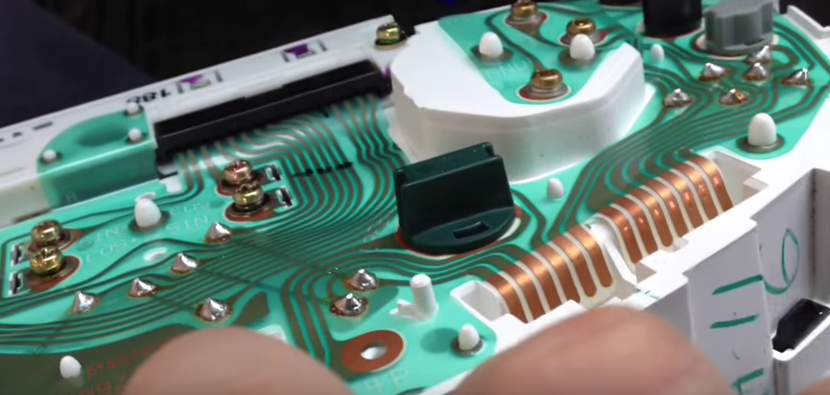
Figure 16. Replace bulb.
Step 6 – Reinstall parts
Installation is the reverse of removal.
- Install instrument cluster, install the electrical harnesses, and tighten the two screws holding it in place.
- Install dashboard trim, tighten its screws, and connect any electrical harnesses you removed.
- Install the steering column's trim, and tighten its screws.
- Install the lower trim part.
- Plug and connect the climate control system.
- Install the center console's trim.
- Reconnect the battery's negative terminal.
Featured Video: How to Replace Instrument Cluster Bulbs
Related Discussions
- Climate Control Bulb - YotaTech.com
- Instrument Cluster Bulb - YotaTech.com