Toyota 4Runner, Tacoma, and Tundra: How to Fix a Tire Leak
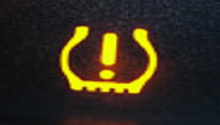
A tire leak can put you and your passengers in danger if it's not fixed. Here's what you need to know about this simple DIY fix.
This article applies to the Toyota 4Runner, Tacoma, and Tundra.
Don't put your life or the lives of your passengers at risk by failing to attend to a slow leak. The problem may seem benign at first, but if left unchecked, could lead to a collision on the road or some other safety hazard. While you may be tempted to immediately head down to your local dealership for fast repair work, you may want to consider these simple DIY fixes before doing so. You could not only save time and money, but the sense of accomplishment you'll feel from a job well done will be well worth the effort. Let's get started!

Materials Needed
- Tire replacement kit (optional)
- WD-40
- Jack
- Sock
- Valve stem replacement kit (or valve stem)
- True Goo
- Spray bottle with soapy water
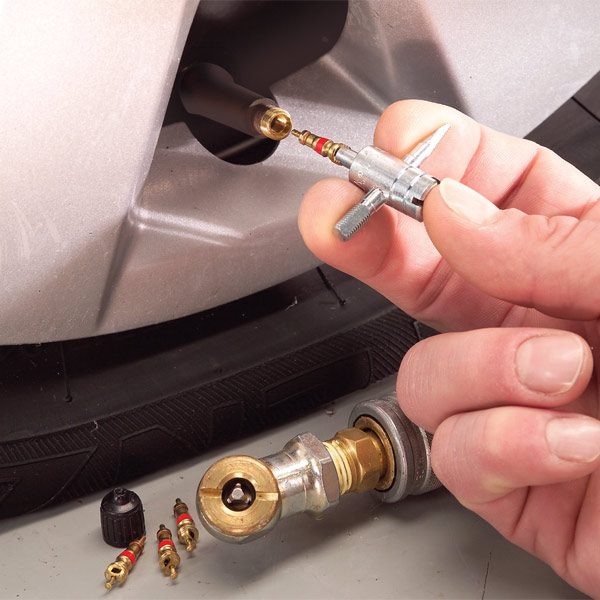
Step 1 – Replace your valve stem
Check your valve stem to ensure it doesn't need to be replaced. If it does, you're in luck, because replacement valve stems are easy to attach and cost as little as $2 at your local auto parts store or tire store. You'll need to pull out the valve stem using a pair of pliers, and then position your new valve stem in its place, aiding the process with the use of a lubricant such as WD-40.
Add additional tire pressure as needed once you're done.
Pro Tip
It is not necessary to remove your tire; however, you may find it easier to work if you do.
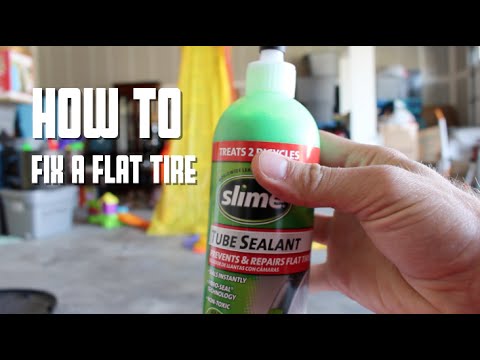
Step 2 – Fix a slow leak
One of the most trusted ways to fix a slow leak is to plug the hole that's causing the leak using a tire sealant product. We recommend installing True Goo.
- Your tires should be under pressure when installing True Goo, so empty out PSI before getting started.
- Make sure you have air readily available once you're done, as you'll need to re-inflate your tire(s) once the product has been installed.
- Remove the valve core.
- Connect the bottle to the open valve as directed and pump it into your tire using the measuring the tool.
- Reconnect your valve and inflate your tire.
Pro Tip
Use soapy water to identify if a leak is present by spraying your tire with the mixture and then checking for air bubbles.
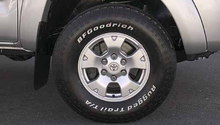
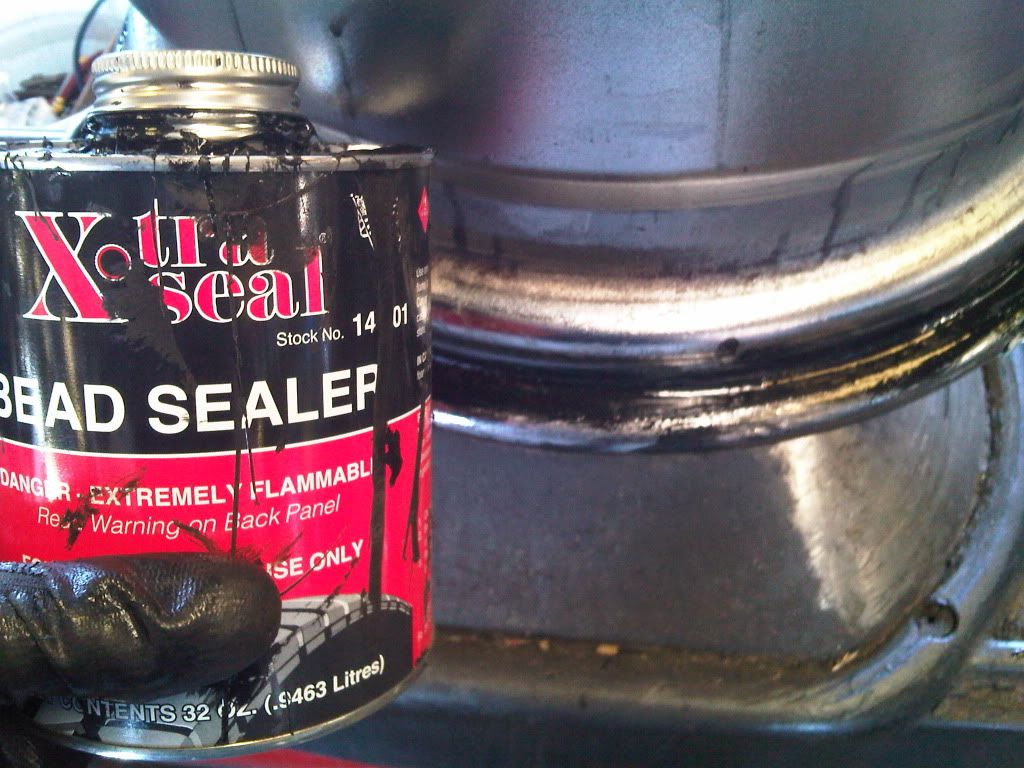
Step 3 – Remove corrosion from rims
Corrosion that has accumulated along the beads of your rim could cause a slow leak.
- Remove the beads from your rims and then clean your rim thoroughly using a wire brush.
- Chromed aluminum can be especially corrosive, so be sure and check your rims regularly for signs of rust.
- For added protection, apply a bead sealer.
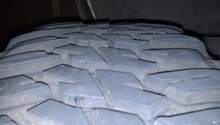
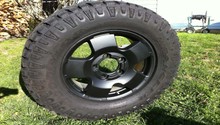
Step 4 – Purchase a new tire
If a slow leak is due to dangerously low tread or some other tire damage, you will absolutely need to replace your tire with a new or used replacement to avoid further damage to the tire itself (as well as to you and your passengers should a collision occur).
- For tire replacement, either visit a local tire store or go online.
- A replacement kit (obviously not including the tire) would cost you around $45.
- Replacement costs range from $100 to $350 or more.
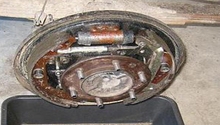
- Replace the dangerous tire on your own by loosening the lug nuts on the wheel with a socket, and then pulling the tire off by hand (assuming it has already been lifted off the ground using a jack).
- Mount the replacement when you are done.

Related Discussions
- Managing Slow Tire Leaks - YotaTech.com
- Tire Repair Kit - YotaTech.com
- Does Fix-a-Flat Work? - YotaTech.com
- Slow Leak in Tire - YotaTech.com
- How to Fix Slow Leak - YotaTech.com