Toyota 4Runner 1996-2002: How to Replace Leaf Springs
It might be time to replace the springs on your truck!
This article applies to the Toyota 4Runner (1996-2002).
A vehicle's suspension is crucial to handling, comfort and safety of you and your passengers. Like most other components, over time, your suspension wears down and will need servicing and/or maintenance. Suspension systems typically comprise of a spring and shock combination in the very basic sense. There are several other components that go into the entire "suspension" of your vehicle. This article will focus on the "leaf springs" of the Toyota 4runner (3rd generation). Learn how to replace the worn out leaf springs properly for the weekend DIY-er. Some enthusiasts have even opted of install kits, which raise the vehicle and increase the stiffness in suspension. This can also be done by way of "adding a leaf" to your existing leaf springs. Read on for more information.

Materials Needed
- Breaker bar
- Impact gun
- Ratchet wrench with various sockets
- Wrench set
- Pry bar
- Hydraulic jack with jack stands
- PB Blaster or WD-40
- Torch
- Hammer or mallet
Step 1 – Raise and secure the truck
To access the leaf springs for replacement, you'll need to get the vehicle in the air.
- Locate the leaf springs and rear axle.
- Raise the truck with a hydraulic jack via the axle or differential.
- Secure the truck at the rear axle using the jack stands.
- Use impact gun to remove wheels for more clearance.
Pro Tips
- Before getting started on any of the bolts and shackles, it's wise to spray some PB Blaster or WD-40 to break up the old rusted bolts.
- If you do not have access to an impact gun, you will need to "break" the wheel bolts loose while the vehicle is still on the ground.
Step 2 – Remove lower shock bolts
The shock system accompanying the leaf springs are secured to the axle by way of bolts and mounts. These will need to be removed in order to gain access to replacing the leaf springs.
- Use an open-ended wrench to start the bolt/nut removal.
- If there is a lot of resistance, use more WD-40 or PB Blaster.
- After some time, use the impact wrench to zip off the bolt(s).

Pro Tip
In extreme cases, it might be necessary to heat up the bolt with a torch to allow the metal to crack easier by using the impact gun. Also, the shock mounts at this point can be removed and discarded or reused.
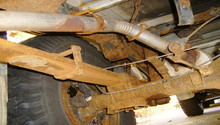
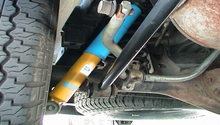
Step 3 – Remove U-bolts and brackets
Now that the bolts holding the shock absorbers are out, the U-bolts holding the leaf springs in place with the brackets can be removed.
- Use ratchet wrench with extension to loosen bolts.
- Raise the axle to provide clearance and remove the brackets.
- Tap the top of the U-bolts to free them and remove completely.
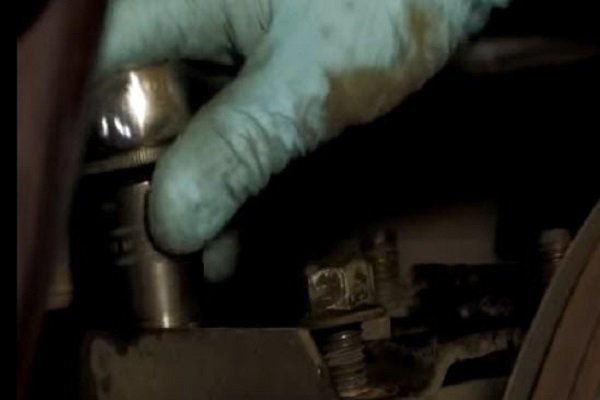
Figure 3. Remove U-bolts. 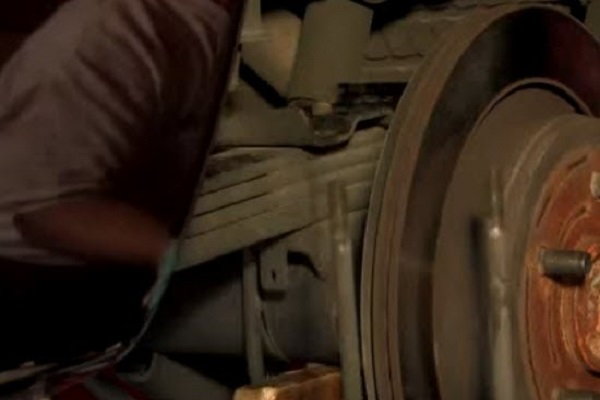
Figure 4. U-bolt and bracket dropped.
Pro Tip
To get more clearance, you can use the jack to jack the side of the vehicle you're working on to release the tension.
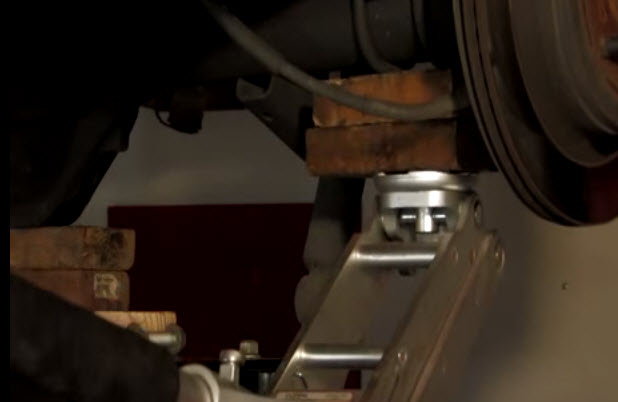
Step 4 – Remove "eye" bolts
There are bolts on both sides of the vehicle affixing the ends of the leaf springs to the axle. These will need to be removed.
- Use wrench to remove nut from the front eye bolt.
- Use wrench to remove nut from rear eye bolt.
- Using pry bar or large flat head screwdriver, tap the edge of the front eye bolt out.
- Using pry bar or large flat head screwdriver, tap the edge of the rear eye bolt out.
- Remove the leaf springs.
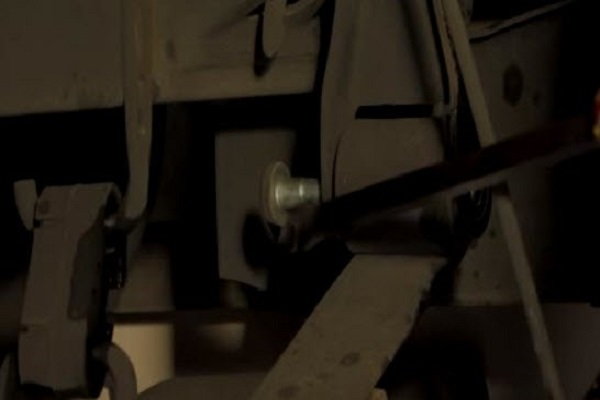
Figure 5. Remove front eye bolt securing leaf to chassis. 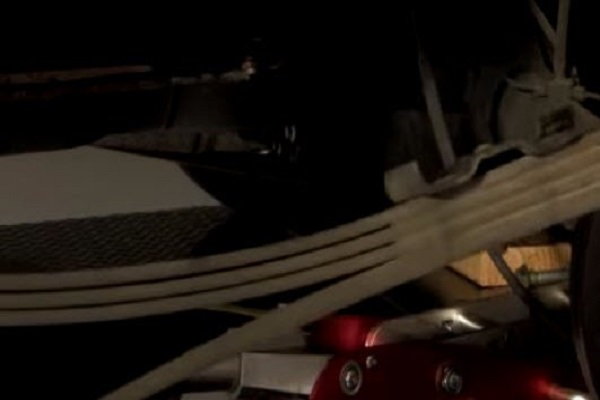
Figure 6. With eye bolts removed, leafs are free to be dropped.
Step 5 – Installation is reverse of removal
Now that the old leaf springs are out, it's time to install the new ones.
- Secure the brackets provided to the front and rear mounting points.
- Insert the front eye bolts and tap in place with a hammer.
- Loosely secure the nut on opposite end of eye bolt.
- Repeat for opposite side and rear eye bolts.
- Install U-bolt and brackets and secure with new nuts.
- Attach lower shock mount and secure with new bolts/nuts.
- Lower the vehicle on to the ground
- Use torque wrench to tighten each new bolt/nut to factory specifications.
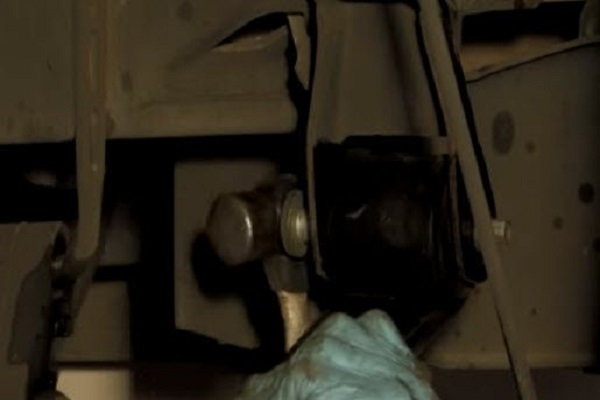
Figure 7. Reinstall eye bolts. 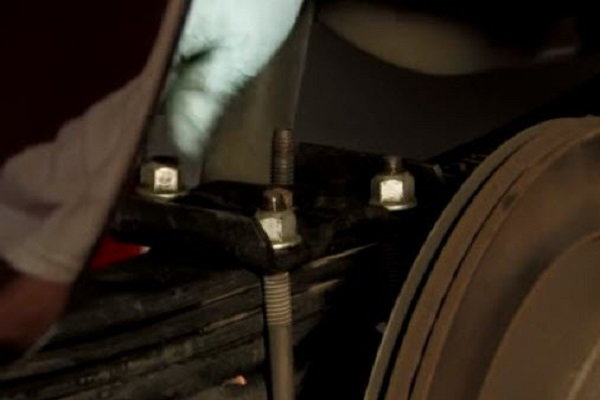
Figure 8. Reinstall U-bolts and shackles.
Pro Tip
Using an impact wrench can speed up the process, but it is still recommended to torque each bolt to its appropriate specs afterward.
Featured Videos: How to Replace Leaf Springs
-
How to Replace Leaf Springs
-
How to Add-a-Leaf
Related Discussions
- How to Change Leaf Springs - YotaTech.com
- Stubborn Bolts Discussion - YotaTech.com