Toyota 4Runner 1996-2002: How to Replace Driveshaft
Does the driveshaft in your 4Runner need replacing? This article will help you pick out the best driveshaft for your application and show you how to install it, step-by-step.
This article applies to the Toyota 4Runner (1996-2002).
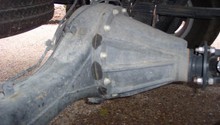
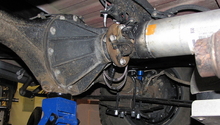
Driveshafts are simple, yet critical components of your vehicle's drivetrain. Essentially a metal shaft that is wedged between your transmission and rear (or front) axle, the driveshaft takes the power supplied by the engine and sends it to the rear differential, which in turn makes your wheels spin. Driveshafts can be made out of steel or composite material, and generally employ U-joints with rotating caps on each end that will allow movement from the suspension when you hit bumps in the road. Four wheel drive vehicles employ a second driveshaft, which runs between the front axle and the transfer case, splitting power between the front as well as the rear axles.

Materials Needed
- Jack and jack stands
- Wheel chocks
- (2) 14mm box wrenches
- Rubber mallet
- Flat head screwdriver
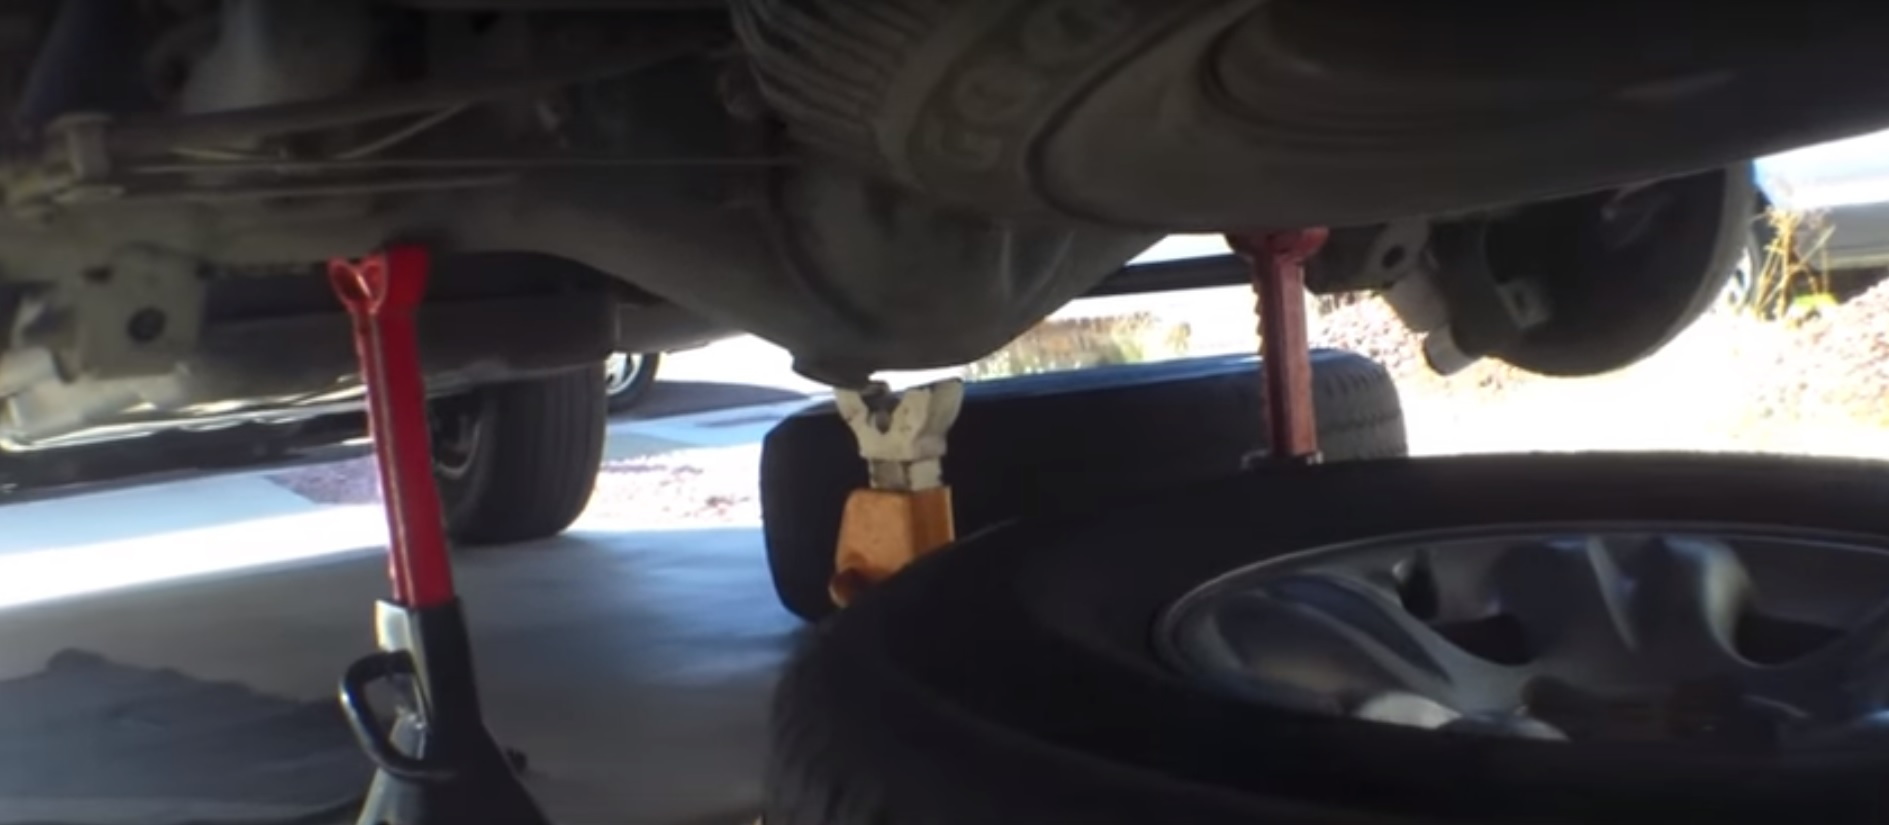
Step 1 – Prepare the vehicle
Park your truck on level ground and set the emergency brake. Place a wheel chock behind each front tire, then jack up the rear of the vehicle and place it on jack stands. Make sure that both back tires are completely off the ground so that they can spin freely.
Step 2 – Remove the driveshaft
Loosen the two bolts on the rear of the driveshaft at the U-joint. Put the vehicle in neutral and release the emergency brake, then crawl back underneath and turn the driveshaft. This will allow you to reach the other two bolts. Put the truck back in park and set the e-brake. Remove the four bolts, using one wrench to hold the nut and being careful to support the driveshaft so it doesn't fall. If the driveshaft won't break loose, use a rubber mallet to tap the U-joint until it comes free. Once the rear is free, slowly pull the front yoke out and remove the driveshaft.
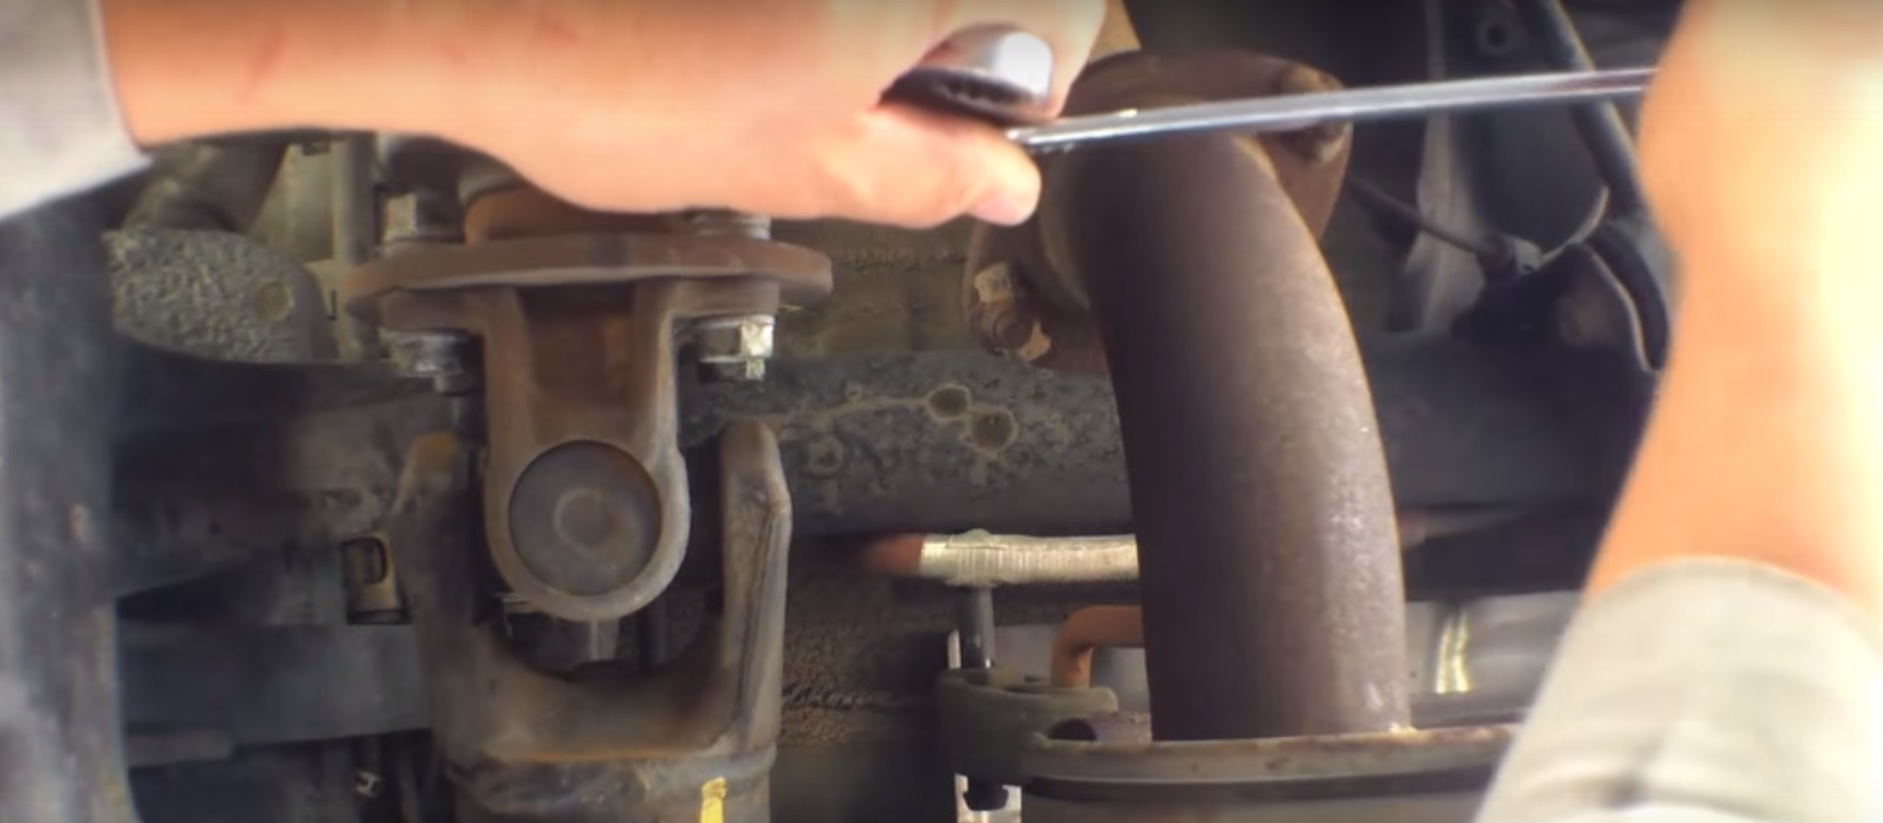
Figure 2. Remove the four bolts from the rear of the driveshaft at the U-joint. 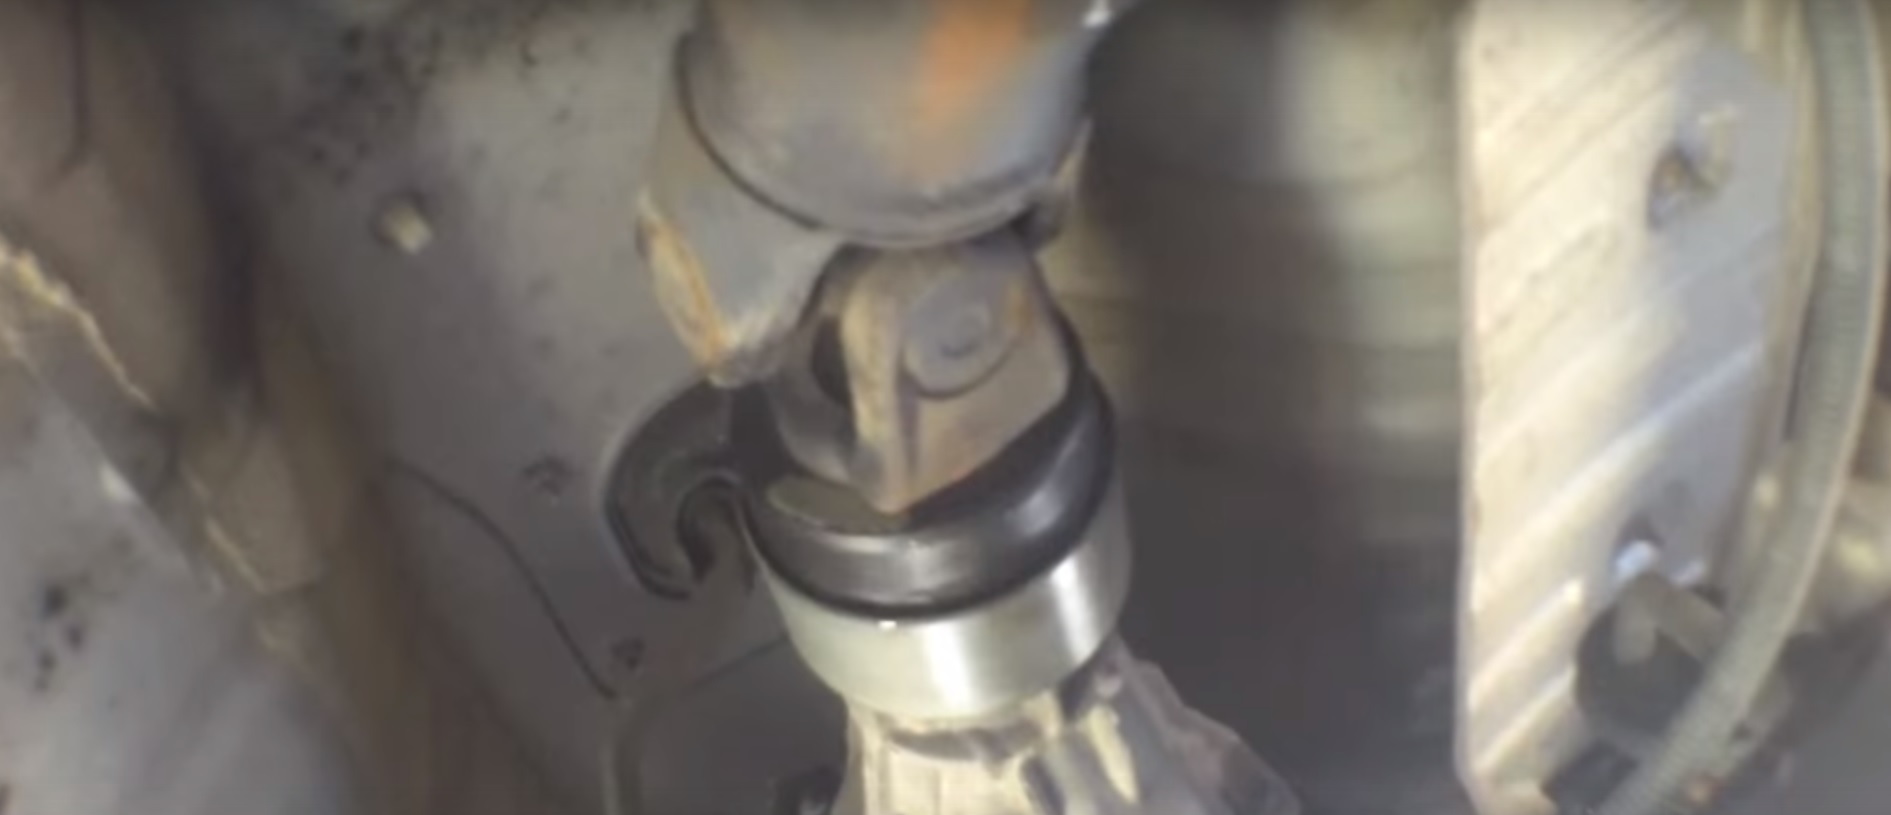
Figure 3. Drop the rear of the driveshaft and pull the front out to remove it.
Step 3 – Install new driveshaft
Insert the front of the new driveshaft into place and slide it in. Lift the rear of the driveshaft into place and slide the bottom two bolts as well as nuts back into place, then tighten. Release the e-brake and put the transmission in neutral, then replace the last two bolts as well as nuts and tighten. Lower the truck from the jack stands and you're done!
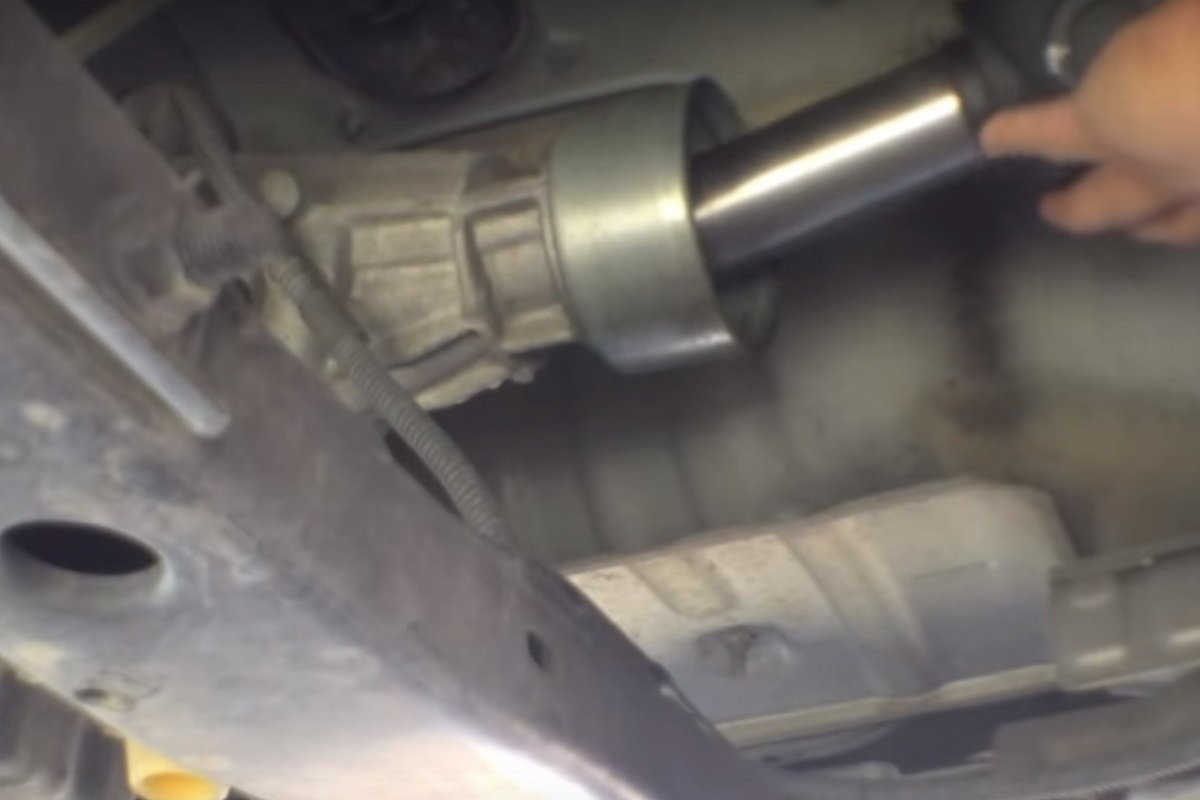
Figure 4. Set the front of the new driveshaft in place. 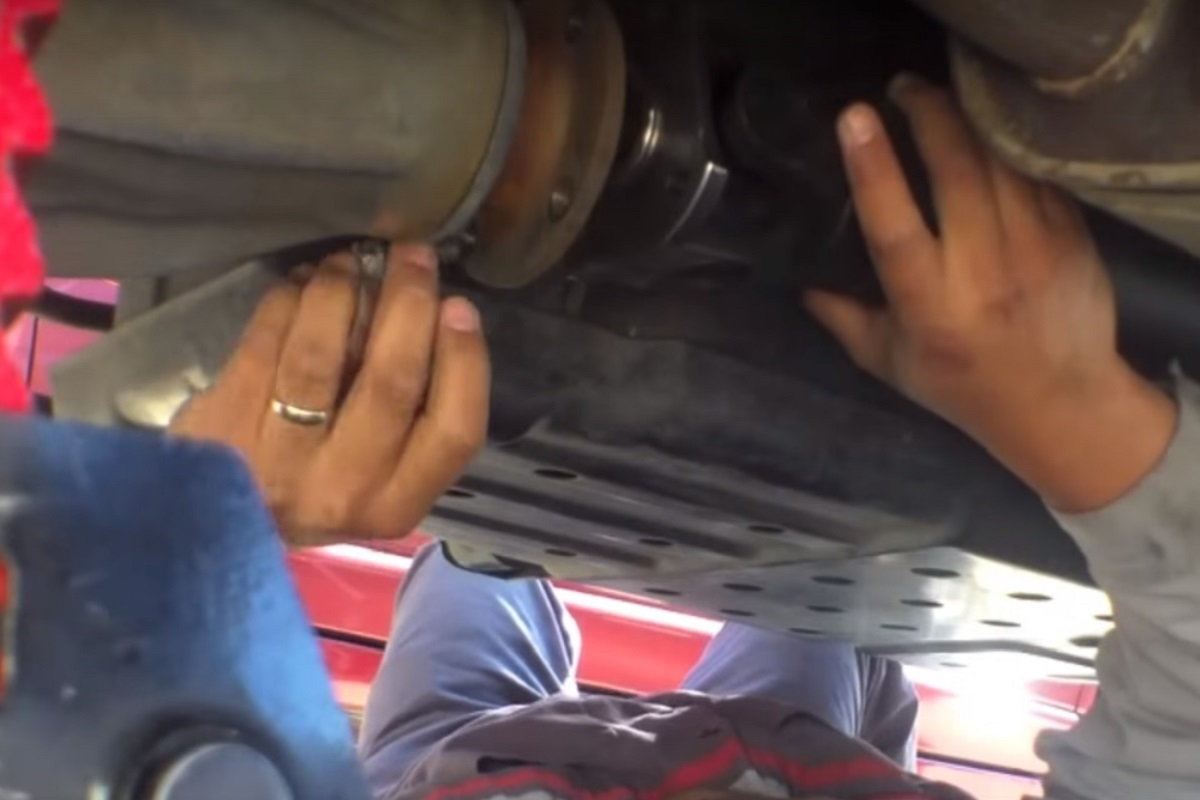
Figure 5. Reinstall the four bolts on the rear of the driveshaft.
Featured Video: How to Replace Driveshaft on 4Runner
Related Discussion
- 4Runner Driveshaft Info - YotaTech.com