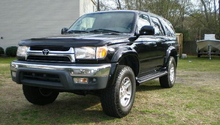
Toyota 4Runner 1984-1995: Performance Modifications
The Toyota 4Runner is a beast of a car, but there is always room for improvement. Read on to learn about some of the most popular performance modification.
This article applies to the Toyota 4Runner (1984-1995).
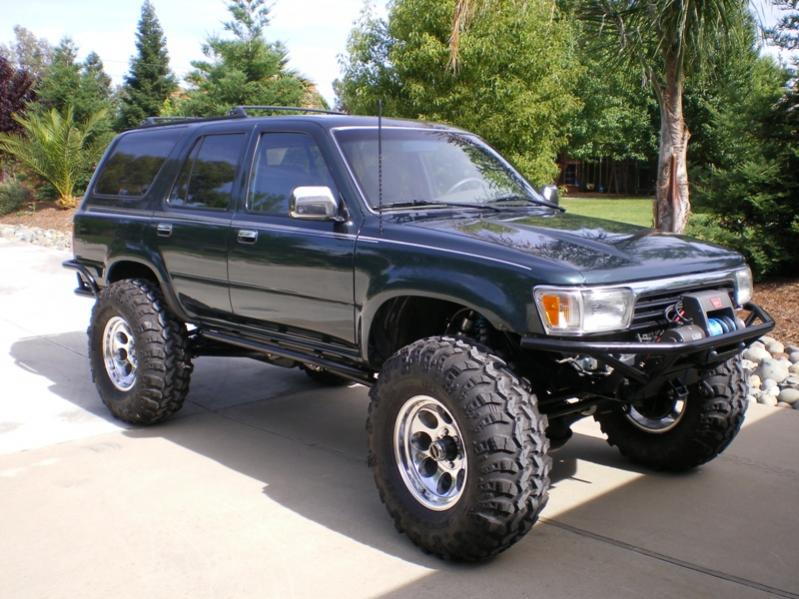
When it comes to modifying your Toyota 4Runner, you are always faced with a lot of options. However, the options get slimmer when you want real performance gains. This guide will shine some light on the most popular performance upgrades that have been known to increase the performance. Some of these are easy to do and can be done right from your garage, and others are better left for professionals to do. Read on to pick and choose how you want to make your 4Runner faster.
Performance Modifications
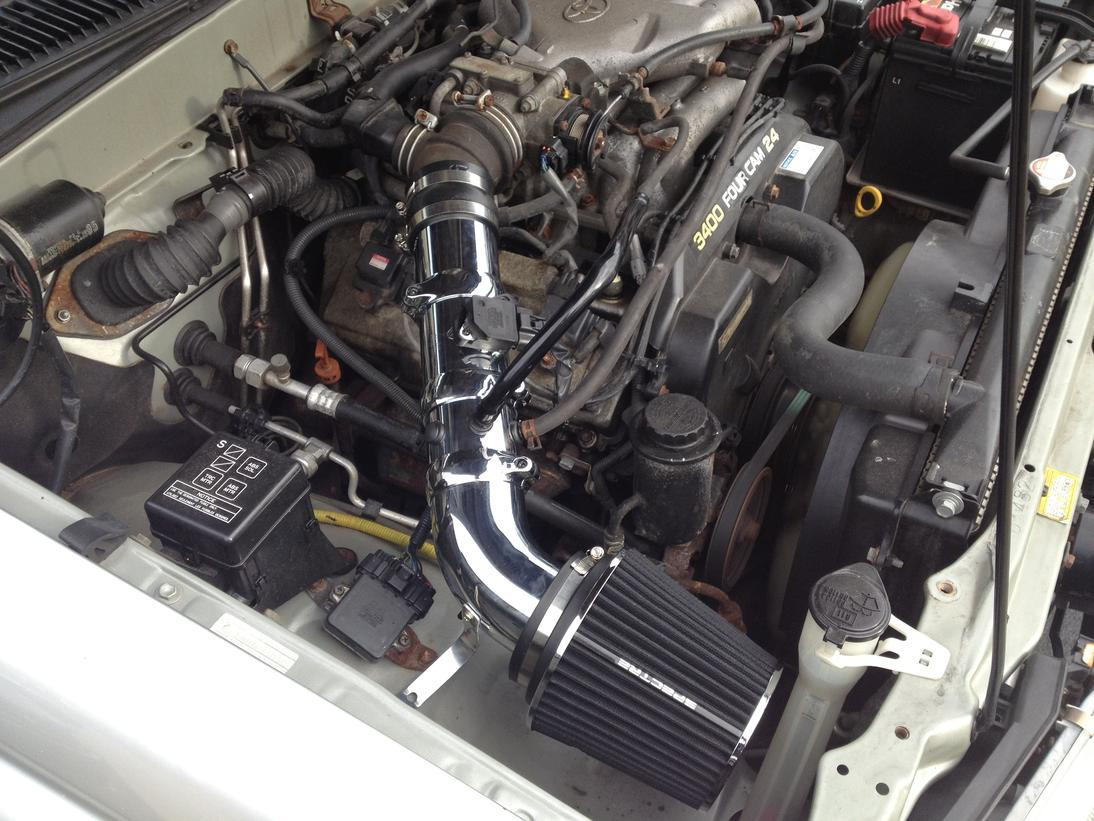
#1 Cold Air Intake
DIY Cost – $149-260
Professional Cost – $300-500
Skill Level – Moderate; this job requires the removal of various components.
The cold air intake kit is designed to fit on your stock Toyota 4Runner. It sucks the cold air coming from outside of the car, and takes it into the engine. Putting cold air into the hot engine, or warm air into the cold engine maximizes engine performance and fuel economy. So you don't just get performance gains, you also get to save some money on gas. These kits come designed specifically for your car, and to install it, you will need to remove your old intake box. You then fit the new kit on top, connect a few tubes and hoses, and watch an immediate increase in power. This is considered the best and easiest way to gain performance.
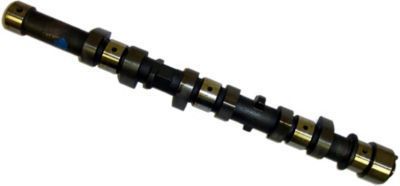
#2 Camshaft
DIY Cost – $149-460
Professional Cost – $500-800
Skill Level – Difficult; this job requires extreme knowledge of the engine and various specialized tools.
The camshafts control the opening and closing of the engine valves, which controls the mixture of air and fuel that is going into the engine. These can tremendously change engine performance and fuel consumption to the better. Choosing the right aftermarket camshaft is a complicated process. A professional will look at the engine compression ratio, the fuel delivery, and anything that has been changed from stock in the vehicle. These camshafts are located inside the engine, which means getting to them is a huge procedure. If you want a great increase in engine power and fuel economy, consider investing the money for this upgrade, along with a professional to do it for you.
#3 Headers

DIY Cost – $153-500
Professional Cost – $400-800
Skill Level – Difficult; replacing the headers requires you to remove various components and work in a tight area.
Creating the most room under the car's hood is something on every manufacturer's mind when building a vehicle. Aftermarket companies, however, build headers that will increase exhaust flow. Restriction of exhaust flow is the biggest contributor to wasted horsepower. As the engine speeds, the exhaust flow increases and when there is restriction in the exhaust flow, the performance reduces. It's recommended you consult a professional about which headers are best for you. Even though the ones that are specifically made for your vehicle will fit, the sizes and shapes make a difference in torque and acceleration. Also, swapping the headers is a labor intensive process, so it's worth investing the money and allowing a professional mechanic to do it for you. However, the results will be quite exhilarating.
Related Discussions
- Best Mod - Yotatech.com
- 4Runner Performance - Yotatech.com
- Performance Upgrade - Yotatech.com