Toyota 4Runner 1984-1995: How to Replace Battery
Replacing your battery is extremely easy and will get your car back on the road fast!
This article applies to the Toyota 4Runner (1984-1995).
One of the most well-known problems that can come up with any car is a bad battery. Unfortunately, a dead battery can leave you stranded and in need of help. If you notice your battery performance decreasing over time, it might be time to replace your battery. Batteries tend to last around five years or so depending on their use. The 4Runner uses a 24F battery size that can be found easily at any auto parts store. Without further ado, find out how to replace your battery by reading below.

Materials Needed
- 10mm wrench
- Ratchet with 10mm socket
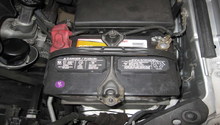
Step 1 – Remove battery terminal connectors
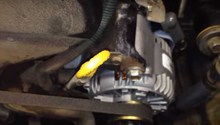
Removing your battery from your 4Runner is extremely easy. First, you need to disconnect the negative (black) battery terminal connector by loosening the 10mm nut holding it on. The 10mm nut doesn't need to be backed off all the way, but just enough so that the connector slides off the post. Be very careful about what your 10mm wrench touches during this process, as it can create a spark. Next, disconnect the positive connector using the same process.
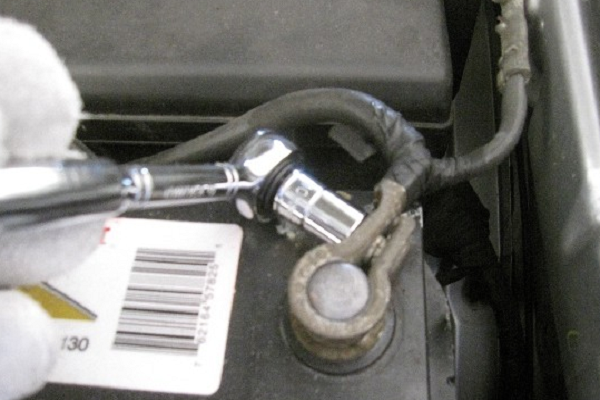
Figure 1. Negative terminal connector removal. 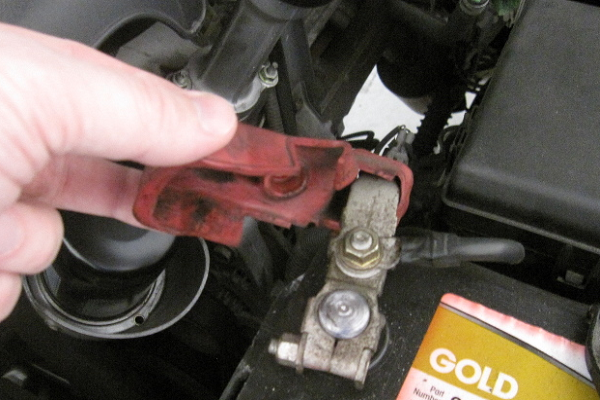
Figure 2. The positive terminal connector.
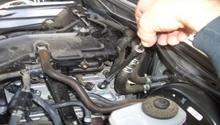
Step 2 – Remove battery hold-down bracket
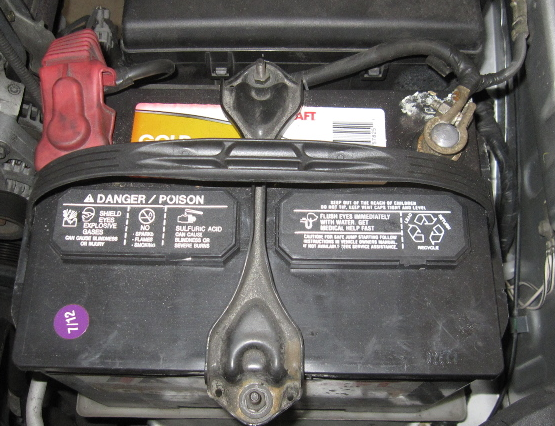
Remove the 10mm bolt on top of the hold-down bracket. Then, remove the 10mm bolt on the rear side of the battery that holds the battery in. The battery should now be free and it can carefully be lifted out of the engine bay.
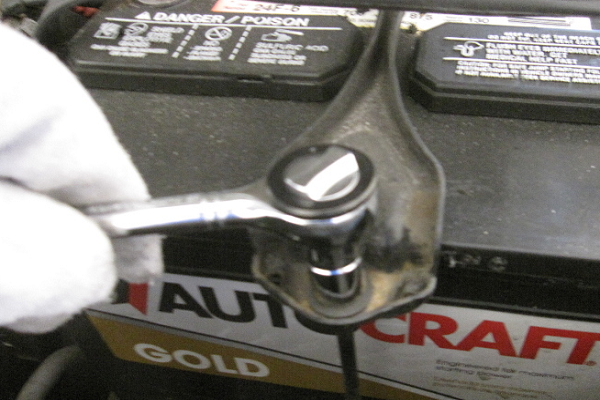
Figure 3. Hold-down bracket removal. 
Figure 4. Battery removed.
Pro Tip
Keep track of how your hold-down bracket is installed to make it easy to re-install.
Step 3 – Install new battery
Now, you can drop in the new battery. Make sure that no wires are in the way as you position the battery in place. Be aware of your terminal connectors and the battery terminals to make sure nothing touches prematurely. That's it! You have replaced your battery.
Related Discussions
- 22re Ground Wire Locations Guide - YotaTech.com
- Time New Battery Get One - YotaTech.com
- Battery Size Question - YotaTech.com