

Rear bed liner with herculiner
 Aug 4, 2014 | 03:55 PM
#1
Thread Starter
Registered User
Joined: Sep 2013
Posts: 127
Likes: 4
From: San Diego
Rear bed liner with herculiner
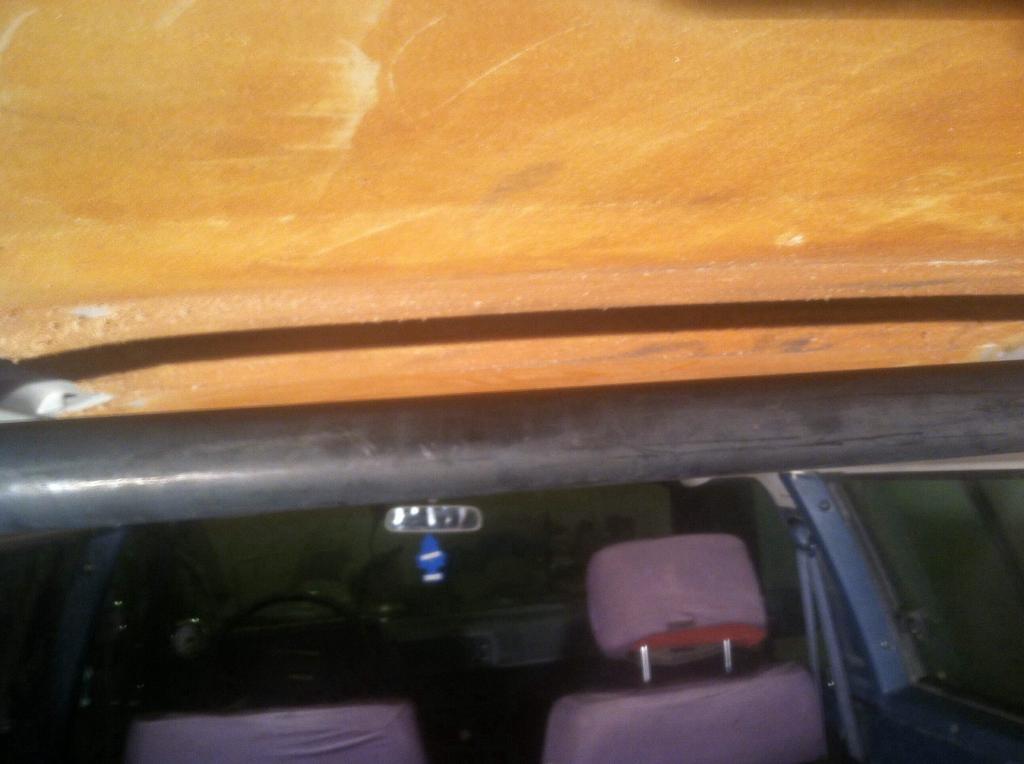
When I bought my truck the rear carpet was ripped and the plywood under the carpet was completely rotted and Turning into dust in some parts and mold was growing in others.
Underneath was nice pertty blue paint. But After a few camping trips the paint was getting scratched badly and there were some rust spots appearing from the ol cooler leaking hot dog beer water all over the place.
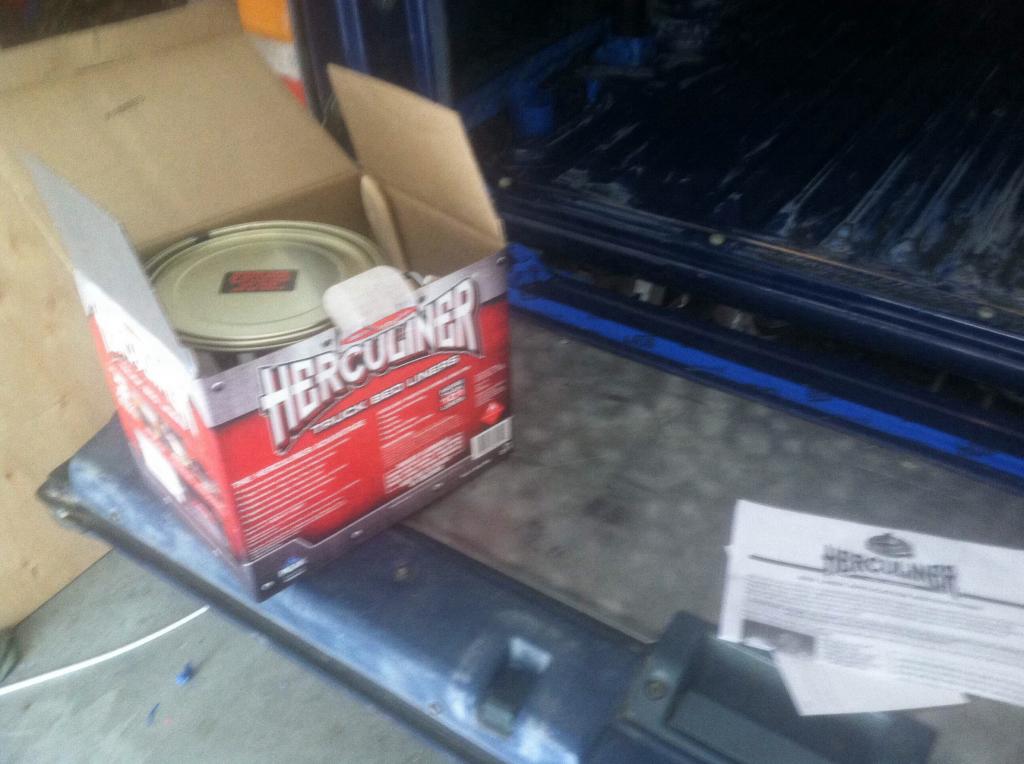
I looked into different ways to line the bed and it seemed that aside from professional solutions the best way for your average DIY guy was to herculiner it. I got the herculiner kit from lowes for around $60 which came with two rollers, a brush, scotchbrite pads and a gallon of herculiner.
I started by scraping off the headliner fuzz/ foam which was dry rotted and crumbling all over the place because I didn't want any crap falling into the freshly painted on herculiner. This in and of itself was a mission. I used a paint scraper, razorblade scraper and some goo gone to get it pretty clean.
Halfway through:

Almost All scraped:
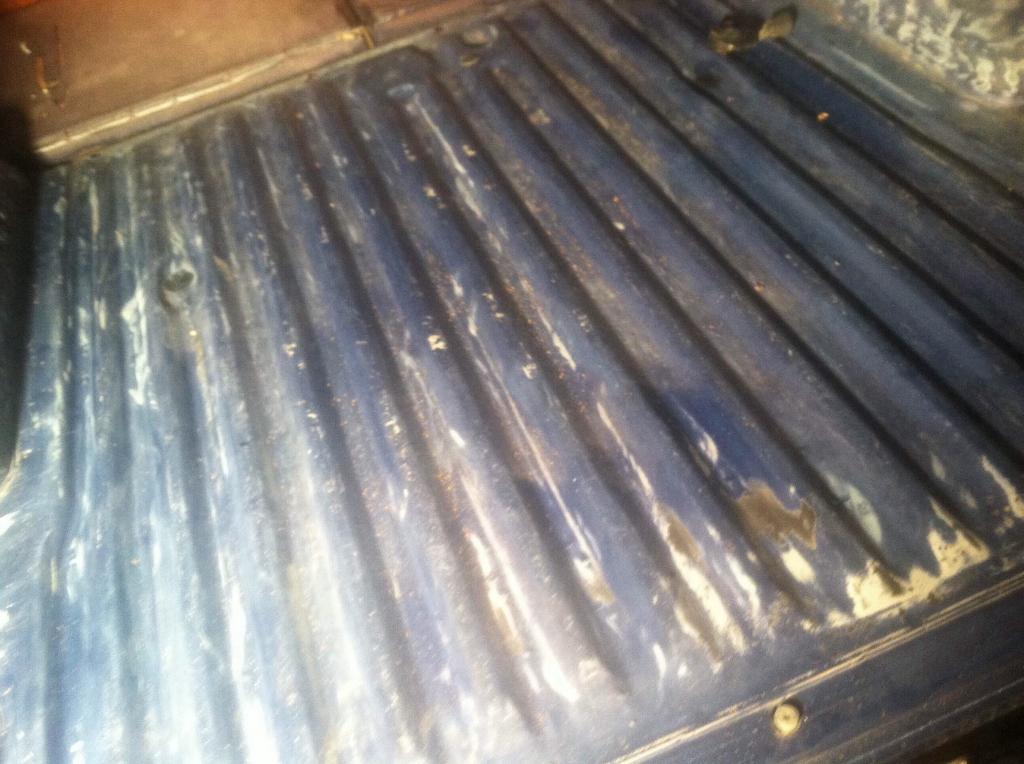
Then I prepped the bed. I sanded down the bed really well with small electric sander and did the corners the old fashioned way - by hand. I didn't trust the little crappy scotch bright pads that came with the kit which said to lightly scuff the surface. I had some rust spots that required me to go down to the bare metal.
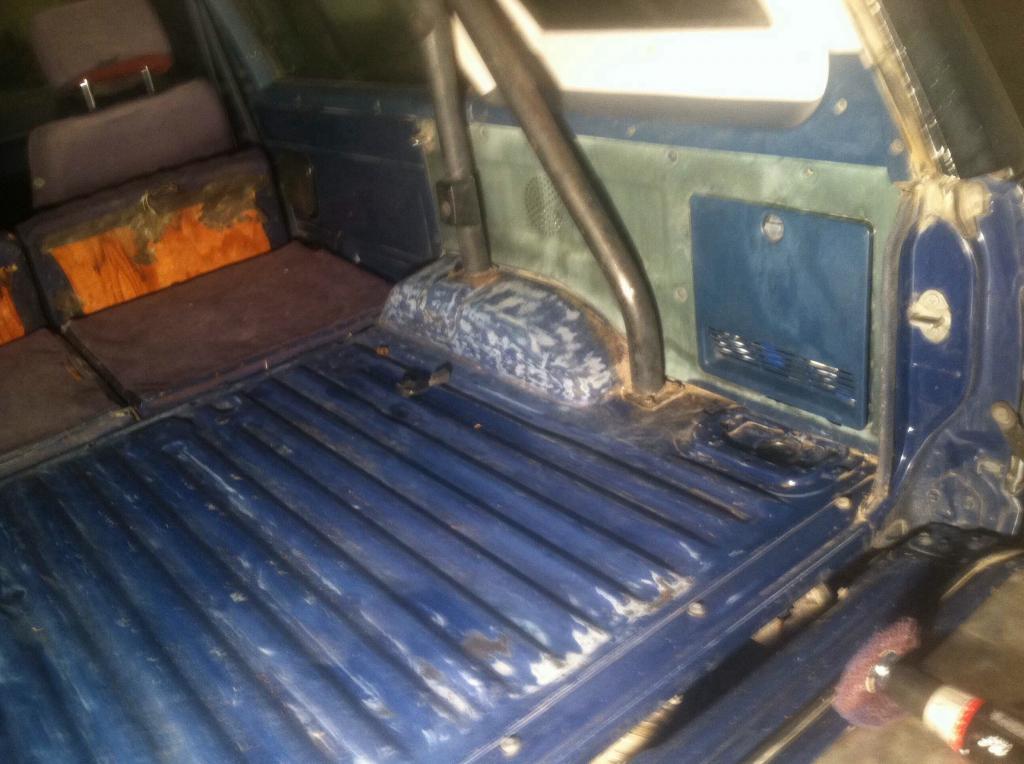
Nexted I taped off everything and unscrewed the hardware. I filled in screw / drain holes with tape. I didn't take off the plastics, I just taped them. I cut the carpet straight Along where the seats and bed meet because the bed shared the carpet with the back of the seats and I wanted to keep the seat carpet in fact until I redo the seats.
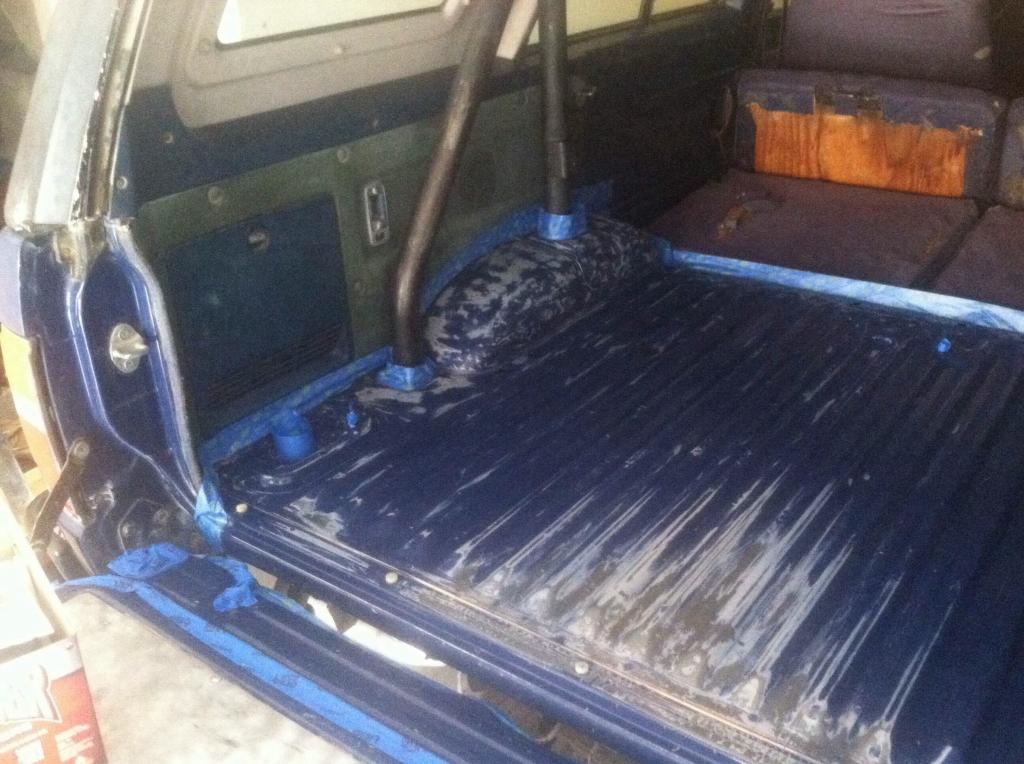
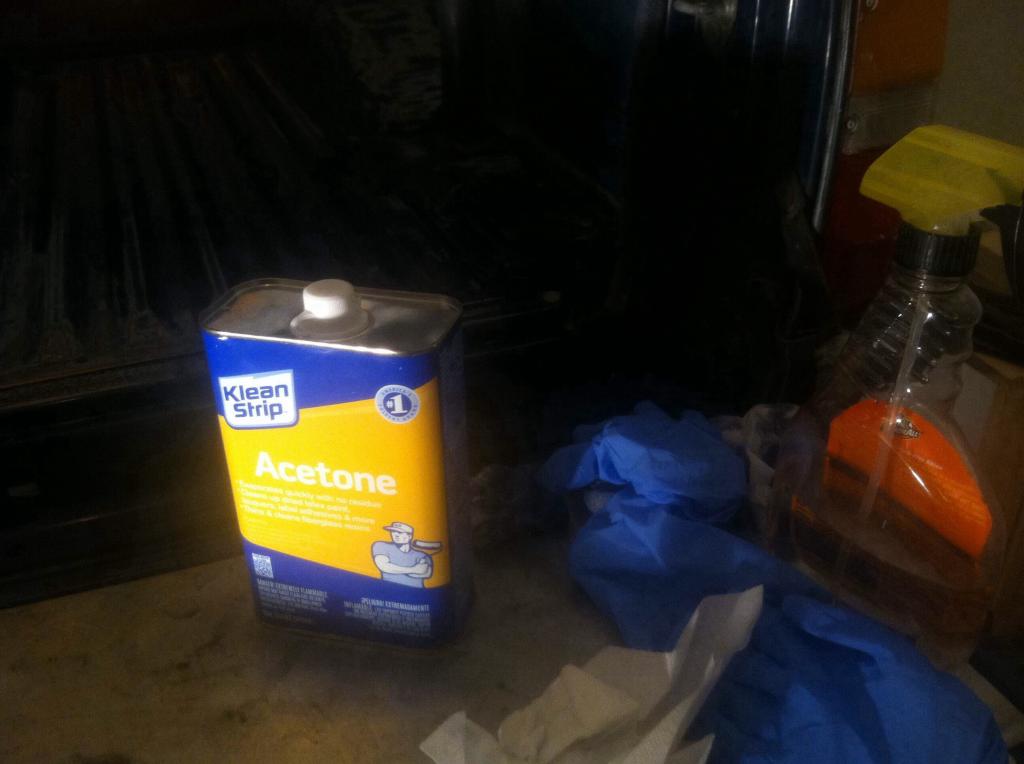
I used some light cleaner to pick up the sanding dust and debris, once it was clean I rubbed the whole thing down with acetone to remove any old glue or grease to prep the surface.
And started painting. Would have been way easier with top removed. I initially used a finer foam roller so that the final texture would be smoother. The rollers that come with the kit have coarse craters in them to pick up the rubber chunks and give a texture to the liner. Well, the smooth foam roller disintegrated upon contact with the chemicals in herculiner. So I used the ones they came with and decided to follow the directions!
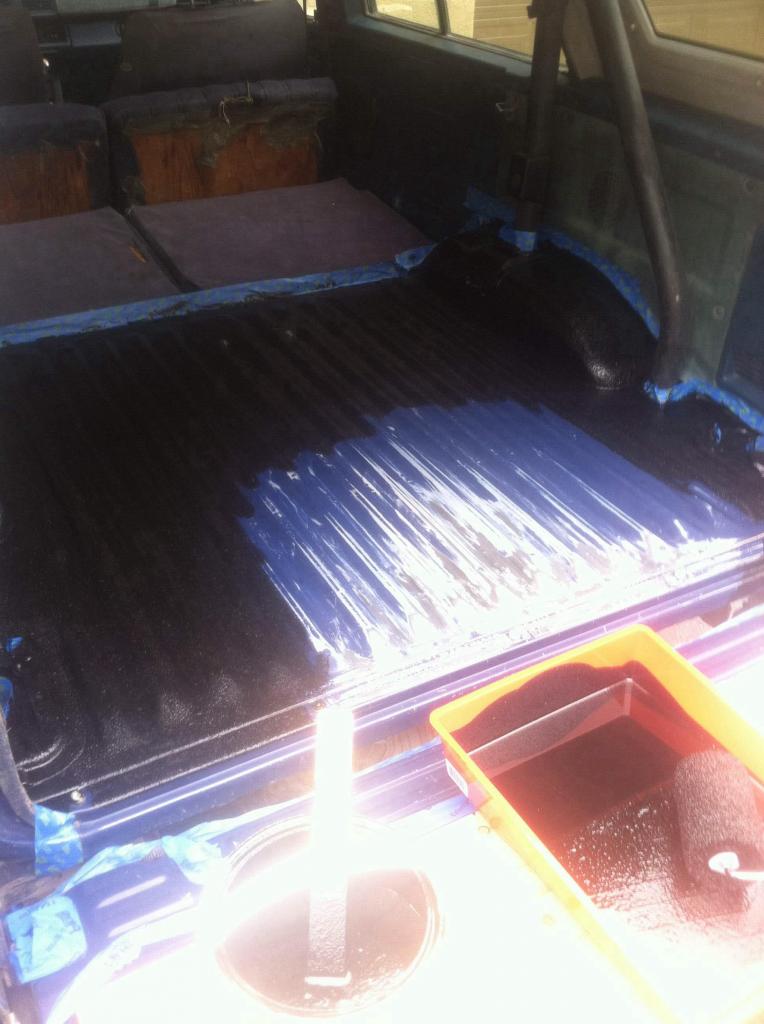
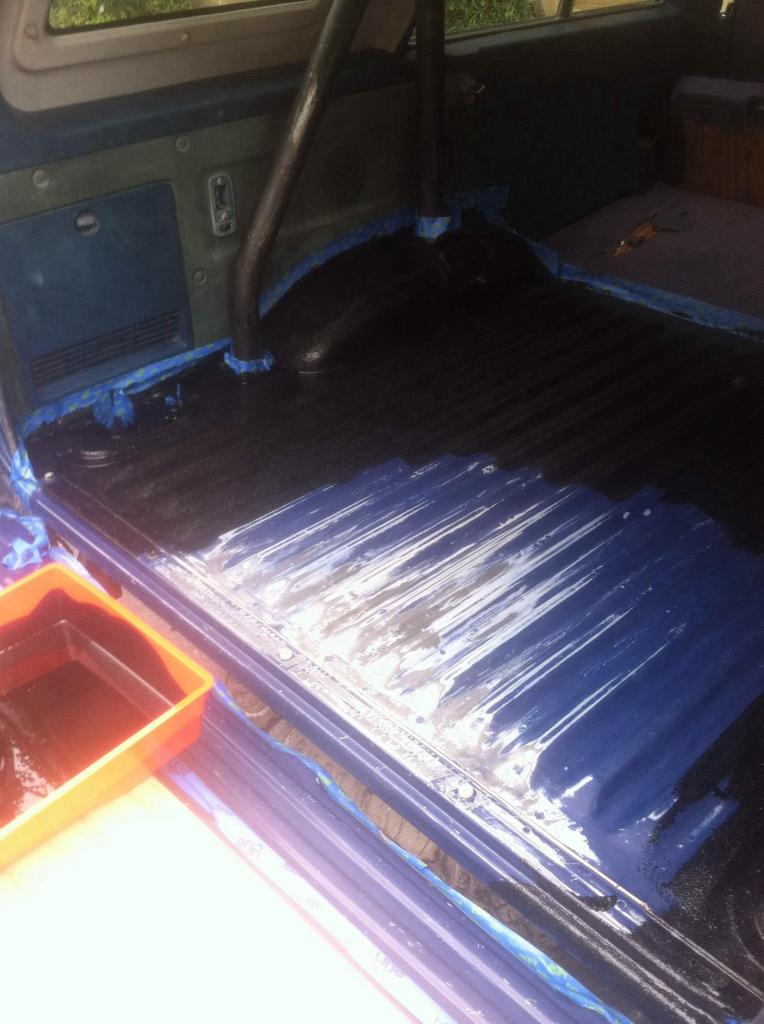
I waited 3 hours and started to paint the second coat. I quickly realized that although it was dry to the touch and a little tacky, with pressure anything would stick to it. My knee hairs were completely ripped off before I just got a plywood plank to kneel on while I painted on the second coat. This stuff stinks reaaaaaally bad so use a respirator and do it outdoors if you can. I parked my car in the garage and the smell woke my wife up at 3 in the morning which was less than ideal.
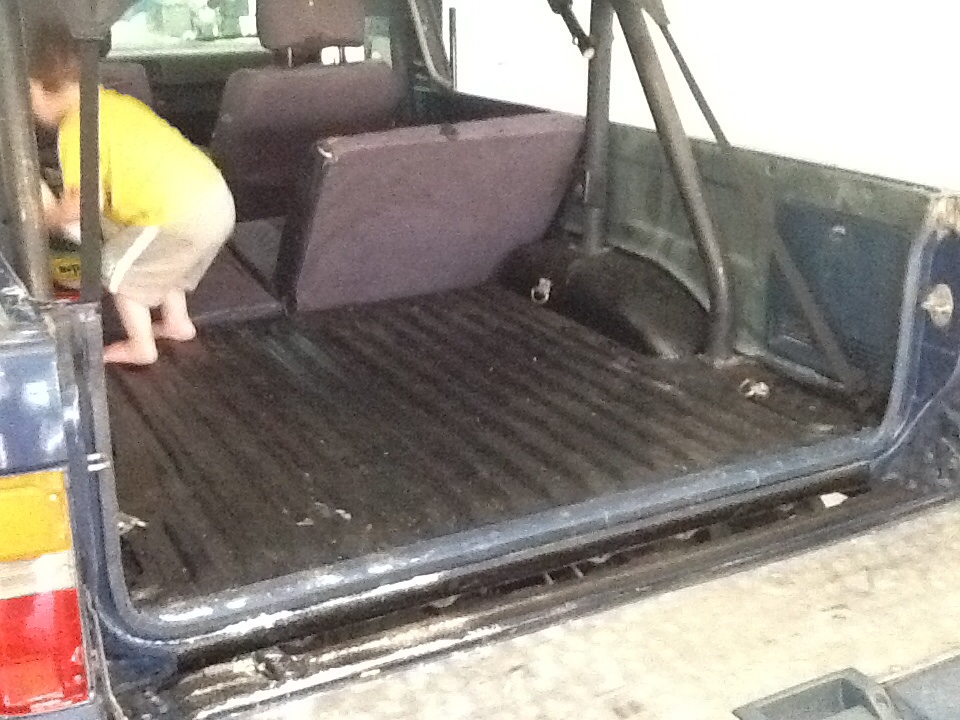
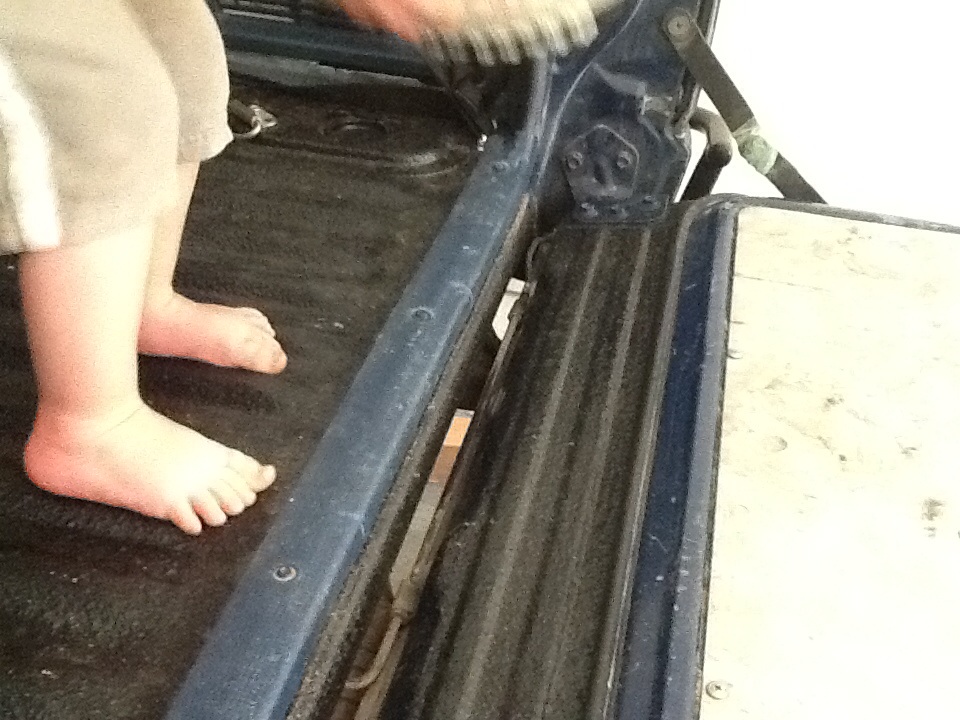
Here's the finished product:

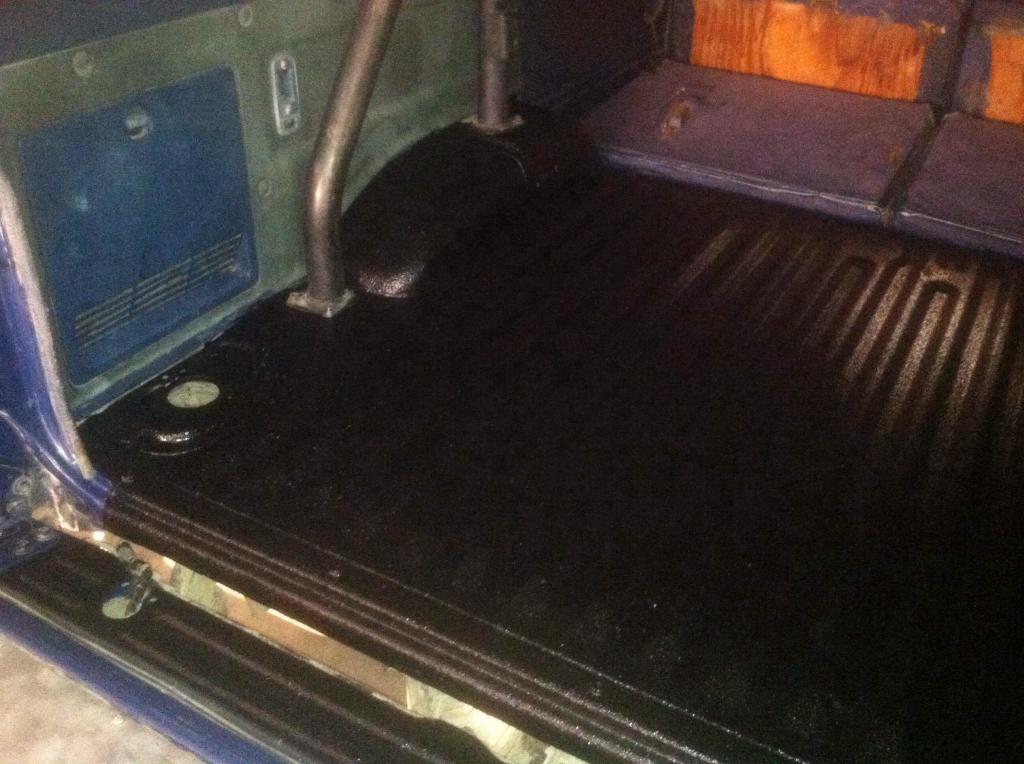
After a few months it's dirty but holding up great.

I still have about half the can and could probably do the interior when I'm ready.
Underneath was nice pertty blue paint. But After a few camping trips the paint was getting scratched badly and there were some rust spots appearing from the ol cooler leaking hot dog beer water all over the place.
I looked into different ways to line the bed and it seemed that aside from professional solutions the best way for your average DIY guy was to herculiner it. I got the herculiner kit from lowes for around $60 which came with two rollers, a brush, scotchbrite pads and a gallon of herculiner.

I started by scraping off the headliner fuzz/ foam which was dry rotted and crumbling all over the place because I didn't want any crap falling into the freshly painted on herculiner. This in and of itself was a mission. I used a paint scraper, razorblade scraper and some goo gone to get it pretty clean.
Halfway through:

Almost All scraped:

Then I prepped the bed. I sanded down the bed really well with small electric sander and did the corners the old fashioned way - by hand. I didn't trust the little crappy scotch bright pads that came with the kit which said to lightly scuff the surface. I had some rust spots that required me to go down to the bare metal.


Nexted I taped off everything and unscrewed the hardware. I filled in screw / drain holes with tape. I didn't take off the plastics, I just taped them. I cut the carpet straight Along where the seats and bed meet because the bed shared the carpet with the back of the seats and I wanted to keep the seat carpet in fact until I redo the seats.

I used some light cleaner to pick up the sanding dust and debris, once it was clean I rubbed the whole thing down with acetone to remove any old glue or grease to prep the surface.

And started painting. Would have been way easier with top removed. I initially used a finer foam roller so that the final texture would be smoother. The rollers that come with the kit have coarse craters in them to pick up the rubber chunks and give a texture to the liner. Well, the smooth foam roller disintegrated upon contact with the chemicals in herculiner. So I used the ones they came with and decided to follow the directions!


I waited 3 hours and started to paint the second coat. I quickly realized that although it was dry to the touch and a little tacky, with pressure anything would stick to it. My knee hairs were completely ripped off before I just got a plywood plank to kneel on while I painted on the second coat. This stuff stinks reaaaaaally bad so use a respirator and do it outdoors if you can. I parked my car in the garage and the smell woke my wife up at 3 in the morning which was less than ideal.
Here's the finished product:


After a few months it's dirty but holding up great.


I still have about half the can and could probably do the interior when I'm ready.

Thread
Thread Starter
Forum
Replies
Last Post
FS[GreatLakes]: Toyota collection part out
88sasturbotoy
Axles - Suspensions - Tires - Wheels
3
Jan 30, 2026 01:57 PM
DrZero
General Vehicle Related Topics (Non Year Related)
18
Jul 24, 2015 11:31 PM
FS[NorAtl]: 1989 pickup beds and leer cap Rhode island
mickyd9990
Misc Stuff (Vehicle Related)
0
Jul 6, 2015 09:01 AM
toyoda8488
84-85 Trucks & 4Runners (Build-Up Section)
2
Jul 5, 2015 10:18 PM


