Solid Axle Swaps, All Years Anything SAS related

SAS FJ60 with axle housing flip and front shackle for my 2001 Tacoma

Thread Tools
 
Search this Thread
 
Old 12-31-2017, 08:21 AM
  #381  
ZUK
Registered User
Thread Starter
iTrader: (1)
 
ZUK's Avatar
 
Join Date: Oct 2003
Location: Prescott AZ
Posts: 1,845
Received 24 Likes on 22 Posts
I was cruising around Youtube and ran into this....this is kinda cool. An AEV installed feature on this Colorado at SEMA. I don't know about the "tacoma Killer" part.
I can see this arrangement catching on to Jeep and Toyota.
Here's the link I watched

Old 01-06-2018, 12:30 PM
  #382  
ZUK
Registered User
Thread Starter
iTrader: (1)
 
ZUK's Avatar
 
Join Date: Oct 2003
Location: Prescott AZ
Posts: 1,845
Received 24 Likes on 22 Posts
The stuff is finally here...................
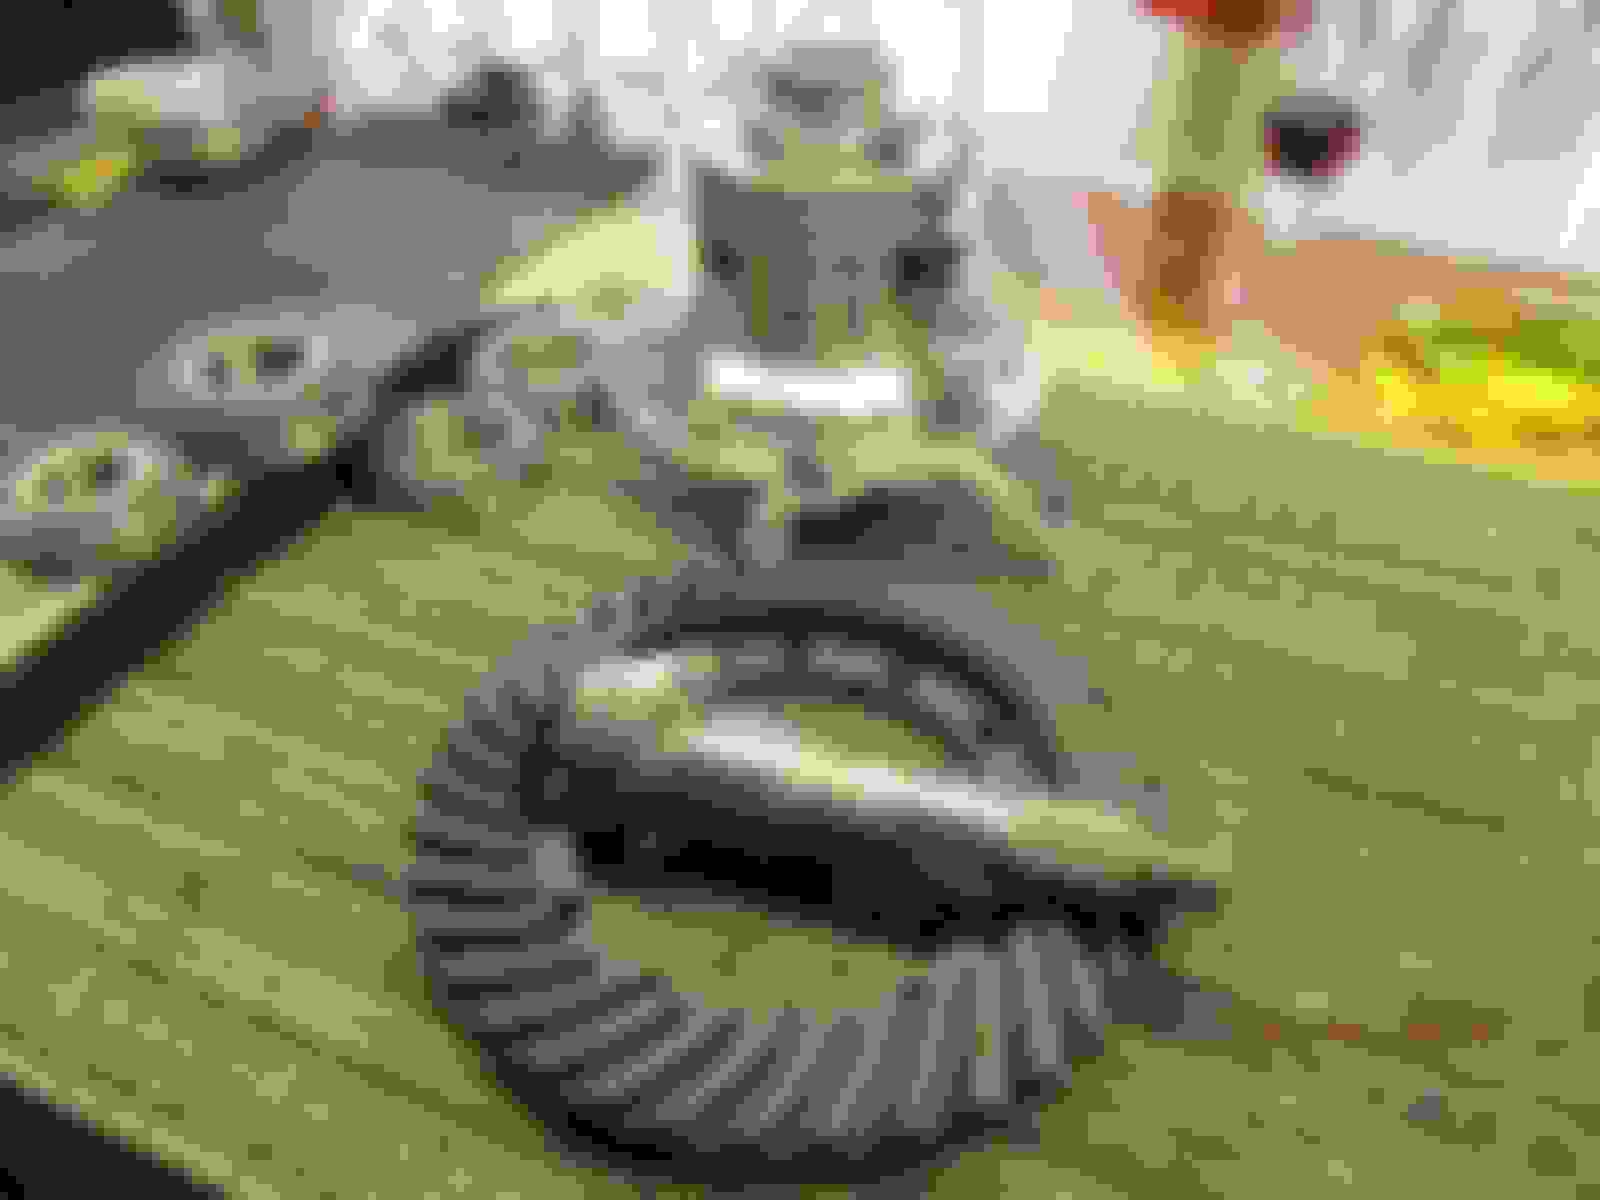
I received the spare 9.5" 3rd that will be used for this 529 with Harrop build.
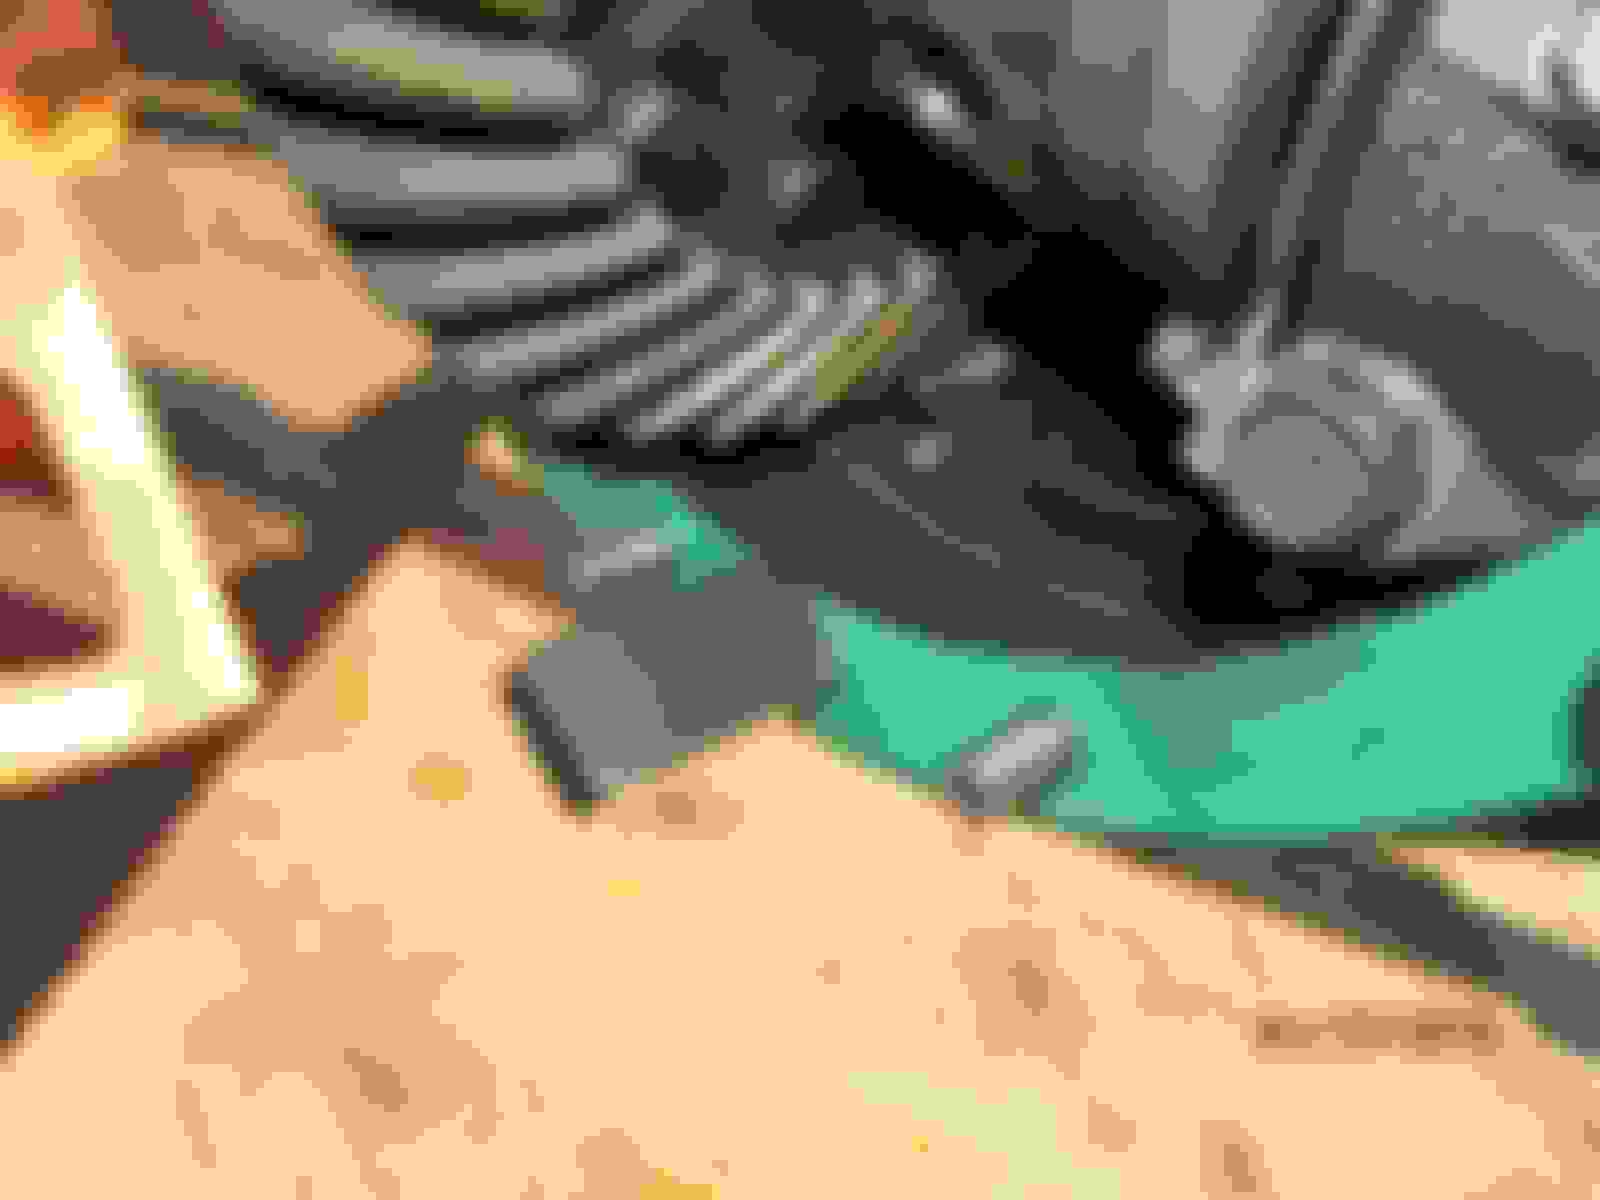
Got the #9378 Harrop yesterday also. And I have the new Koyo bearings with the Marlin seal
Old 01-06-2018, 12:50 PM
  #383  
ZUK
Registered User
Thread Starter
iTrader: (1)
 
ZUK's Avatar
 
Join Date: Oct 2003
Location: Prescott AZ
Posts: 1,845
Received 24 Likes on 22 Posts
A random pic


Last edited by ZUK; 08-08-2019 at 10:19 AM.
Old 01-06-2018, 12:55 PM
  #384  
ZUK
Registered User
Thread Starter
iTrader: (1)
 
ZUK's Avatar
 
Join Date: Oct 2003
Location: Prescott AZ
Posts: 1,845
Received 24 Likes on 22 Posts
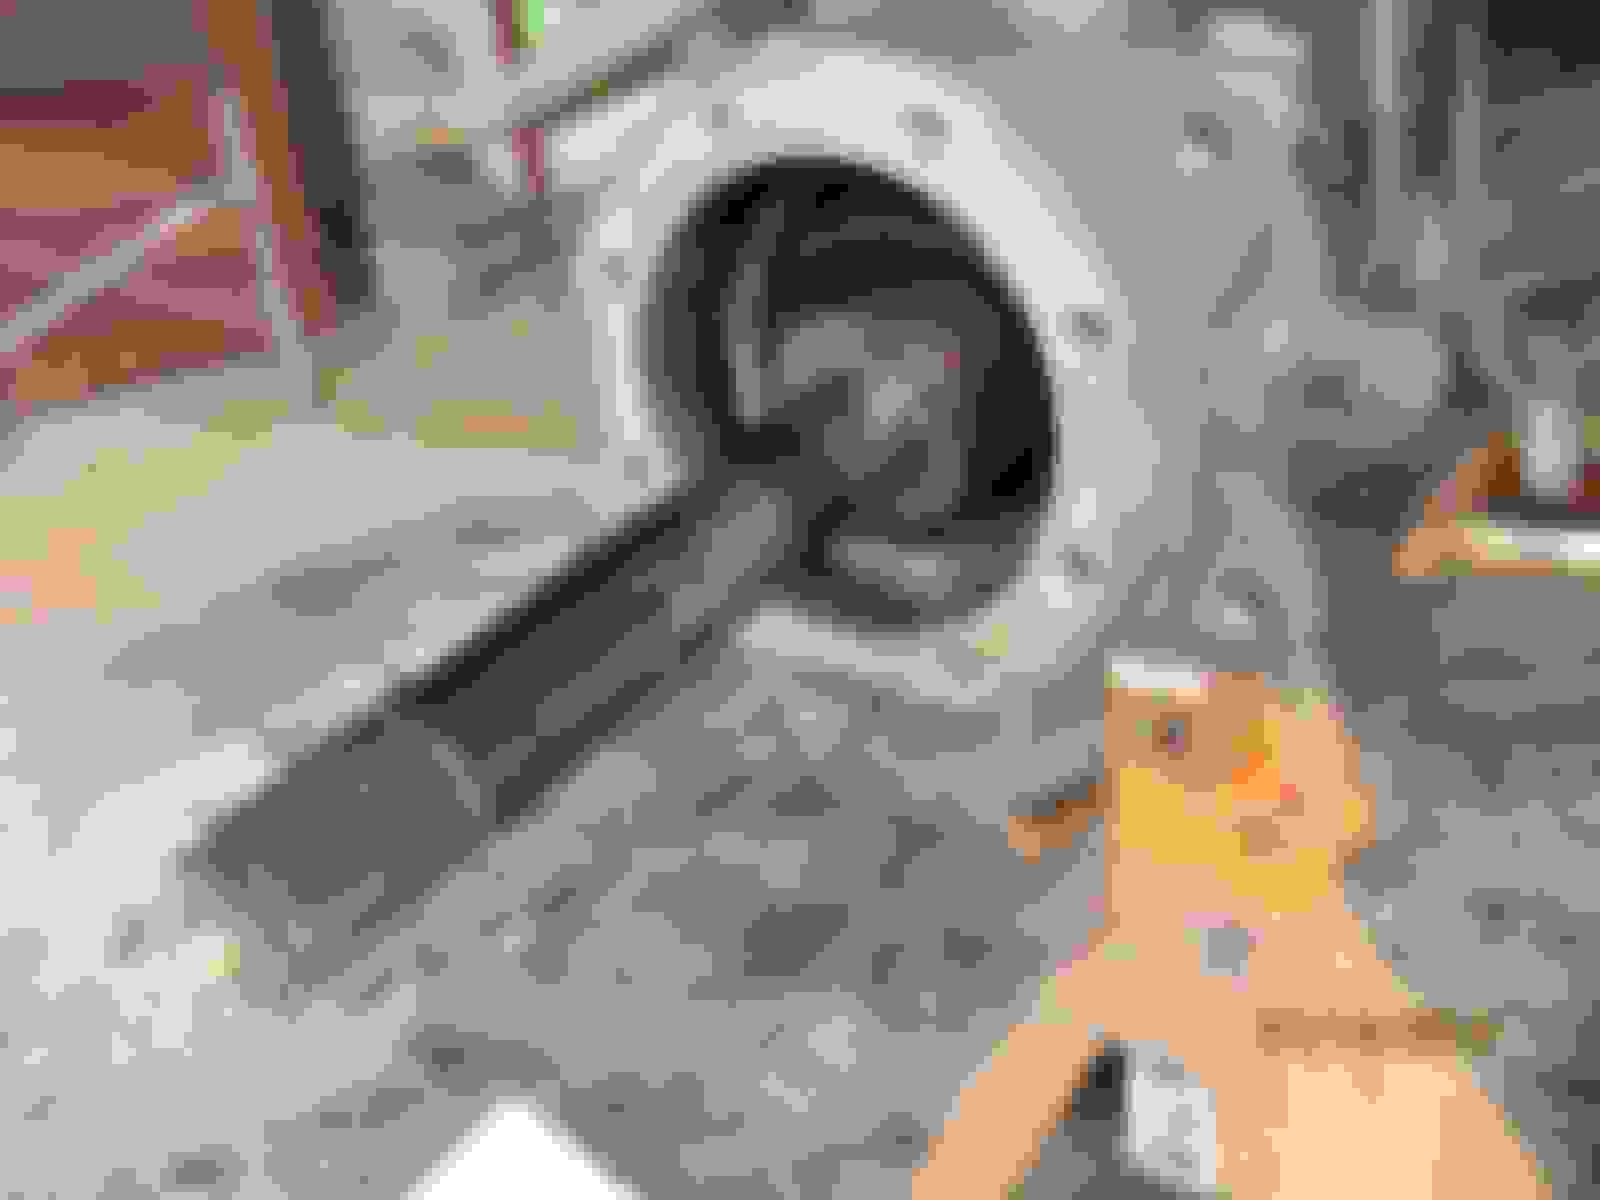
This is the FJ60 rear axle housing I chopped up for the highly desired(at least by my standards) 9.5" hole. Obviously, these remaining tubes are no good for anything now and soon to see the dumpster in the future.


But I can get my hands on one of these and slice the juicy part out of the middle.

Last edited by ZUK; 01-08-2018 at 08:33 AM.
Old 01-07-2018, 01:08 PM
  #385  
ZUK
Registered User
Thread Starter
iTrader: (1)
 
ZUK's Avatar
 
Join Date: Oct 2003
Location: Prescott AZ
Posts: 1,845
Received 24 Likes on 22 Posts
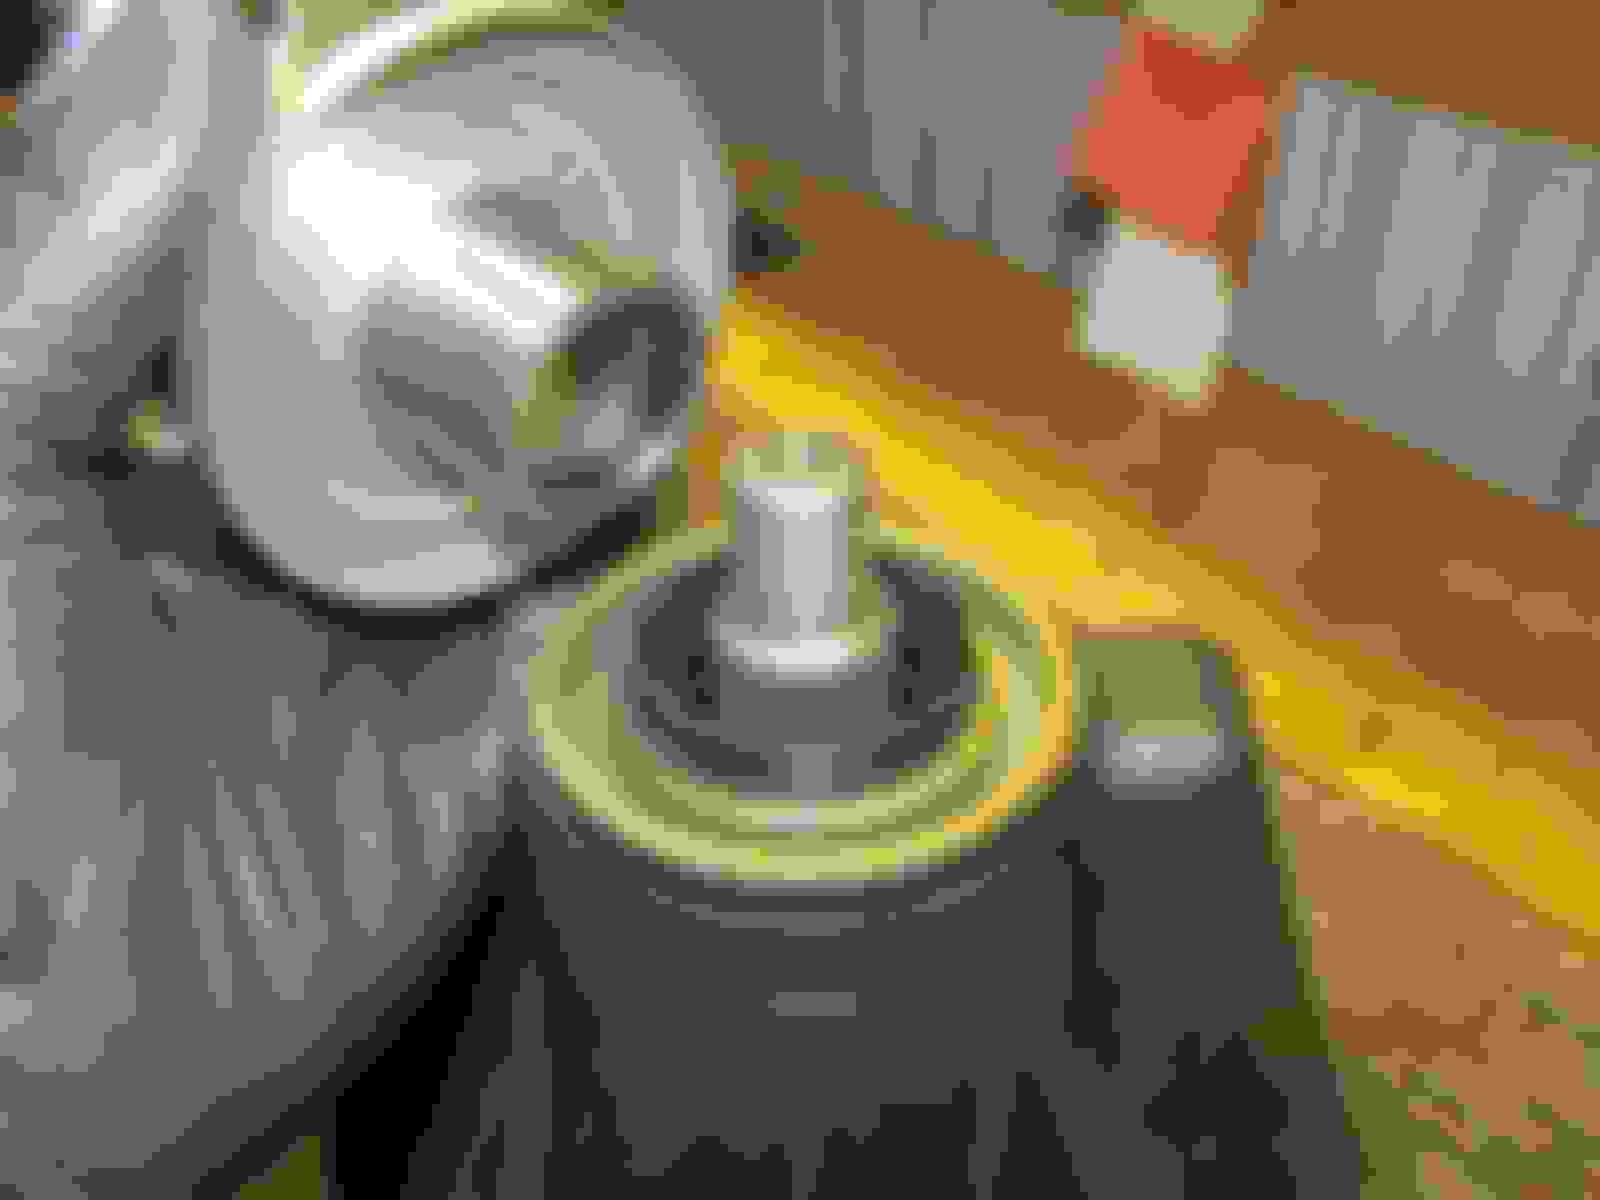
Progress on my on-topic truck mods.....The spare Ebay and the Harrop pretty much arrived the same day. Got the Ebay 3rd for a steal....about $100 shipped.


Parts are organized on the bench.
Old 01-07-2018, 01:49 PM
  #386  
ZUK
Registered User
Thread Starter
iTrader: (1)
 
ZUK's Avatar
 
Join Date: Oct 2003
Location: Prescott AZ
Posts: 1,845
Received 24 Likes on 22 Posts
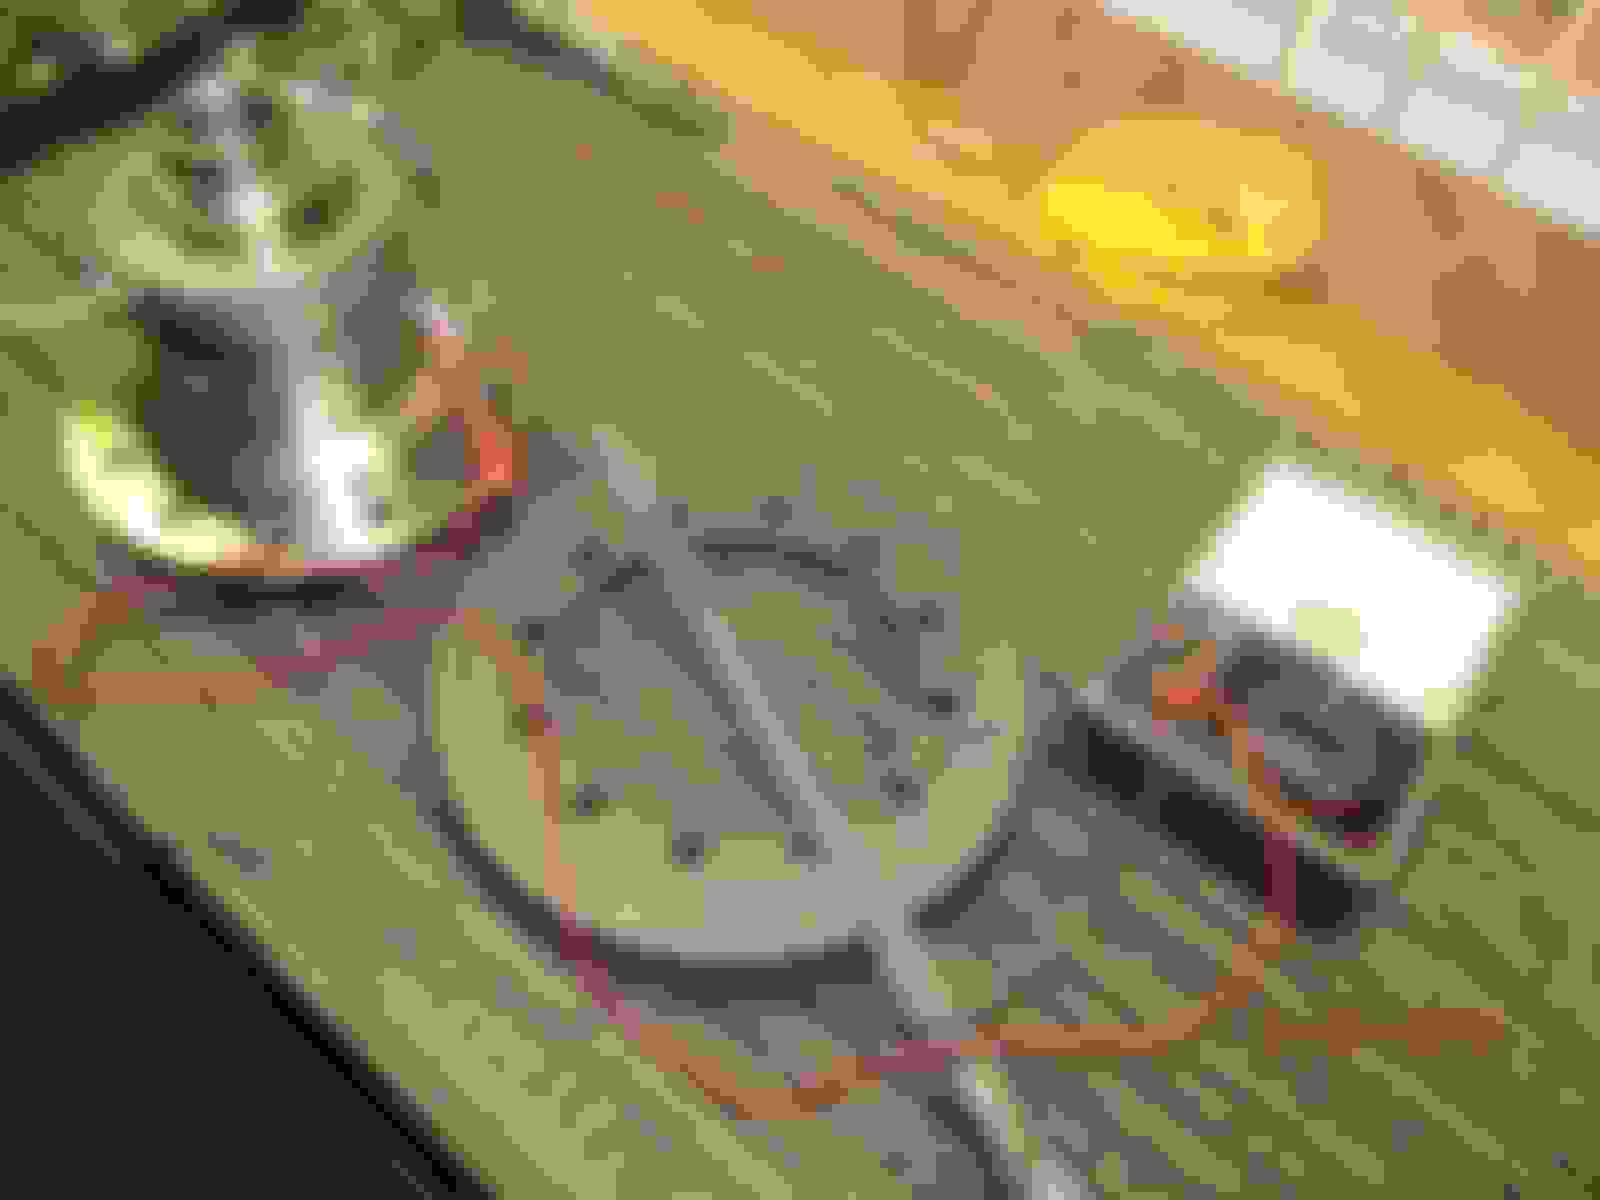
Cleaning the oils off the Harrop and the cosmoline off the Nitro gears is never really mentioned....but it has to be done...especially if the paint pattern want to be distortion free.


Surfaces were filed. All looked perfect as has been the case for hundreds of previous Nitros.


Heck, never hurts to make a quick resistance check to make sure the Harrop is electrically in spec. 3.9 ohms....perfect.


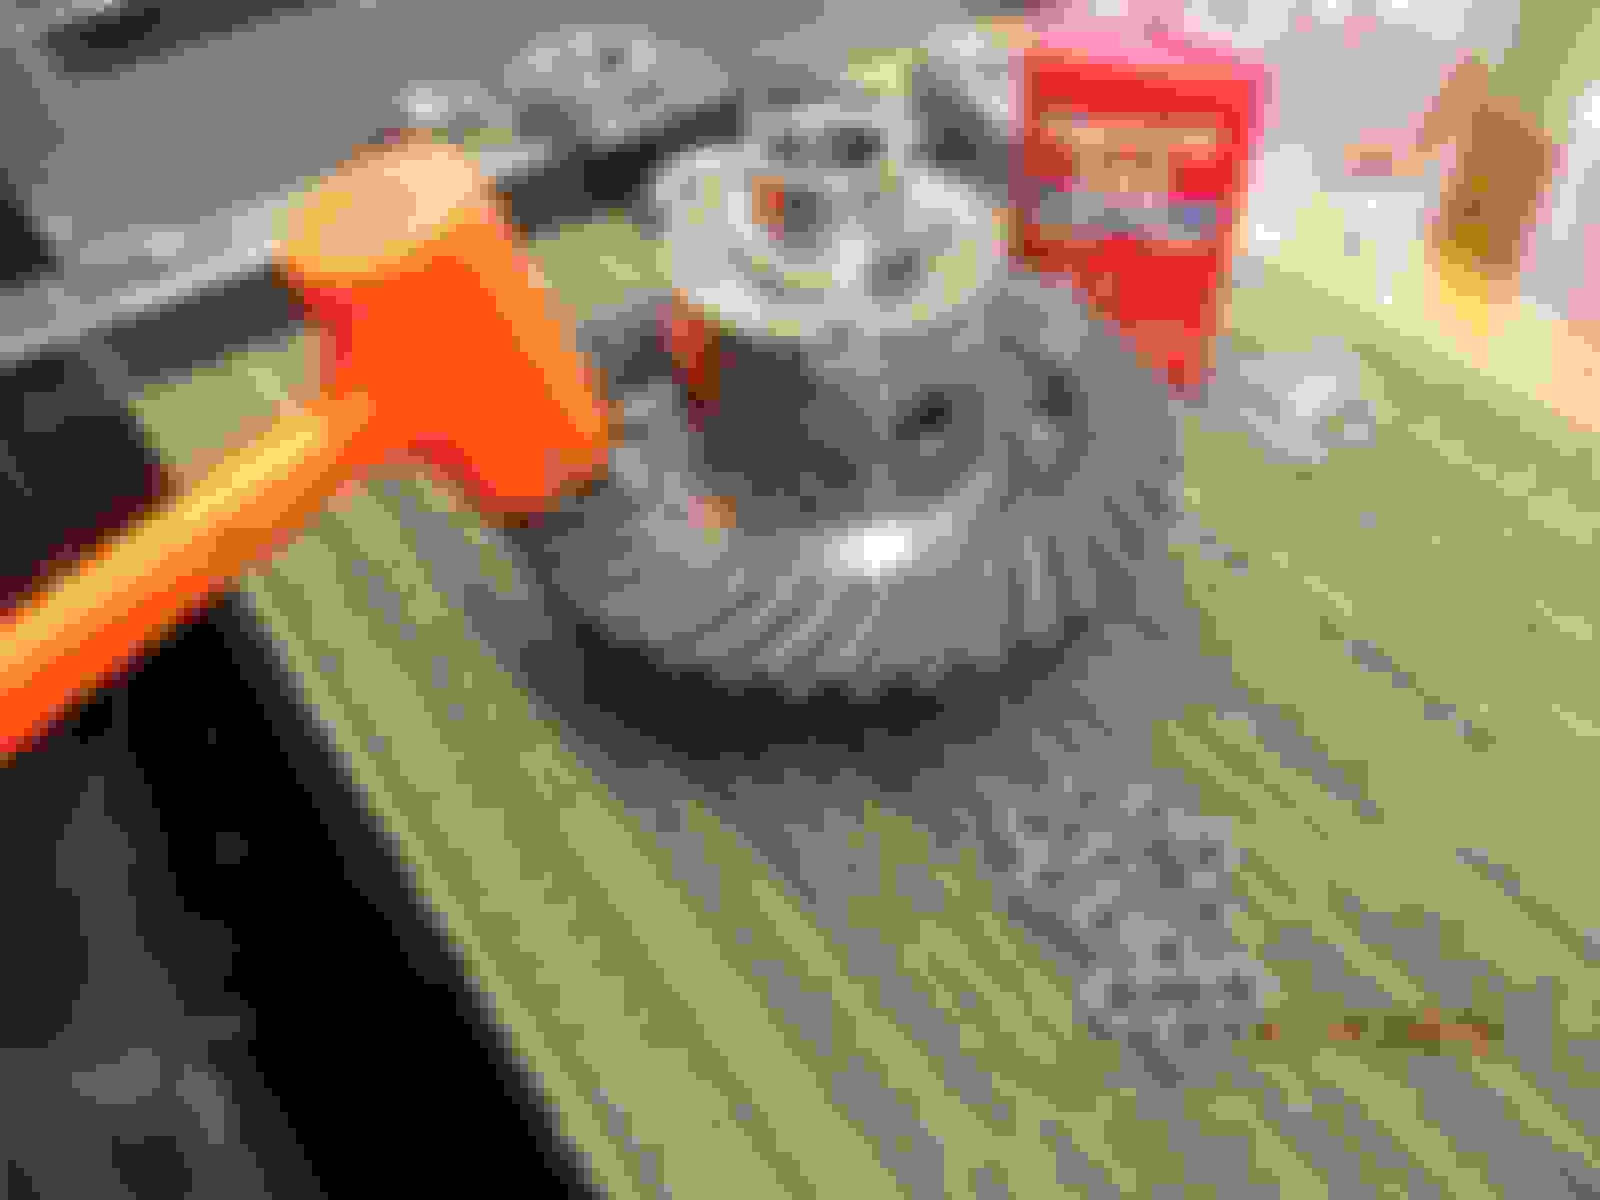
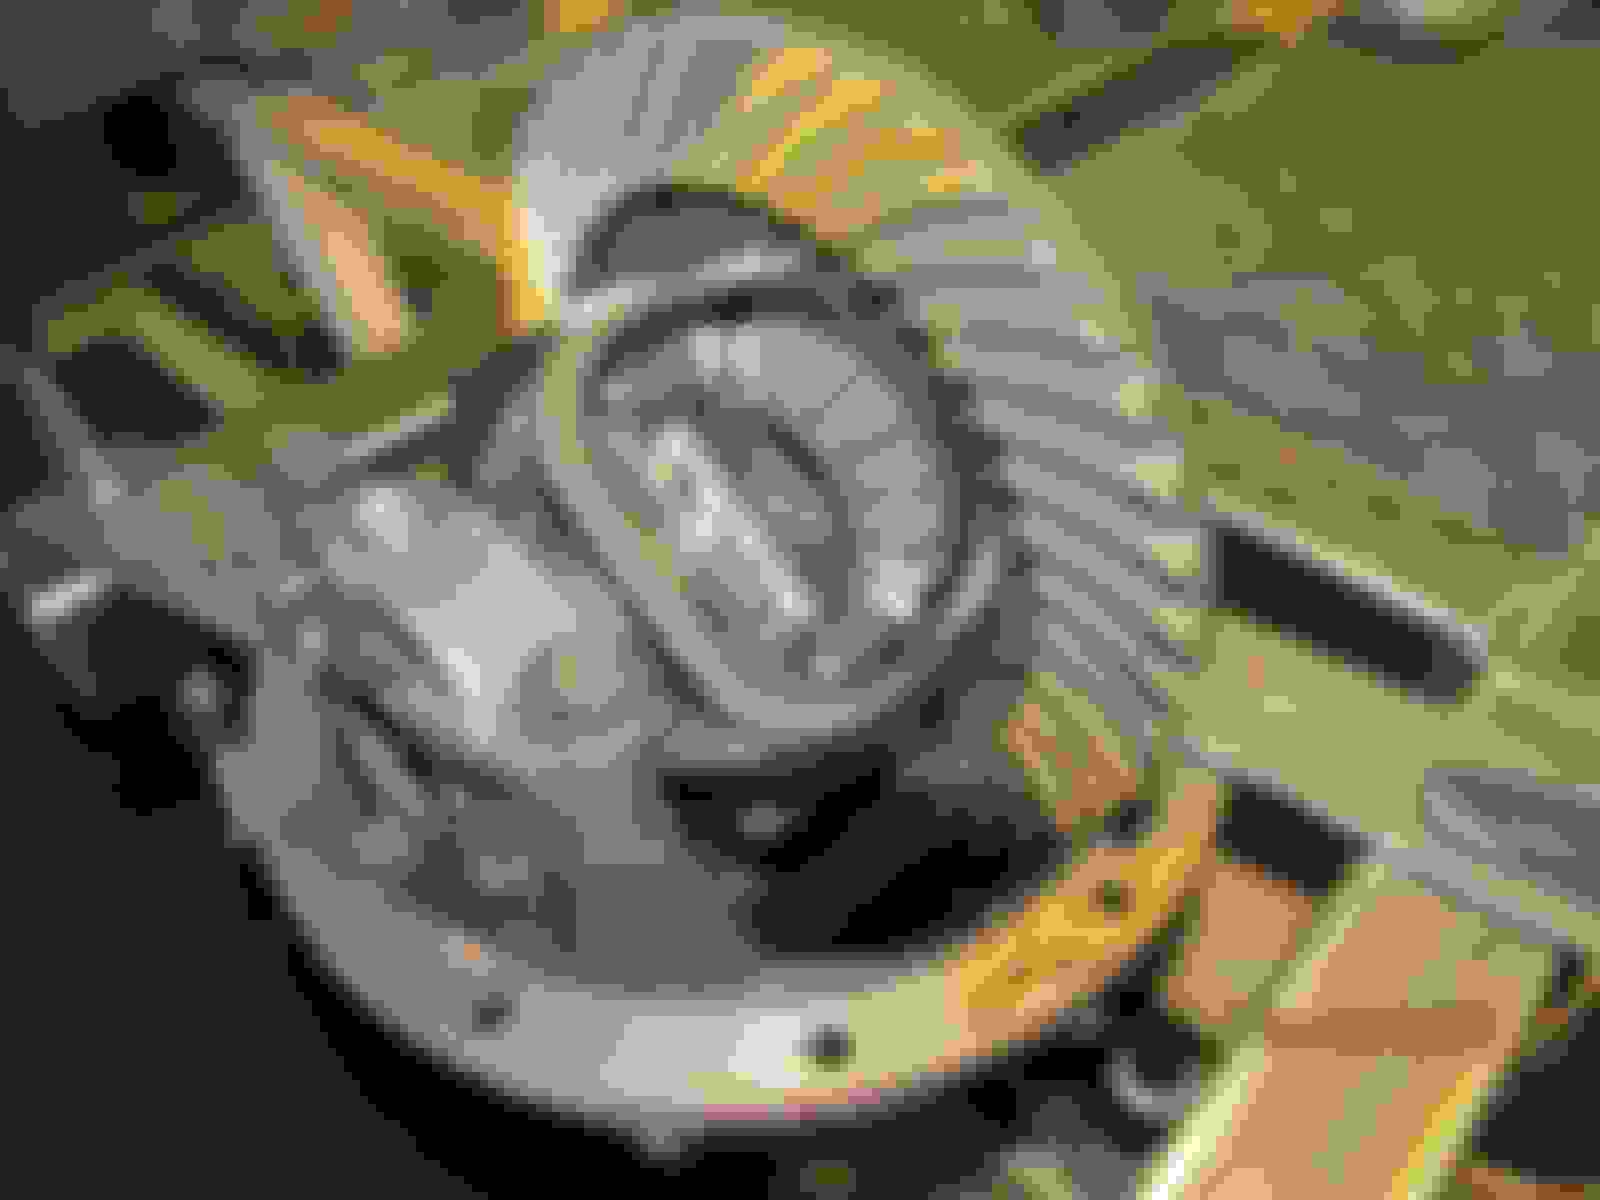
I placed the 12 cleaned up bolts in their holes to make sure the ring goes down straight and true and it did. But, let me tell you, the orange hammer had to beat on it many times to get the ring fully seated. It was a good, tight fit.
Old 01-07-2018, 02:32 PM
  #387  
ZUK
Registered User
Thread Starter
iTrader: (1)
 
ZUK's Avatar
 
Join Date: Oct 2003
Location: Prescott AZ
Posts: 1,845
Received 24 Likes on 22 Posts
The 12 ring gear bolts/nuts were tightened to 81 ft/lb with blue Loctite.As shown below, the50mm conversion bearings(32010X) were tapped on. A very tight fit I might add.
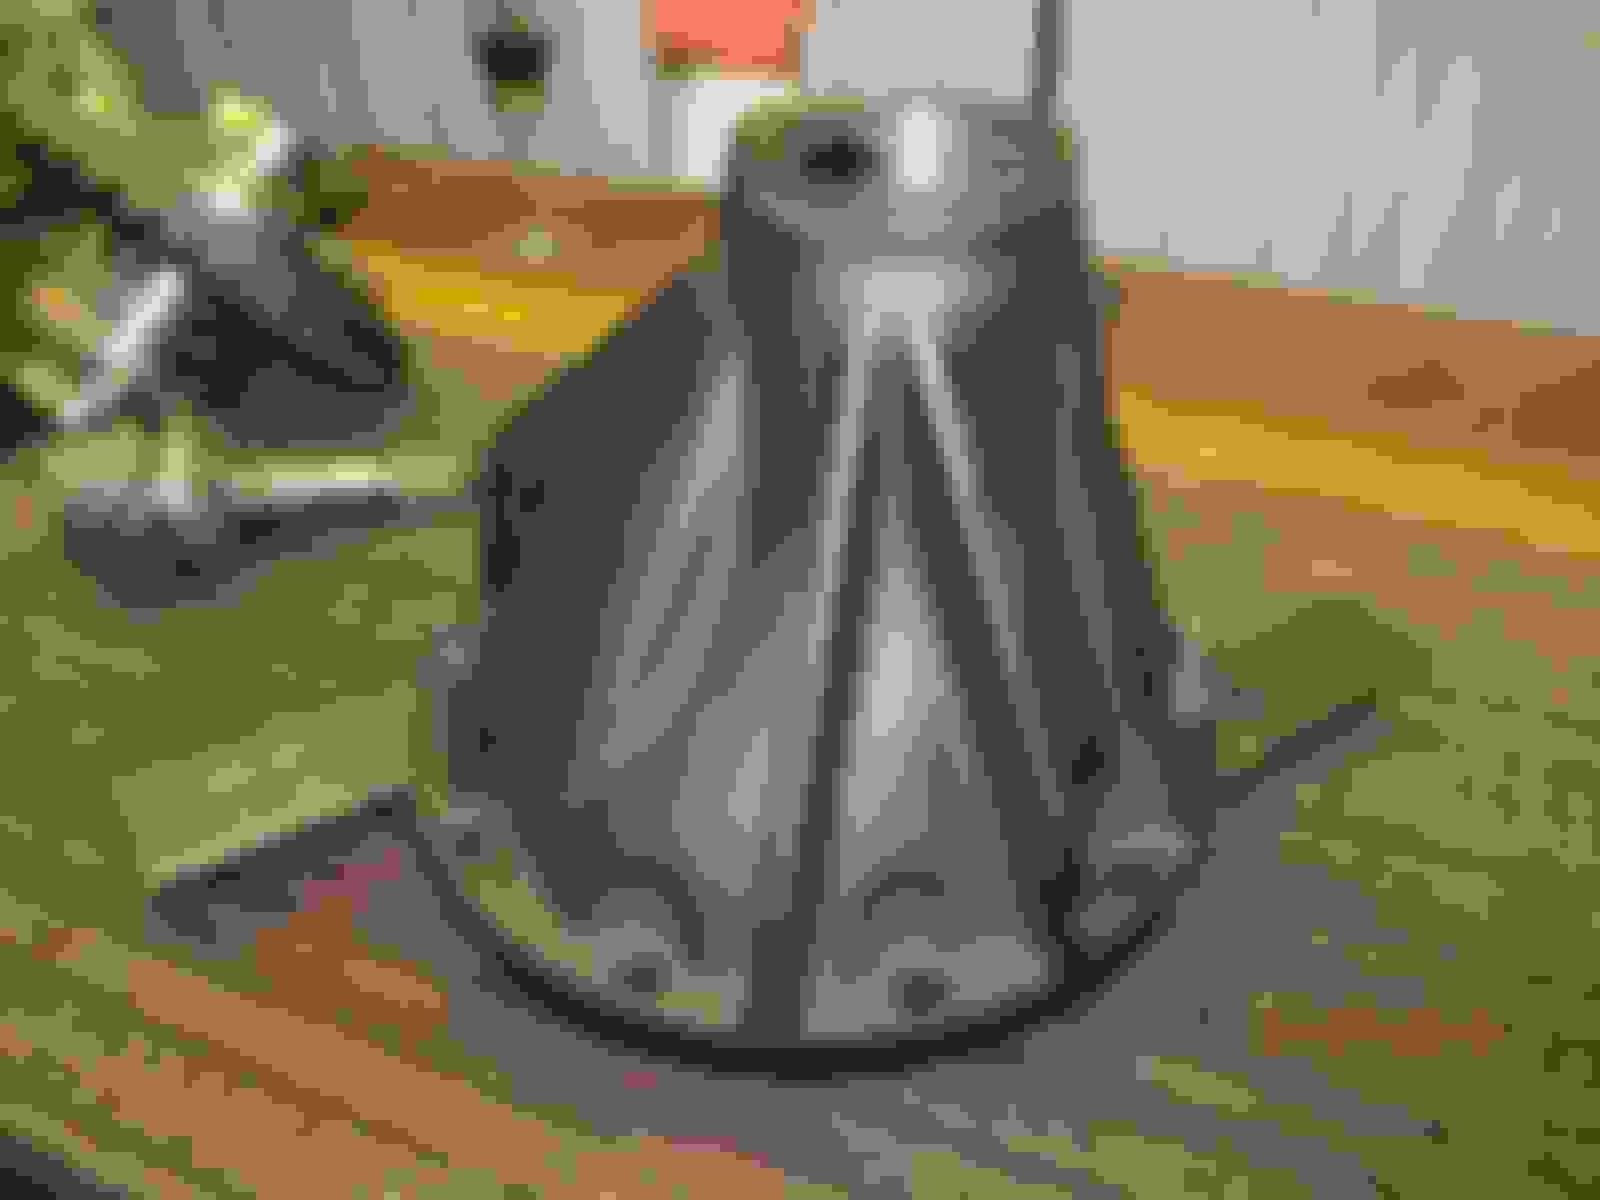
And that completes all we can do with the Harrop center section.


The 1st shim will be .058"


With the pinion bearing now pressed on, there is nothing more to do with the pinion portion.


Now the teardown of the 9.5" Ebay 3rd.
Old 01-07-2018, 04:34 PM
  #388  
ZUK
Registered User
Thread Starter
iTrader: (1)
 
ZUK's Avatar
 
Join Date: Oct 2003
Location: Prescott AZ
Posts: 1,845
Received 24 Likes on 22 Posts
Took an hour or more but this 3rd that used to have big chunks of flaking rust on the exterior is so much better after 45 minutes with the high speed wire wheel. And a coat of "Dual " Krylon


Interior is clean also.Ready for the new races.
Old 01-07-2018, 05:18 PM
  #389  
ZUK
Registered User
Thread Starter
iTrader: (1)
 
ZUK's Avatar
 
Join Date: Oct 2003
Location: Prescott AZ
Posts: 1,845
Received 24 Likes on 22 Posts
New races are tapped in 100% verified bottomed out.


Pinion is loaded up without the crush sleeve.


Because the 529 ring is so thick, it hits the factory notched slot. The flapper wheel has to reach in and take out about 1/8"....15 seconds of flapping and done..

Last edited by ZUK; 01-08-2018 at 08:23 AM.
Old 01-07-2018, 05:23 PM
  #390  
ZUK
Registered User
Thread Starter
iTrader: (1)
 
ZUK's Avatar
 
Join Date: Oct 2003
Location: Prescott AZ
Posts: 1,845
Received 24 Likes on 22 Posts
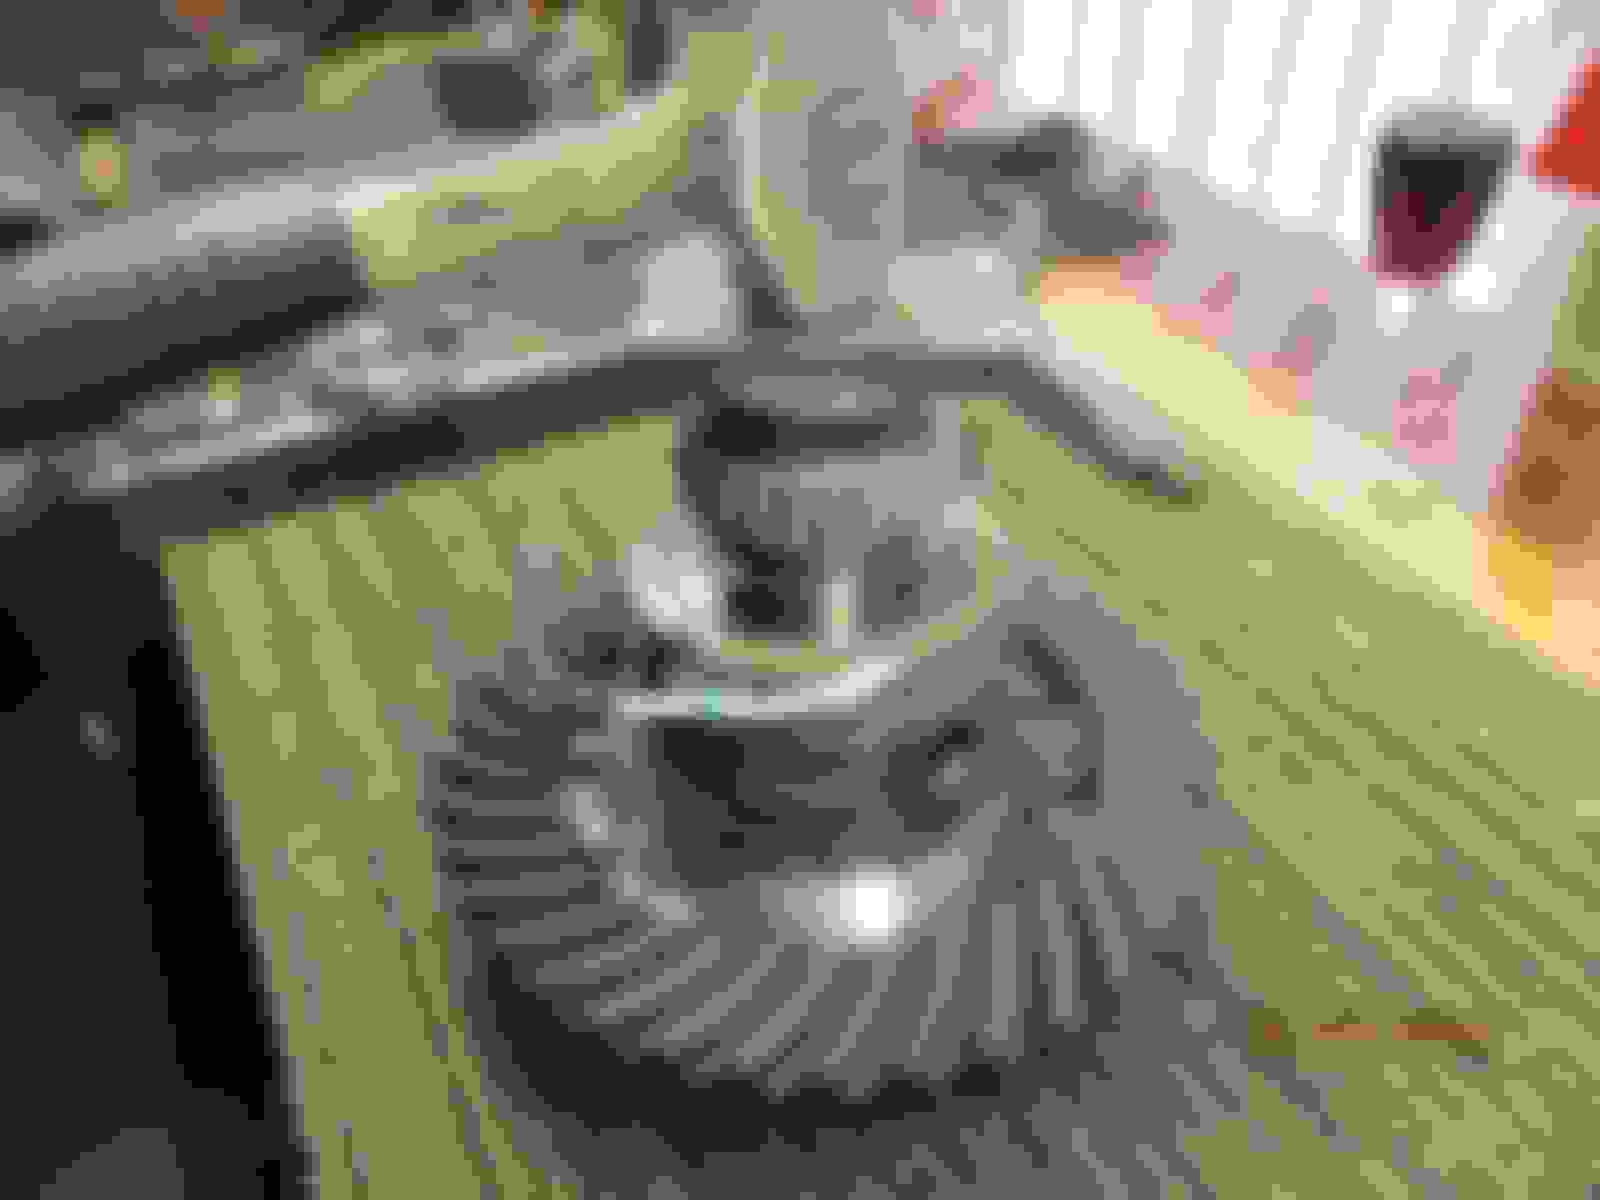
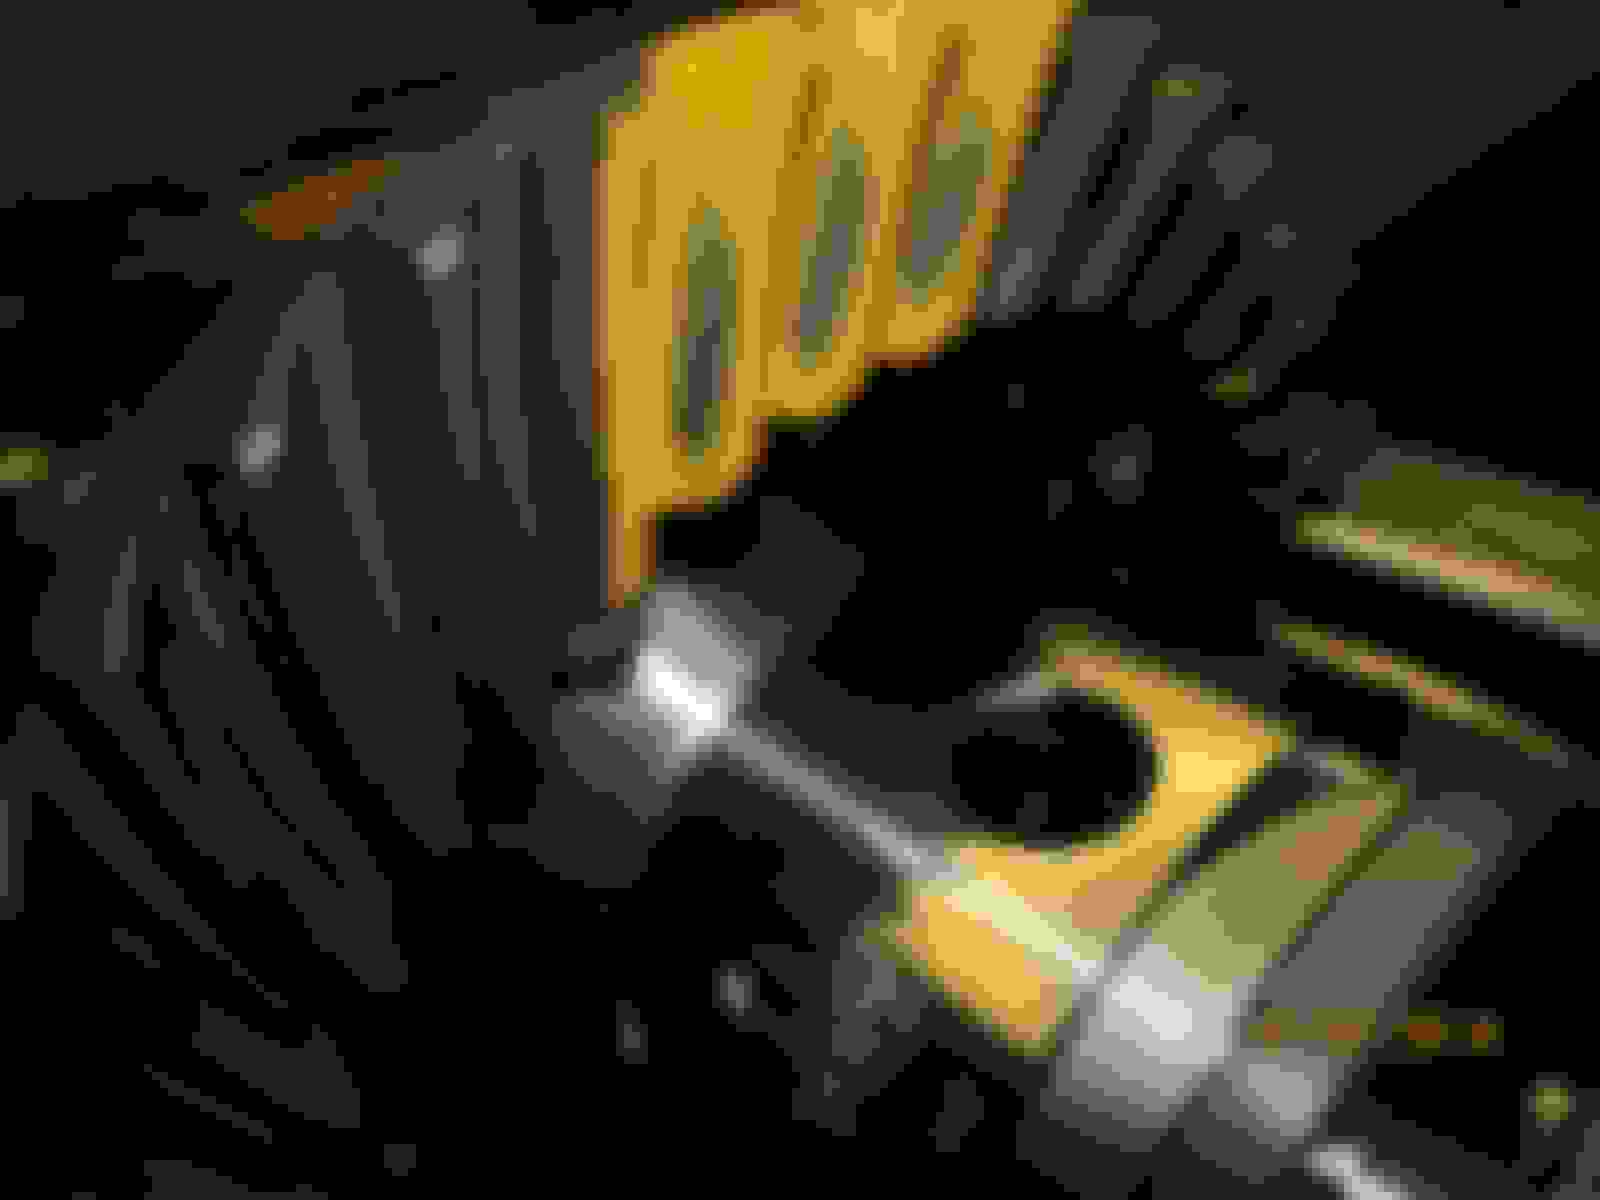
A quick paint shows I got lucky again. Beautiful drive depth....looks slightly deep.....the way I prefer it.


Coast......Nice.


Drive side....the comet tail is almost in the center so the tail is saying leave the depth alone....you have it set dead nuts on slightly deep so leave it alone.
Old 01-07-2018, 08:42 PM
  #391  
ZUK
Registered User
Thread Starter
iTrader: (1)
 
ZUK's Avatar
 
Join Date: Oct 2003
Location: Prescott AZ
Posts: 1,845
Received 24 Likes on 22 Posts
Marlin seal for my installs....whenever possible.


The bracket is a little tricky to get into place sometimes.....but once you have the "knack".....


hmmm. Very little play....only about .3 mm and should be around 2 mm.


So the bracket was removed and some material removed with the dremel.
Old 01-07-2018, 08:45 PM
  #392  
ZUK
Registered User
Thread Starter
iTrader: (1)
 
ZUK's Avatar
 
Join Date: Oct 2003
Location: Prescott AZ
Posts: 1,845
Received 24 Likes on 22 Posts
Bingo....measure 2 mm of free motion.


Backlash was recorded on every other tooth for 20 measurements.


This particular Nitro was amazingly consistent. Backlash varied very little. It helps when the target depth is reached so closely.
Old 01-07-2018, 08:52 PM
  #393  
ZUK
Registered User
Thread Starter
iTrader: (1)
 
ZUK's Avatar
 
Join Date: Oct 2003
Location: Prescott AZ
Posts: 1,845
Received 24 Likes on 22 Posts
One last pattern check. Drive .


Coast.....work of art.


Drive. Reverse painted.


Drive side of the pinion tooth. See how the comet tail is feathered in the center from face to flank? That's confirmation that it can't get any better.
Old 01-07-2018, 08:57 PM
  #394  
ZUK
Registered User
Thread Starter
iTrader: (1)
 
ZUK's Avatar
 
Join Date: Oct 2003
Location: Prescott AZ
Posts: 1,845
Received 24 Likes on 22 Posts
Ring gear marked for life.


The carrier bearing preload is right where it should be.


This baby is ready for the truck. Looks like I have a few customer gear installs and then I can start work on my Taco
Old 01-13-2018, 02:30 PM
  #395  
ZUK
Registered User
Thread Starter
iTrader: (1)
 
ZUK's Avatar
 
Join Date: Oct 2003
Location: Prescott AZ
Posts: 1,845
Received 24 Likes on 22 Posts
Time to put the 9.5" Nitro 529 gears with the Harrop elocker in the Landcruiser hole.
I presently have Nitro 488's and I thought that would be the best ratio for 35" tires.....but quickly concluded 529 is a winner also.


This time it's Synthetic for this badboy. I'm not too brand conscience....I like to see the numbers either 85W-140 or 75W-140. That's what my inner voice is saying to me.


The rear service cover paper gasket pretty much came off in one piece....no outright tears so I will try to reuse it.


Nothing unusual in the little puddle.

Last edited by ZUK; 01-13-2018 at 05:29 PM.
Old 01-13-2018, 02:38 PM
  #396  
ZUK
Registered User
Thread Starter
iTrader: (1)
 
ZUK's Avatar
 
Join Date: Oct 2003
Location: Prescott AZ
Posts: 1,845
Received 24 Likes on 22 Posts
I took the truck this morning to the "manual" car wash and blasted all the dust and grit debri using the hi-power wand. 10 quarters well spent. Much nicer to take the nuts off and break the seal without all kinds of crap falling everywhere.


529 3rd waiting for me to raise it i place with my 61 year old arms. Again, think I'll re-use the 3rd member gasket as it did not tear on me.


God bless America....somehow it went in place without killing me
Old 01-13-2018, 02:44 PM
  #397  
ZUK
Registered User
Thread Starter
iTrader: (1)
 
ZUK's Avatar
 
Join Date: Oct 2003
Location: Prescott AZ
Posts: 1,845
Received 24 Likes on 22 Posts
Old gasket(3 months old) is inspected. Looks reusable.


I had a powerful refrig magnet so thought I'd put one in the bottom.


.................................................. .


Going to bolt the driveshaft back in place...slide the axles back in....take it off the jackstands and then add the synthetic.
Old 01-13-2018, 06:19 PM
  #398  
ZUK
Registered User
Thread Starter
iTrader: (1)
 
ZUK's Avatar
 
Join Date: Oct 2003
Location: Prescott AZ
Posts: 1,845
Received 24 Likes on 22 Posts
Just test drove it to Red Robin and had a Cobb salad. Nice, smooth, quiet ride. Other than it moves away from the green light effortlessly now, I really don't notice any negative points.

I'm about 15% overgeared and with an auto tranny that's nothing. Checked the temp of the nose cone(hottest part of the diff always) and was only 112 degrees.

A visual and a touchy touchy produced no bad things..... no gear oil leaking out the used paper gaskets or anywhere else..

Tomorrow's task.....is to pull the front 9.5 and regear it to 529.

Last edited by ZUK; 01-13-2018 at 06:29 PM.
Old 01-14-2018, 11:07 AM
  #399  
Registered User
iTrader: (1)
 
muddpigg's Avatar
 
Join Date: Mar 2007
Location: Enterprise, AL
Posts: 4,374
Received 35 Likes on 30 Posts
Really enjoyed your build!!!! Love the 9.5 front and rear!!!

Now time to go out in garage. I'm sure you miss the single digit temps of NY.
Old 01-14-2018, 12:19 PM
  #400  
ZUK
Registered User
Thread Starter
iTrader: (1)
 
ZUK's Avatar
 
Join Date: Oct 2003
Location: Prescott AZ
Posts: 1,845
Received 24 Likes on 22 Posts
Ha! I miss them like a poke in the eye with an ice pick.
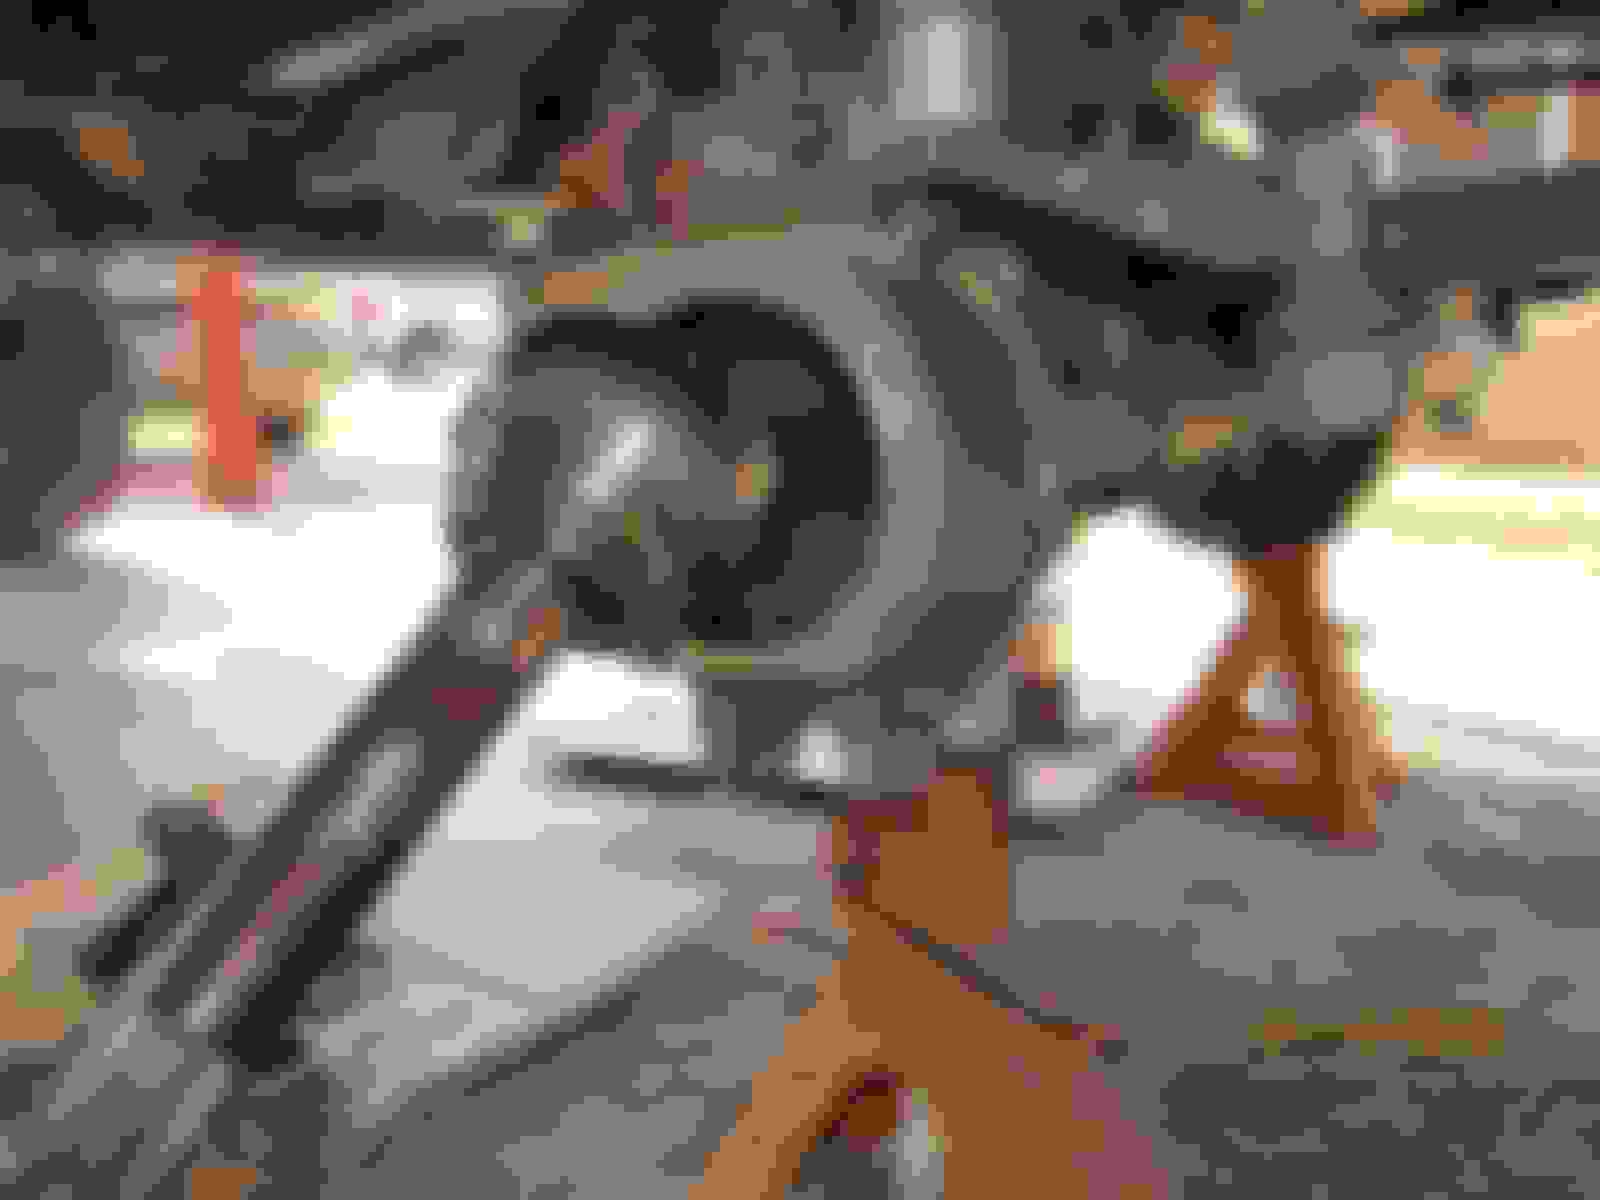
Front 3rd is in the process of being pulled out now. Just have to tie the driveshaft up out of the way...........


driver side RCV came out easy which is always a good thing.


Passenger side also popped out easy.


Parts are laid out for easy re-assembly.

Last edited by ZUK; 01-17-2018 at 10:21 AM.


Quick Reply: SAS FJ60 with axle housing flip and front shackle for my 2001 Tacoma


All times are GMT -8. The time now is 02:04 PM.