When you click on links to various merchants on this site and make a purchase, this can result in this site earning a commission. Affiliate programs and affiliations include, but are not limited to, the eBay Partner Network.
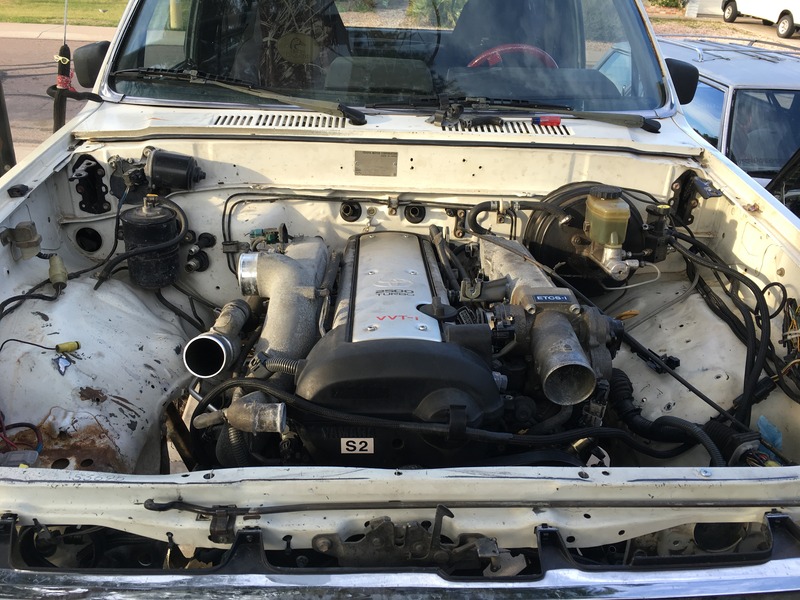
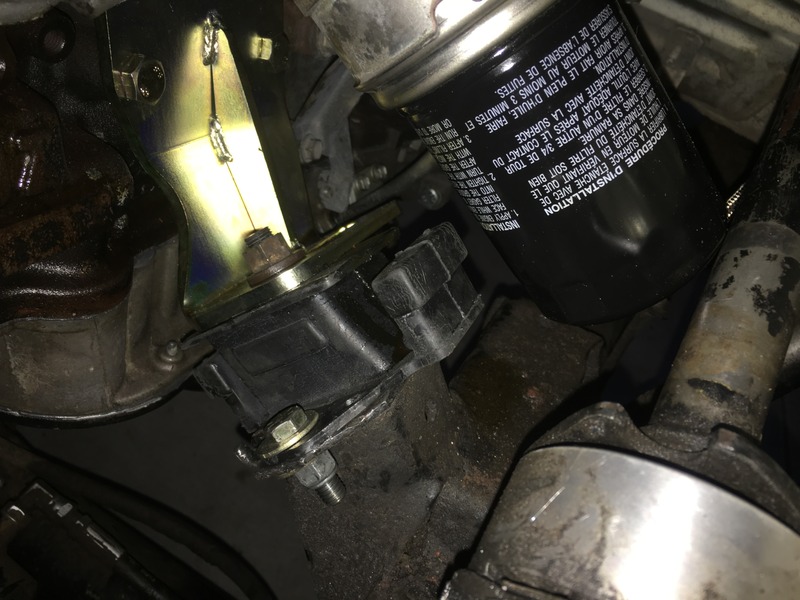
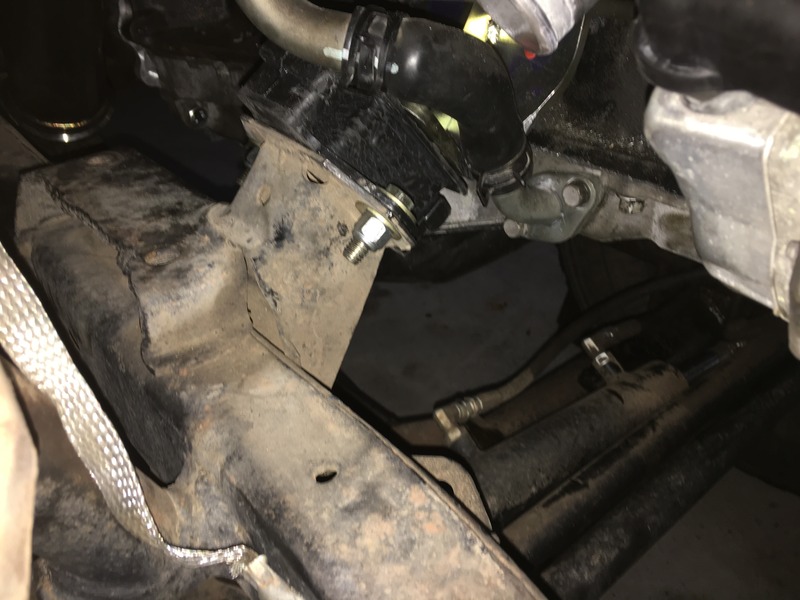
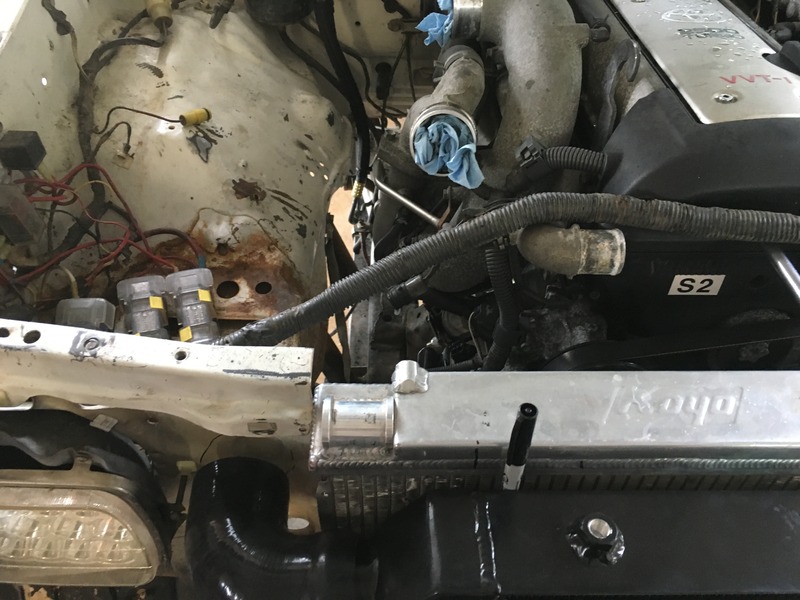
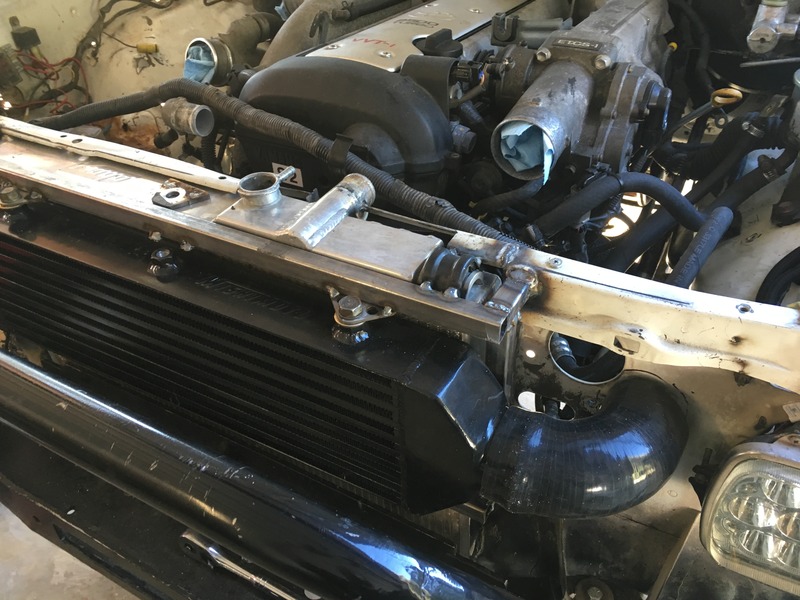
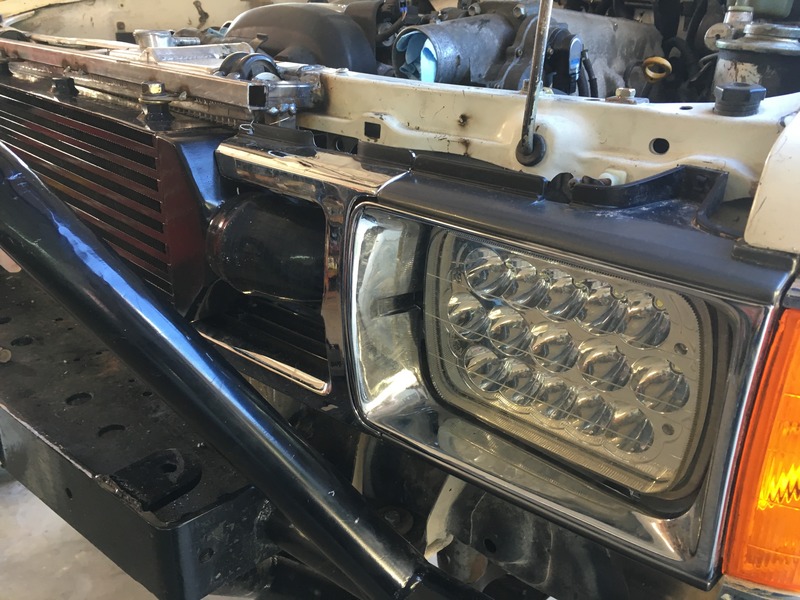
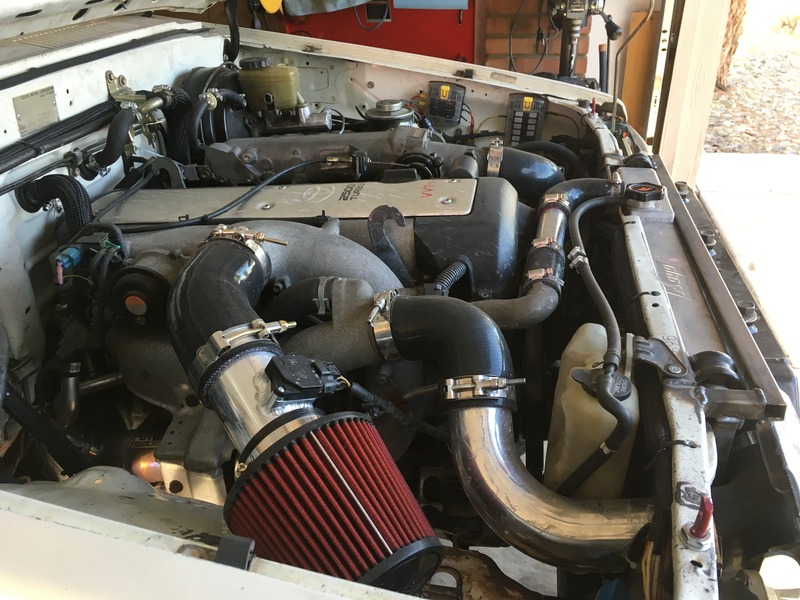
So here you can see it mounted. The oil filter clearance with the steering linkage. The core support was hacked and modified to support the Koyo radiator and Mishimoto intercooler. Grille trimmed to fit.
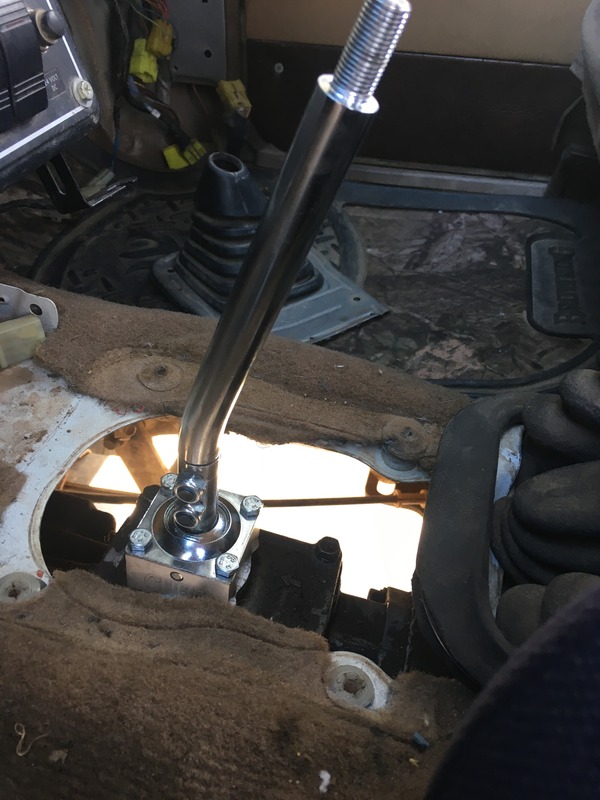
Alright now we're up to present day. Everything is just about done, waiting on my fans to come in and a few other parts. Installed a Quick car switch panel and a Cube short shifter. (Cube is from Australia) The last one is a video, you should be able to click on it and watch in in my Photobucket.
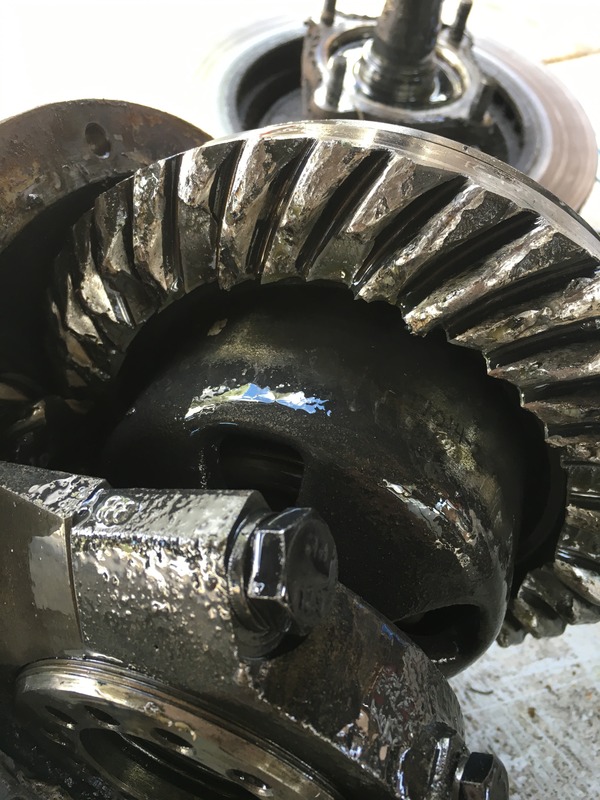
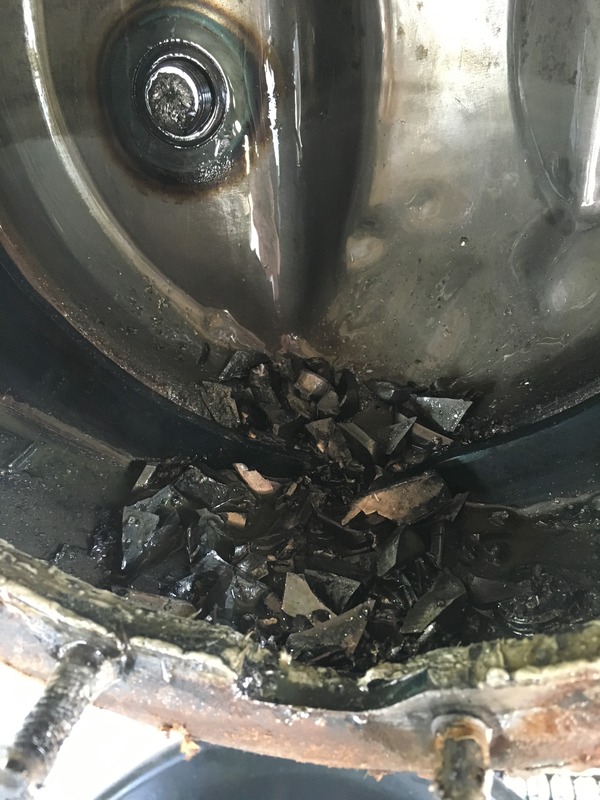
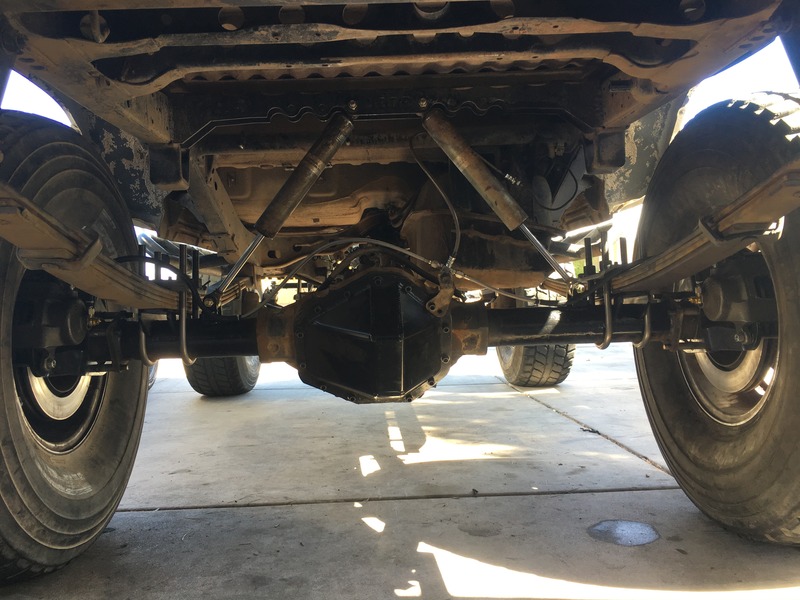
Well they say bigger is always better. Rear differential gave the boot two days before the Parker Hardcore Loker run. I didn't expect this R&P too last, I've been having problems with it since day one. So, I've been making time to install my Dana 60 and 14bolt. And no, it's not staying dually!
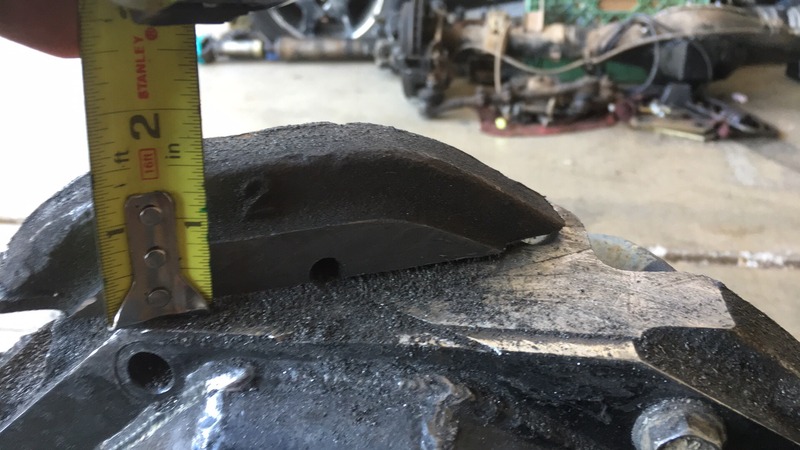
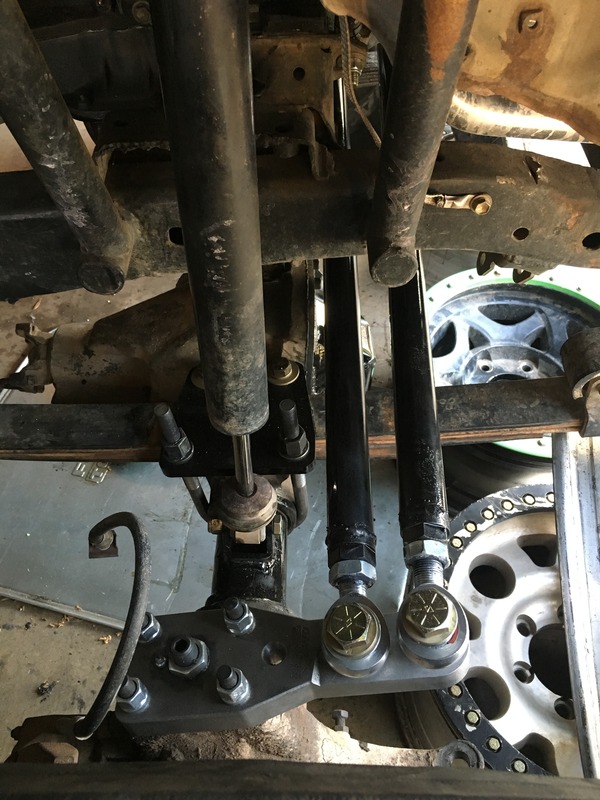
I used Barnes4wd diff covers, steering arms, steering kit, u-bolts, perches, and shock mounts. The 14 bolt shave kit gave me 1.25" of ground clearance.
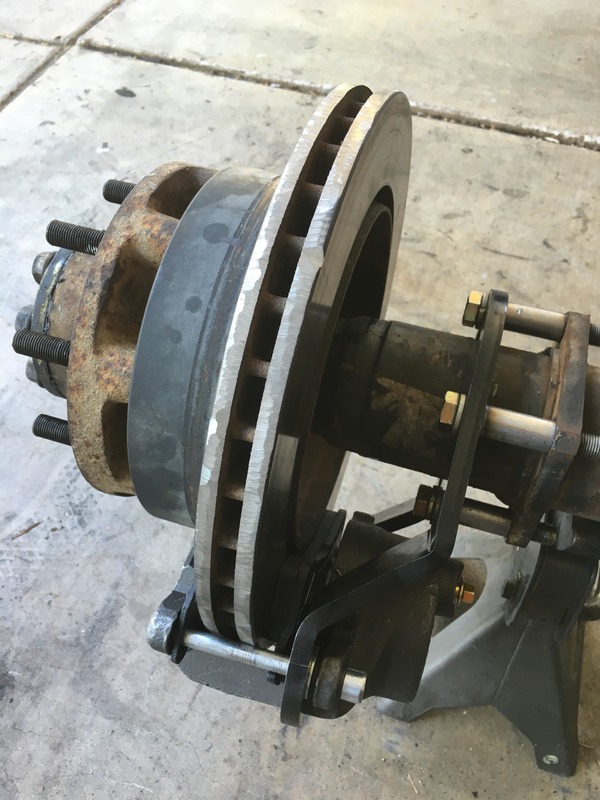
The rear brakes were difficult because I ordered Cab & Chassis (C&C) rear brake brackets for SRW. But they didn't mean with SRW hubs on it. So I put spacers inbetween the brackets. I ground down the rotor with the grinder to get the rotor diameter to fit. I'll put the rotor on the mill and get it cleaned up soon. I ended up with 68" WMS to WMS
The front axle is currently 75" WMS to WMS. I'm going to put the dually hubs on the lathe and turn them down in single wheel hubs, getting me around 68" WMS to WMS.
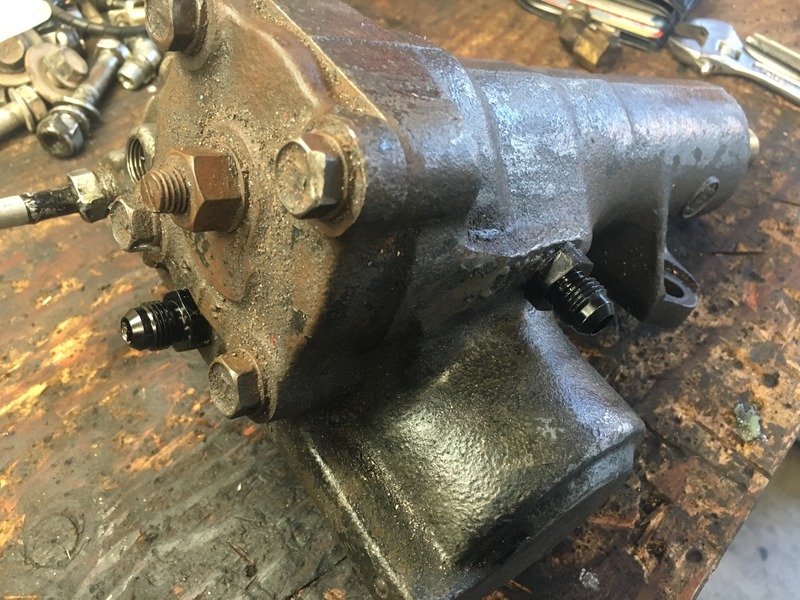
I broke a fitting for my hydro assist in the steering box, so I oversized it and drilled it for AN6 since the PSC 8" ram is AN6. I am far from being an experienced welder, but I was pretty proud of most of the welds on the truck, I'll take any pointers I can get if anybody has any advice.
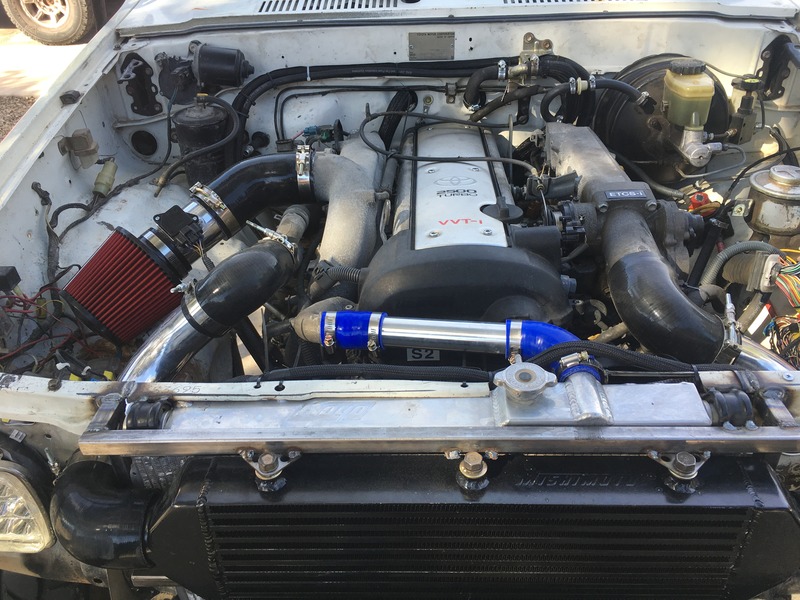
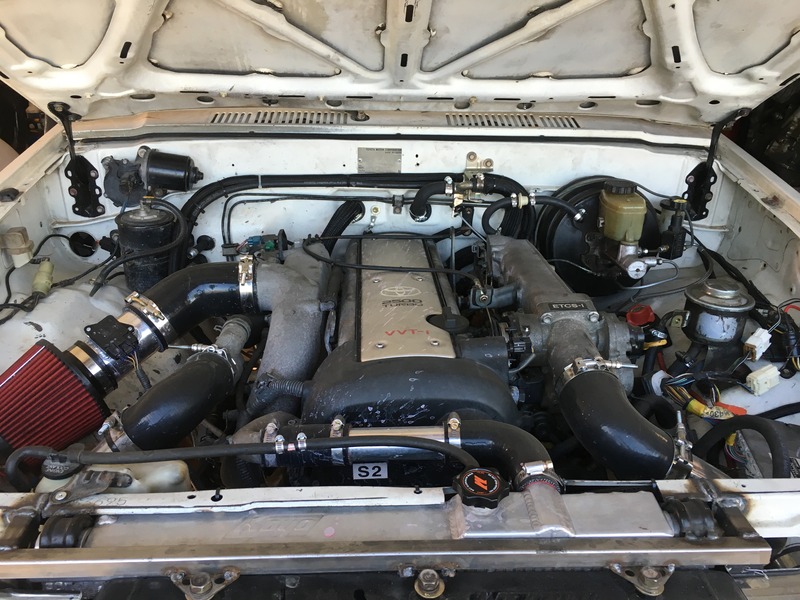
Here is a few more pictures of the motor all setup and done. I need to make an ECU box and clean up a little bit of wiring still. I currently have 4:56 gears, but I plan on changing that soon. Dyno run later today.
Well long overdue update. The truck ended up breaking the dual case input shaft with the 1JZ engine, too much fun I suppose. I decided to take a break from rock crawling and parted out the engine, transmission, transfer cases and one-ton axles. From there the truck sat in my brothers back yard. I got into drifting and built a handful of drift cars. I started off by buying somebody elses old party wheeling rig. It was cheap, $3500 but needed a lot of attention. I started with trying to get it working in its current form with intentions of do some test runs to make sure everything worked, then move the parts over. It had so many problems with it, that it wasn't even worth trying.
Parts moved over from the parts truck:
22R with W56 and dual cases. The front case is 2.28 and the rear case was 4.70 with an old Marlin Crawler Advance Adapters. It had a twin stick but the center pin wasn't removed.
Toyota front and rear axles. Spools front and rear with 4.88s. (both R&P turned out to be bad), RCV front shafts, six shooter knuckles, and full hydro.
Everything was super dirty, painted green, and had a bunch of trail repairs performed. There was a lot of stuff to fix before I could swap the parts into the 4runner. One of the first things I did was mount some NOS beadlocks and some 40" KR3 tires. I then started to pull everything apart to make some space to start refreshing everything.
Now that the truck is apart and at the scrap yard, it was time to start refreshing everything. I started with what I thought was the worst, the engine. Covered in oil and grave digger green paint, I started the process of cleaning and paint stripping. I took on the fun task of removing green paint for the next two weeks to make the engine look more presentable. I installed new metal backed guides, timing cover, water pump, oil pump, and resealed everything else I could. I also installed a no name header. It already had a Chinese Weber copy on it that seems to work OK. A couple little bits from LCE and it looks good enough. I made a bracket that bolts to the AC compressor bracket for a York 210 compressor to have on board air.
Then it was time to bring home the 4runner. With the help of my friends, we got it loaded it up at my brother's house and brought home. It was then time to get it cleaned up. I got the interior cleaned out and then started prepping the frame. I finally cut off all of my old IFS brackets. Then I got the engine, transmission, and transfer cases installed. I then fitted the RAD triple stick and an old bench seat I had from my pickup,
Trail-gear had a 40% off sale for Black Friday, so I took full advantage of that and got almost everything I needed for the rebuild.
Then it was time to start prepping front and rear axles. The axles that were under the truck when I got it back from my brother, belonged to him. The axles that came on the tube truck were in poor condition. Both differentials were bad, and the front axle housing was badly bent. I found a front and rear axle down in Tucson for $1300. 4:88 diffs, front was welded, rear had a detroit, All Pro high steer, and brand new Bobby Long Longfield axles. I mismatched all of the parts from the axles I had and built one really nice pair of axles with everything I had.
Front axle: FJ80 high pinion with 4:88 and ARB locker. RCV axles shafts, six shooter knuckles/steering arms, Ruffstuff 3/4 heim steering, Trail Gear diff inspection plug, ARP studs, Longfield chromoly hub gears, and Front Range Tundra front brakes.
Rear axle: V6 with 4:88 and Detroit. Trail Gear diff inspection plug, and Skys rear disc brake kit.
After the axles were all assembled it was time to swap in my axles under the truck. I moved the front axle forward 1" and the rear back 1" on the spring pads. I mounted the front and rear Trail gear bumpers. I plumbed the on board air with a small reservoir for the ARB and a front and rear hose disconnect for easy airing of tires.
I finished putting the 4runner together and have put a few trips on it now. Pretty standard Toyota stuff. Carburetor isn't fun. Works just as good as I remembered.

 Mar 9, 2017 | 04:45 AM