BLKNBLU's SAC


 11-29-2008, 02:30 PM
#65
Contributing Member
Mine before SAS:
IMO, one can't really move the hanger to much fore and aft without having to really start fabricating. I think most SAS kits are designed for the hanger to basically line up with the front of the frame and the rear shackle hangers to fit right between the body mount.
11-30-2008, 05:12 PM
#67
Well I think I'm getting pretty close to hanging the biotch. Could use some extra hands for that if there is any interest.
I've also gotta come up with a way to get the entire truck up higher.
BTW already sold some of the old stuff. Hunnert dolla, yeah!! (might go straight into a better floorjack)
I've also gotta come up with a way to get the entire truck up higher.
BTW already sold some of the old stuff. Hunnert dolla, yeah!! (might go straight into a better floorjack)
11-30-2008, 06:32 PM
#69
Contributing Member
I have some big blocks of wood and some jack stands that were plenty tall enough for me. If you like, you can borrow them when you return the snap ring pliers. 
I am sure you realize this already, but once you get the axle in place you can move your jack stands there and off the frame which will give you plenty of height for the rest of the project.
I am sure you realize this already, but once you get the axle in place you can move your jack stands there and off the frame which will give you plenty of height for the rest of the project.
11-30-2008, 06:55 PM
#70
Then I have to decide if I'll have Home Depot cut it at the store, but that bothers me on a very fundamental basis...
On another note, where is eveyone placing their jackstands? I realized last night when I went to install the springs that mine were right in the line of the springs. So... I moved them behind the rear shackle point on the frame with the floor jack up to the front hanger. I let the floor jack down 1/4 inch below the hanger and the whole contraption made me VERY nervous, so up went the floor jack again.
 12-01-2008, 04:13 PM
#73

Here is todays progress. I came up with a 3 point stance in regards to jacks/stands. Please talk amongst yourselves and then give me your critiques since I don't really know what I'm doing here.


 12-01-2008, 04:30 PM
#74
Registered User
NICE NICE
looks great!!
It looks like you have new wheel studs on that SA. Did you buy new ones or did they come in your kit? If you bought new ones can you link me up to where you got em. I need new ones.
Keep up the great work!
looks great!!
It looks like you have new wheel studs on that SA. Did you buy new ones or did they come in your kit? If you bought new ones can you link me up to where you got em. I need new ones.
Keep up the great work!
12-01-2008, 04:51 PM
#75
http://www.rockauto.com/catalog/x,ca...,parttype,7680
12-01-2008, 06:58 PM
#77
ARB yes.
Longfields no. (for now)
Spacers are kicking around the garage somewhere.
4 inch springs yes.
I was looking at the spacers. Do I need a thin wall socket to tighten those? I didn't have anything that would fit in there but I only had my tire iron and an impact socket in 21mm.
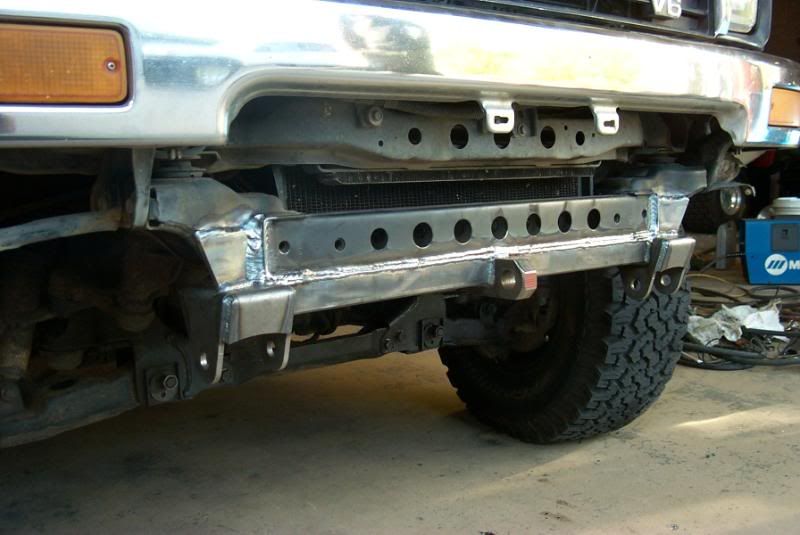
For now I have some used (barely) Mastercraft AT in a 35/1250/15. In the background of this pic.
 12-01-2008, 08:21 PM
#78
Registered User
Join Date: Aug 2004
Location: AZ
Posts: 976
Likes: 0
Received 0 Likes
on
0 Posts
The Canyon was awesome! We are talking about doing another trip, probably in spring of next year. Probably go into Tapeats/Thunder River area this time to check it out, plus there are fish to catch there too. I meant to call you and get some info about it but obviously never got around to it.
back to Toyotas...
Yeah you will probably want to buy a thin wall deep socket. Trail gear sells a nice one, that is what I use.
I have those spare birfs and inners if you still need a set.
Can't wait to see this thing out on the trail. My front axle used to look that good!
back to Toyotas...
Yeah you will probably want to buy a thin wall deep socket. Trail gear sells a nice one, that is what I use.
I have those spare birfs and inners if you still need a set.
Can't wait to see this thing out on the trail. My front axle used to look that good!
12-02-2008, 08:13 PM
#80
Contributing Member
Join Date: May 2002
Location: Tempe, Arizona
Posts: 5,278
Likes: 0
Received 0 Likes
on
0 Posts
Here are the picture I have of the project.
Front Hanger with spacer I made to fill the gap.

Spacer welded to hanger, this spacer is so there is no space in between the hanger and the frame and the bottom of the fame is not smooth, it is lower on the ends.

Hanger welded in place with supplied gussets and extra "Elvota" fix gussets.

Frame plasma cut, tube inserted and jigs holding them in place.

By tack welding the tube with the jig in place you get a perfect alignment, the down side is that you have to destroy them to get the off. No problem as every kit comes with a set of jigs.

Front Hanger with spacer I made to fill the gap.
Spacer welded to hanger, this spacer is so there is no space in between the hanger and the frame and the bottom of the fame is not smooth, it is lower on the ends.
Hanger welded in place with supplied gussets and extra "Elvota" fix gussets.
Frame plasma cut, tube inserted and jigs holding them in place.
By tack welding the tube with the jig in place you get a perfect alignment, the down side is that you have to destroy them to get the off. No problem as every kit comes with a set of jigs.


