Younguy's 1990 4Runner build "The Phoenix"

 07-11-2013, 11:56 AM
#82
Registered User
Thread Starter
Join Date: Aug 2011
Posts: 72
Likes: 0
Received 0 Likes
on
0 Posts
Got me some spare tires (:
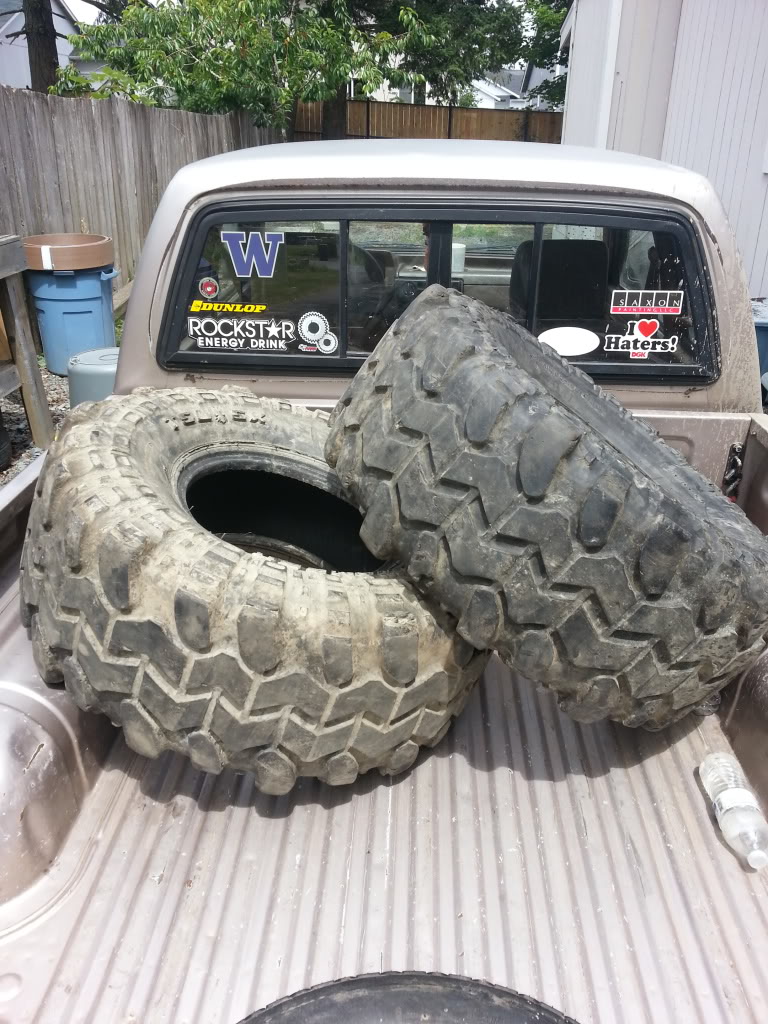
They are 35x15.5x15 iroks, haha close enough to my bias ply to be a good spare in my book! I got both for $240 with 40% tread.. not the best deal but they were there when I needed a full sized spare so I jumped on it.
They are 35x15.5x15 iroks, haha close enough to my bias ply to be a good spare in my book! I got both for $240 with 40% tread.. not the best deal but they were there when I needed a full sized spare so I jumped on it.
07-16-2013, 08:08 PM
#83
Registered User
Thread Starter
Join Date: Aug 2011
Posts: 72
Likes: 0
Received 0 Likes
on
0 Posts
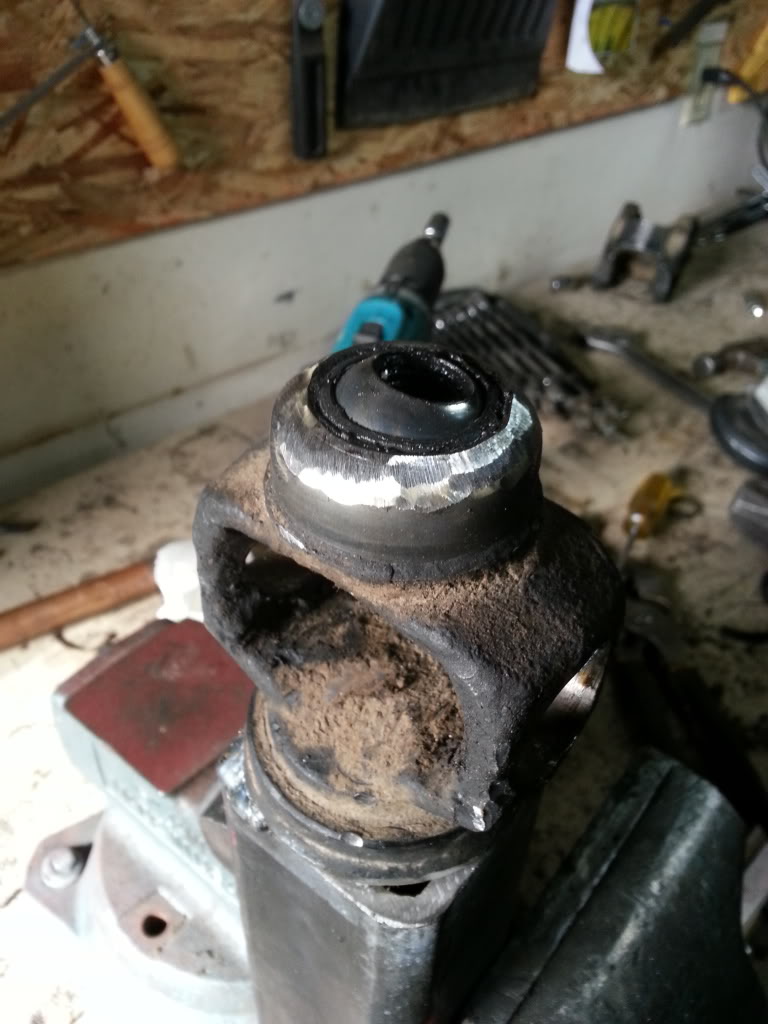
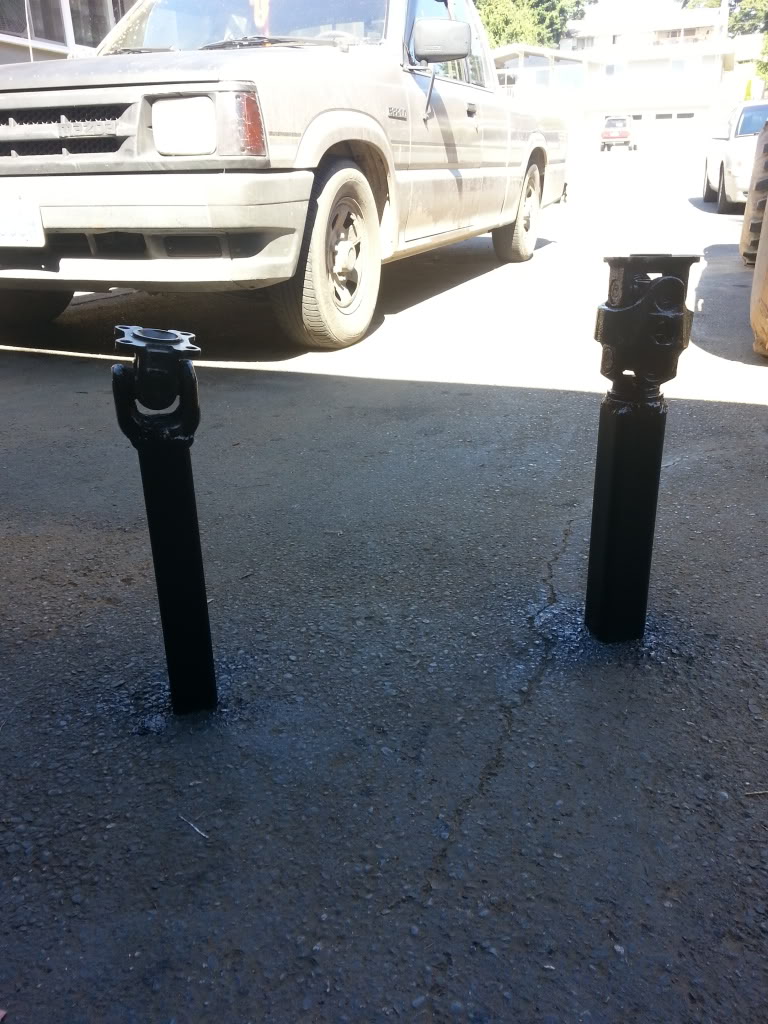
Well, i finished clearancing my front driveline and "reinstalling new u-joints. However those damn roller bearings in the cap are a nightmare. I ended up just saying ˟˟˟˟˟ it and put it together with as many in place as i could so i could go wheeling the next morning!!
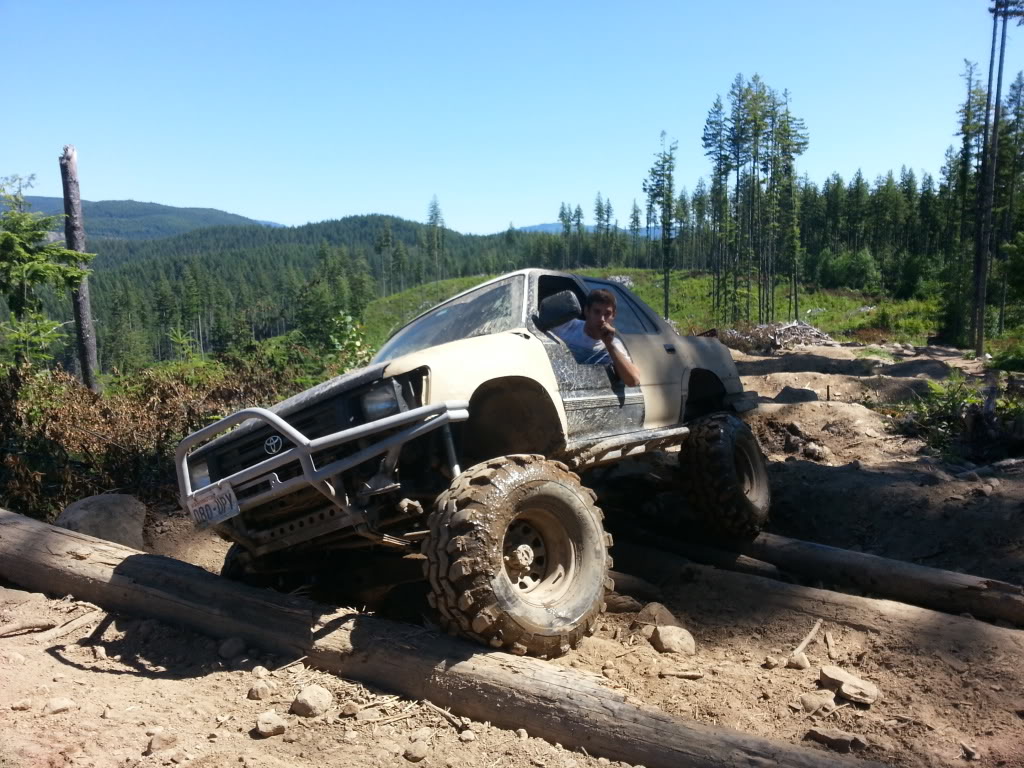
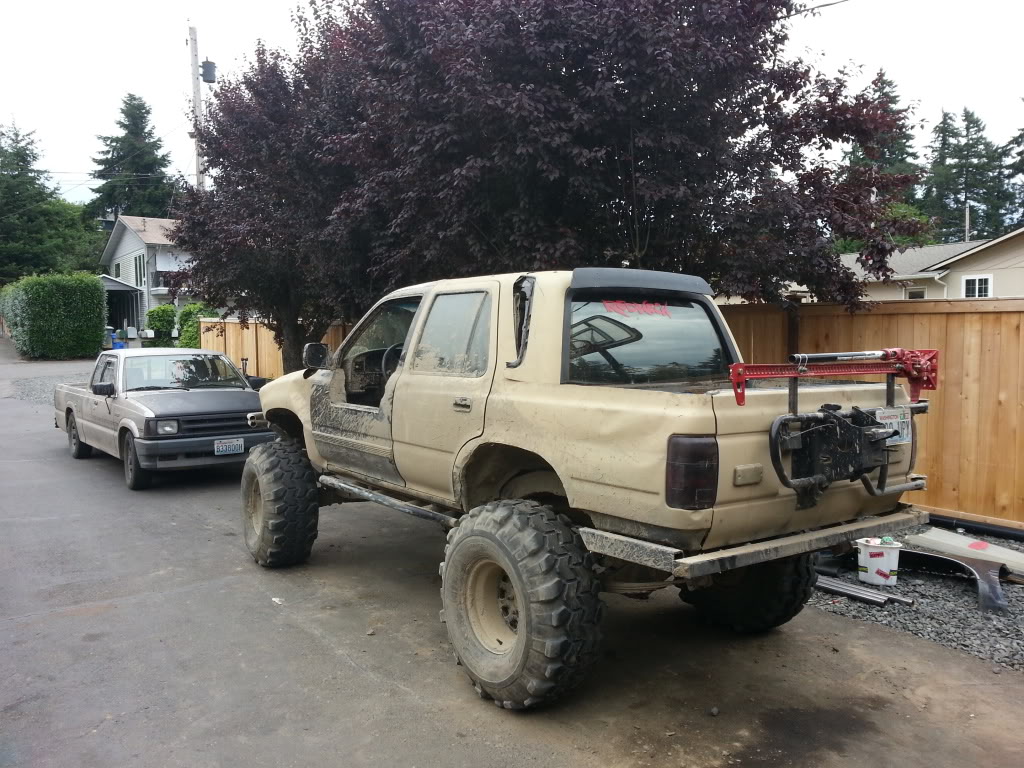
Next day in elbe i got a few poser pics for you guys!!!
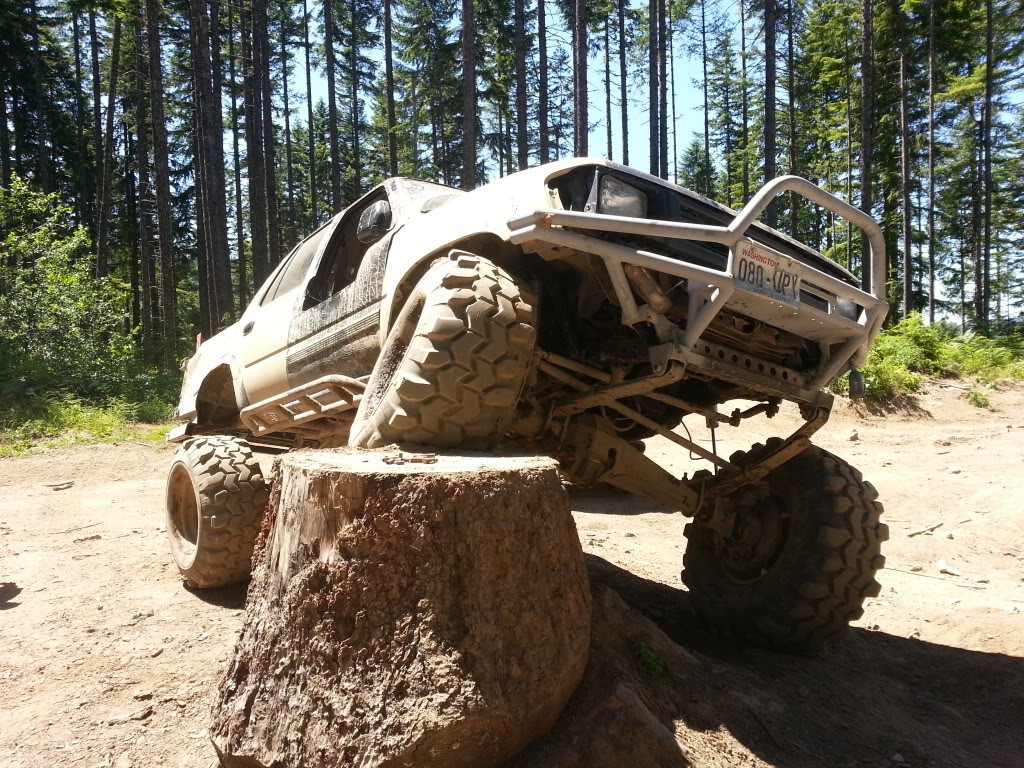
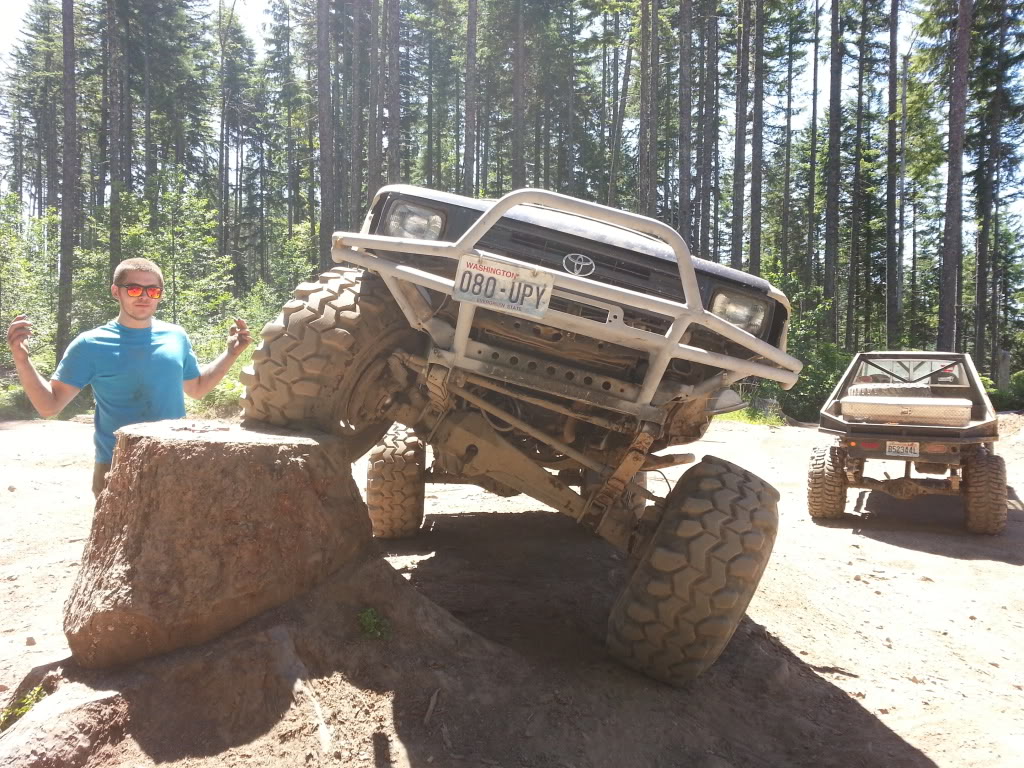
I was excited to be able to run the Busy Wild and do the Log Jam, now all of you guys know that doin this in the summer isn't worth any applause, however just gettin the truck out and wheelin was refreshing. First trip after months of dumping money and doing everything right.
Ohh and then i got suckered into tryin the swamp run, against my better judgement hahaha the results are as follows hahahahahahaha
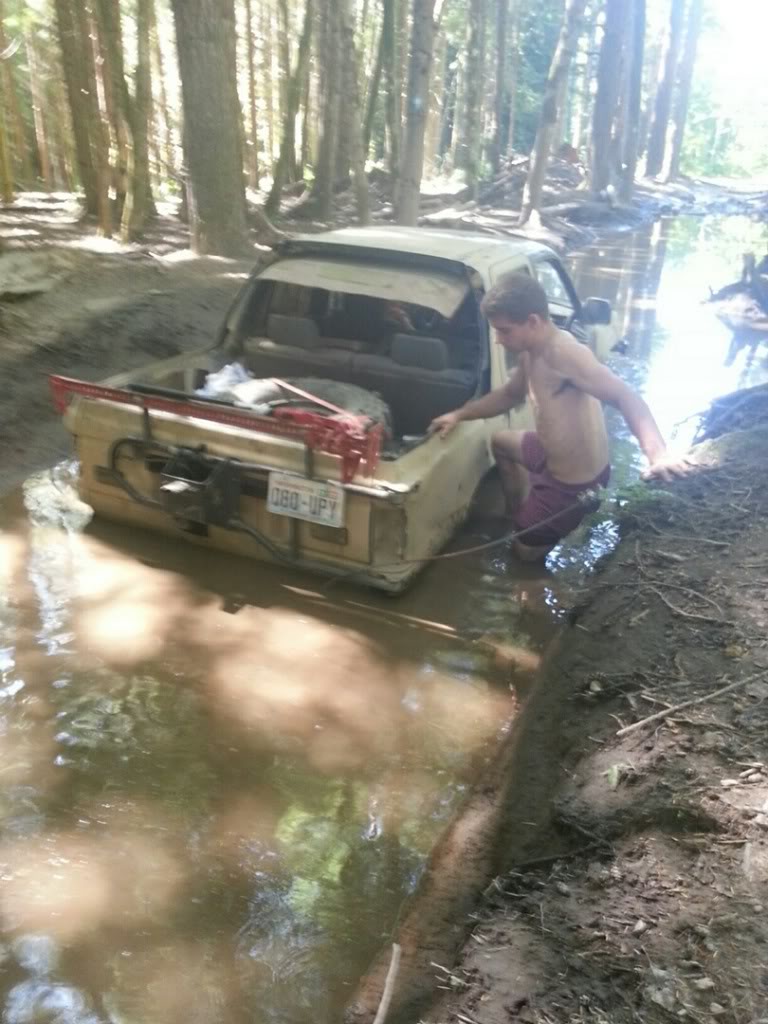
The moment when i forgot to weld on recovery points before going to Elbe! lmao, that mountain run off water was very cold!!!
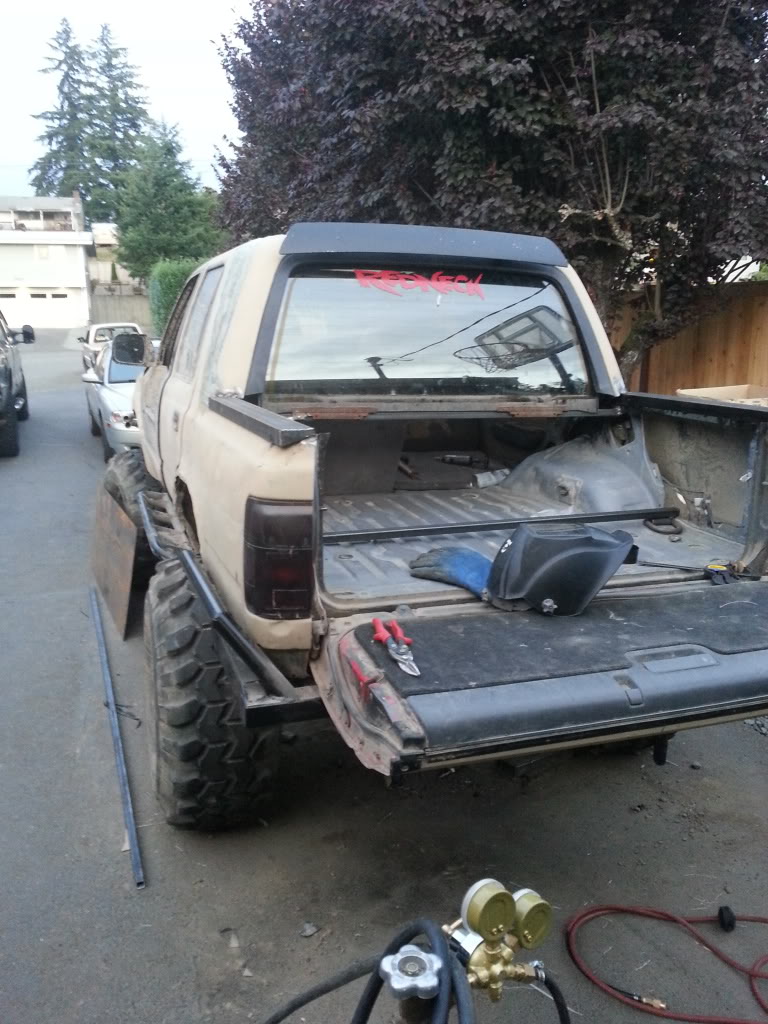
All in all that was a great day and today, i started sealing the cab.
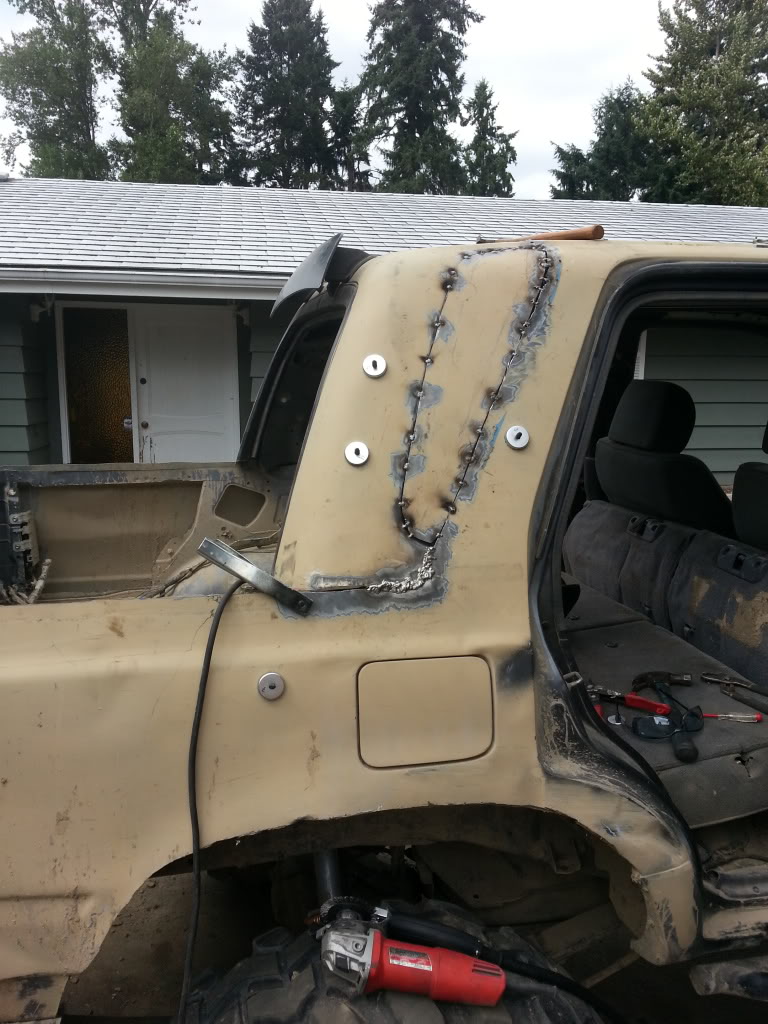
Thats where its going to sit, i finished welding the top portion, made some cardboard stencils to cut the side fillers, then i need to fab something to hold the glass up and stable as well as be sturdy enough to serve as the rear cab wall. I'm thinking flat 1/8" sheet metal with some internal "framing" to serve as structure like a normal cab wall would have. maybe tack some sticks of square thin walled 1" tubing as the framing? Any ideas or personal experiences are welcome!!!


Next day in elbe i got a few poser pics for you guys!!!


I was excited to be able to run the Busy Wild and do the Log Jam, now all of you guys know that doin this in the summer isn't worth any applause, however just gettin the truck out and wheelin was refreshing. First trip after months of dumping money and doing everything right.

Ohh and then i got suckered into tryin the swamp run, against my better judgement hahaha the results are as follows hahahahahahaha

The moment when i forgot to weld on recovery points before going to Elbe! lmao, that mountain run off water was very cold!!!
All in all that was a great day and today, i started sealing the cab.


Thats where its going to sit, i finished welding the top portion, made some cardboard stencils to cut the side fillers, then i need to fab something to hold the glass up and stable as well as be sturdy enough to serve as the rear cab wall. I'm thinking flat 1/8" sheet metal with some internal "framing" to serve as structure like a normal cab wall would have. maybe tack some sticks of square thin walled 1" tubing as the framing? Any ideas or personal experiences are welcome!!!
Last edited by Young Guy; 07-21-2013 at 12:50 AM. Reason: update photo links
07-17-2013, 11:39 AM
#85
Registered User
Join Date: Nov 2007
Location: Gilbert, Az.
Posts: 680
Likes: 0
Received 0 Likes
on
0 Posts
1/8" is gonna be heavy for the film section you're planning. If you have sheet metal working skills and something you can make creases with, you'd probably be better going with 14ga. steel. The name of the tool for making the creases escapes right now...but it'd be something like the English wheel....maybe..I'm in court right now so my mind is else where. I do like the chopped version of the 4Runner's. Glad you didn't scrap it when you rolled.
07-21-2013, 12:55 AM
#86
Registered User
Thread Starter
Join Date: Aug 2011
Posts: 72
Likes: 0
Received 0 Likes
on
0 Posts
yeah, snow shredder i appreciate your idea, though i dont have access to one of the sheet metal pin roller things haha i dont know what they are called either, however i like the idea of like a 14 guage sheet and instead of the creases for structure maybe, just weld framing to it? Sounds logical to me haha but then again what do i know? Im figuring all this stuff out as i go along!! lmfao. Keep up with my progress guys and ill be back at it again come monday i promise!!!
*always accepting donations (;
*always accepting donations (;
 07-29-2013, 11:32 PM
#89
Registered User
Thread Starter
Join Date: Aug 2011
Posts: 72
Likes: 0
Received 0 Likes
on
0 Posts
 08-12-2013, 08:47 PM
#93
Registered User
Thread Starter
Join Date: Aug 2011
Posts: 72
Likes: 0
Received 0 Likes
on
0 Posts
hey guys!
Just a sneak peak (;
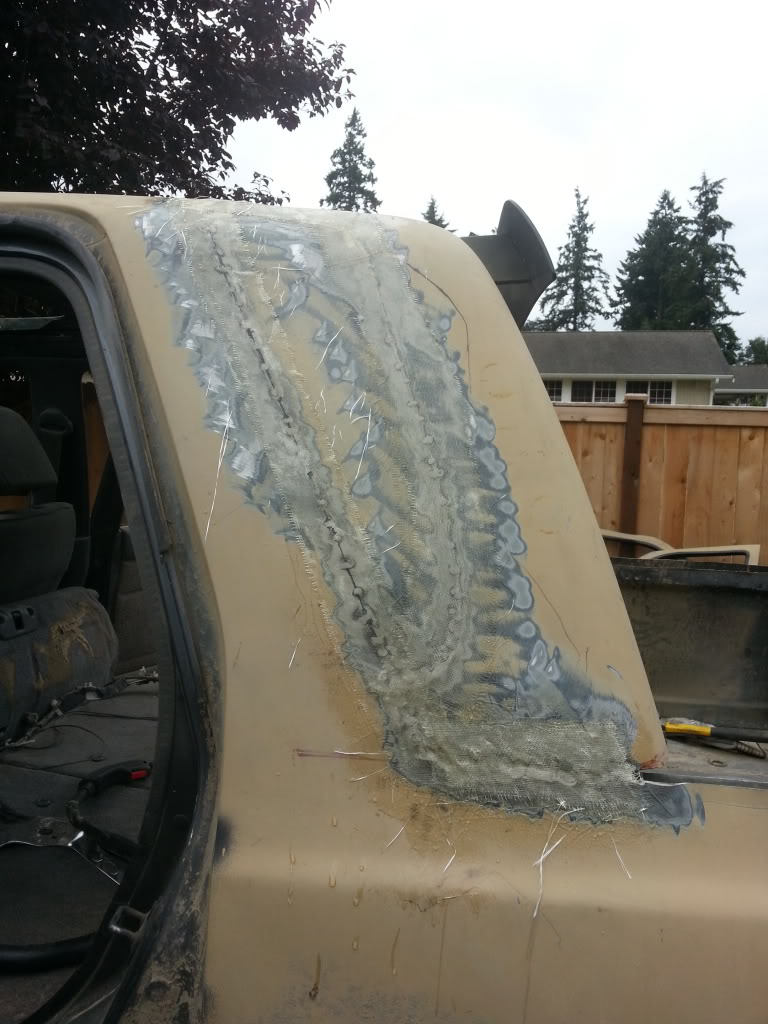
I have spent way to much money and my girlfriend says I should stop but hey I do this for al the guys who go against their girlfriends and DO IT ANYWAY!!
^Via my girlfriend

Just a sneak peak (;


I have spent way to much money and my girlfriend says I should stop but hey I do this for al the guys who go against their girlfriends and DO IT ANYWAY!!
^Via my girlfriend
08-12-2013, 09:09 PM
#94
Registered User
Nicely done. I would have cut the seam where the window was and continued it down the angled section of the rear hatch panel, eliminating that middle part, but that's just me. Every one of the builds is different. Waiting to see how you fill the panel behind the seats!
08-12-2013, 10:44 PM
#95
Registered User
Thread Starter
Join Date: Aug 2011
Posts: 72
Likes: 0
Received 0 Likes
on
0 Posts
Nicely done. I would have cut the seam where the window was and continued it down the angled section of the rear hatch panel, eliminating that middle part, but that's just me. Every one of the builds is different. Waiting to see how you fill the panel behind the seats!
I was initially going to do the same thing, however that would make the passengers hit their heads on the window, because it is too close. So since i had to move it back already, i made sure there is room for a cooler


 08-13-2013, 02:27 PM
#97
Registered User
Find a girl that lets you.
Mine has been really good. I've managed to save another 4k so far for my next phase. The missus is still cool with it as I saved up the old fashioned way.
Mine has been really good. I've managed to save another 4k so far for my next phase. The missus is still cool with it as I saved up the old fashioned way.
08-13-2013, 09:22 PM
#99
Registered User
Thread Starter
Join Date: Aug 2011
Posts: 72
Likes: 0
Received 0 Likes
on
0 Posts
08-13-2013, 11:46 PM
#100
Registered User
Thread Starter
Join Date: Aug 2011
Posts: 72
Likes: 0
Received 0 Likes
on
0 Posts
Hello gentlemen ive decided to move my build up over to pirate4x4 in hopes of more feedback. I know they are more accustomed to unique and intense builds so maybe they will have some suggestions for me. fingers crossed.
please follow me at:
http://www.pirate4x4.com/forum/toyot...ner-build.html
please follow me at:
http://www.pirate4x4.com/forum/toyot...ner-build.html


