Riddarunner's 88' toyota renovation and tasteful add on build up thread
 05-27-2011, 06:13 AM
#21
Registered User
Thread Starter

Join Date: Oct 2008
Location: White River JCT, VT
Posts: 201
Likes: 0
Received 0 Likes
on
0 Posts
Just a little up date. I stoped by race metal smiths in wilder VT and they are going to center the axle so i can run two short side shafts. also dug up a picture of the drive shaft that RMS modded for the runner at 5"
The drive shaft needed a cv after 5"of lift

And a few of the housing

The drive shaft needed a cv after 5"of lift
And a few of the housing
Last edited by riddarunner; 05-27-2011 at 06:18 AM.
 05-27-2011, 06:24 AM
#22
Registered User
Thread Starter
Join Date: Oct 2008
Location: White River JCT, VT
Posts: 201
Likes: 0
Received 0 Likes
on
0 Posts
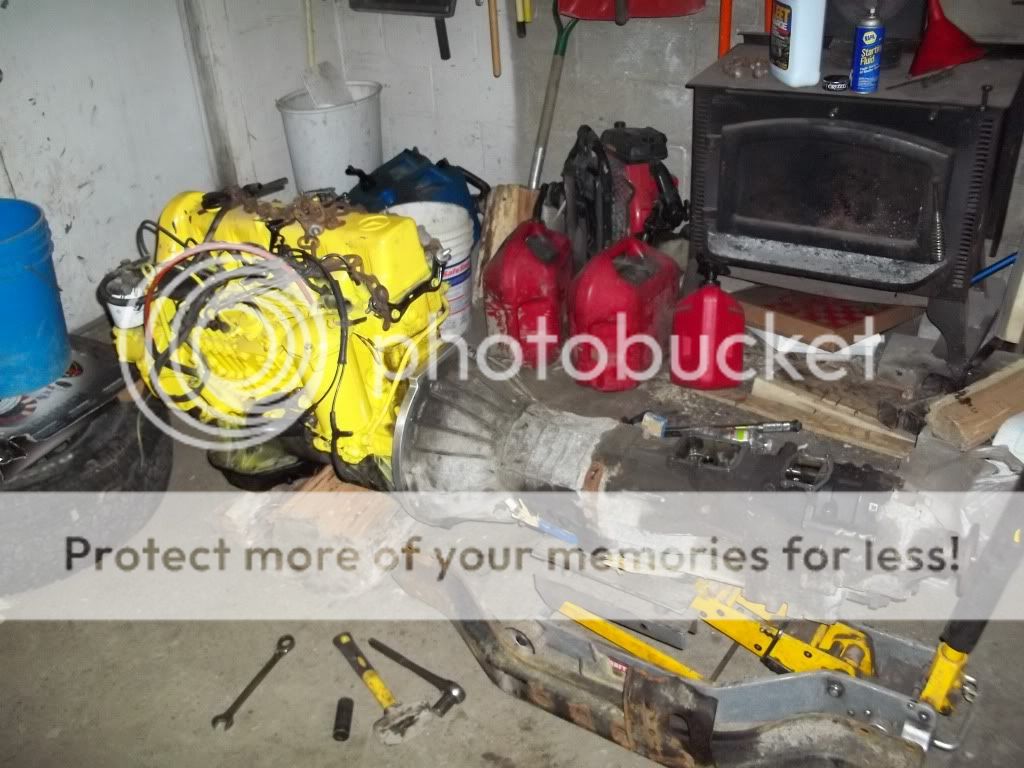
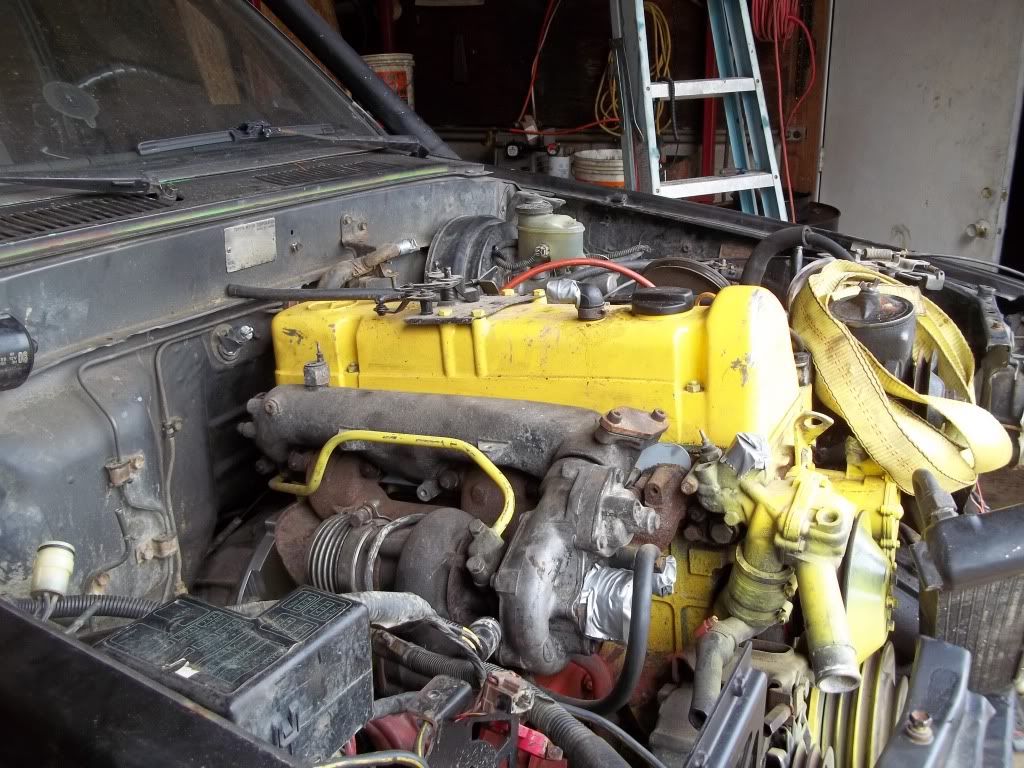
ok here we go. this is just a quick update of what went on yesterday. unpacked all the good so far still have to get the centerforce this morning at archies off road
and a few of the motor/ engin bay
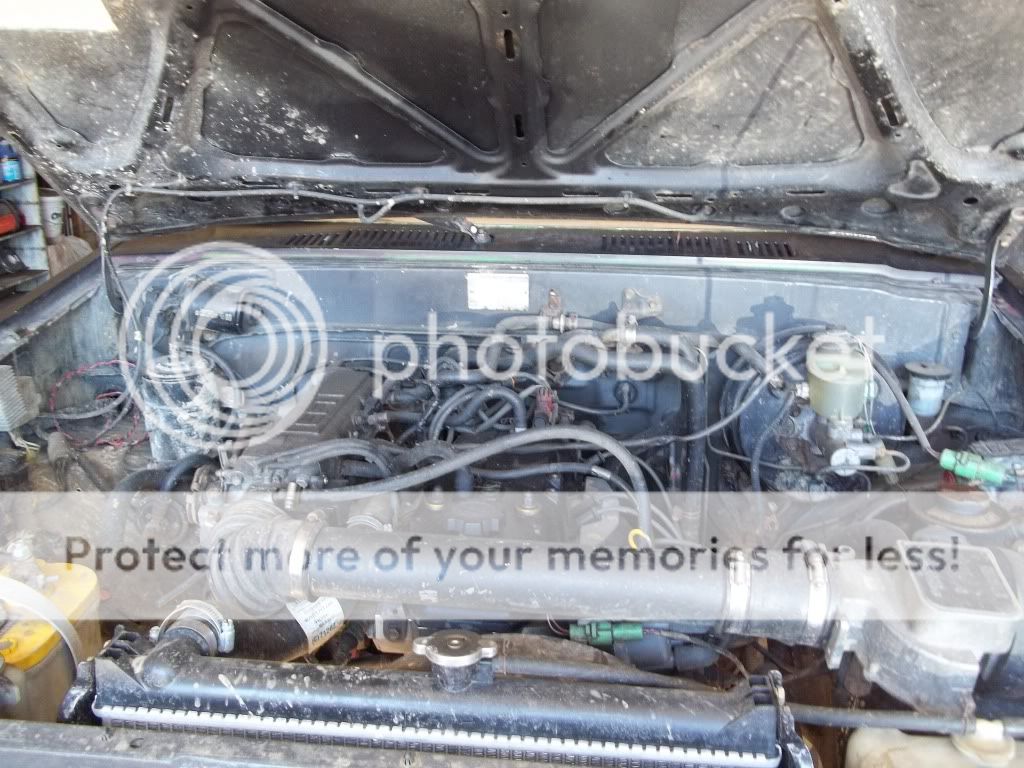


and a few of the motor/ engin bay
Last edited by riddarunner; 05-27-2011 at 06:25 AM.
 05-27-2011, 09:17 AM
#25
Registered User
Thread Starter
Join Date: Oct 2008
Location: White River JCT, VT
Posts: 201
Likes: 0
Received 0 Likes
on
0 Posts
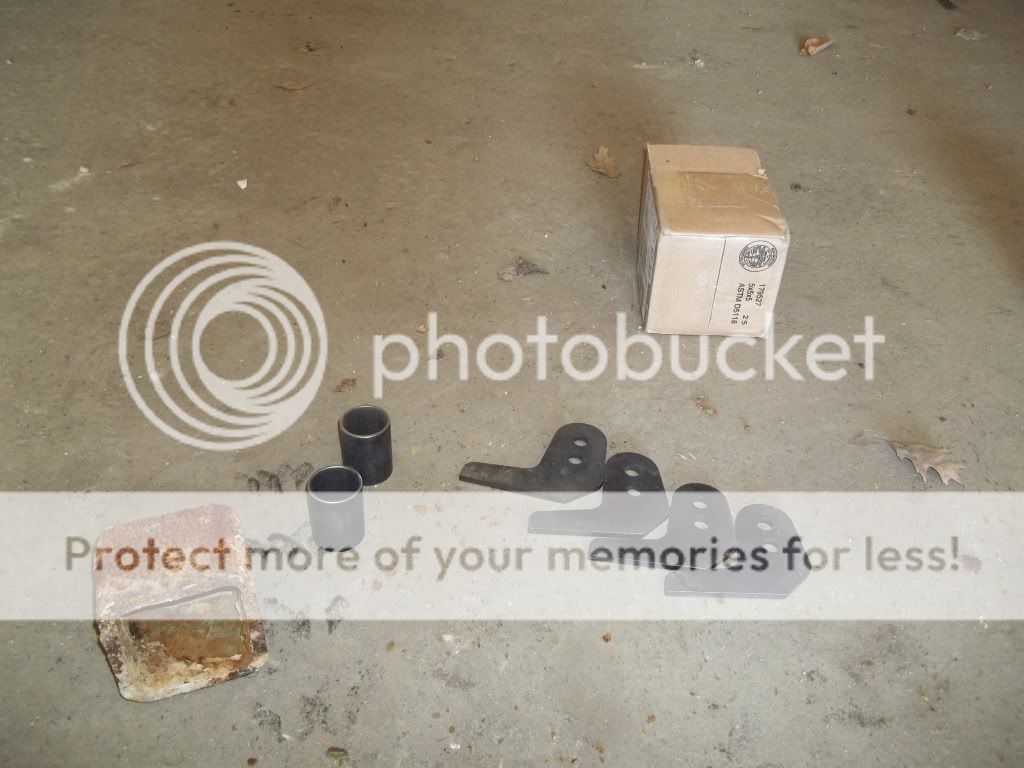
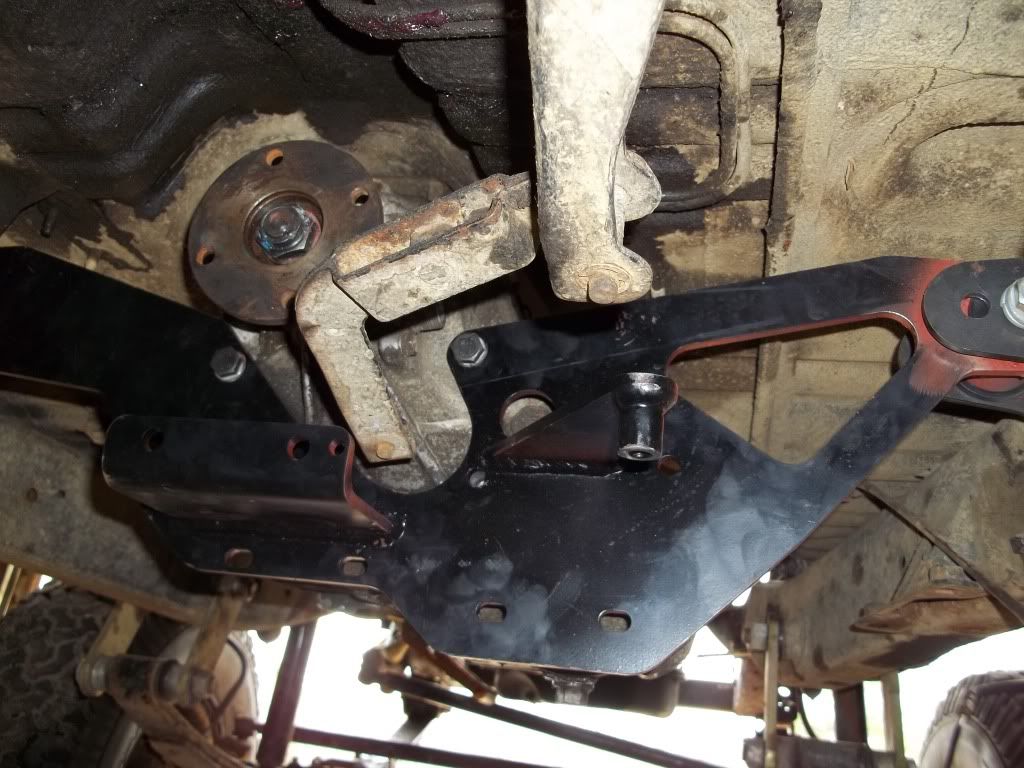
the tripple x member that i ordered from allpro didnt come with the brake set up then they sent that out and yesterday at about 10 i noticed that the tubes for the bushings and brackets for the frame were missing. Called them up told them i had a deadline and i just got a package from the brown Santa. then walking to the shop i tripped over a 4x4 piece of steel so i think im going to cut it in half for the motor mounts.
05-27-2011, 09:19 AM
#26
Registered User
Thread Starter
Join Date: Oct 2008
Location: White River JCT, VT
Posts: 201
Likes: 0
Received 0 Likes
on
0 Posts
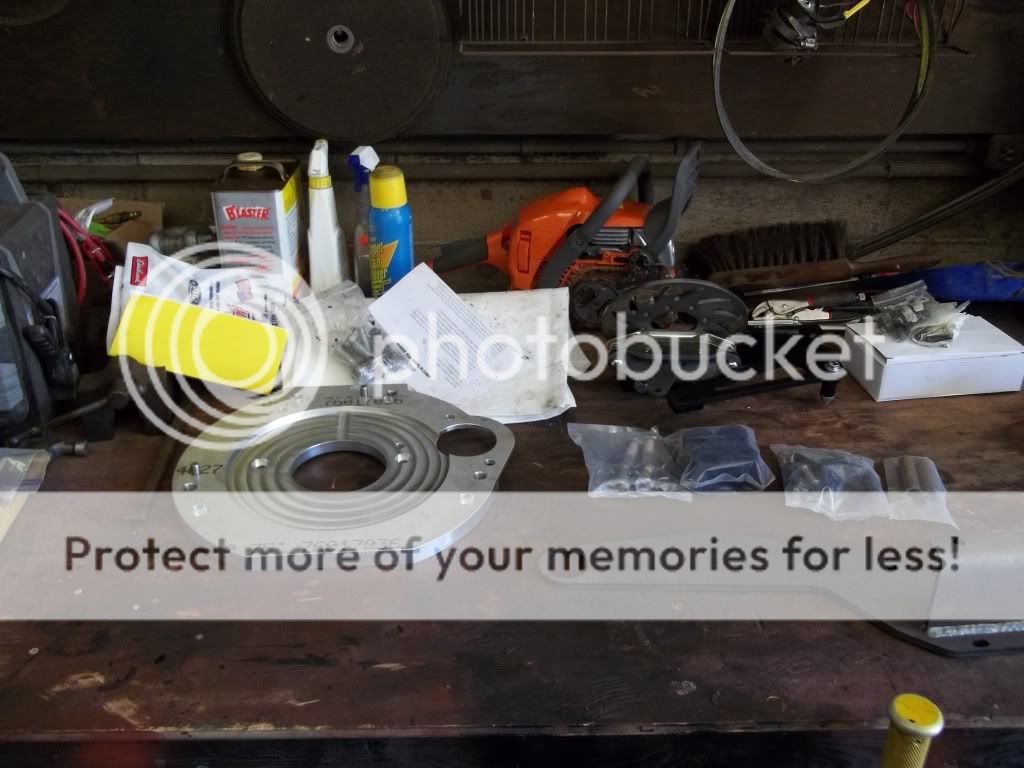
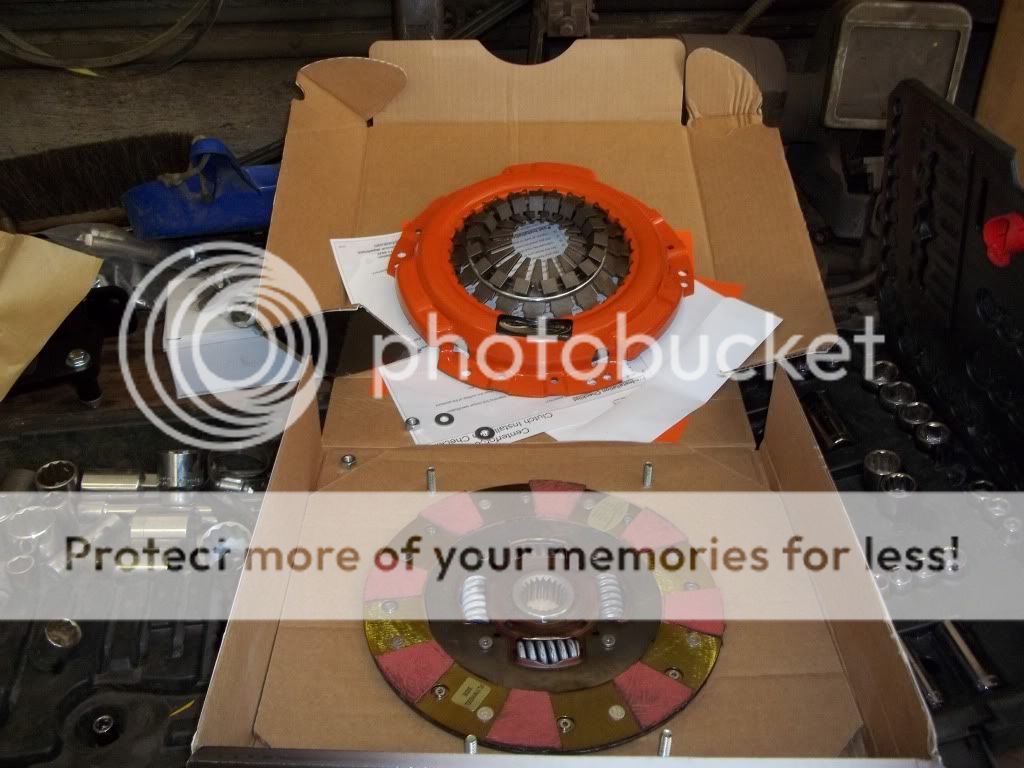
Ok one more update then its beer time. Pulled out the diesel motor cleaned the mating surfaces and mounted the trans adapter plate.

Then i went to slide in the pilot bearing adapter and it didn't fit so i called Luke at 4x4 labs and he said that the hole in the crank can vary slightly car to car. So i tried sanding it a little, the i used a file and i couldn't get it to slide in more than 1/4". So made a few calls and through a friend of a friend found a lathe to use and took off a little less than a 64th and it slid in with the help of the flywheel bolts...perfect fit. Then onto the clutch straight forward on that.
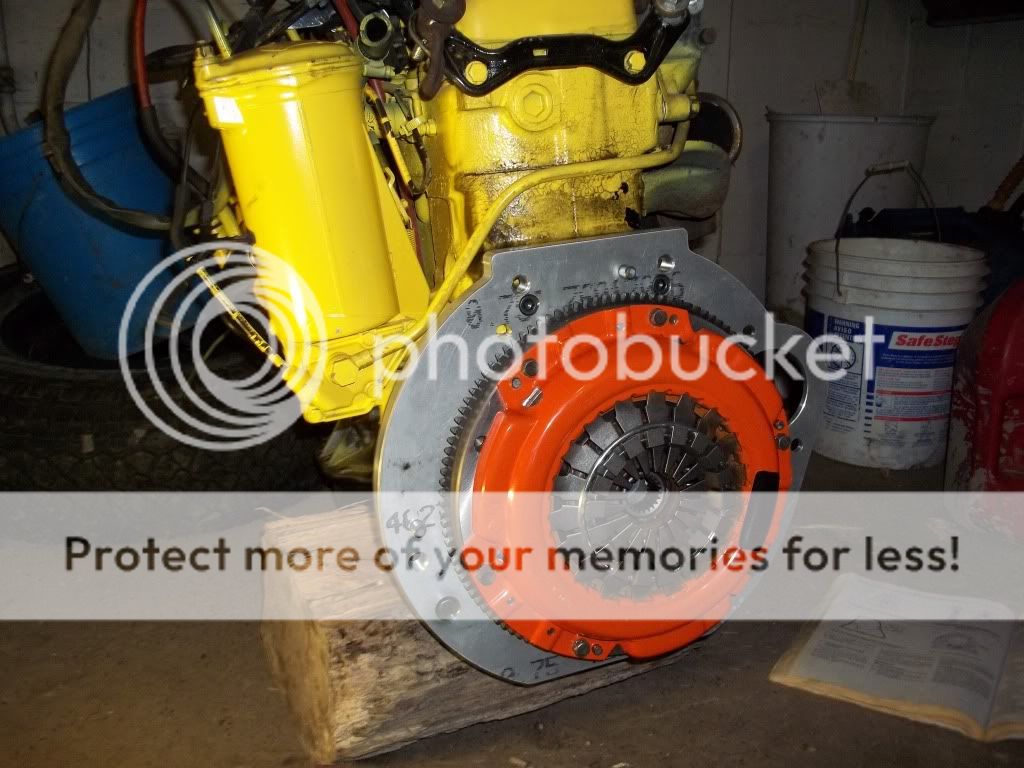
and the trans bolted up after the second try..done for the night!!
Then i went to slide in the pilot bearing adapter and it didn't fit so i called Luke at 4x4 labs and he said that the hole in the crank can vary slightly car to car. So i tried sanding it a little, the i used a file and i couldn't get it to slide in more than 1/4". So made a few calls and through a friend of a friend found a lathe to use and took off a little less than a 64th and it slid in with the help of the flywheel bolts...perfect fit. Then onto the clutch straight forward on that.
and the trans bolted up after the second try..done for the night!!
05-27-2011, 10:09 AM
#27
Registered User
Thread Starter
Join Date: Oct 2008
Location: White River JCT, VT
Posts: 201
Likes: 0
Received 0 Likes
on
0 Posts
yeah after i posted that pic i knew someone was going to comment on that we only put it in because the waste oil burner died this winter so now the stove is a shelf ha ha. Im hoping to get the motor mounts in and go get a free mercedes diesel in vt, its a tall order but i feel im in a good spot to drive it home to vt on tuesday. And why not annother picture?
05-27-2011, 10:14 AM
#28
Registered User
Thread Starter
Join Date: Oct 2008
Location: White River JCT, VT
Posts: 201
Likes: 0
Received 0 Likes
on
0 Posts
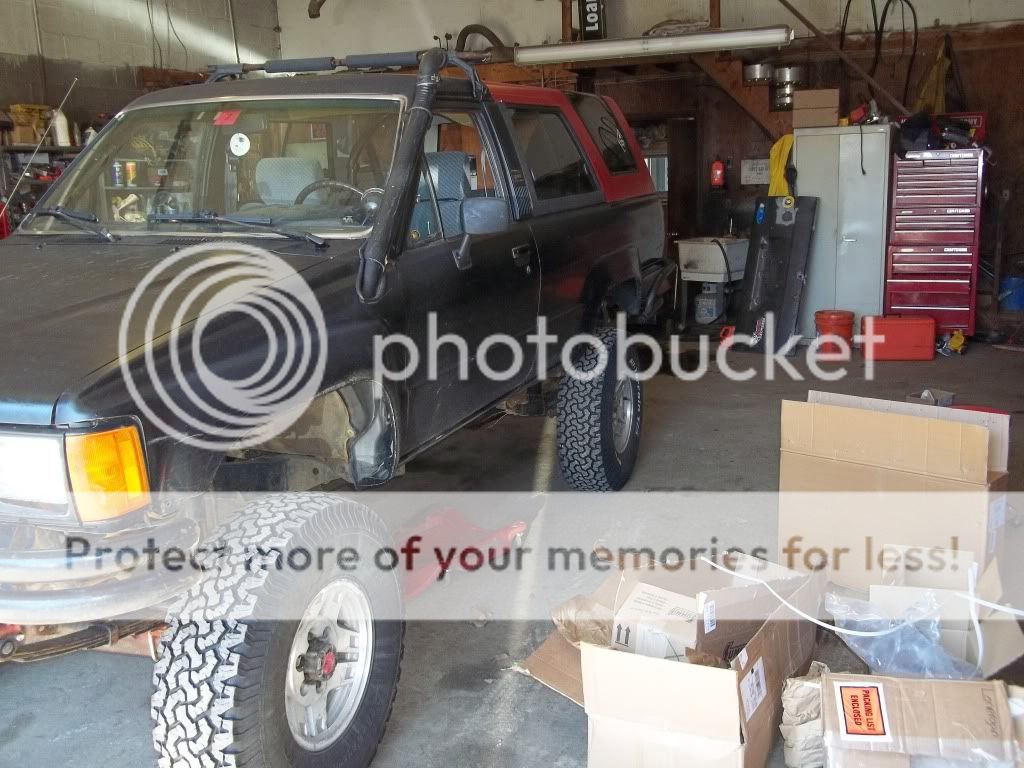
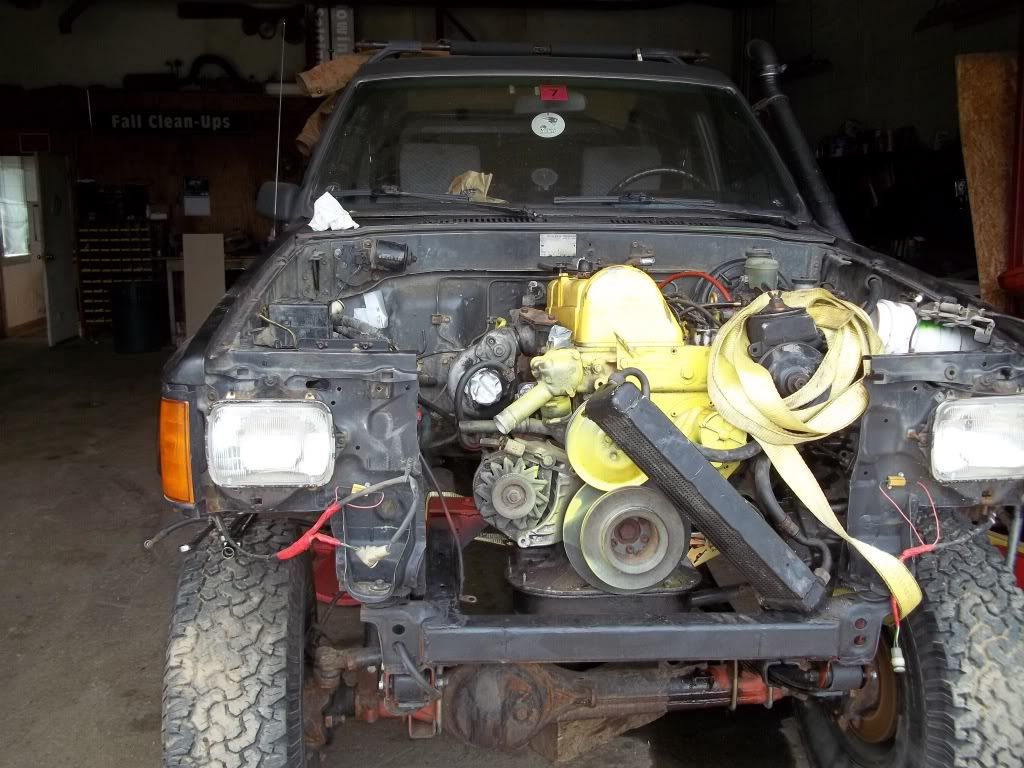
well we had a few set backs this weekend in the end the 4runner didnt drive out of the shop under its own power but heres where it stands now
In her new home
In her new home
 05-27-2011, 11:28 AM
#30
Registered User
Thread Starter
Join Date: Oct 2008
Location: White River JCT, VT
Posts: 201
Likes: 0
Received 0 Likes
on
0 Posts
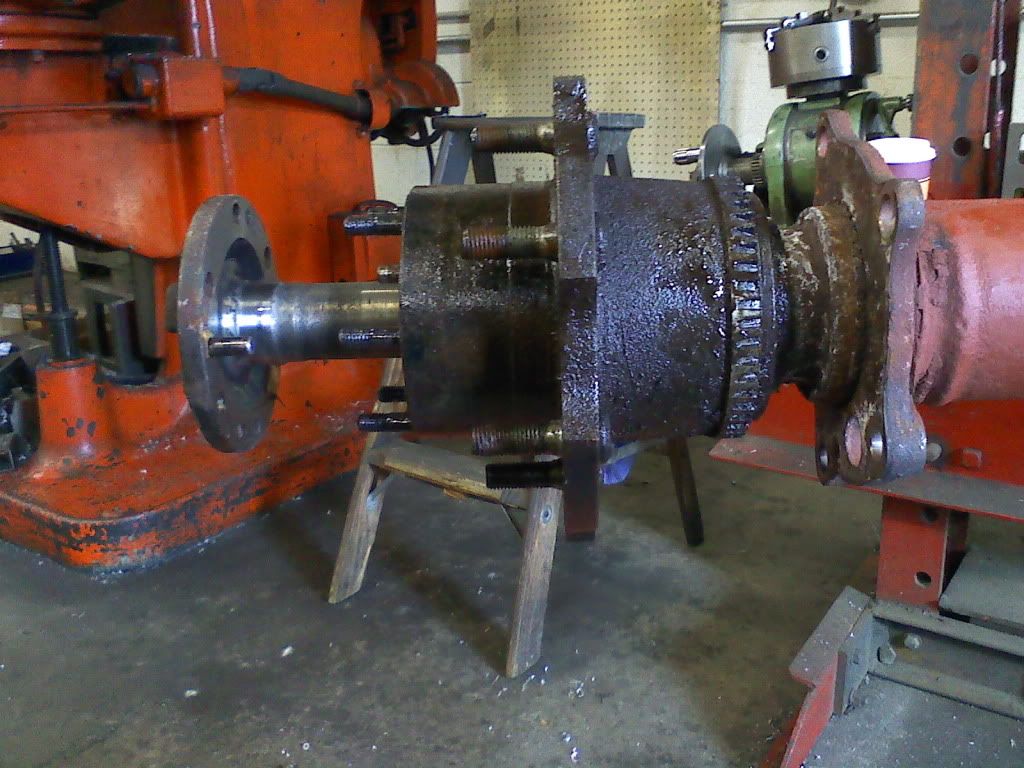
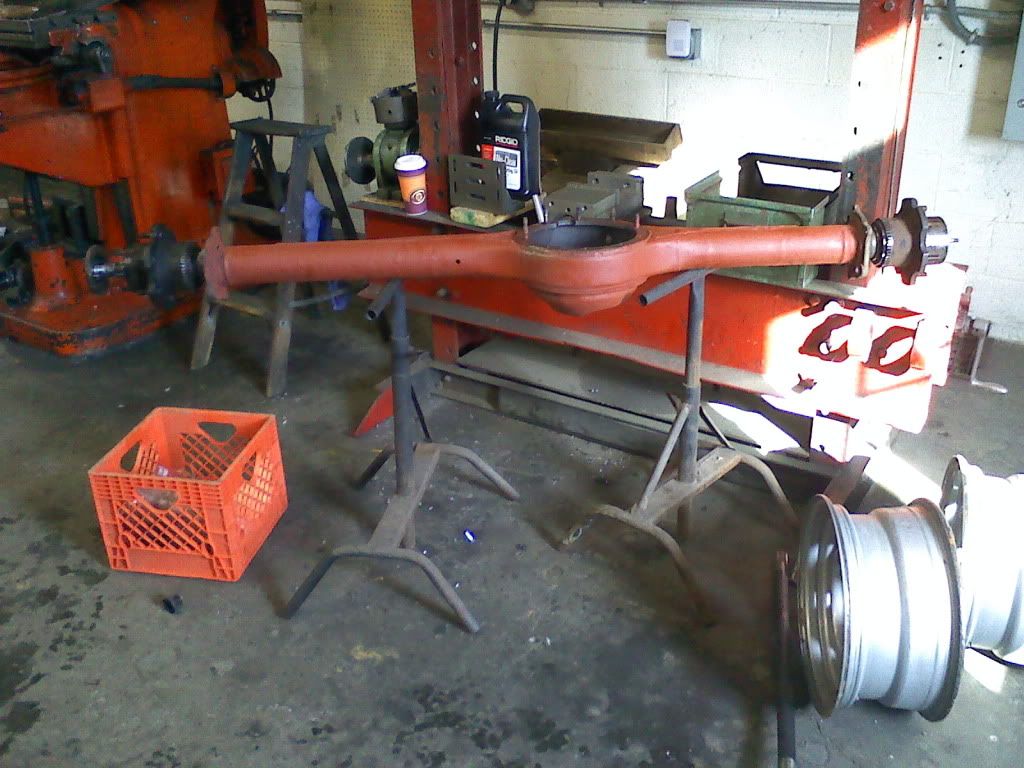
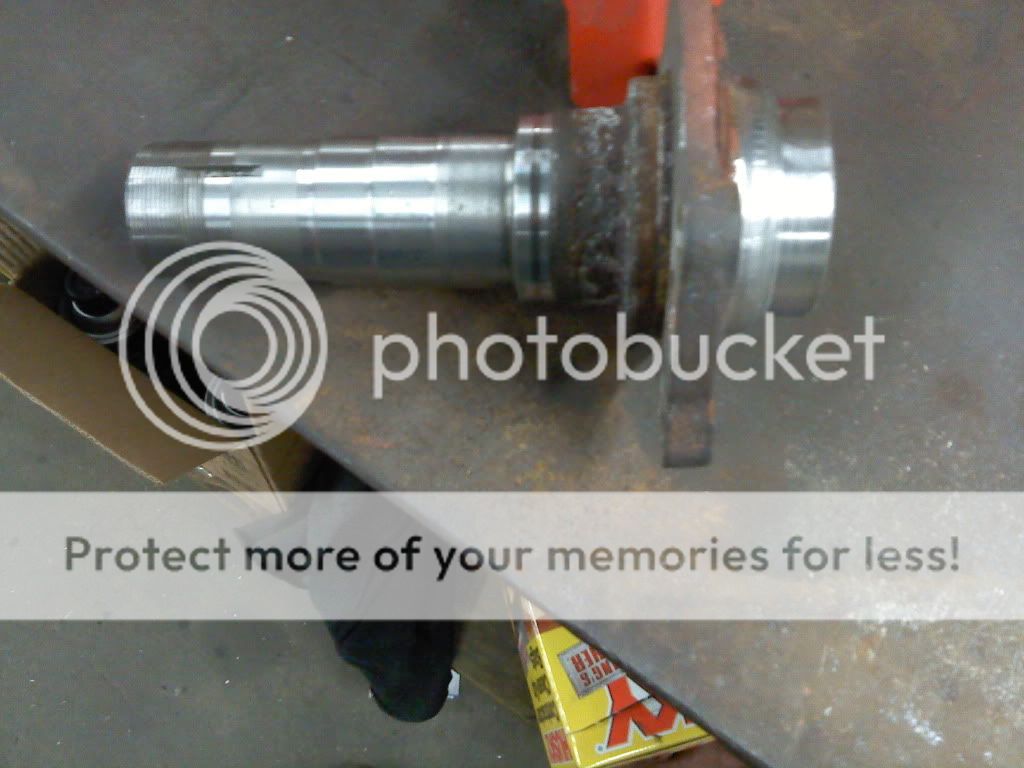
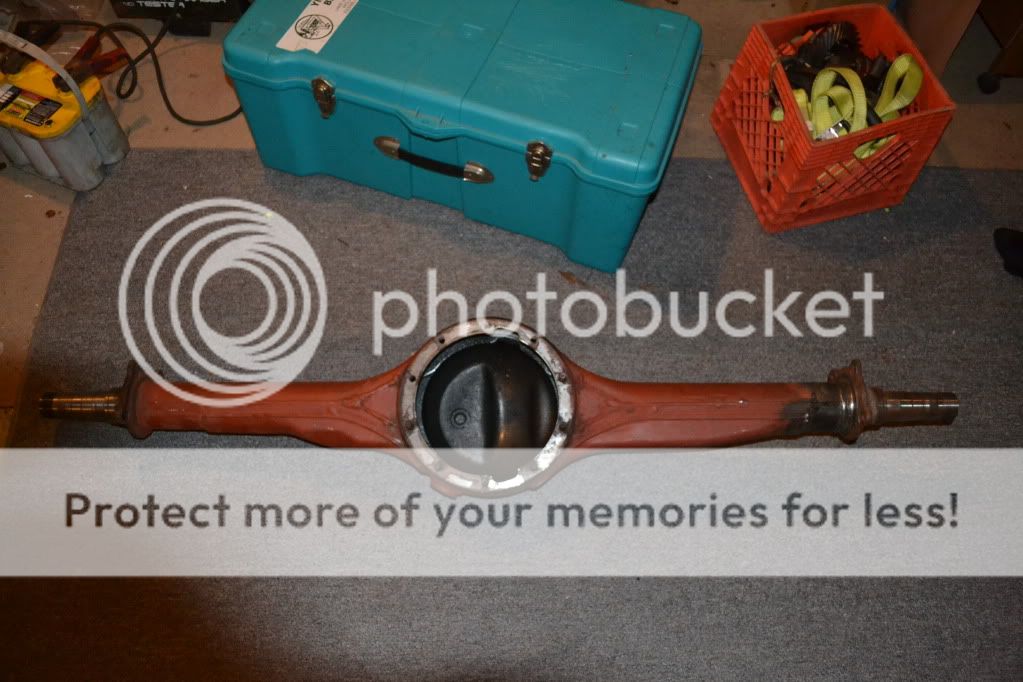
Not much to report but i did stop by the machine shop and saw the progress on the rear axle. I should have this back mid next week. The axle tubes were thicker that i was thinking.
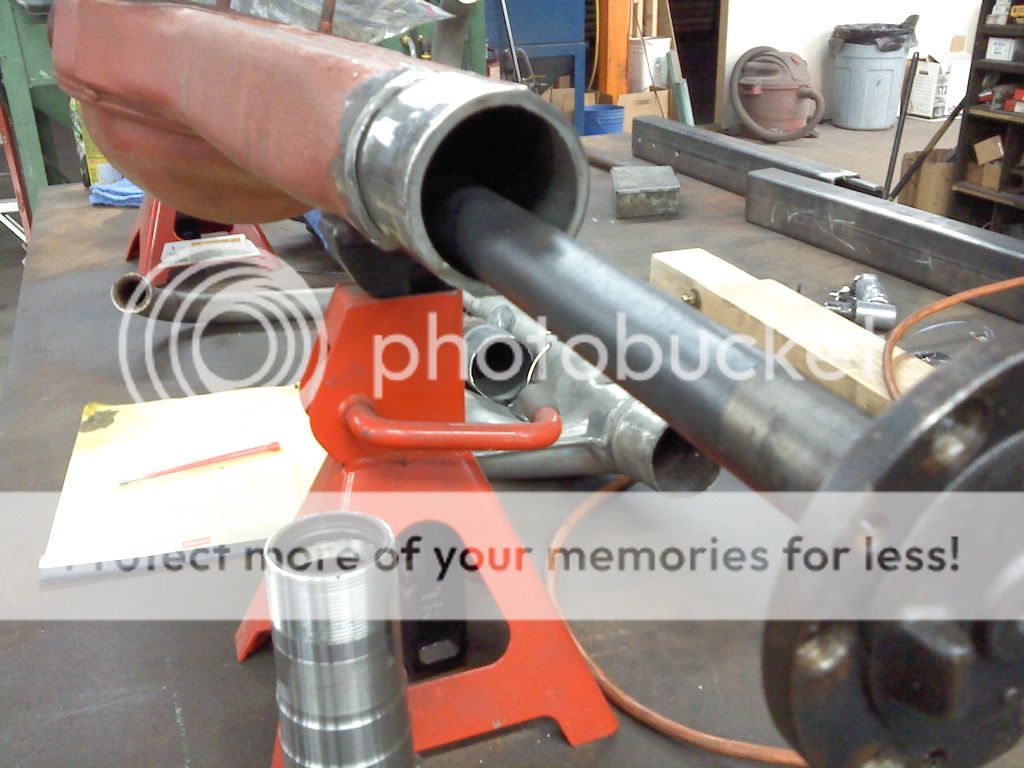
The whole housing
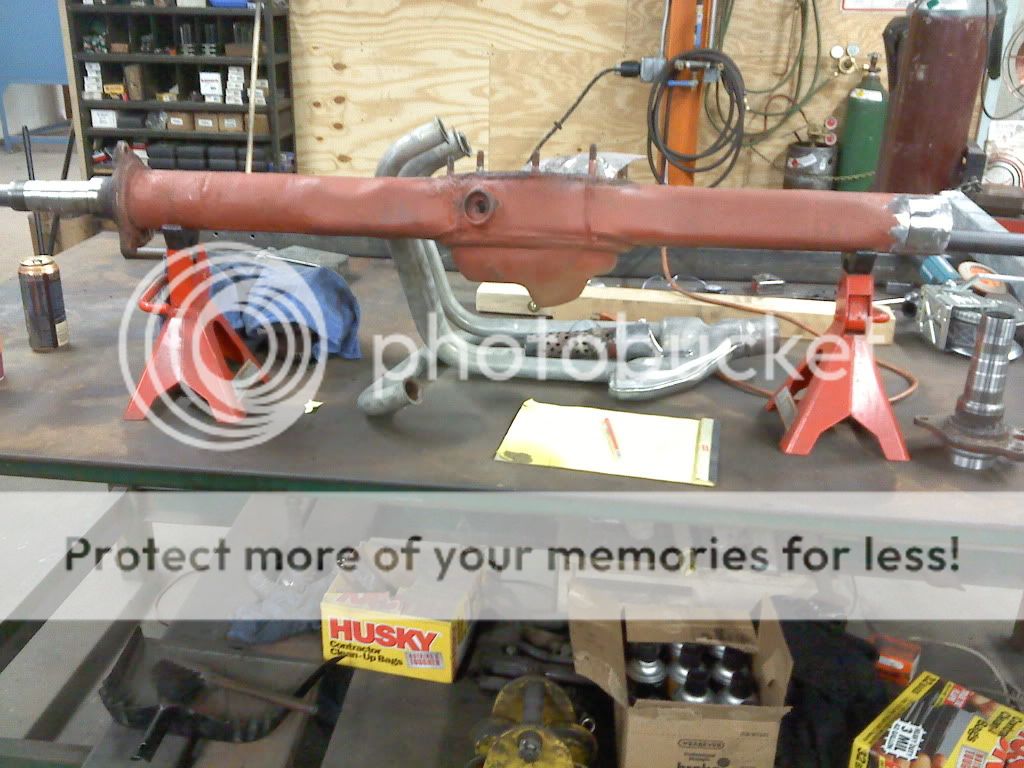
The spindel slug
I will pick up working on the 4runner the weekend on the 7th
The whole housing
The spindel slug
I will pick up working on the 4runner the weekend on the 7th
05-27-2011, 11:31 AM
#31
Registered User
Thread Starter
Join Date: Oct 2008
Location: White River JCT, VT
Posts: 201
Likes: 0
Received 0 Likes
on
0 Posts
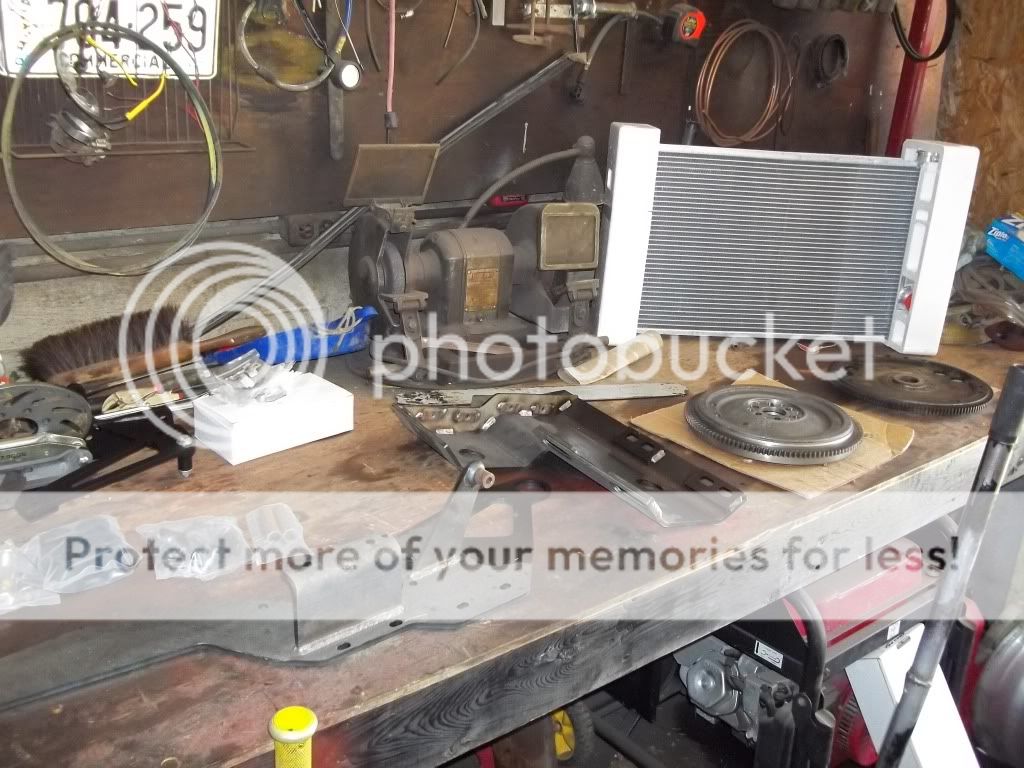
Ok i know its been a while but i made some progress this weekend. I got the radiator mounted this weekend and im very happy with the way it came out.
I swaped out the all-pro x-member for the stock one and by one hell of a chance i mounted the motor so it put the trans back in its stock location all the bolts lined up.
I got the cooling system all done but its a bit of a ˟˟˟˟ show at the moment. I mounted the radiator lower than i had planed on orignaly then realized that the rad cap was not the highest point in the system. So i bought a hose that had one inline and adapted it.
I swapped the lift pump primer from the donor motor because mine was leaking about a pint with every pump....almost no joke. Planning on getting the after market one from mercedes source.
So working on the runner every two or three weekends for a few days was not gettin it done so i rented a truck and drove it back to VT....not sure how the GF feels about the mistress being in the driveway ha ha. But at least now I can work on the runner when ever i want.
So i moved the looped through oil cooler lines out of the way of the power steering belt a few days ago and didnit check it with i started it to unload it. The PS belt took about 45 seconds to chew through the oil hose and that didnt go well Then i called the GF to come out and push the shut off lever since i was on a hill and had to hold the brake. I ended up wth one really pissed GF after the M B covered her from head to toe in oil...didnt help that i laughed my ass off....mistres 1 GF 0
I will post up some pics after work
05-28-2011, 10:30 AM
#34
Registered User
Thread Starter
Join Date: Oct 2008
Location: White River JCT, VT
Posts: 201
Likes: 0
Received 0 Likes
on
0 Posts
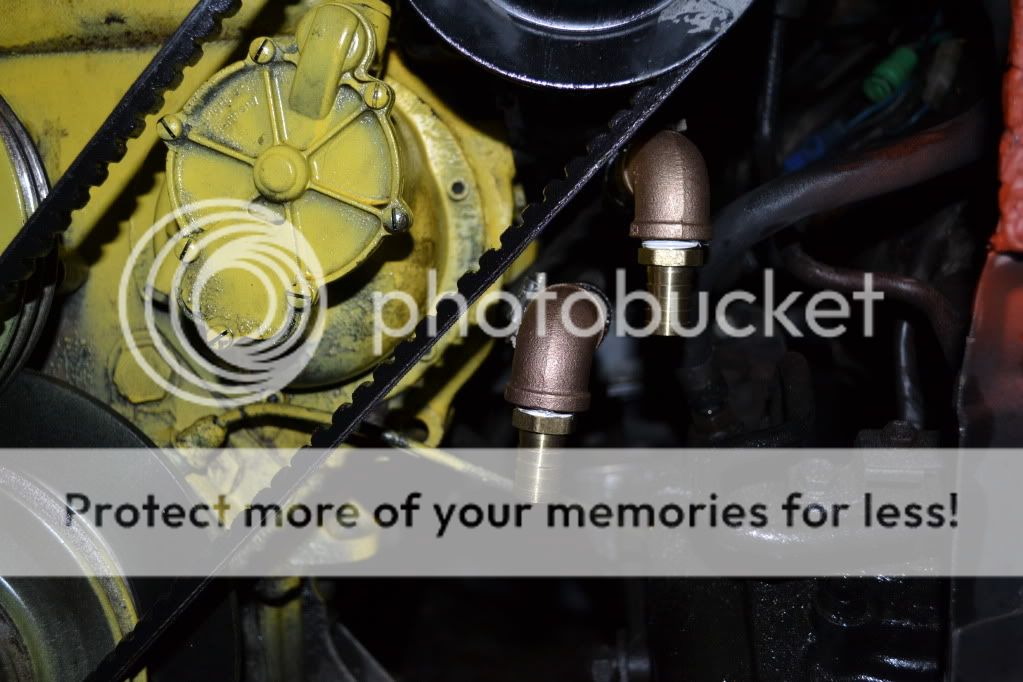
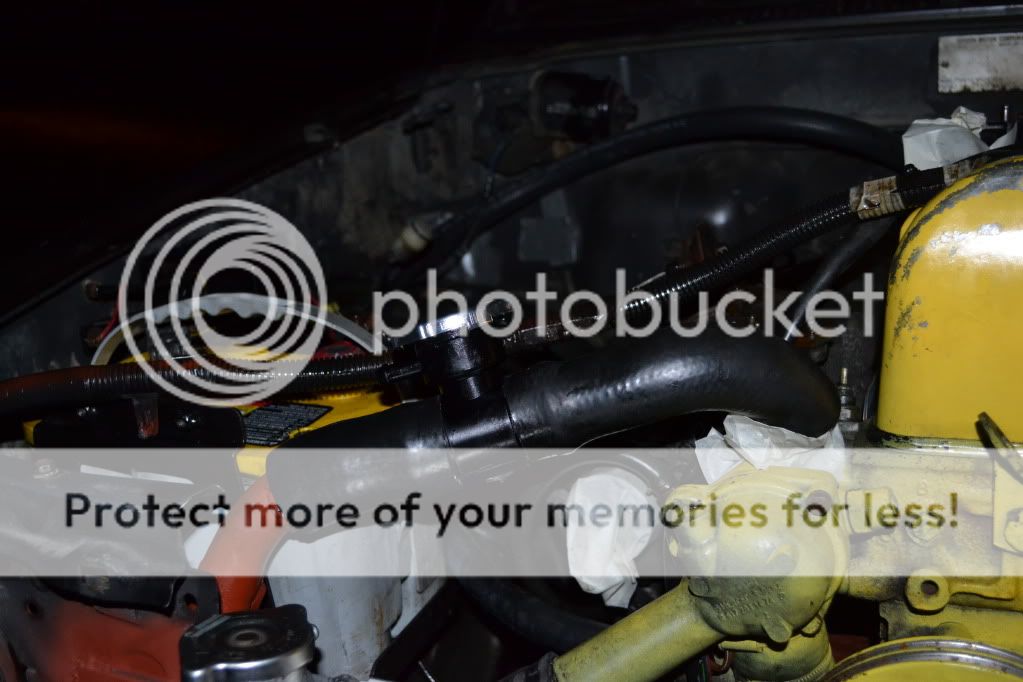
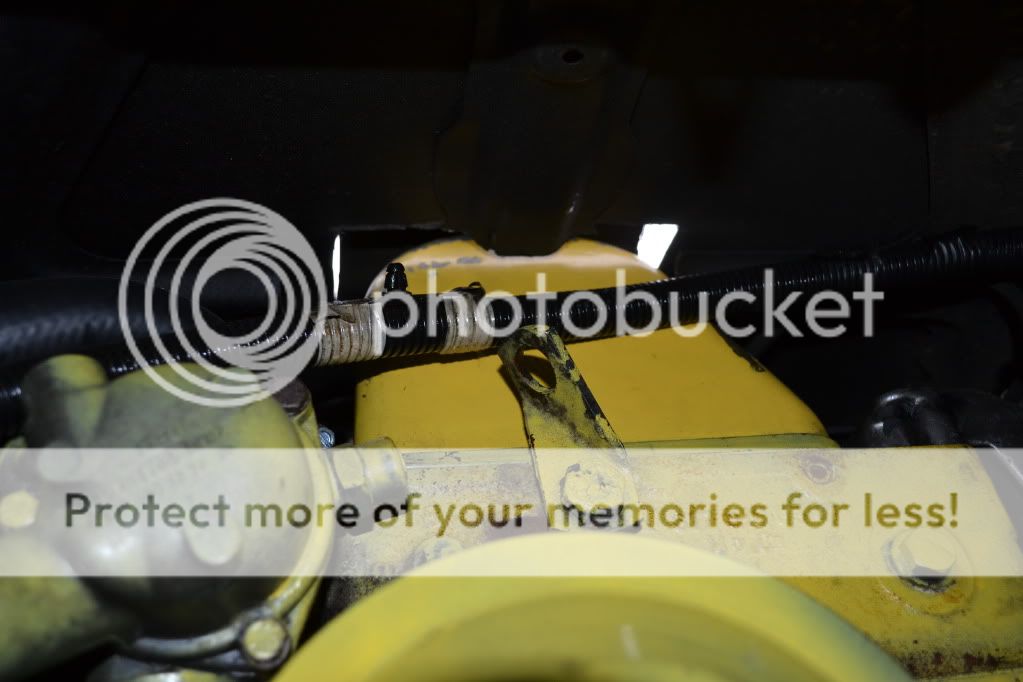
Yeah it it was funny. ˟well i just took a few pics and here they are starting with the yellow nipple:

the shiny oil soaked motor

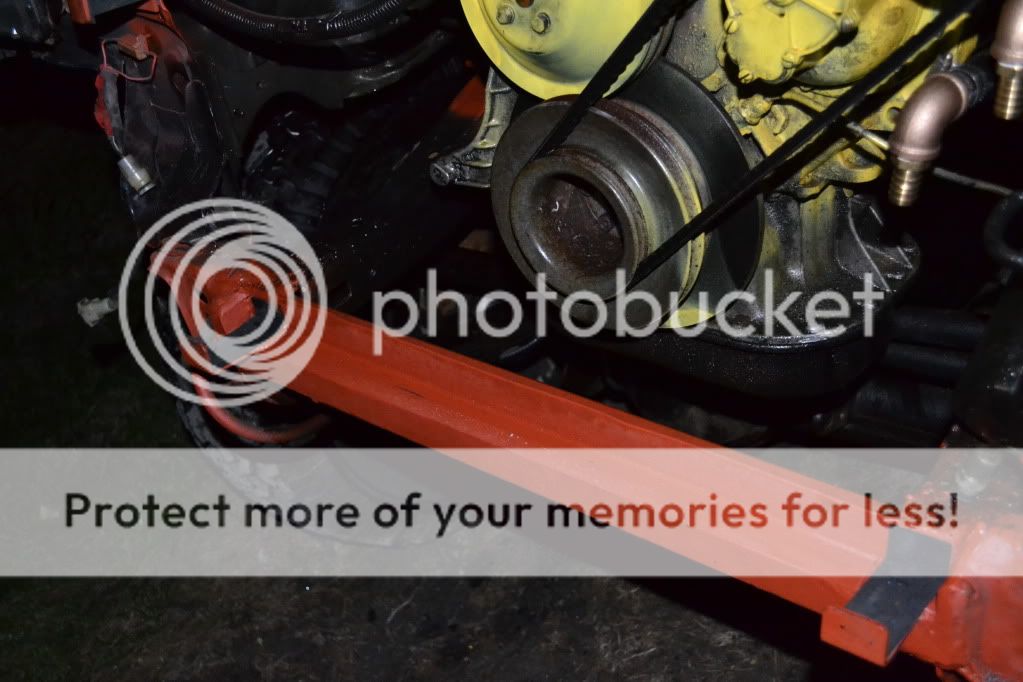
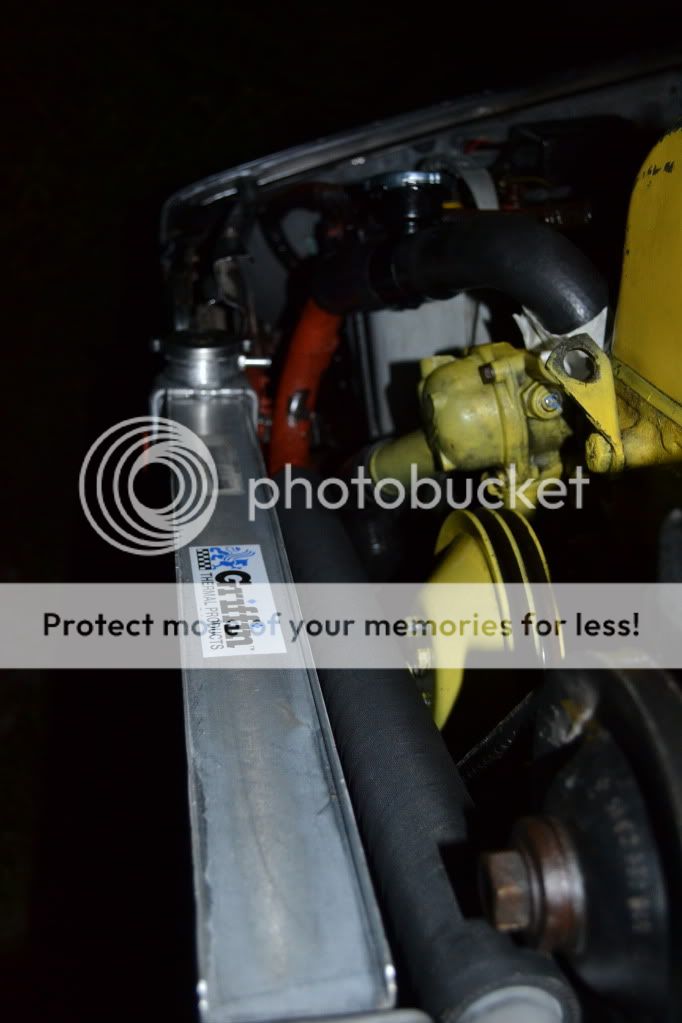
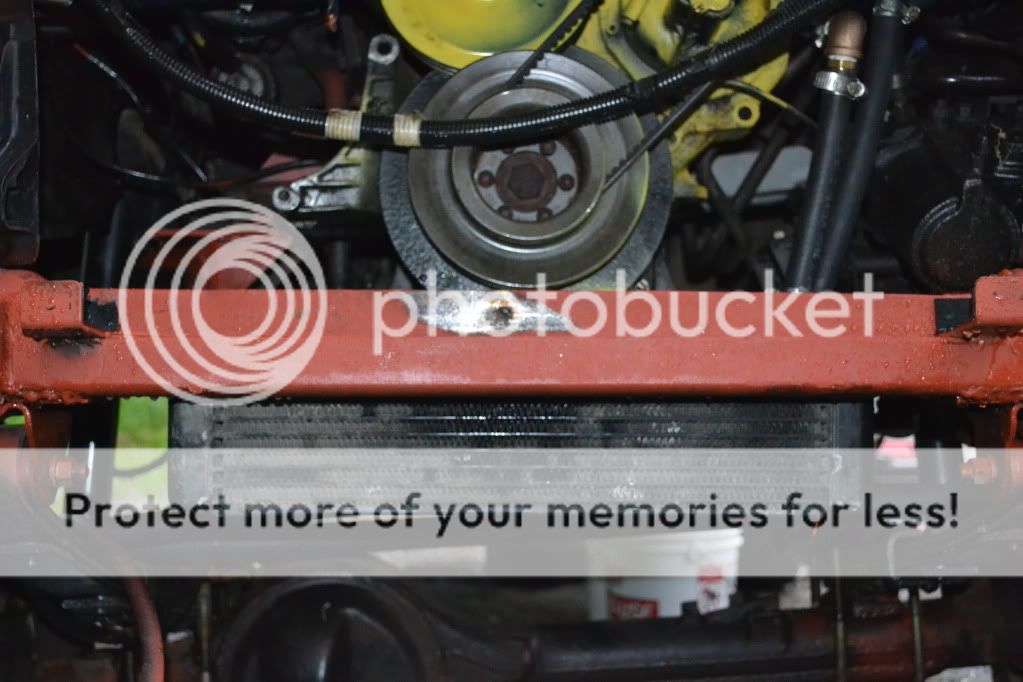
I had to section the front crossmember to lower the rad to clear the power steering pump bolt
upper rad mount

I cut the oil cooler hoses and picked up some brass fittings to locate the oil cooler behind the front xmember
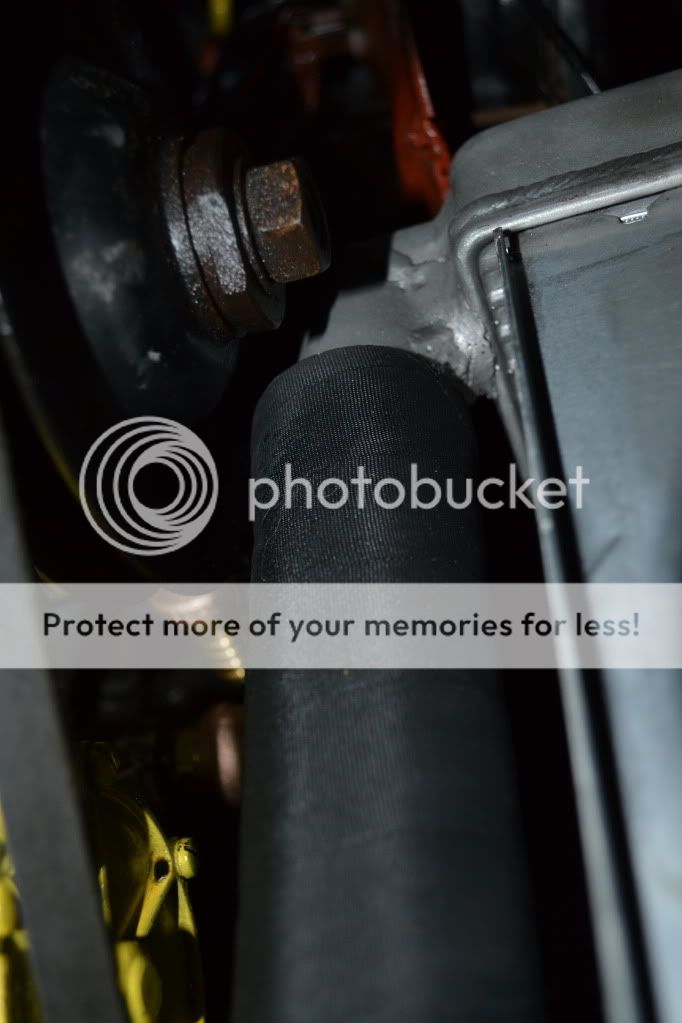
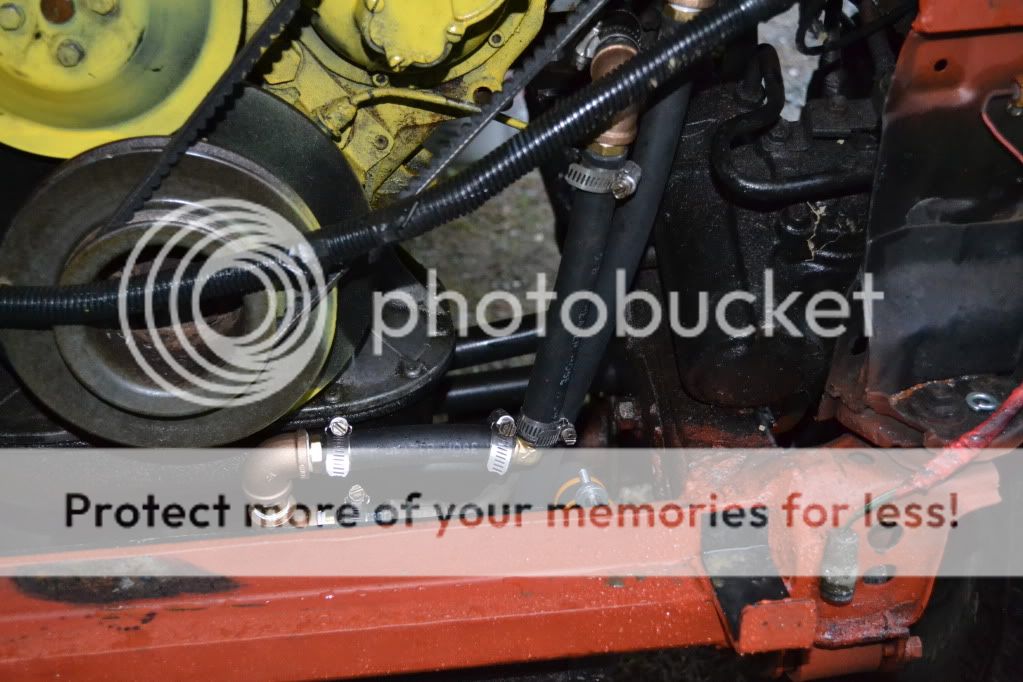
this is the lower rad hose the top half is merc and the lower is 1 1/2 to 2"
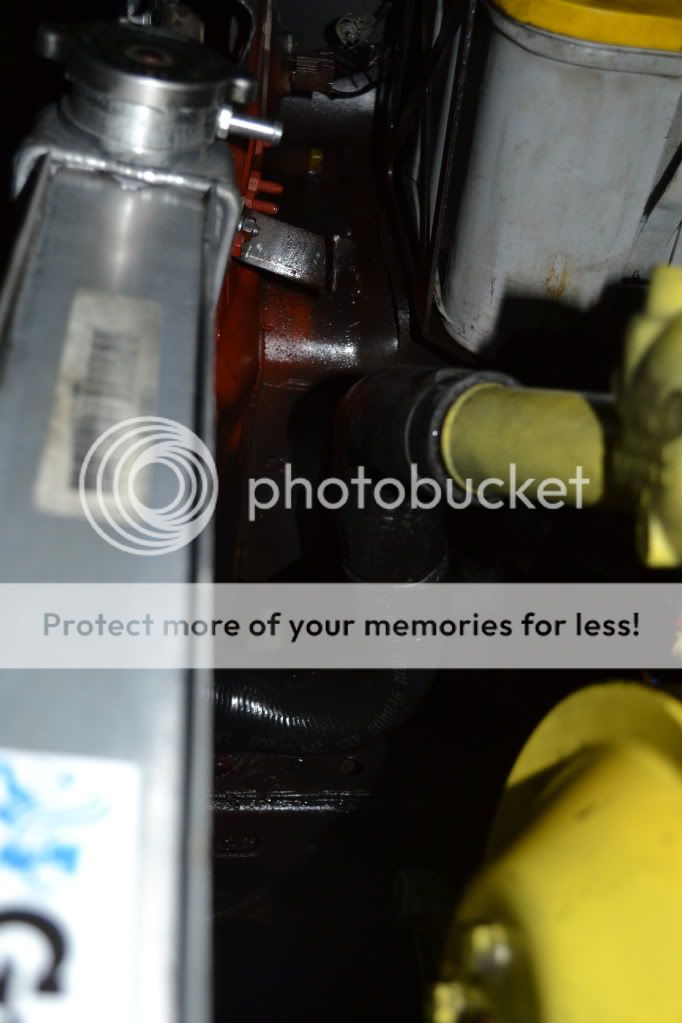
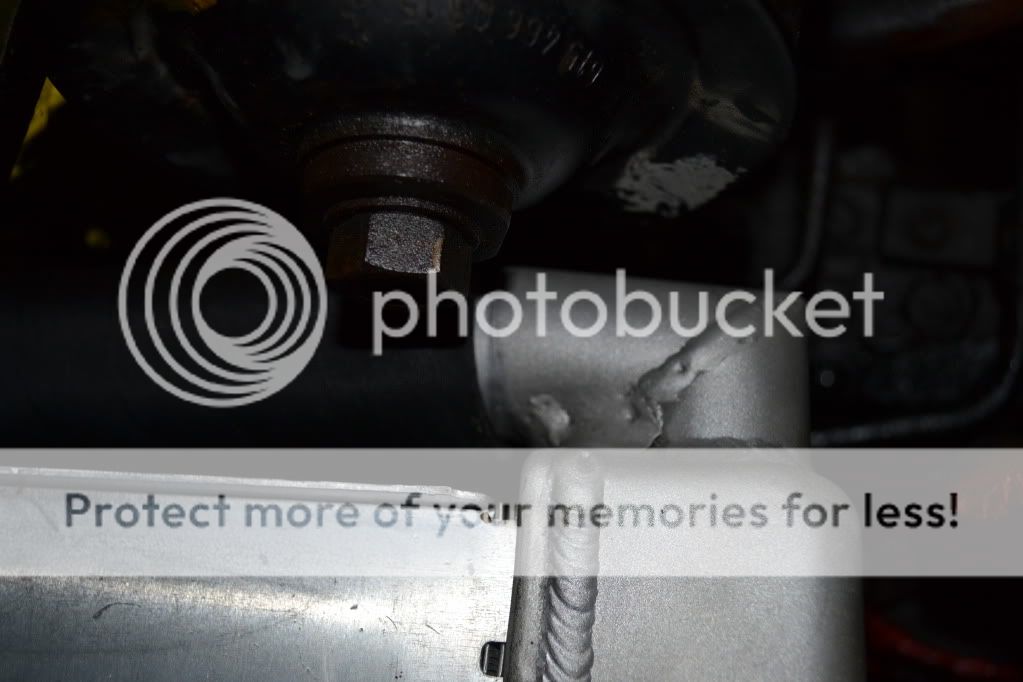
I made this when i realized that when i droped the rad it wasent the highest poing in the system anymore. ˟Its merc hose on the right and 1 1/2" on the left and the metal connecting pipe is the stock metal toyota 22re coolant pipe with 1 1/2 ends welded on
connecting pipe and 1 1/2 straight pipe
upper rad inlet
and wow tight ...thats what she said
the shiny oil soaked motor
I had to section the front crossmember to lower the rad to clear the power steering pump bolt
upper rad mount
I cut the oil cooler hoses and picked up some brass fittings to locate the oil cooler behind the front xmember
this is the lower rad hose the top half is merc and the lower is 1 1/2 to 2"
I made this when i realized that when i droped the rad it wasent the highest poing in the system anymore. ˟Its merc hose on the right and 1 1/2" on the left and the metal connecting pipe is the stock metal toyota 22re coolant pipe with 1 1/2 ends welded on
connecting pipe and 1 1/2 straight pipe
upper rad inlet
and wow tight ...thats what she said
05-30-2011, 11:02 AM
#36
Registered User
Thread Starter
Join Date: Oct 2008
Location: White River JCT, VT
Posts: 201
Likes: 0
Received 0 Likes
on
0 Posts
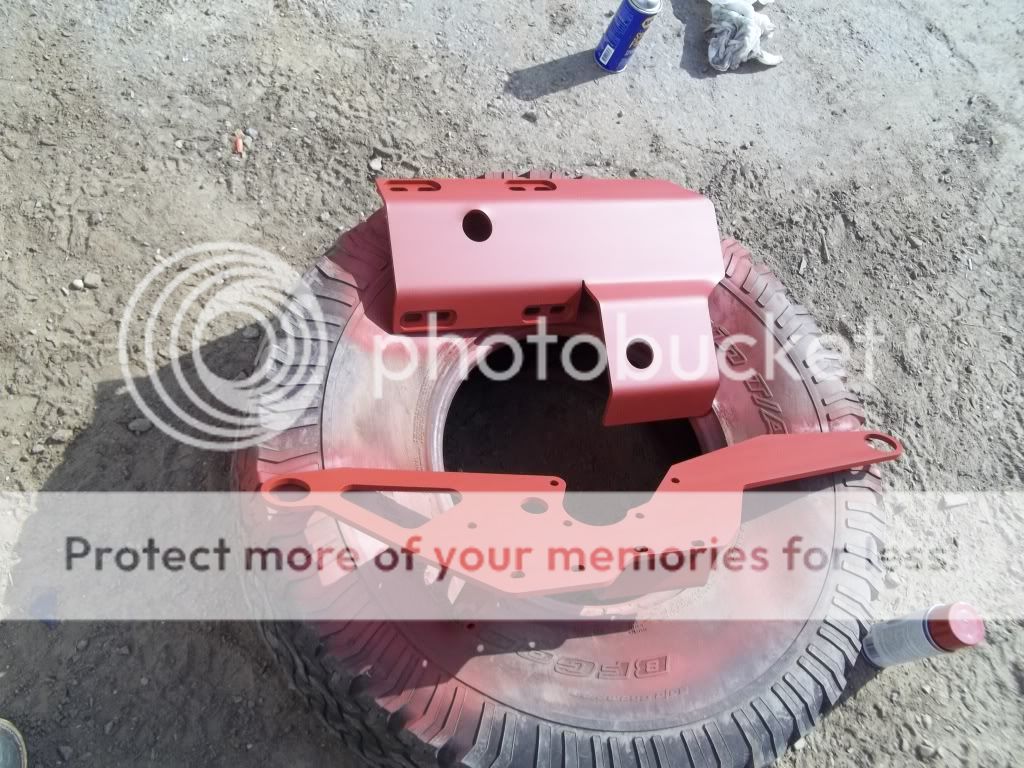
I forgot to post pics of the rear axle just got that back last week.
The welds came out nice. With the machine shop axle cost and shipping im into the axle 450 not bad for FF disk brakes and 9.5" ring
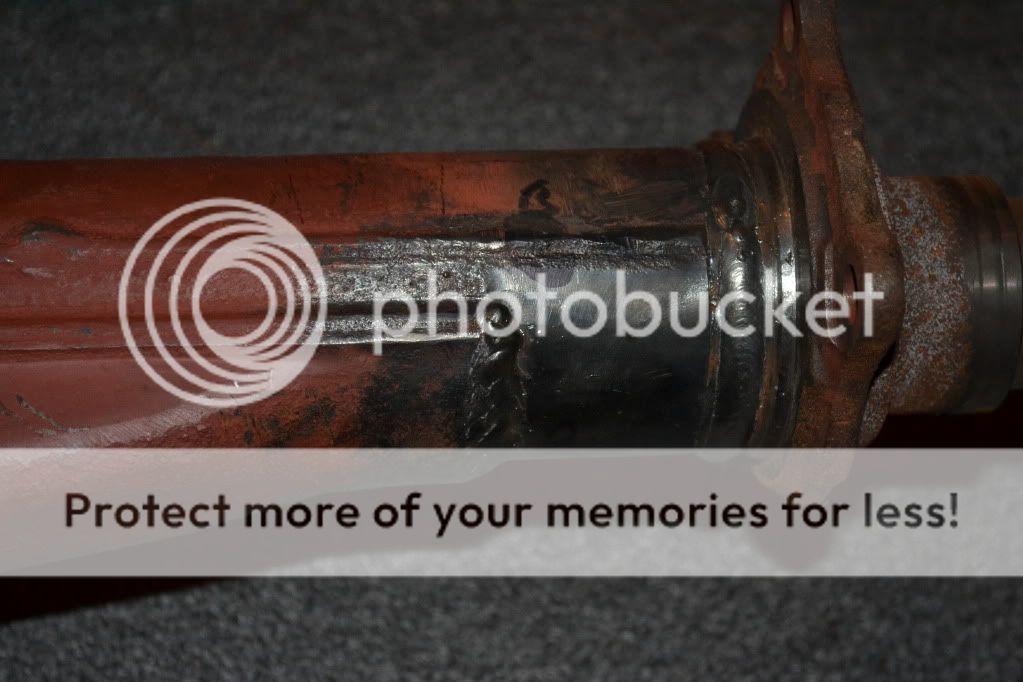
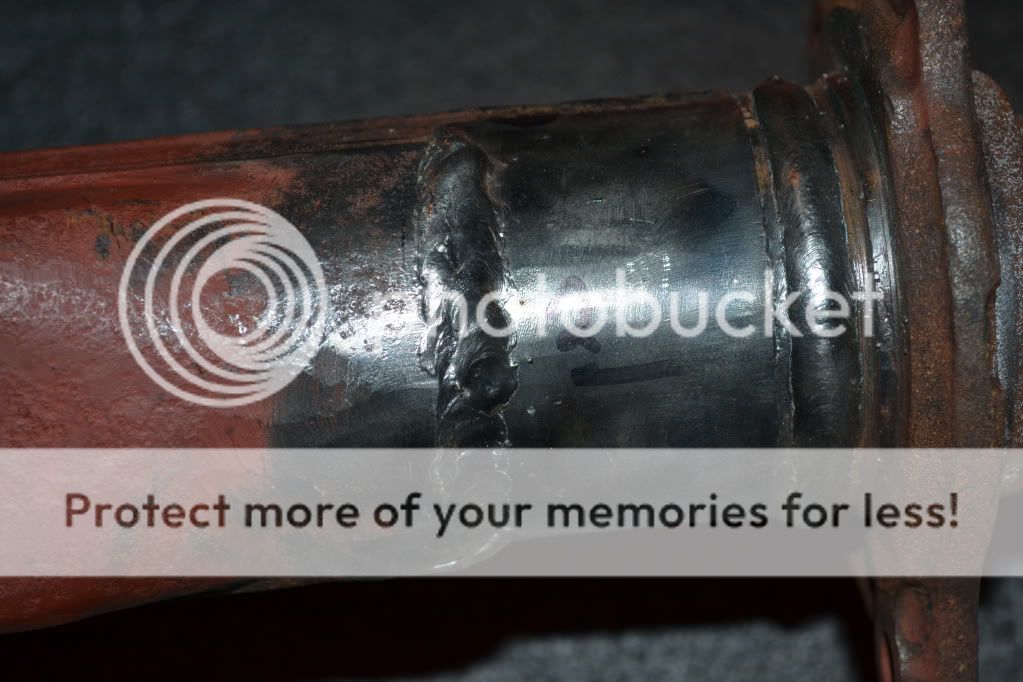
The welds came out nice. With the machine shop axle cost and shipping im into the axle 450 not bad for FF disk brakes and 9.5" ring
05-30-2011, 11:04 AM
#37
Registered User
Thread Starter
Join Date: Oct 2008
Location: White River JCT, VT
Posts: 201
Likes: 0
Received 0 Likes
on
0 Posts
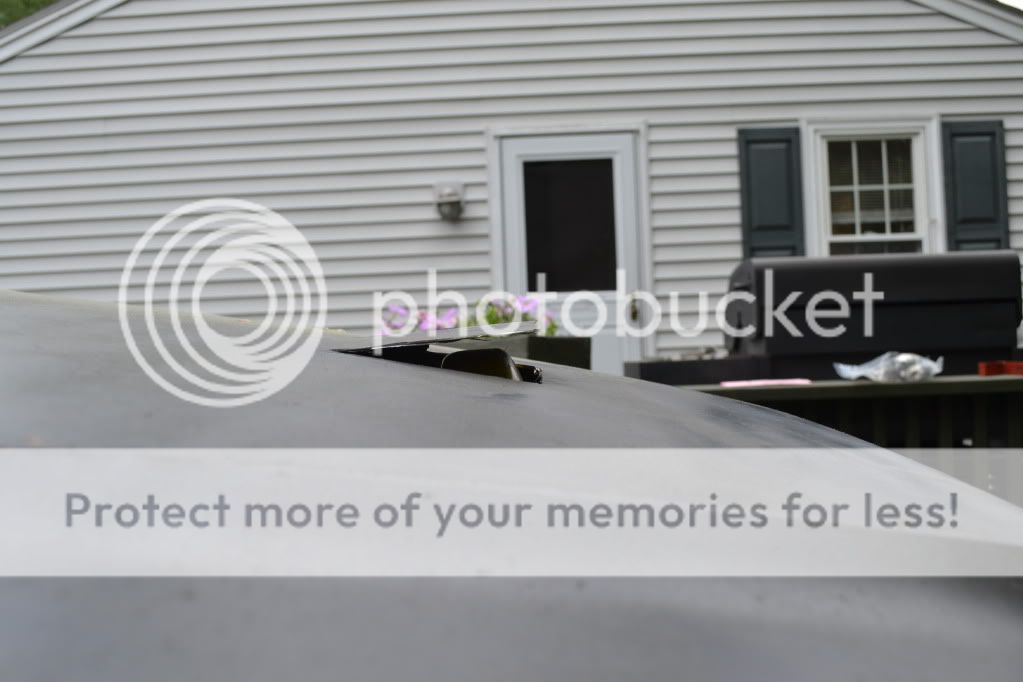
I finaly got around to cutting the hood. The valve cover was the only think that wouldent clear...i figured that the power steering pump woulod interfeer. Im looking for input on what i should do. should i get a hood scoup or make a hood bump.


05-30-2011, 11:06 AM
#38
Registered User
Thread Starter
Join Date: Oct 2008
Location: White River JCT, VT
Posts: 201
Likes: 0
Received 0 Likes
on
0 Posts
I just got the ff fj80 axle down the basement and installed the hubs to get a shot of the WMS - WMS

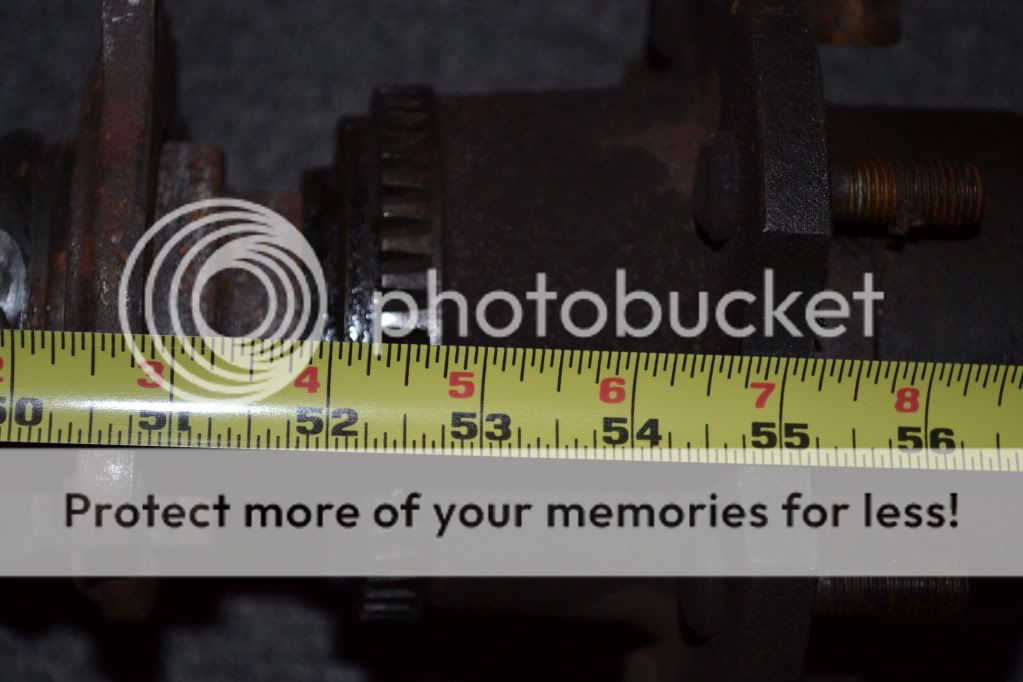
I also measured outside to outside on the rear springs on the runner and its 41 1/2" and there is 45" between the disk brake mounts.
I also measured outside to outside on the rear springs on the runner and its 41 1/2" and there is 45" between the disk brake mounts.
05-30-2011, 06:15 PM
#39
Registered User
Thread Starter
Join Date: Oct 2008
Location: White River JCT, VT
Posts: 201
Likes: 0
Received 0 Likes
on
0 Posts
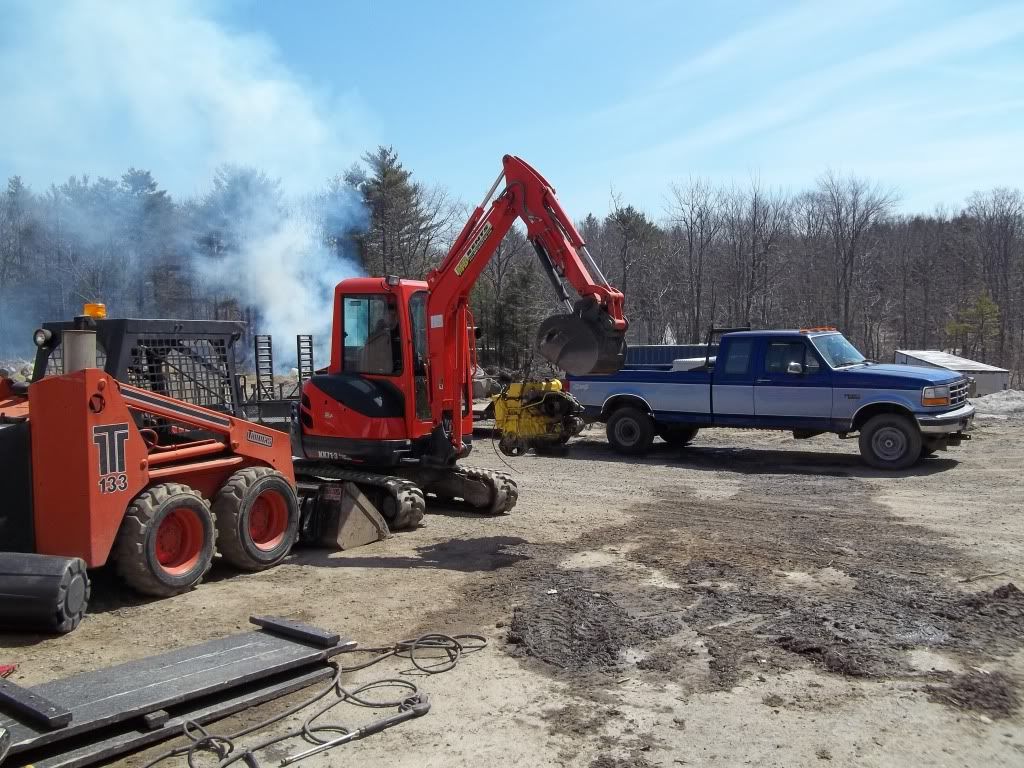
well i got the oil cooler mounted and connected. Just so everyone knows this is mounted to get it going down the road and not the trails for now. This winter im going to redo all the stuff i temped.
And my new toy

And my new toy
05-30-2011, 06:18 PM
#40
Registered User
Thread Starter
Join Date: Oct 2008
Location: White River JCT, VT
Posts: 201
Likes: 0
Received 0 Likes
on
0 Posts
well i got a little bit done today. I welded a bung into an 1 1/2" barbed coupler for the temp sensor. I noticed that the heater hose that should connect to the driver side was jamming the throttle linkage.
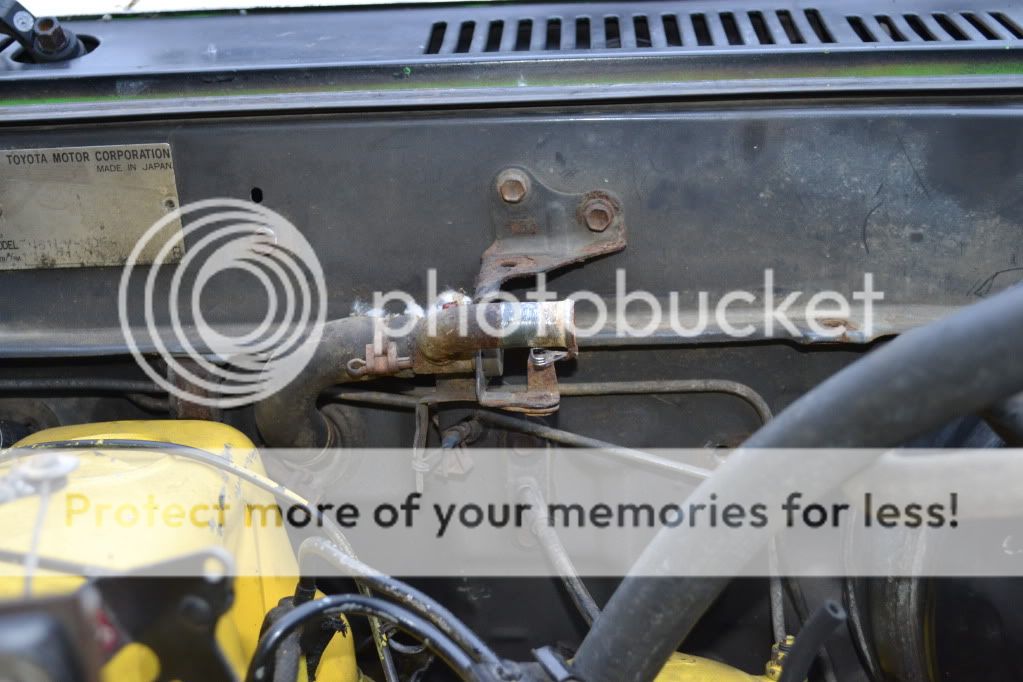
kind of a scary idea since there is not an electrical shut off for the motor. I was able to flip the hose and trim it then splice it to a new piece of hose (off to the left) now i need a brass 90* and trim the heater valve inlet. sounds confusing but its not that bad i will post up some pics when i get it done.
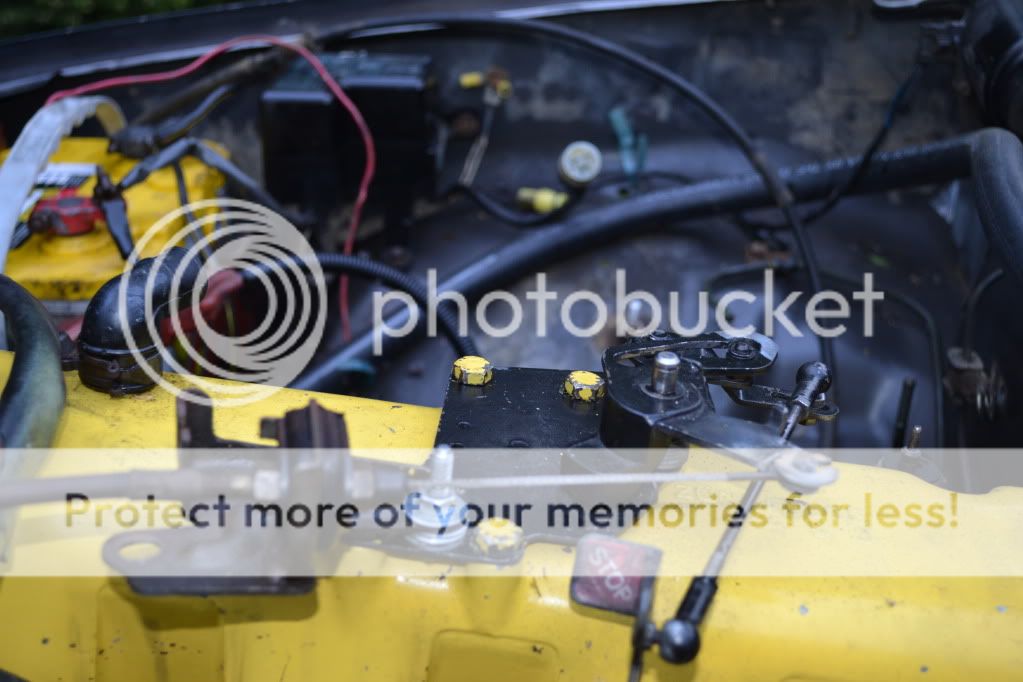
For the throttle, i used the merc linkage and mounting plate and bolted the throttle cable really simple and works awesome. I drilled out the throttle link ball that went to the cruise control and made a toyota like set up with a washer and a relif cut to remove the cable, welded half way around.

kind of a scary idea since there is not an electrical shut off for the motor. I was able to flip the hose and trim it then splice it to a new piece of hose (off to the left) now i need a brass 90* and trim the heater valve inlet. sounds confusing but its not that bad i will post up some pics when i get it done.
For the throttle, i used the merc linkage and mounting plate and bolted the throttle cable really simple and works awesome. I drilled out the throttle link ball that went to the cruise control and made a toyota like set up with a washer and a relif cut to remove the cable, welded half way around.


