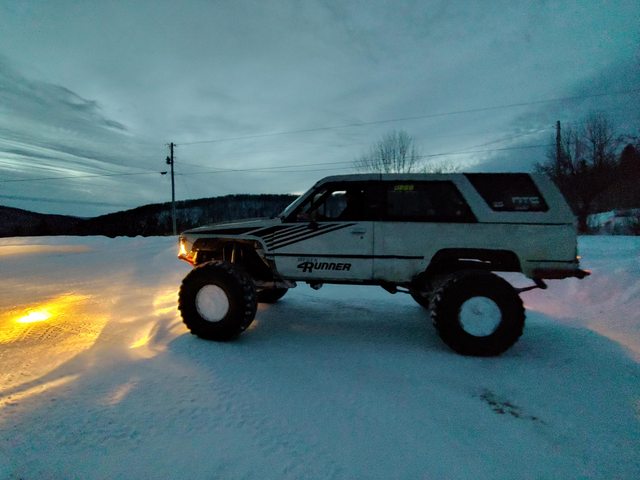
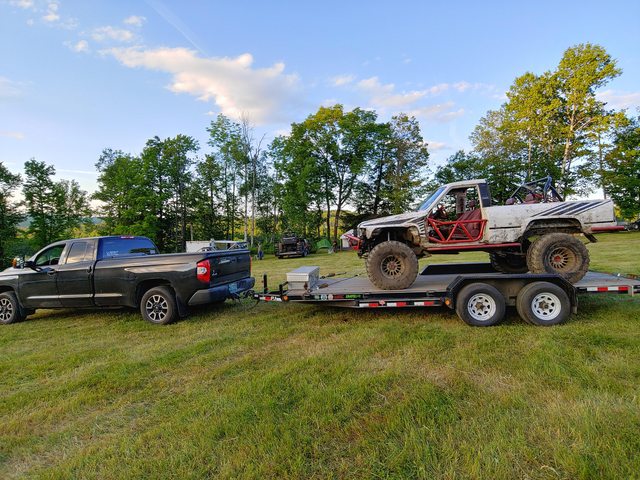
88 4runner "Danger runner"
 02-08-2021, 11:38 AM
#21
Registered User
Thread Starter
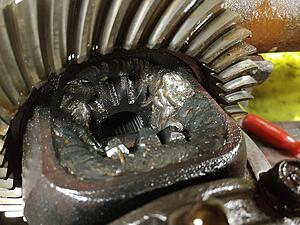
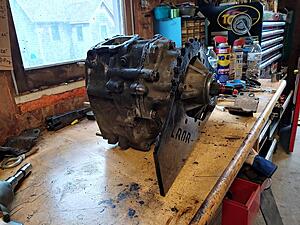
I did not weld this diff. But was pleasantly surprised to see it solid when we pulled it from the donor axle. You always have to wonder how other people weld their diffs.
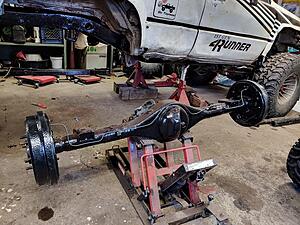
Fresh drum brakes minus the ebrake stuff.

It will get rear armor and some sort of lower shock mount soon, but for now ready to go back under the truck.
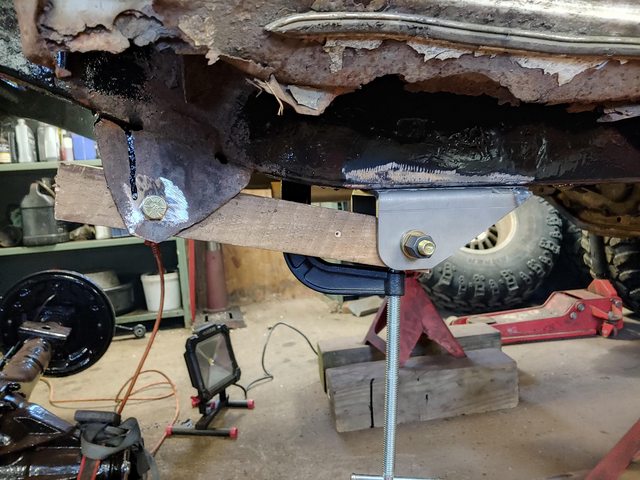
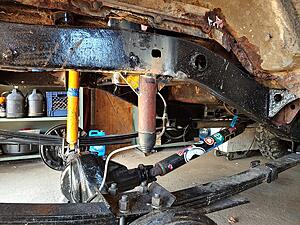
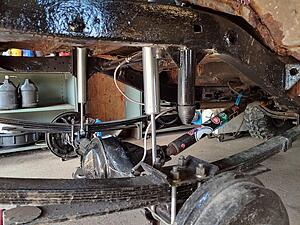
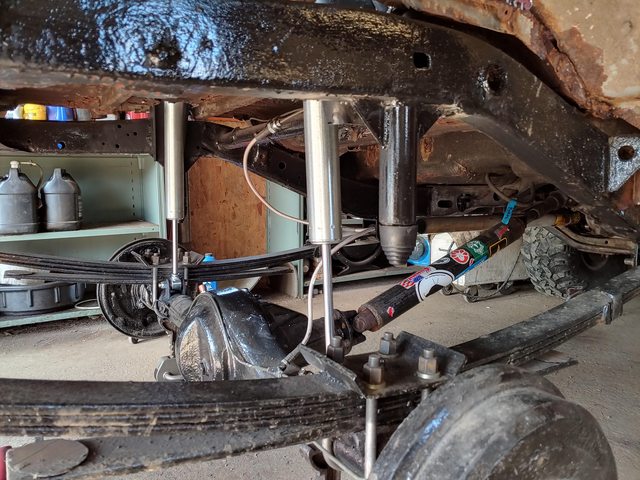
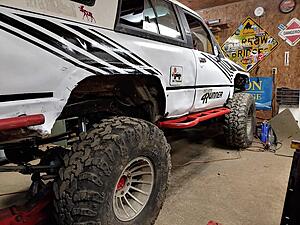
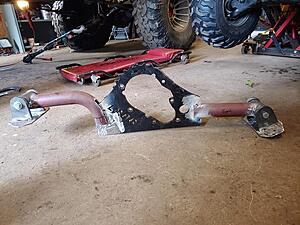
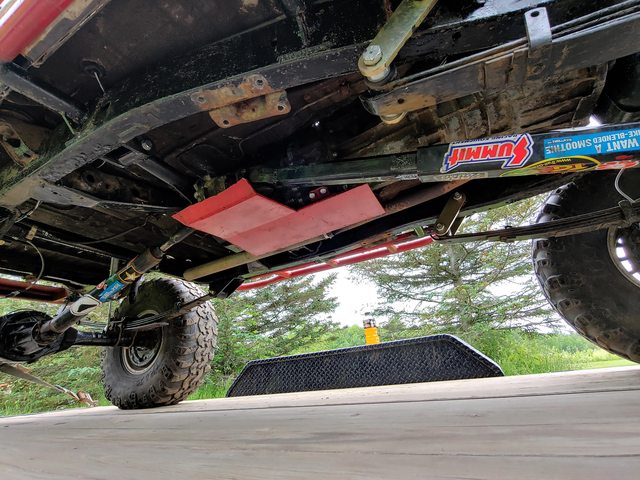
My super high tech measuring jig. Moved the hangers 10 inches forward, which put the rear mount right behind the factory one with 45* shackle at ride height.
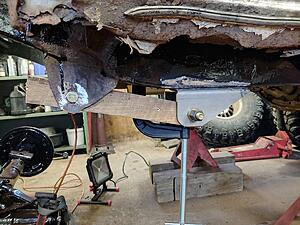
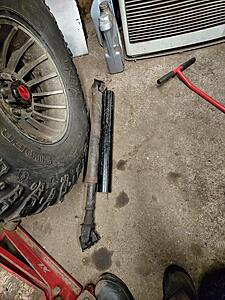
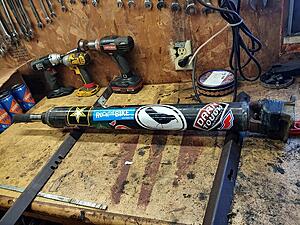
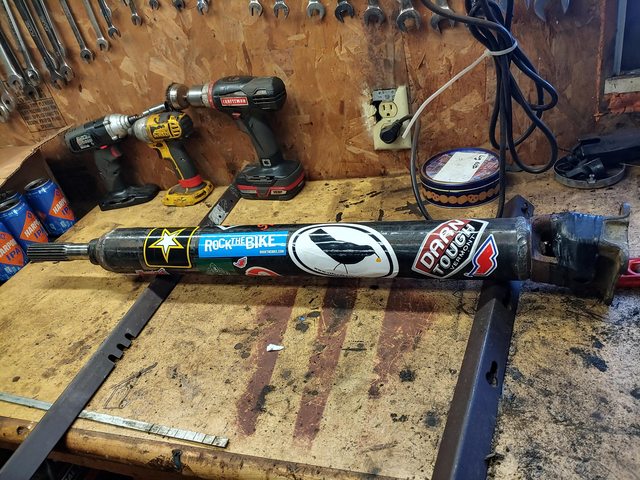
And picked up a piece of 2.5" schedule 40 for the rear shaft.

Fresh drum brakes minus the ebrake stuff.

It will get rear armor and some sort of lower shock mount soon, but for now ready to go back under the truck.

My super high tech measuring jig. Moved the hangers 10 inches forward, which put the rear mount right behind the factory one with 45* shackle at ride height.

And picked up a piece of 2.5" schedule 40 for the rear shaft.


The following users liked this post:
BigBluePile (05-12-2021)
02-15-2021, 04:15 AM
#22
Registered User
Thread Starter
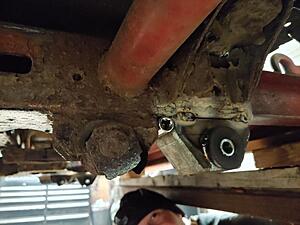
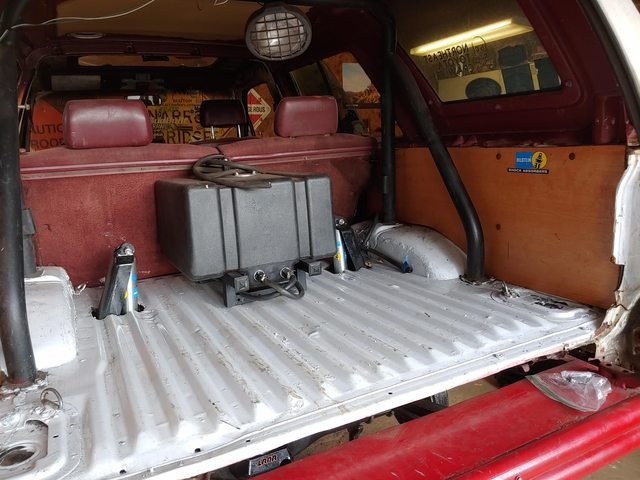
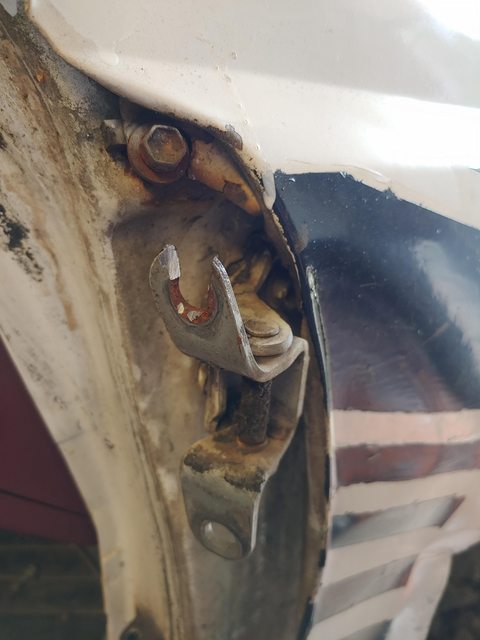
Front hanger went 10 inches forward, used a 10mm socked to space out the rear mount, we ended up with a 50* shackle angle at ride height.
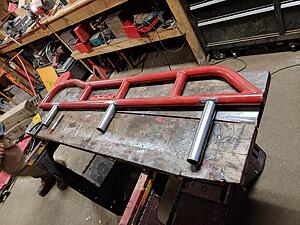
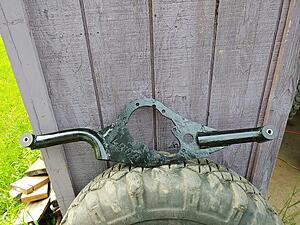
Simply love these built in light holders
2.5 Schedule 40 drive shaft, fresh stickers to scratch off.
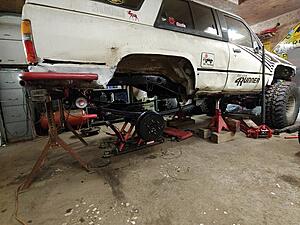
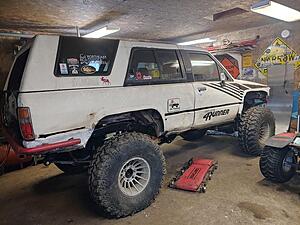
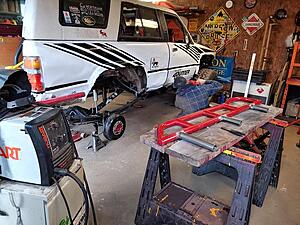
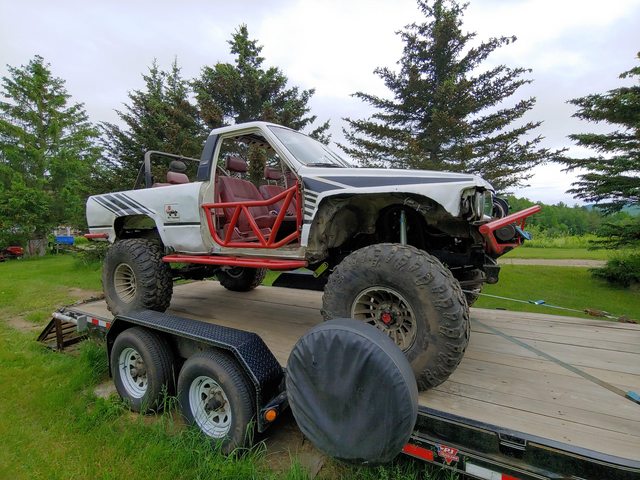
Back on its feet. Wheel base is now just a hair over 108.
and out side.


Simply love these built in light holders

2.5 Schedule 40 drive shaft, fresh stickers to scratch off.
Back on its feet. Wheel base is now just a hair over 108.

and out side.
The following 3 users liked this post by rattlewagon:
04-12-2021, 03:50 AM
#23
Registered User
Thread Starter
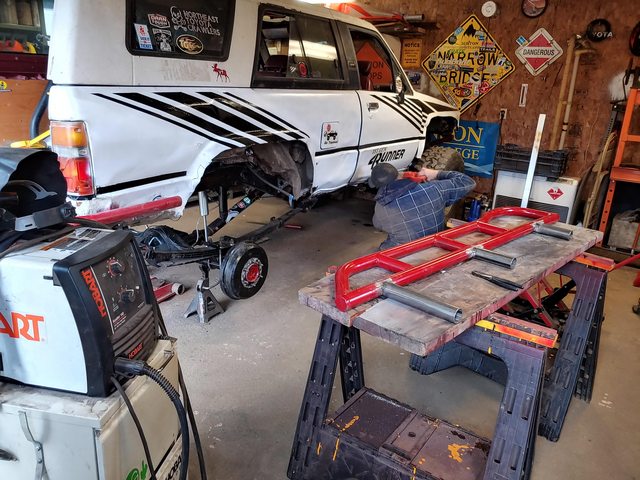
Rear shocks and bumps in. Bilstine 5125 14" shocks and cheap o energy suspension bumps. f250 shock towers to try and cut a smaller hole in the bed. should work pretty well. Also made a mount for the gas tank out of old bed frame, even used the post caps. Tossed on a rear diff guard and made some better rear panels from scrap lauan.

Painted with shocks in.

Some sliders coming up next. Goal is to have this "ready" for a June 12 event.


Painted with shocks in.

Some sliders coming up next. Goal is to have this "ready" for a June 12 event.
The following 2 users liked this post by rattlewagon:
BigBluePile (05-12-2021),
de6w6it (04-12-2021)
04-12-2021, 07:15 AM
#24
Registered User
i have the same cheapo bumps mounted to a reinforced stock bump pad on the frame. probably will need to extend some with tube as you did.
looking good
looking good
04-14-2021, 03:38 AM
#25
Registered User
Thread Starter
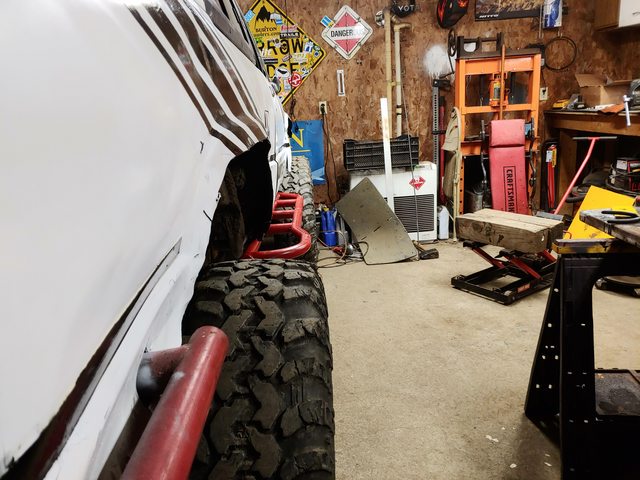
4xinnovation sliders going on next. Got the pass side all tacked on last night, will finish welding today, then flip it around and do the drivers side.
The front leg got trimmed to match the angle of the frame, but besides that they went right on.
Didnt get pics, but the frame was plated where the legs weld on. We cut up into the body till the trim line and the sliders are pretty much flat. about 1.5 of clearance with the door open. Well be pivoting around trees in no time.

The front leg got trimmed to match the angle of the frame, but besides that they went right on.


Didnt get pics, but the frame was plated where the legs weld on. We cut up into the body till the trim line and the sliders are pretty much flat. about 1.5 of clearance with the door open. Well be pivoting around trees in no time.
Last edited by rattlewagon; 04-14-2021 at 03:47 AM.
The following 2 users liked this post by rattlewagon:
BigBluePile (05-12-2021),
de6w6it (04-14-2021)

 04-21-2021, 06:19 AM
#27
Registered User
Thread Starter
Last edited by rattlewagon; 04-23-2021 at 04:18 AM.
The following users liked this post:
de6w6it (04-21-2021)

The following 2 users liked this post by rattlewagon:
BigBluePile (05-12-2021),
de6w6it (05-04-2021)
06-01-2021, 03:42 AM
#29
Registered User
Thread Starter
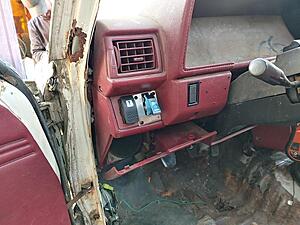
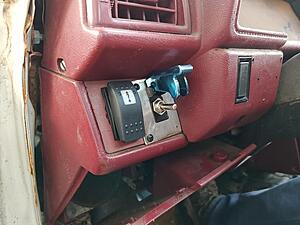
In cab controls for the winch. Its a Warn In Cab kit. Also has a 2nd winch plug in that we just tied up under the dash. We did add the on/off switch so it doesn't get bumped on accident.
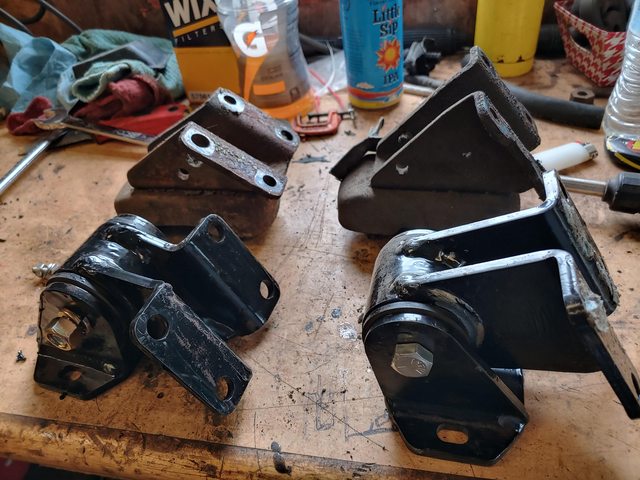
4xinnoviation motor mounts in.

Dont mind the rest of the engine mess, well get there.
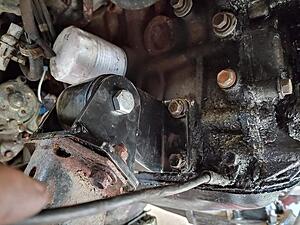
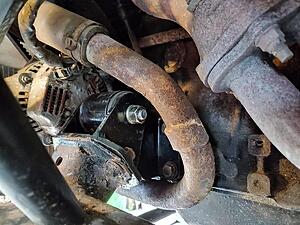
Horse collar t-case mount up next.


4xinnoviation motor mounts in.
Dont mind the rest of the engine mess, well get there.


Horse collar t-case mount up next.
06-07-2021, 04:55 AM
#31
Registered User
Thread Starter
Thanks de6w6it!
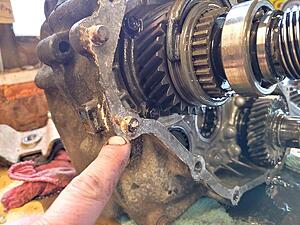
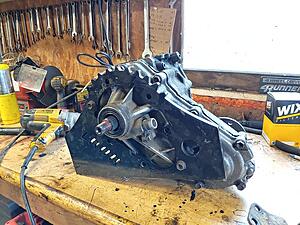
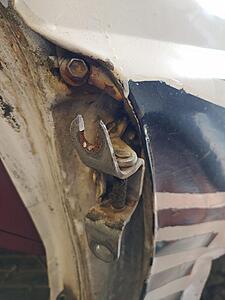
Well what started as removing the rear bolts on the t case ended up breaking 4 bolts and pulling the rear case. we left 3 of the broken bolts in the rear cover and removed the whole thing, and swapped out with a good one. The last one (pictured here) we welded a nut on to and zipped right out.
Back together and a test fit with the LROR collar
The frame ends are tube/bushing and link tabs from Low Range, and plated the frame where they weld on. Same hand rail tube that we used on the bumpers.
Finished up with some gussets.
And in the truck. Will be making some sort of skid off the factory mounts.

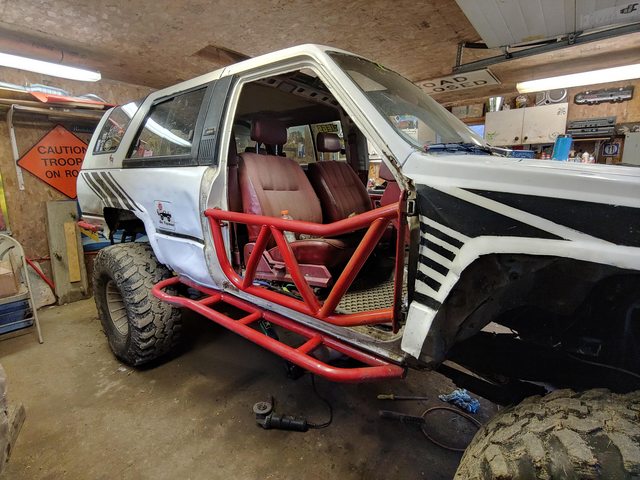
Also got the TG tube doors on.
Notch the upper hinge for easy install.

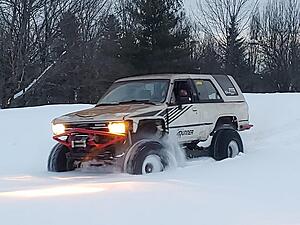
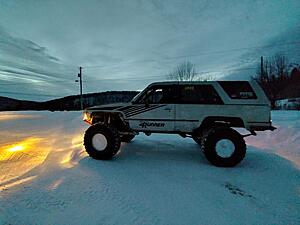
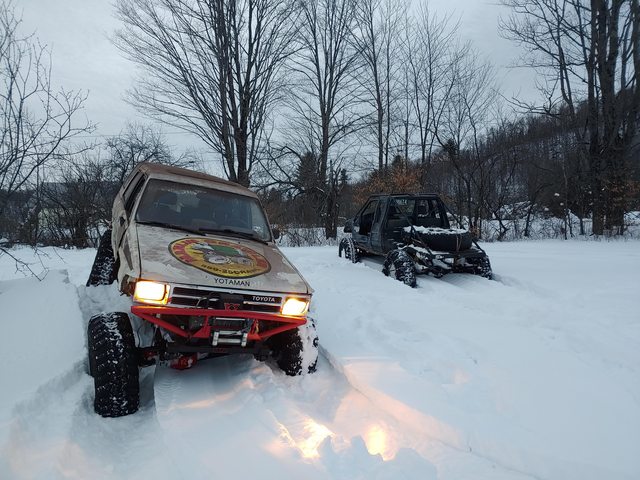
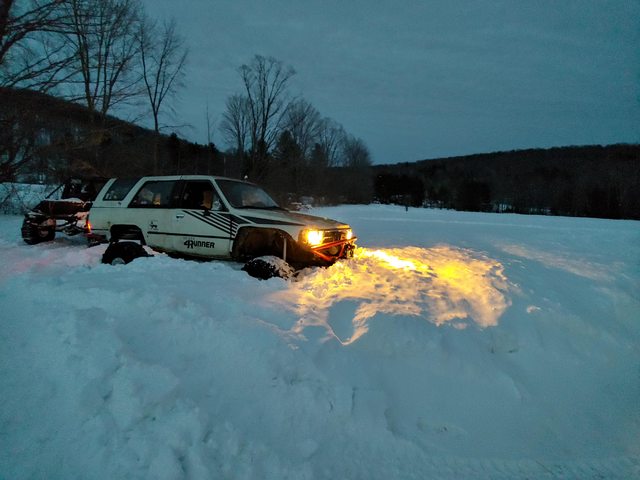
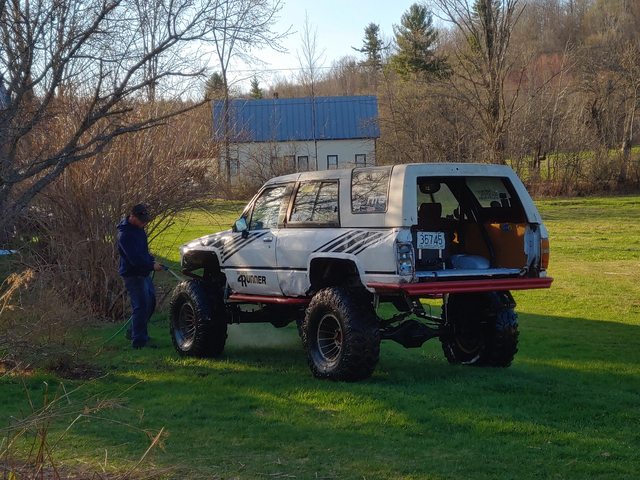
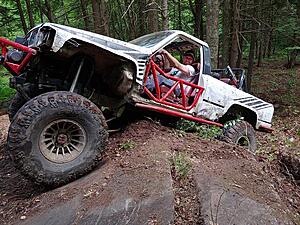
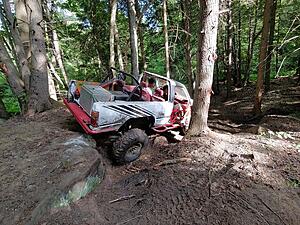
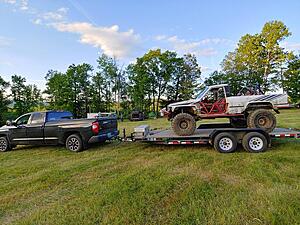
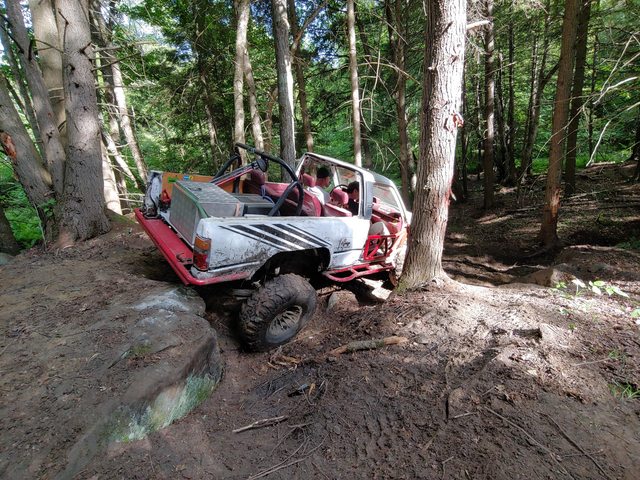
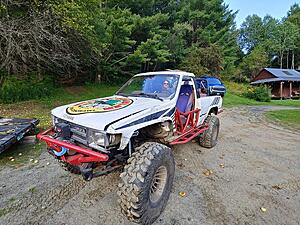
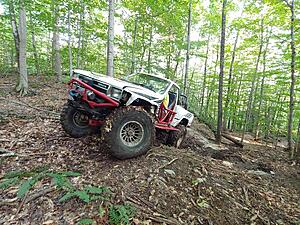
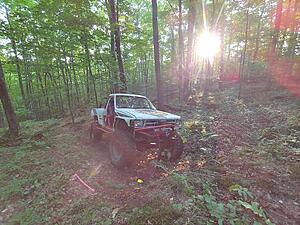
First real wheelin trip for this truck this weekend. Its not "ready", but its ready.
Well what started as removing the rear bolts on the t case ended up breaking 4 bolts and pulling the rear case. we left 3 of the broken bolts in the rear cover and removed the whole thing, and swapped out with a good one. The last one (pictured here) we welded a nut on to and zipped right out.

Back together and a test fit with the LROR collar

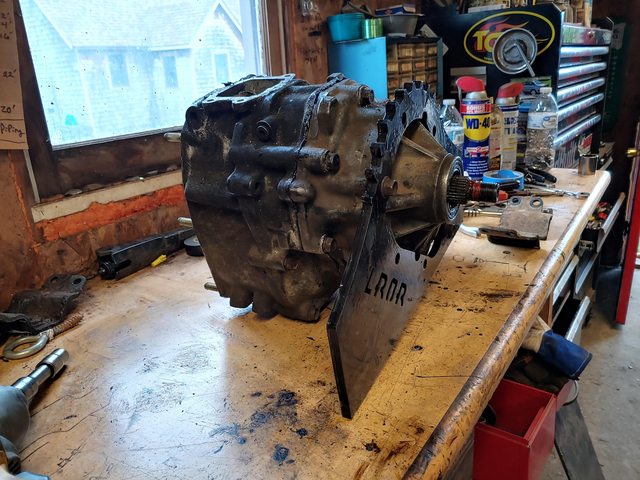
The frame ends are tube/bushing and link tabs from Low Range, and plated the frame where they weld on. Same hand rail tube that we used on the bumpers.

Finished up with some gussets.

And in the truck. Will be making some sort of skid off the factory mounts.

Also got the TG tube doors on.
Notch the upper hinge for easy install.
First real wheelin trip for this truck this weekend. Its not "ready", but its ready.
The following users liked this post:
de6w6it (06-07-2021)
 06-10-2021, 07:06 AM
#33
Registered User
Thread Starter
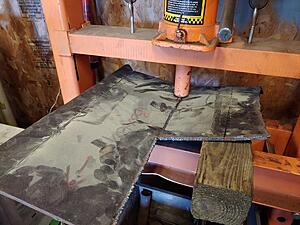
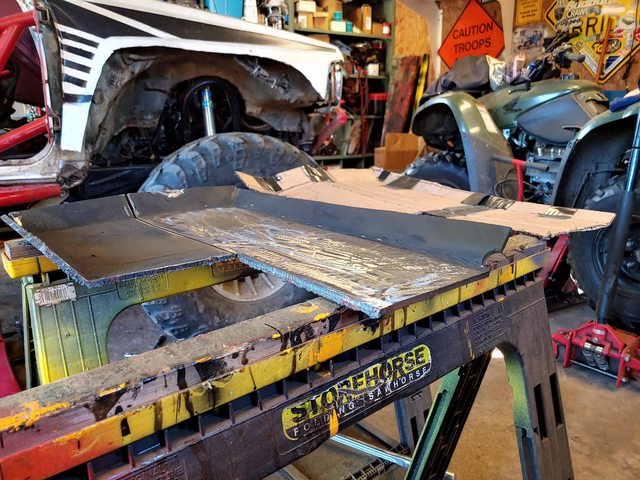
Made a quick skid plate. 1 hole will have to be drilled to get a bolt in and 2 holes for drain plugs. Still needs some bracing, but ran out of time. Ive been sitting on this piece of plate for about 4 years. I didnt even have to trim the shape just transfered to cardboard and went from there, it was just about a perfect fit. I would consider this version 1. Well see how it holds up and re make if needed..
The steel is from an old under ground oil tank dating back to the 1920s.
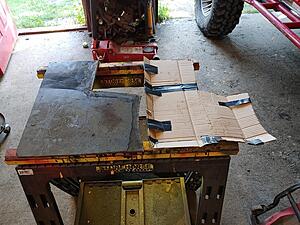
Made some slices, bent it up in the press and welded it back together.
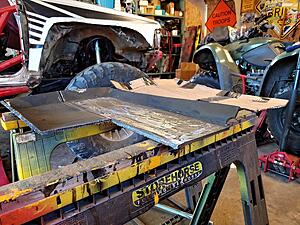

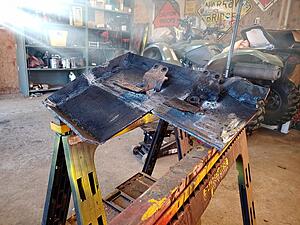
Paints drying. On truck pics soon.
The steel is from an old under ground oil tank dating back to the 1920s.

Made some slices, bent it up in the press and welded it back together.


Paints drying. On truck pics soon.


The following users liked this post:
swampedout (06-14-2021)
06-14-2021, 03:42 AM
#36
Registered User
Thread Starter
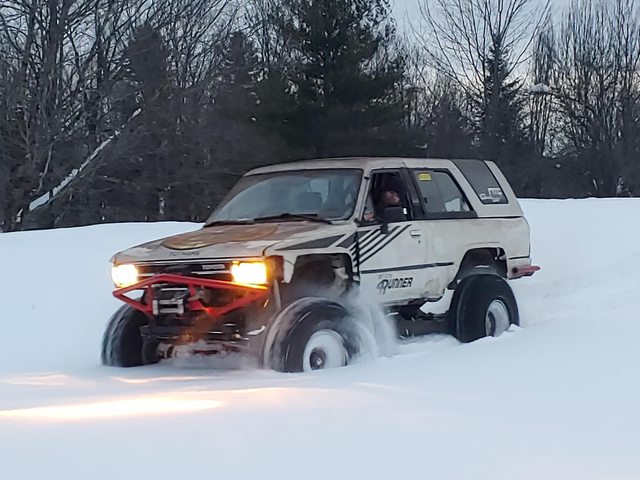
4runner did great all weekend. Needs better brakes, currently has the stock 84 rotors with v6 calipers, so well be addressing that next, and hopefully doing a cage soon.


The following 3 users liked this post by rattlewagon:
06-14-2021, 04:52 AM
#37

Looks like fun!
if the brakes were the main problem, thats a good sign.
if the brakes were the main problem, thats a good sign.
09-07-2021, 03:49 AM
#39
Registered User
Thread Starter
Been 3 trips out so far with the runner and the only trail fix we had to do was a loose battery terminal. Still needs other little things like pinion seals and an exhaust. Hopefully starting on a cage here soon.
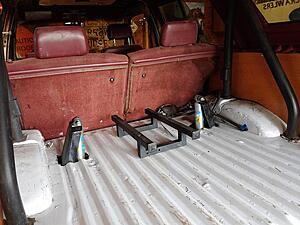
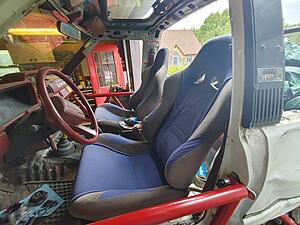
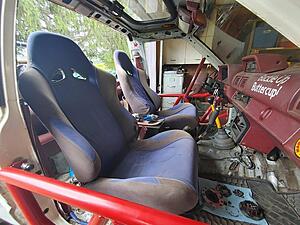
Got some used unknown seats mounted. Some one had started fitting them a toyota, so we really only had to make 1 mount.
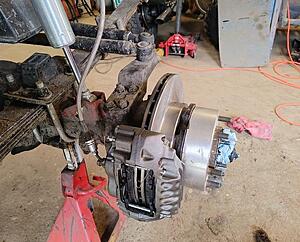
New IFS calipers and FJ60 rotors to help with braking. I believe it has a 1"master and newer booster already on it. The truck stops much better now but still has a very "hard" pedal.
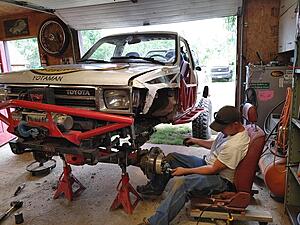
The chair hes sitting in is the original drivers seat with some casters on it.
Got some used unknown seats mounted. Some one had started fitting them a toyota, so we really only had to make 1 mount.


New IFS calipers and FJ60 rotors to help with braking. I believe it has a 1"master and newer booster already on it. The truck stops much better now but still has a very "hard" pedal.


The chair hes sitting in is the original drivers seat with some casters on it.


The following 2 users liked this post by rattlewagon:
Melrose 4r (09-07-2021),
swampedout (09-07-2021)
09-07-2021, 05:40 AM
#40
Registered User
Now i know what to do with those seats i swapped out!👍🏻


