87 pickup 22rte 5 speed 4x4, trail build and progress
 04-19-2013, 04:53 PM
#41
Registered User
Thread Starter
Join Date: Feb 2013
Location: eastern nc
Posts: 149
Likes: 0
Received 0 Likes
on
0 Posts
Thanks, yeah air tools and being able to fill mine or others' tires would be great.
I'm working on the oil cooler and remote oil filter setup.
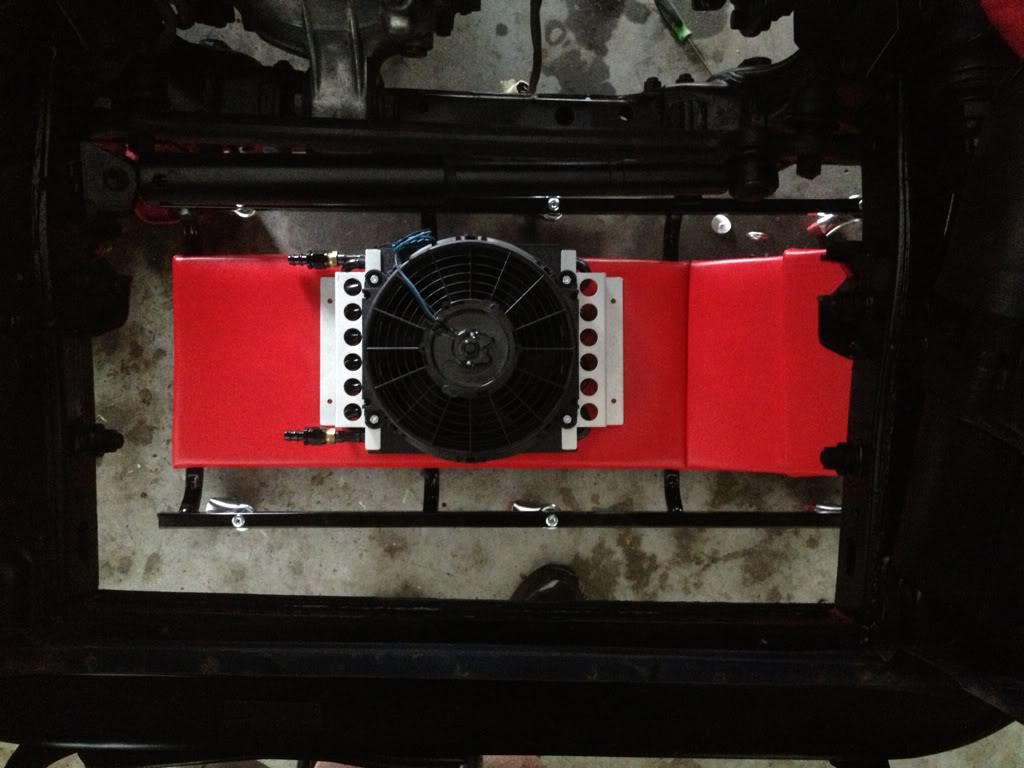
Working on some flat bar steel right now, to mount the oil cooler too. More pics to show the setup once I get it all done up
Front is 25 or 35%
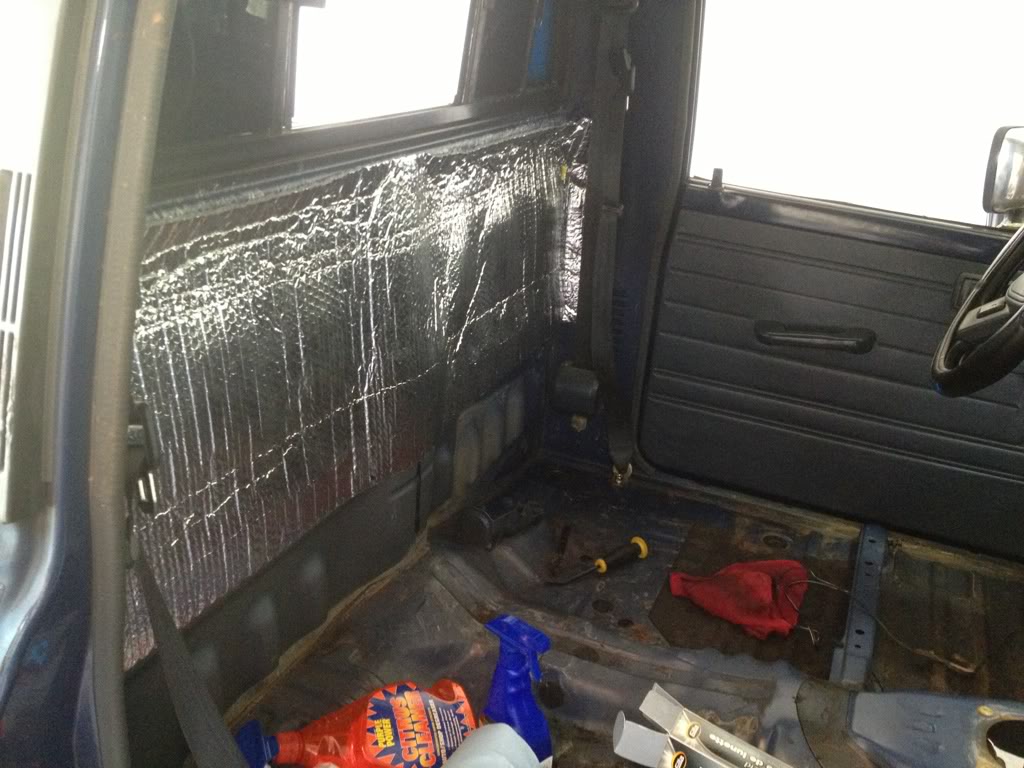
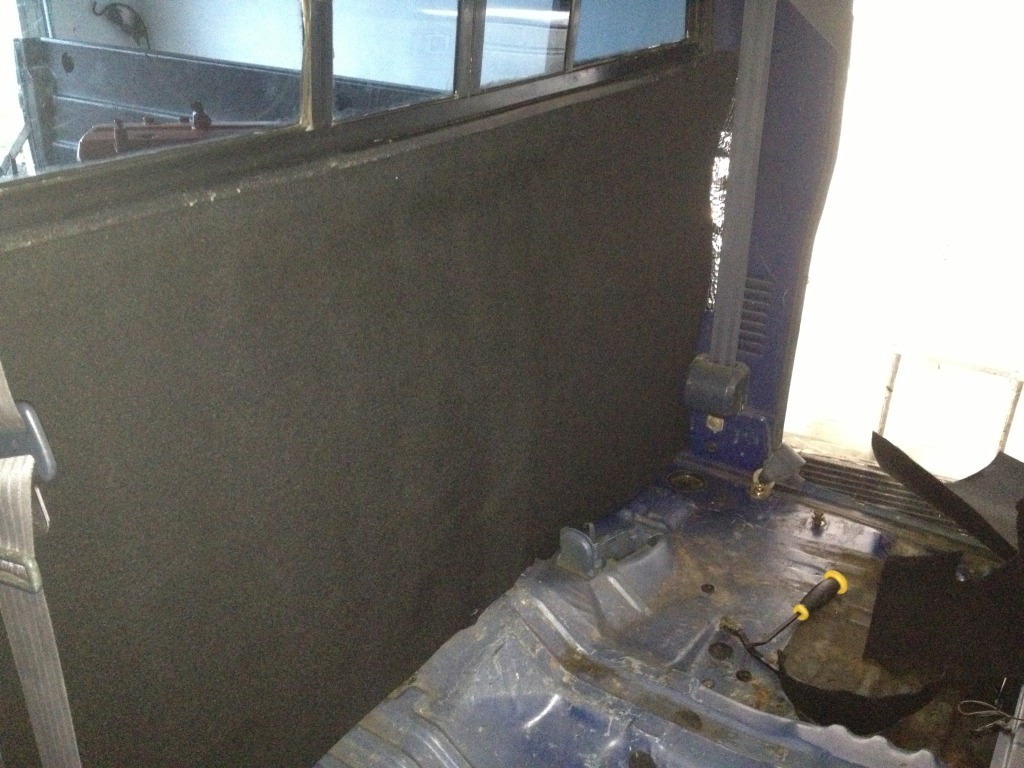
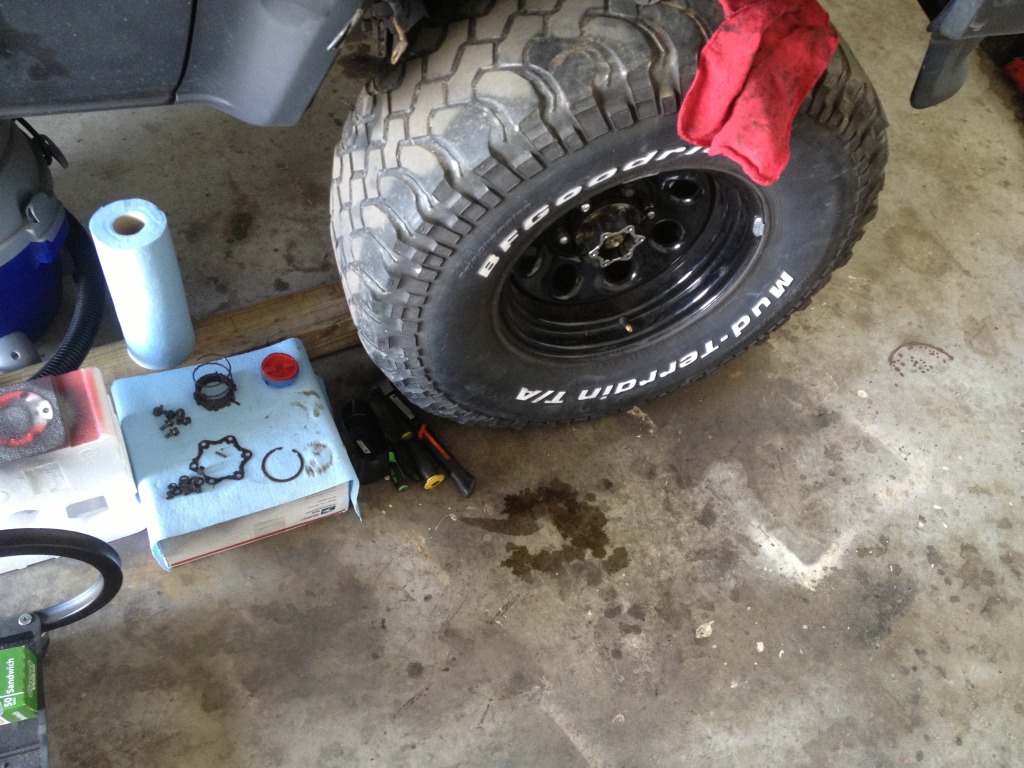
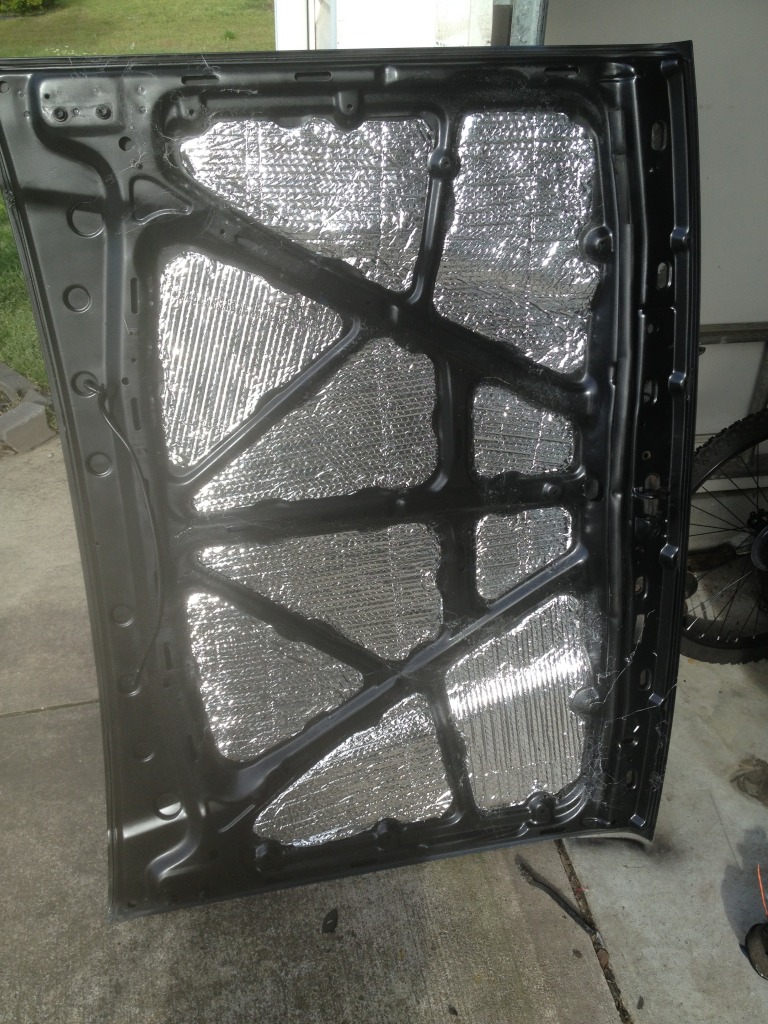
I was walking around lowes today to get more engine stand bolts and I saw some insulation, and since the truck won't have ac, I figure I would put this above the headliner and on the back
Got a concealed carry class tomorrow so probly won't get any work in on it
I'm working on the oil cooler and remote oil filter setup.
Working on some flat bar steel right now, to mount the oil cooler too. More pics to show the setup once I get it all done up
Front is 25 or 35%
I was walking around lowes today to get more engine stand bolts and I saw some insulation, and since the truck won't have ac, I figure I would put this above the headliner and on the back
Got a concealed carry class tomorrow so probly won't get any work in on it
 04-27-2013, 01:58 PM
#43
Registered User
Thread Starter
Join Date: Feb 2013
Location: eastern nc
Posts: 149
Likes: 0
Received 0 Likes
on
0 Posts
Today I managed to get a few hours in before the ole ball and chain wanted to get some food.
Rewired my horn, old wires like like a rat tried to eat them.
I fabbed to oil cooler bracket to mock it up. Still needs some work but it's in there and just need to get some nuts and bolts to finish everything up.
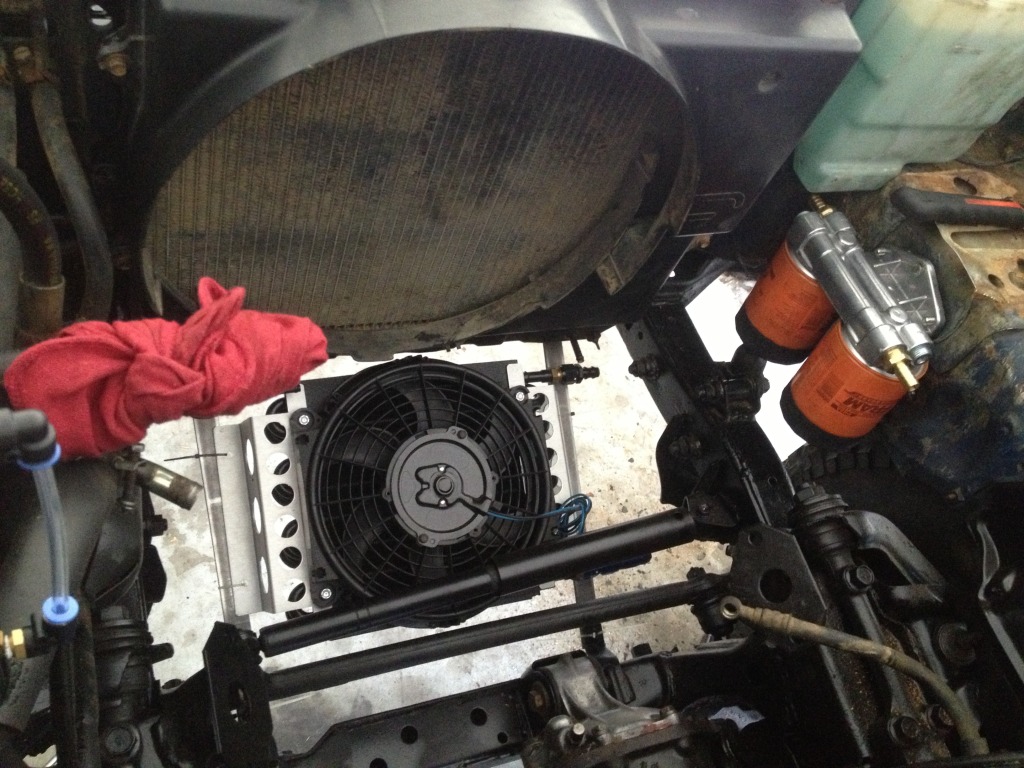
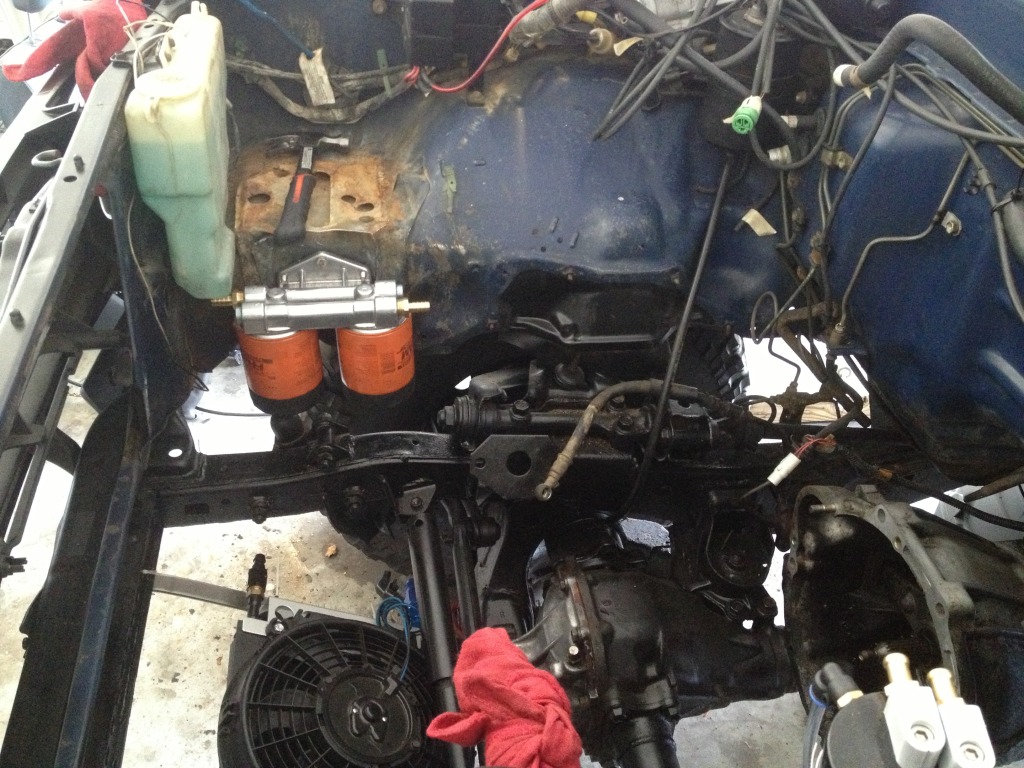
It's just held in with zip ties so I could check clearances and come up with a plan on how to plumb it up.
The whole oil cooler and dual filter setup should add about 3-4 quarts to the oil capacity, which should keep it cooler as well. Was thinking about it today and thought I should add a kill switch for the fan when ever I'm going through mud or water.
Also measured for the intercooler. It's gonna be a TIGHT fit. And I'm not quite sure how I'm going to plumb it yet. Probly going to get rid of the ps cooler as to route the charge tubes. But that's a little further down the road.
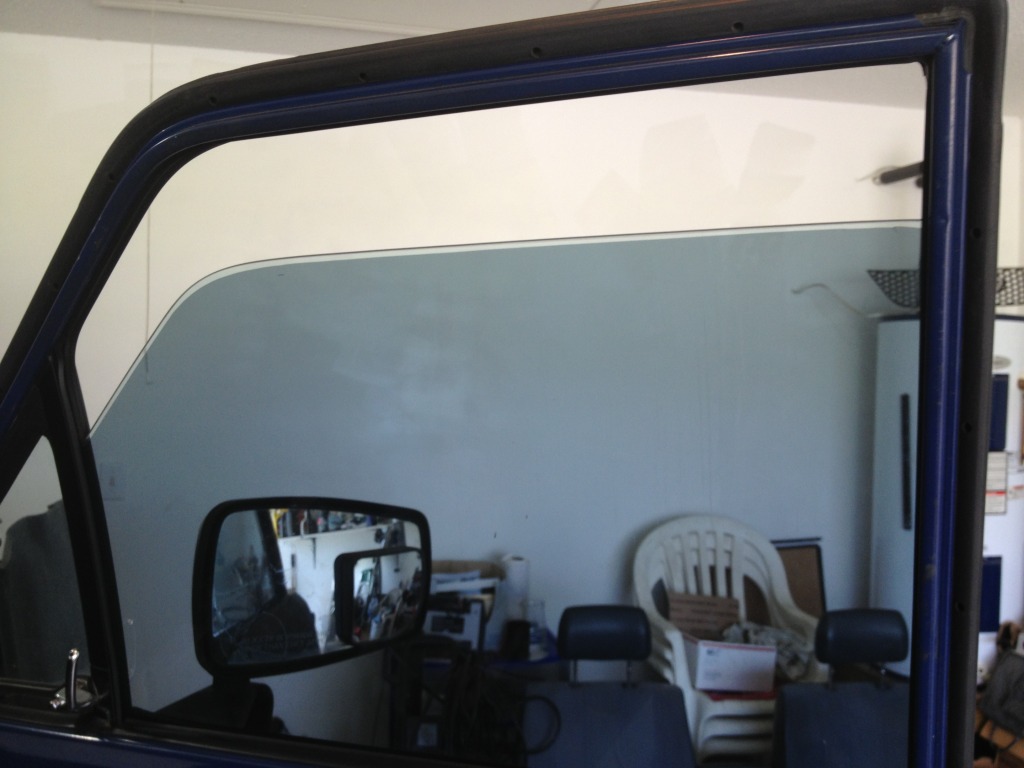
The windows
Seems like the more I look at this thing the more I want to fix stuff lol
Rewired my horn, old wires like like a rat tried to eat them.
I fabbed to oil cooler bracket to mock it up. Still needs some work but it's in there and just need to get some nuts and bolts to finish everything up.
It's just held in with zip ties so I could check clearances and come up with a plan on how to plumb it up.
The whole oil cooler and dual filter setup should add about 3-4 quarts to the oil capacity, which should keep it cooler as well. Was thinking about it today and thought I should add a kill switch for the fan when ever I'm going through mud or water.
Also measured for the intercooler. It's gonna be a TIGHT fit. And I'm not quite sure how I'm going to plumb it yet. Probly going to get rid of the ps cooler as to route the charge tubes. But that's a little further down the road.
The windows
Seems like the more I look at this thing the more I want to fix stuff lol
 04-30-2013, 01:13 PM
#45
Registered User
Thread Starter
Join Date: Feb 2013
Location: eastern nc
Posts: 149
Likes: 0
Received 0 Likes
on
0 Posts
One thing after another here in this build thread.
So I got my filter adapter in and got it installed
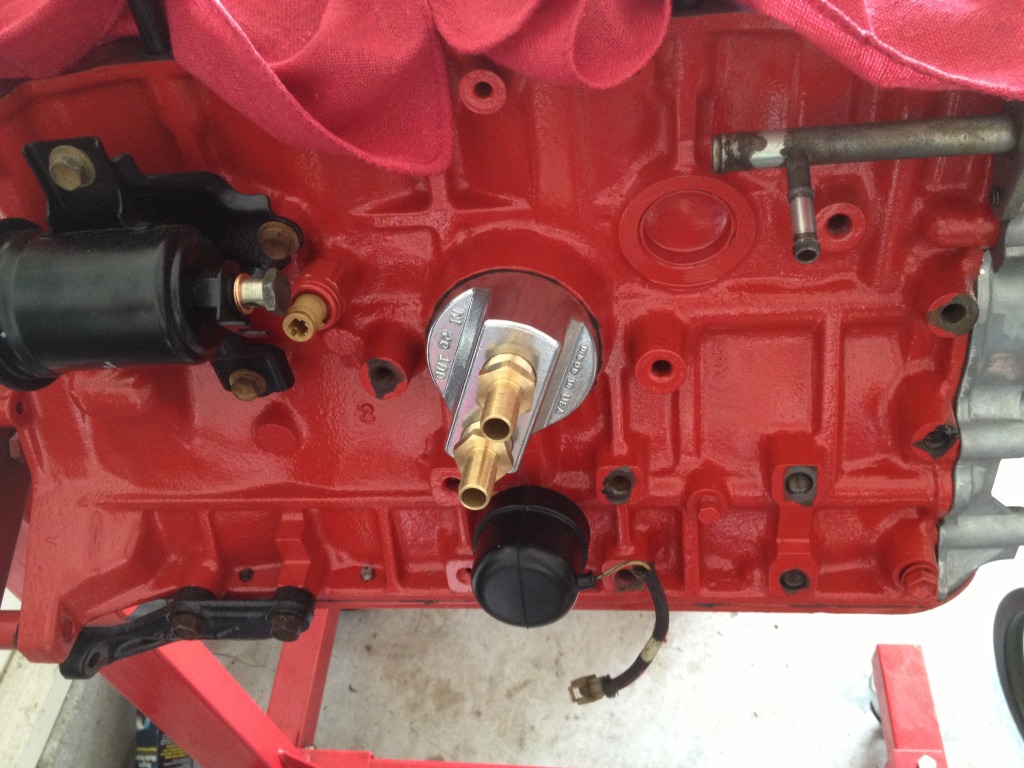
I got the kit off eBay, and it looks like it's going to be a great system. I kinda eyeballed it to see how I'm going to plumb the oil system up. Still contemplating the best way to do it.
So I got kinda bored and I started looking at my hubs, and thought I would take em apart and see how thy work/clean em up while I'm at it..... What I thought was a scratch or casting mark turned out to be
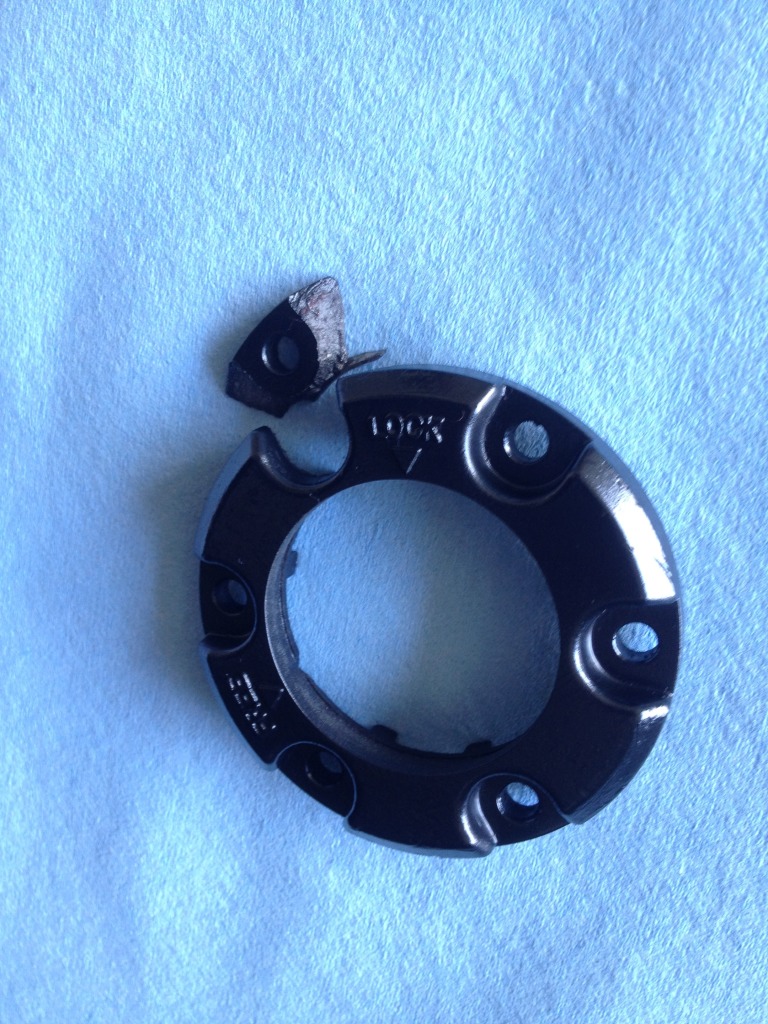
Idk what the torque specs for it is, but dang, they were just over finger tight. I couldn't get the cone washers off and I'm not sure if the parts store even carries em, so I decided to jut leave It be till I can find extras.
I did paint both pieces, looks good now... Minus the broken piece. It's always something lol
So I got my filter adapter in and got it installed
I got the kit off eBay, and it looks like it's going to be a great system. I kinda eyeballed it to see how I'm going to plumb the oil system up. Still contemplating the best way to do it.
So I got kinda bored and I started looking at my hubs, and thought I would take em apart and see how thy work/clean em up while I'm at it..... What I thought was a scratch or casting mark turned out to be
Idk what the torque specs for it is, but dang, they were just over finger tight. I couldn't get the cone washers off and I'm not sure if the parts store even carries em, so I decided to jut leave It be till I can find extras.
I did paint both pieces, looks good now... Minus the broken piece. It's always something lol
04-30-2013, 02:09 PM
#47
Registered User
Thread Starter
Join Date: Feb 2013
Location: eastern nc
Posts: 149
Likes: 0
Received 0 Likes
on
0 Posts
Thanks! I'm planning on the engbldr street/rv head and their 268 torkr cam. I might go with the 270 cam tho. I think either will work great. And I'm getting a .48 t3 turbo so it should start building boost at 1000-1200 rpm.
The oil system is a bit over board but I want a stone cold reliable build and with 8 quarts of oil the turbo shouldn't break down the oil as fast.
Thanks for followin!
The oil system is a bit over board but I want a stone cold reliable build and with 8 quarts of oil the turbo shouldn't break down the oil as fast.
Thanks for followin!
05-03-2013, 05:24 PM
#48
Registered User
Thread Starter
Join Date: Feb 2013
Location: eastern nc
Posts: 149
Likes: 0
Received 0 Likes
on
0 Posts
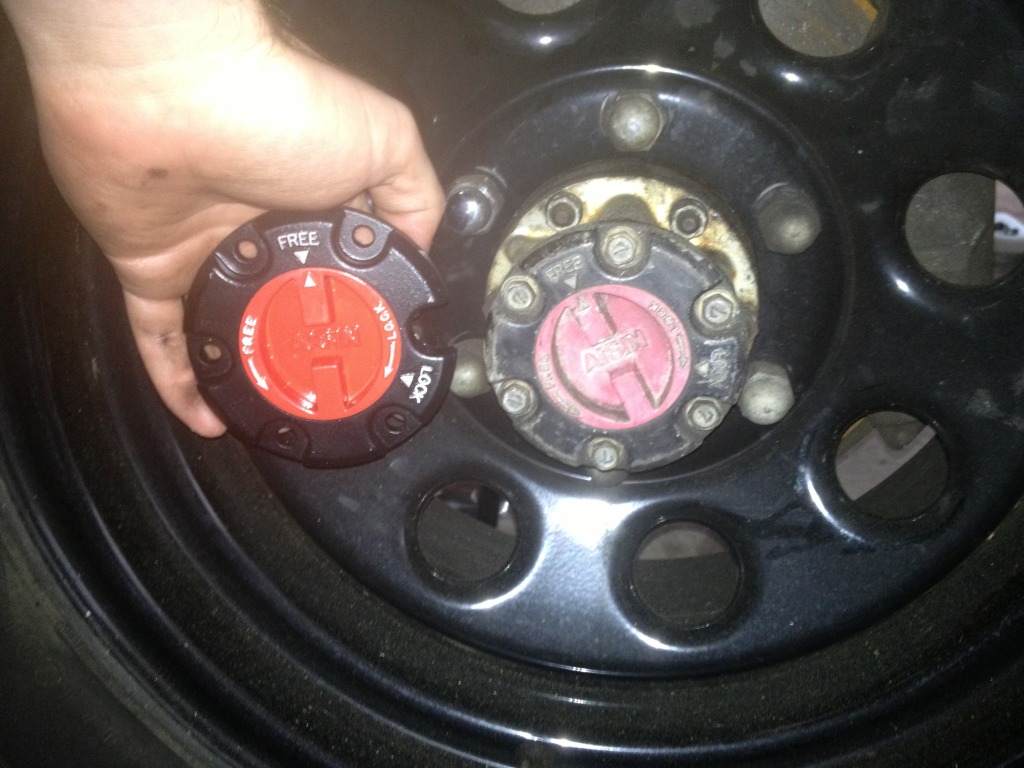
Had some extra insulate laying around and got creative
A before and after of the hubs
Ordered the rest of the stuff for plumbing the oil system.
Decided not to reupholster the seat till I get it running again, so the bench is back in the truck.
A before and after of the hubs
Ordered the rest of the stuff for plumbing the oil system.
Decided not to reupholster the seat till I get it running again, so the bench is back in the truck.
06-14-2013, 05:45 AM
#49
Registered User
Thread Starter
Join Date: Feb 2013
Location: eastern nc
Posts: 149
Likes: 0
Received 0 Likes
on
0 Posts
Been a while since any progress. Just ordered the streetrv head and 268 cam from engbldr this morning, going to order a clutch kit from wabfab and then I can get the engine back in the truck.
I'm gonna actually do away with the turbo setup for right now, so I can get this thing on the road. Just gonna put a regular 22re header on it and collect all the turbo pieces that I'm gonna need.
That'll do 2 things for me. I can get it running and on the road and break in the engine and I won't have to worry about breaking it in and tuning it for the turbo, it'll be a weekend project to install the turbo components and I'll be able to tune/diagnose it better.
That's where I am now, money has been really tight since I'm going to school now. Learning how to weld and it's going well. I'm gonna build a skid plate for it, to protect the oil cooler. And then a cross member like budbuilt's. things should move a little faster now.

 06-19-2013, 02:57 PM
#52
Registered User
Thread Starter
Join Date: Feb 2013
Location: eastern nc
Posts: 149
Likes: 0
Received 0 Likes
on
0 Posts
Thanks guys, I'm really excited to finally get this thing goin
I think I ordered everything hat I should really need. And I'm hoping to have the engine in the truck this weekend, we'll see though.
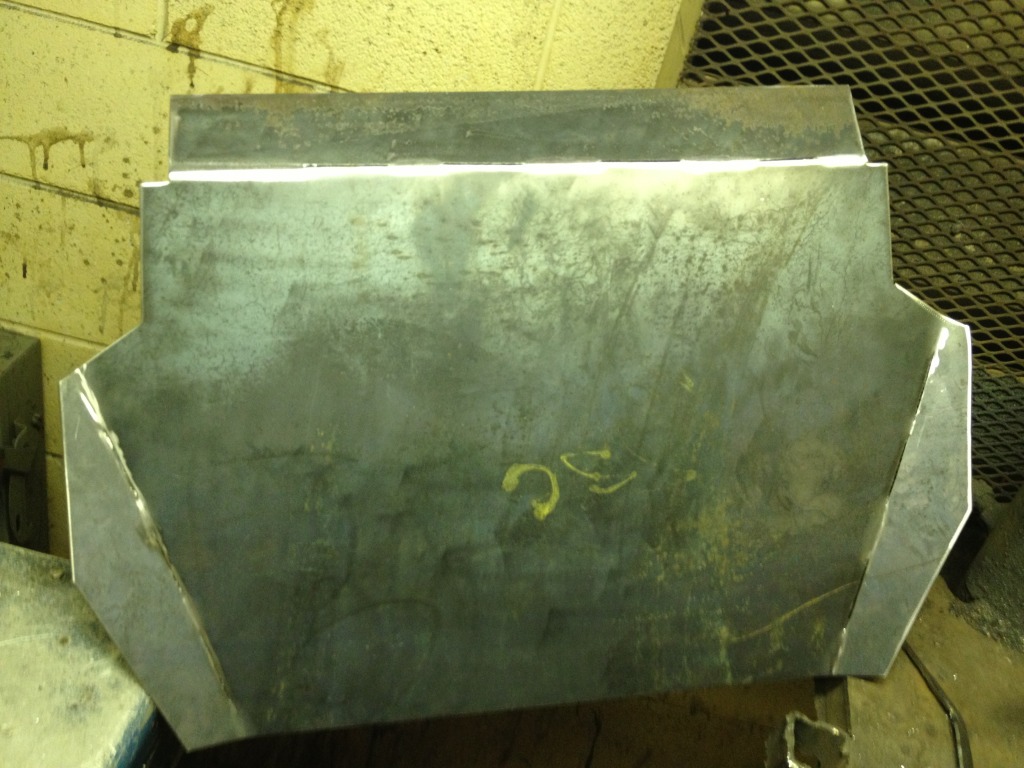
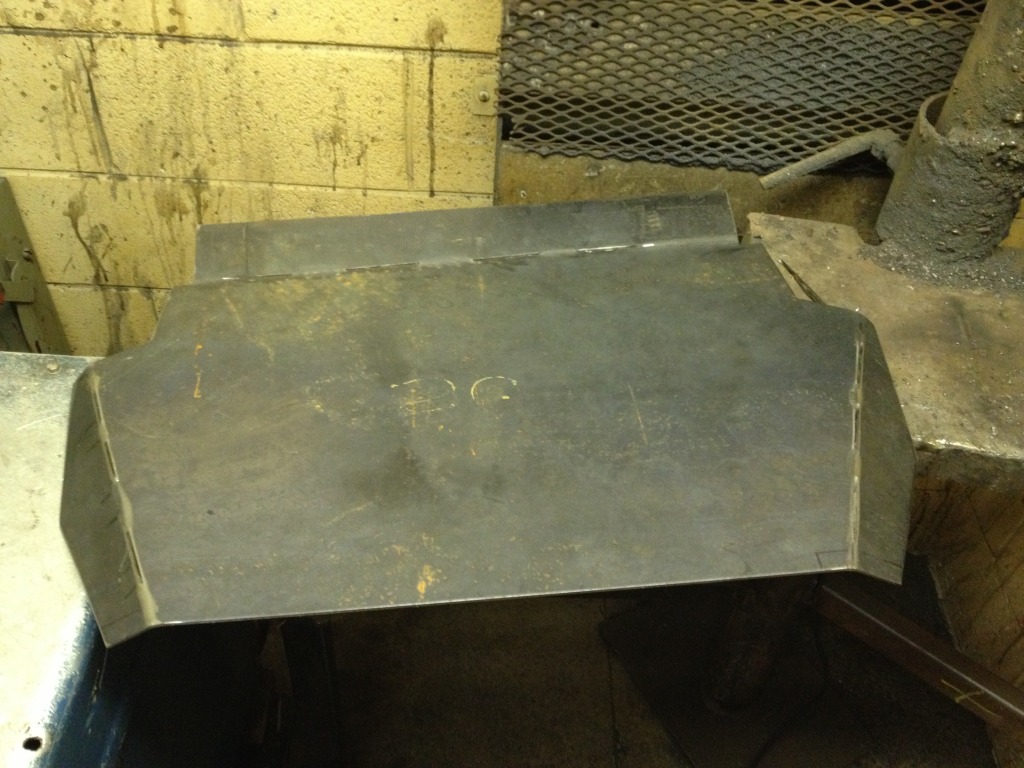
Cheapest header on eBay
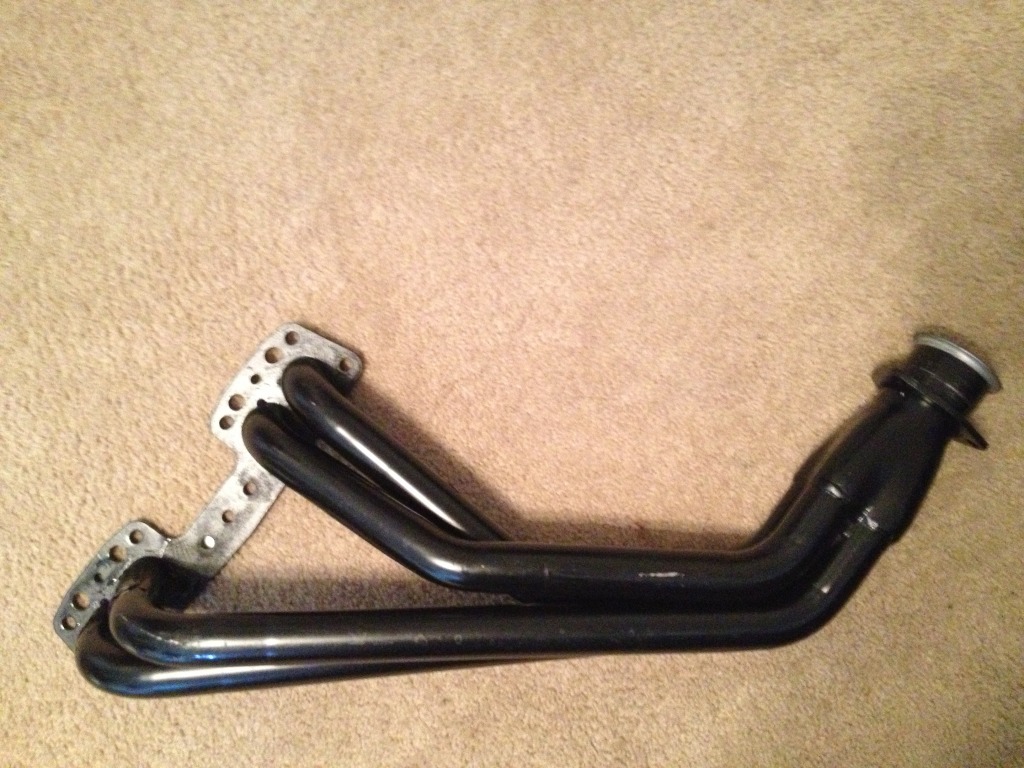
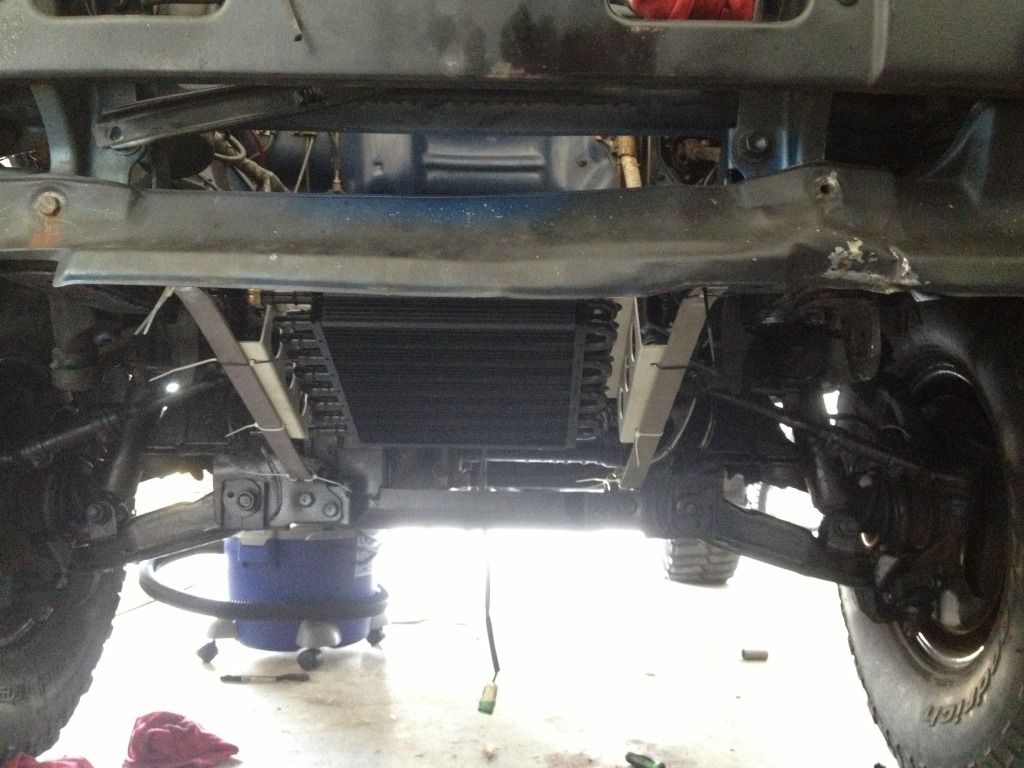
My skid plate/oil cooler mount, so far.
More updates to come soon, this project is finally warming up again.
I think I ordered everything hat I should really need. And I'm hoping to have the engine in the truck this weekend, we'll see though.
Cheapest header on eBay
My skid plate/oil cooler mount, so far.
More updates to come soon, this project is finally warming up again.
06-20-2013, 03:51 PM
#53
Registered User
Thread Starter
Join Date: Feb 2013
Location: eastern nc
Posts: 149
Likes: 0
Received 0 Likes
on
0 Posts
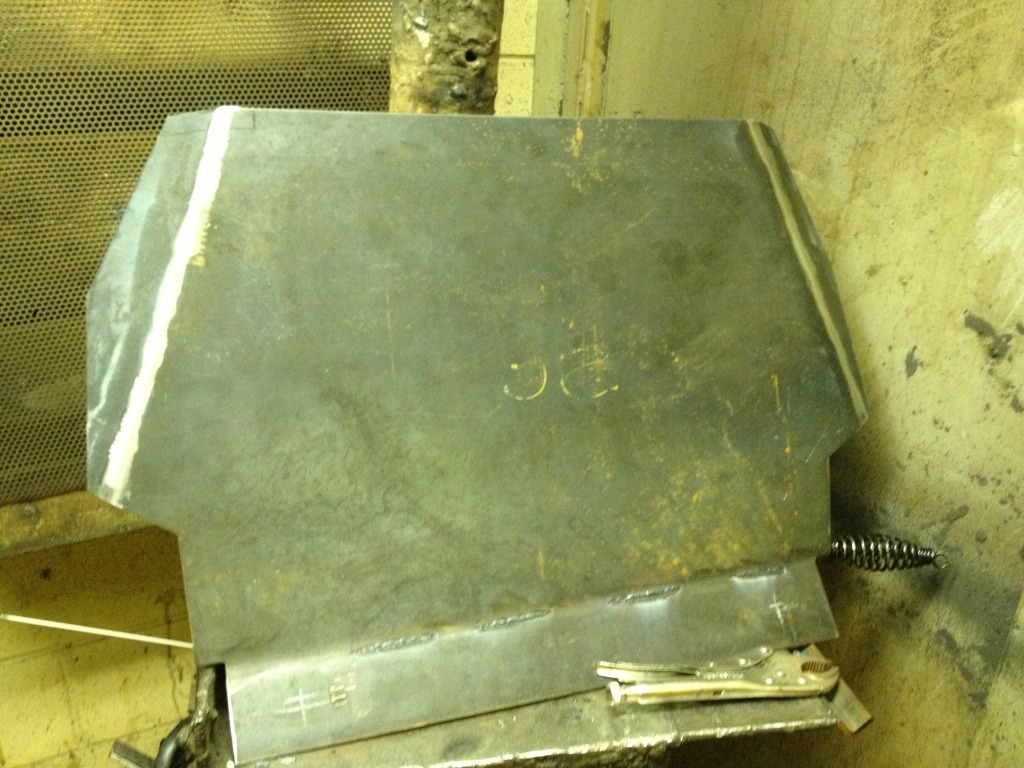
Well today I didn't get as much done as I was hoping. I did however weld up the skid plate, it might be kinda hard to see but I had to cut slots in the plate to get a better bend, and I welded me up today with some 5/64" 6013 rod, first time using that rod and it went really well, got them all welded, then grinded and smoothed. Really excited about my new skills!
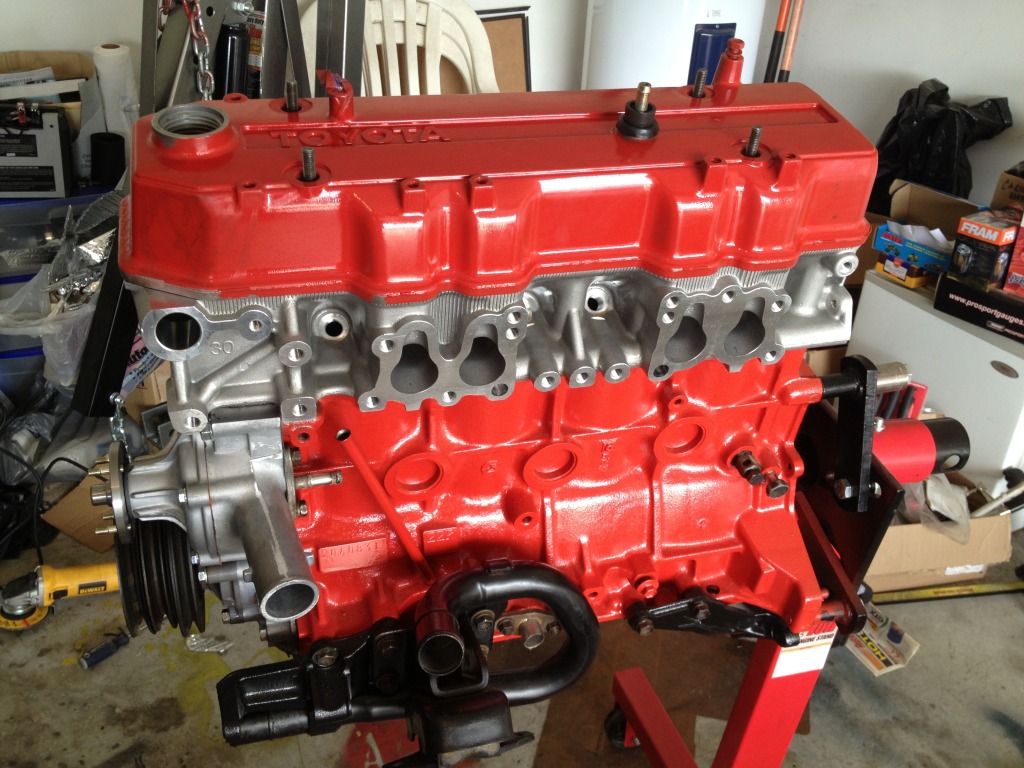
My engbldr head and cam came in, they look great! No studs, so I'm a little bummed, idk if ill buy a set or just go to the tractor supply and grab all I need. Tomorrow I'm planning to put the head on the block, and hopefully have the engine in the truck this weekend if my clutch comes in.
My engbldr head and cam came in, they look great! No studs, so I'm a little bummed, idk if ill buy a set or just go to the tractor supply and grab all I need. Tomorrow I'm planning to put the head on the block, and hopefully have the engine in the truck this weekend if my clutch comes in.
06-21-2013, 06:46 AM
#54
Registered User
Sweet truck man! If you ever need to get rid of that roof visor i will gladly take it off your hands! I love the look of them and considering the in cab sun shades are relatively small i think the visor would be a nice addition to a runner/pickup. Excited to see what you do to the rig!
The hub dial bolts are only supposed to be like 9ft lbs nothing to serious. to get the cone washers out smack them with a brass drift they probably have been there since the truck rolled out of production so a few extra love taps may be needed, they can be a serious pain to get out and can be replaced with something else if you want. If you need to replace any hub parts, rebuild the aisin ones!! they are very well made hubs and if you need some extra parts i'm sure theres a few YTers that have some kickin around
The hub dial bolts are only supposed to be like 9ft lbs nothing to serious. to get the cone washers out smack them with a brass drift they probably have been there since the truck rolled out of production so a few extra love taps may be needed, they can be a serious pain to get out and can be replaced with something else if you want. If you need to replace any hub parts, rebuild the aisin ones!! they are very well made hubs and if you need some extra parts i'm sure theres a few YTers that have some kickin around
06-21-2013, 01:10 PM
#55
Registered User
Thread Starter
Join Date: Feb 2013
Location: eastern nc
Posts: 149
Likes: 0
Received 0 Likes
on
0 Posts
Thanks for the tips man! I do like the visor but if I ever change my mind ill let you know!
As far as the hubs, I got some news/thoughts that ill get to later in the post.
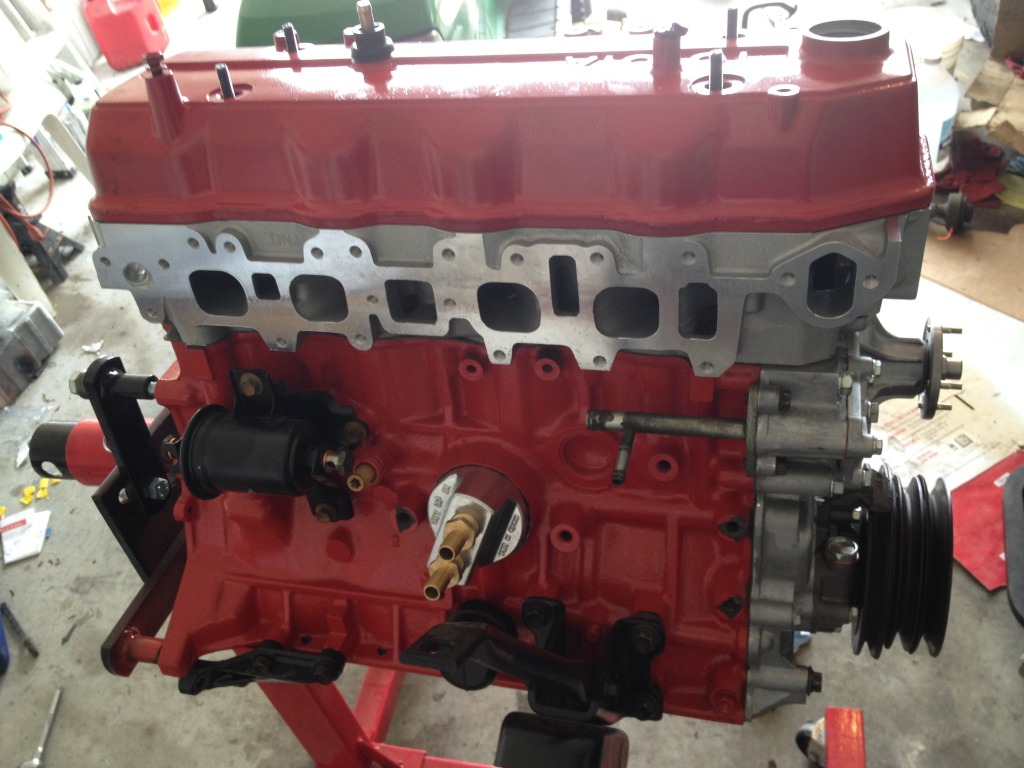
Today has almost broken my spirit. I got the head on and torqued to 90 lbft, and the valve cover clearanced for the dual row timing chain and arp studs.
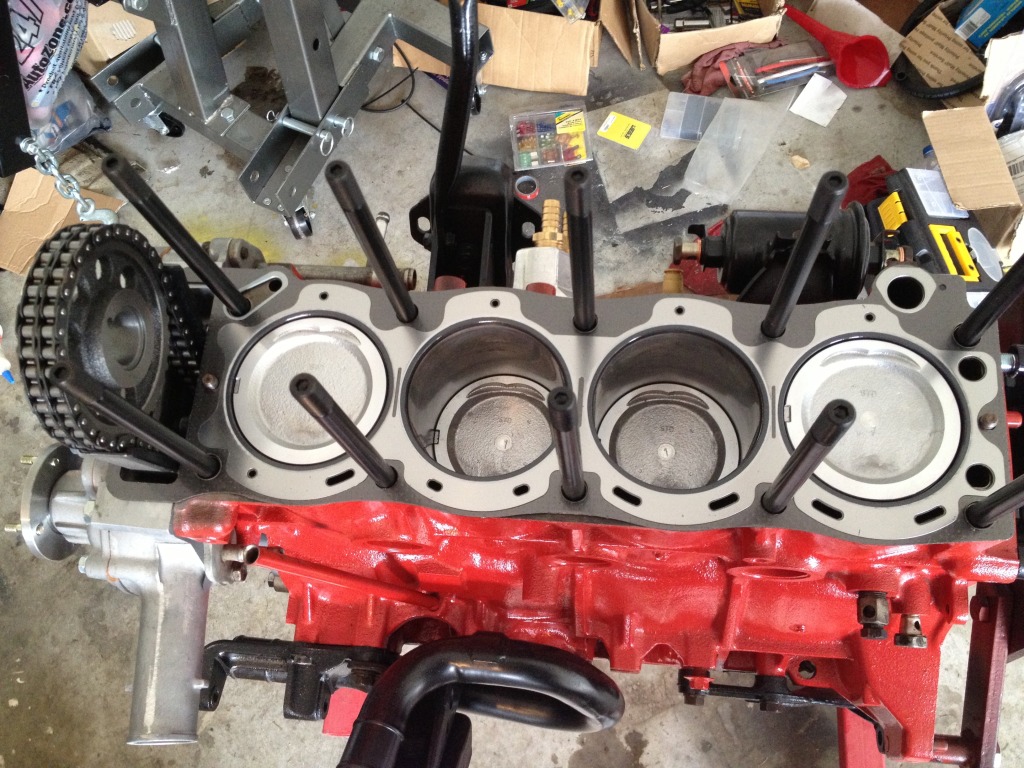
To start I took the timing cover off so I could check the timing chain for any binding because I could NOT turn the engine over by hand. By hand I mean 3 foot 1/2 drive breaker bar onto the crank bolt and was lifting the engine and stand off the ground even with 1 foot on the stand. Didn't even budge. Well the chain looked fine so I got the head on and then took the oil pan off and loosened all the connecting rod bolts, just enough to take the torque off. Tried turning it over and it spun pretty easily. So I started retorqueing the rod caps one at a time until I found the culprit. #1 cyl, the same one with the messed up bearing on engine disassembly. I took the cap off and guess what, same exact pattern as old bearings.
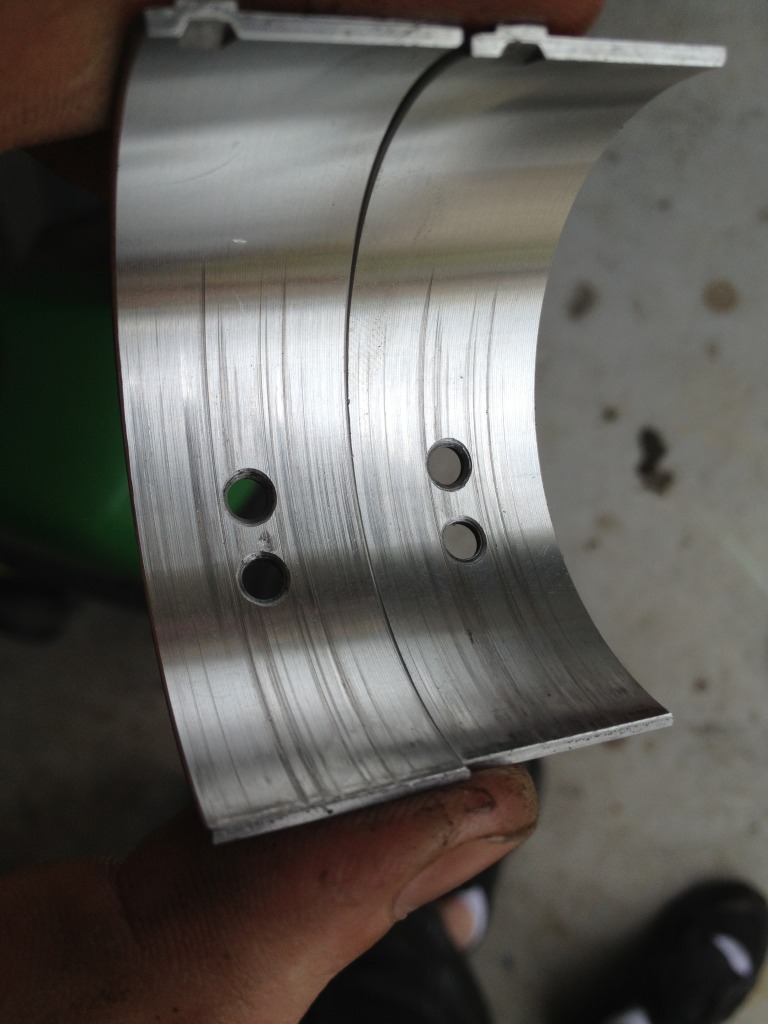
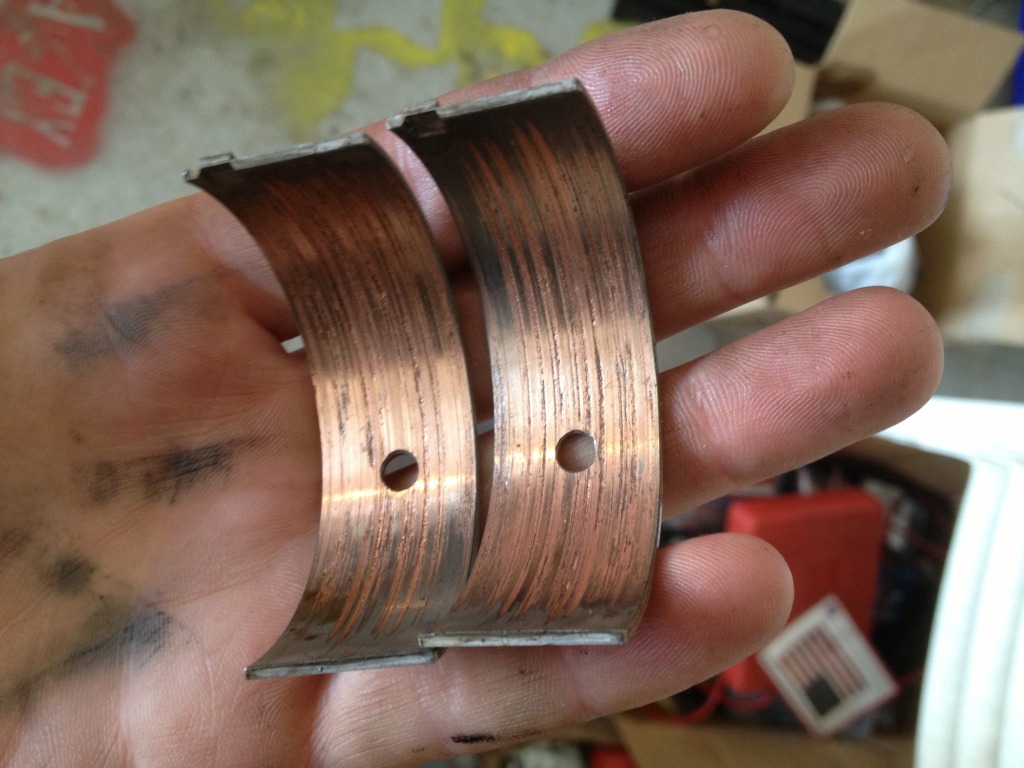
First off I'm disgusted in myself, I should've known better. I finger swiped the journal and it was smooth.... Didn't check the other side tho, so i reached up on the top side and Swiped it and I could feel the burs... So now I'm gonna order new bearings and I'm gonna try to take the burs out with the ole' emery cloth and rope trick. Starting with 400 grit and unding with 1000 or higher to polish. I'll use the bearings currently on it from the other rods to test the #1 rod journal after I try deburring it. Then I'll use all the new bearings once its good to go.
I'm just disappointed in myself after that. I could've had the crank turned while it was out and I'm really hoping I don't have to tear he engine back down. Just trying to get the timing cover and the oil pan was tough...( I used black rev with the mindset that it wouldn't be opened up for another 200k miles. Without leaking and such.
On another less gloomy subject I found a sfa on cl for $400! Complete, hub to hub, 4.10 gears (so no re-gearing needed) and I'm just toying with the idea of how cool it would be to have a 3 link sas. But I gotta get this thing going before I can even consider undertaking this kind of thing. And I have lots of reading and research to do.
As far as the hubs, I got some news/thoughts that ill get to later in the post.
Today has almost broken my spirit. I got the head on and torqued to 90 lbft, and the valve cover clearanced for the dual row timing chain and arp studs.
To start I took the timing cover off so I could check the timing chain for any binding because I could NOT turn the engine over by hand. By hand I mean 3 foot 1/2 drive breaker bar onto the crank bolt and was lifting the engine and stand off the ground even with 1 foot on the stand. Didn't even budge. Well the chain looked fine so I got the head on and then took the oil pan off and loosened all the connecting rod bolts, just enough to take the torque off. Tried turning it over and it spun pretty easily. So I started retorqueing the rod caps one at a time until I found the culprit. #1 cyl, the same one with the messed up bearing on engine disassembly. I took the cap off and guess what, same exact pattern as old bearings.
First off I'm disgusted in myself, I should've known better. I finger swiped the journal and it was smooth.... Didn't check the other side tho, so i reached up on the top side and Swiped it and I could feel the burs... So now I'm gonna order new bearings and I'm gonna try to take the burs out with the ole' emery cloth and rope trick. Starting with 400 grit and unding with 1000 or higher to polish. I'll use the bearings currently on it from the other rods to test the #1 rod journal after I try deburring it. Then I'll use all the new bearings once its good to go.
I'm just disappointed in myself after that. I could've had the crank turned while it was out and I'm really hoping I don't have to tear he engine back down. Just trying to get the timing cover and the oil pan was tough...( I used black rev with the mindset that it wouldn't be opened up for another 200k miles. Without leaking and such.
On another less gloomy subject I found a sfa on cl for $400! Complete, hub to hub, 4.10 gears (so no re-gearing needed) and I'm just toying with the idea of how cool it would be to have a 3 link sas. But I gotta get this thing going before I can even consider undertaking this kind of thing. And I have lots of reading and research to do.
 06-21-2013, 04:20 PM
#57
Registered User
Thread Starter
Join Date: Feb 2013
Location: eastern nc
Posts: 149
Likes: 0
Received 0 Likes
on
0 Posts
Yeah, I always tell ppl to take their time and make sure they do it right. I guess I was just really hoping that everything was gonna be dandy. And I figured it would be scuffed all the way around and not just on one side. Live and learn I suppose, thanks for your post!
06-22-2013, 07:54 AM
#58
Registered User
Thread Starter
Join Date: Feb 2013
Location: eastern nc
Posts: 149
Likes: 0
Received 0 Likes
on
0 Posts
So I got the crank deburred, oil pan cleaned off, all electrical connections under the hood smothered in dielectric, and the hub put back together with a thin layer of Rtv since I can't find star gaskets anywhere. Realized today that the 22re header has some smog provisions on it. Probly just gonna fill the holes with jb weld. Clutch and new bearing should be arriving this week. It's gettin close! But not nearly fast enough. Hoping to have the turbo and everything in it within a few months
06-22-2013, 09:16 AM
#59
Registered User

Join Date: May 2013
Posts: 17
Likes: 0
Received 0 Likes
on
0 Posts
Yes to the comment on the cone washers that hold the hub on. Loosen the nuts and spray the studs with oil. Lightly tap the end of the stud with a hammer and the comes will pop right out. Be careful to not mash the end of the studs too much. Removing the nuts after popping the cones loose will help straighten any threads you may have flattened.
06-22-2013, 01:31 PM
#60
Registered User
Thread Starter
Join Date: Feb 2013
Location: eastern nc
Posts: 149
Likes: 0
Received 0 Likes
on
0 Posts
Sweet! Thanks for the tips!
I also think I'm going to just get a new crank. I really want 200k out of this thing, and I don't want to worry about premature bearing failure.
I also think I'm going to just get a new crank. I really want 200k out of this thing, and I don't want to worry about premature bearing failure.


