My OM617 inside build page


 06-08-2012, 07:01 AM
#43
Registered User
Thread Starter
iTrader: (1)

Join Date: Aug 2005
Location: appleton wisconsin
Posts: 392
Likes: 0
Received 0 Likes
on
0 Posts
The engine mounts were great. Bolted right up. the powder coating was built up in the holes but that is to be expected.
The om617 to W56 fit good. It gave the same trouble of changing and engine. it fit the om617 block like it was a stock part.
Always a pain in the backside getting everything lined up.
The Power steering adapter fit good after I was told it used the Mercedes pump not the Toyota pump the website stated.
The alternator mount was a no brainer.
As for the drilling of the flywheel, I brought it to a machine shop and had it milled. Because I didn’t want to screw it up
Last edited by 2003mikem; 06-08-2012 at 07:05 AM. Reason: typo
 06-10-2012, 05:20 PM
#48
Registered User
Thread Starter
iTrader: (1)
Join Date: Aug 2005
Location: appleton wisconsin
Posts: 392
Likes: 0
Received 0 Likes
on
0 Posts
Can some one please give me a good description of how to hook up the fuel shut off valve to my key.
Please be very descrppiptive I have read several post and either I'm a dump a$$ or I just keep missing something.
Thanks
Please be very descrppiptive I have read several post and either I'm a dump a$$ or I just keep missing something.
Thanks
06-10-2012, 08:31 PM
#49
Registered User
Join Date: Apr 2011
Location: Sedalia, MO
Posts: 317
Likes: 0
Received 0 Likes
on
0 Posts
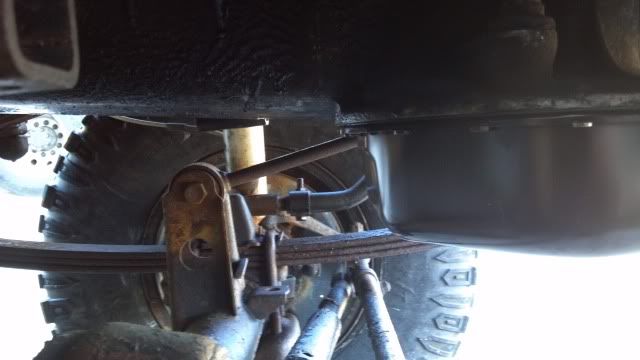
The swap is looking great. I had to grind my starter a bit too. You may have to space the starter out a bit as mine didn't quite clear the flywheel, but your plate may compensate that. As for the hut off. There is a vacuum solenoid on the valve cover on the 22re I believe. 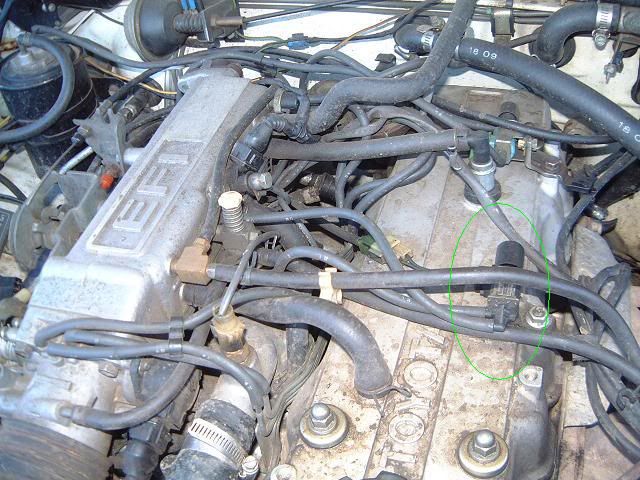 Its circled in green. Take and wire that to the power wire for the ignitor on the existing wiring harness. The make a T fitting out of the brake booster line so you can run a small vacuum line to that solenoid. The run another from the shut off valve on the IP to the solenoid. I mounted it to the fender well on my truck. You can see it on the very right side of the picture. Its tied to the ignitor in the left fender.
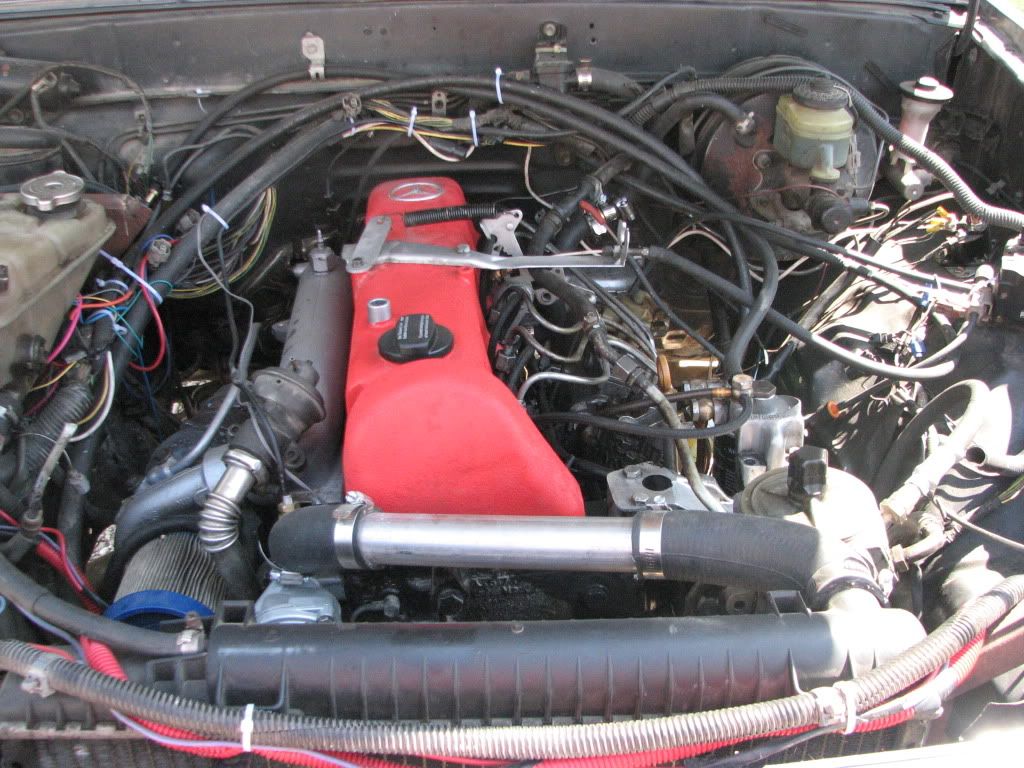

There you can see how I did my brake booster line.
Its circled in green. Take and wire that to the power wire for the ignitor on the existing wiring harness. The make a T fitting out of the brake booster line so you can run a small vacuum line to that solenoid. The run another from the shut off valve on the IP to the solenoid. I mounted it to the fender well on my truck. You can see it on the very right side of the picture. Its tied to the ignitor in the left fender. There you can see how I did my brake booster line.
06-21-2012, 04:06 AM
#52
Registered User
Thread Starter
iTrader: (1)
Join Date: Aug 2005
Location: appleton wisconsin
Posts: 392
Likes: 0
Received 0 Likes
on
0 Posts
Ok here are some basic updates from my swap.
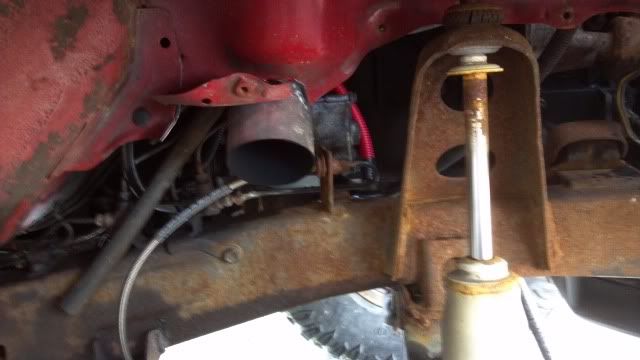
I had to move the trany back 1-1/2 “ ok not a big deal but still a time taker.
I had to order a metric adapter from autometer to adapt the oil line from my gauges to the stock Mercedes oil hose out put on the filter housing.
Also installed two 12” electric cooling fans controlled by a thermostatic really attached to the radiator.
Next up is a valve adjustment waiting on my 2 wrenches to do the adjustments.
06-21-2012, 05:47 AM
#53
Registered User
Thread Starter
iTrader: (1)
Join Date: Aug 2005
Location: appleton wisconsin
Posts: 392
Likes: 0
Received 0 Likes
on
0 Posts
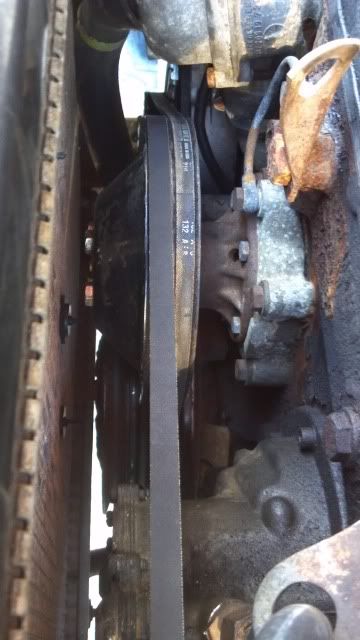
I did find out the purpose for the power steering pump adapter. Or at least what I see.
It movers the belt from the front pulley to a rear of pulley. In my case since I had to cut the front rib of the crank pulley to clear the radiator.
It movers the belt from the front pulley to a rear of pulley. In my case since I had to cut the front rib of the crank pulley to clear the radiator.
06-21-2012, 09:22 AM
#54
Registered User

Join Date: Mar 2012
Posts: 91
Likes: 0
Received 0 Likes
on
0 Posts
The purpose of the new ps mount is to move it further rearward on the engine,so it won't hit the the radiator.
06-22-2012, 04:47 AM
#56
Registered User
Thread Starter
iTrader: (1)
Join Date: Aug 2005
Location: appleton wisconsin
Posts: 392
Likes: 0
Received 0 Likes
on
0 Posts
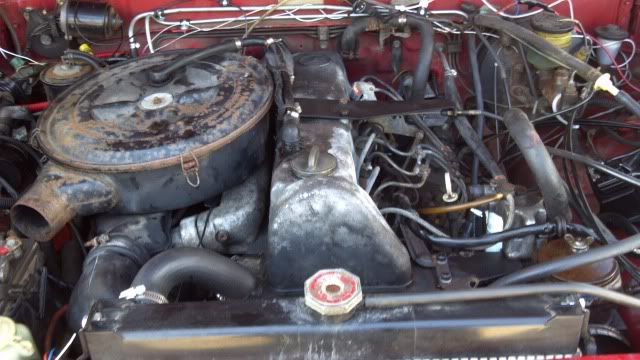
I still have a lot of work to do once I am completely satisfied with the swap.
But at this point I am very happy with the power.
With the stock 22RE and 33” tires I had never been able to keep the 4Runner above 55 MPH in 5 th gear.
Now with the OM617 I have no problem keeping it at 75-80 in 5ht on the same stretch of highway.
12 mile run and still running very cool.
Some pics of the gauges at 60 MPH
70 PSI oil
9-10 PSI boost
All I can say is so far It has great power and torque.
06-22-2012, 04:47 AM
#57
Registered User
Thread Starter
iTrader: (1)
Join Date: Aug 2005
Location: appleton wisconsin
Posts: 392
Likes: 0
Received 0 Likes
on
0 Posts
I still have a lot of work to do once I am completely satisfied with the swap.
But at this point I am very happy with the power.
With the stock 22RE and 33” tires I had never been able to keep the 4Runner above 55 MPH in 5 th gear.
Now with the OM617 I have no problem keeping it at 75-80 in 5ht on the same stretch of highway.
12 mile run and still running very cool.
Some pics of the gauges at 60 MPH
70 PSI oil
9-10 PSI boost
All I can say is so far It has great power and torque.
06-22-2012, 05:41 AM
#59
Registered User
Thread Starter
iTrader: (1)
Join Date: Aug 2005
Location: appleton wisconsin
Posts: 392
Likes: 0
Received 0 Likes
on
0 Posts
Sure will, But keep in mind I kept everything under the hood to make sure I liked the swap. Once I am 100% happy iwill reroute everything and clean it all up. so when I am ready to clean things up I will have about 20-30 hours and $3-400.00 in look pretty parts and hardware.