Painting/Customizing 90's SR5 Rims
 07-07-2012, 10:40 AM
#1
Registered User
Thread Starter
Painting/Customizing 90's SR5 Rims
Hello Powerful and Ominpotent Y.T....
I am here to provide some help to those who are looking for a cheap upgrade on their Stock 90's Aluminum SR5 Rims.
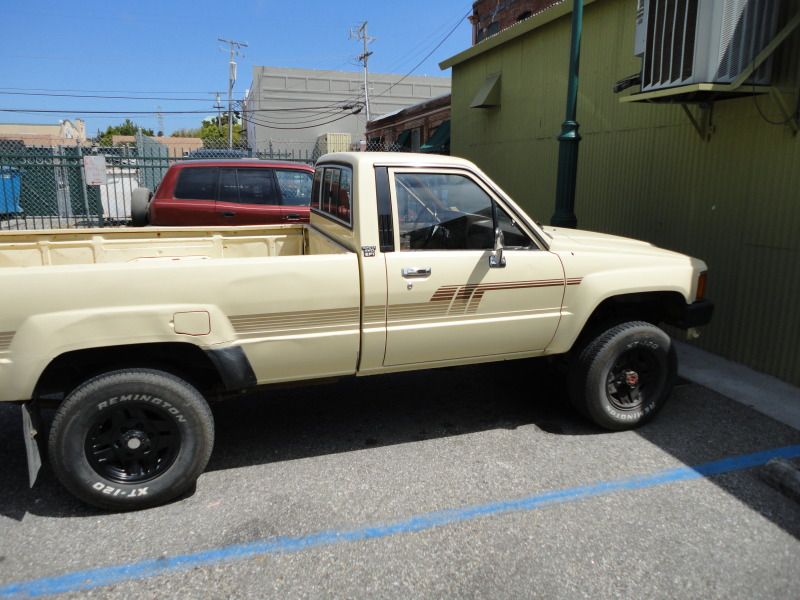
I got a set for 50$ here in S/C a few weeks back, and since I'd just given my 94's a nice set of 80's Steel 15x7's, I figured I'd give these a sprucing up and deliver them to my girlfriend for her 1986 22RE 4x4.
Here's what I did. Note: She lives 2 miles up a dirt road, so they've held up great with no chipping or the like. I'll give updates down the line if someone's really looking for info come year X or Y. hah
'Ingredients':
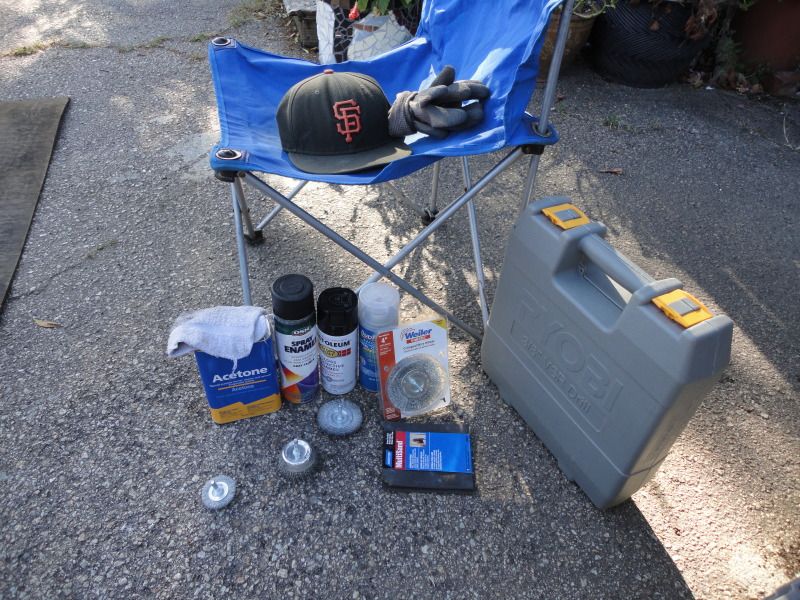
- VSR Drill with 3 4'/3'/2'in grinding cup brush wheels.
- Acetone (for clean-up/prep)
- 2 Hand Sanding Pads (100 grip or finer, depending on personal preference)
- 1 Tall 18' oz Can Automotive Primer (Gray)
- 2 Reg 16' oz Cans of Automotive Paint (High Gloss ________)
- 1 Reg 16'oz Can of Automotive Rim Clear Coat (Duplicolor preferred)
- 1 Hat / 1 Mask / 2 Gloves / 1 Chair
- 1 Work Surface (I went with a 4X6 Piece of Pressboard)
and...
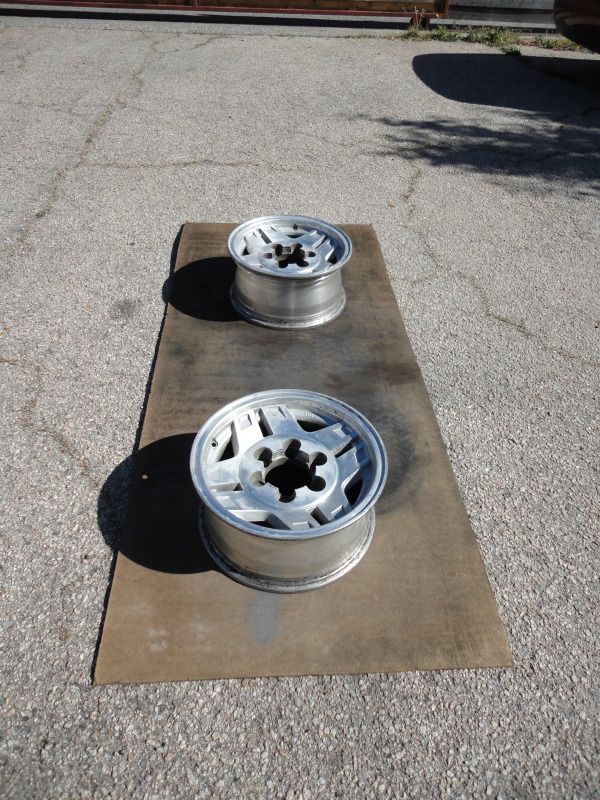
- X4 90's SR5 Rims in Varying states of disrepair!
SO. Step 1)
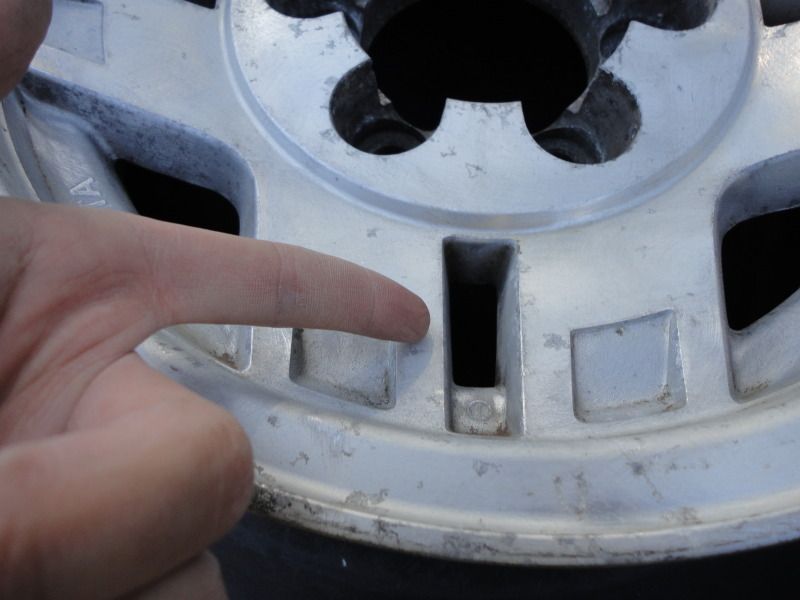
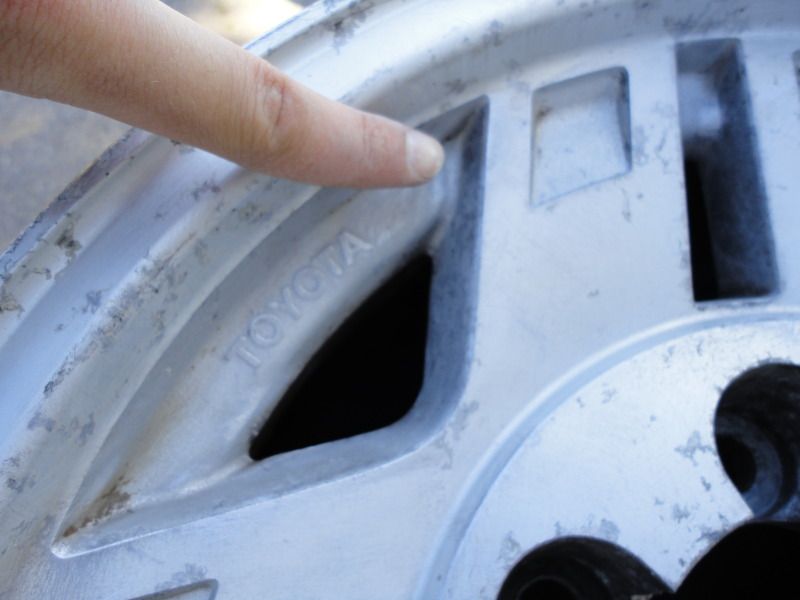
-Use the Drill and Rough the ENTIRE surface of the rim. (You'll get a form to this after the first one, since it helps you see exactly what size/type cup brush fits into what hole) Make SURE you get into the places that you cannot access with the drill with your Sanding Pads, these areas are the most difficult to get to, but essential to a clean finish free of blemish and early chipping!
- The above and bellow are examples of where you'll need that hand sander.
- WEAR YO' MASK MAN!
Step 2)
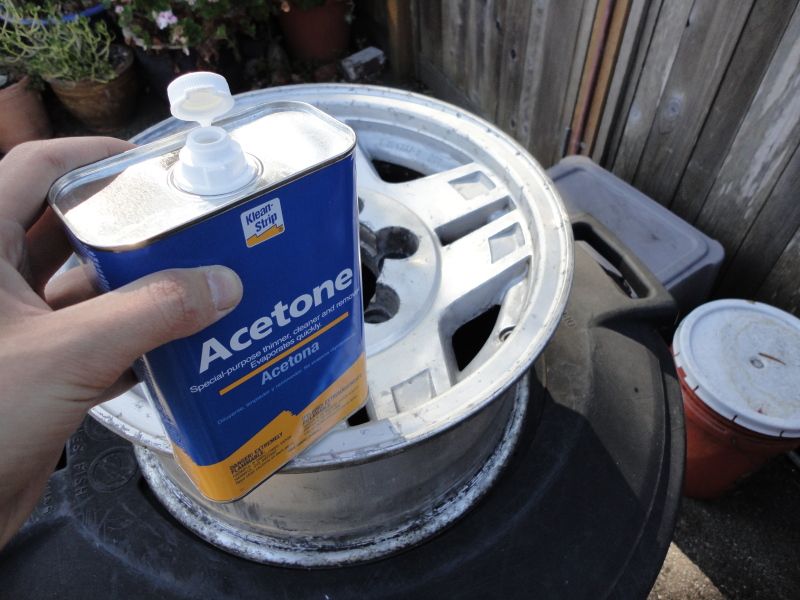
- After all four rims have been prepped for paint, use the Acetone to clean the surface of the rims. Be Sure to look at the rims surface with a light or the sun behind it, so you can see any spots you missed. If you did miss spots, repeat step 1. Then Repeat Step 2 for any rims touched-up.
Step 3)
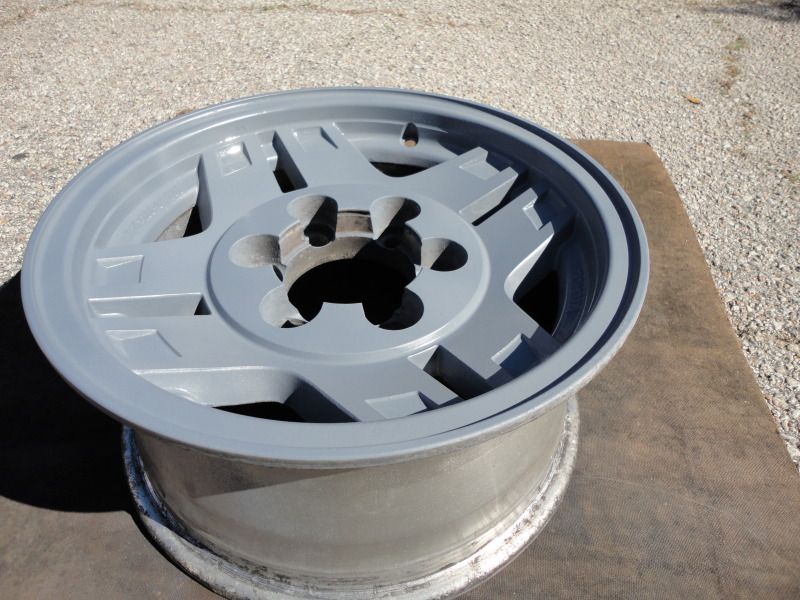
- Following the directions on the can, spray the FIRST of 3 Coats of Primer onto the rims.
- If all 4 rims are ready, and sit in a windless and sunny place, #1 should be ready for it's 2nd coat by the time you finish the 1st coat on #4.
- Repeat, Drink Soda/Beer/Water, Repeat.
Step 4) / Final Step/Step 5)
 If you fool around, like I did, while waiting for the paint to dry, you'll maybe need to touch up the paint again because you might trip-over-a-rim-while-playing-with-a-tow-rope.... but that's just me. Don't. be. like. me.
- After waiting 10+/- minutes for the primer to dry, begin the first of 3 Coats of Paint. These are the most fundamental to the finish of the rim, so don't kick up dust, put them under a tree, or move them. Just let them be.
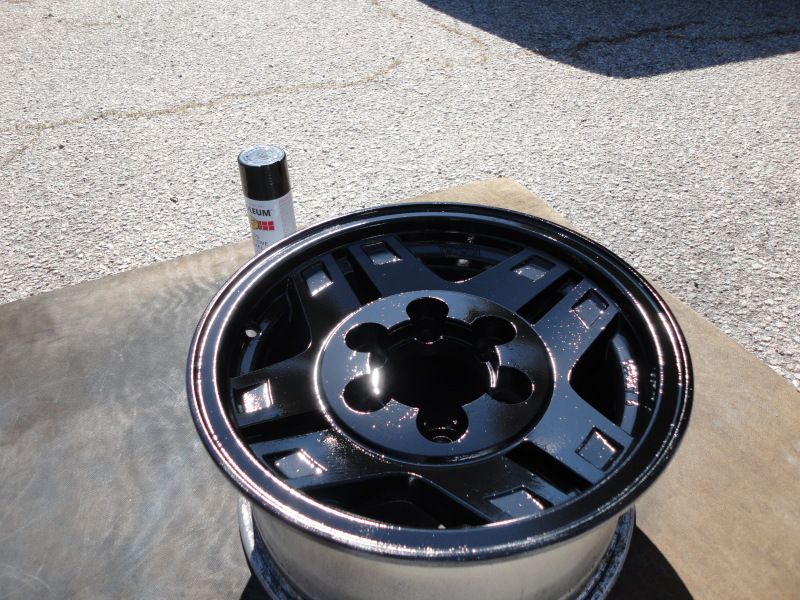
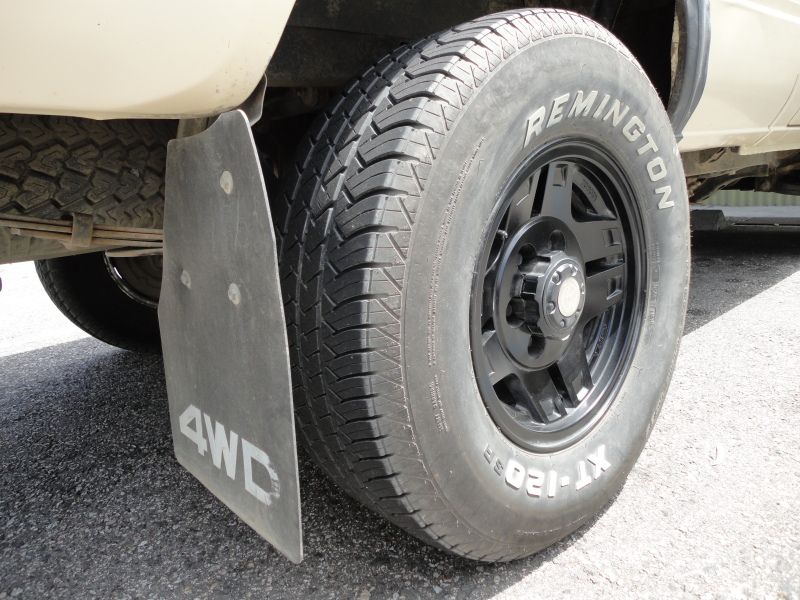
- After all 3 coats, begin the first on 2 coats of finish/clear coat. The finished product will astound you!
-Big Ups from S/C!
I am here to provide some help to those who are looking for a cheap upgrade on their Stock 90's Aluminum SR5 Rims.
I got a set for 50$ here in S/C a few weeks back, and since I'd just given my 94's a nice set of 80's Steel 15x7's, I figured I'd give these a sprucing up and deliver them to my girlfriend for her 1986 22RE 4x4.
Here's what I did. Note: She lives 2 miles up a dirt road, so they've held up great with no chipping or the like. I'll give updates down the line if someone's really looking for info come year X or Y. hah
'Ingredients':
- VSR Drill with 3 4'/3'/2'in grinding cup brush wheels.
- Acetone (for clean-up/prep)
- 2 Hand Sanding Pads (100 grip or finer, depending on personal preference)
- 1 Tall 18' oz Can Automotive Primer (Gray)
- 2 Reg 16' oz Cans of Automotive Paint (High Gloss ________)
- 1 Reg 16'oz Can of Automotive Rim Clear Coat (Duplicolor preferred)
- 1 Hat / 1 Mask / 2 Gloves / 1 Chair
- 1 Work Surface (I went with a 4X6 Piece of Pressboard)
and...
- X4 90's SR5 Rims in Varying states of disrepair!
SO. Step 1)
-Use the Drill and Rough the ENTIRE surface of the rim. (You'll get a form to this after the first one, since it helps you see exactly what size/type cup brush fits into what hole) Make SURE you get into the places that you cannot access with the drill with your Sanding Pads, these areas are the most difficult to get to, but essential to a clean finish free of blemish and early chipping!
- The above and bellow are examples of where you'll need that hand sander.
- WEAR YO' MASK MAN!
Step 2)
- After all four rims have been prepped for paint, use the Acetone to clean the surface of the rims. Be Sure to look at the rims surface with a light or the sun behind it, so you can see any spots you missed. If you did miss spots, repeat step 1. Then Repeat Step 2 for any rims touched-up.
Step 3)
- Following the directions on the can, spray the FIRST of 3 Coats of Primer onto the rims.
- If all 4 rims are ready, and sit in a windless and sunny place, #1 should be ready for it's 2nd coat by the time you finish the 1st coat on #4.
- Repeat, Drink Soda/Beer/Water, Repeat.
Step 4) / Final Step/Step 5)
If you fool around, like I did, while waiting for the paint to dry, you'll maybe need to touch up the paint again because you might trip-over-a-rim-while-playing-with-a-tow-rope.... but that's just me. Don't. be. like. me.- After waiting 10+/- minutes for the primer to dry, begin the first of 3 Coats of Paint. These are the most fundamental to the finish of the rim, so don't kick up dust, put them under a tree, or move them. Just let them be.
- After all 3 coats, begin the first on 2 coats of finish/clear coat. The finished product will astound you!
-Big Ups from S/C!


 07-08-2012, 02:55 PM
#6
Registered User
A lot of people cut painter's tape into those little squares and leave them the satin color. they actually look pretty good like that with the black. just a thought. Looks good regardless 

Thread
Thread Starter
Forum
Replies
Last Post
1uzRunner
84-85 Trucks & 4Runners (Build-Up Section)
63
11-10-2018 03:58 PM
FS[PacNorWest]: 1993 4 Runner, V6, 4wd, Auto,
AkitaDog
Vehicles - Trailers (Complete)
0
09-03-2015 09:01 PM


