
Regular guy with regular tools gear swap (Lots of pics)
 01-21-2017, 12:58 PM
#101
Plates should drive in hard....may have to grease them up to help them pound in without egg-shaping the plate.
No way around it.....to get the right pattern you have to go deeper on the pinion shim and the backlash will be lessened as a result. You will need some new plates.
No way around it.....to get the right pattern you have to go deeper on the pinion shim and the backlash will be lessened as a result. You will need some new plates.
 01-26-2017, 06:30 PM
#105
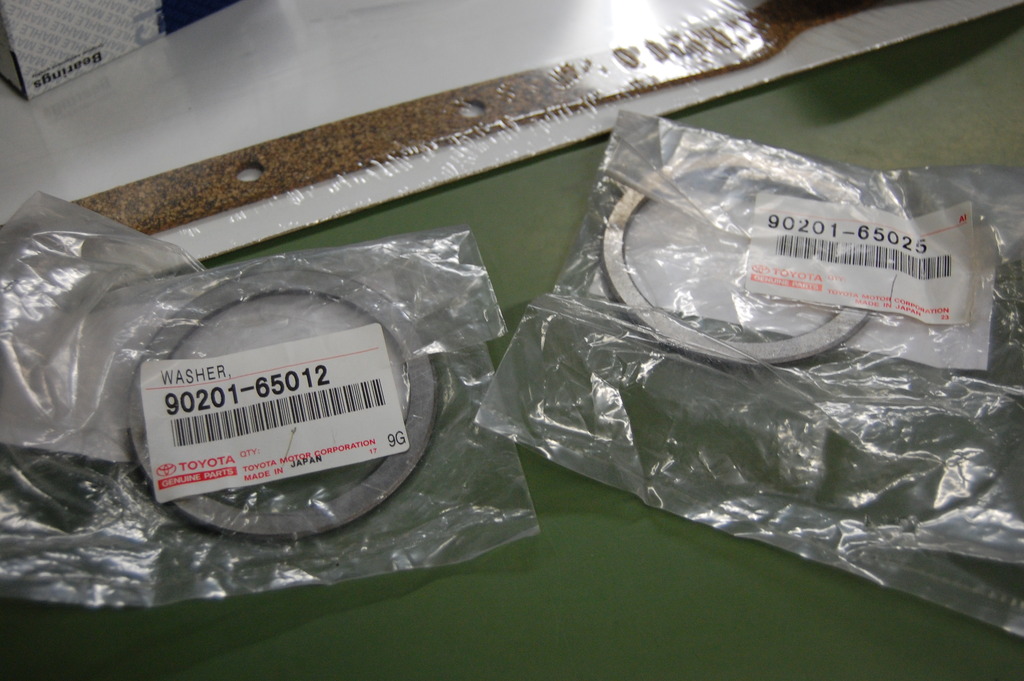
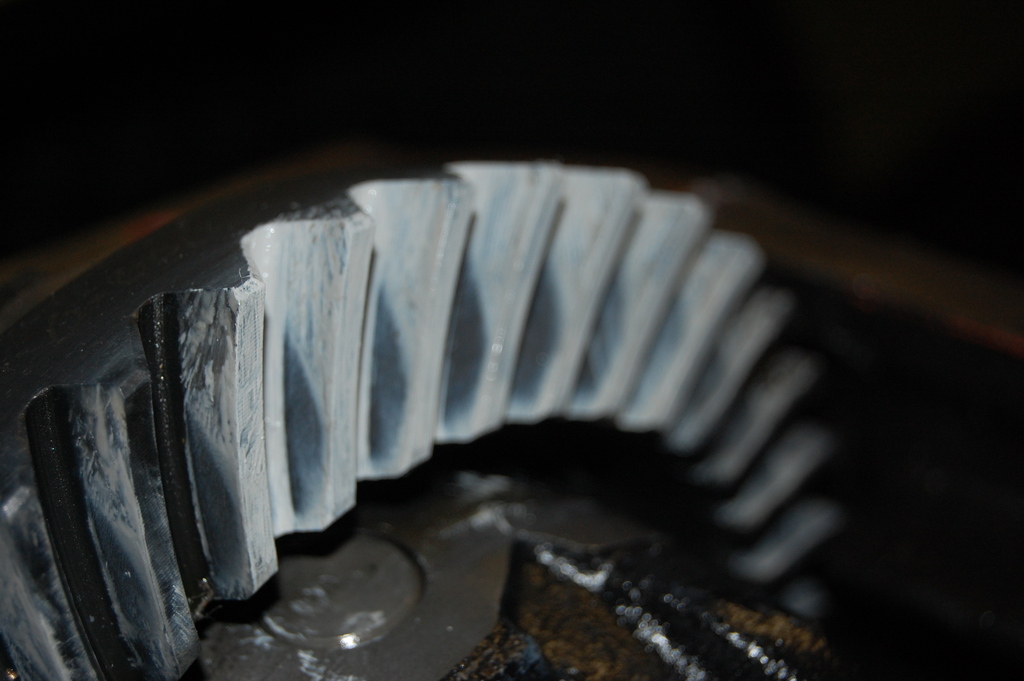
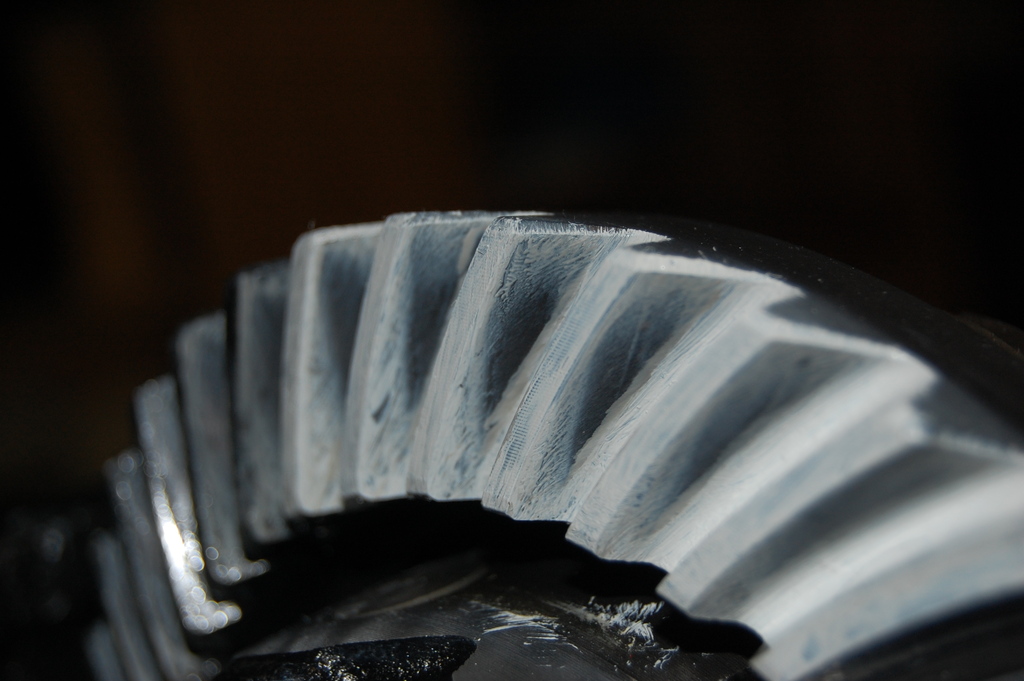
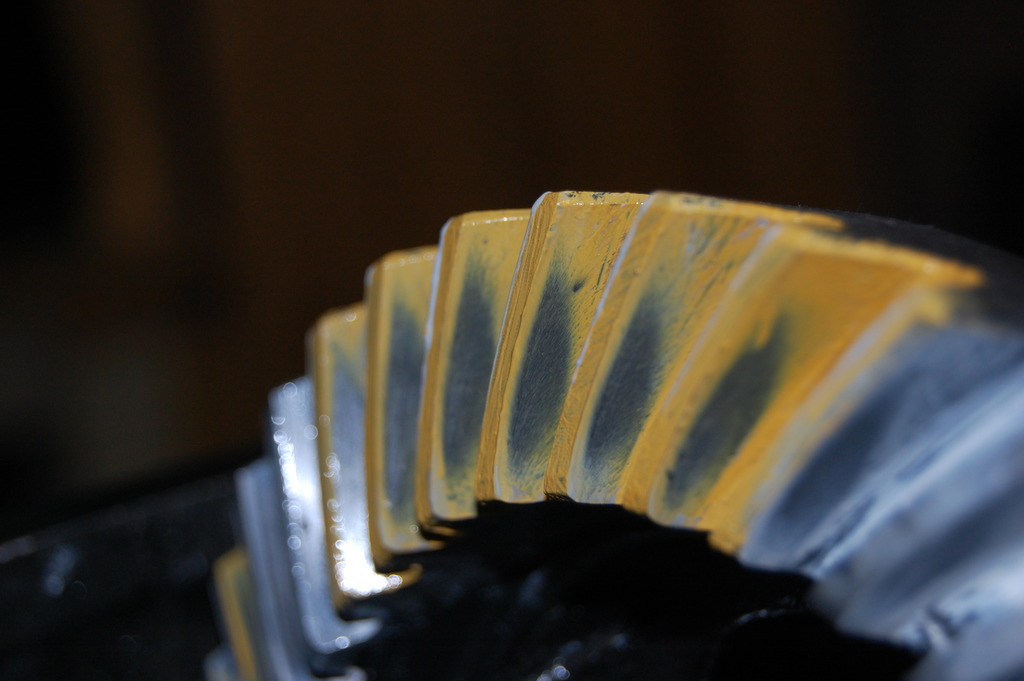
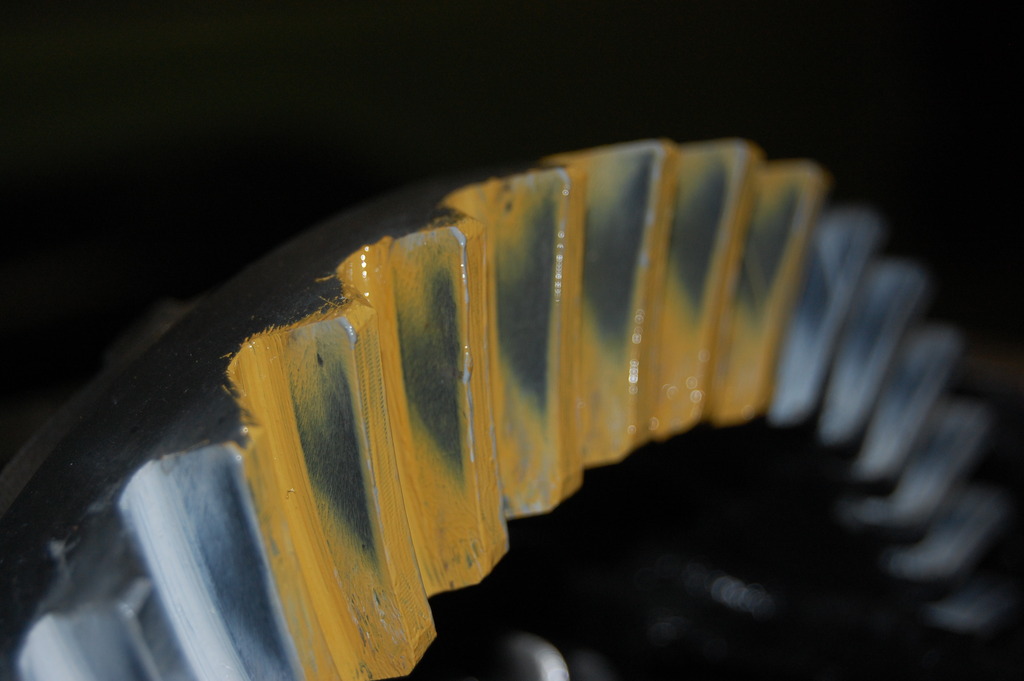
Alright....Now I am frustrated... I picked up my washer plates today... plopped them in and rechecked everything... Literally nothing has changed. With the bearing caps torqued I have almost no backlash and there is a ton resistance when I try to Rotate the pinion gear. Here is the pattern I am getting now. and here are my numbers. Any ideas of what is going on? I really miss working on the 8" now! SO much nicer!
Pinion shim .106
Carrier shims
.108
.123
BL .000
Pinion shim .106
Carrier shims
.108
.123
BL .000


 01-26-2017, 08:15 PM
#107
That was my first thought so I pulled it to check and I had them correct. Thin washer nearest the ring and thicker washer on the side facing the teeth of the ring as to push the ring away from the pinion.....correct?
I ended up putting the stock .096 pinion shim back in and checking everything. And this is what I got....
Pinion shim .096
CB shim .108/.122
BL .008
And here is the pattern... I think it looks better. I know it needs to be a little deeper but then I lose my backlash.... boo!
boo!
I ended up putting the stock .096 pinion shim back in and checking everything. And this is what I got....
Pinion shim .096
CB shim .108/.122
BL .008
And here is the pattern... I think it looks better. I know it needs to be a little deeper but then I lose my backlash....
boo! 
 01-26-2017, 09:17 PM
#108
Something strange going on there. That's too shallow with the 096 shim. Can't run it like that.
And the backlash should not disappear by just increasing the pinion depth to .106". That increase of .008" should only decrease the Backlash by .002" for a final backlash of .006"
And the backlash should not disappear by just increasing the pinion depth to .106". That increase of .008" should only decrease the Backlash by .002" for a final backlash of .006"
01-31-2017, 05:31 AM
#111
Well.....Its all back together now. with the shims I had I could only get to .101 and it looked a lot better and I still had .007 BL. I was pretty sick of this thing at that point and it was around 30-f in my shop so I put the crush sleeve in......set the pinion pre-load....... put the diff cover and axles back on began working on getting the old diff out of the truck. Doing the 7.5" really made be appreciate differentials that use adjuster wheels for CBPL. Much cheaper and easier to deal with! ZUK thank you again SOOOO much for all your help. Once again I would be stuck/lost without you! I will post some pictures of the diff removal/install and results on how the gears perform, break-in, etc..... Stay tuned  PS. I am also working on getting a refund for my gear install kit... It was pretty much worthless! The only thing that I used was the pinion seal and the silicone. the pinion nut, The crush sleeve were the wrong size.....all the shims were the same thickness....the gear marking compound was dried up. It was lame!
PS. I am also working on getting a refund for my gear install kit... It was pretty much worthless! The only thing that I used was the pinion seal and the silicone. the pinion nut, The crush sleeve were the wrong size.....all the shims were the same thickness....the gear marking compound was dried up. It was lame!
 02-05-2017, 09:02 PM
#114
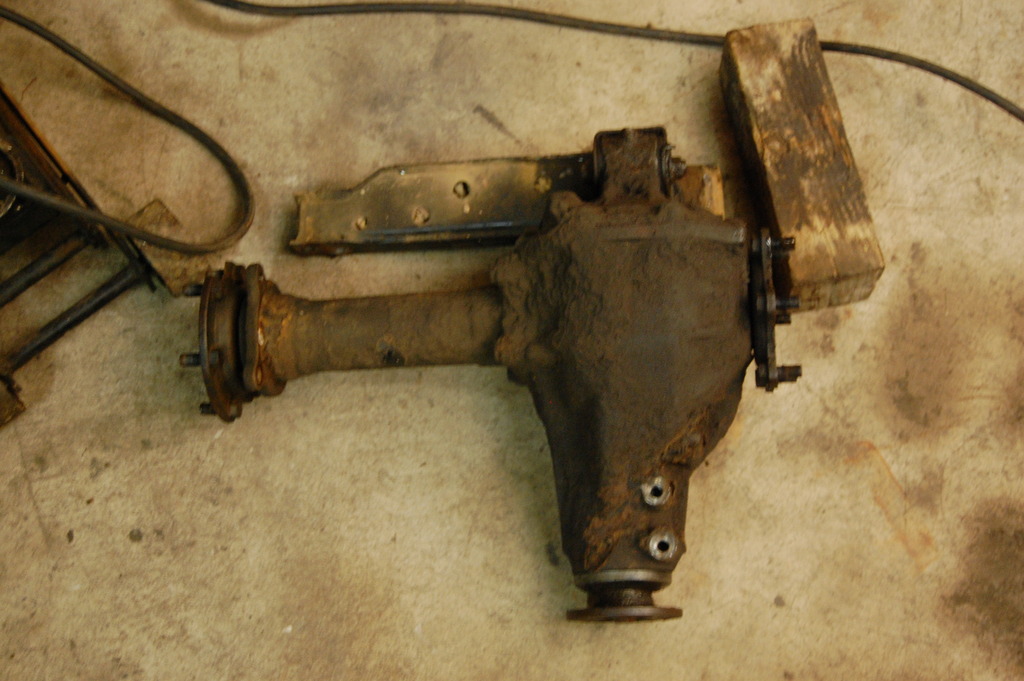
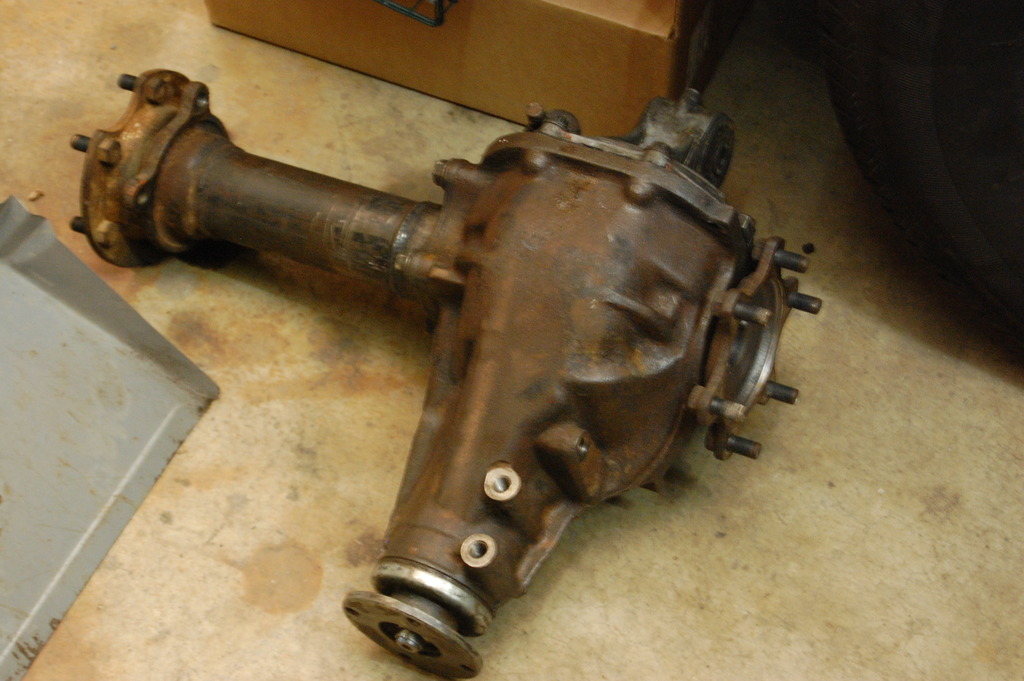
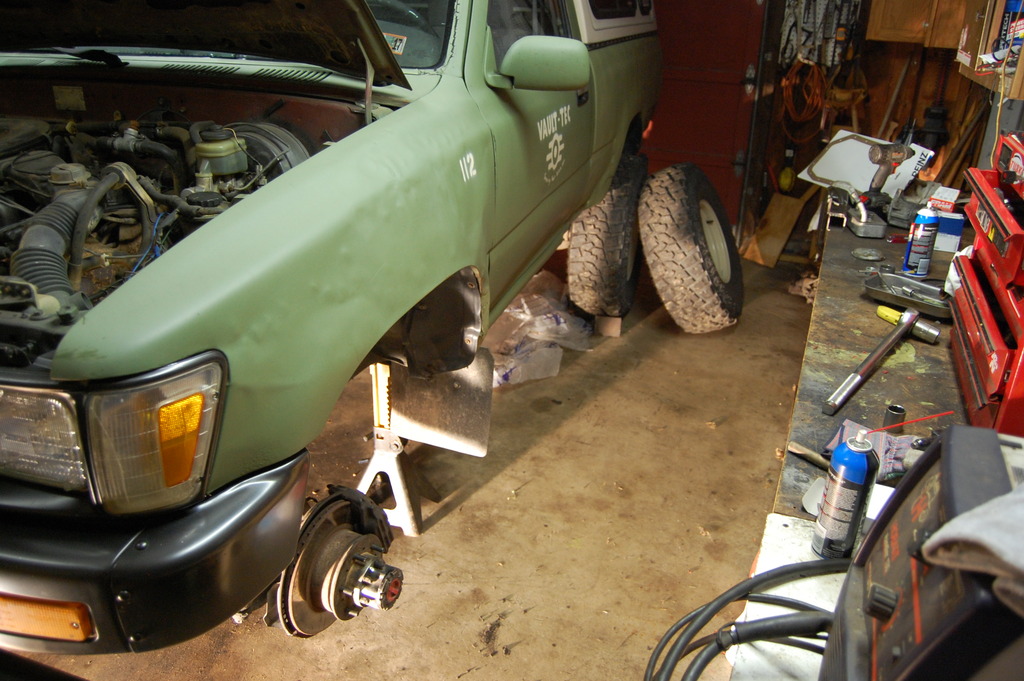
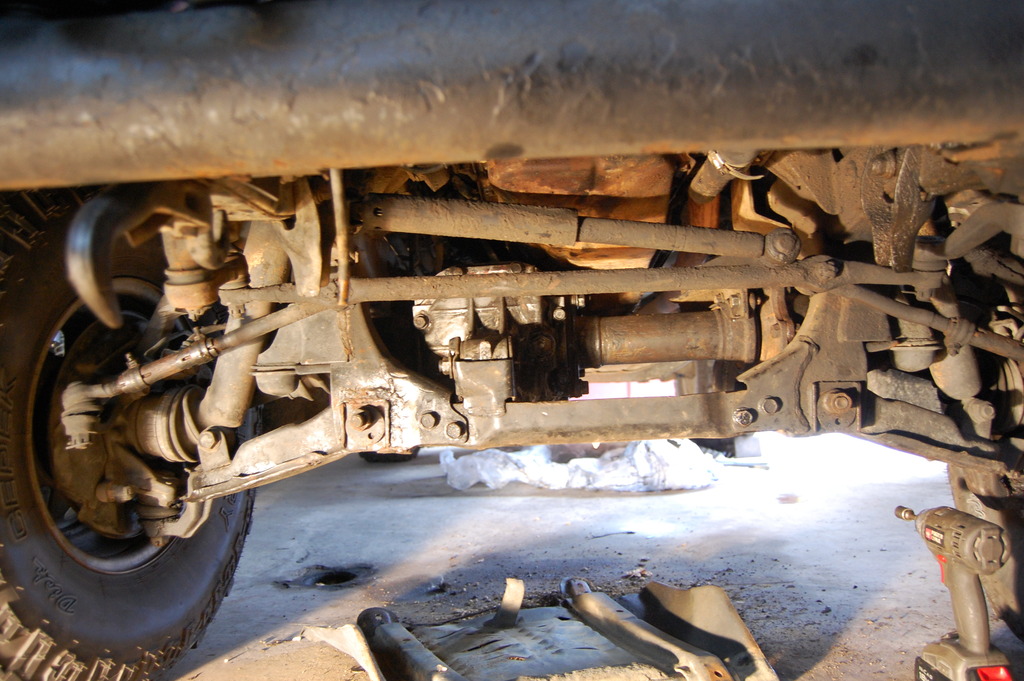
I pulled the front diff out of the truck tonight. That was about as much fun as I though it would be! I am also doing some oil pan / engine work while the diff is out and there is extra room to work on stuff. Hopefully I will have it back together soon. I will add some pictures when I get a chance.
I am also doing some oil pan / engine work while the diff is out and there is extra room to work on stuff. Hopefully I will have it back together soon. I will add some pictures when I get a chance.
02-07-2017, 08:08 PM
#117
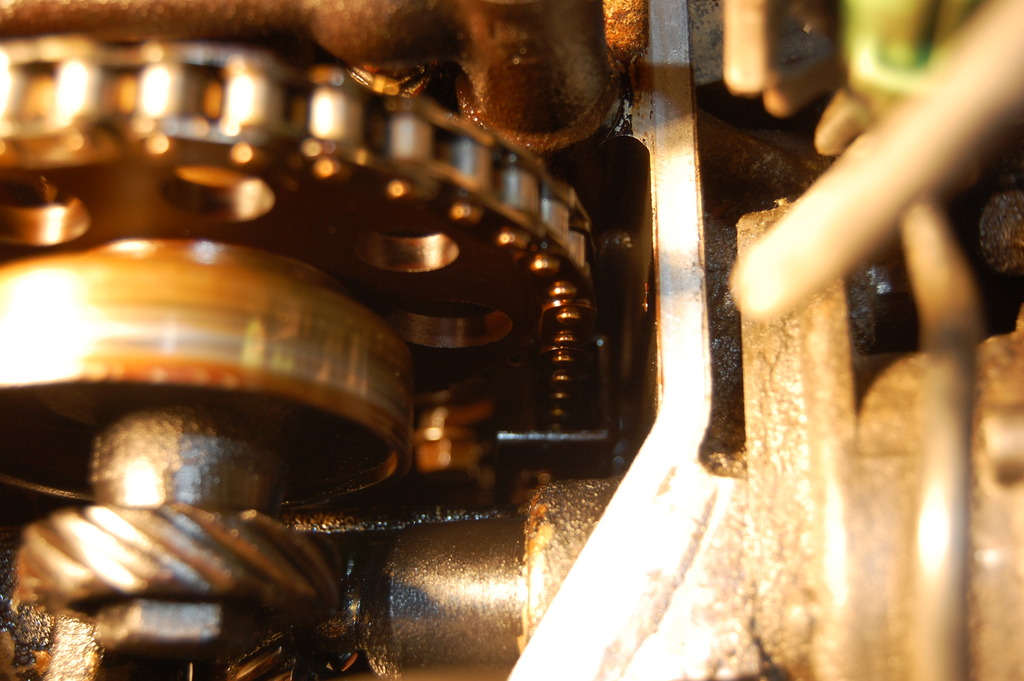
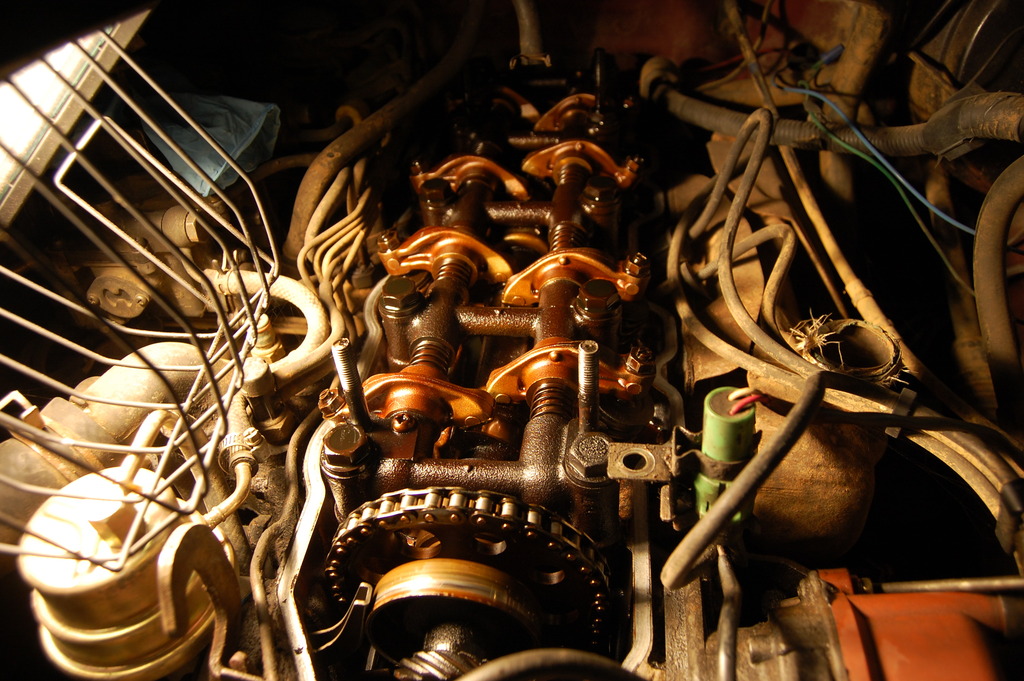
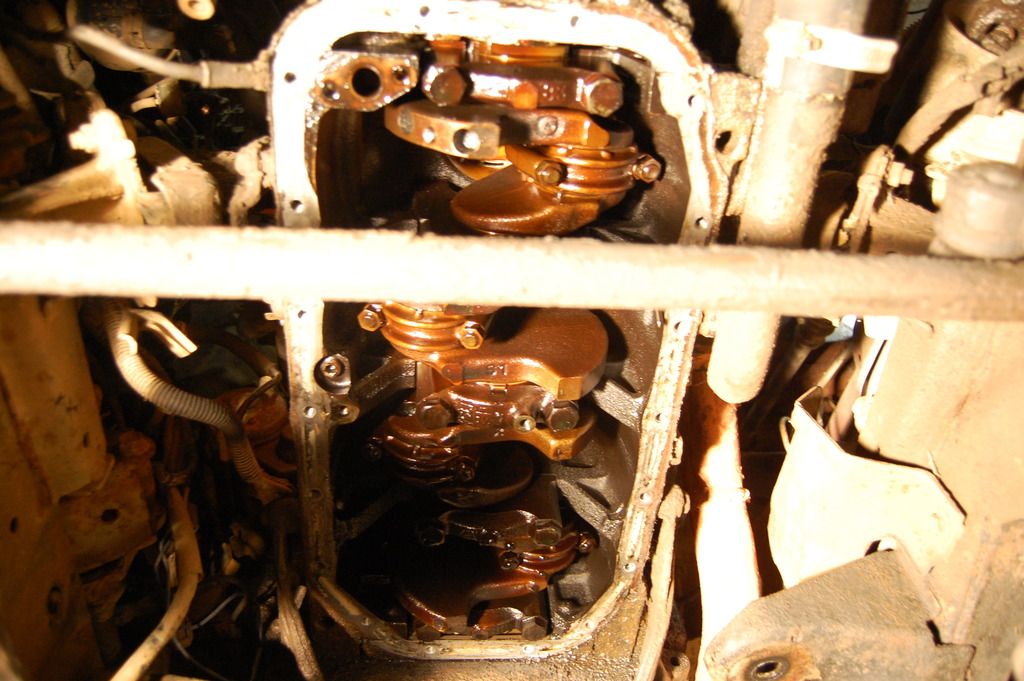
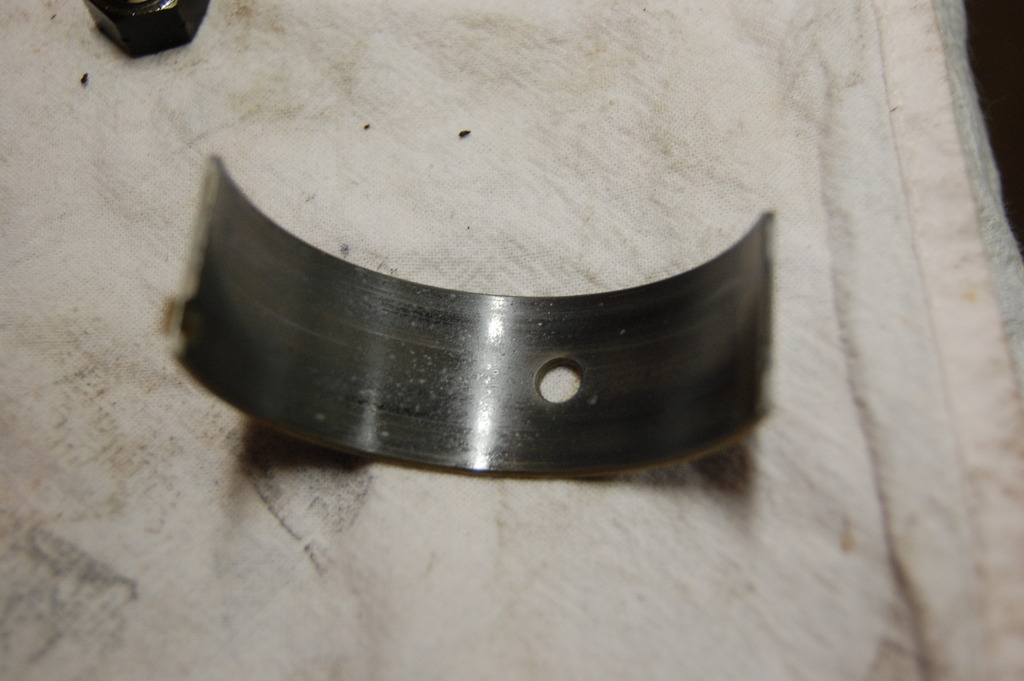
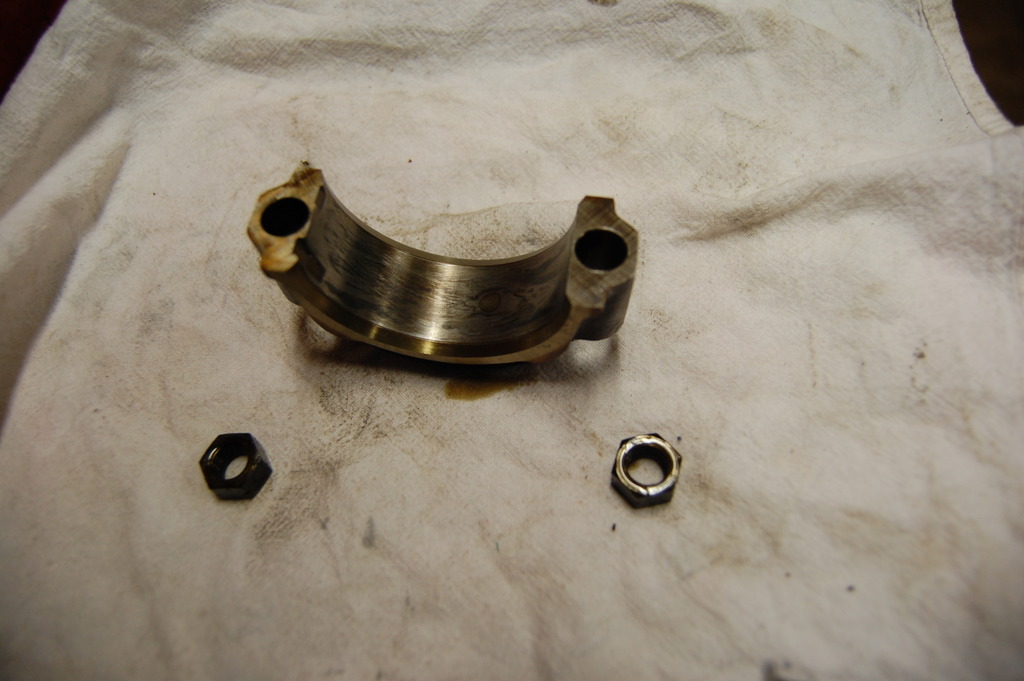
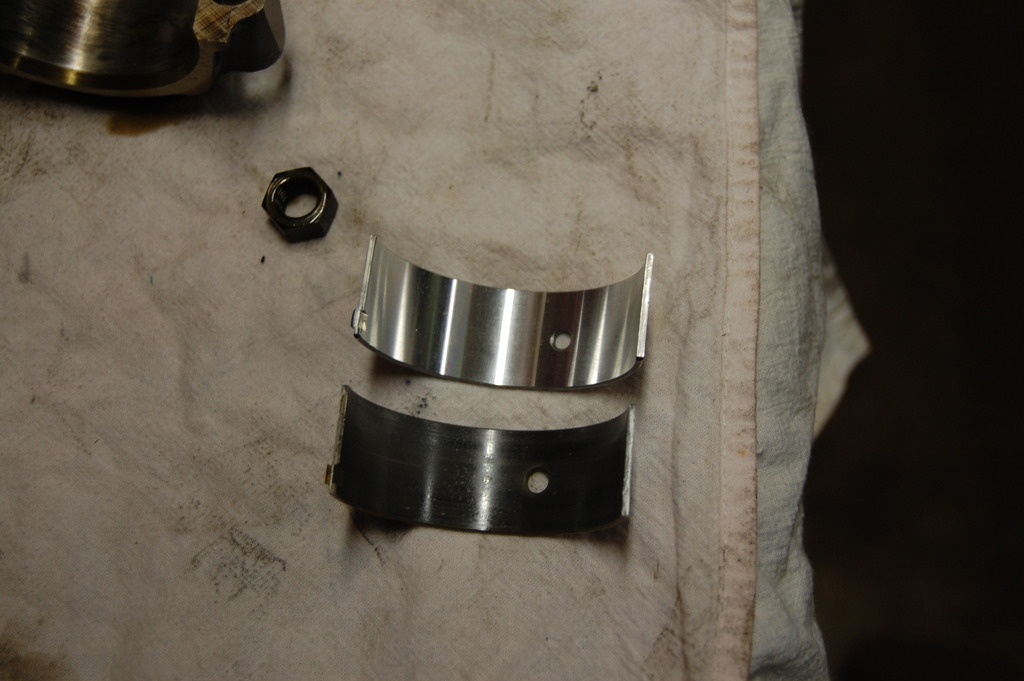
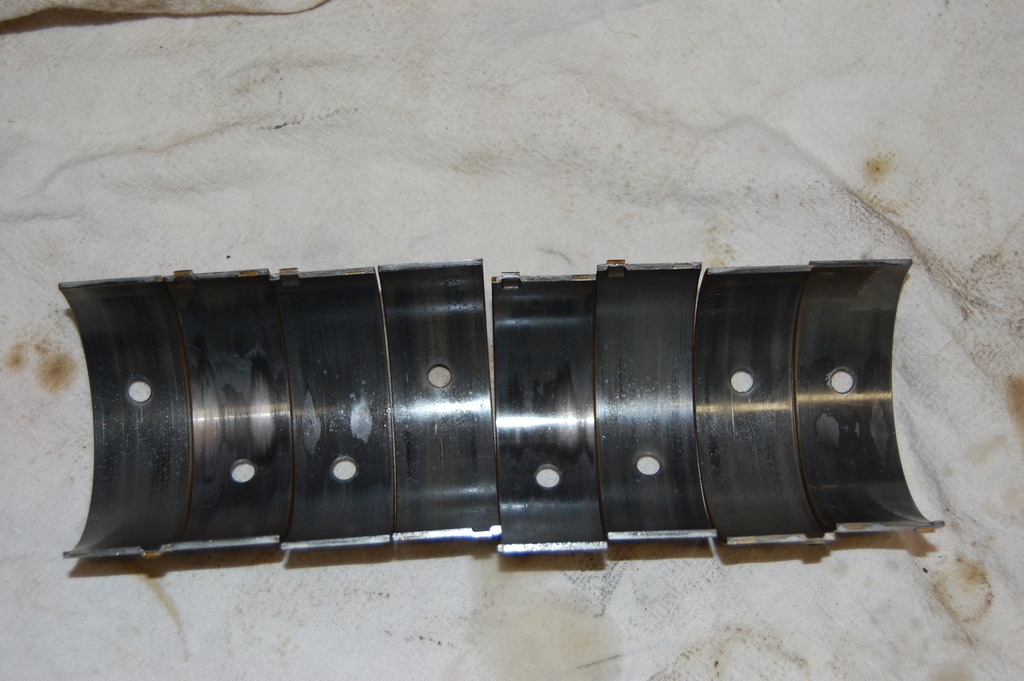
Well, as with any project this is turning out to take a lot longer than expected. I got the old diff out and new one is ready to go in.....but... I have been hearing a knock/rattle so I wanted to pull the oil pan while the diff was out. I figured the noise was either cam chain issues or rod bearings. Since the pan was off I slipped in some new rod bearings for good measure. I already had them in stock. The old ones didnt look too bad, but there was some wear. this engine has around 180k on it. After I got the bearings in and cleaned out the sump and pan I moved up top. After removing the valve cover I found the cam chain guide that is a common problem with these engine was in place and intact but the top mounting point was broken. Im guessing that is letting the chain slap around a bit. So I will need to replace that too. So here is where I'm at currently.
OLD
NEW
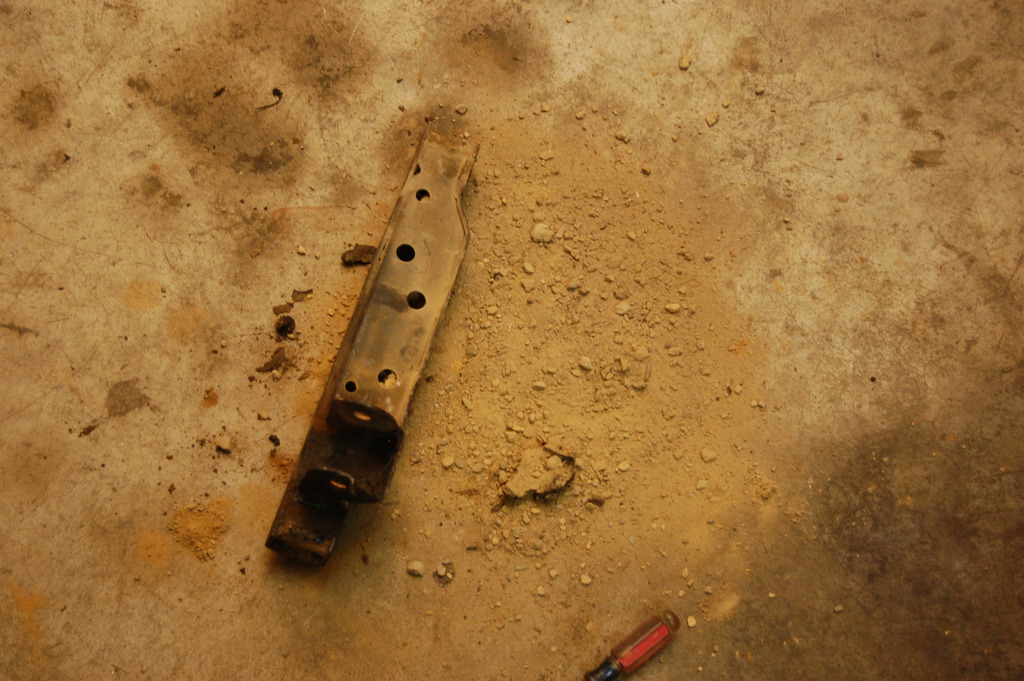
I wonder what the previous owner did with this poor truck lol! I dug this out of the cross member.
Timing Guide
Old bearings
Cap
Ols& NEw
OLD

NEW


I wonder what the previous owner did with this poor truck lol! I dug this out of the cross member.

Timing Guide


Old bearings

Cap

Ols& NEw

 02-09-2017, 04:22 AM
#118
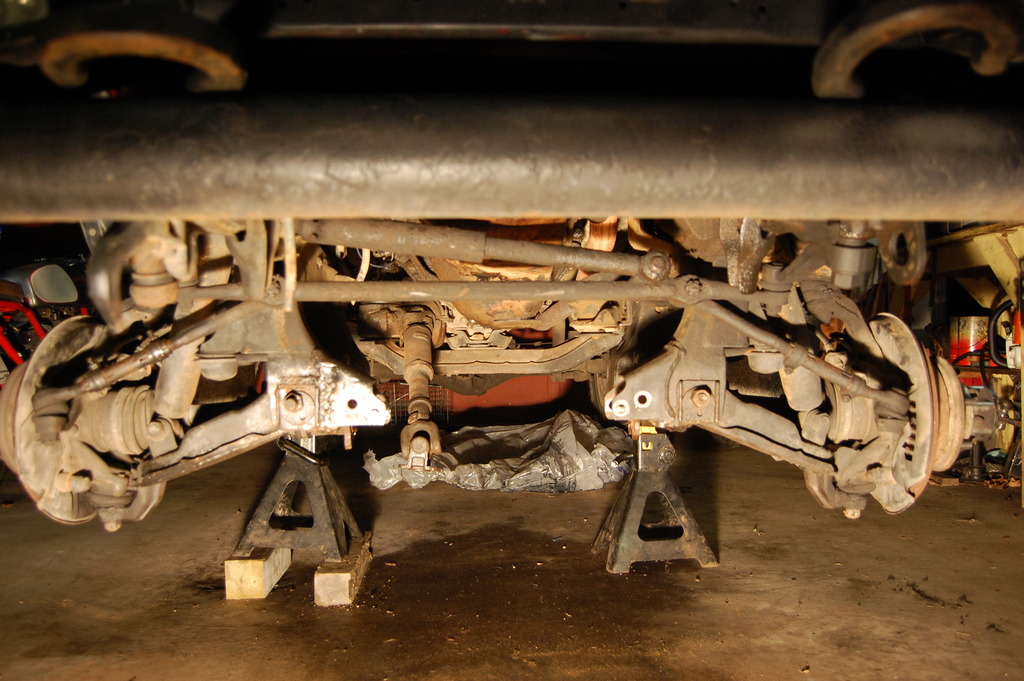
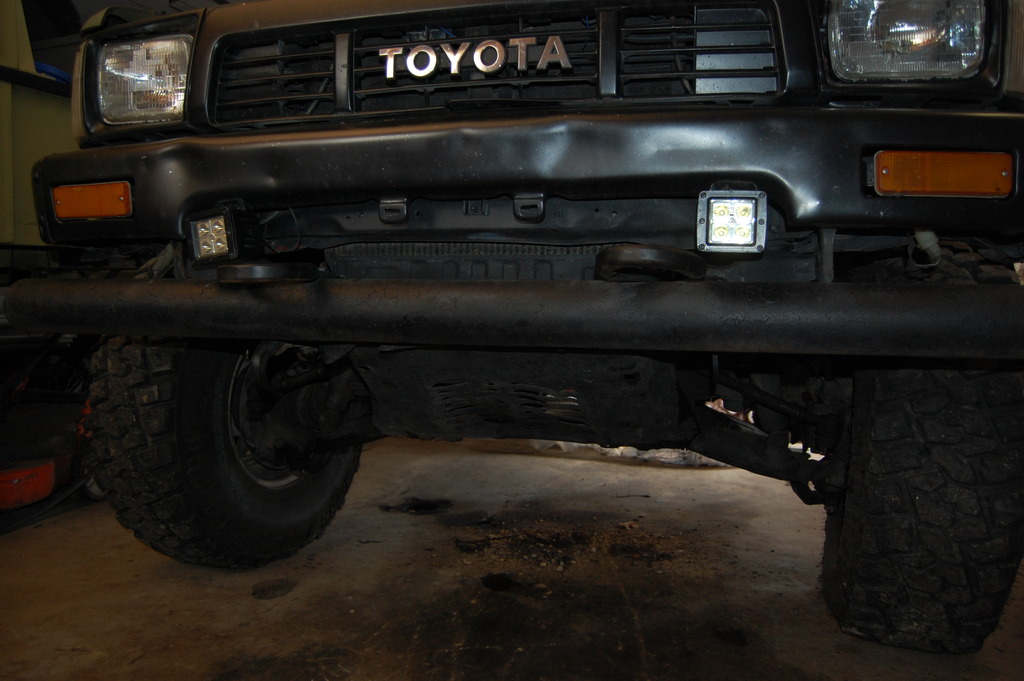
I got everything put back together last night. We are having a snow storm right now and a warm front came in with the snow. It was mid 30's in the garage last night. I came in from the garage around 130am..... But I got it all back together. Get the axles out of the way to make room to lift the diff up and in was bar far the most annoying part!
02-09-2017, 08:57 AM
#119
Dunzo! Just in time for some snow. FInally got the truck out of the garage.... 4WD works great! SO How do you break in front gears...I usually only use the front when I need it. I dont run around in 4wd very often. And when I do im usually not in a position to "take it easy" I supposed whenever I'm on a gravel road I can keep her in 4 wheel. I am glad this project is complete. I will have to get a grand total.
She moves!
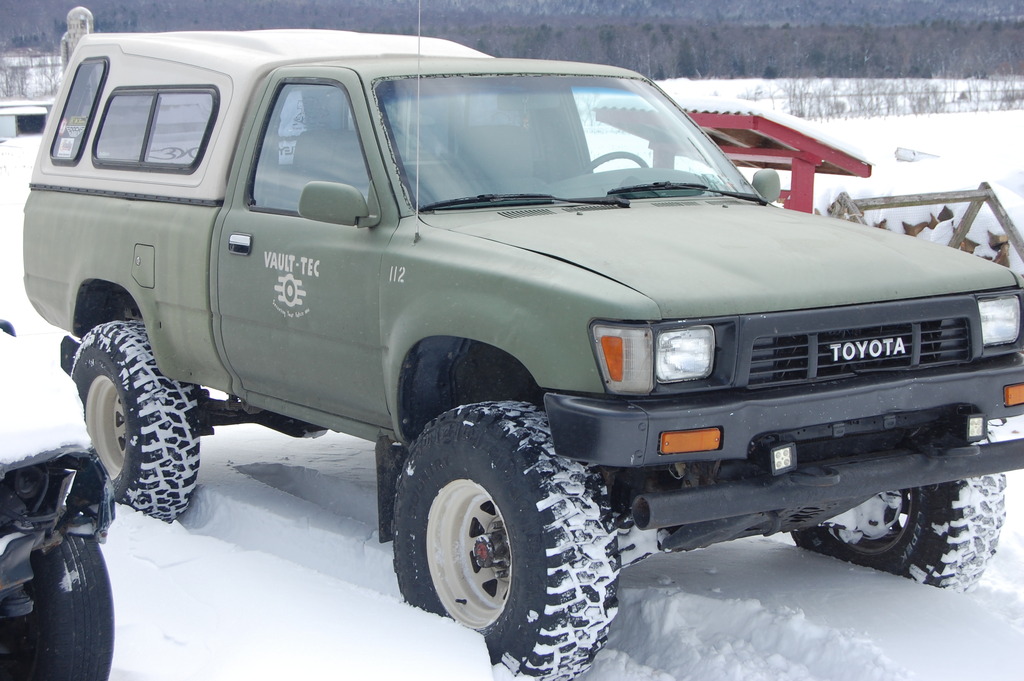
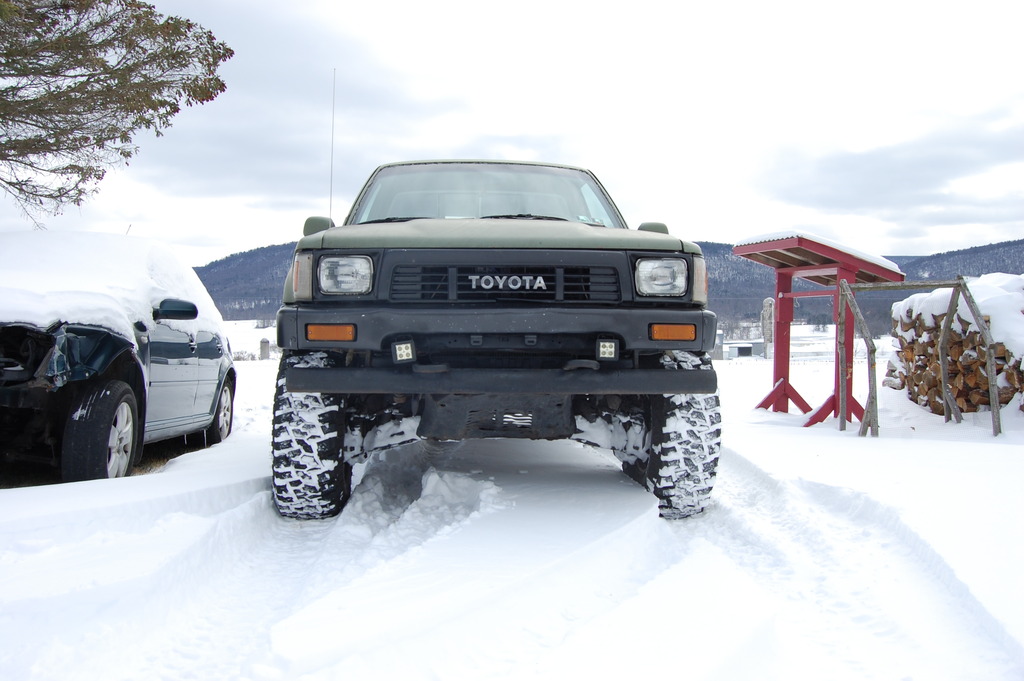
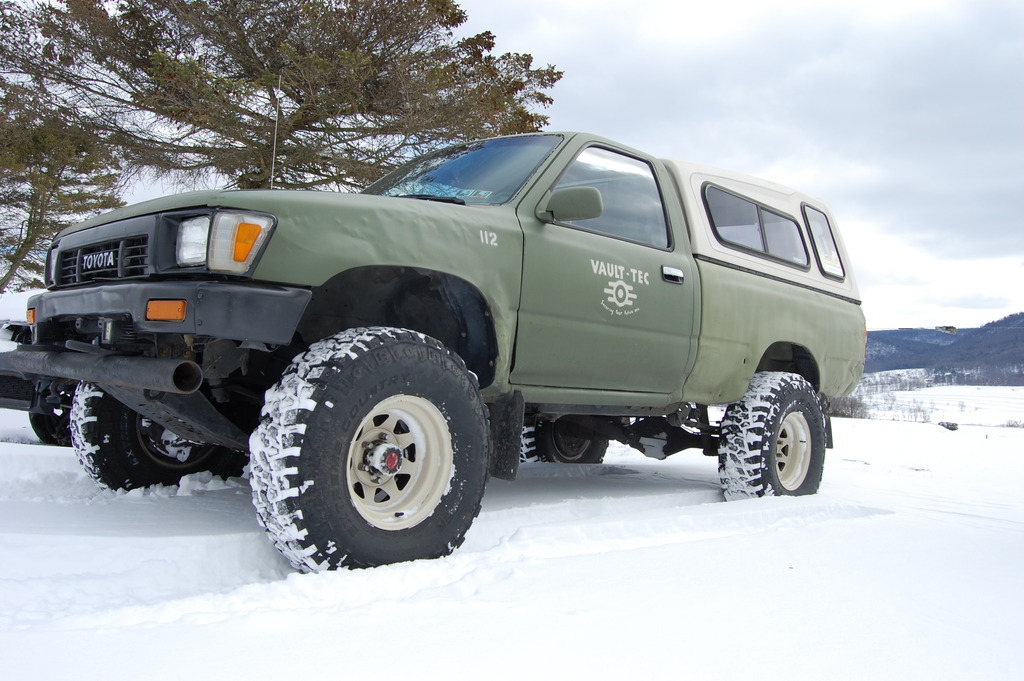


She moves!


 02-09-2017, 09:20 AM
#120
Rear:
R&P $113.00
Master install kit $94.00
Gear oil $21.00
Borrowed puller from my friend.....priceless.
Front:
gears $130
Install kit $40
Oil $10
Bearing separator $35
Grand total = $443 + my time (not very valuable)
R&P $113.00
Master install kit $94.00
Gear oil $21.00
Borrowed puller from my friend.....priceless.
Front:
gears $130
Install kit $40
Oil $10
Bearing separator $35
Grand total = $443 + my time (not very valuable)


