Yakima LoadWarrior "Build" Thread
 02-27-2011, 11:27 AM
#21
Not bad, but those lights are mounted awfully high off the roof (I know it doesn't help that the yakima itself sits high up too). I ran a basket/light setup a few years ago and went with a lower profile Garmin rack and square IPF lights in the front and KC Flood lights in rear:

Tapped all 4 front pwr wires together and ran just one thicker gauge wire down the rain gutter on the driver side door and into the engine bay. Tapped all 4 front ground wires together and grounded them at the roof rail screw. Did the same thing to the pair of rear lights, but ran the pwr wire down the passenger side rain gutter:


Fronts in action:

Tapped all 4 front pwr wires together and ran just one thicker gauge wire down the rain gutter on the driver side door and into the engine bay. Tapped all 4 front ground wires together and grounded them at the roof rail screw. Did the same thing to the pair of rear lights, but ran the pwr wire down the passenger side rain gutter:
Fronts in action:
 02-28-2011, 06:57 AM
#22
Not bad, but those lights are mounted awfully high off the roof (I know it doesn't help that the yakima itself sits high up too). I ran a basket/light setup a few years ago and went with a lower profile Garmin rack and square IPF lights in the front and KC Flood lights in rear:
Tapped all 4 front pwr wires together and ran just one thicker gauge wire down the rain gutter on the driver side door and into the engine bay. Tapped all 4 front ground wires together and grounded them at the roof rail screw. Did the same thing to the pair of rear lights, but ran the pwr wire down the passenger side rain gutter:

Fronts in action:
Tapped all 4 front pwr wires together and ran just one thicker gauge wire down the rain gutter on the driver side door and into the engine bay. Tapped all 4 front ground wires together and grounded them at the roof rail screw. Did the same thing to the pair of rear lights, but ran the pwr wire down the passenger side rain gutter:
Fronts in action:
02-28-2011, 03:38 PM
#25
Contributing Member
Join Date: Mar 2003
Location: COTKU,Ontario,Canada
Posts: 11,334
Likes: 0
Received 0 Likes
on
0 Posts
I echo the way high in the air comments but the install looks nice and clean...
you may be able to pick up a second wind jammer and mount it below the existing one closer to the roof... might reduce the wind resistance a smidge...
you may be able to pick up a second wind jammer and mount it below the existing one closer to the roof... might reduce the wind resistance a smidge...
02-28-2011, 05:43 PM
#27
Yeah, I saw a member a few years ago running that setup and it looked really good. Brought the lights down much lower.
I've always been a fan of this setup too. Got the sleeper looking going:


 04-11-2012, 04:41 PM
#30
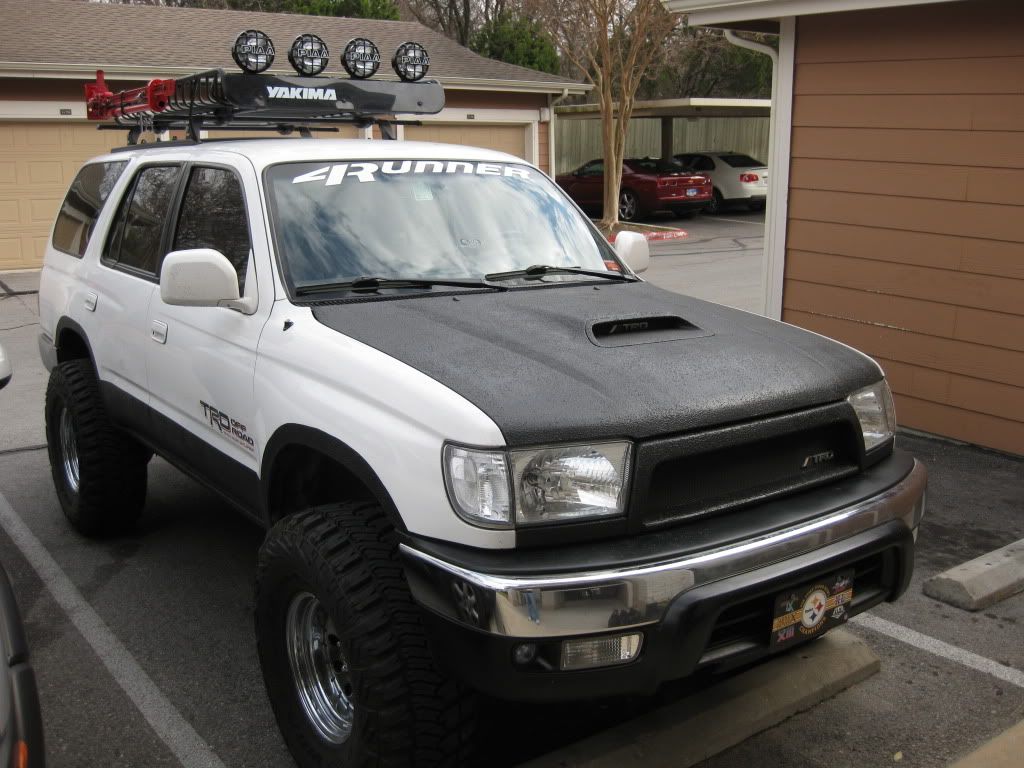
So having my lights up so high hasn't been an issue until I moved to DC. I had to take my Yakima basket off all together because I can't fit in any parking garages. So I did some research on how to mount the lights lower on the rack and I found these:
http://www.amazon.com/PIAA-74000-1-2.../dp/B004TXS0SS
They are PIAA universal tube mounts that will fit round tubes from 7/8" to 1.25". I just ordered up 2 pairs and I will use them to mount my lights on the lower support bar of the Yakima to lower the lights. I will post pics when I get them mounted up.
If they work out my Yakima light mounts will be up for sale so let me know if you're interested.
04-11-2012, 05:27 PM
#31
Registered User

Join Date: Mar 2007
Location: Seattle
Posts: 762
Likes: 0
Received 0 Likes
on
0 Posts
Ya, sometimes things that look good don't turn out so good or practical in the real world.... poor mpg's, wind noise, hard access, parking garages, branches, etc....
Looked good though....
Btw, I think the round Yakima bars can carry a much higher load and will not bow like you see the square Thule ones do. I had a platform on my roof once and both me and my girl had chairs up there...so prolly 300lbs up there b/t us and it was fine.
Looked good though....
Btw, I think the round Yakima bars can carry a much higher load and will not bow like you see the square Thule ones do. I had a platform on my roof once and both me and my girl had chairs up there...so prolly 300lbs up there b/t us and it was fine.
04-12-2012, 07:07 PM
#32
Ya, sometimes things that look good don't turn out so good or practical in the real world.... poor mpg's, wind noise, hard access, parking garages, branches, etc....
Looked good though....
Btw, I think the round Yakima bars can carry a much higher load and will not bow like you see the square Thule ones do. I had a platform on my roof once and both me and my girl had chairs up there...so prolly 300lbs up there b/t us and it was fine.
Looked good though....
Btw, I think the round Yakima bars can carry a much higher load and will not bow like you see the square Thule ones do. I had a platform on my roof once and both me and my girl had chairs up there...so prolly 300lbs up there b/t us and it was fine.
Hopefully these new mounts will allow me to mount them low enough that they look a lot better and increase my clearance.
I'm not too familiar with the round Yakima bars but I can't use round bars even if I wanted to because I have Thule feet that are only compatible with the square bars. I have driven and wheeled with my rack, full jerry can, hi-lift, and full sized spare without any issues so I think they are plenty sturdy.
Last edited by 4ever4running; 04-12-2012 at 07:11 PM.
04-12-2012, 09:18 PM
#33
The install looks great; nice and clean. Im piecing a similar setup for my truck;I already have the towers, crossbars, & basket. Just need the windbreaker & lights. Im prob going to use the low pro square lights though.
Overall, it looked great on your rig, but, then again, not practical like others have mentioned.
Overall, it looked great on your rig, but, then again, not practical like others have mentioned.
Last edited by streetlancer; 04-12-2012 at 09:20 PM.
04-13-2012, 04:41 AM
#34
The install looks great; nice and clean. Im piecing a similar setup for my truck;I already have the towers, crossbars, & basket. Just need the windbreaker & lights. Im prob going to use the low pro square lights though.
Overall, it looked great on your rig, but, then again, not practical like others have mentioned.
Overall, it looked great on your rig, but, then again, not practical like others have mentioned.
Let me know if you are interested in the Yakima lights mounts. They will be up for sale after I swap them out with the new mounts this weekend.
04-15-2012, 05:55 PM
#35
As planned, I was able to get my lights remounted with the new PIAA light mounts. It would have been a fairly simple process, but, as usual, I decided to take it a step further and make it a little more difficult. I made it more difficult by installing a new Sure Seal weatherproof plug and receptacle and completely replacing all the wiring to account for the new plug and receptacle. I went with a new receptacle that is mounted flush to the roof and secured with a rubber gasket and screws which allows for a much cleaner install and a much better waterproof seal.
Before:
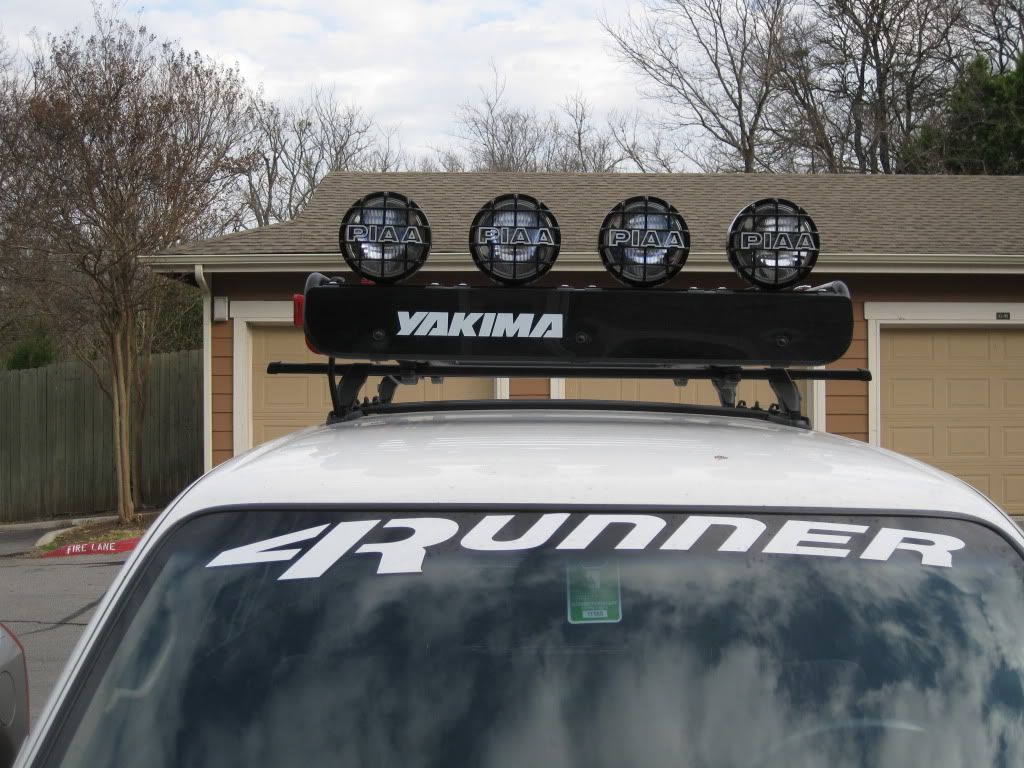
The total height of the rack with the old mounts: 12"


New mounts:


In progress:

I also added some quick disconnects right after the lights in case I need to replace a bulb or remove one for any reason:


After:


Total height of the rack with the new mounts: 7" for a total reduction of 5", much better!


Finally, new Sure Seal plug and receptacle, much cleaner install:


The Yakima lights mounts are for sale so let me know if you're interested
Before:
The total height of the rack with the old mounts: 12"
New mounts:
In progress:
I also added some quick disconnects right after the lights in case I need to replace a bulb or remove one for any reason:
After:
Total height of the rack with the new mounts: 7" for a total reduction of 5", much better!
Finally, new Sure Seal plug and receptacle, much cleaner install:
The Yakima lights mounts are for sale so let me know if you're interested
 04-29-2012, 08:02 AM
#39
Here is the Sure Seal website: http://www.suresealconnections.com/ but you can't actually order the connectors from here: http://www.peigenesis.com/. If you want the actual part numbers for the ones that I used, I would be happy to post them.
Thanks guys! I really like the lower profile look and the new Sure Seal is much cleaner and much more water proof than just having the silicone sealant.
Thanks guys! I really like the lower profile look and the new Sure Seal is much cleaner and much more water proof than just having the silicone sealant.
05-09-2012, 07:22 AM
#40
So I have had a couple of people PM me asking about the Sure Seal connector that I used so I though that I would post up the part numbers of everything that I used. Here is their website: http://www.suresealconnections.com/ but you can't order parts from them directly, so I orgered all of the Sure Seal pieces from here: http://www.peigenesis.com/.
Here are the part numbers for everything that I used:
- 8 circuit flanged plug: 120-8552-305 (I had to get an 8 circuit plug because I have a total of 5 circuits (4 power + 1 ground) and the 8 circuit plug is the smallest one that will fit everything.
- 8 circuit receptacle: 120-1866-000 (I ended up ordering 2 and filled one with blanks to keep the connection waterproof when I don't have the Yakima rack on)
- Boot: 317-8657-002 (boot for the receptacle)
- Mounting plate: 066-8516-002 (top plate to secure the flange)
- Nut plate: M85528/2-18A (bottom plate to secure the flange)
- 6X Mounting plate screws: R440-1/2 (You only need 4, but I ordered 2 extras, and they definitely came in handy because I stripped one during install)
- 20X Wire hole fillers: 225-0093-000 (used to fill in the blank circuits that are not used to ensure that the plug remains weatherproof, again I ordered extras)
- 10X loose pins: 030-2196-001 (I ordered extras)
- 10X loose sockets: 031-1267-001 (Again, I ordere extras)
All together it ended up costing about $50 with shipping included. A little pricey, but the plug is awesome and has been completely waterproof!
NOTE: In order to assemble the plug you will need a pair of open barrel crimping pliars. I didn't have any luck finding them at a local hardware/specialty tool store, so I ended up ordering some off the internet.


