DIRTCO's 1985 4Runner Build-Up Thread

 02-19-2008, 05:30 PM
#62
Registered User
Thread Starter
Join Date: May 2007
Location: Summit County, Colorado
Posts: 1,441
Likes: 0
Received 0 Likes
on
0 Posts
Here's the work I got done over the weekend.
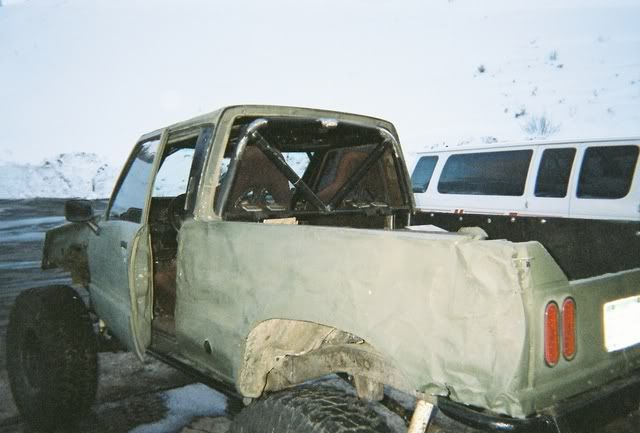
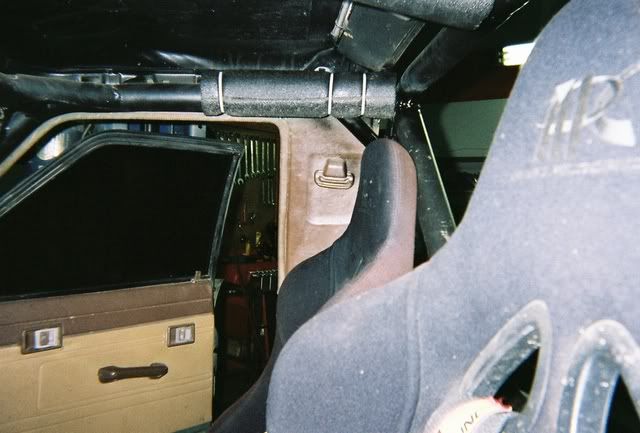
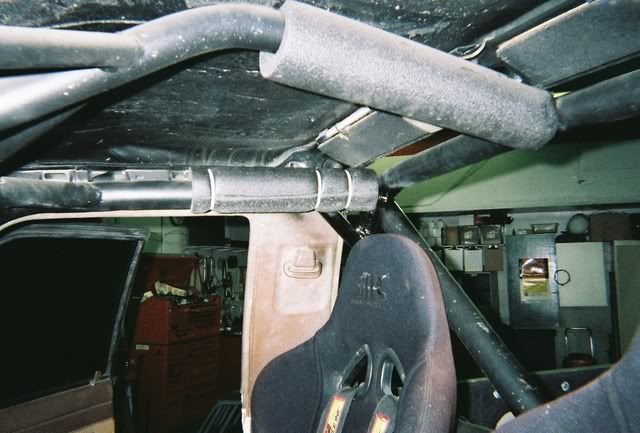
Braced up the cage some more and welded everything up.
This is before and the rest are after, I think it made it a lot safer.
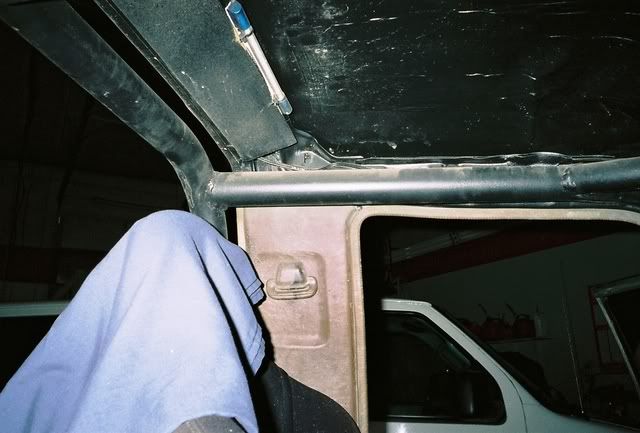
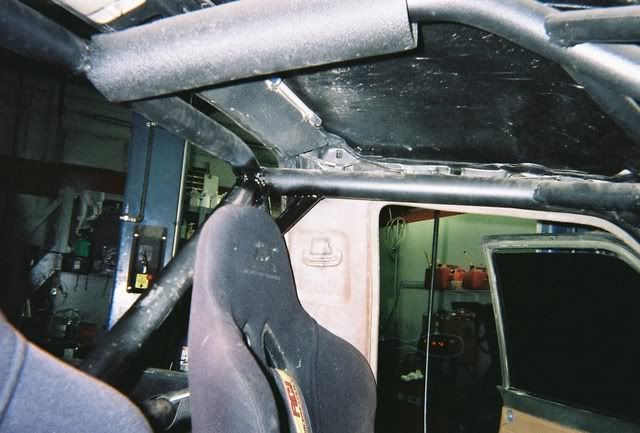
Braced up the cage some more and welded everything up.
This is before and the rest are after, I think it made it a lot safer.
Last edited by DIRTCO; 02-19-2008 at 05:32 PM.
02-19-2008, 05:44 PM
#63
Registered User
Thread Starter
Join Date: May 2007
Location: Summit County, Colorado
Posts: 1,441
Likes: 0
Received 0 Likes
on
0 Posts
Then I started getting the new front axle housing ready to be put in the truck.
Stock with all the brackets
Everything cut off
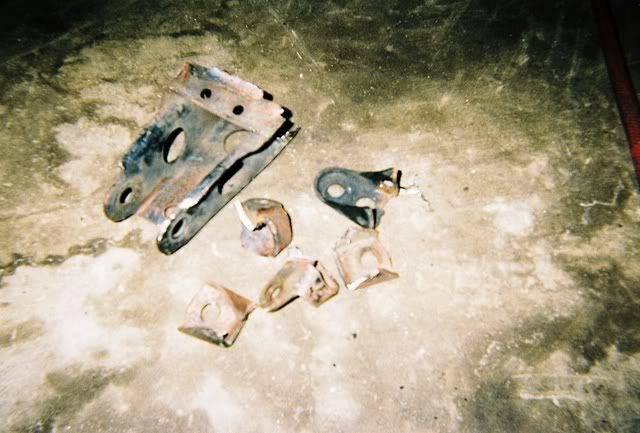
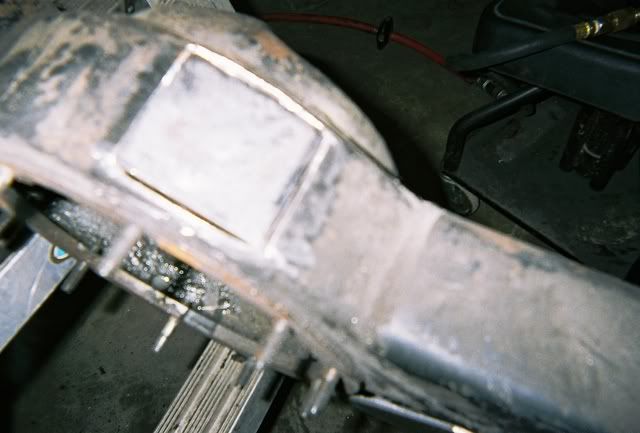
After a while with the grinder it was time to cut the drain plug out and plate the opening. Sorry the pictures are pictures are so blurry.
Stock with all the brackets
Everything cut off
After a while with the grinder it was time to cut the drain plug out and plate the opening. Sorry the pictures are pictures are so blurry.
Last edited by DIRTCO; 02-19-2008 at 05:45 PM.
02-19-2008, 05:55 PM
#64
Registered User
Thread Starter
Join Date: May 2007
Location: Summit County, Colorado
Posts: 1,441
Likes: 0
Received 0 Likes
on
0 Posts
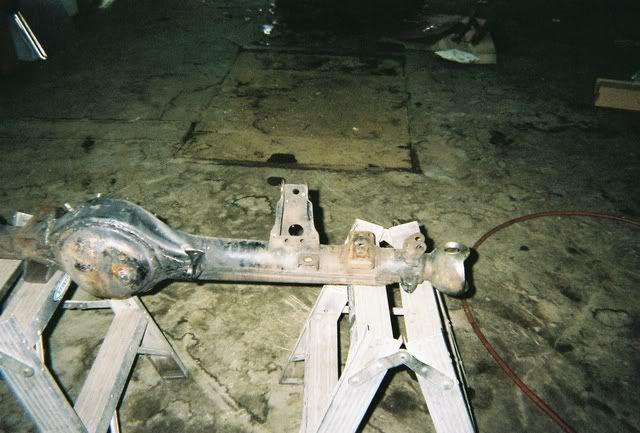
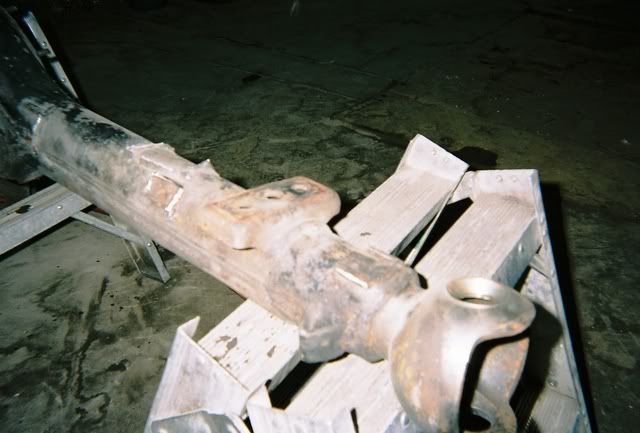
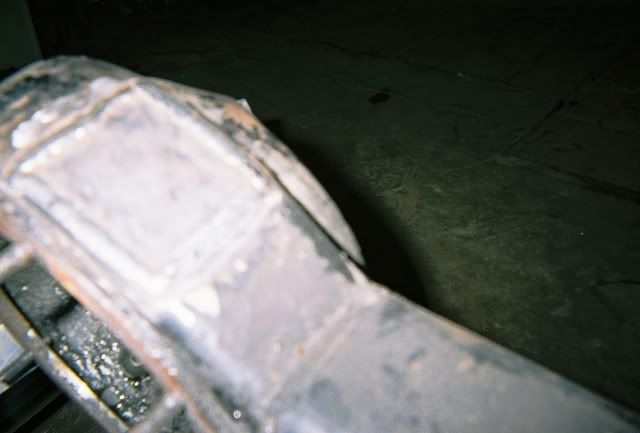
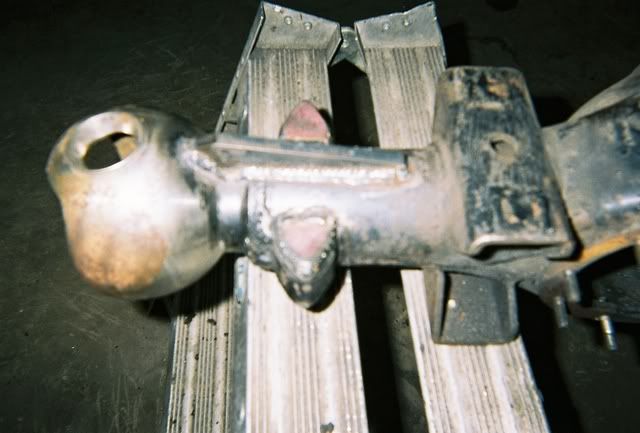
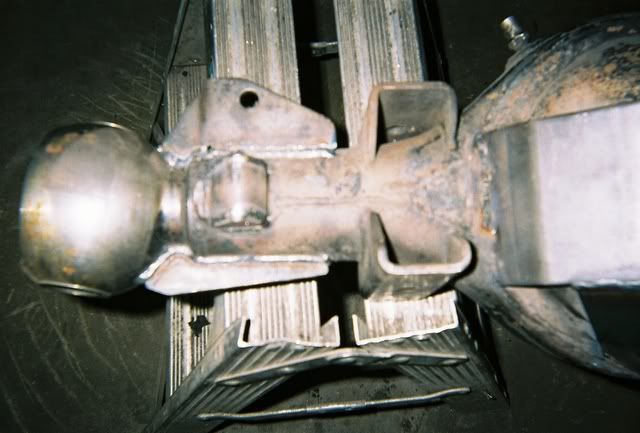
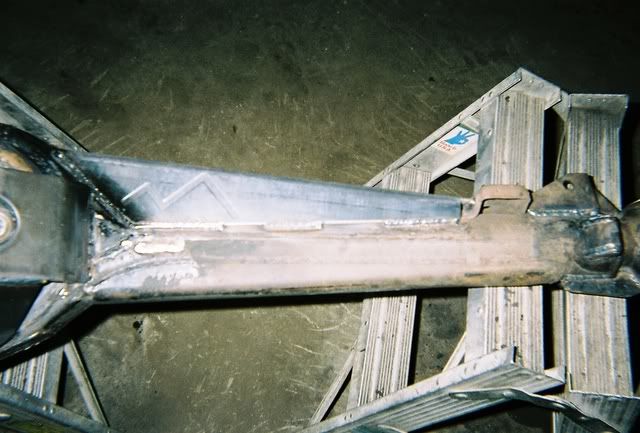
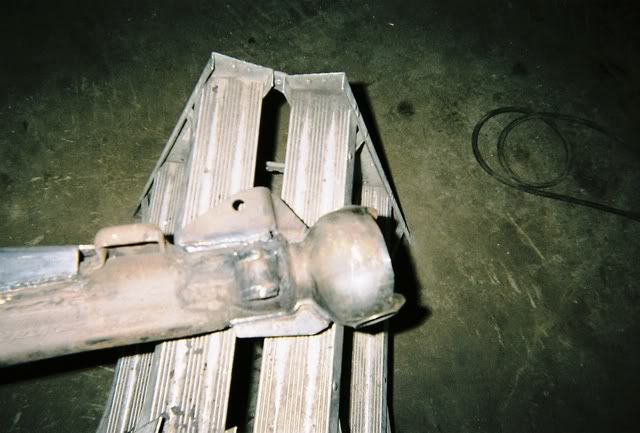
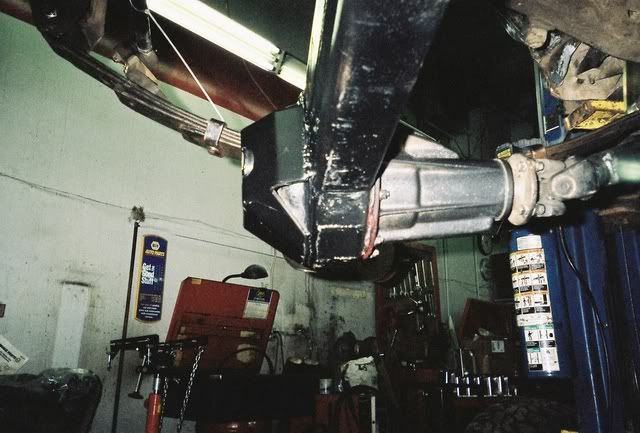
Then I worked on the axle truss, diff. gaurd, and knuckle ball braces. I made sure to take my time, to prevent the axle from warping. After every weld I let the housing cool down, this is how it turned out.
02-19-2008, 06:13 PM
#65
Registered User
Thread Starter
Join Date: May 2007
Location: Summit County, Colorado
Posts: 1,441
Likes: 0
Received 0 Likes
on
0 Posts
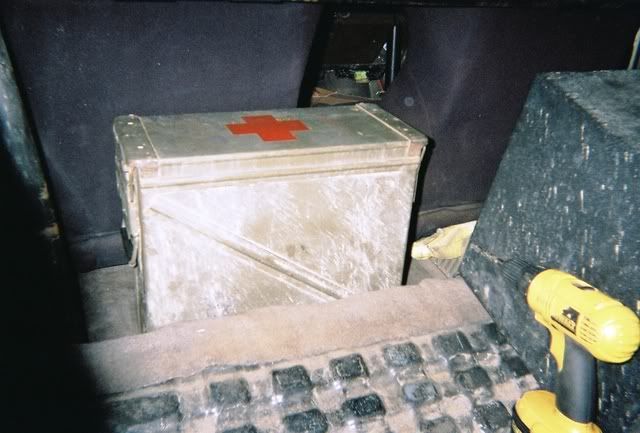
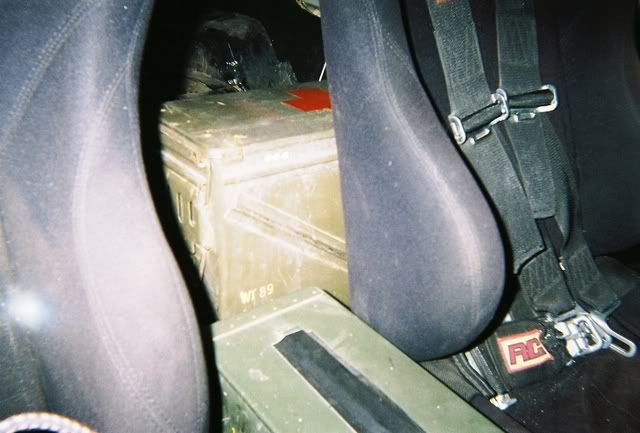
And while the paint was drying on the axle housing, I wrapped up the last project of the weekend.
This is one of several ammo boxes I have, this one is the survival box. It has a first aid kit, blanket, matches, coat and everything else you would need to last a couple days in the middle of nowhere.
Two more will go behind it where the back seat used to be.
This is one of several ammo boxes I have, this one is the survival box. It has a first aid kit, blanket, matches, coat and everything else you would need to last a couple days in the middle of nowhere.
Two more will go behind it where the back seat used to be.
 02-23-2008, 08:47 PM
#67
Registered User
Thread Starter
Join Date: May 2007
Location: Summit County, Colorado
Posts: 1,441
Likes: 0
Received 0 Likes
on
0 Posts

Send me a PM if you want to see the truck and we can try to figure something out.
02-25-2008, 04:55 PM
#69
Registered User
Thread Starter
Join Date: May 2007
Location: Summit County, Colorado
Posts: 1,441
Likes: 0
Received 0 Likes
on
0 Posts
 ...
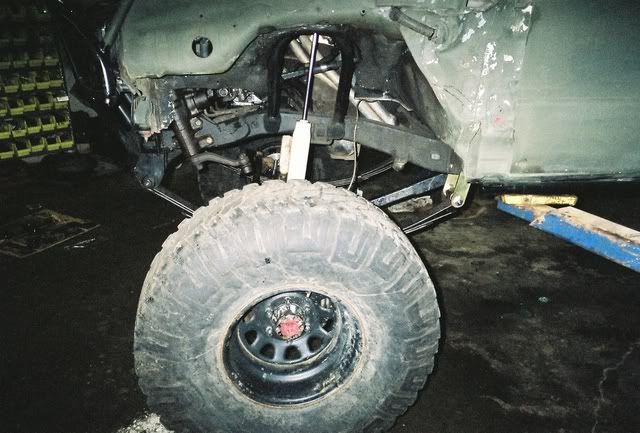
... I spent the weekend replacing the front suspension, front axle and everything that goes with it. After installing the first knuckle, high steer arm, fifth stud kit, felt and the felt rings; I turned the knuckle and it hit the gusset. While I was welding them on I made a mental note to check the clearance, but in the middle of putting everything together I forgot. I was able to trim it with a long sawzaw blade and took the grinder to the other side. Everything clears fine now.
The only concern is that I have not set the steering stops yet and I plan on installing hydro assist, so there still might be some clearance issue's. I can still take care of it, it's just a bit more complicated.
I will have some pictures of the whole install tommorrow or the day after.
02-25-2008, 07:23 PM
#70
Registered User
No, I didn't, and guess what happened ...
I spent the weekend replacing the front suspension, front axle and everything that goes with it. After installing the first knuckle, high steer arm, fifth stud kit, felt and the felt rings; I turned the knuckle and it hit the gusset. While I was welding them on I made a mental note to check the clearance, but in the middle of putting everything together I forgot. I was able to trim it with a long sawzaw blade and took the grinder to the other side. Everything clears fine now.
The only concern is that I have not set the steering stops yet and I plan on installing hydro assist, so there still might be some clearance issue's. I can still take care of it, it's just a bit more complicated.
I will have some pictures of the whole install tommorrow or the day after.
... I spent the weekend replacing the front suspension, front axle and everything that goes with it. After installing the first knuckle, high steer arm, fifth stud kit, felt and the felt rings; I turned the knuckle and it hit the gusset. While I was welding them on I made a mental note to check the clearance, but in the middle of putting everything together I forgot. I was able to trim it with a long sawzaw blade and took the grinder to the other side. Everything clears fine now.
The only concern is that I have not set the steering stops yet and I plan on installing hydro assist, so there still might be some clearance issue's. I can still take care of it, it's just a bit more complicated.
I will have some pictures of the whole install tommorrow or the day after.
I'm running HA and have no clearance issues in terms of knuckle contact. Everything fits close but will work out!
02-25-2008, 08:20 PM
#71
Registered User
Thread Starter
Join Date: May 2007
Location: Summit County, Colorado
Posts: 1,441
Likes: 0
Received 0 Likes
on
0 Posts
I took mine to the bench grinder first, took away quite a bit of material, welded them on and still had to take a angle grinder to them. They are worth it at the end but getting to that point sucks
I'm running HA and have no clearance issues in terms of knuckle contact. Everything fits close but will work out!
I'm running HA and have no clearance issues in terms of knuckle contact. Everything fits close but will work out!
Once I get the steering stops set to where I want them and the HA set up the way I want, I'll see how the clearance looks. Without the brake backing plates it's really pretty easy to get in there. With the knuckle turned to one direction I was able to use the sawzaw and a 1/4" right angle die grinder, with a 3" rolock, to trim it down.
02-28-2008, 04:15 PM
#72
Registered User
Thread Starter
Join Date: May 2007
Location: Summit County, Colorado
Posts: 1,441
Likes: 0
Received 0 Likes
on
0 Posts
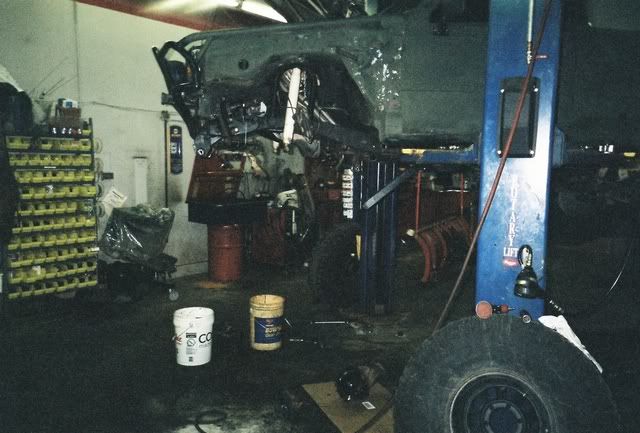
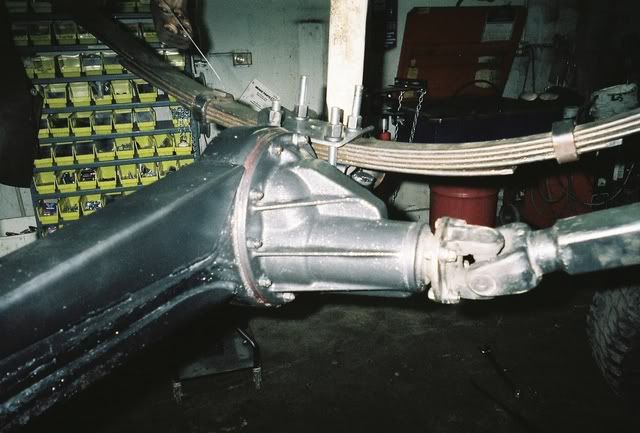
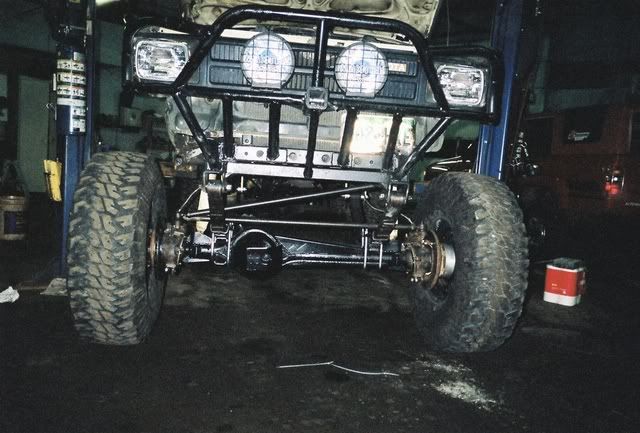
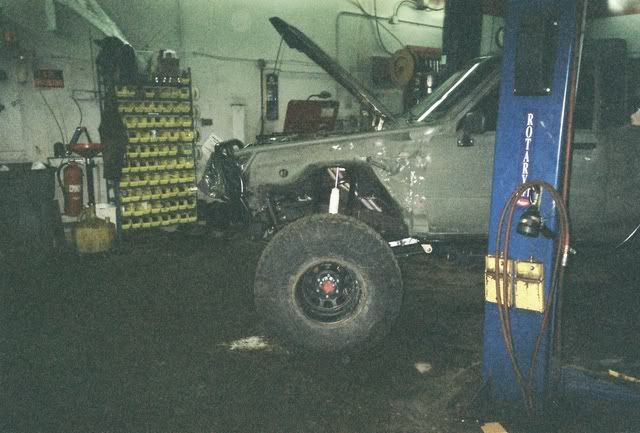
As you can tell from the above post, I worked on the 4Runner all weekend and got quite a bit done . There are still some details to take care of but the new front axle and front suspension are in place.
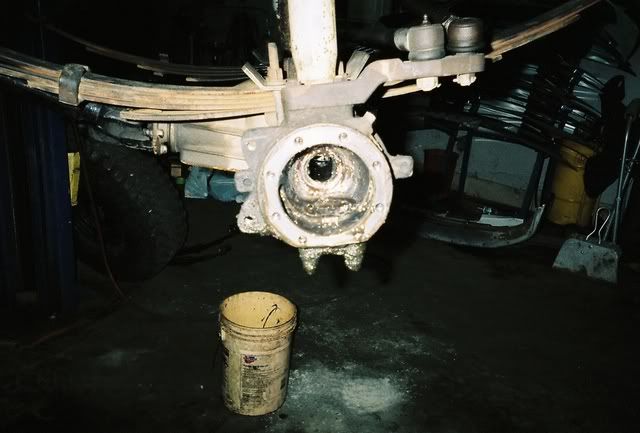
I started by taking the old axle apart first. I never found what was causing the big problem to front end, but I did find a couple little things.
One broken knuckle stud on the drivers side (Front left). The other three were intact but may have been bent, I didn't look that close. This allowed the steering arm to seperate from the knuckle a little and may have messed the alignment up
The other issue that I ran into was trying to remove the driver's side axle shaft and birfield. The spare (not broken) axle and birfield would not want to come out and I ended up having to beat on it with a large pair of vise-grips and a hammer. This leads me to belive that the housing itself may have bent.
Out with the old and in with the new
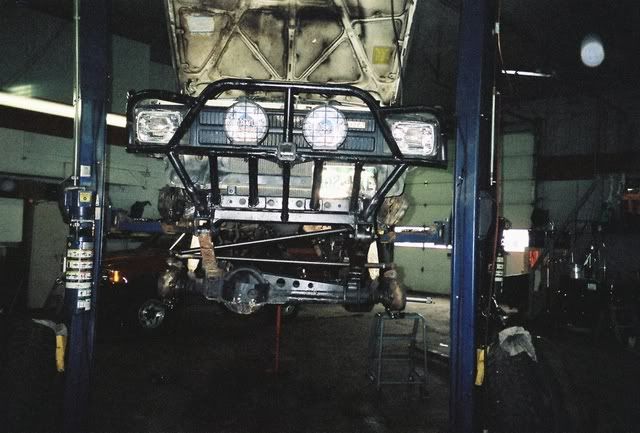
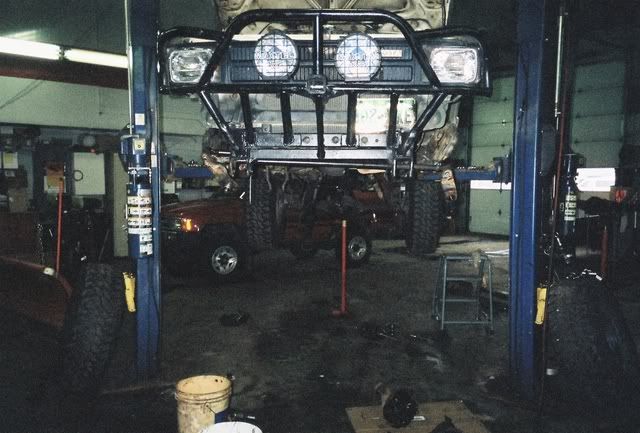
. There are still some details to take care of but the new front axle and front suspension are in place.I started by taking the old axle apart first. I never found what was causing the big problem to front end, but I did find a couple little things.
One broken knuckle stud on the drivers side (Front left). The other three were intact but may have been bent, I didn't look that close. This allowed the steering arm to seperate from the knuckle a little and may have messed the alignment up
The other issue that I ran into was trying to remove the driver's side axle shaft and birfield. The spare (not broken) axle and birfield would not want to come out and I ended up having to beat on it with a large pair of vise-grips and a hammer. This leads me to belive that the housing itself may have bent.
Out with the old and in with the new
02-28-2008, 04:26 PM
#73
Registered User
Thread Starter
Join Date: May 2007
Location: Summit County, Colorado
Posts: 1,441
Likes: 0
Received 0 Likes
on
0 Posts
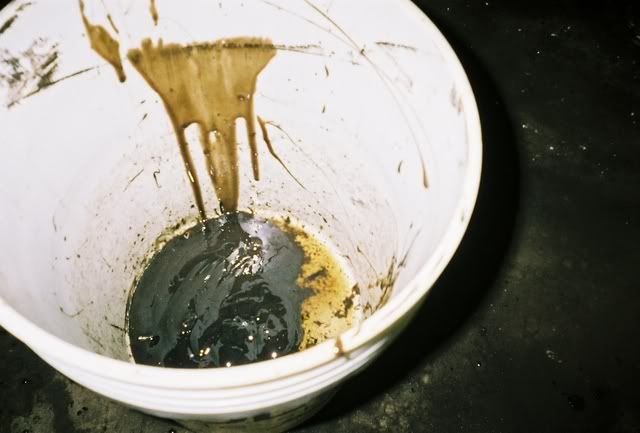
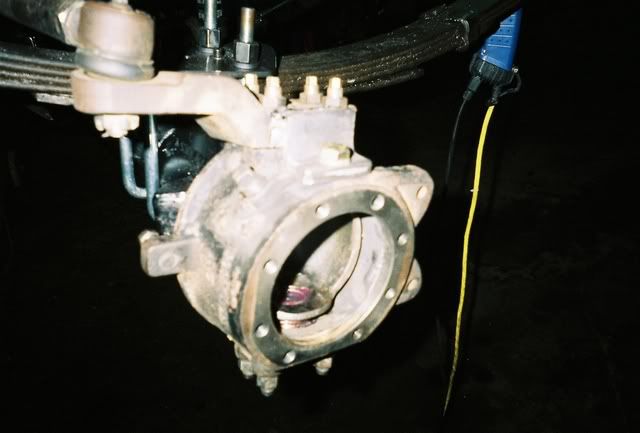
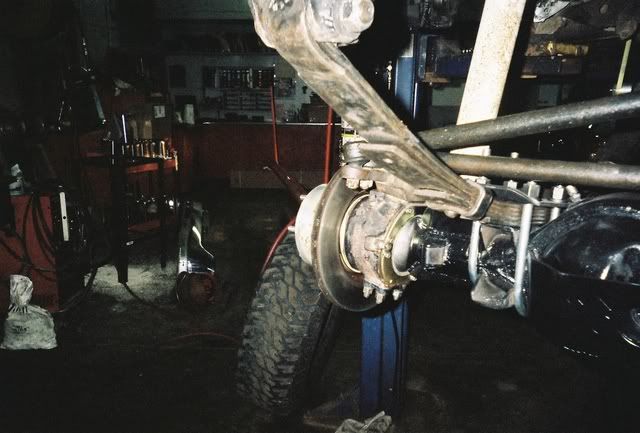
And here is what happens when the axle seal gets chewed up and everything gets mixed together 
As a side note I don't have the slightest idea why the size of the pictures changed?
As a side note I don't have the slightest idea why the size of the pictures changed?
Last edited by DIRTCO; 02-28-2008 at 04:32 PM.


 02-28-2008, 07:01 PM
#79
Registered User
Thread Starter
Join Date: May 2007
Location: Summit County, Colorado
Posts: 1,441
Likes: 0
Received 0 Likes
on
0 Posts
03-10-2008, 07:50 PM
#80
Registered User
Thread Starter
Join Date: May 2007
Location: Summit County, Colorado
Posts: 1,441
Likes: 0
Received 0 Likes
on
0 Posts
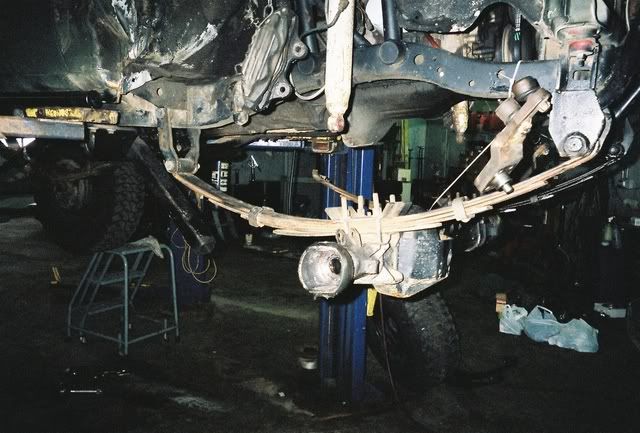
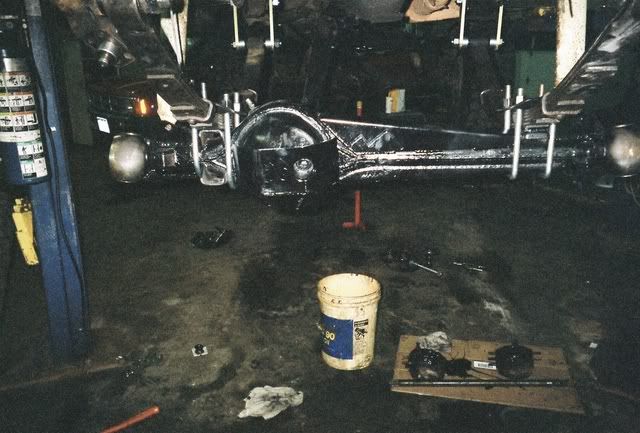
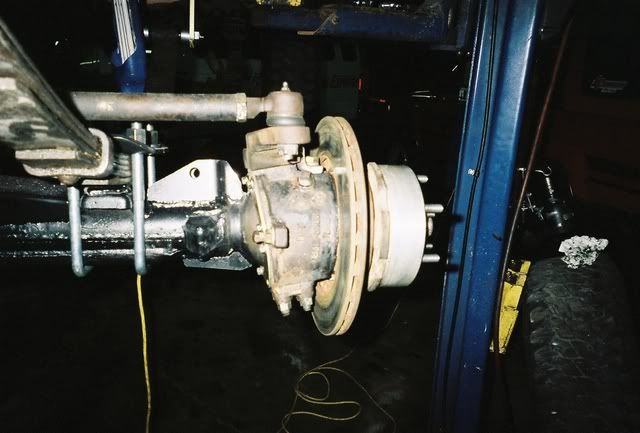
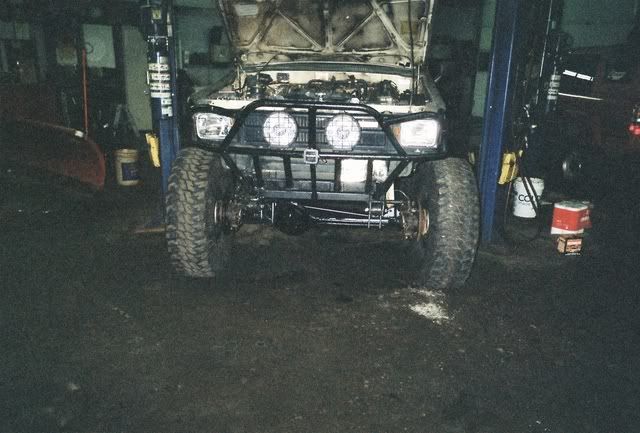
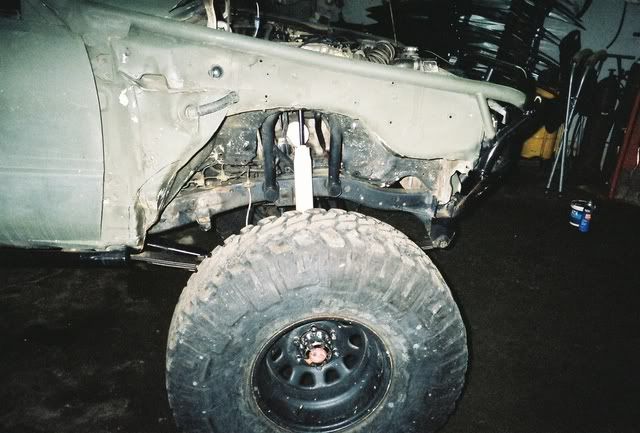
I got some more work done over the last two weekends. I finnished up the front axle; set the toe, topped off the gear oil, mounted the shocks and made some brake line tabs.
The brake line tabs are 1/8", bent to 90' and made to re-use the stock hard lines. When I drilled the holes in them I cut a section out so I can slip the brake line through the bracket, that will let me hang the caliper from the shock hoop for easy trail repairs.
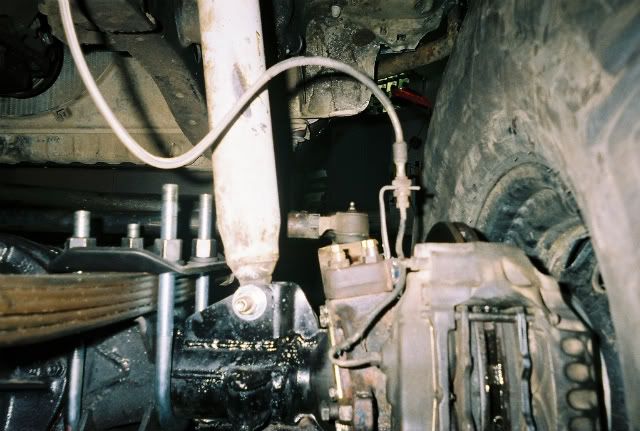
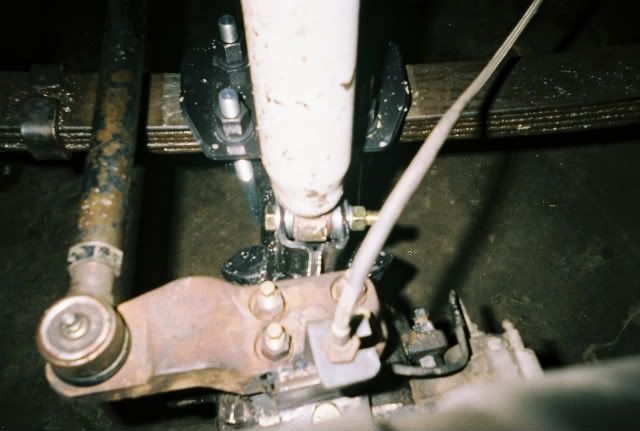
The brake line tabs are 1/8", bent to 90' and made to re-use the stock hard lines. When I drilled the holes in them I cut a section out so I can slip the brake line through the bracket, that will let me hang the caliper from the shock hoop for easy trail repairs.


