Ken's 81 Yota
 09-05-2014, 11:16 AM
#61
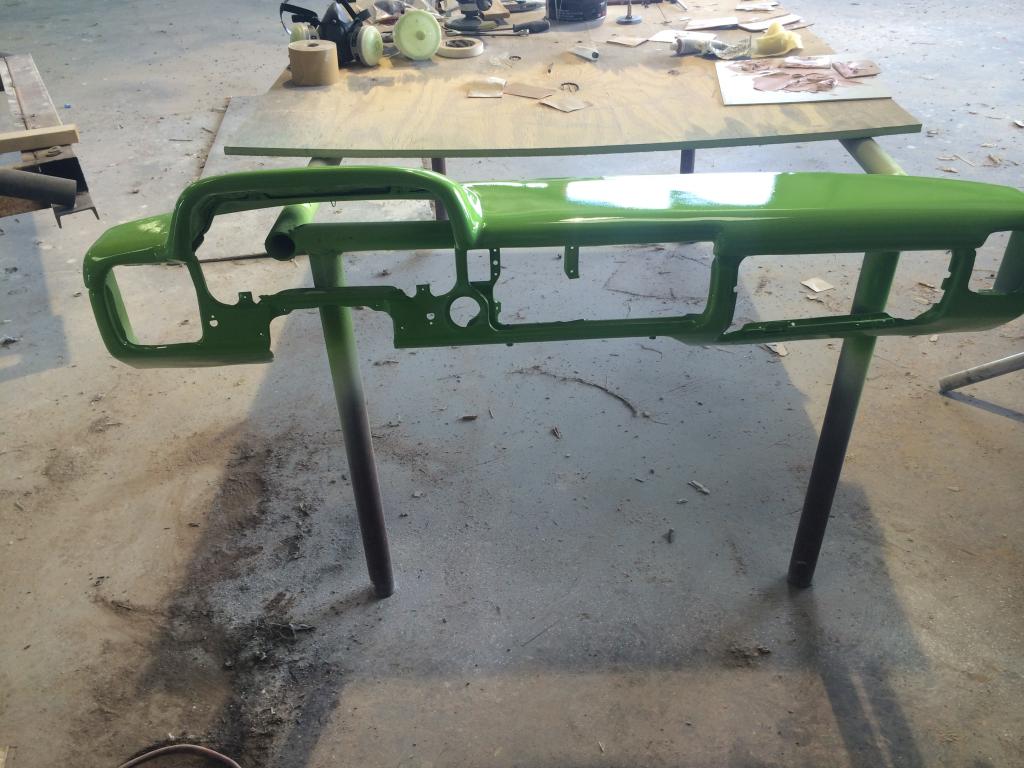
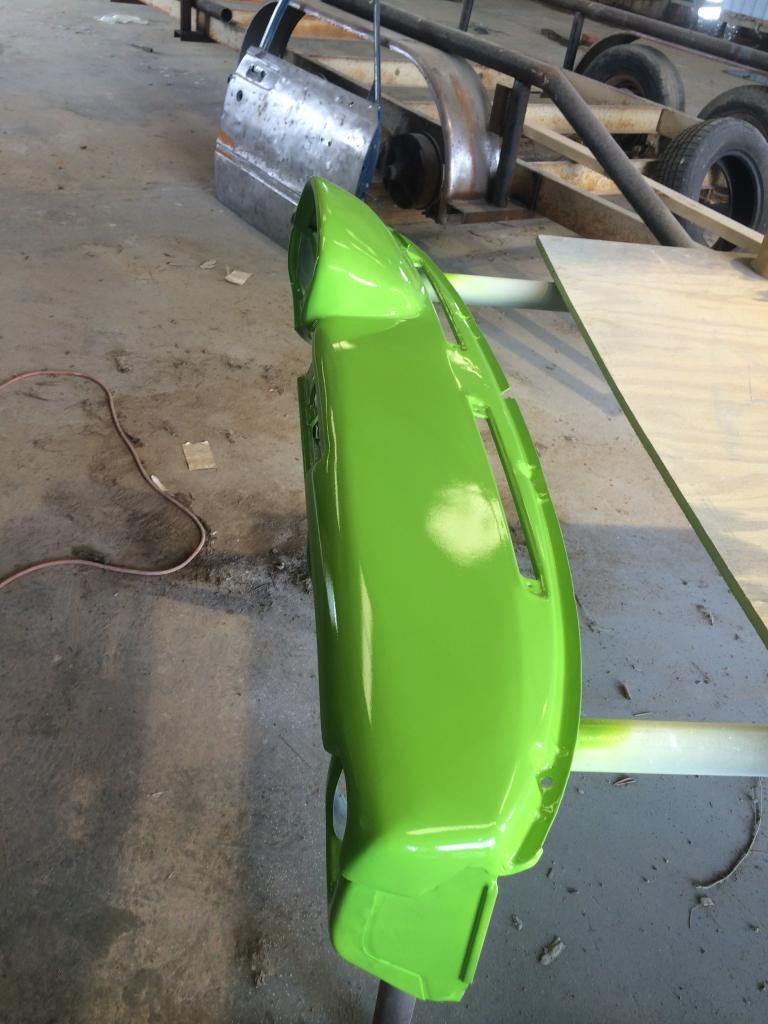
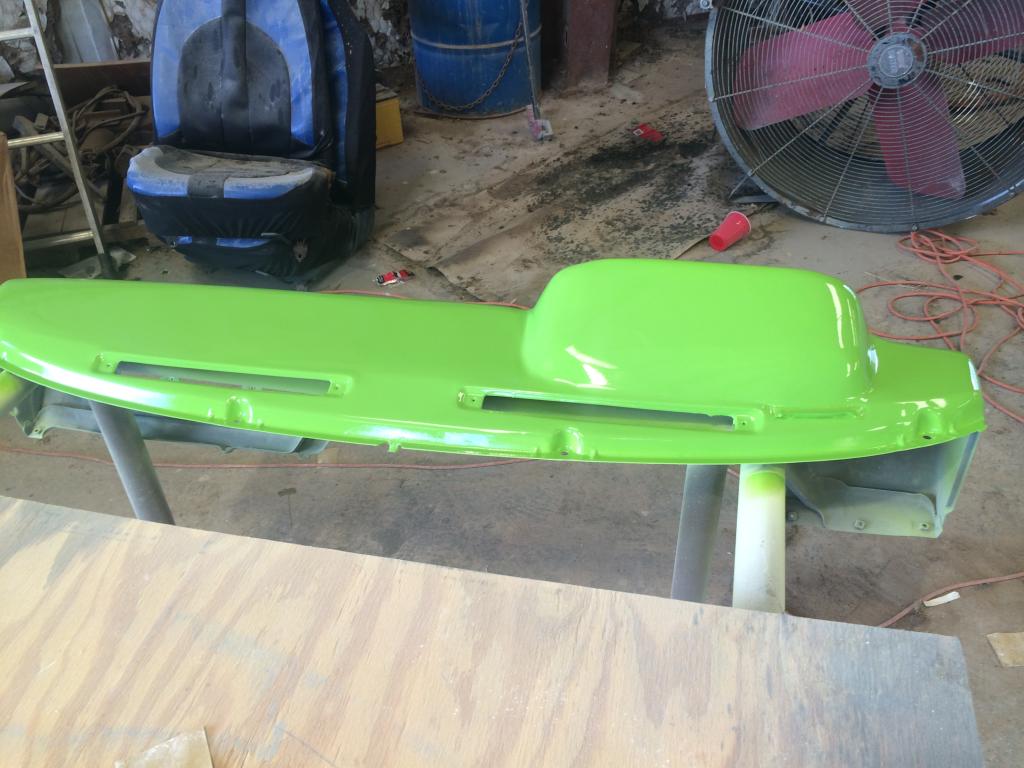
Dash is painted and now I plan on starting to make all the inserts. All of my plastic was pretty much trashed so I am planning on making new ones with sheet metal and powder coat them matte black to match wheels, handles, etc etc.


 09-06-2014, 08:25 PM
#62
Looks cool, but I imagine that it may be prone to cracking due to the way you used fiberglass/filler to bridge the gaps between the dash pad and steel dash frame. I hope for the best, but reality might sneak up on you when the whack some bumps or have extreme hot/cold weather.
09-06-2014, 11:16 PM
#63
Looks cool, but I imagine that it may be prone to cracking due to the way you used fiberglass/filler to bridge the gaps between the dash pad and steel dash frame. I hope for the best, but reality might sneak up on you when the whack some bumps or have extreme hot/cold weather.
It really does look cool. I don't think I have ever seen a green dash.
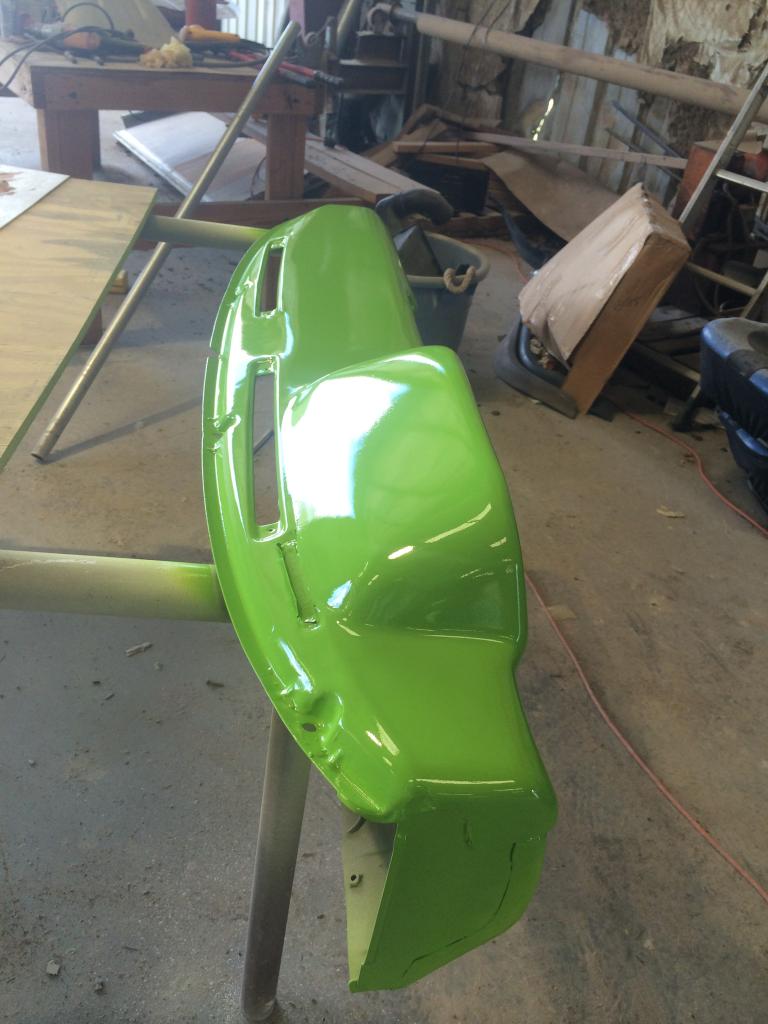
hard to believe you were able to salvage that dash pad from this:

to this
I have only been working on my dash pad for a few hours inbetween other distractions. I know you have ton of work into it..
 11-24-2014, 06:26 AM
#68
I'm back!!
I haven't updated in a little over a month, due to getting married and spending a week long honeymoon in the Mayan Riviera. But I'm back now and have gotten quite a bit done in the last couple weeks. After reading Dave's reply about my dash possibly cracking I decided to test it and I dropped it 3' onto my cement floor!!!!! Actually it fell Anyway, it did crack in a couple small places, so I repaired and while I was at it I decided to really make it a one off dash!! Also got interior of cab lined with Raptor. Driver side glass, windshield, and back glass installed.[IMG]
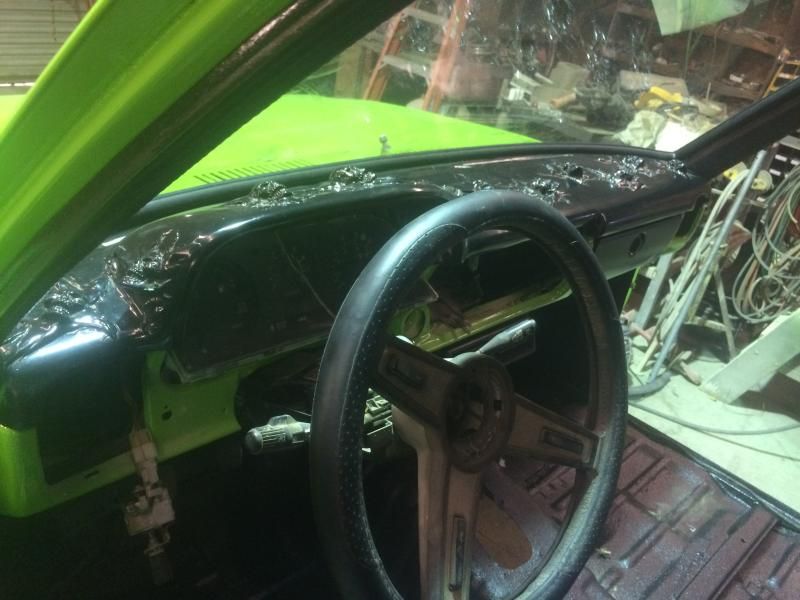 [/IMG]
[IMG]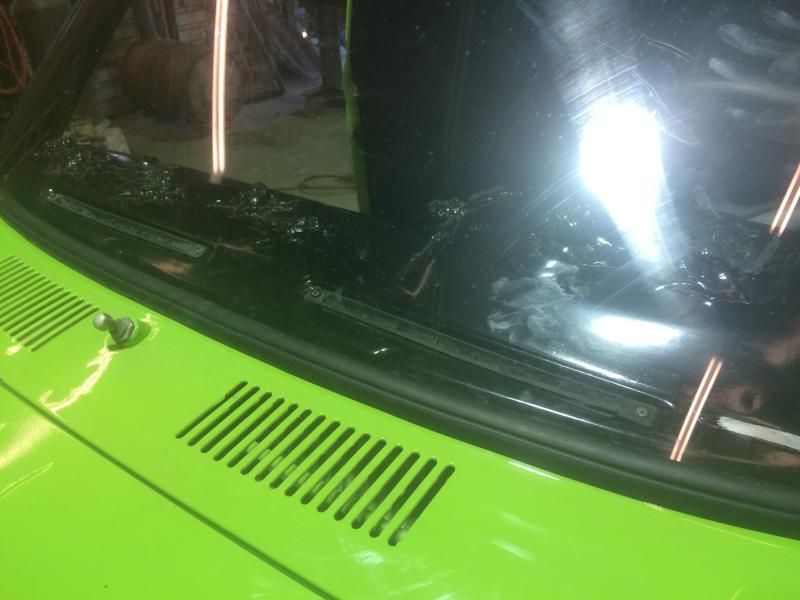 [/IMG]
[IMG]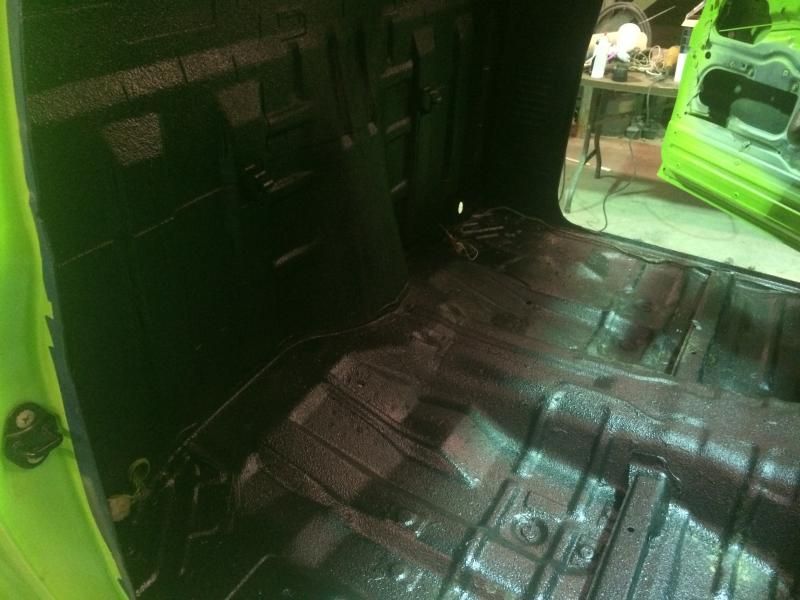 [/IMG]
[IMG]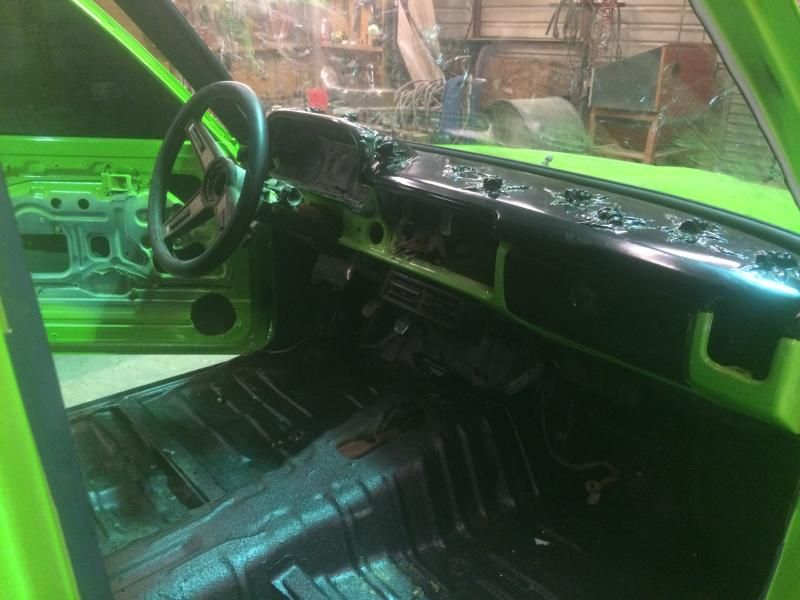 [/IMG]
[IMG]
 [/IMG]
[IMG]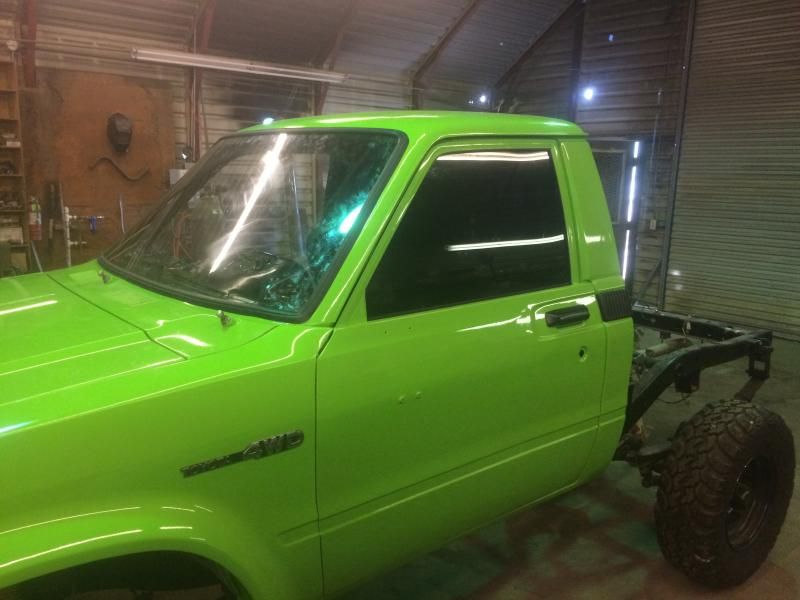 [/IMG]
[IMG]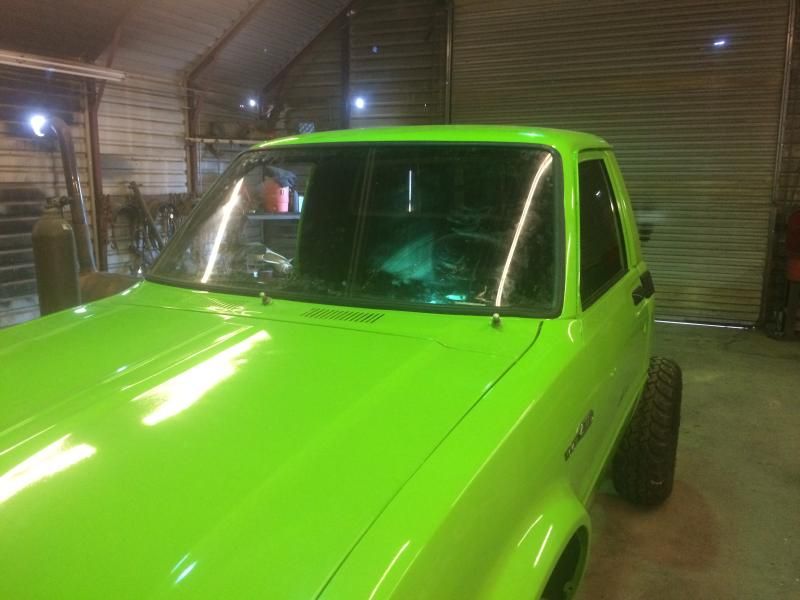 [/IMG]
Anyway, it did crack in a couple small places, so I repaired and while I was at it I decided to really make it a one off dash!! Also got interior of cab lined with Raptor. Driver side glass, windshield, and back glass installed.[IMG] [/IMG]
[IMG]
 [/IMG]
[IMG]
 [/IMG]
[IMG]
 [/IMG]
[IMG]
 [/IMG]
[IMG]
 [/IMG]
[IMG]
 [/IMG]
12-02-2014, 07:58 AM
[/IMG]
12-02-2014, 07:58 AM
#69
I got the transmission back in with new clutch kit, hoping that would stop the tap I was hearing. I was completely convinced it was coming from the pressure plate. Started her up and I was WRONG!!!! So now I am convinced it is timing set being wore out. I started ripping into her and realized my exhaust manifold is shot!!!! Great excuse to buy a header!!!
[IMG]//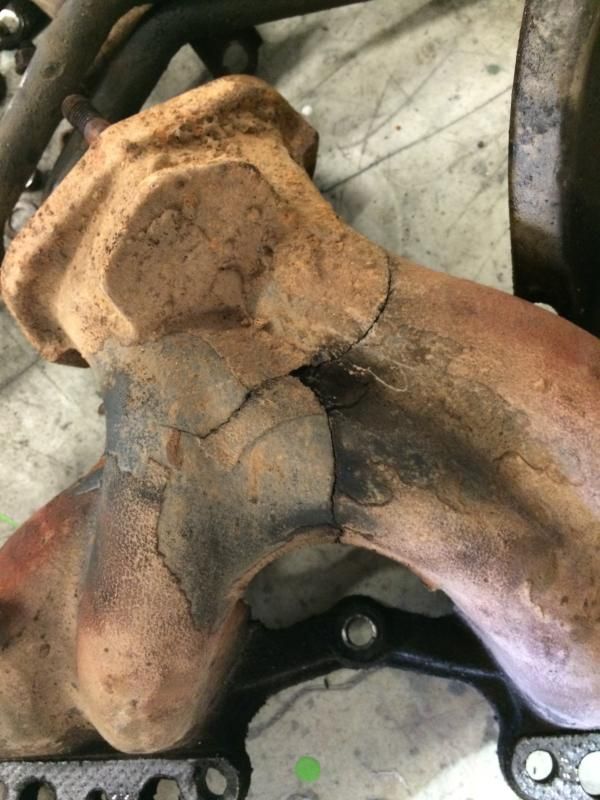 [/IMG]
[IMG]//
 [/IMG]

 12-03-2014, 03:54 PM
#71
Registered User
iTrader: (1)

Join Date: Mar 2013
Location: Mobile, Alabama
Posts: 2,121
Likes: 0
Received 0 Likes
on
0 Posts
Looks good. I don't think that paint job will like all the rocks being thrown into it. And if you don't know with the tires like that without fender flares, drive through a water puddle and the sides of the truck are dirty.
12-04-2014, 05:08 AM
#72
Maybe, but this truck is only going to be driven around town a bit and maybe to go camping once in a while.
12-13-2014, 11:39 AM
#74
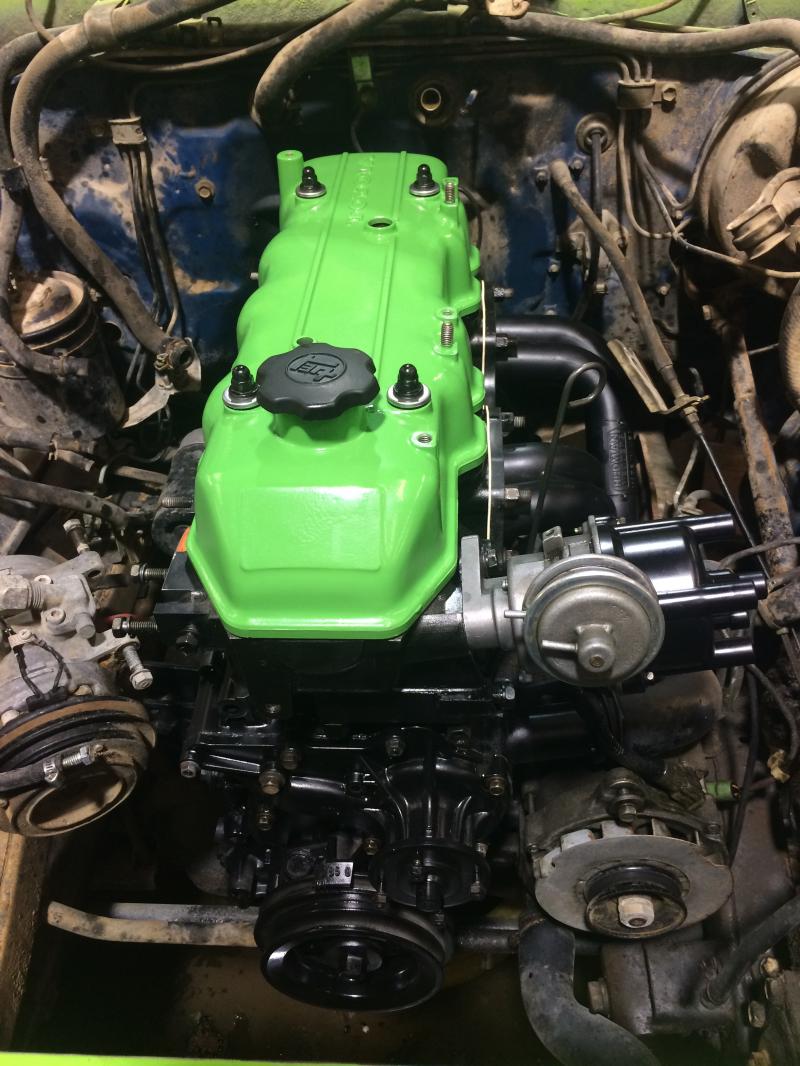
Got the new chain kit installed and since I had it all ripped apart I figur I might as well clean up under the hood a bit. Threw all the smog ˟˟˟˟ away, painted and powder coated everything and now putting her back together. The lime green powder coat from Eastwood doesn't really match the body paint but I'm cool with it. 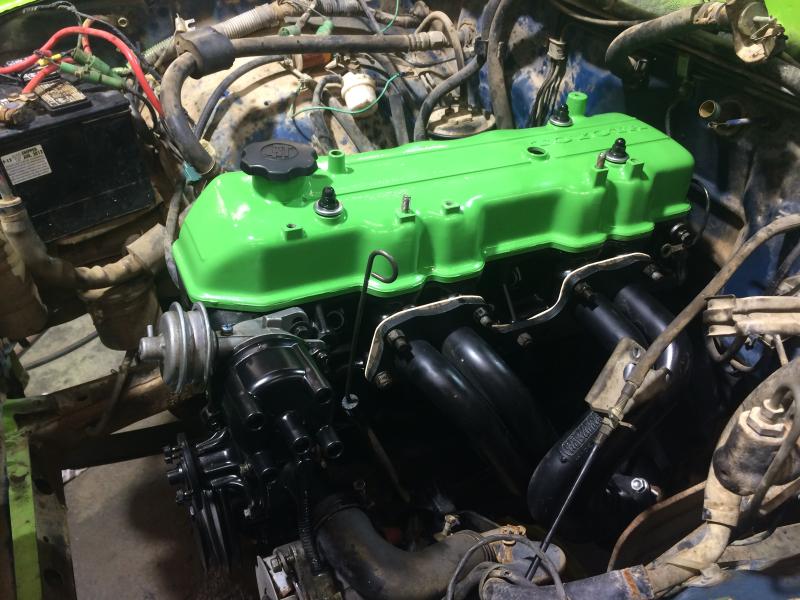


 12-25-2014, 06:03 AM
#76
While putting the plugs in I somehow cross threaded number 4! Damn it!!!! So I ordered a back tap, awesome little tool made just for this problem. You insert it into the hole, turn the little knob which spreads out the threads while inside the cylinder then screw it out of the hole. Chases the threads and cleans up the bad ones. Here's a pic
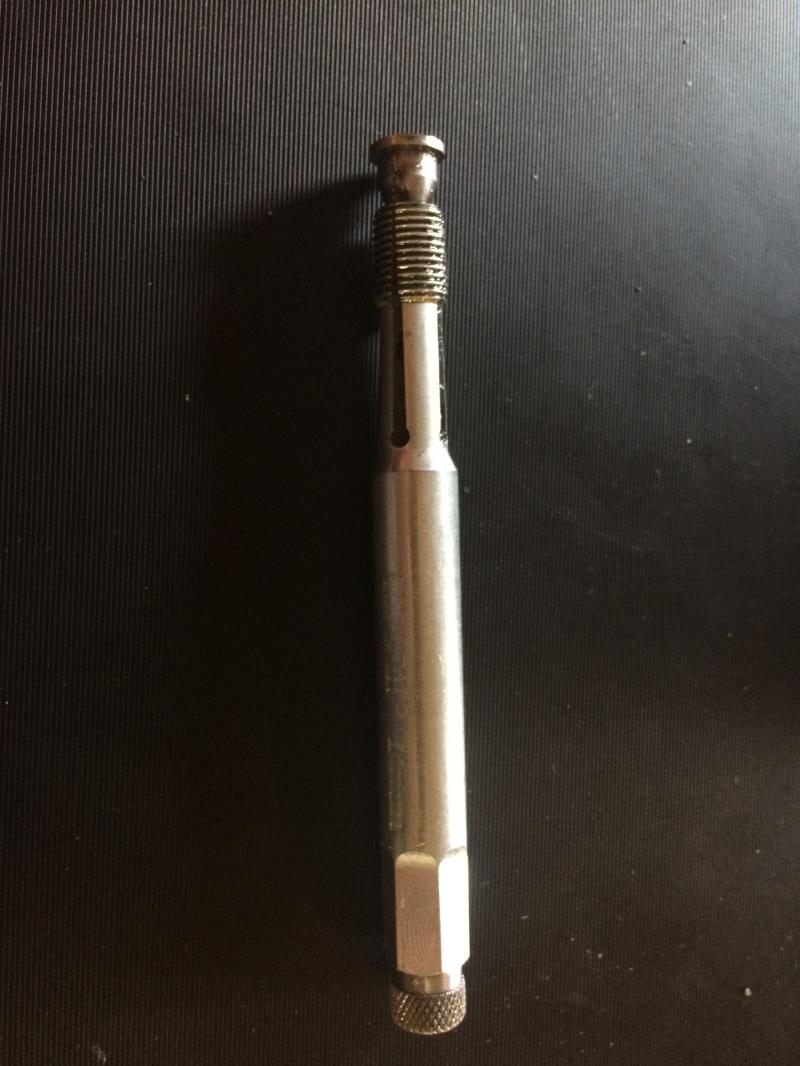
Took about 2 minutes to fix!!!
Then got her fired up, adjusted the timing and fuel pressure. Sounds pretty damn good.
Have a listen

Took about 2 minutes to fix!!!
Then got her fired up, adjusted the timing and fuel pressure. Sounds pretty damn good.
Have a listen
Last edited by sandman666; 12-25-2014 at 06:14 AM.
02-08-2015, 01:41 PM
#77
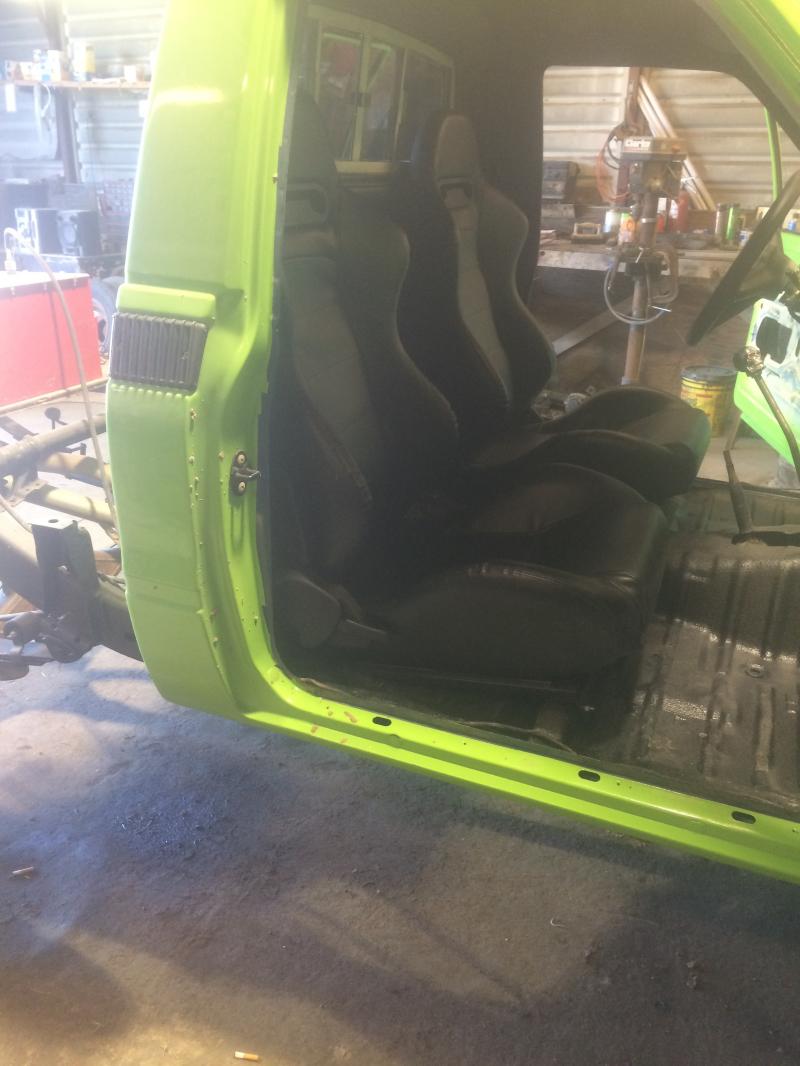
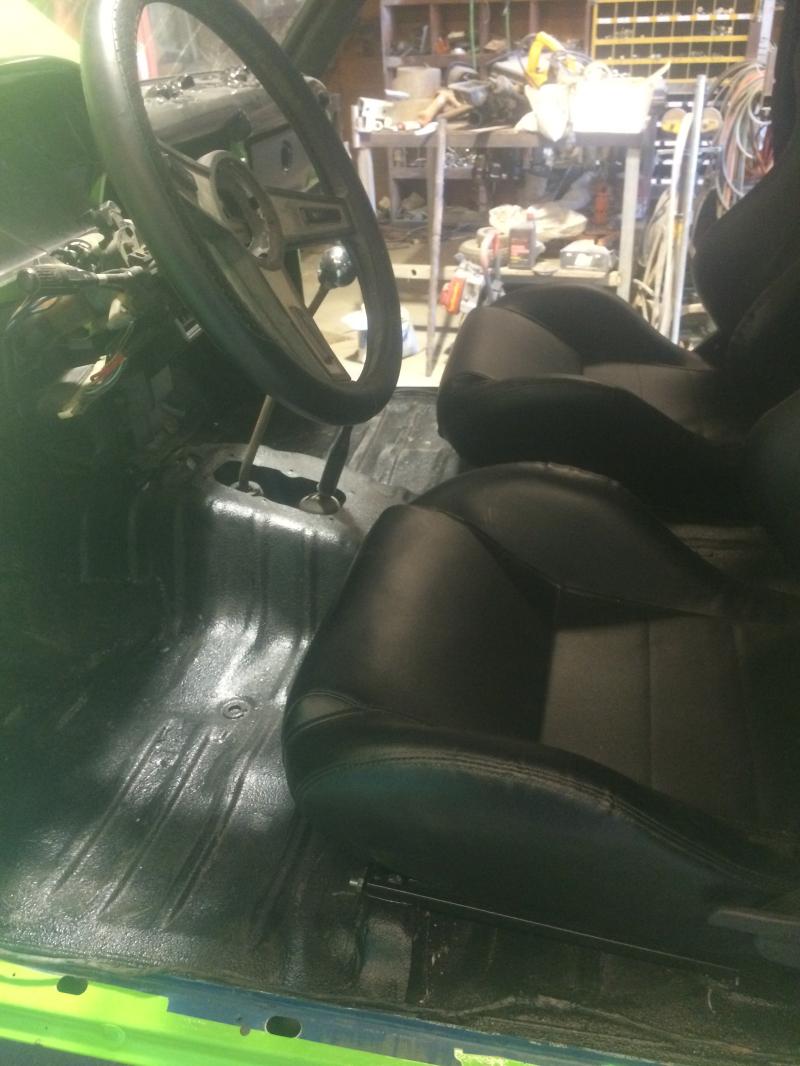
seats installed
My kids bought me these for xmas, finally got around to installing!!
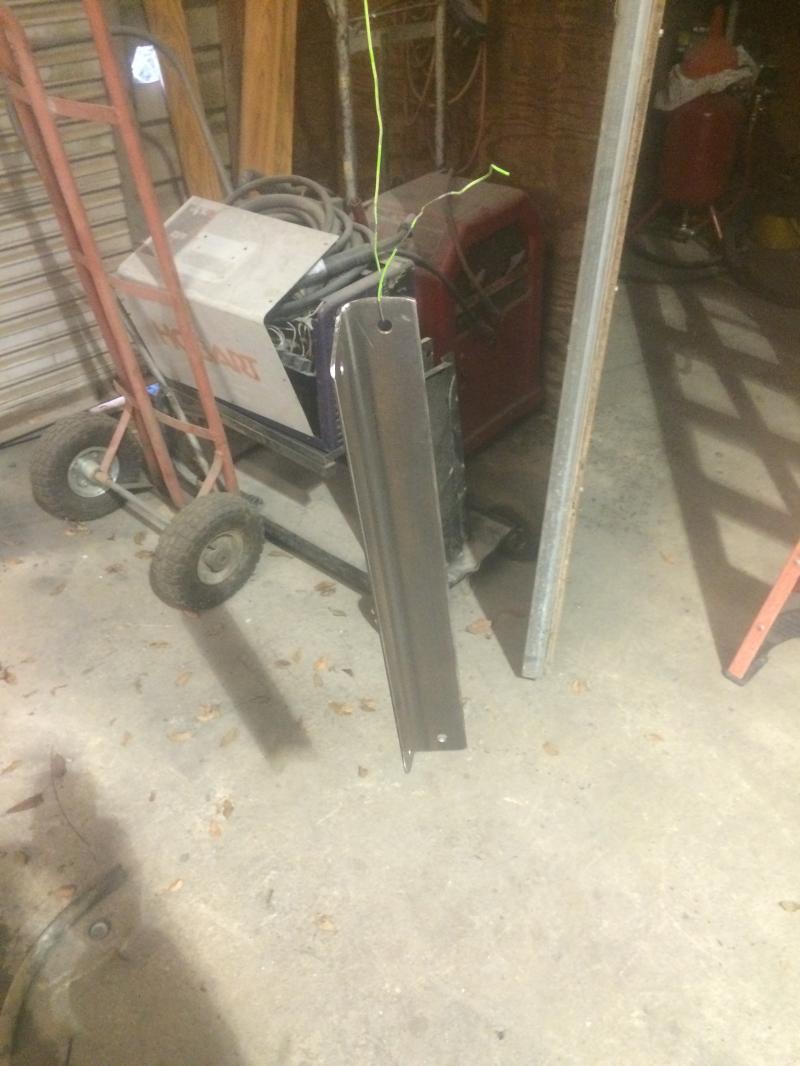
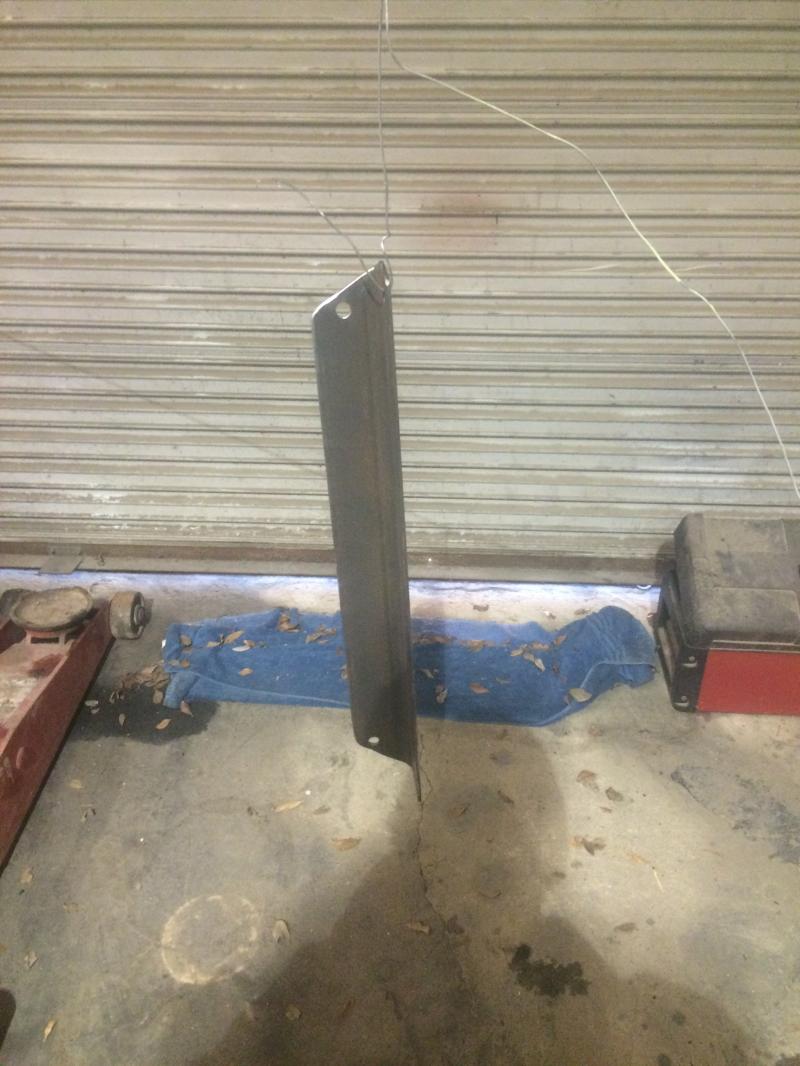
made the brackets to attach seats to front floor mount.
ready for powder coat
seats in, back bolts I just drilled new holes and backed them up with big flat washers and lock washers under the truck.
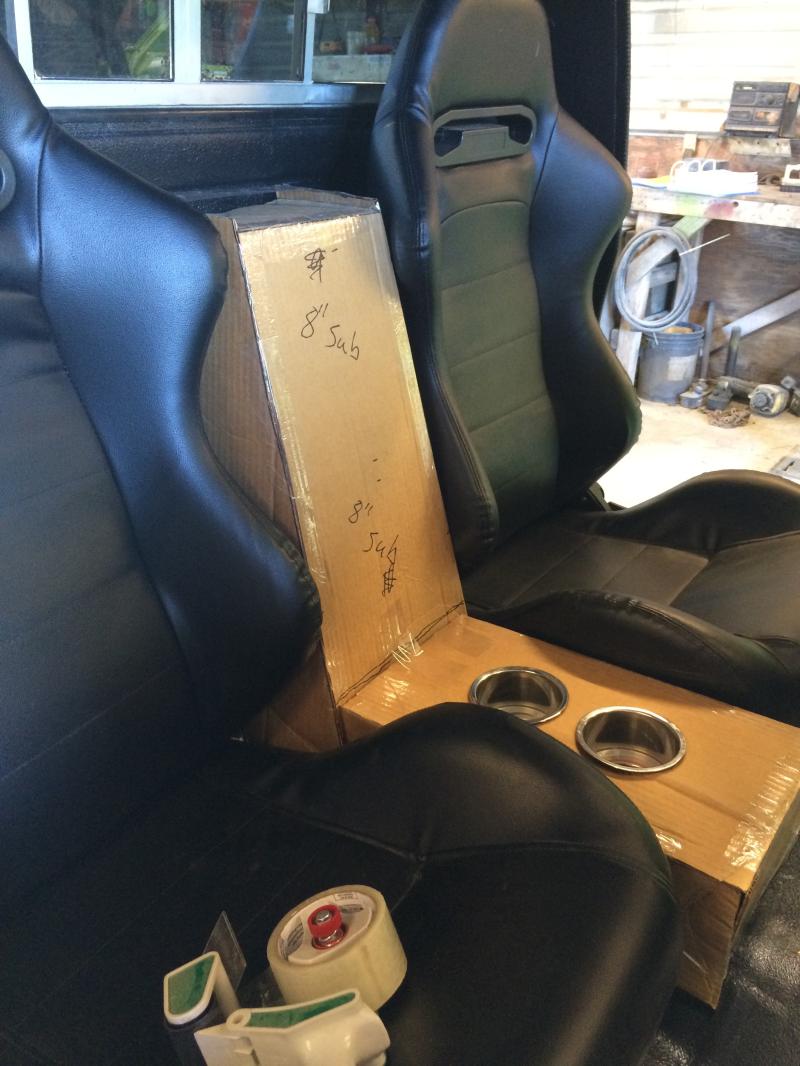
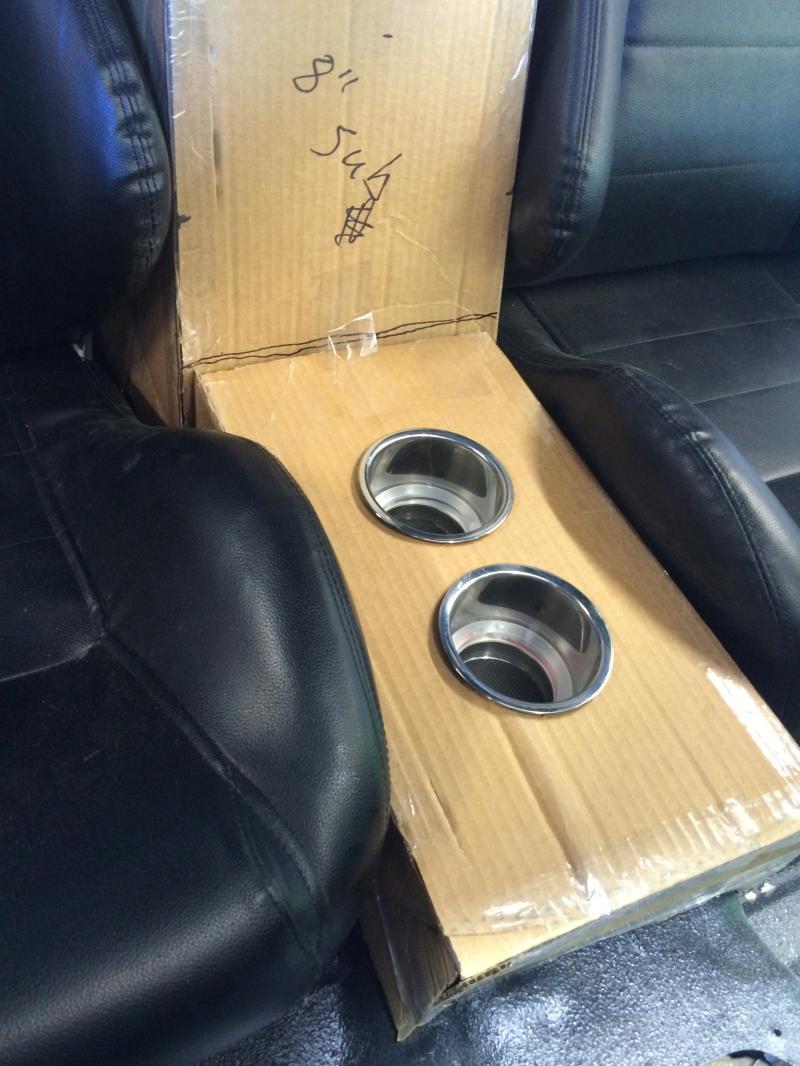
cardboard console complete. Only problem is the hardware store in this ˟˟˟˟ hole town I live in is closed on Sunday, so can't buy any mdf:mad3:
It will house 2 8" subs and the cup holders have green led's in them. I am also installing 3 power outlets in the front facing the shifters.
made the brackets to attach seats to front floor mount.
ready for powder coat


seats in, back bolts I just drilled new holes and backed them up with big flat washers and lock washers under the truck.


cardboard console complete. Only problem is the hardware store in this ˟˟˟˟ hole town I live in is closed on Sunday, so can't buy any mdf:mad3:
It will house 2 8" subs and the cup holders have green led's in them. I am also installing 3 power outlets in the front facing the shifters.


Last edited by sandman666; 02-08-2015 at 01:44 PM.
02-15-2015, 02:23 AM
#78
time for motor rebuild
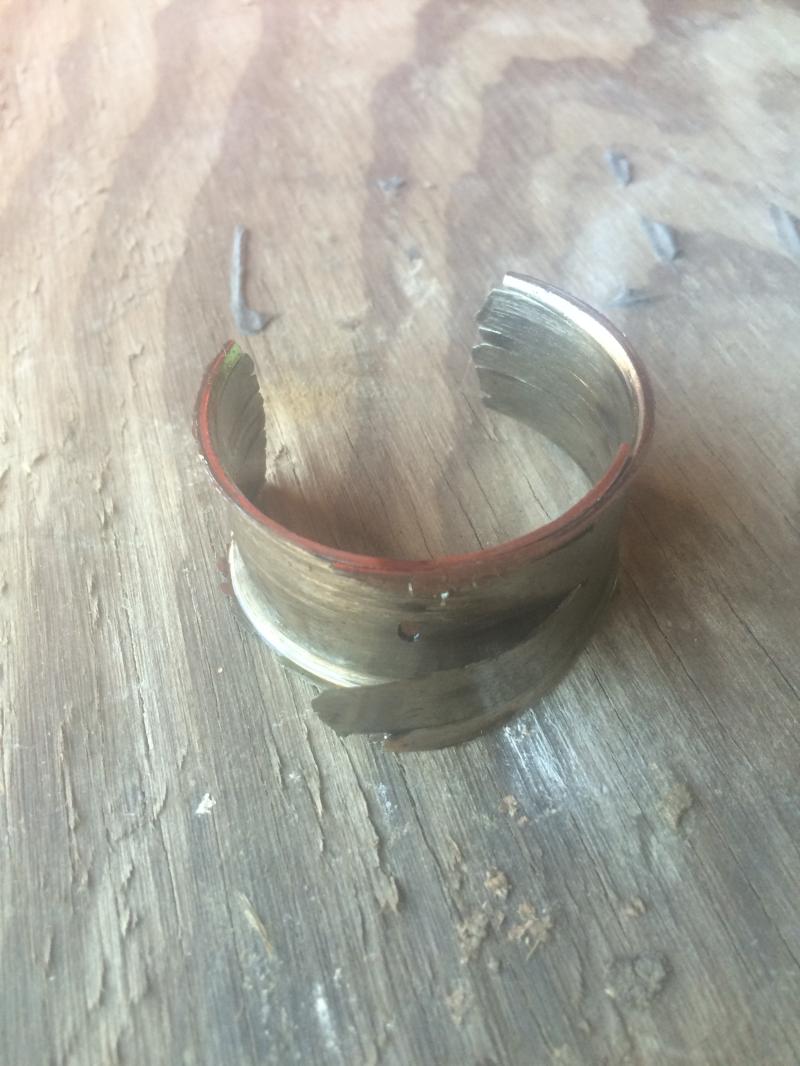
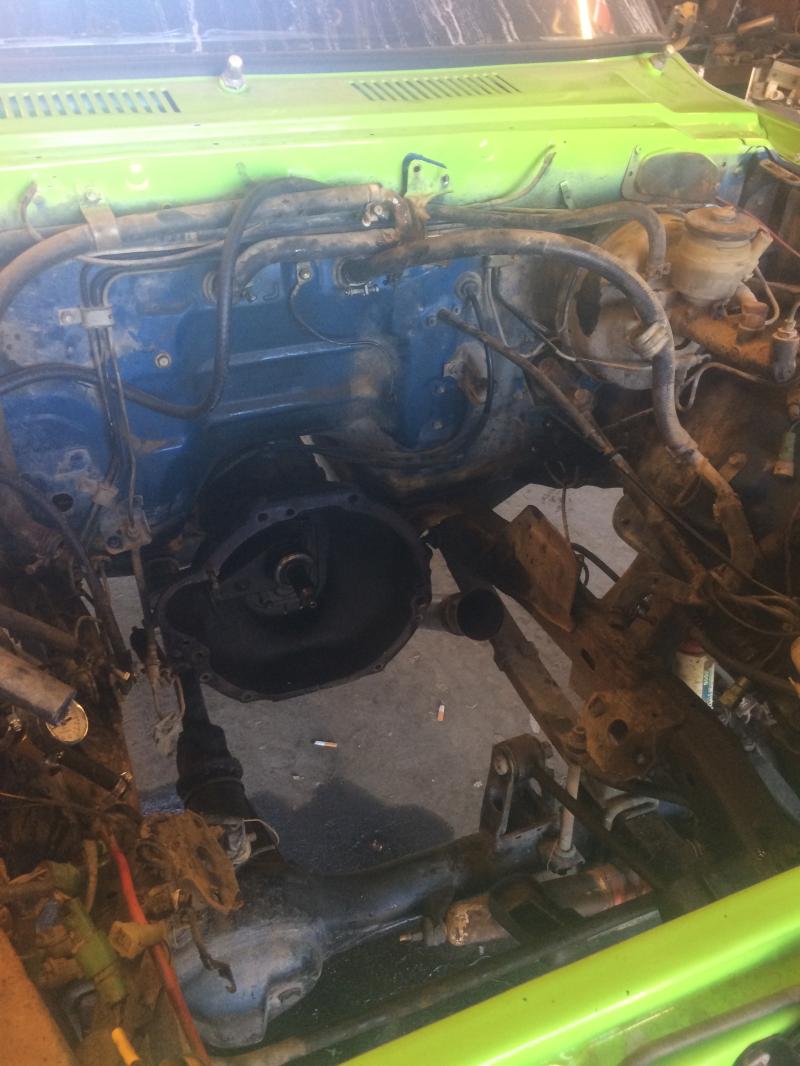
Got my exhaust finished and now I can hear the motor. I had just an open header since I replaced timing set. Now I could hear a significant lower end knock!! Pulled the pan and rod bearings, this is what I found.
Number 4 rod bearing spun and number 1 on its way!! Bright side, now I will have a new motor and I can Raptor line under the hood.
Pulled motor and started disassemble. All the main bearings were about to go!!
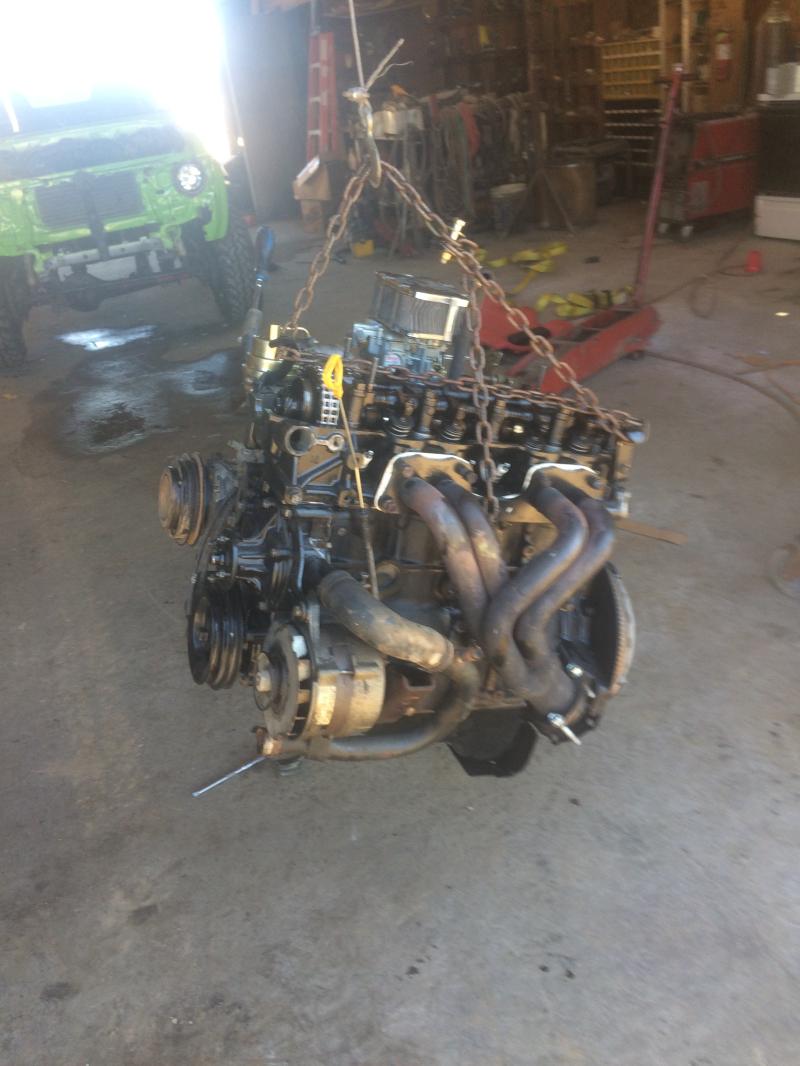
Now a question for you guys. Parts I already have to rebuild this motor are: weber 32/36, hedman header, rv cam from engnbldr, dbl row timing set from engnbldr. I plan on buying pistons, rings, rod and main bearings from engnbldr. Im taking the crank to be turned and was wondering if their is a benefit to boring the cylinders .040? Will this be a noticeable uprgrade?? And will it work good with my carb and header? Should I do any upgrade to the head at the same time?
Number 4 rod bearing spun and number 1 on its way!! Bright side, now I will have a new motor and I can Raptor line under the hood.

Pulled motor and started disassemble. All the main bearings were about to go!!


Now a question for you guys. Parts I already have to rebuild this motor are: weber 32/36, hedman header, rv cam from engnbldr, dbl row timing set from engnbldr. I plan on buying pistons, rings, rod and main bearings from engnbldr. Im taking the crank to be turned and was wondering if their is a benefit to boring the cylinders .040? Will this be a noticeable uprgrade?? And will it work good with my carb and header? Should I do any upgrade to the head at the same time?
Last edited by sandman666; 02-15-2015 at 02:25 AM.
02-15-2015, 05:04 AM
#79
Overbore the minimum you have to, no noticable power difference with a 0.040'' overbore, and try to find why the engine spun the bearings, maybe the oil pump needs replacing, maybe something is stuck in the oil system/strainer. I think all will work well with the carb and header but you'll probably need to re-jet for all to work properly.
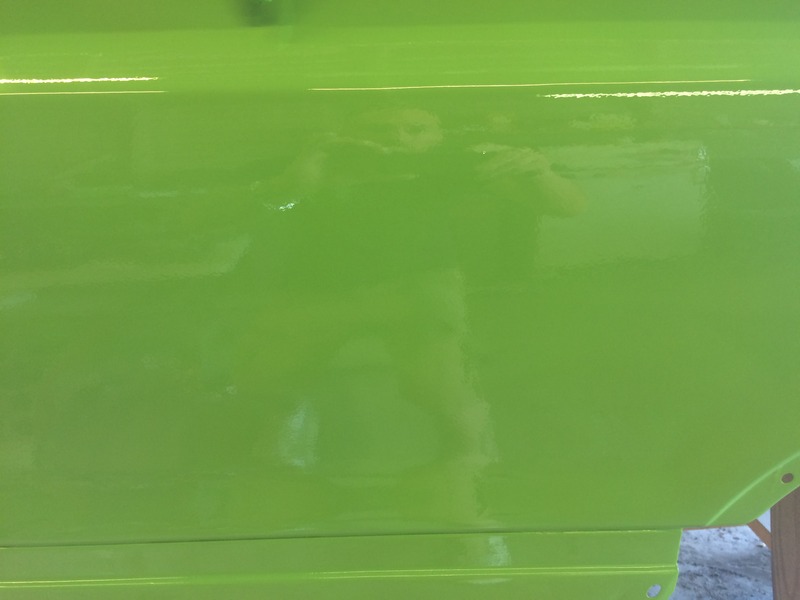
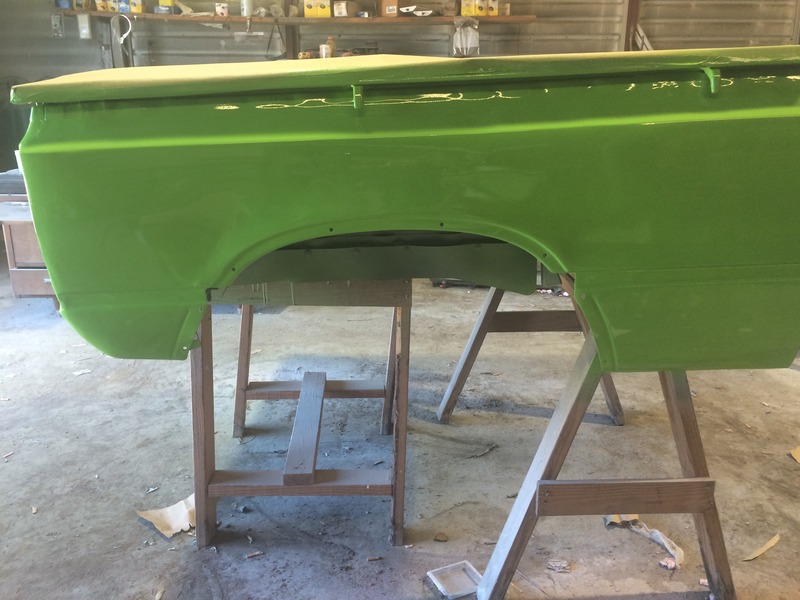
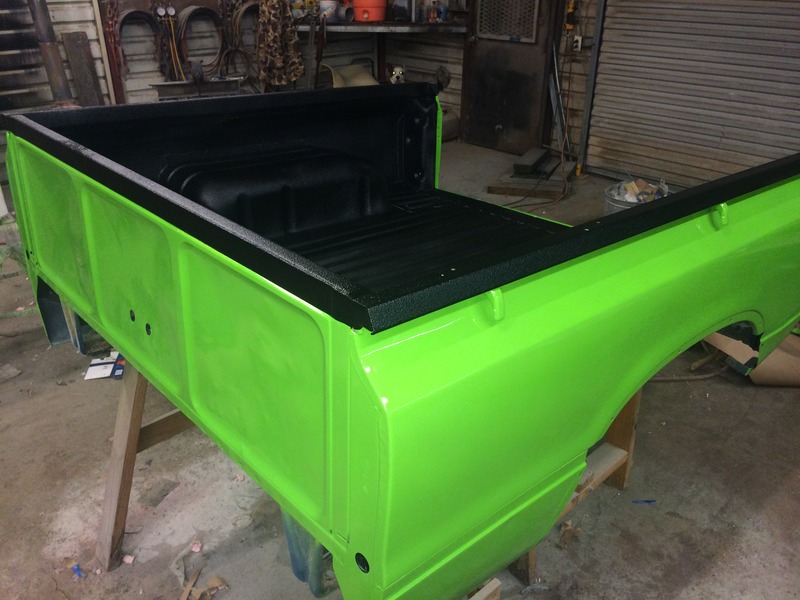
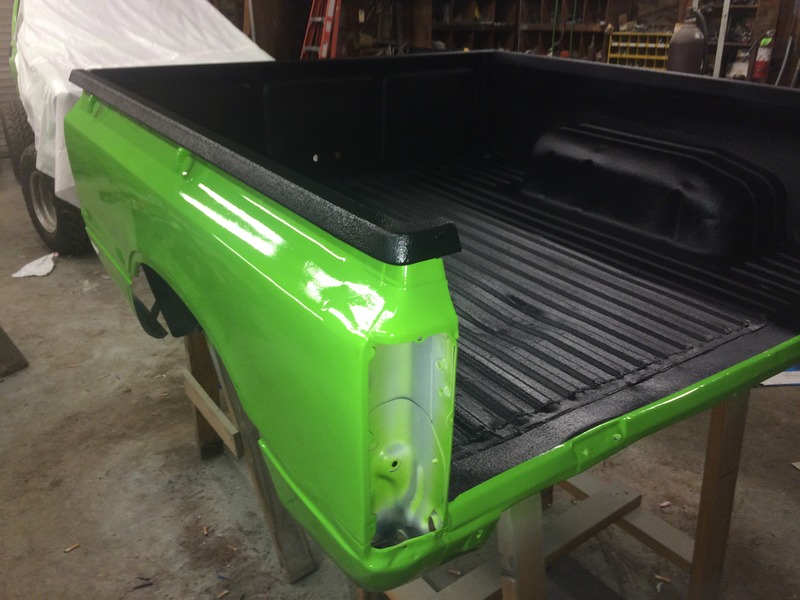
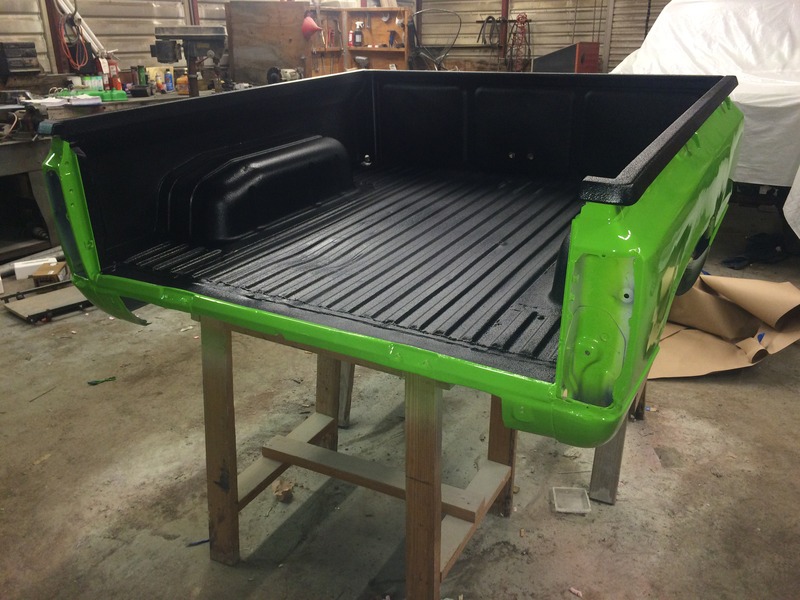
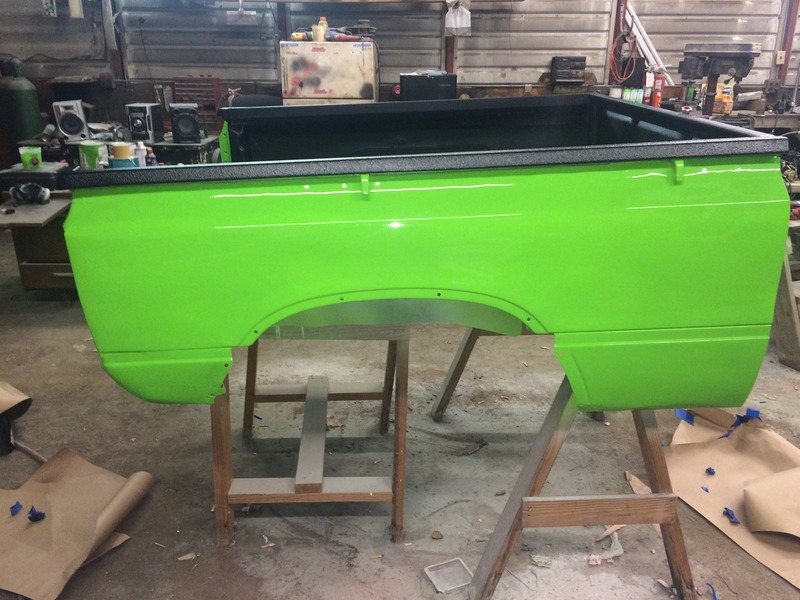
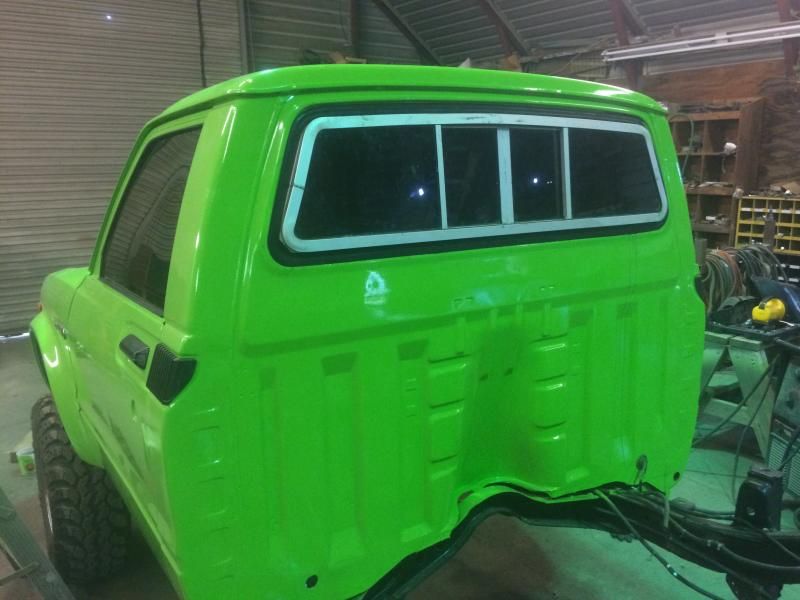
06-02-2015, 03:29 AM
#80
I've been gone awhile but now it's time to get busy on this thing. I've been in and out of the hospital since February. I ended up having viral meningitis an infection in my brain that caused me to not even know who my family and friends were. Also a blood clot in my brain. Very lucky to be able to write this post right now. I got all the body work done on the bobbed bed and laid down the primer and paint!! Laid down like liquid glass!!! I also sprayed the raptor liner!!!