Notices
86-95 Trucks & 4Runners 2nd/3rd gen pickups, and 1st/2nd gen 4Runners with IFS
Sponsored by:
Sponsored by: DashLynx

So let's get into it

Thread Tools
 
Search this Thread
 
Old 08-11-2016, 07:12 AM
  #61  
Registered User
Thread Starter
 
cbr600rx7's Avatar
 
Join Date: May 2011
Posts: 534
Likes: 0
Received 2 Likes on 2 Posts
NOTE!!! The larger filter will only fit the rear oil filter location (oil cooler location on tow package rigs) the block interferes if you use it on the front.
Old 08-11-2016, 10:11 AM
  #62  
Registered User
Thread Starter
 
cbr600rx7's Avatar
 
Join Date: May 2011
Posts: 534
Likes: 0
Received 2 Likes on 2 Posts


Rear main seal going on. This seal was different from the seal that came off. The new seal is from Toyota and looks beefer. Maybe a updated version?

Old 08-12-2016, 03:29 AM
  #63  
Registered User
Thread Starter
 
cbr600rx7's Avatar
 
Join Date: May 2011
Posts: 534
Likes: 0
Received 2 Likes on 2 Posts


Oil pan is on along with the rear main seal.

rear main bolts torqued to 61 in-lbs
oil pan bolts torqued to 82 in-lbs (slightly higher then spec)

i I primed the oil pump slightly with 10w-40 but will prime it again before starting.

Old 08-12-2016, 06:48 AM
  #64  
Registered User
 
Andy A's Avatar
 
Join Date: Jan 2010
Location: Southern Pines, NC
Posts: 453
Received 29 Likes on 26 Posts
Making progress, won't be long!!!!
Old 08-12-2016, 09:45 AM
  #65  
Registered User
Thread Starter
 
cbr600rx7's Avatar
 
Join Date: May 2011
Posts: 534
Likes: 0
Received 2 Likes on 2 Posts
Here is a comparison between the 3vze and supra VAFM.

On the air box side you can clearly see the supra is clearly a little larger.

From the top they are very similar.

The throttle body side is a huge diffrence in size.

And now for the air box side gasket. I stacked the 3VZE gasket on top of the Supra gasket. You can clearly see the size diffrence.

Old 08-12-2016, 06:39 PM
  #66  
Registered User
Thread Starter
 
cbr600rx7's Avatar
 
Join Date: May 2011
Posts: 534
Likes: 0
Received 2 Likes on 2 Posts
Power washing all the misc parts and detailed the engine bay. Tomorrow we are starting out by dressing the bottom end and then replacing the transmission input seal. After that it's time for the assembled short block to go back in.
Old 08-13-2016, 04:11 PM
  #67  
Registered User
Thread Starter
 
cbr600rx7's Avatar
 
Join Date: May 2011
Posts: 534
Likes: 0
Received 2 Likes on 2 Posts
Transmission input seal replacement.


Old 08-13-2016, 05:53 PM
  #68  
Registered User
Thread Starter
 
cbr600rx7's Avatar
 
Join Date: May 2011
Posts: 534
Likes: 0
Received 2 Likes on 2 Posts


Old 08-14-2016, 06:44 PM
  #69  
Registered User
Thread Starter
 
cbr600rx7's Avatar
 
Join Date: May 2011
Posts: 534
Likes: 0
Received 2 Likes on 2 Posts
Clutch is is all bolted up. Torque plate torqued to 65ft-lbs and clutch torqued to 14 ft-lbs. it took a little work but the input shaft is in and she is resting on the motor mounts.


Old 08-18-2016, 06:14 PM
  #70  
Registered User
Thread Starter
 
cbr600rx7's Avatar
 
Join Date: May 2011
Posts: 534
Likes: 0
Received 2 Likes on 2 Posts


Old 08-19-2016, 02:29 PM
  #71  
Registered User
Thread Starter
 
cbr600rx7's Avatar
 
Join Date: May 2011
Posts: 534
Likes: 0
Received 2 Likes on 2 Posts


Old 08-19-2016, 07:19 PM
  #72  
Registered User
Thread Starter
 
cbr600rx7's Avatar
 
Join Date: May 2011
Posts: 534
Likes: 0
Received 2 Likes on 2 Posts


Old 08-20-2016, 08:55 AM
  #73  
Registered User
 
coopster's Avatar
 
Join Date: Jan 2011
Location: exo-reality -wave if you see me; Front Range, CO
Posts: 652
Received 93 Likes on 73 Posts
13th head bolt

Hiya CBR
Progress is looking good. I see you marked your clearances. Cool idea. I gotta put up a separate post after a search on that.
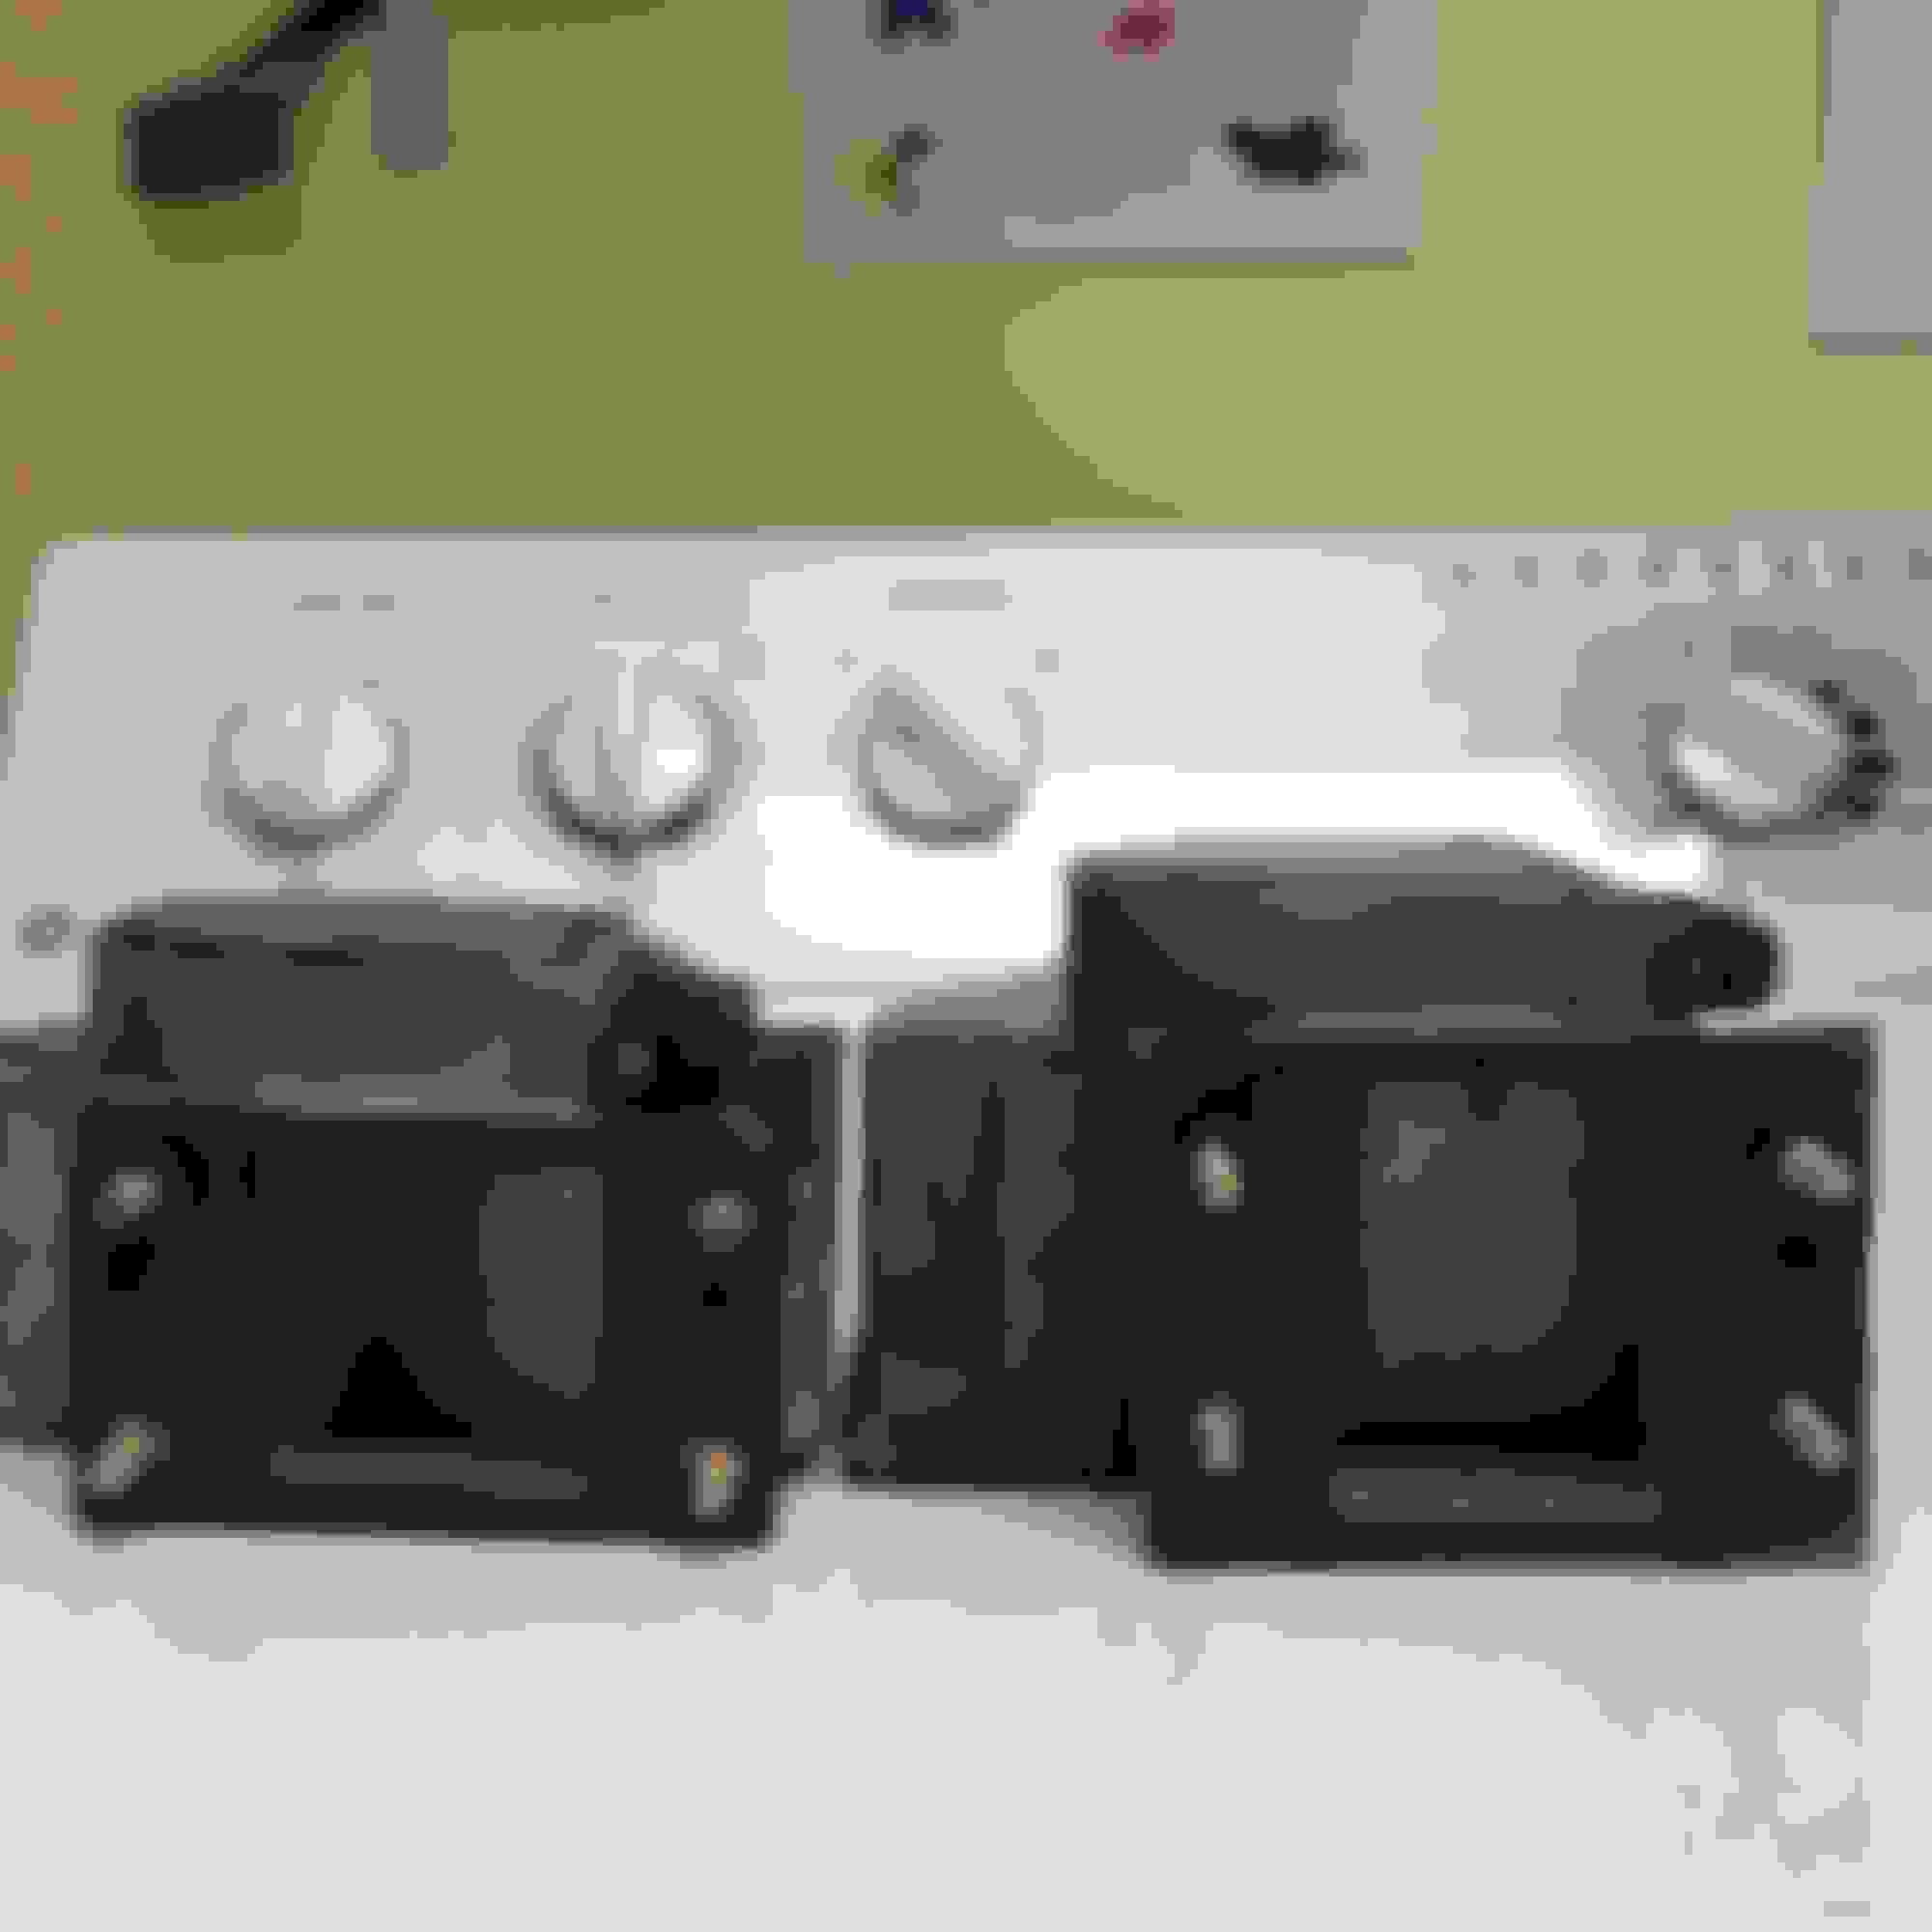
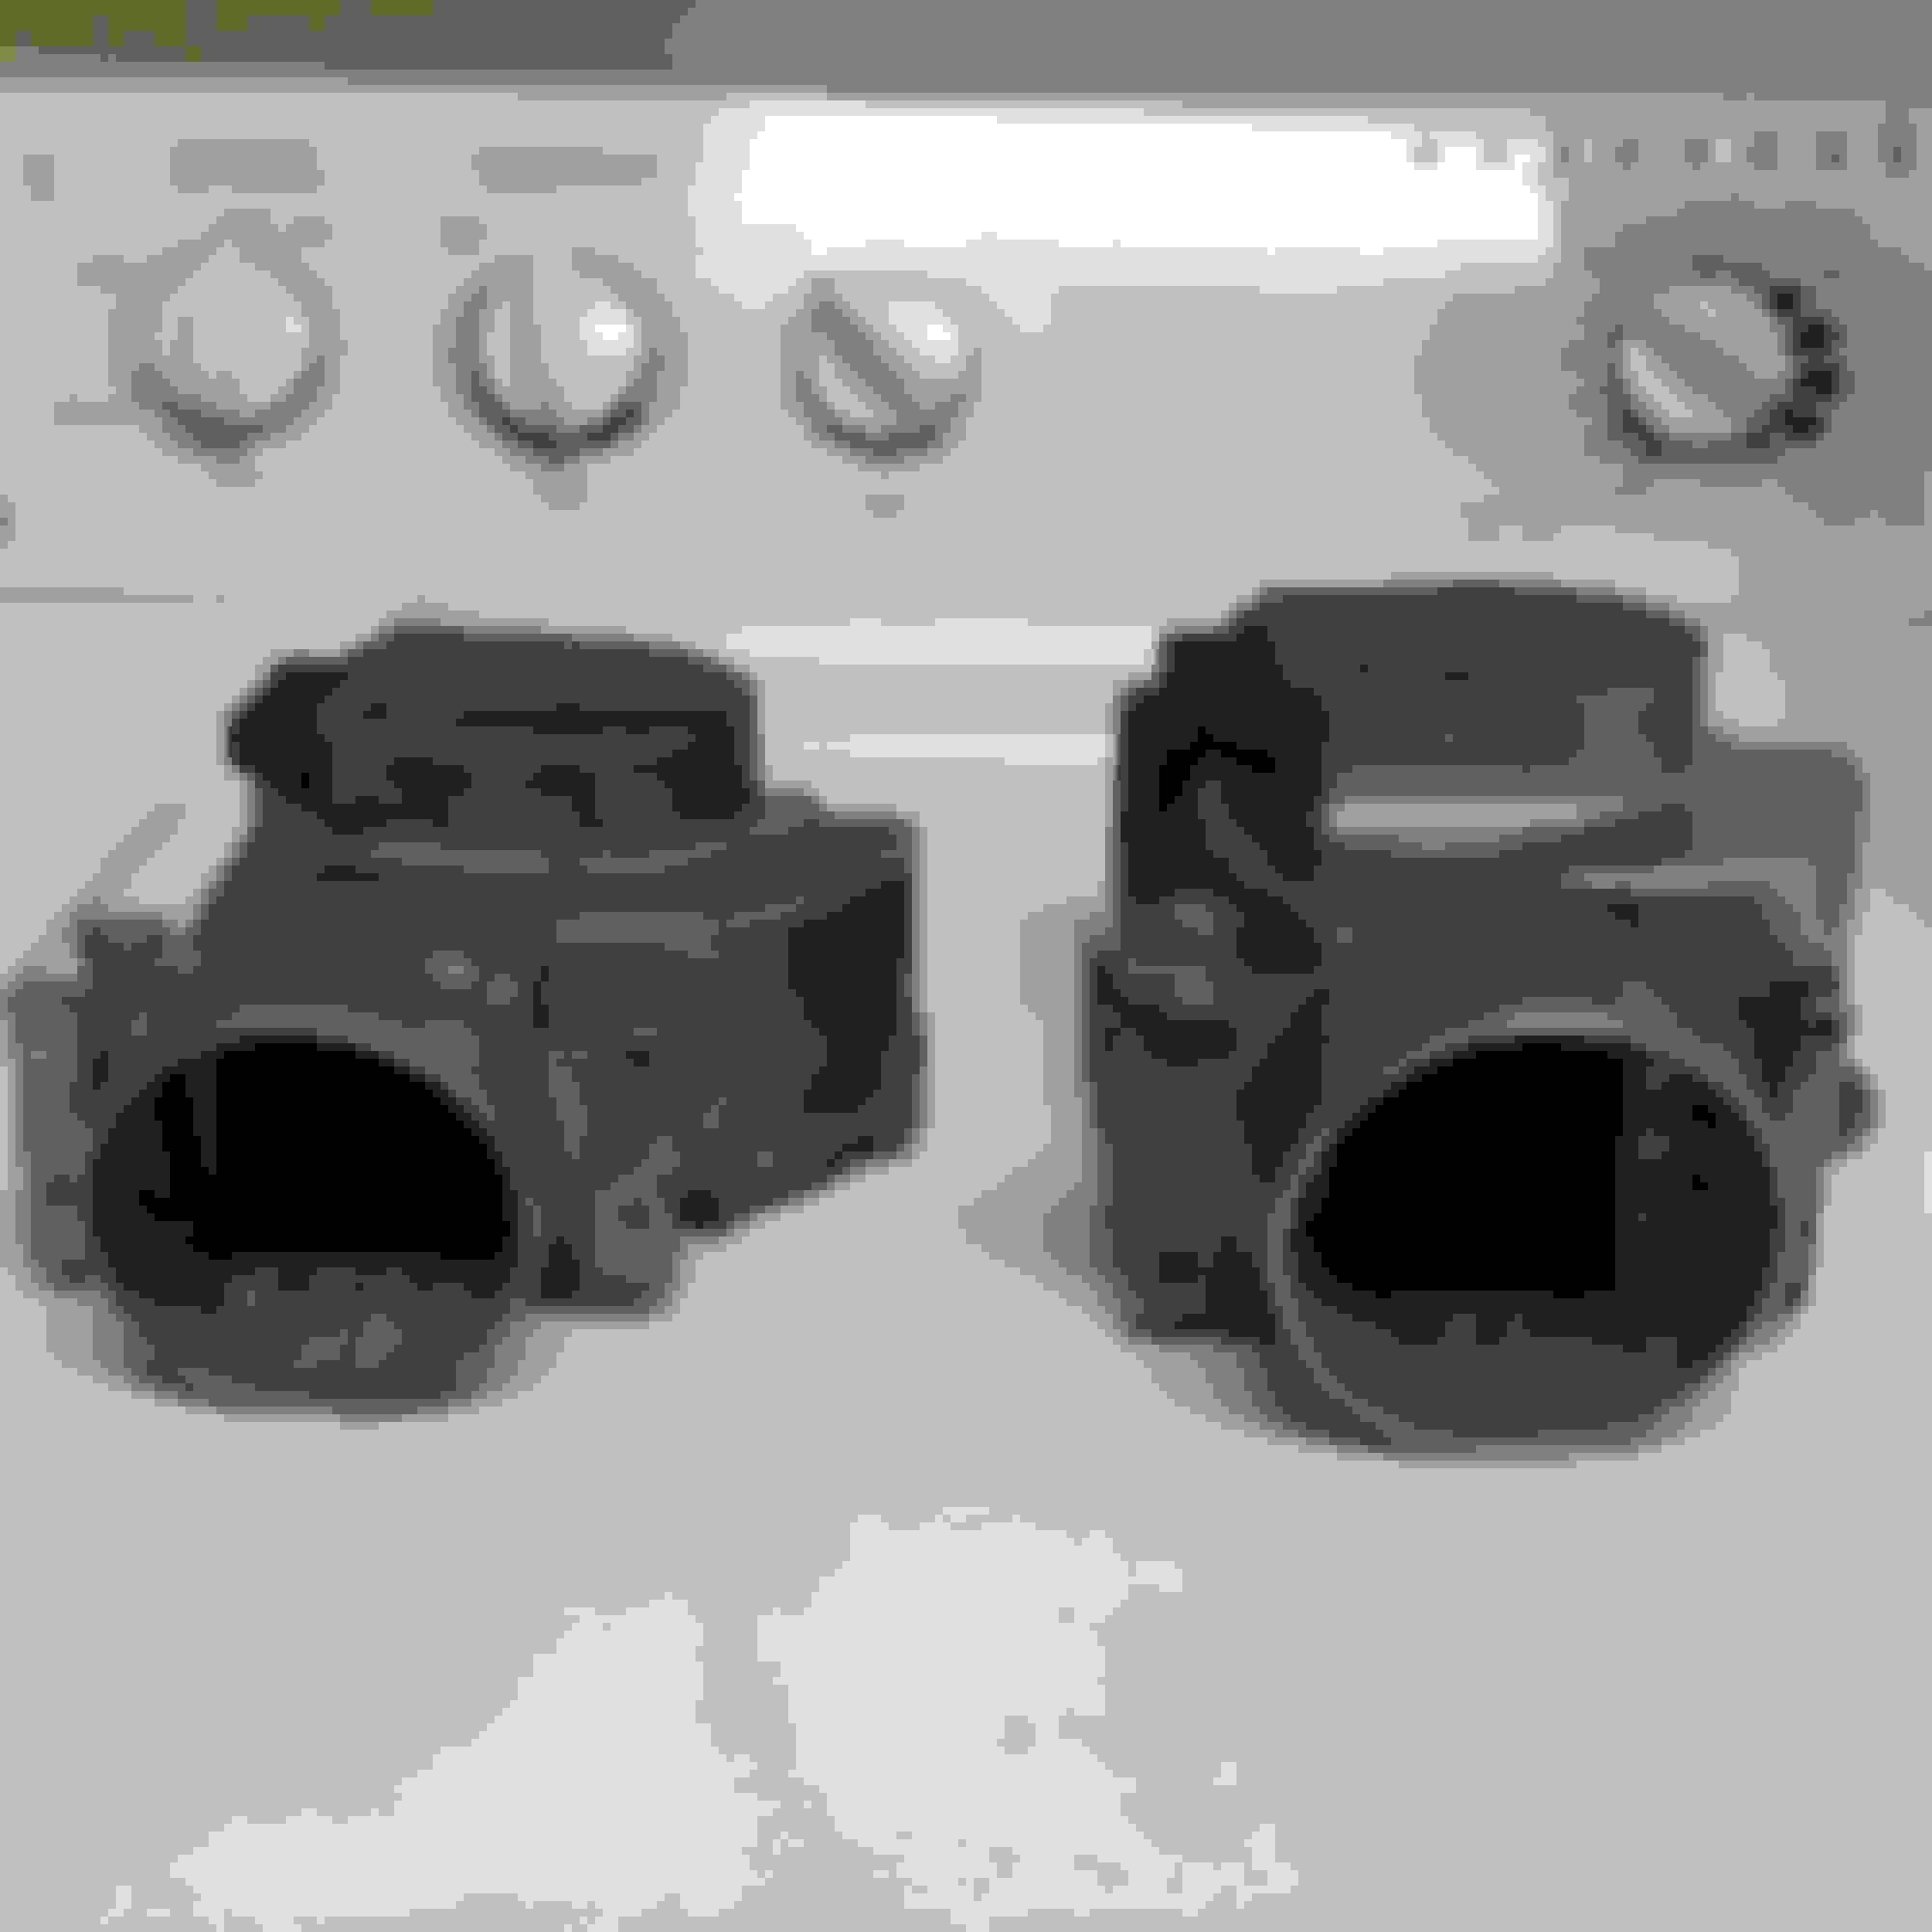
What I wanted to ask is that 13th hex-head bolt for each head: Is that a shoulder head bolt? I think its a 10x 1.25, but I'm not sure, and probably less than 40mm long?
I think I found one, but its too long by about a few mm's. Can't find the other that might match. Took these off like 5 years ago and the 'permanent' marker on the bags has evaporated on lots of them, and I guess I just spazed out when marking some of them, and apparently just threw some stuff away.
Sorry for the double spacing. whiskey tango...
Old 08-20-2016, 10:52 AM
  #74  
Registered User
Thread Starter
 
cbr600rx7's Avatar
 
Join Date: May 2011
Posts: 534
Likes: 0
Received 2 Likes on 2 Posts
Good question. I will dig mine out next time I am in the garage and check. It's a strange bolt that's for sure. I have no idea why Toyota did that.
Old 08-20-2016, 06:08 PM
  #75  
Registered User
Thread Starter
 
cbr600rx7's Avatar
 
Join Date: May 2011
Posts: 534
Likes: 0
Received 2 Likes on 2 Posts
New o rings for the injector cups.

That was a freaking pain but the heads are on.

Old 08-21-2016, 11:50 AM
  #76  
Registered User
Thread Starter
 
cbr600rx7's Avatar
 
Join Date: May 2011
Posts: 534
Likes: 0
Received 2 Likes on 2 Posts
Coopster is this the bolts you are talking about.


Old 08-21-2016, 03:05 PM
  #77  
Registered User
 
coopster's Avatar
 
Join Date: Jan 2011
Location: exo-reality -wave if you see me; Front Range, CO
Posts: 652
Received 93 Likes on 73 Posts
Hmmm. Those look familiar! Do they fit back there in that '13th' place? Those are your hex-head Head bolts I mean?
Geez. Guess if that's the correct placement for yours, I get to go 'chopin. whoopee doo. more money. Let me know eh?
And Thanks!
Old 08-21-2016, 04:18 PM
  #78  
Registered User
Thread Starter
 
cbr600rx7's Avatar
 
Join Date: May 2011
Posts: 534
Likes: 0
Received 2 Likes on 2 Posts
Yeah I think that's correct. They have unusual heads and a fine thread that matches the head bolts. I think the steal spacer helps add a little support on the thinner section of the aluminum head. One goes on the drivers side head on the front. The other goes on the passenger side at the rear.
Old 08-23-2016, 06:33 PM
  #79  
Registered User
Thread Starter
 
cbr600rx7's Avatar
 
Join Date: May 2011
Posts: 534
Likes: 0
Received 2 Likes on 2 Posts


What a pain this has been but making some progress.

Head bolts torqued
120 in-lbs
240 in-lbs
35 ft-lbs
+90 degrees
+90 degrees

all bolts marked at the 12 O-clock then turned to the 3 O-clock and finished in the 6 O-clock. Checked torque and bolts seem to be around 105 ft-lbs roughly.

cams installed and caps to torqued to 144 in-lbs. FIPG used on the front and rear sections along with all new cam seals front and back.

exhaust cross over is all bolted up with new crush rings.

intake manifold is all bolted up and torqued to 156 inch pounds.

Old 08-23-2016, 07:59 PM
  #80  
Registered User
 
Andy A's Avatar
 
Join Date: Jan 2010
Location: Southern Pines, NC
Posts: 453
Received 29 Likes on 26 Posts
You were right on the bleeding edge with some of those shims (3.4)


Quick Reply: So let's get into it


All times are GMT -8. The time now is 02:35 PM.