

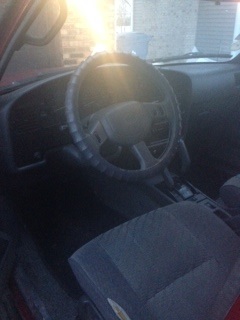
Bought this 94 4runner back in March for $1,300 bucks! Was super excited because now I could finally have a tow vehicle for my race car and also have plenty of room for family outings too. To make a long story short the day after I brought the truck home I saw a huge oil spot on my driveway that morning...checked the dip stick and it was almost completely out of oil. Instead of saying screw it and junking the truck I decided to step out of my comfort zone and begin to break this 3vze down to try and find the problem. Come to find out the water neck (feeding coolant to the block) and water pump were leaking, and my cam seals were pushed out. Let's just say the motor and undercarriage is caked with oil residue and grim. So here's a ton of pics of the progress I've made so far. The cam gear sprocket bolts are being a PITA but I have a friend who's going to help me try and figure out how to get those off this weekend hopefully so I finish putting everything together and start enjoying my truck!


Pics of my "lab", the start of breaking things down, and my OCD way of keeping track of every nut and bolt I take off during the course of this adventure.
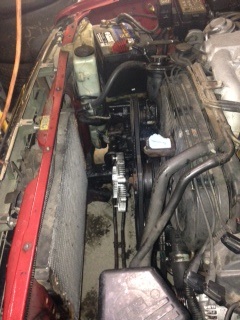

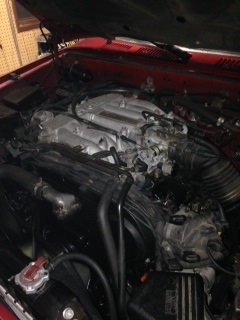
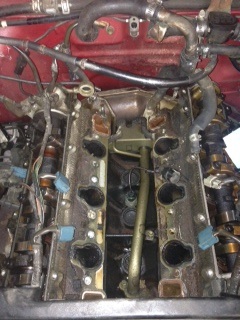
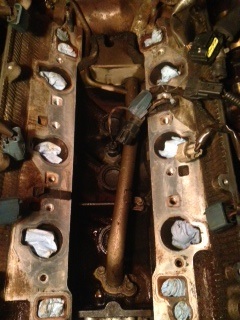
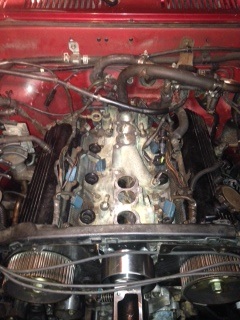
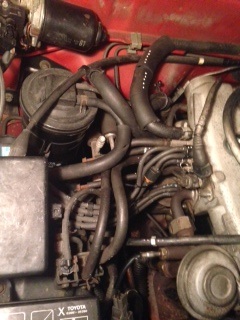
The beginning of me being pissed off finding issues with my truck. And that is not photo shopped....that's really oil and grim all over the motor!
Quote:
Yes there is! This winter I'll take the motor out and get forged pistons, have crank & rods isotropic super finished for strength, upgrade the fuel pump and injectors, get a standalone, then slap a small turbo on it. I know people say its pointless doing anything to the 3vze but I enjoy being different....hence why I have a 700 hp scion tC sitting in the garage!Originally Posted by JasonYota
Cool. So is there a turbo in this 4runners future?


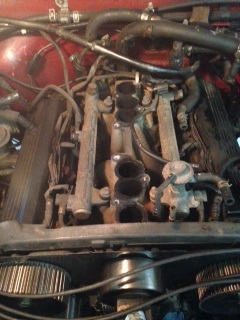
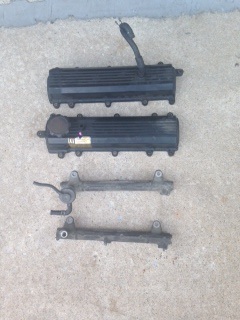
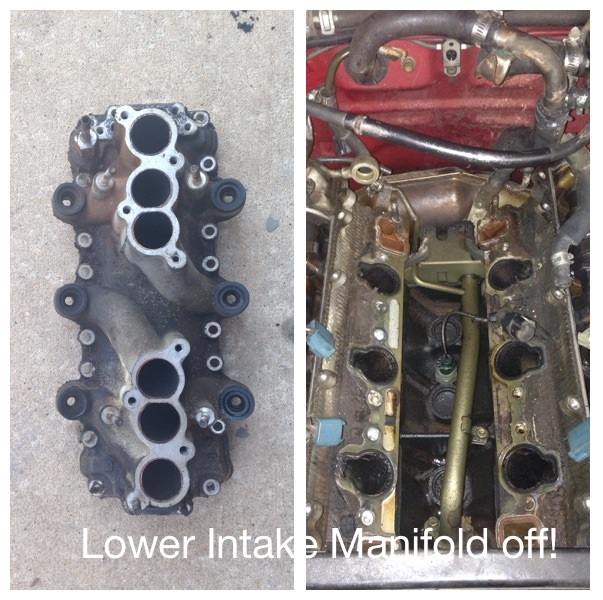
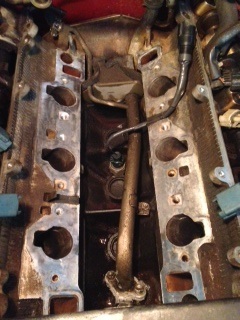
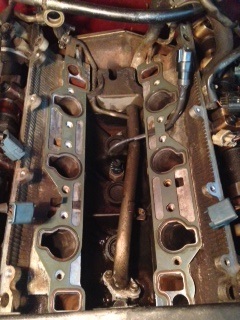
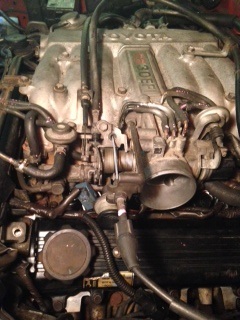
Removing valve covers, fuel rails, and lower plenum (intake manifold).
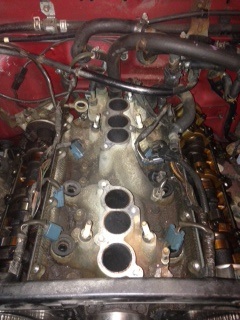
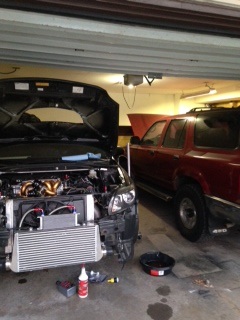
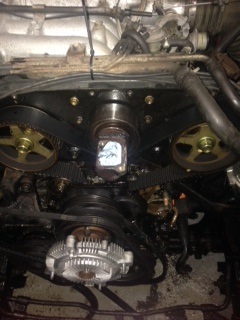
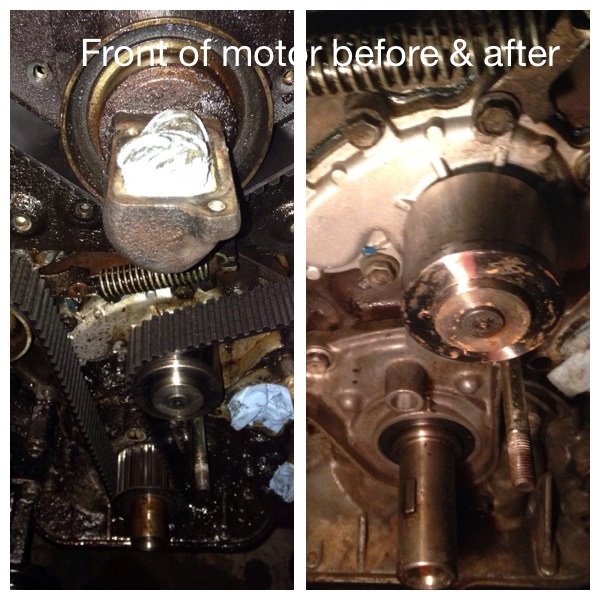
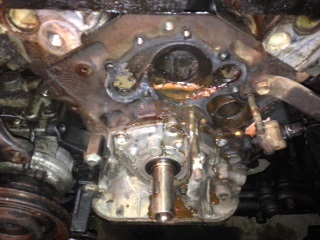
Cleaned front of motor a little bit. Really began to notice how dirty things were all around and happy I decided to go through this process.
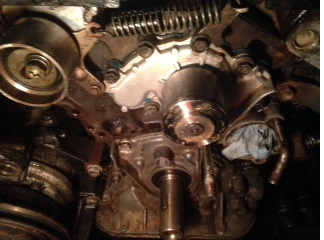
Cleaned up the gasket surfaces for valve cover and lower plenum. This is also where I found a puddle of anit-freeze coming from the water neck.

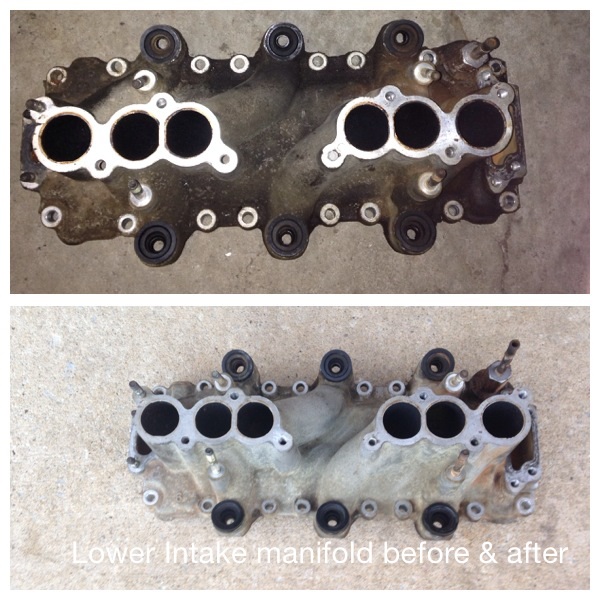
My OCD at it's best, lol. Before and after cleaning the lower plenum and front of the motor.

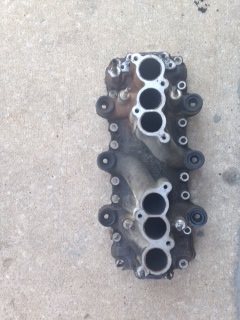
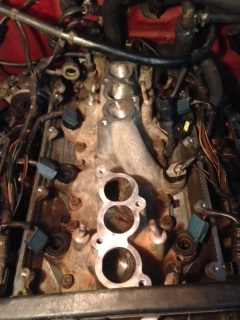
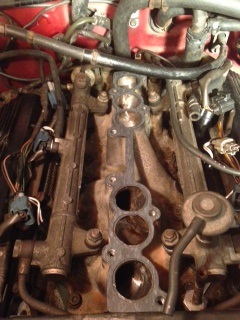
Cleaned and prepped gasket surfaces on lower plenum and also got the carbon out of the ports.


Prepped head surface, lower gasket and plenum installed. Also replaced knock sensor and wire.
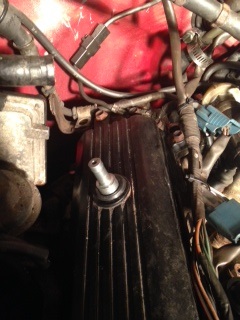
Installed new top water neck/idle pulley, also installed upgraded 4 hole Bosch injectors thanks to Flamethrower, fuel rails installed.

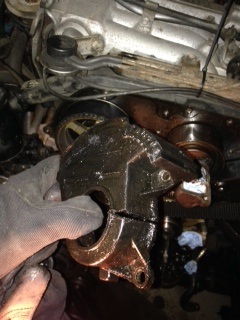
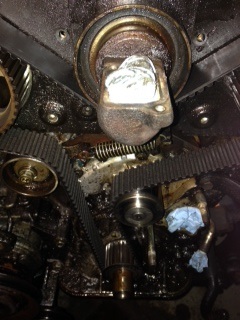
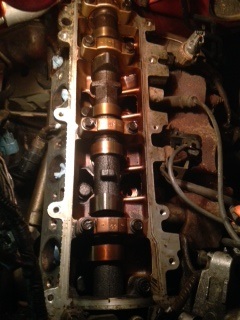
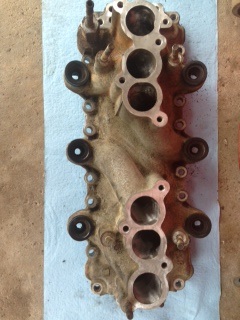
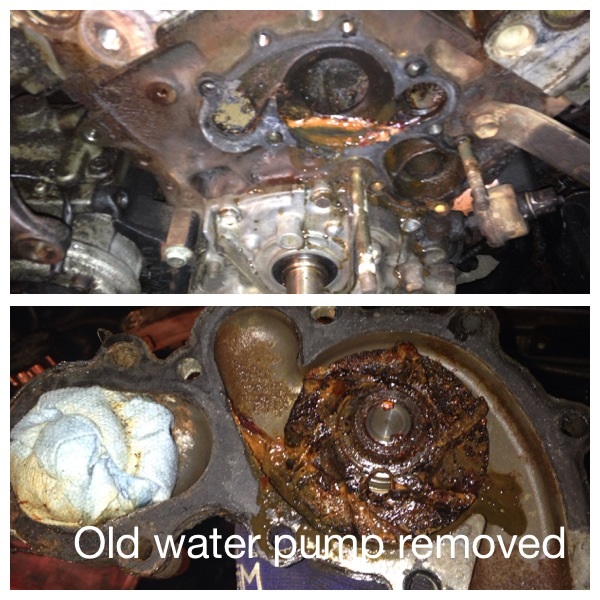
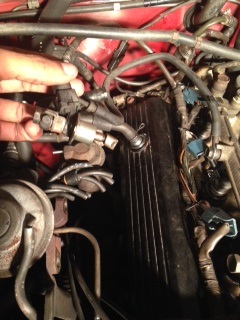
I don't think this needs any caption....again....glad I'm going through this process because there were a lot of things that needed to be replaced.

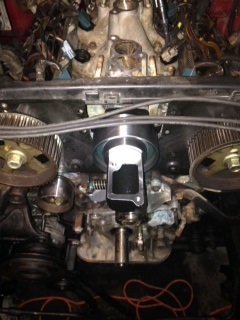
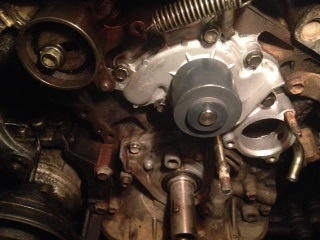
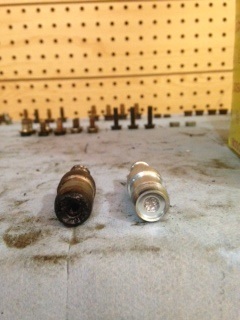
New water pump, pcv valve & grommet installed. I'm thinking maybe that old clogged PCV valve could be a reason why cam seals started to push out (increased crankcase pressure).
7th injector installed on fuel rail and top plenum gasket.
Top plenum installed, drivers & passenger side vac hose matrix, lol!

I never forget to treat myself after a successful night of wrenching, lol!


