
Treknwil's SLOW build!
 Apr 26, 2007 | 09:17 AM
#1
Thread Starter
Registered User
Joined: Apr 2007
Posts: 277
Likes: 1
From: Vacaville
Treknwil's SLOW build!
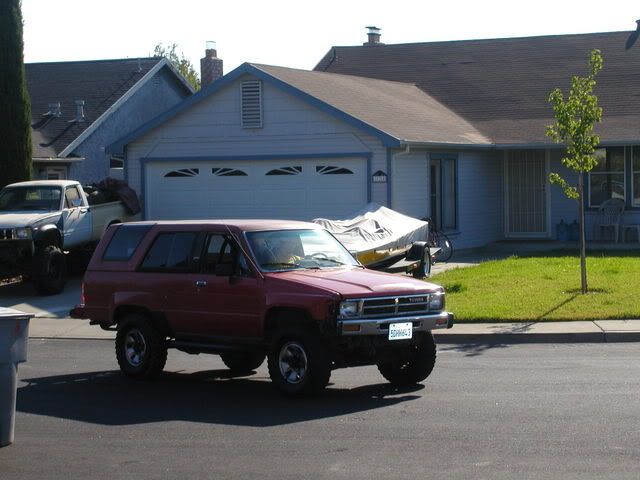
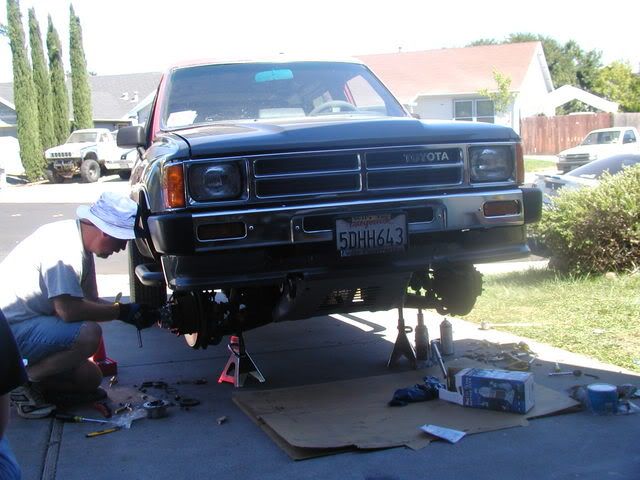
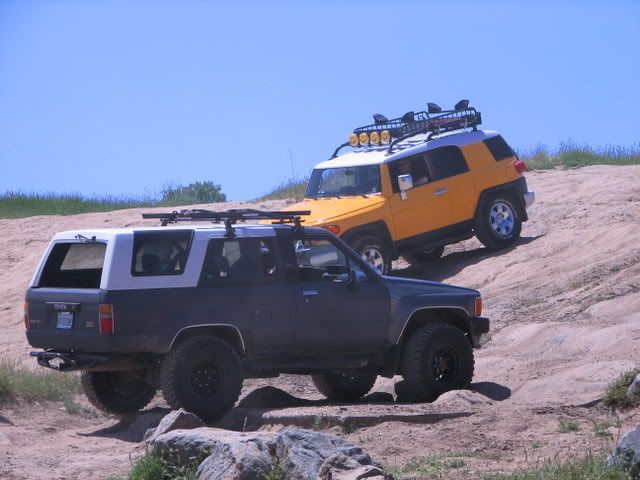
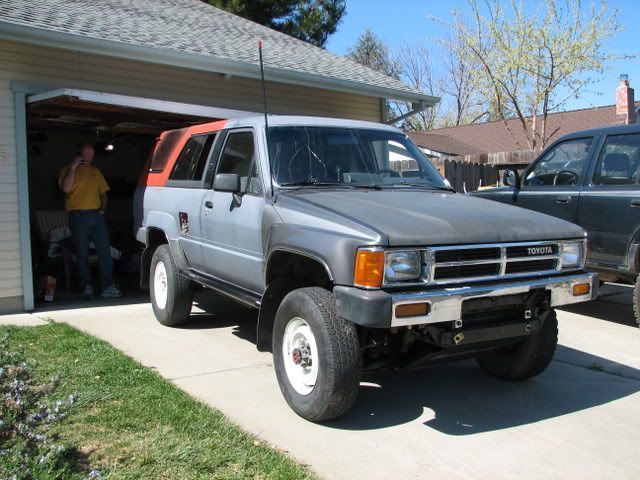
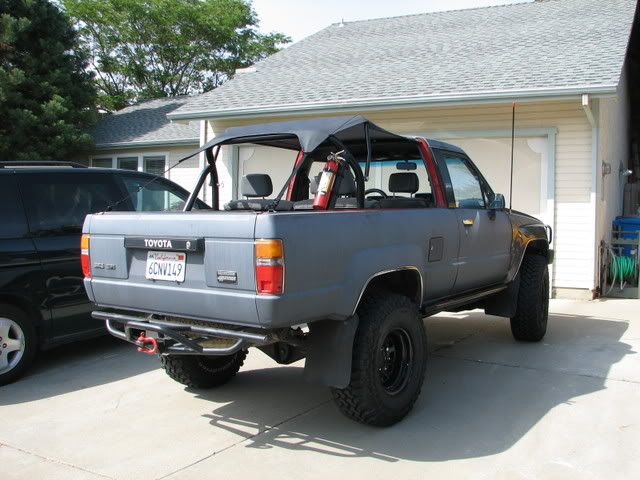
I've had my 87 4runner for 2 years now. I payed $750 for it and the AC works. I had some great plans for it, then I went out and bout a 07 FJC. There went the plans and more important the $$$$. So I've been slowly doing things to it.
There it is coming home.
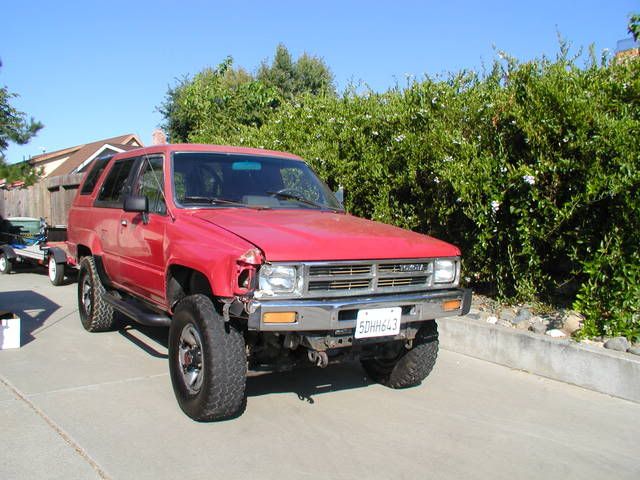
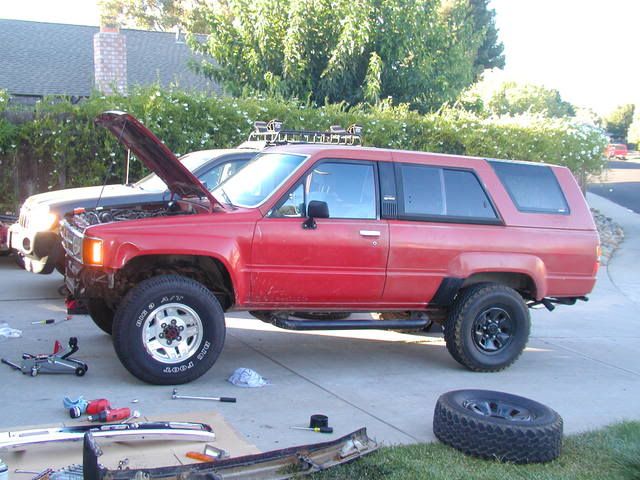
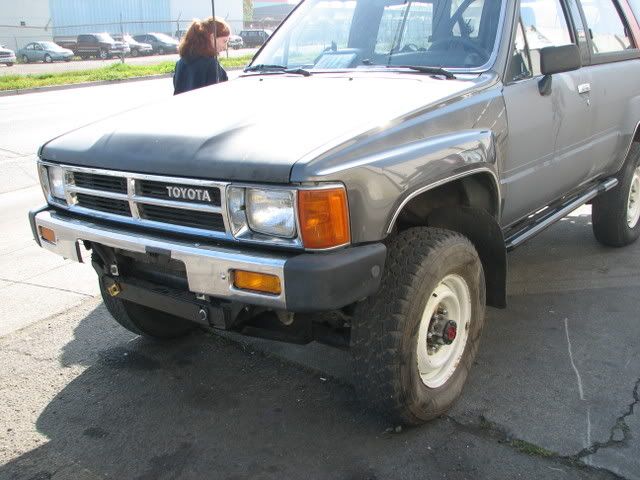
The outside was beat.
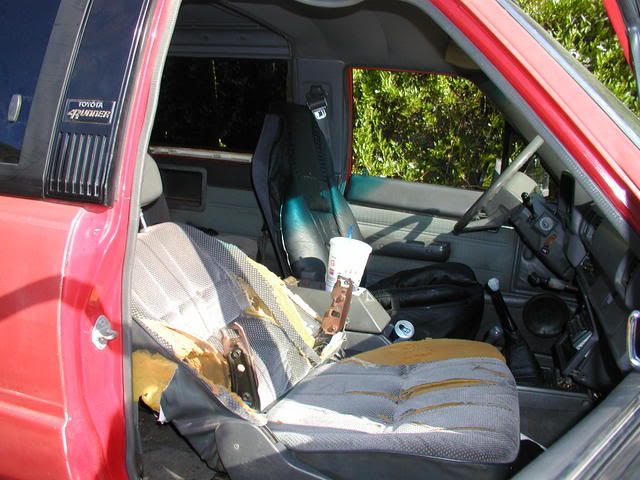
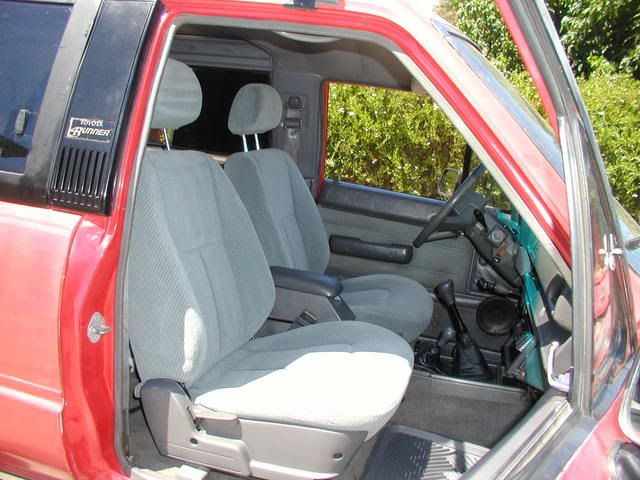
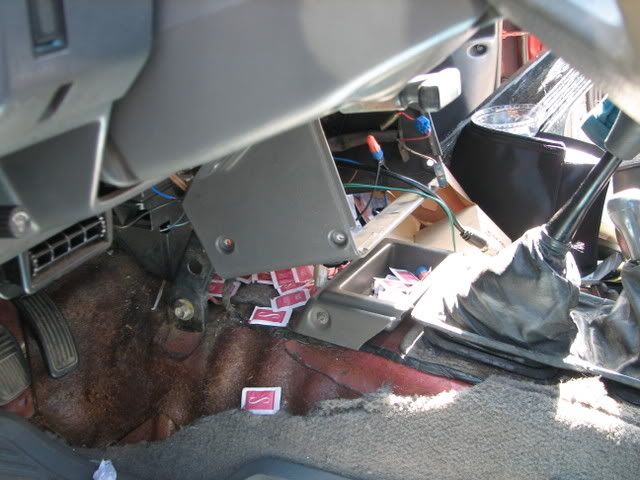
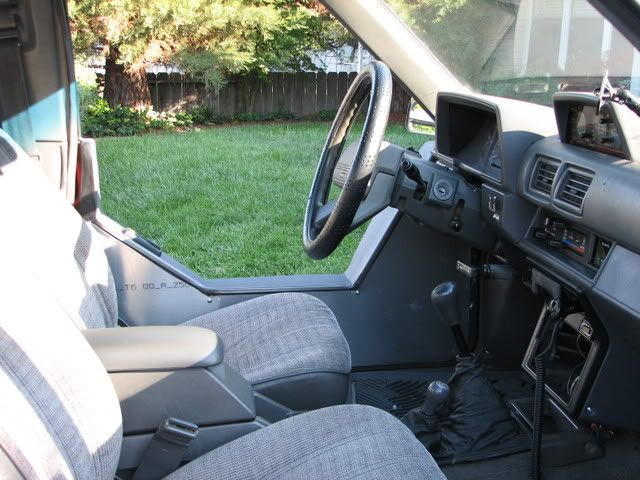
The inside was worse!
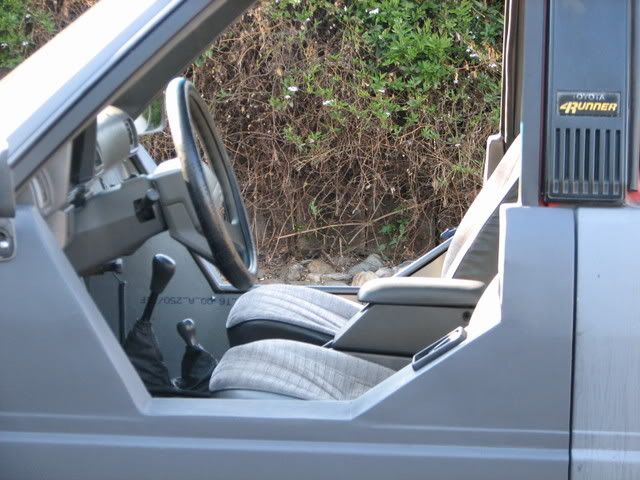
So I got some new seats and new sheetmetal up front(both front quarter panels,hood,bumper,grill)
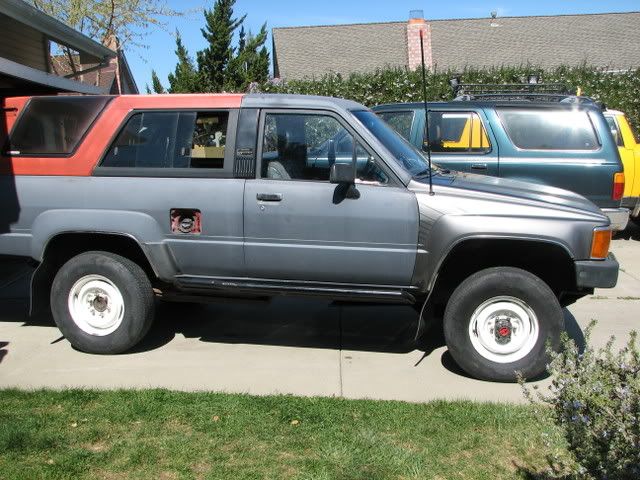
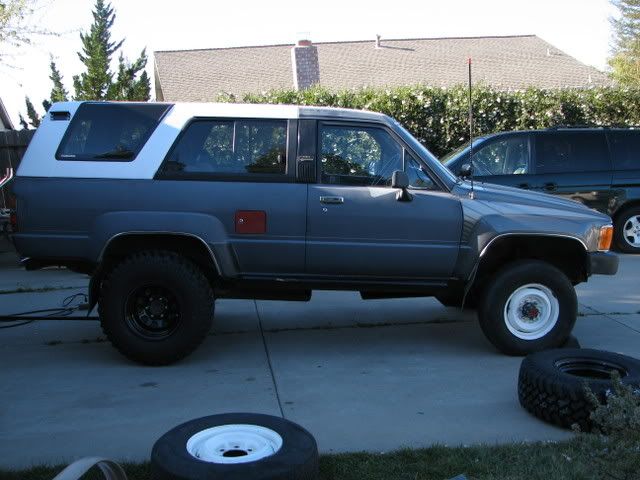
and then new used tires & rims(31x10.50/15s) Big O AT.
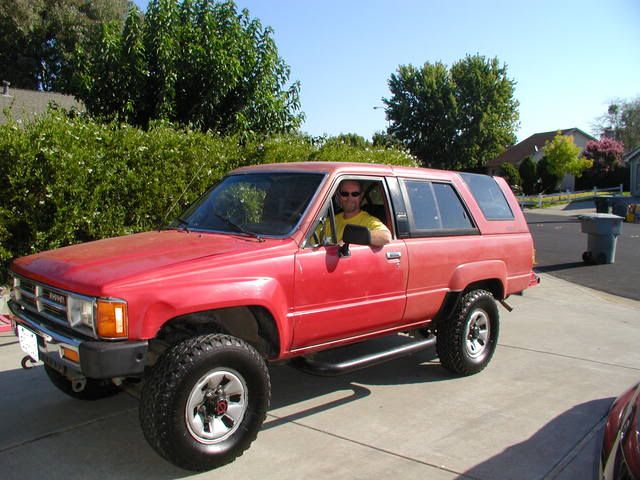
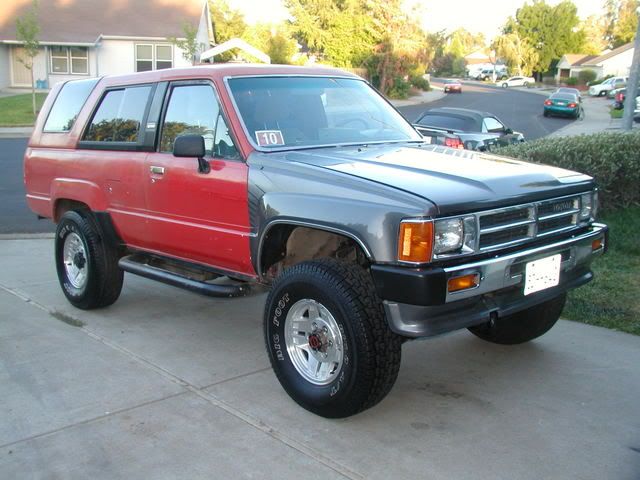
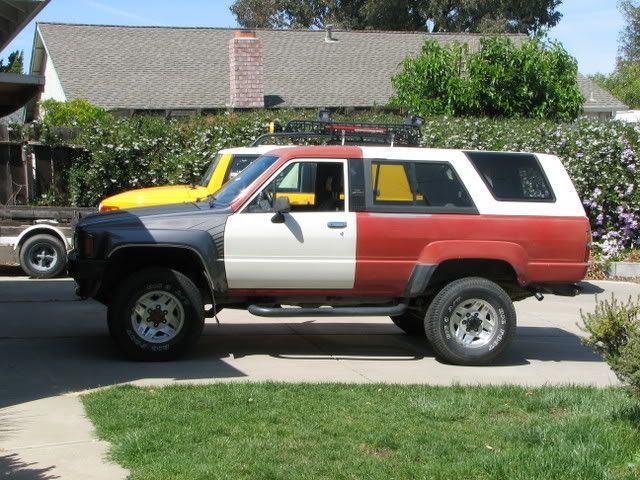
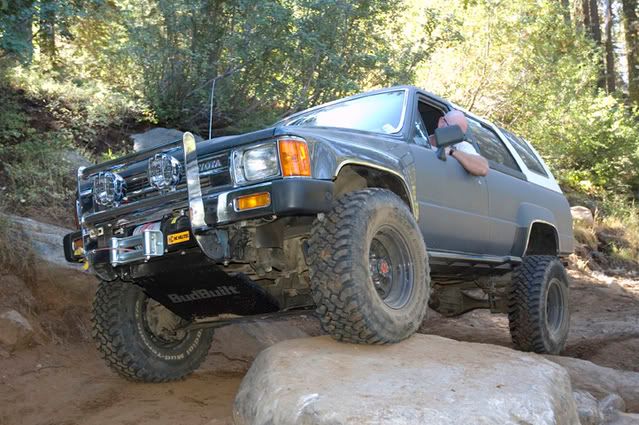
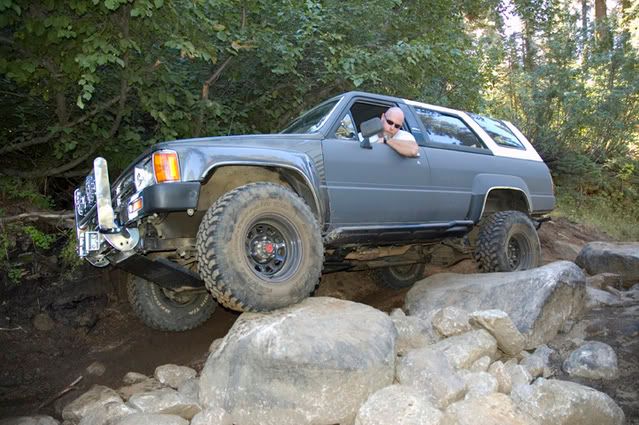
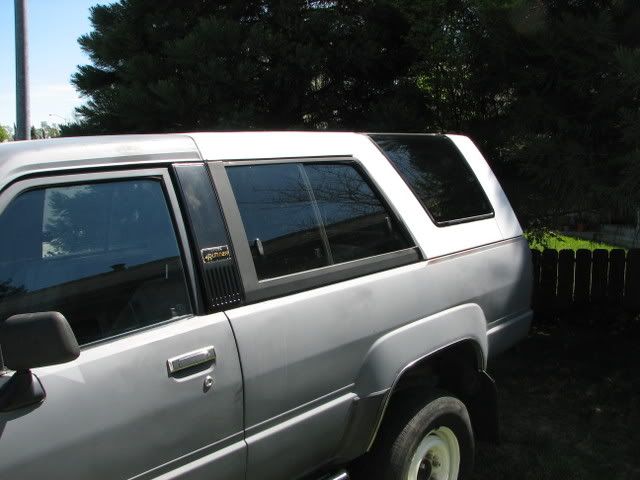
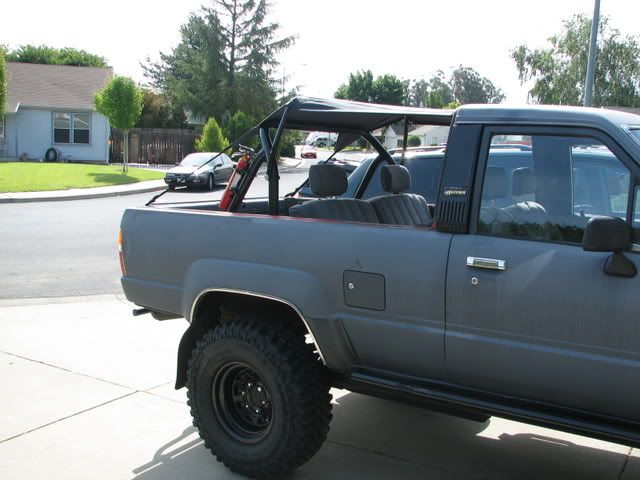
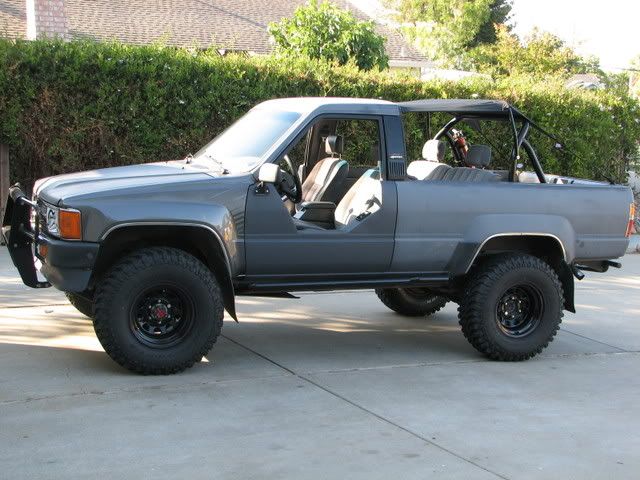
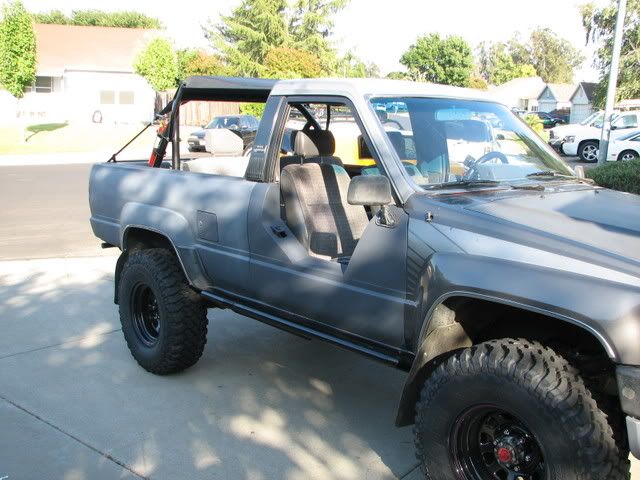
This is how it looked when I was done!
I also replaced the auto locking Hubs w/manual AISIN(used).
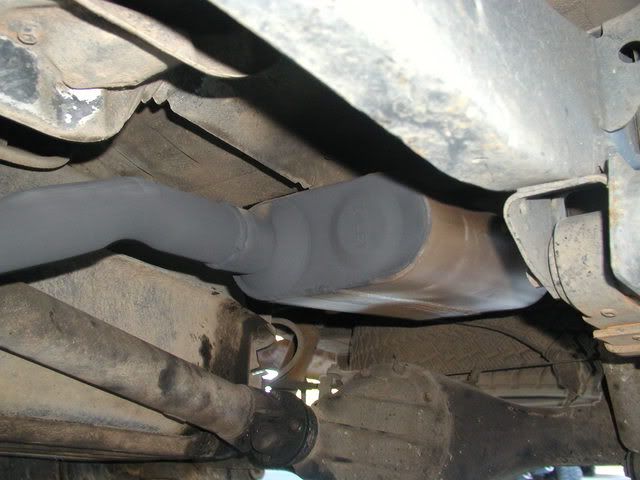
To pass smog I replaced the CAT and install a 40 ser. Flowmaster.
I install a AAL
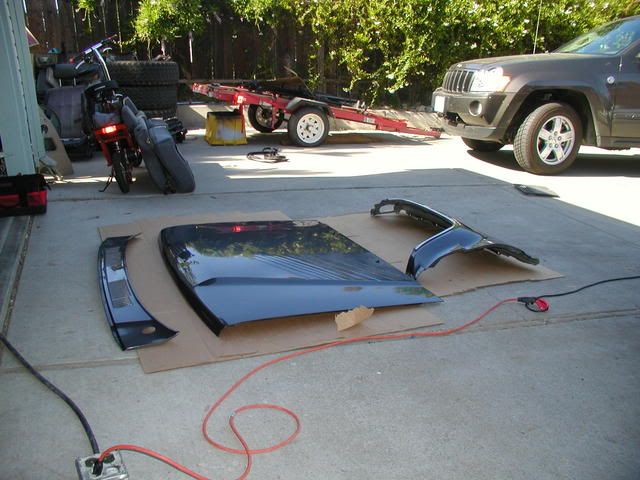
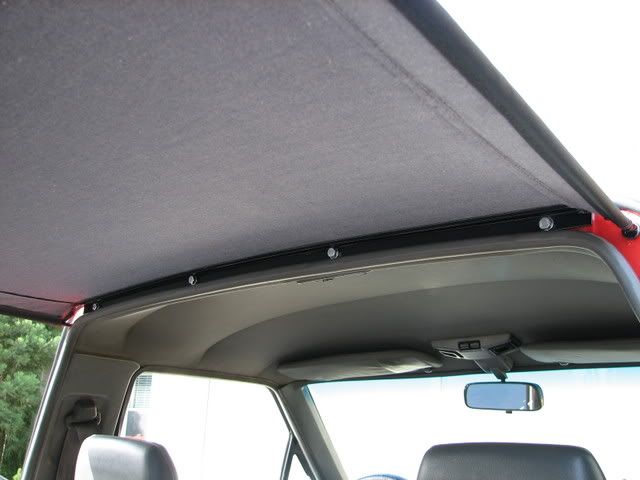
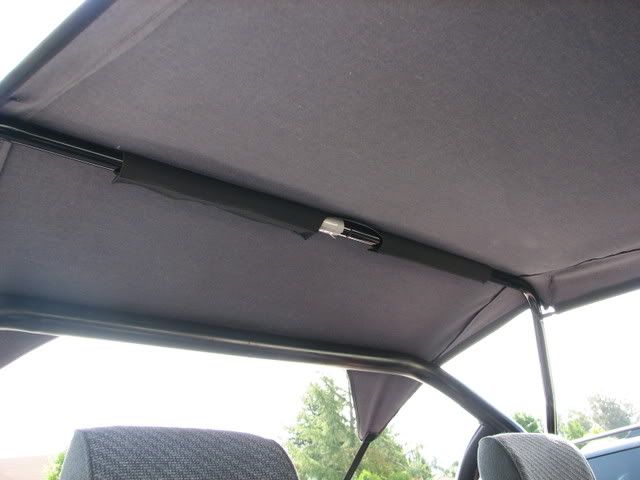
I install a new drivers door & roof, along with 1" home made body lift.
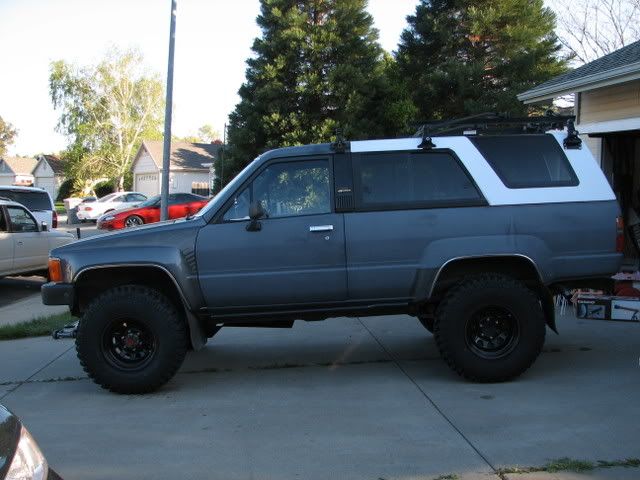
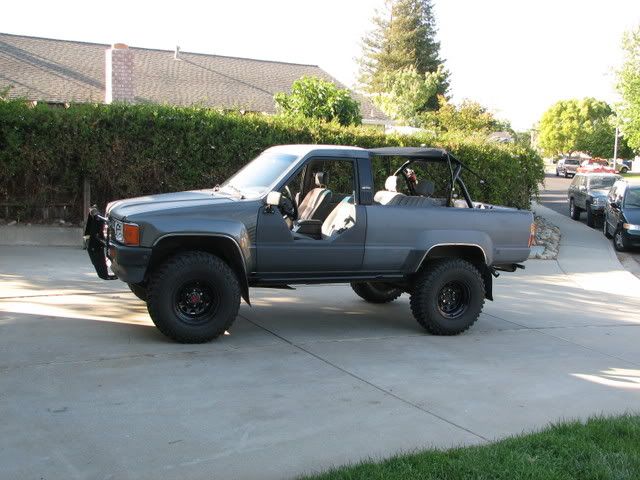
Latest thing I added is used tires and rims off of Craigslist 32x11.50/15s BFG MT's & American Racing Steelies.
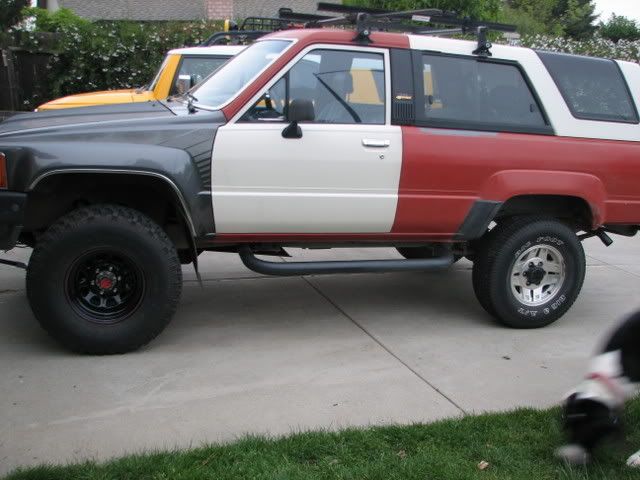
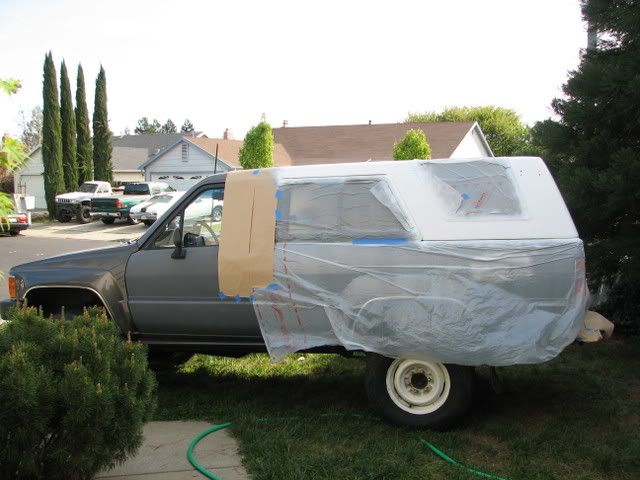
I also got rid of the Golden Gate primer looking paint. I rattle canned it primer grey.

I have a pair of 1" BJ spacers I made that I need to install, but I'm waiting to get new torshen bars and ball joints, JUST need the $$$$ first. So the SLOW build goes on. more cash more cash!!!!!
There it is coming home.
The outside was beat.
The inside was worse!
So I got some new seats and new sheetmetal up front(both front quarter panels,hood,bumper,grill)
and then new used tires & rims(31x10.50/15s) Big O AT.
This is how it looked when I was done!
I also replaced the auto locking Hubs w/manual AISIN(used).
To pass smog I replaced the CAT and install a 40 ser. Flowmaster.
I install a AAL
I install a new drivers door & roof, along with 1" home made body lift.
Latest thing I added is used tires and rims off of Craigslist 32x11.50/15s BFG MT's & American Racing Steelies.
I also got rid of the Golden Gate primer looking paint. I rattle canned it primer grey.
I have a pair of 1" BJ spacers I made that I need to install, but I'm waiting to get new torshen bars and ball joints, JUST need the $$$$ first. So the SLOW build goes on.
more cash more cash!!!!!


 Jun 13, 2007 | 07:39 PM
#4
Thread Starter
Registered User
Joined: Apr 2007
Posts: 277
Likes: 1
From: Vacaville
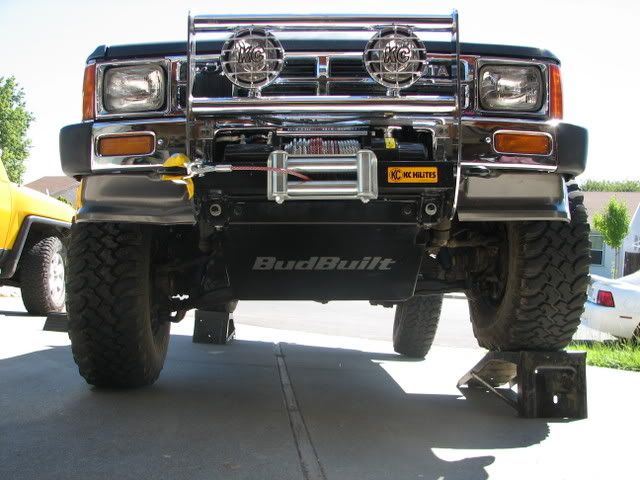
I had to go to Jury Duty today, Didn't get picked and got out at 10:00am. So I rushed home and started working on the 4runner . I install a Downey Truss, Downey 26mm bars, upper& lower Ball Joints, and the 1" ball J spacer I made. I removed the anti sway bar. Got it all done by 6:00pm. Know it pull a little to the right so a front end alignment is next. It rides a lot better than before and the sway bar begin gone its hardly noticeable. I'll put the skids back on after the alignment.
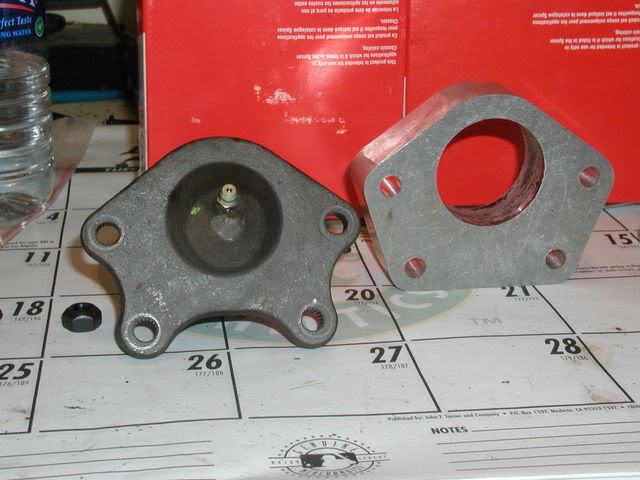
The new ball joints & 1" spacer I made
Cuts in the upper A arm To fit spacer
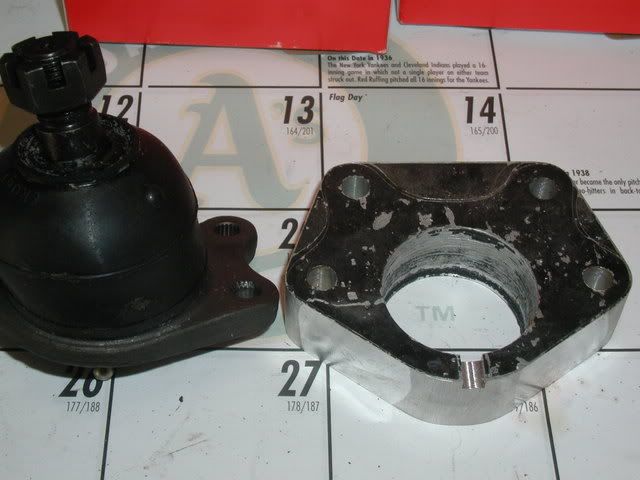
The spacer & ball J installed
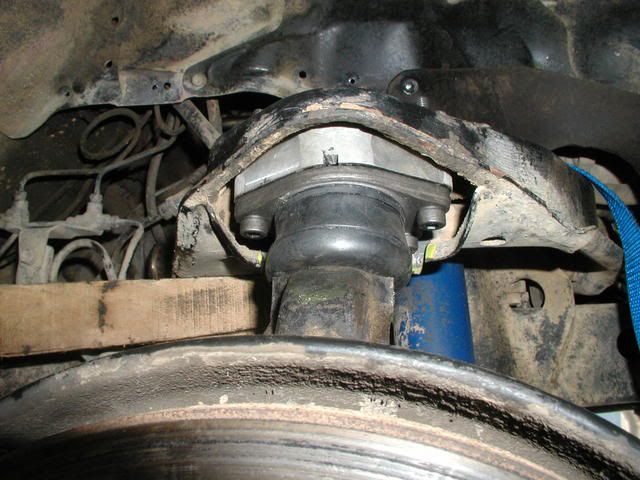
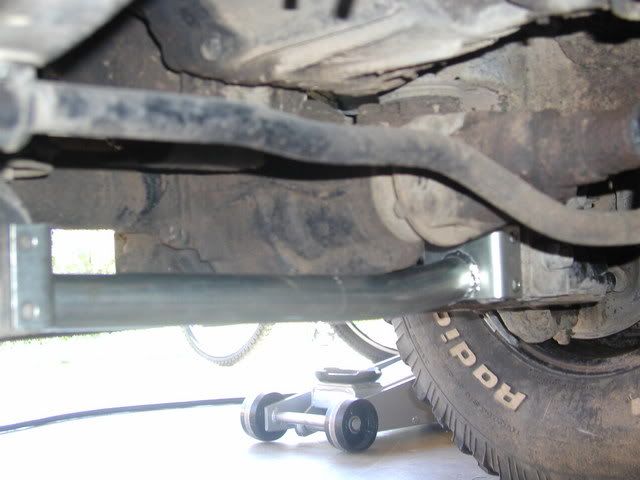
The new Downey bars

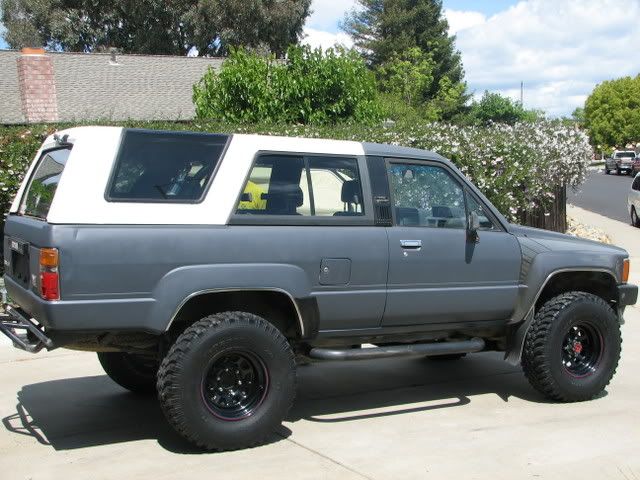
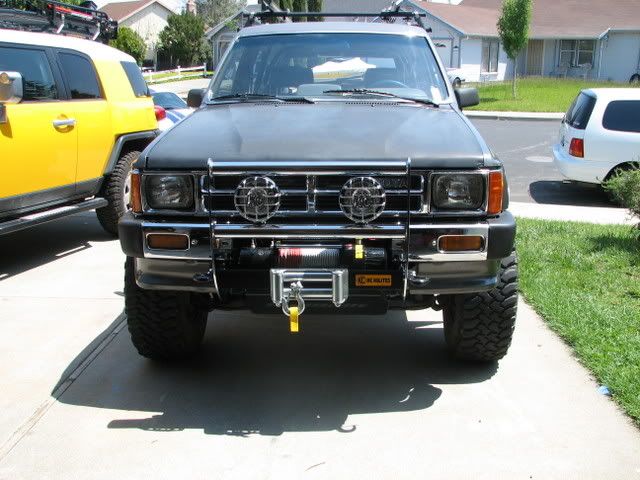
The end result
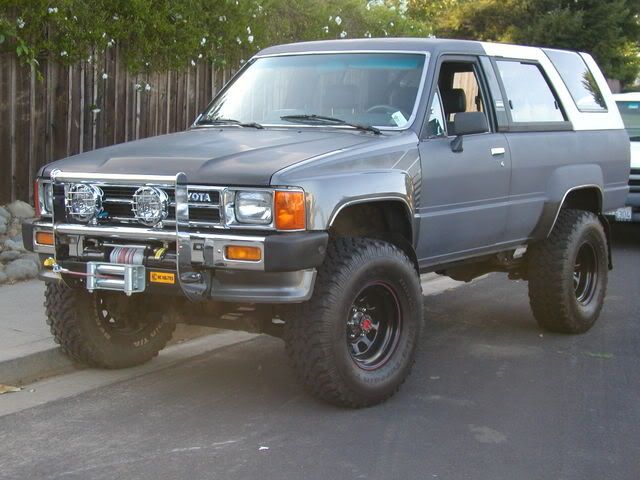
It looks a little high in the front now, I'm either going to raise the rear or lower the front alittle
The new ball joints & 1" spacer I made
Cuts in the upper A arm To fit spacer
The spacer & ball J installed
The new Downey bars
The end result
It looks a little high in the front now, I'm either going to raise the rear or lower the front alittle
 Jul 12, 2007 | 01:36 PM
#6
Thread Starter
Registered User
Joined: Apr 2007
Posts: 277
Likes: 1
From: Vacaville
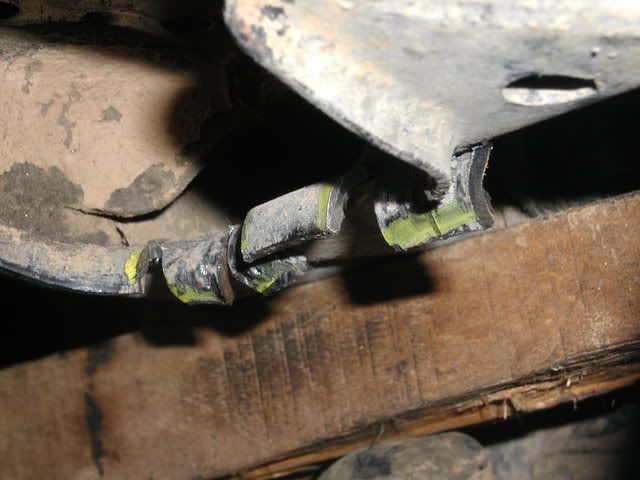
I started working on making some sliders. Got one side cut up and laid out, now I need to do the other side. 

FRONT


REAR
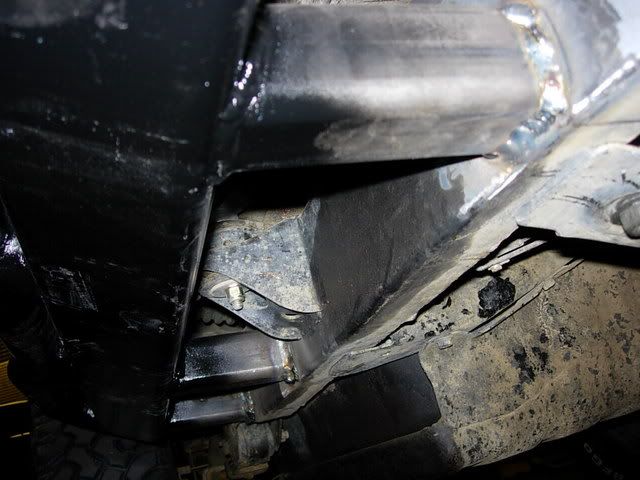
First pic is of ruff welds


Finish griding and paint


FRONT
REAR
First pic is of ruff welds
Finish griding and paint
Last edited by treknwil; Jul 26, 2007 at 11:56 AM.
Aug 10, 2007 | 06:53 PM
#7
Thread Starter
Registered User
Joined: Apr 2007
Posts: 277
Likes: 1
From: Vacaville
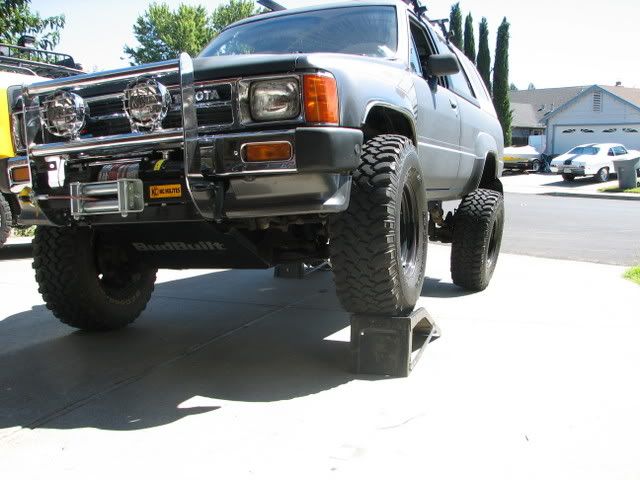
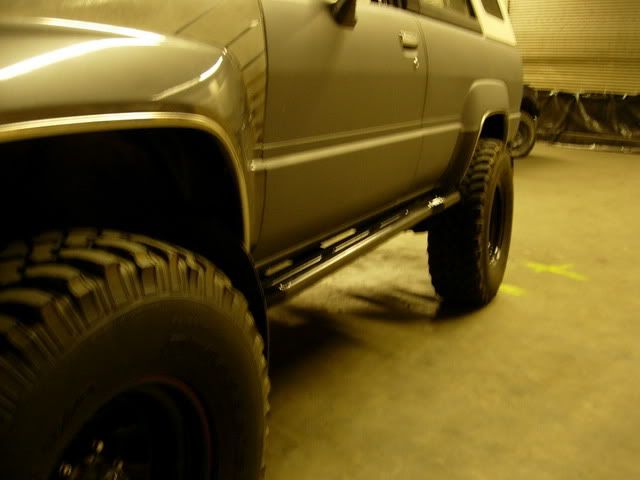
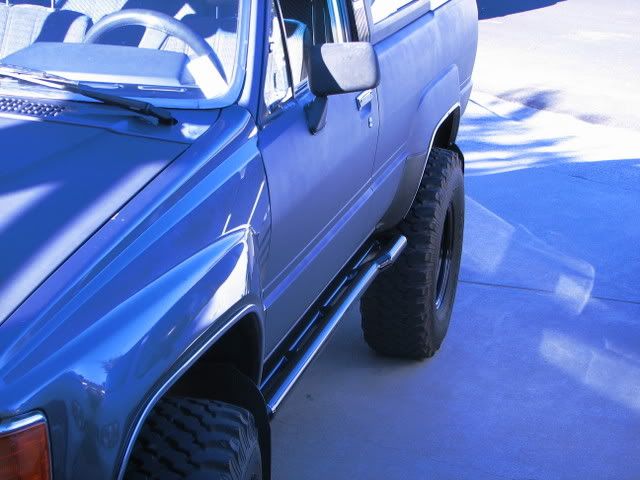
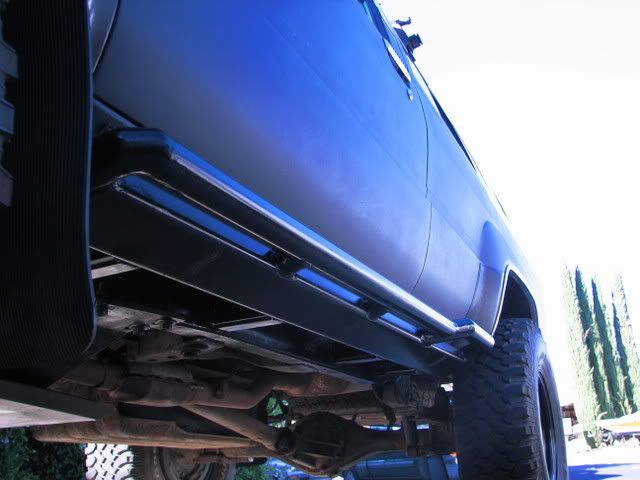
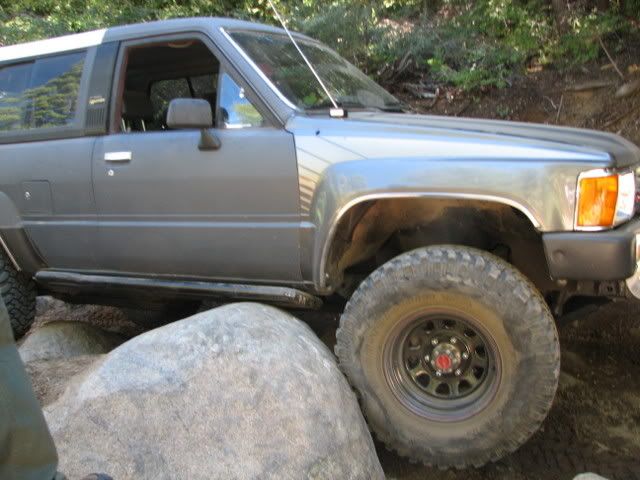
Finally finished the sliders. The pics are not the best(bad lighting) I'll try and get some more in the sun light. I went with welding them on. They are very solid. No flex at all!!!
The supports!!

Driver side!!
Passeger side!!
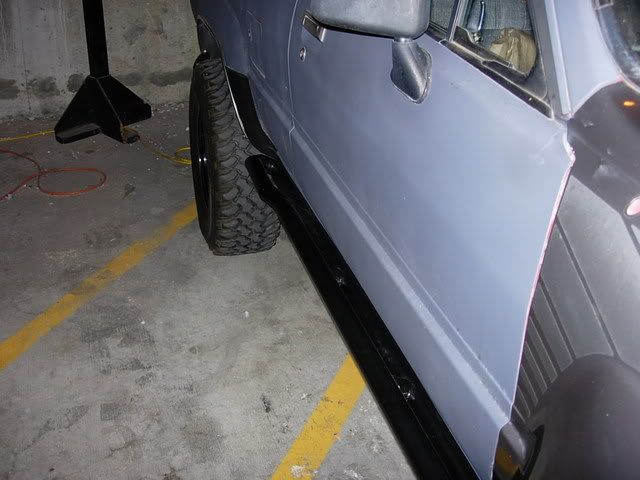
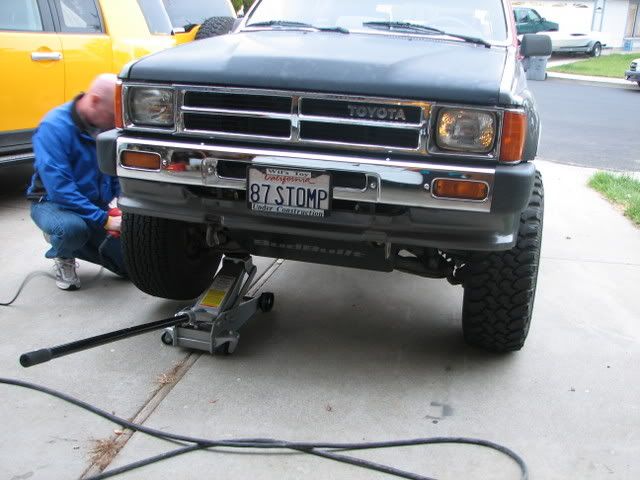
Testing them!! Had to add the block, the jack wouldn't go high enough


The supports!!
Driver side!!
Passeger side!!
Testing them!! Had to add the block, the jack wouldn't go high enough
Trending Topics


 Dec 30, 2007 | 04:21 PM
#10
Thread Starter
Registered User
Joined: Apr 2007
Posts: 277
Likes: 1
From: Vacaville
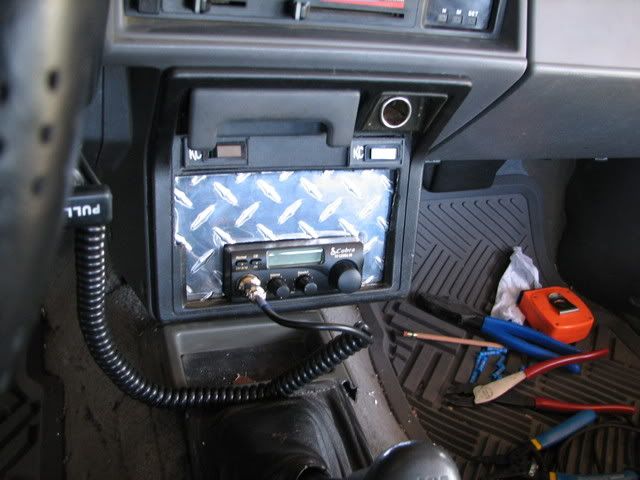
I mounted the CB under the radio. I located the antenna where the radio antenna is supposed to be. I enlarged the hole to fit the mount I made for the CB antenna. It's a Cobra 19 and 3' firestik
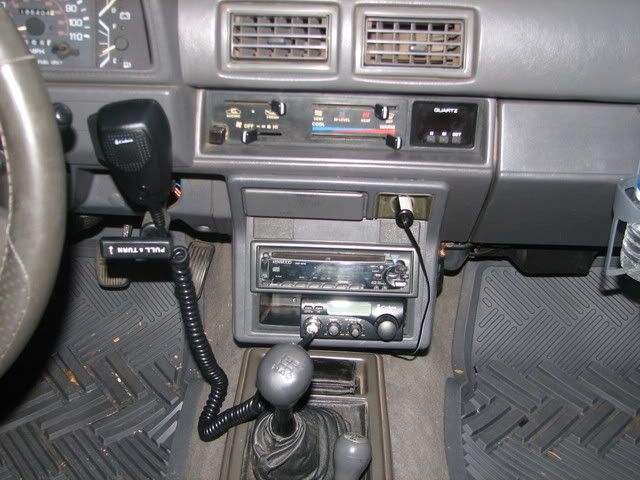
I still need to get a spring in there.

I still need to get a spring in there.


 Mar 27, 2008 | 08:18 PM
#14
Thread Starter
Registered User
Joined: Apr 2007
Posts: 277
Likes: 1
From: Vacaville
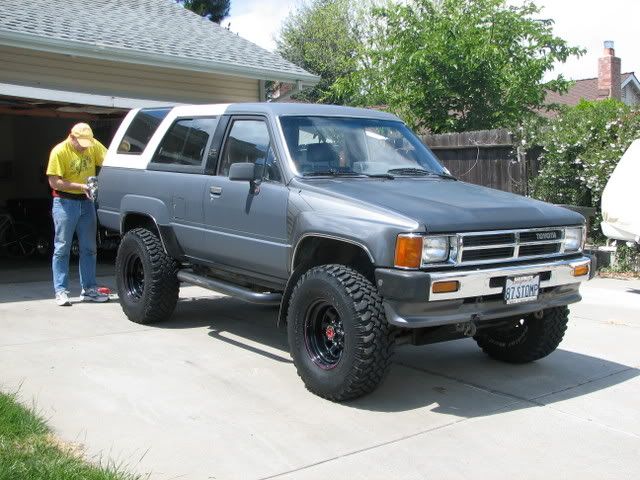
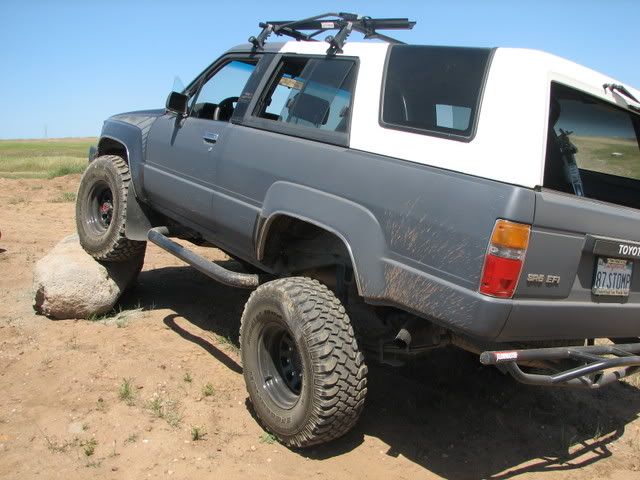
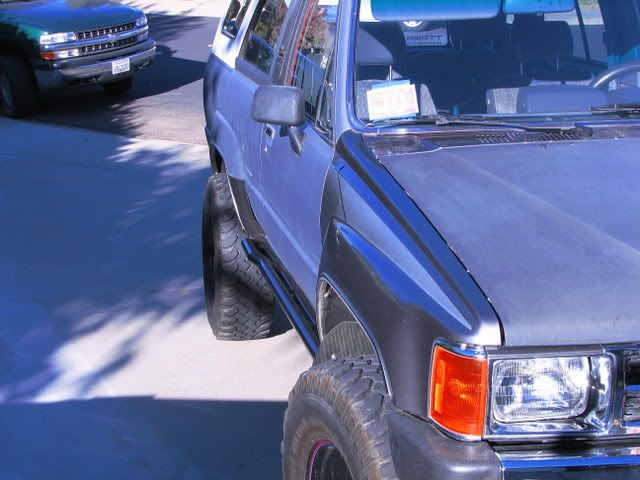
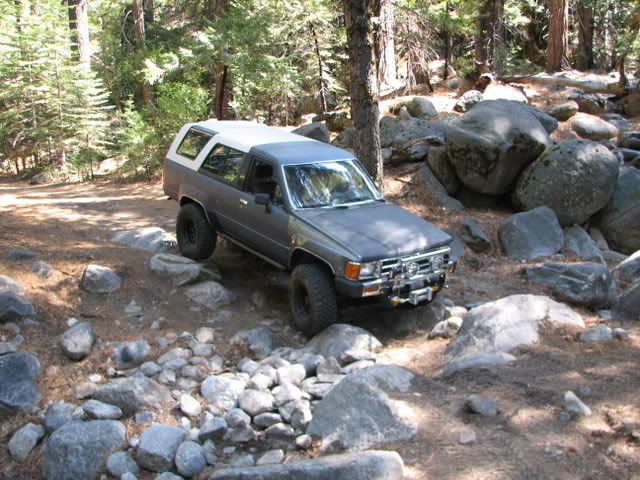
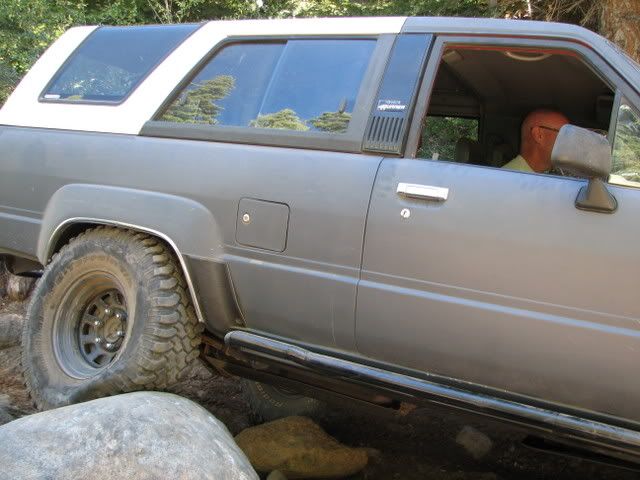
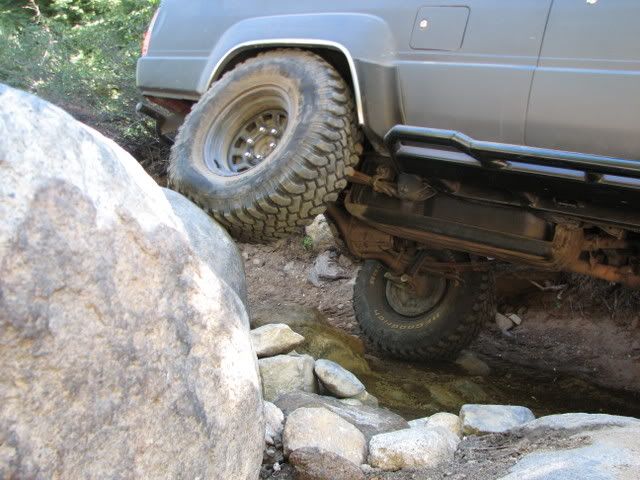
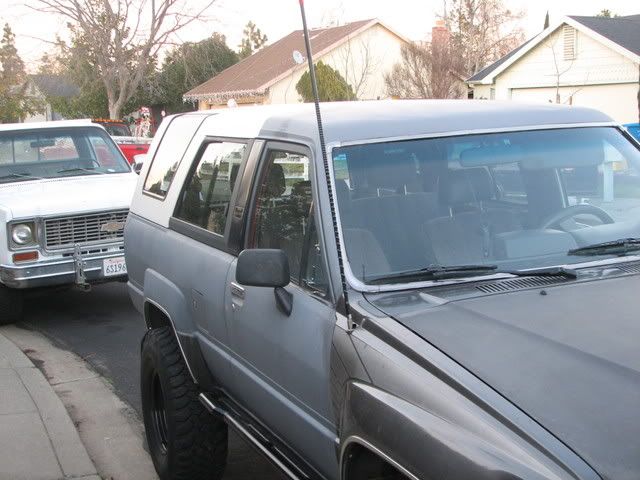
When I got home today my wife had 4 BFG sitting next to my rig, mounted on the steelies I got yesterday. She also got a used fuel door off craigslist and installed it for me(gotta love that). The BFG's are awesome, 32/11.50x15's. also put my roof racks back on(they where removed and 2 of the 3 where in the back of the rig, guess he didn't get the chance to sell all of them, just the one with the 4 lights on it.). Here are the pics.
Look at the size difference
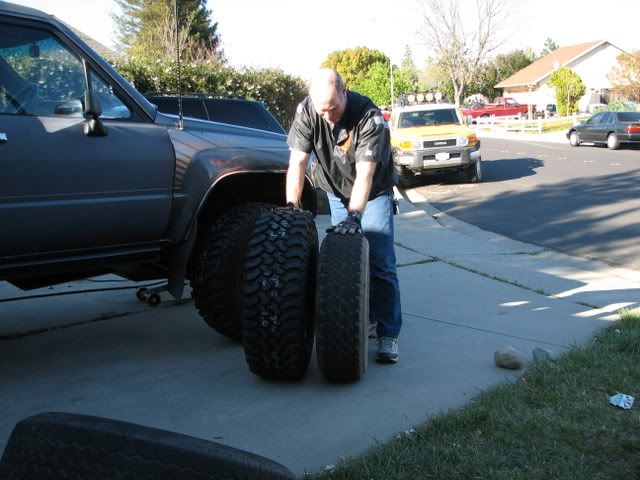
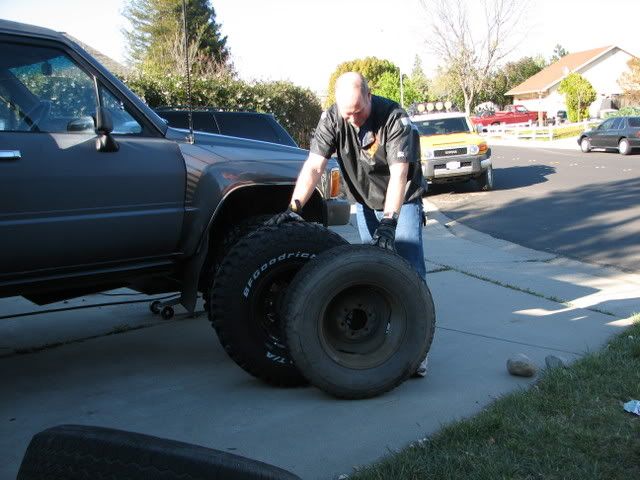
The tires raised the truck 3". Note the fuel door.
All 4 tires and rims on and the racks.
Thats going to be it for a while now, need to reimburse the cash flow.
Look at the size difference
The tires raised the truck 3". Note the fuel door.
All 4 tires and rims on and the racks.
Thats going to be it for a while now, need to reimburse the cash flow.
Apr 3, 2008 | 05:52 PM
#15
Thread Starter
Registered User
Joined: Apr 2007
Posts: 277
Likes: 1
From: Vacaville
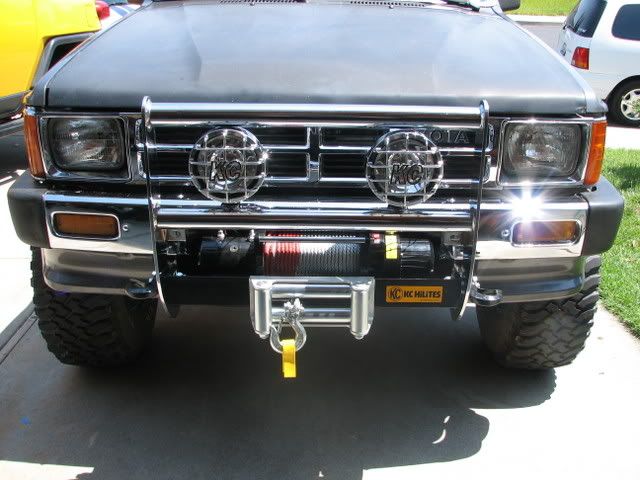
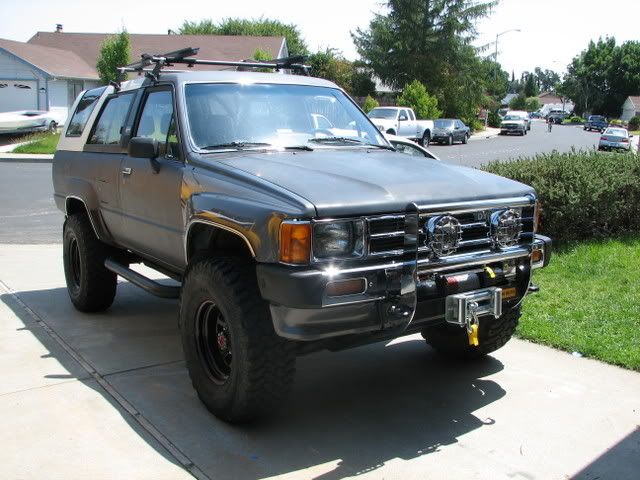
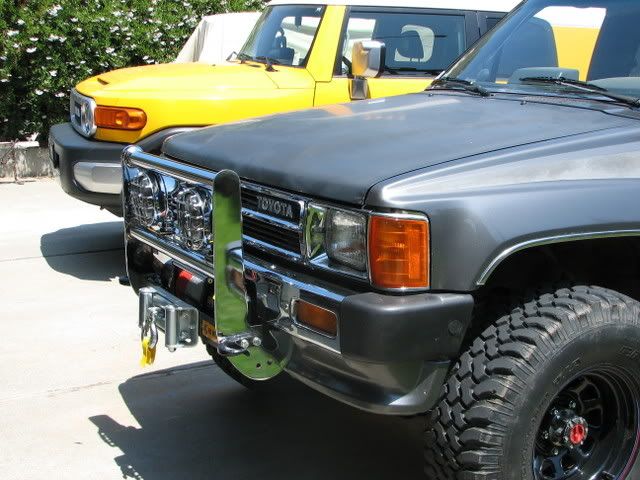
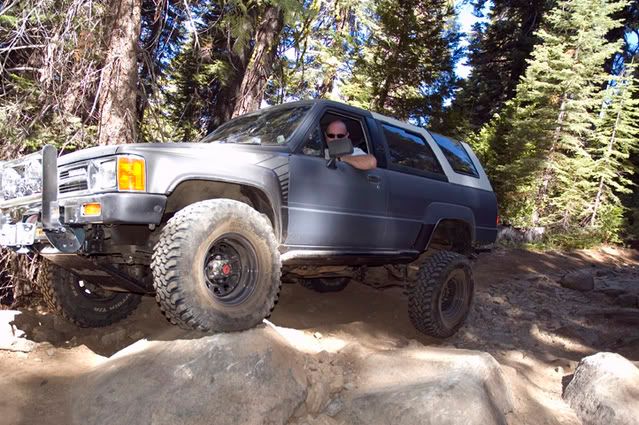
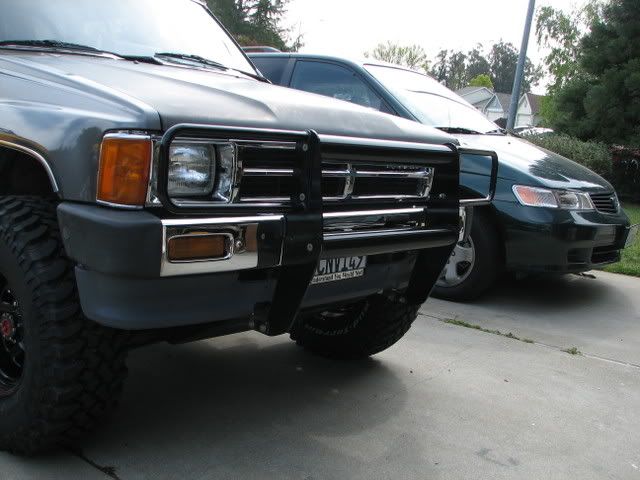
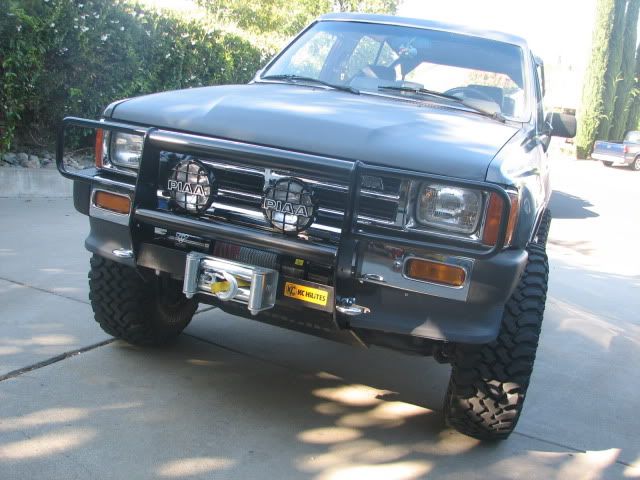
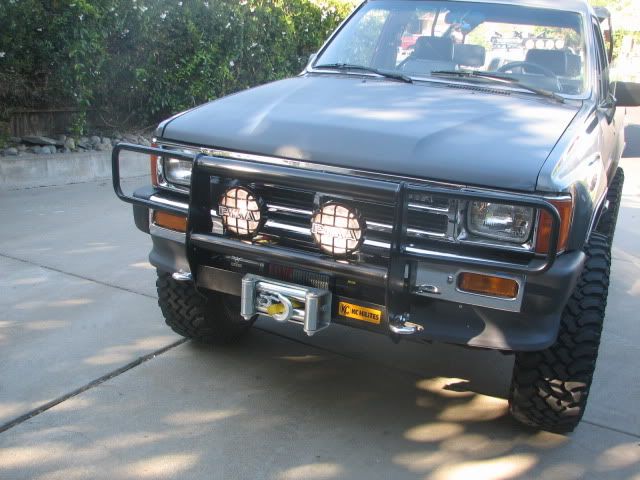
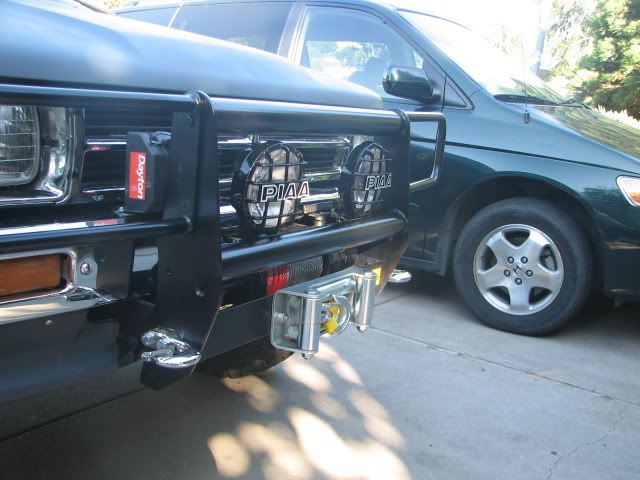
I pick up a brush guard and the valance below the front bumper off of craigs list, for $75. this week. Its getting back to where it was. So far its cost me including the( get out of impound of $265) $1336..

 Jun 15, 2008 | 02:49 PM
#18
Thread Starter
Registered User
Joined: Apr 2007
Posts: 277
Likes: 1
From: Vacaville
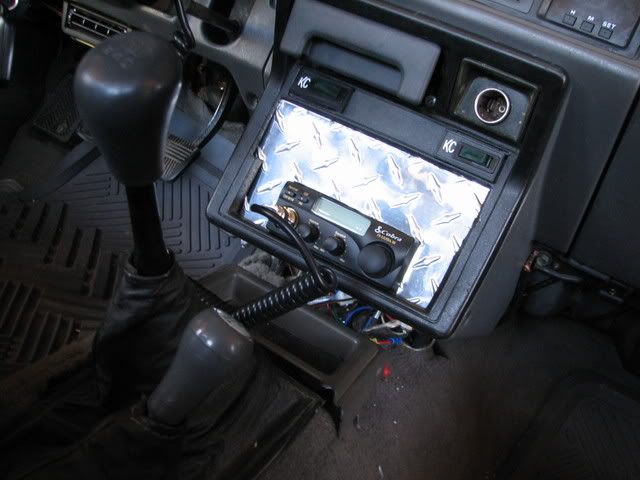
Got a replacement CB for Fathers Day. So guess how I spent my Fathers day? This is the seconded go around with the CB install. But this time the antenna and all the wiring are already there. Just had to make the connections to the CB . But this time there is a big hole in the dash where the radio and tray should be. So there's nothing to mount the CB to. I came up with the idea of making a face plate to hide the hole and wiring. Made it out of some aluminum diamond plate I had lying around. Made a template and than cut away. Made some clamps and screwed it to the back side of the trim, using existing holes.
There's how it turned out!
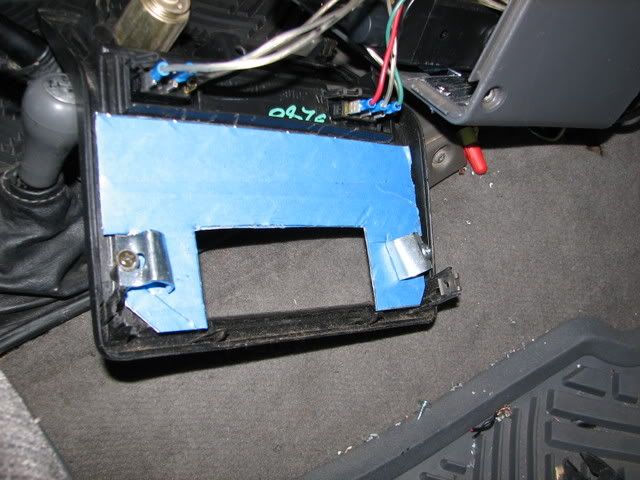
Here are some behind the plate pics.

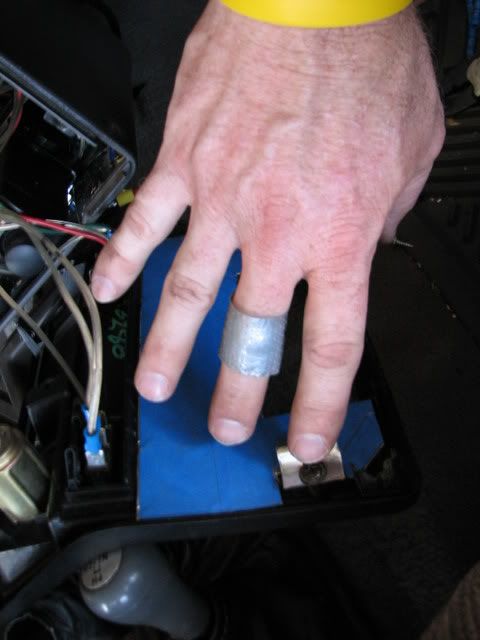
Like all good projects one must bleed a little. Which gave me a chance to use the new Duct Tape band aids I just got.
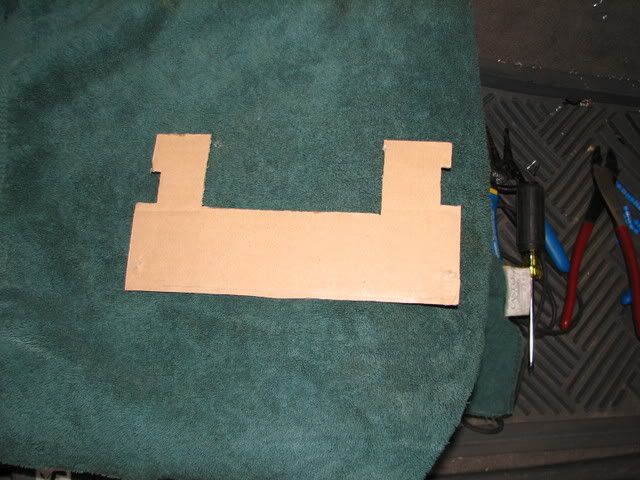
Here's a shoot of the template I made.
There's how it turned out!
Here are some behind the plate pics.
Like all good projects one must bleed a little. Which gave me a chance to use the new Duct Tape band aids I just got.
Here's a shoot of the template I made.
May 6, 2009 | 07:11 AM
#19
Thread Starter
Registered User
Joined: Apr 2007
Posts: 277
Likes: 1
From: Vacaville
Well I"ve been buzy working on Stompey. I've install a sterio/cd player and speekers, I got for Xmas. I installed a Ausie Locker and went from 4.10 gears to 4.30 gears that I had gotten out of a 86 runner. The locker is great. I can climb up hills in 2lo that took 4lo before.
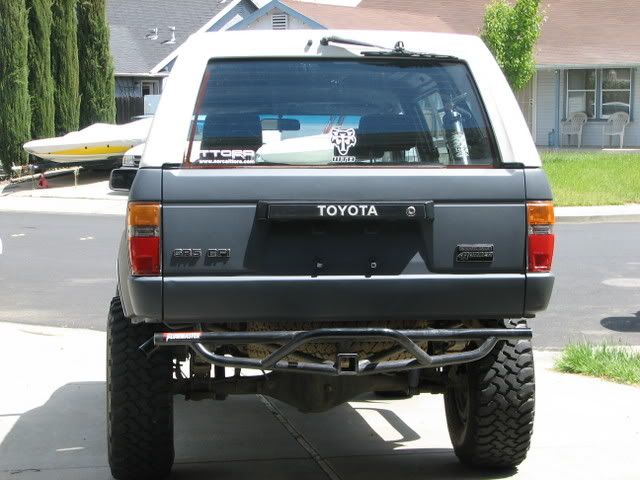
I added some rear quater panel protection to my exsiting rear bumper. Here ars some pics.
Rear bumper before I added on to it.
After!!!
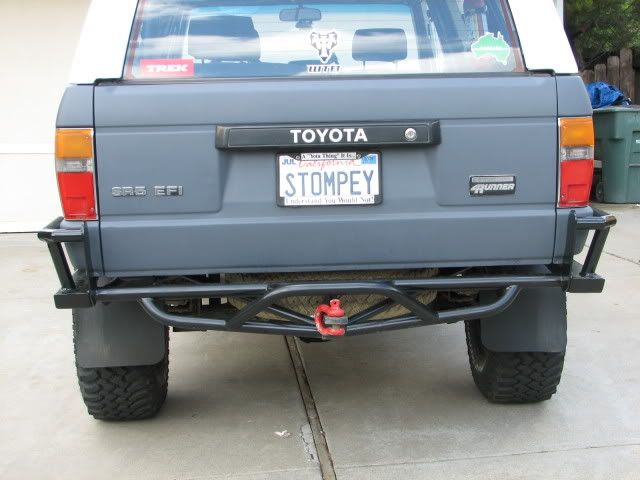
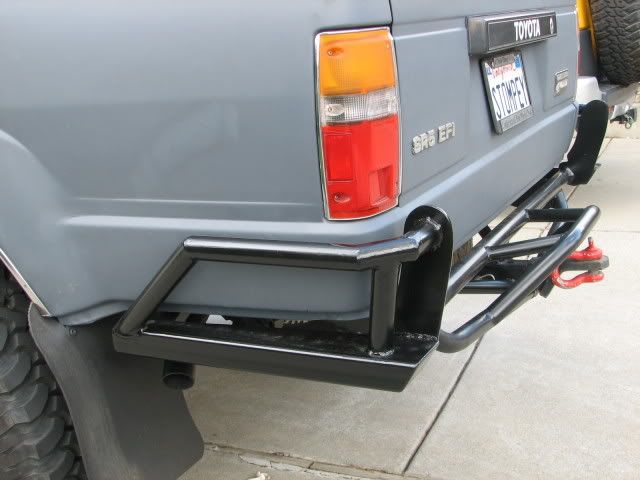
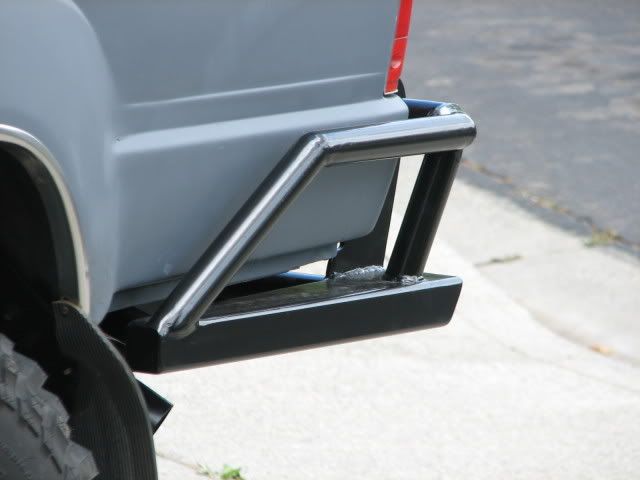
Yes, the front side of the bumper is tied into the frame.
I added some rear quater panel protection to my exsiting rear bumper. Here ars some pics.
Rear bumper before I added on to it.
After!!!
Yes, the front side of the bumper is tied into the frame.

Thread
Thread Starter
Forum
Replies
Last Post
1uzRunner
84-85 Trucks & 4Runners (Build-Up Section)
63
Nov 10, 2018 03:58 PM
potatopants
95.5-2004 Tacomas & 96-2002 4Runners
4
Sep 15, 2015 06:26 AM


