When you click on links to various merchants on this site and make a purchase, this can result in this site earning a commission. Affiliate programs and affiliations include, but are not limited to, the eBay Partner Network.
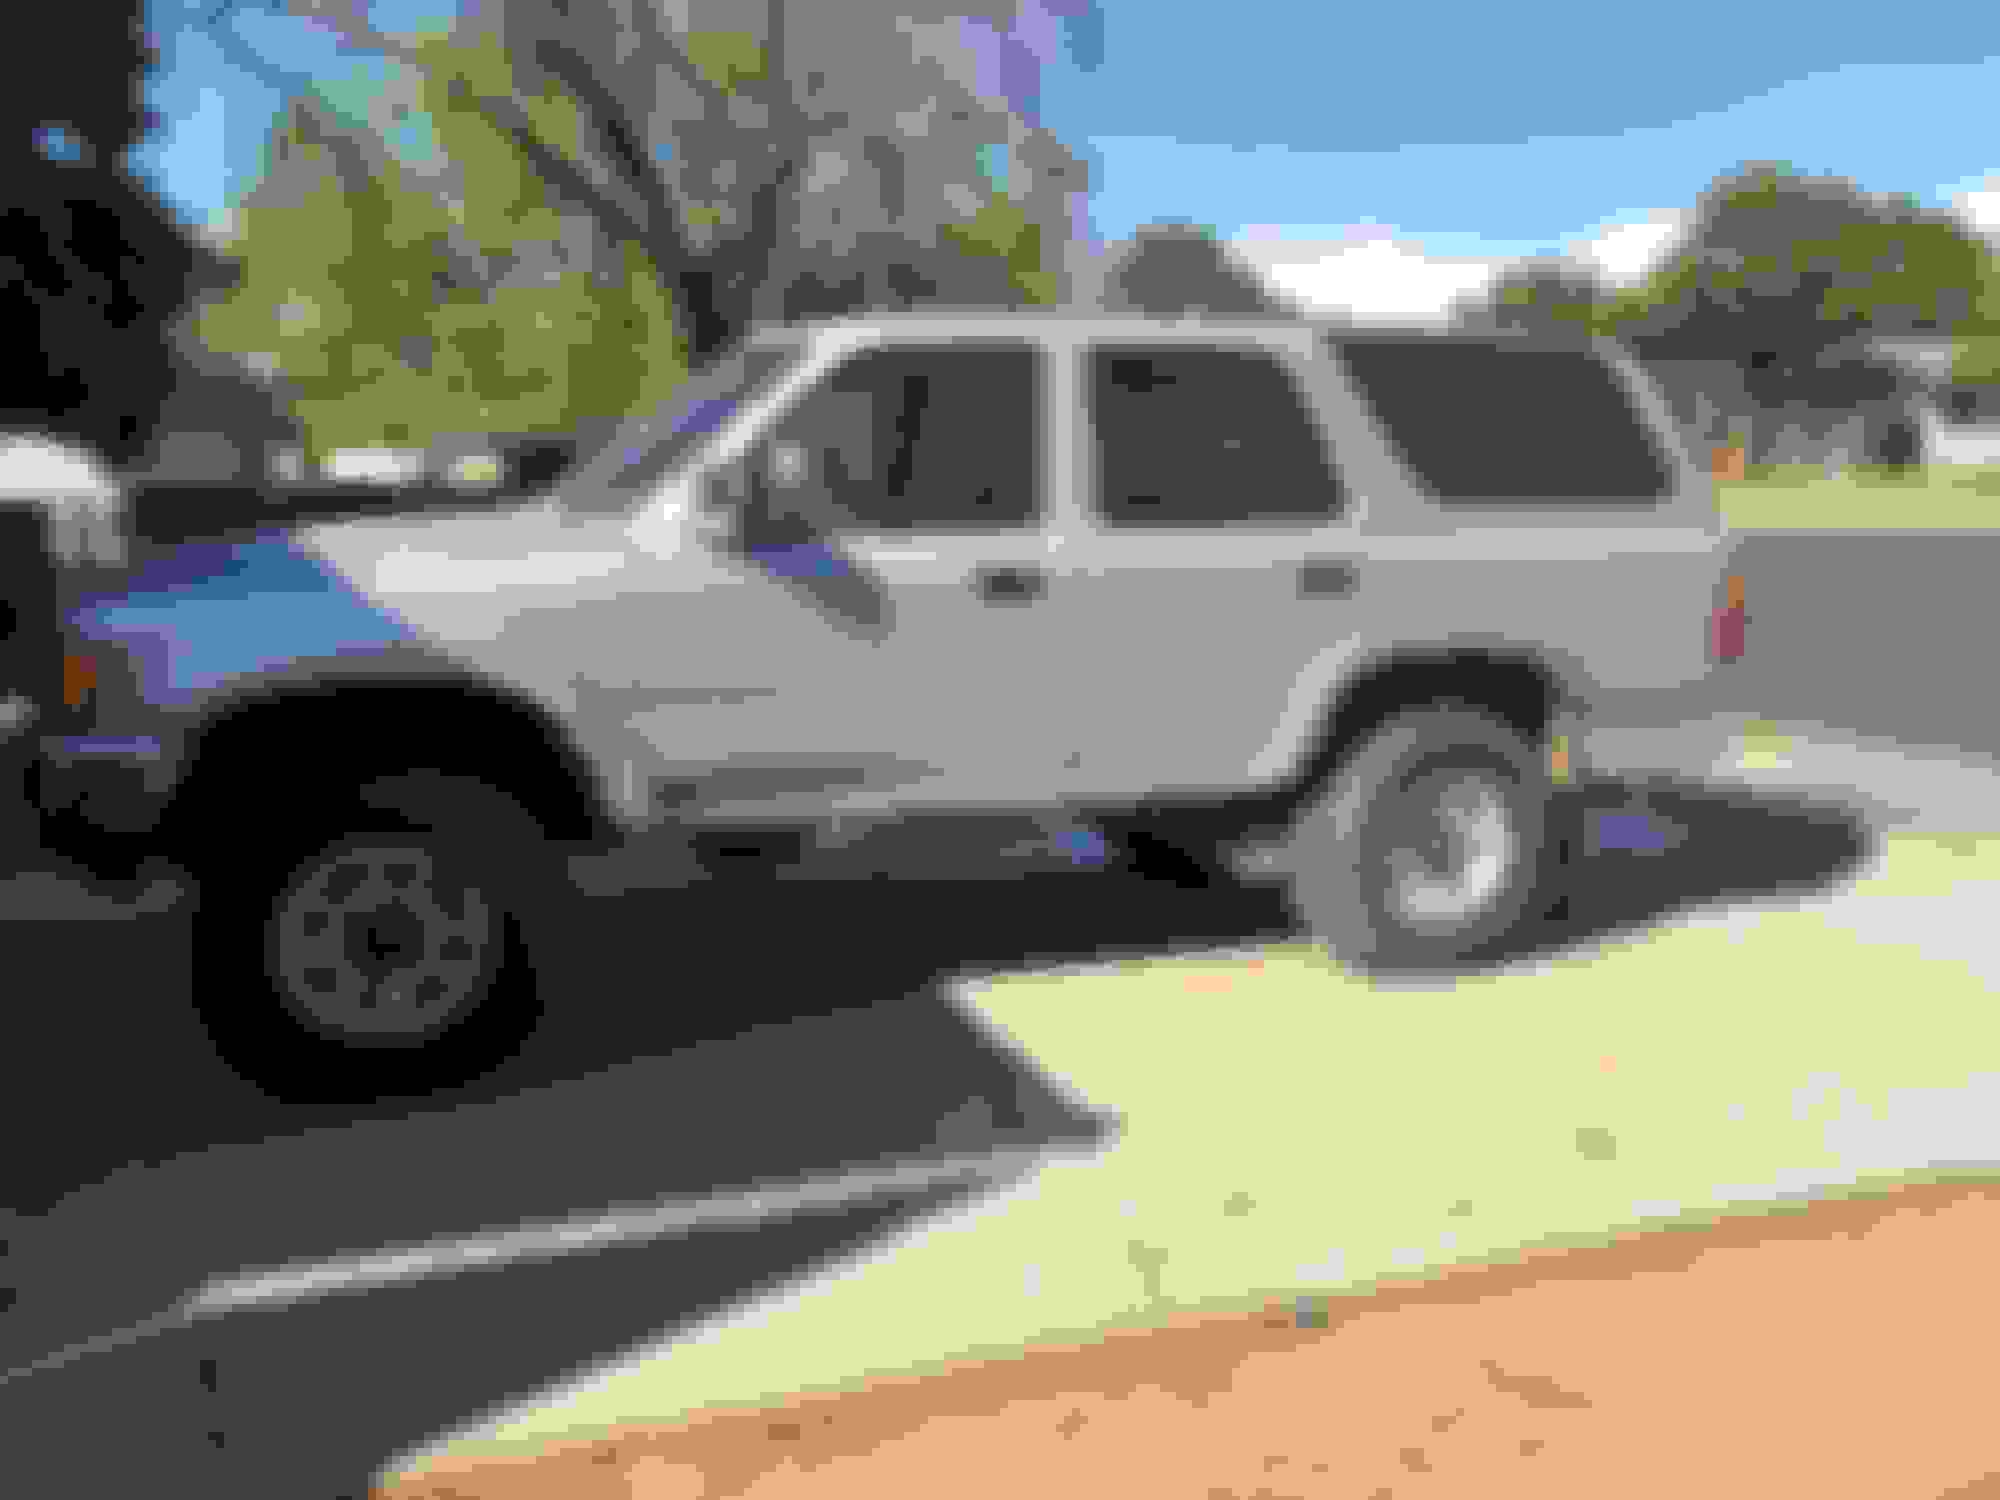
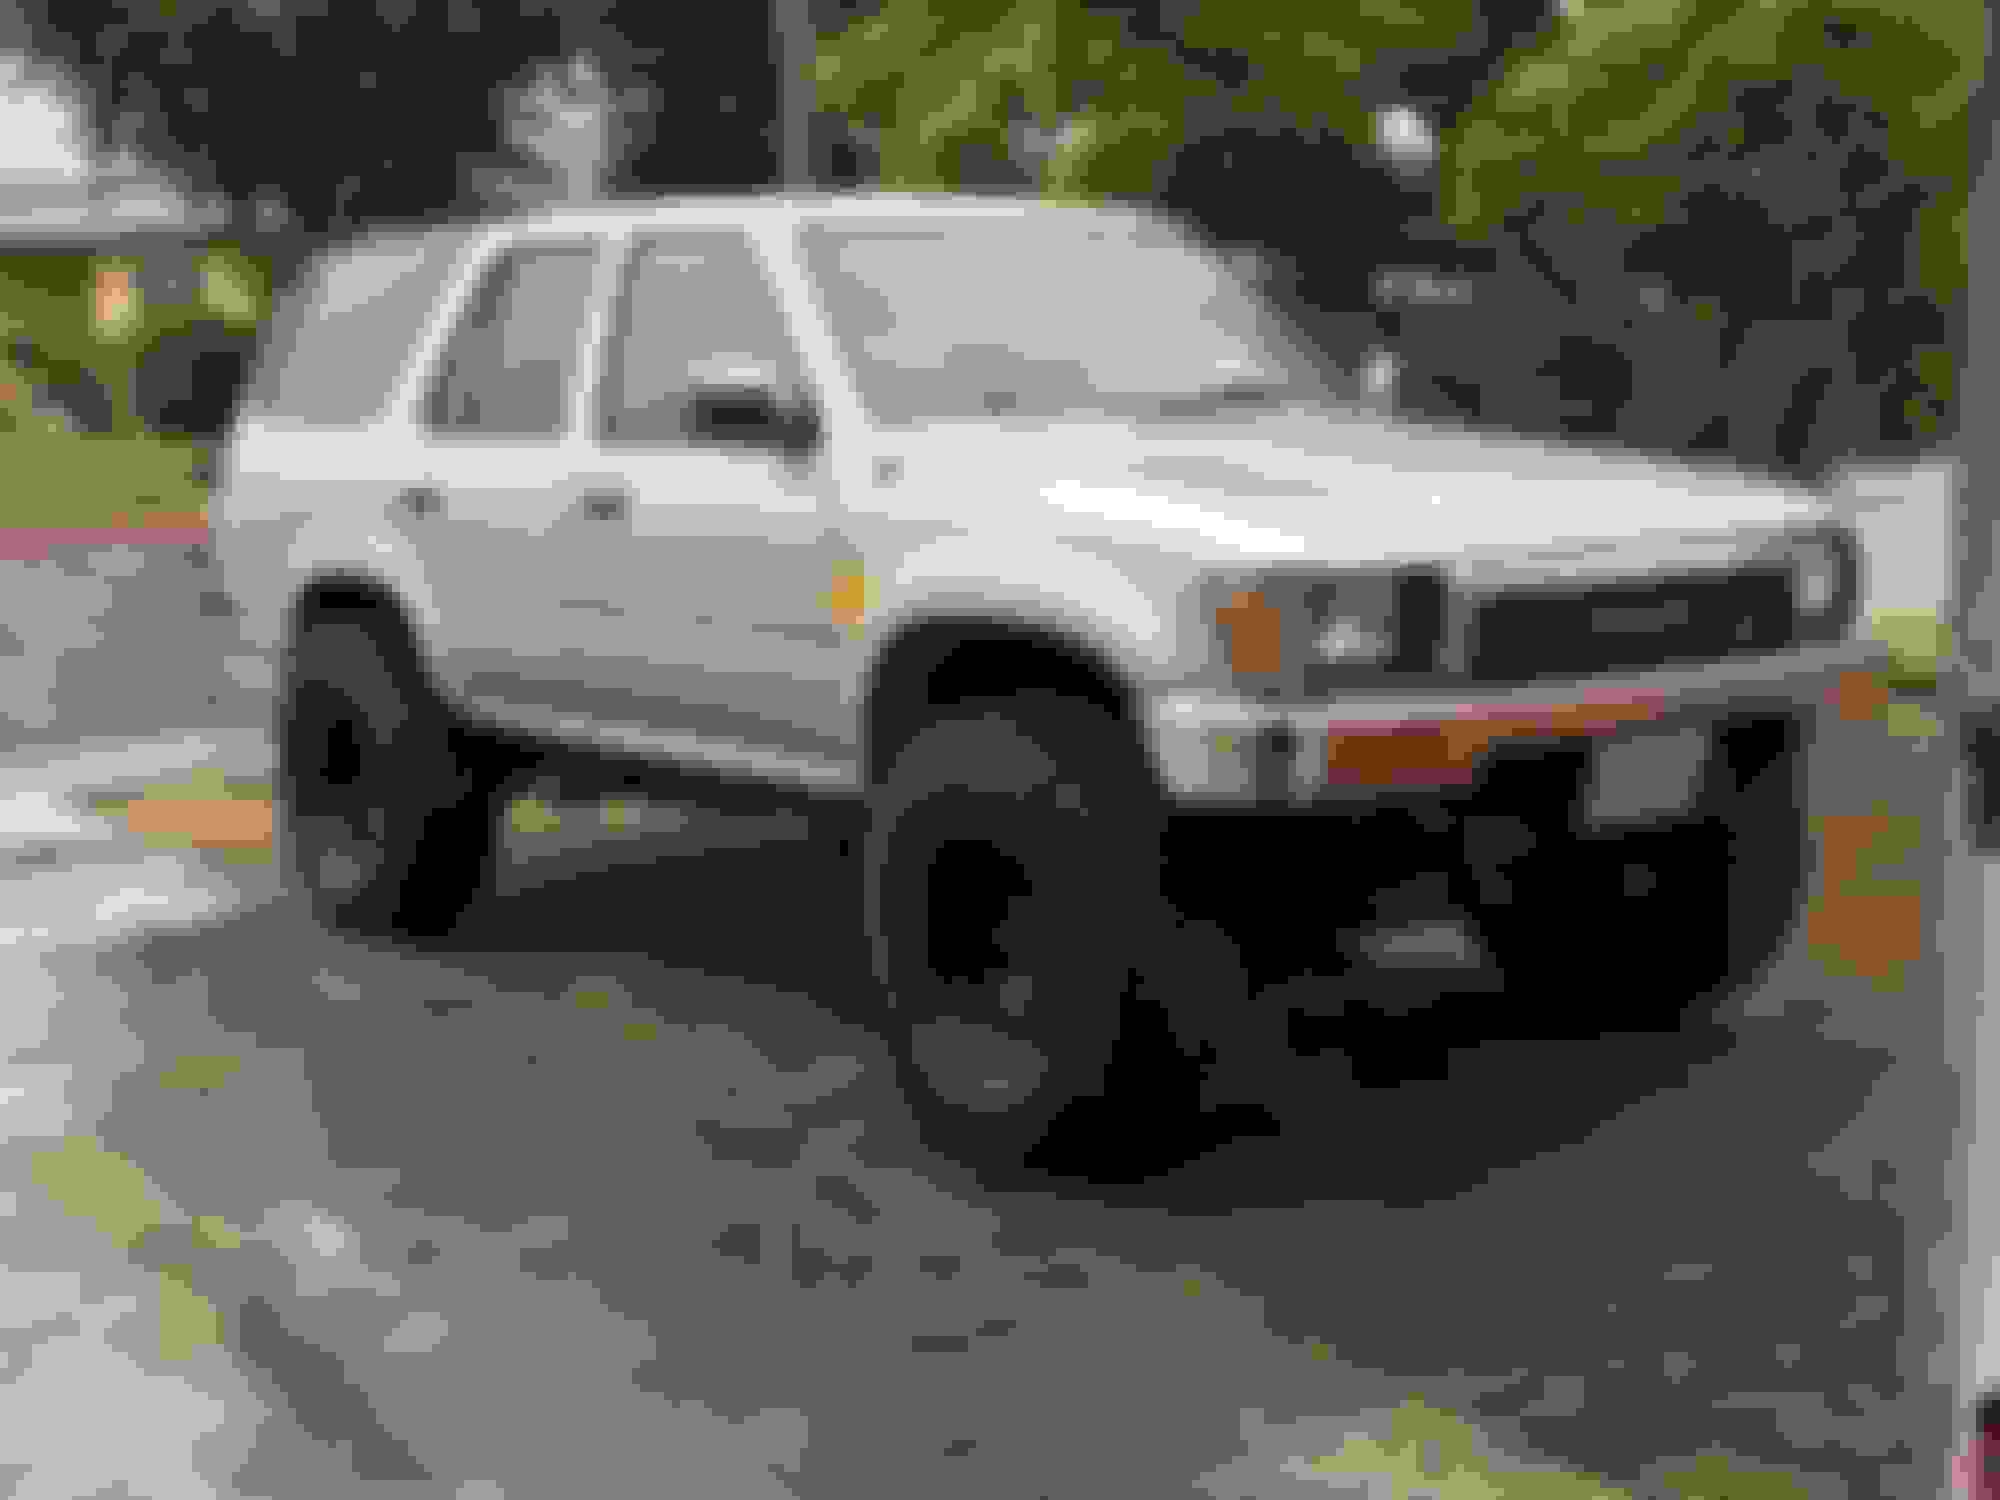
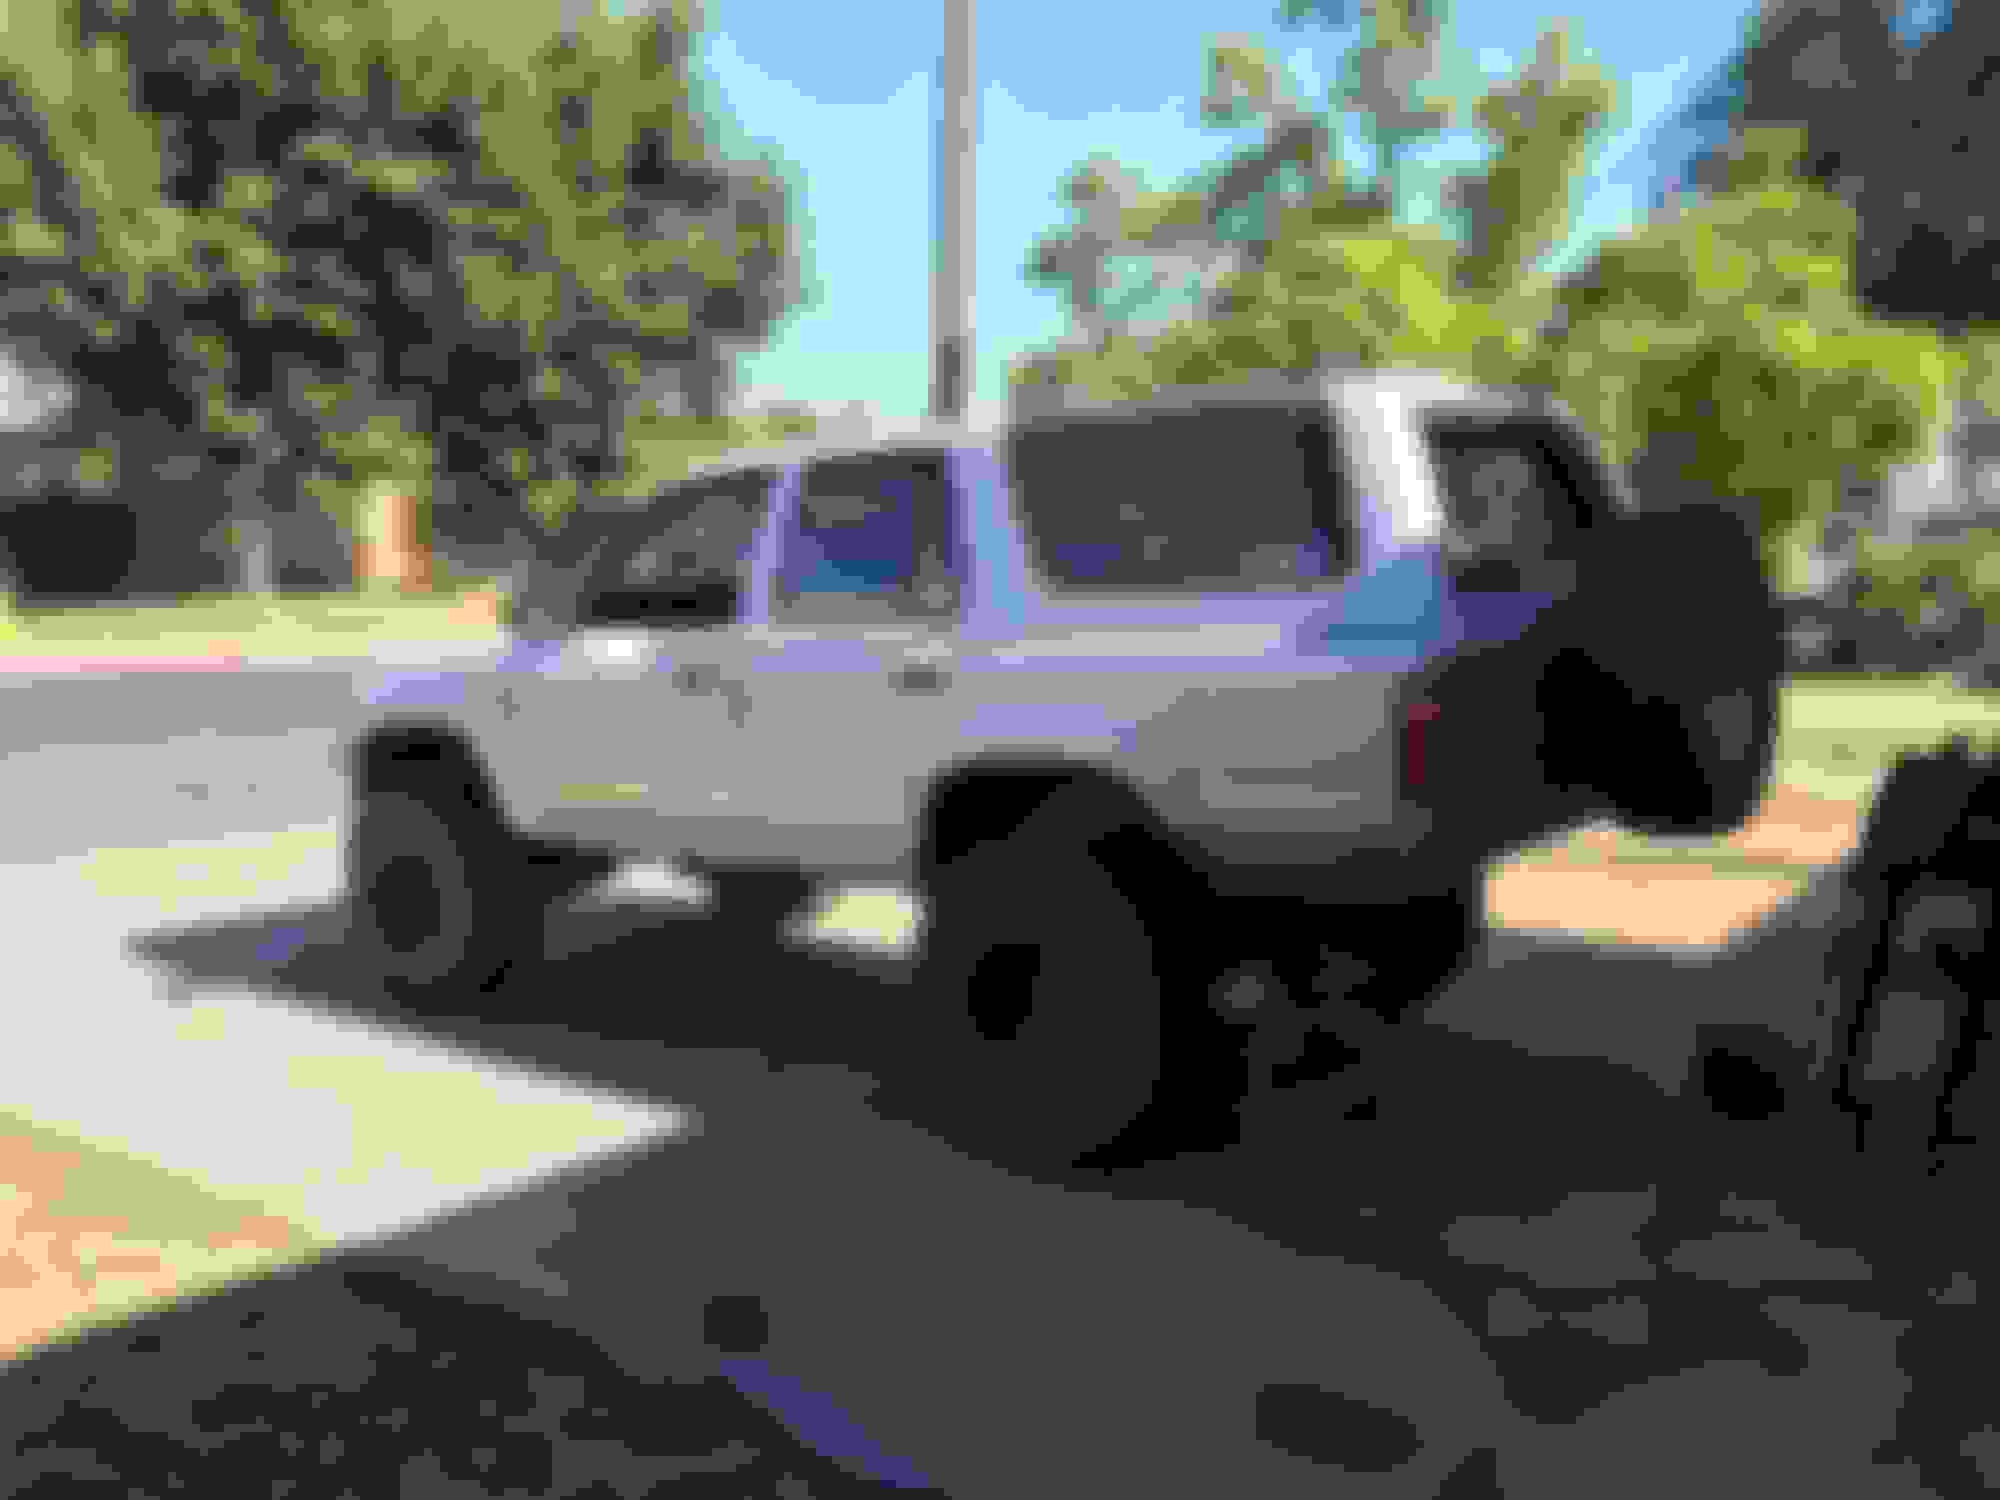
I picked up a 1990 4Runner from my neighbor in exchange for me building him a gaming PC. Pretty good deal
It had been sitting for 2 years, hadn't been started, and had began molding in certain parts of the interior. Here's a pic from the day I brought it home 30 feet from it's old resting place.
The first order of business was to remove the chrome fender liners. Those are long gone. Then, I wanted to clean up the engine bay and get things looking a little nicer.
Before:
After:
I started going through the truck and noting things that needed to be fixed. Immediately noticed that the front end needed to be freshened up, the rear end had the classic sag, the intake boot was hard as a rock and I suspected cracking, all of the belts were bad, the alternator squealed, etc.
Apologies for the vertical pictures. You can see the rotors are shot, numerous bushings are dry rotted, a CV boot has torn and covered the driver side in grease, etc.
Started replacing worn out front suspension parts. Here's the old upper ball joint on the drivers side.
Clearly shot!!
Old tie rod ends and pitman arm.
New pitman arm, tie rod ends, and sector shaft nut + washer.
New idler arm.
New brake pads!
The kit I used for the ball joints, tie rod ends, pitman arm, and idler arm was a cheapo kit from amazon that was around $110. I'm not too worried about it because this is not a daily driver and I'll be cutting all of this off for a straight axle anyway.
The next thing I wanted to do was replace my intake boot because it was dry rotted. I also replaced my alternator and belts (not pictured)
I knew this thing was cracked! Should put some eyes on it and make a puppet.
This was totally unnecessary but I gave the old clamps a new coat of silver engine enamel.
Good as new!
And here's the new intake. This was only $10 on eBay, well worth the money. My neighbor and I also noticed some vacuum leaks on the passenger side but I'll address that later.
With all of the "maintenance" work done, it was time for some fun mods
My DD is a 2016 SS Camaro and I couldn't deal with the sloppy Toyota shifter. I bought a Marlin Crawler HD socket and seat, which was by *far* the best money I've spent on this truck so far. It tightened up the shifter so much and there is no slop.
The old shifter seat.
The new Marlin Crawler HD seat and socket.
Installed!
More maintenance....went out to the truck and the clutch pedal was on the floor. Slave cylinder was leaking all over the place so I had to replace it.
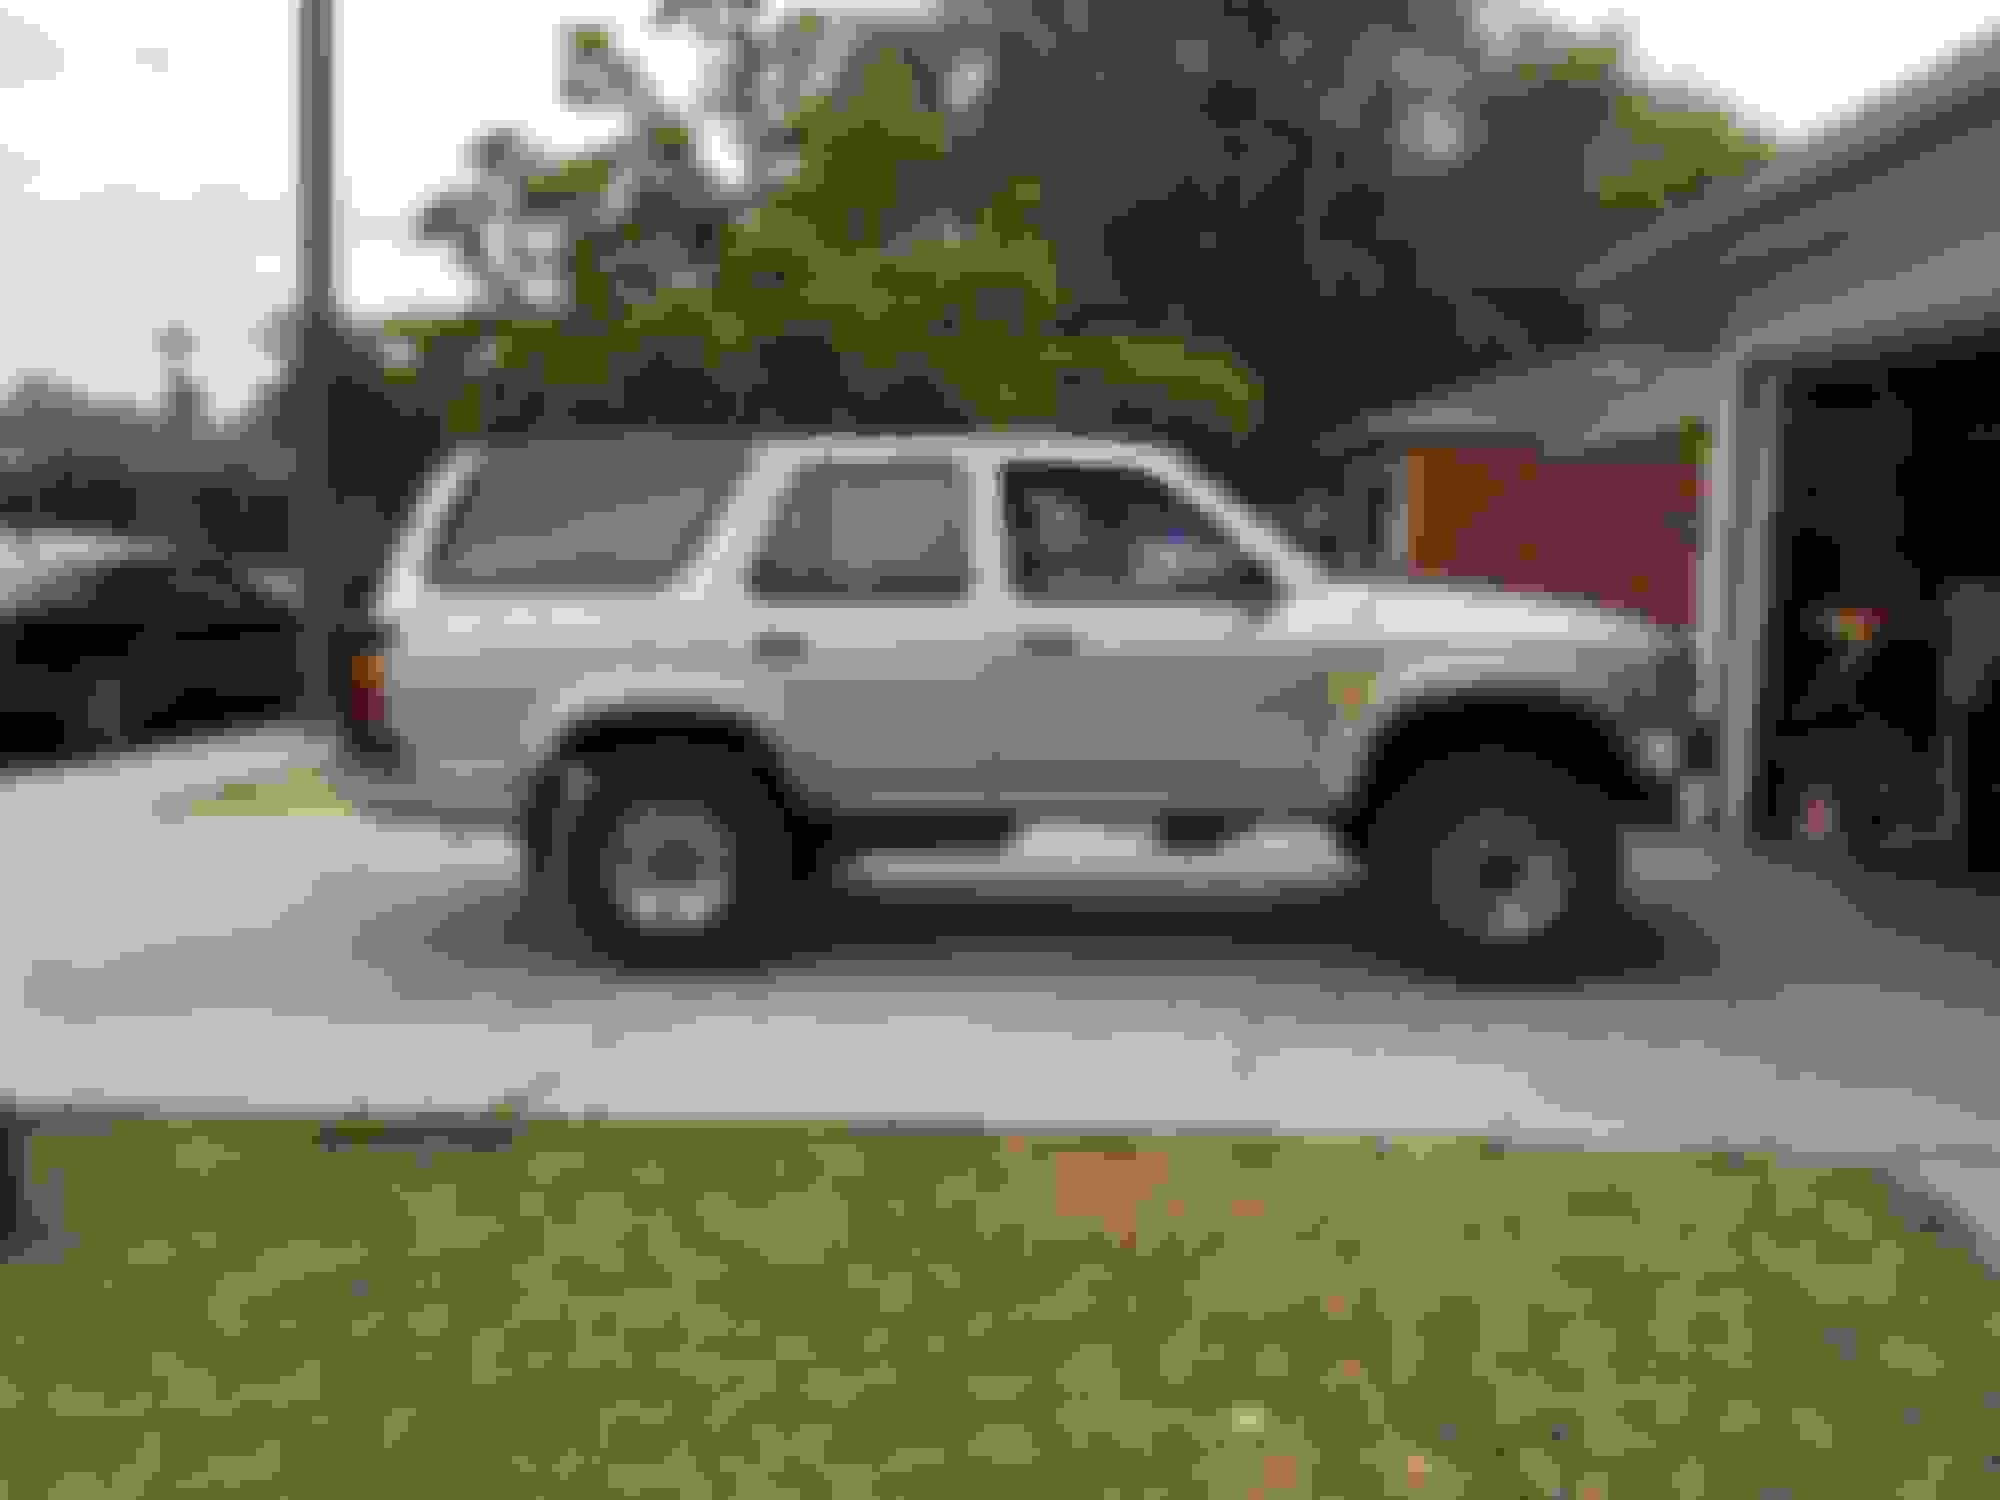
Got tired of this thing looking like a soccer mom SUV so I bought some 33's and 15x8 pro comp wheels.
My neighbors cat seems to really enjoy Toyotas.
Before:
After:
It looks like a whole new truck to me. Gives me more motivation to build it now!
Last edited by yota_terror; 05-19-2019 at 07:27 PM.
Today I tore the carpet out and gave it a thorough cleaning. I'm trying to get rid of the 1990s car smell, we'll see if this does the trick. I also removed that rear passenger HVAC unit because I want to create a custom center console.
Filthy carpet, I'm sure this is at least one of the culprits of the 90's car smell!
I made a concoction of oxy clean, detergent, and dish soap and sprayed it generously into the carpet, soaked it in water, and scrubbed. Sucked up all the dirt with a shop vac.
Here is what came out of the carpet. Nope, that's not coffee or soda
Here's how the carpet looks now after cleaning it. Drying it out in the sun.
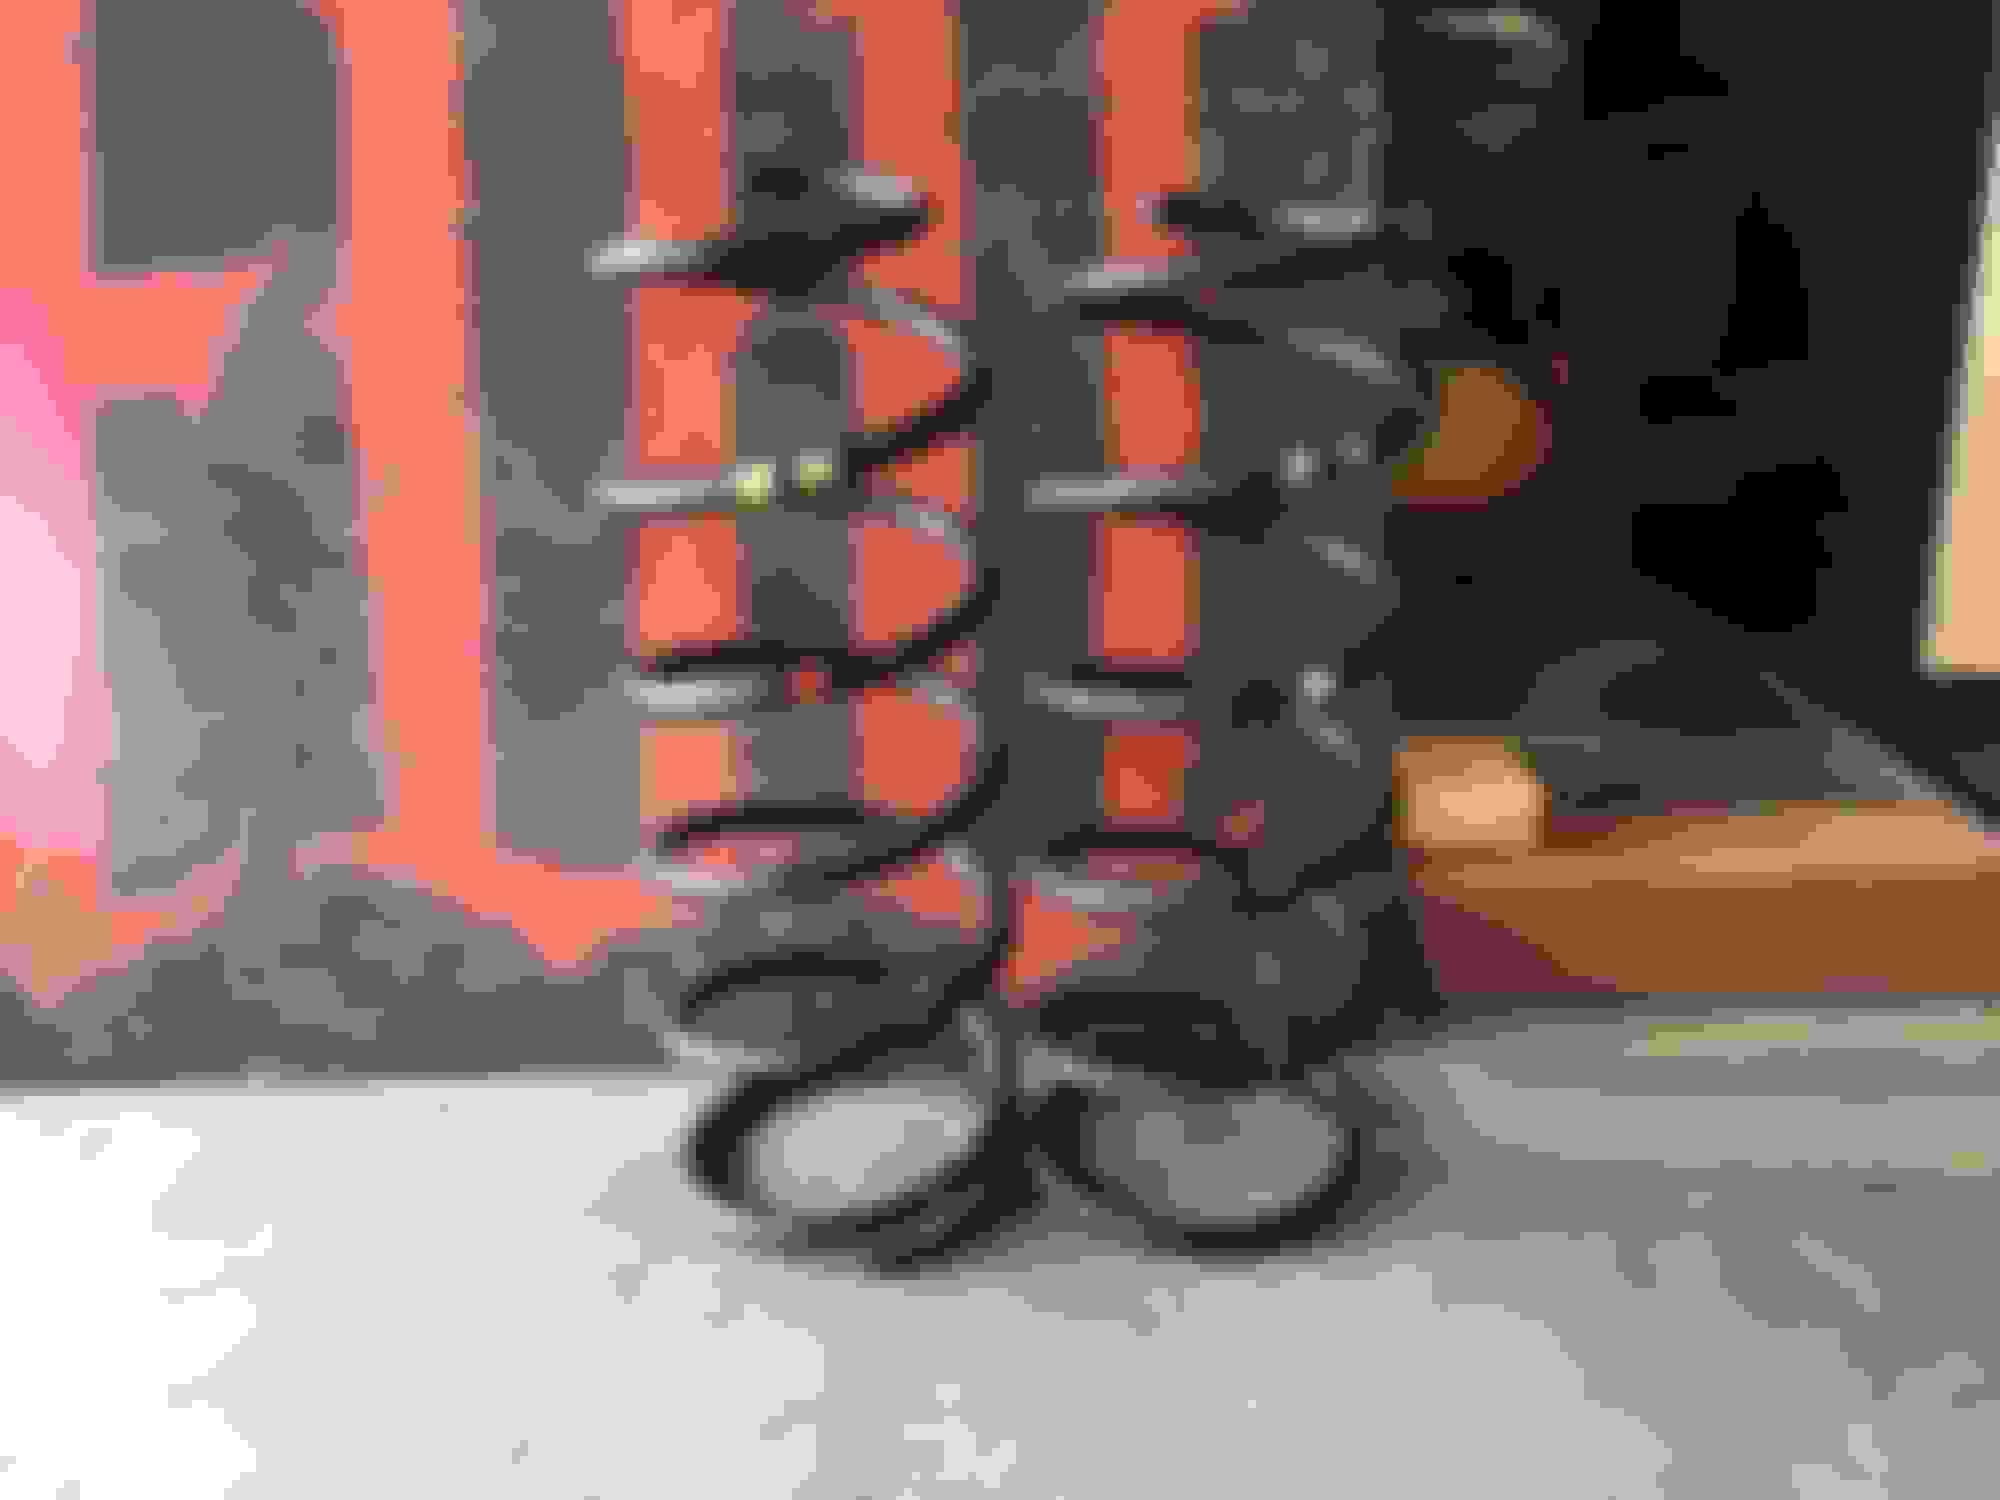
I picked up some FJ80 "rear" coils to fix the rear-end sag issue with my truck, only to find out the seller accidentally sold me front springs. He's supposed to stop by tomorrow to give me the rears.
Last edited by yota_terror; 05-19-2019 at 07:43 PM.
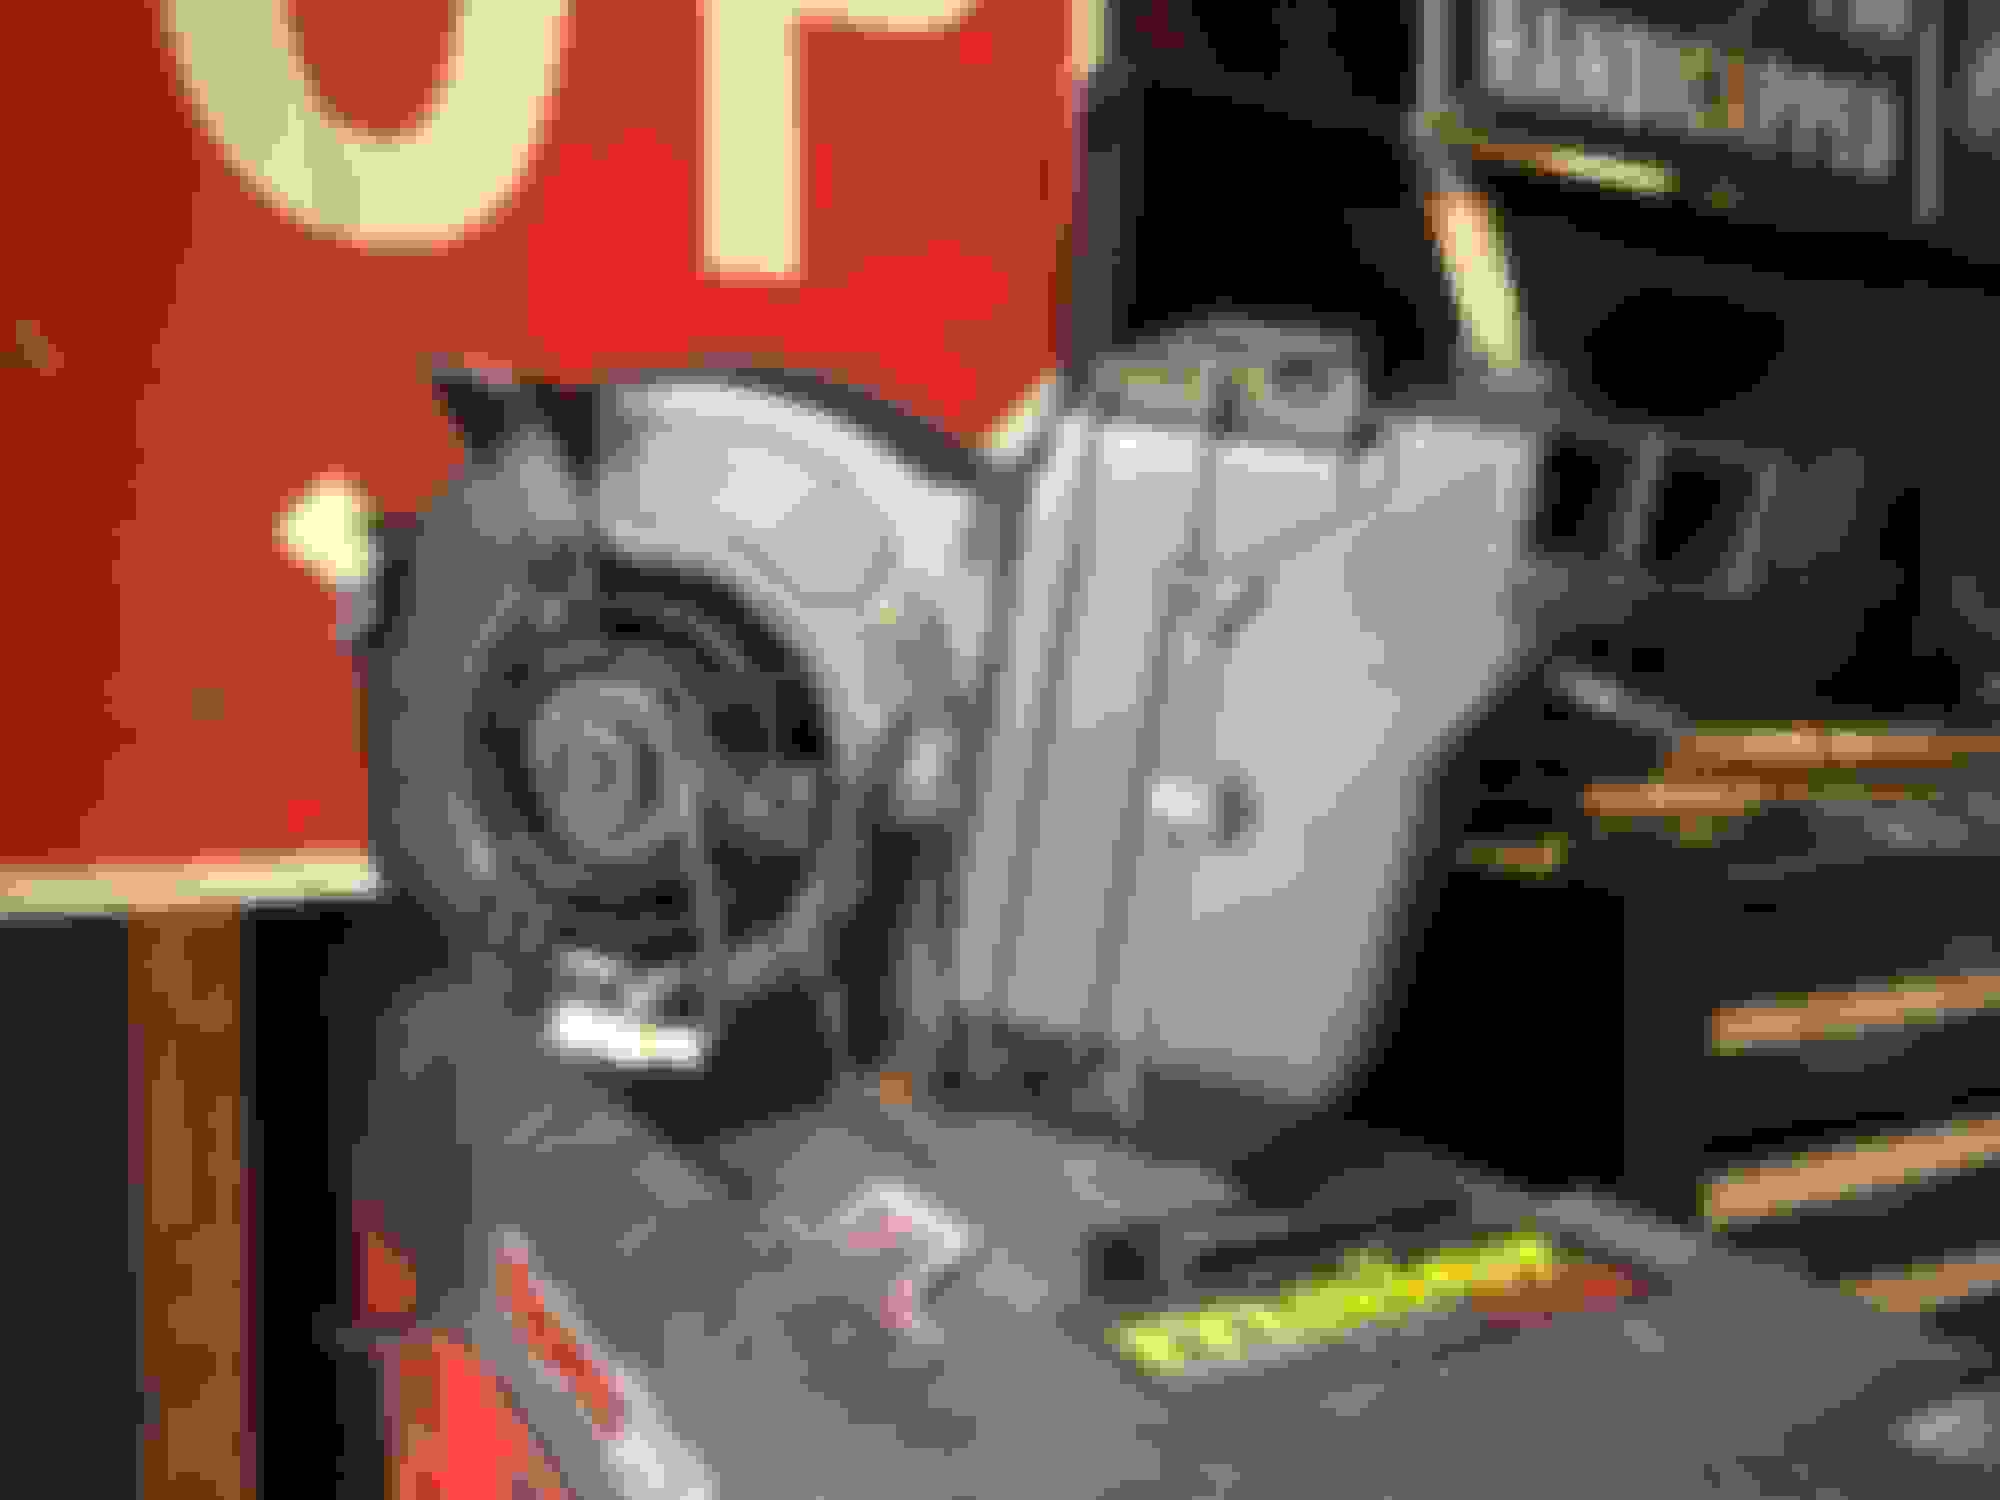
Removed the leftovers of the rear HVAC unit today. Had to cut the hard line in half to get it out. Now I need to buy normal heater hoses without the T's, probably from a pickup or something.
Good riddance! My passengers can suffer
I got the correct FJ80 springs, the seller was nice enough to stop by and exchange them for the rears, since he accidentally gave me front springs. I'm unable to find any installation guides for these springs, and they are ridiculously taller than the stock springs, so I might make a video going over the install.
Started cleaning up small odds and ends like the rusted windshield wiper arms..I know, not build thread worthy, but figured I'd toss it in anyway. I need new wipers and a nut cover. I didn't take a picture of it, but I do have tape between the wipers and glass, as to not crack or scratch the glass if the wipers are accidentally turned on.
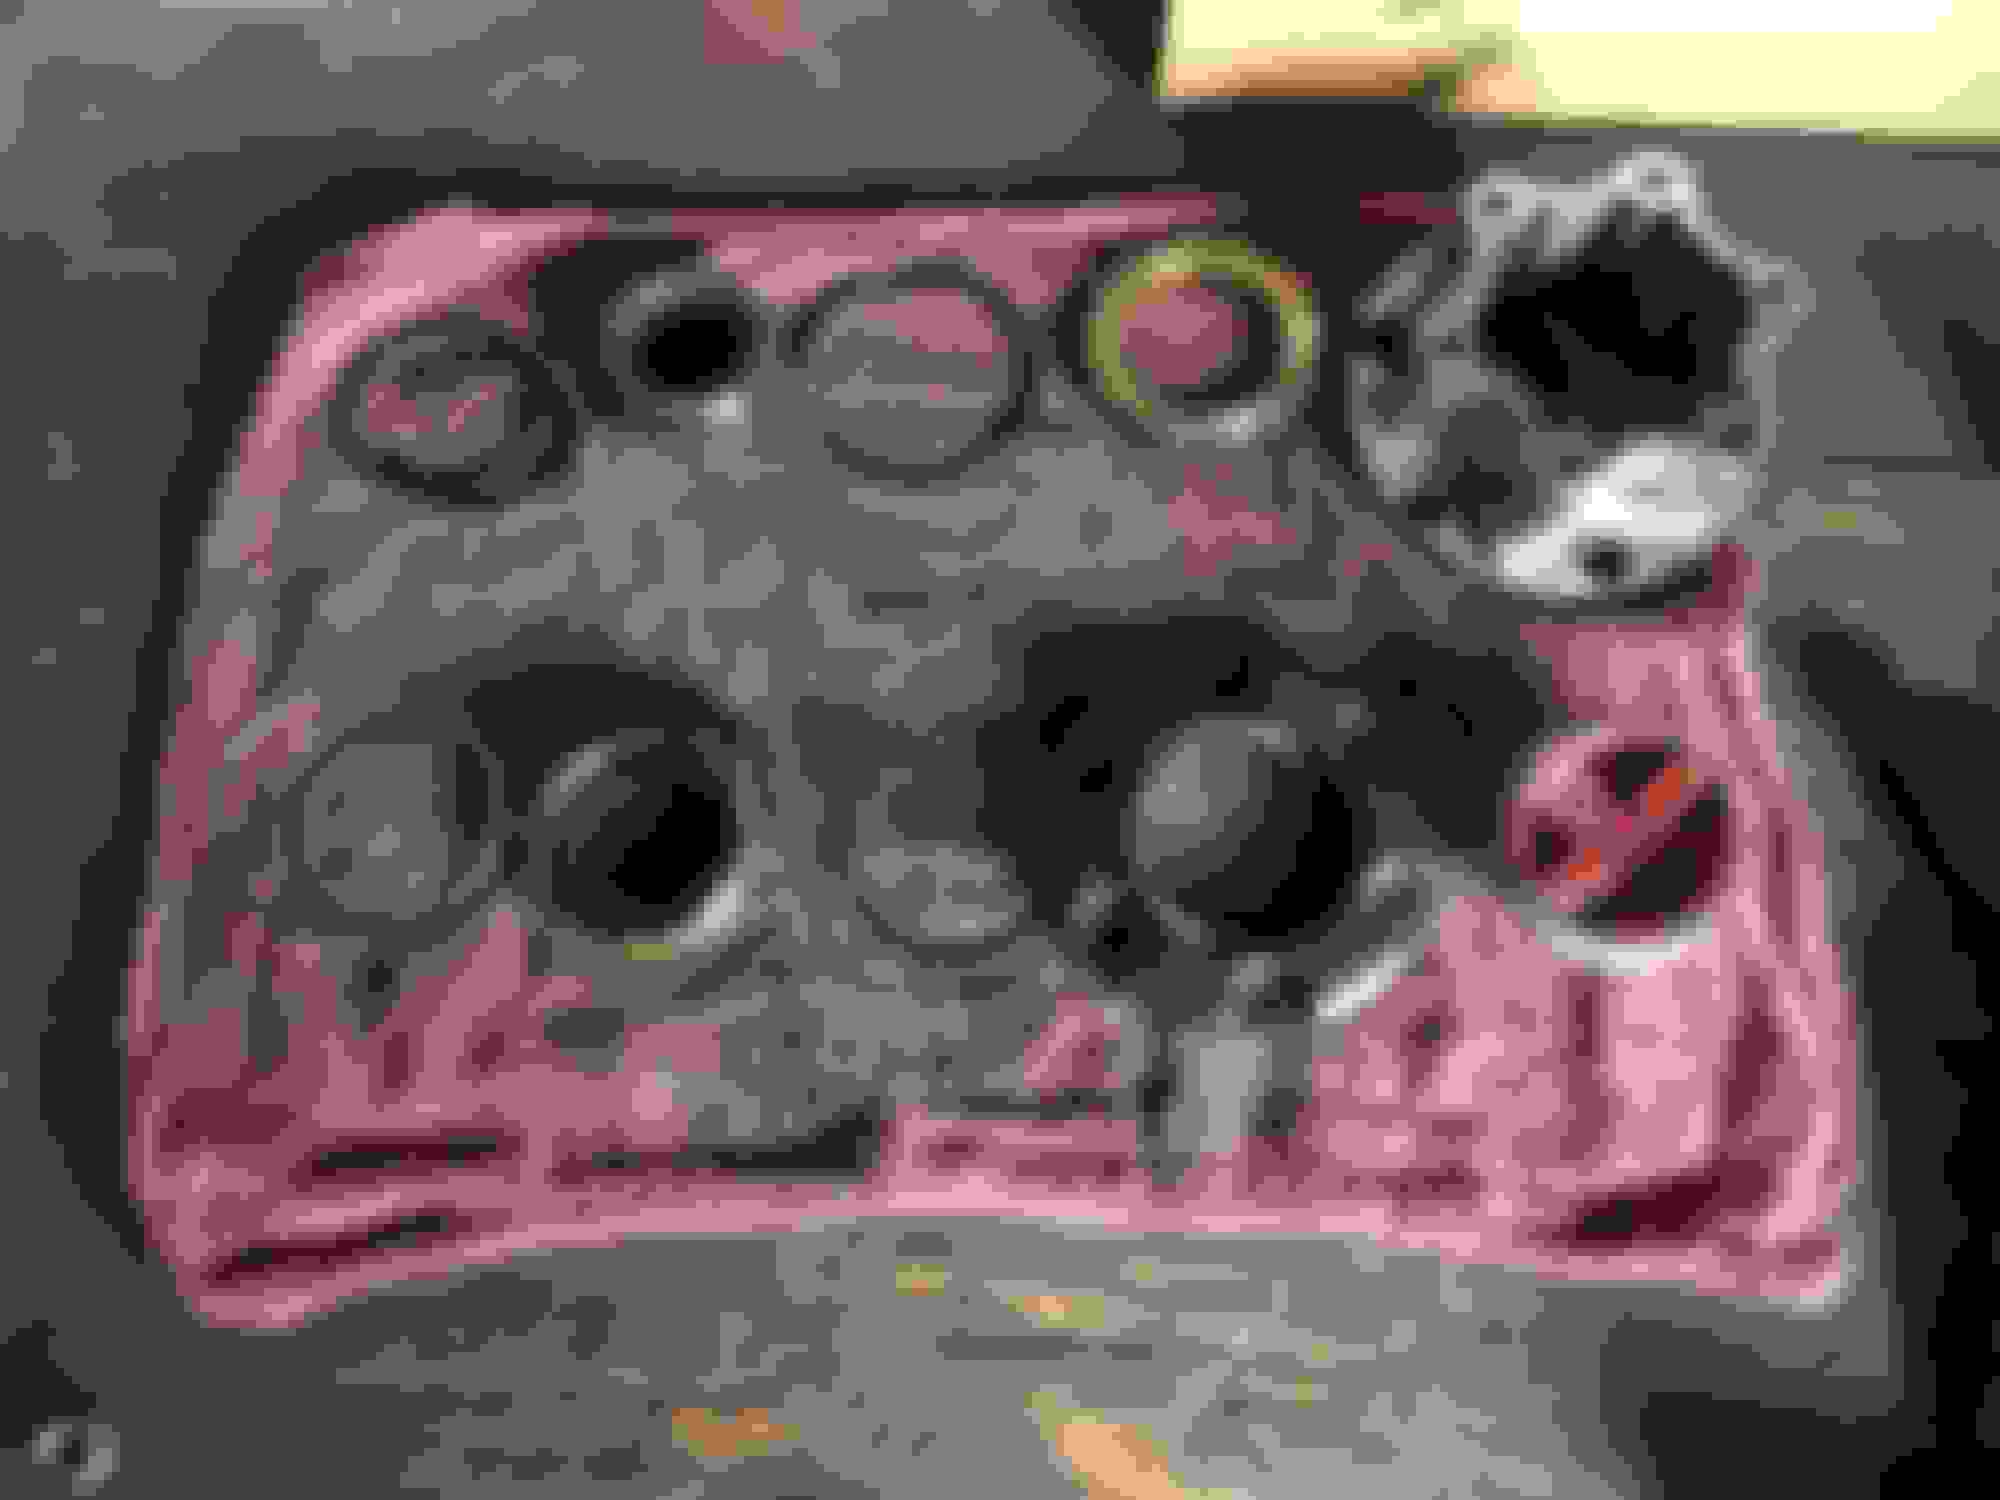
Started rebuilding some locking front hubs my neighbor gave me for free. I think I might go against the grain and paint the dial a different color other than red. I'll probably stop by a shop I used to work at this weekend and blast the housing + dial/outer ring to prep them for paint.
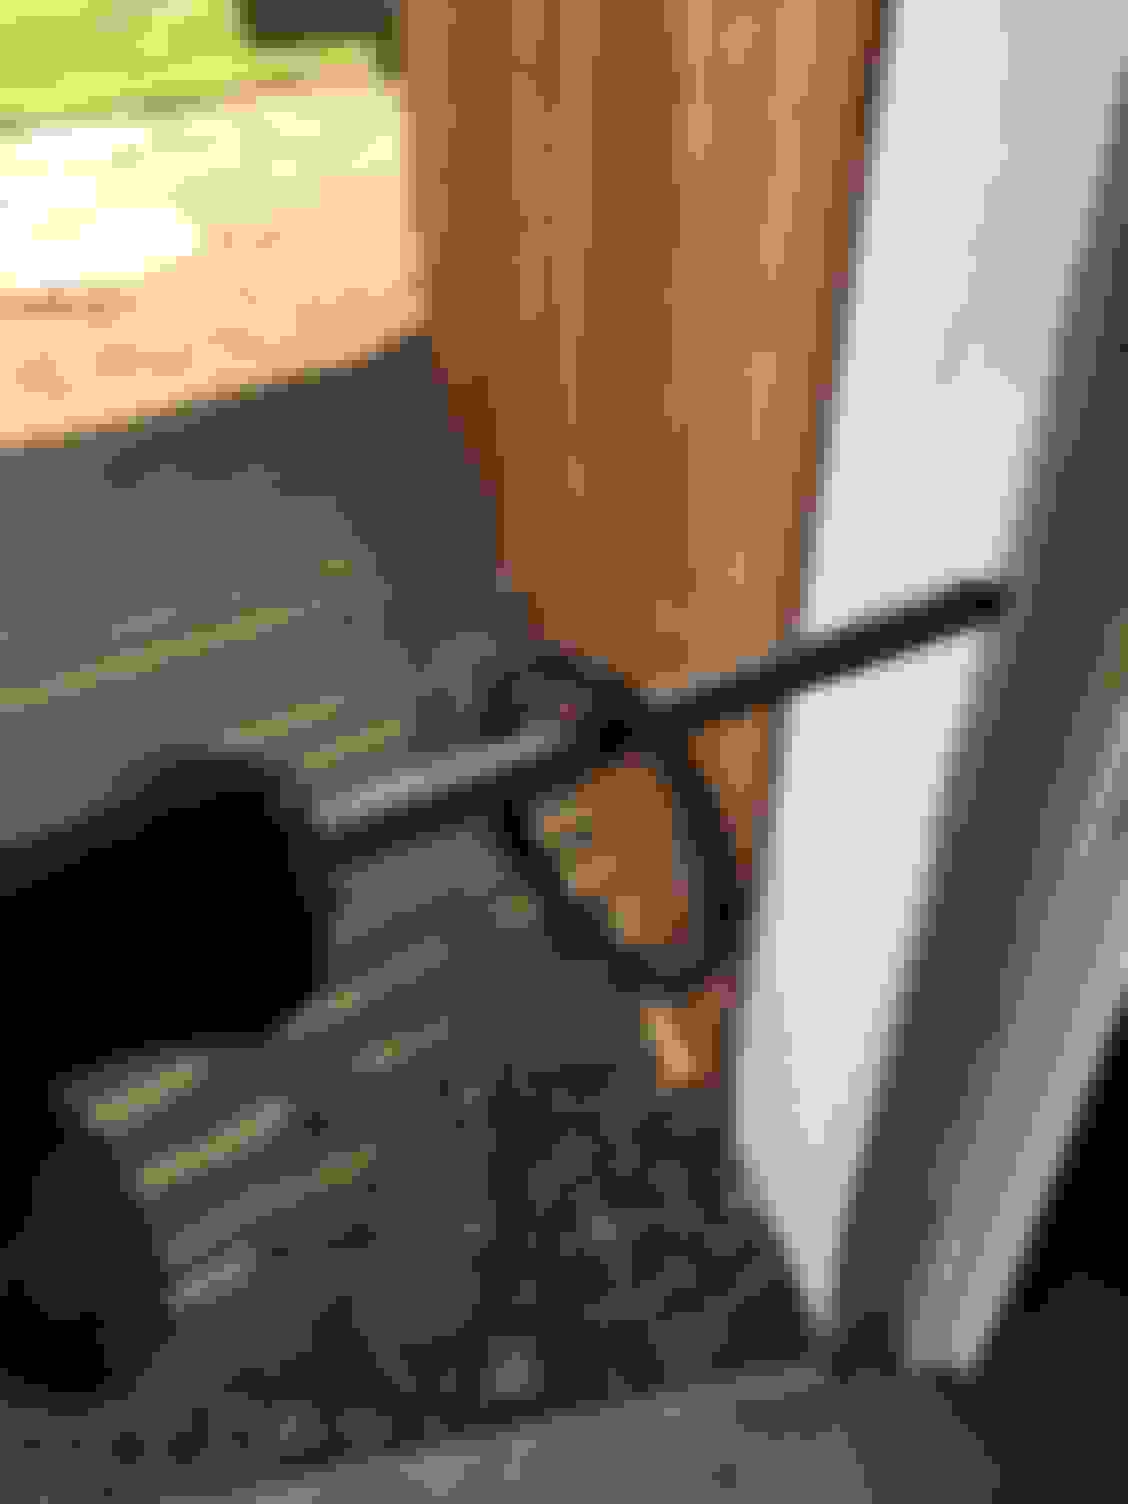
Question... I seem to have an extra "washer" that is splined. I don't see this in any locking hub rebuild videos, or the parts diagram for these hubs. Anyone know what it is? Pictured here:
It was sitting in the hub right here, same for both hubs:
I do not see this splined washer in the parts diagram.
I enjoy reaing through threads like this. Reminds me of my own progress with my 4runner. I was a bit more naive when I first started though. Lol
Keep going! Also, That was brave cleaning the carpet. I took a good look at mine and never imagined it could be cleaned. Found someone who reupholstered front two seats and carpet for like 350 bucks. The clean interior really makes a big difference.
Im looking forward to your custom center console. I am not a fan of the stock one.
Turns out that splined washer sits on the cv axle splines behind a snap-ring. Found that out while replacing my passenger CV axle
Here's the 4Runner after installing the FJ80 rear springs. I have some 24.75" extended shocks on order, will be installing those as soon as they get here.
I finished cleaning out the interior, shampooing the seats/carpet/etc, and got everything reinstalled - but forgot to take a pic.
I had to create an LSPV bracket after installing the rear lift. My buddy Joel had the right tools to make this a 5 minute job.
And done:
I rebuilt some IFS locking hubs and installed them on the truck, also deleted the factory ADD system. That was easy, but messy.
I bought a replacement CV axle because the passenger side was clanking and binding while turning in 4WD. When I took it out, it fell apart. I assume this is not normal? LOL
Since I was already in there, I removed the ADD system.
I traced the wiring from the ADD unit up to the engine bay so I could splice the leads together. That way my 4WD light still works.
I'm not happy with my work here (looks a bit unsightly), but it's soldered, heat shrinked, and taped with self bonding tape. Zip ties were extra insurance because I'm OCD.
Tested it out and the 4WD light works as expected. Nice!
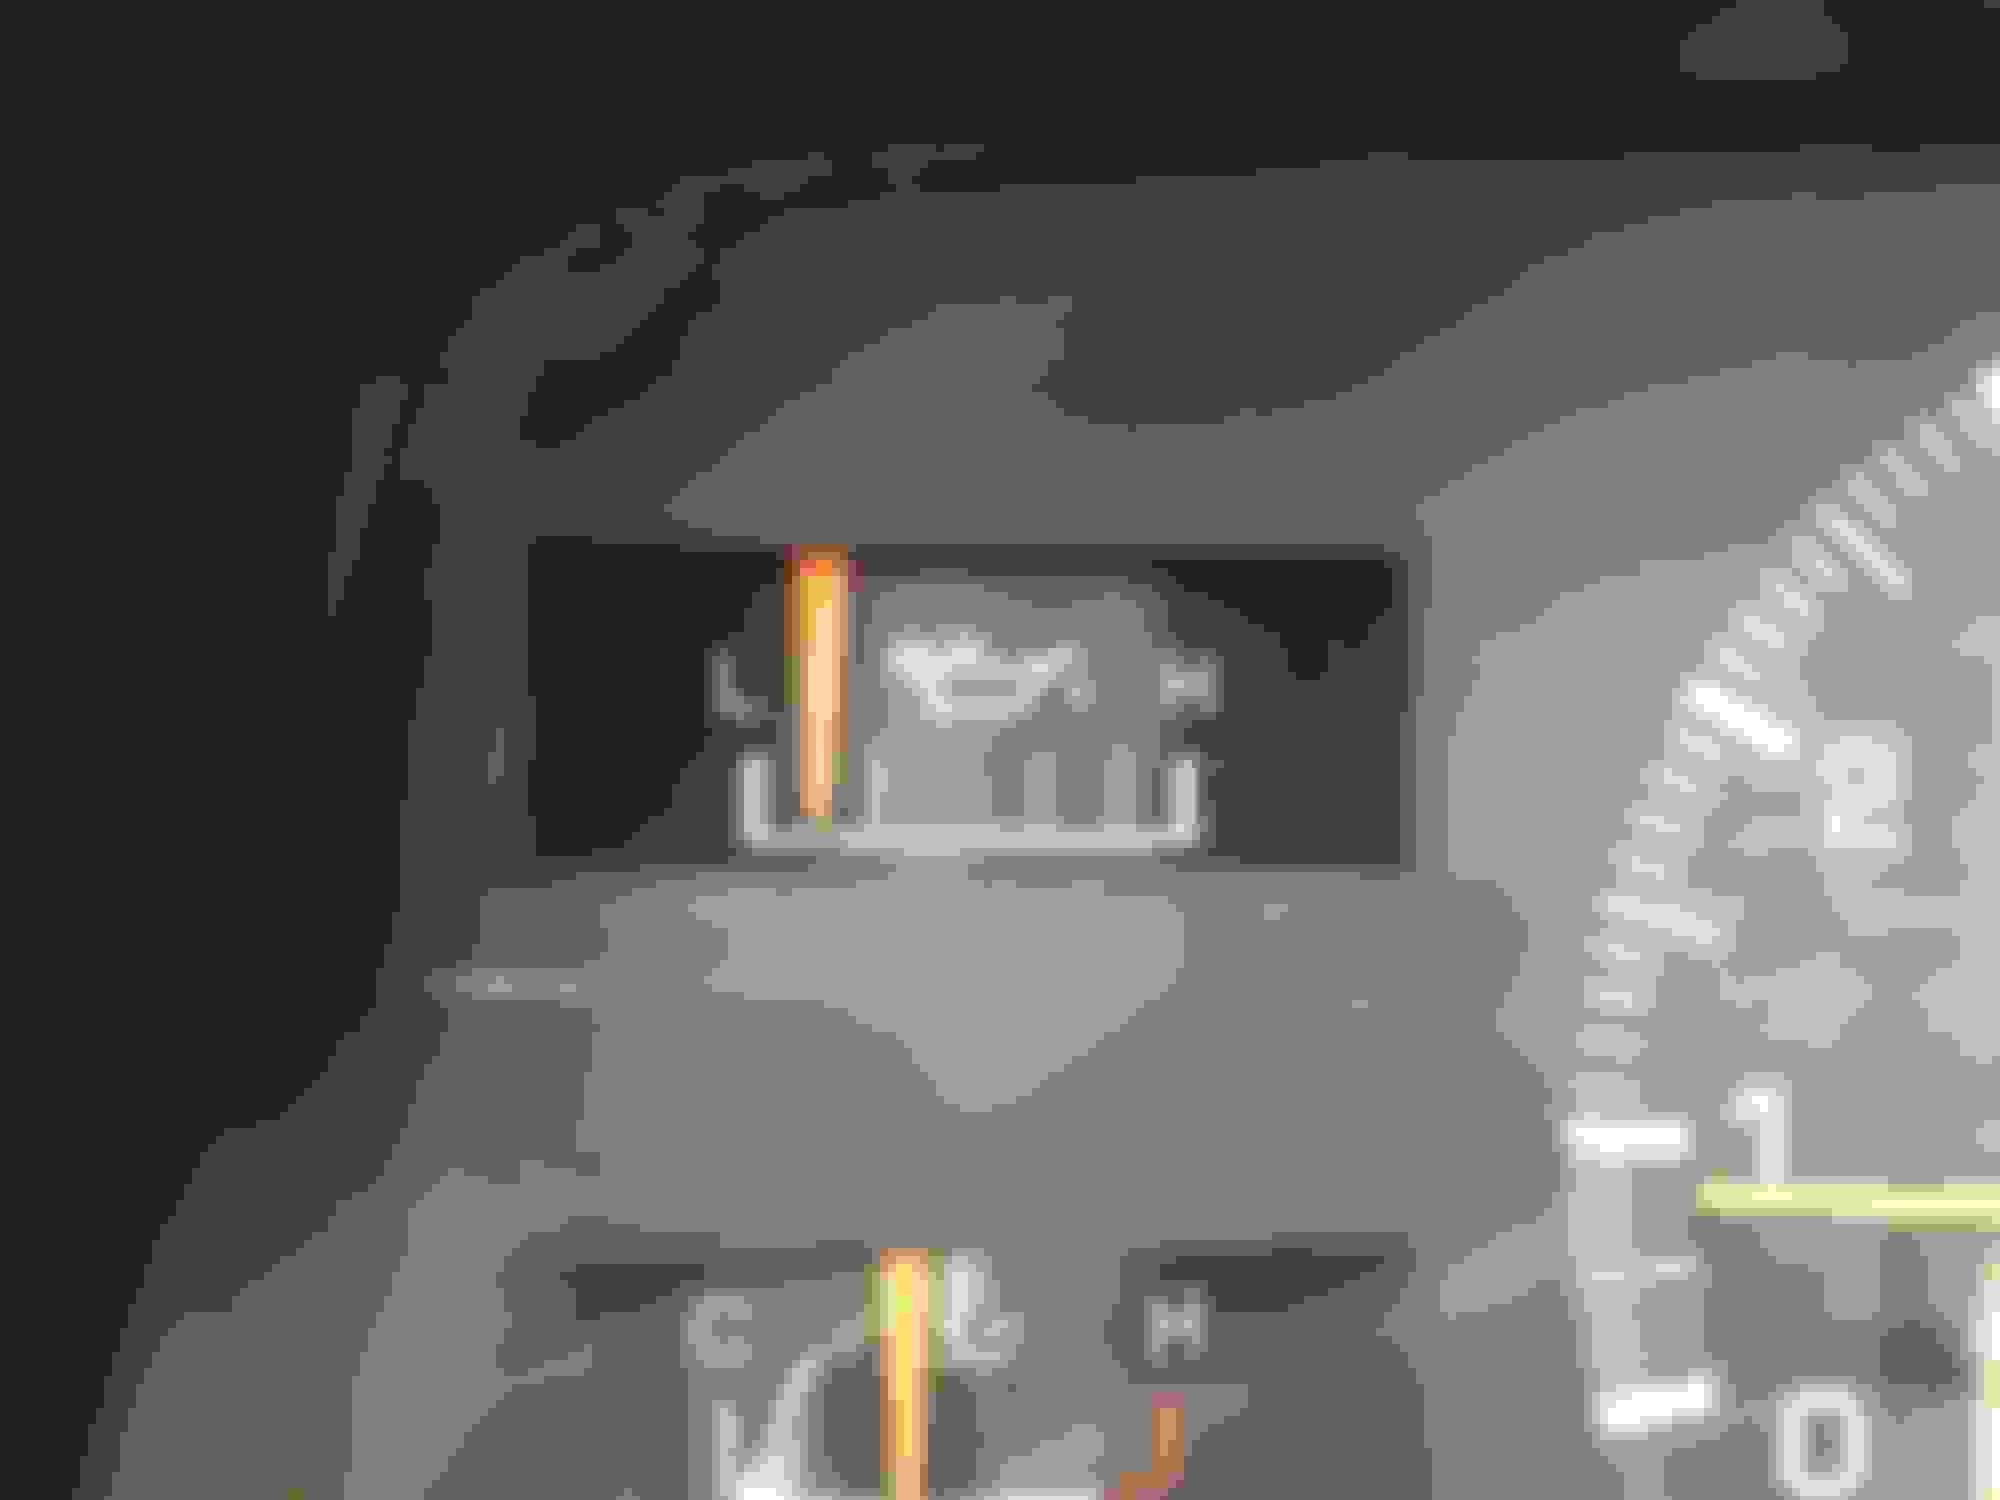
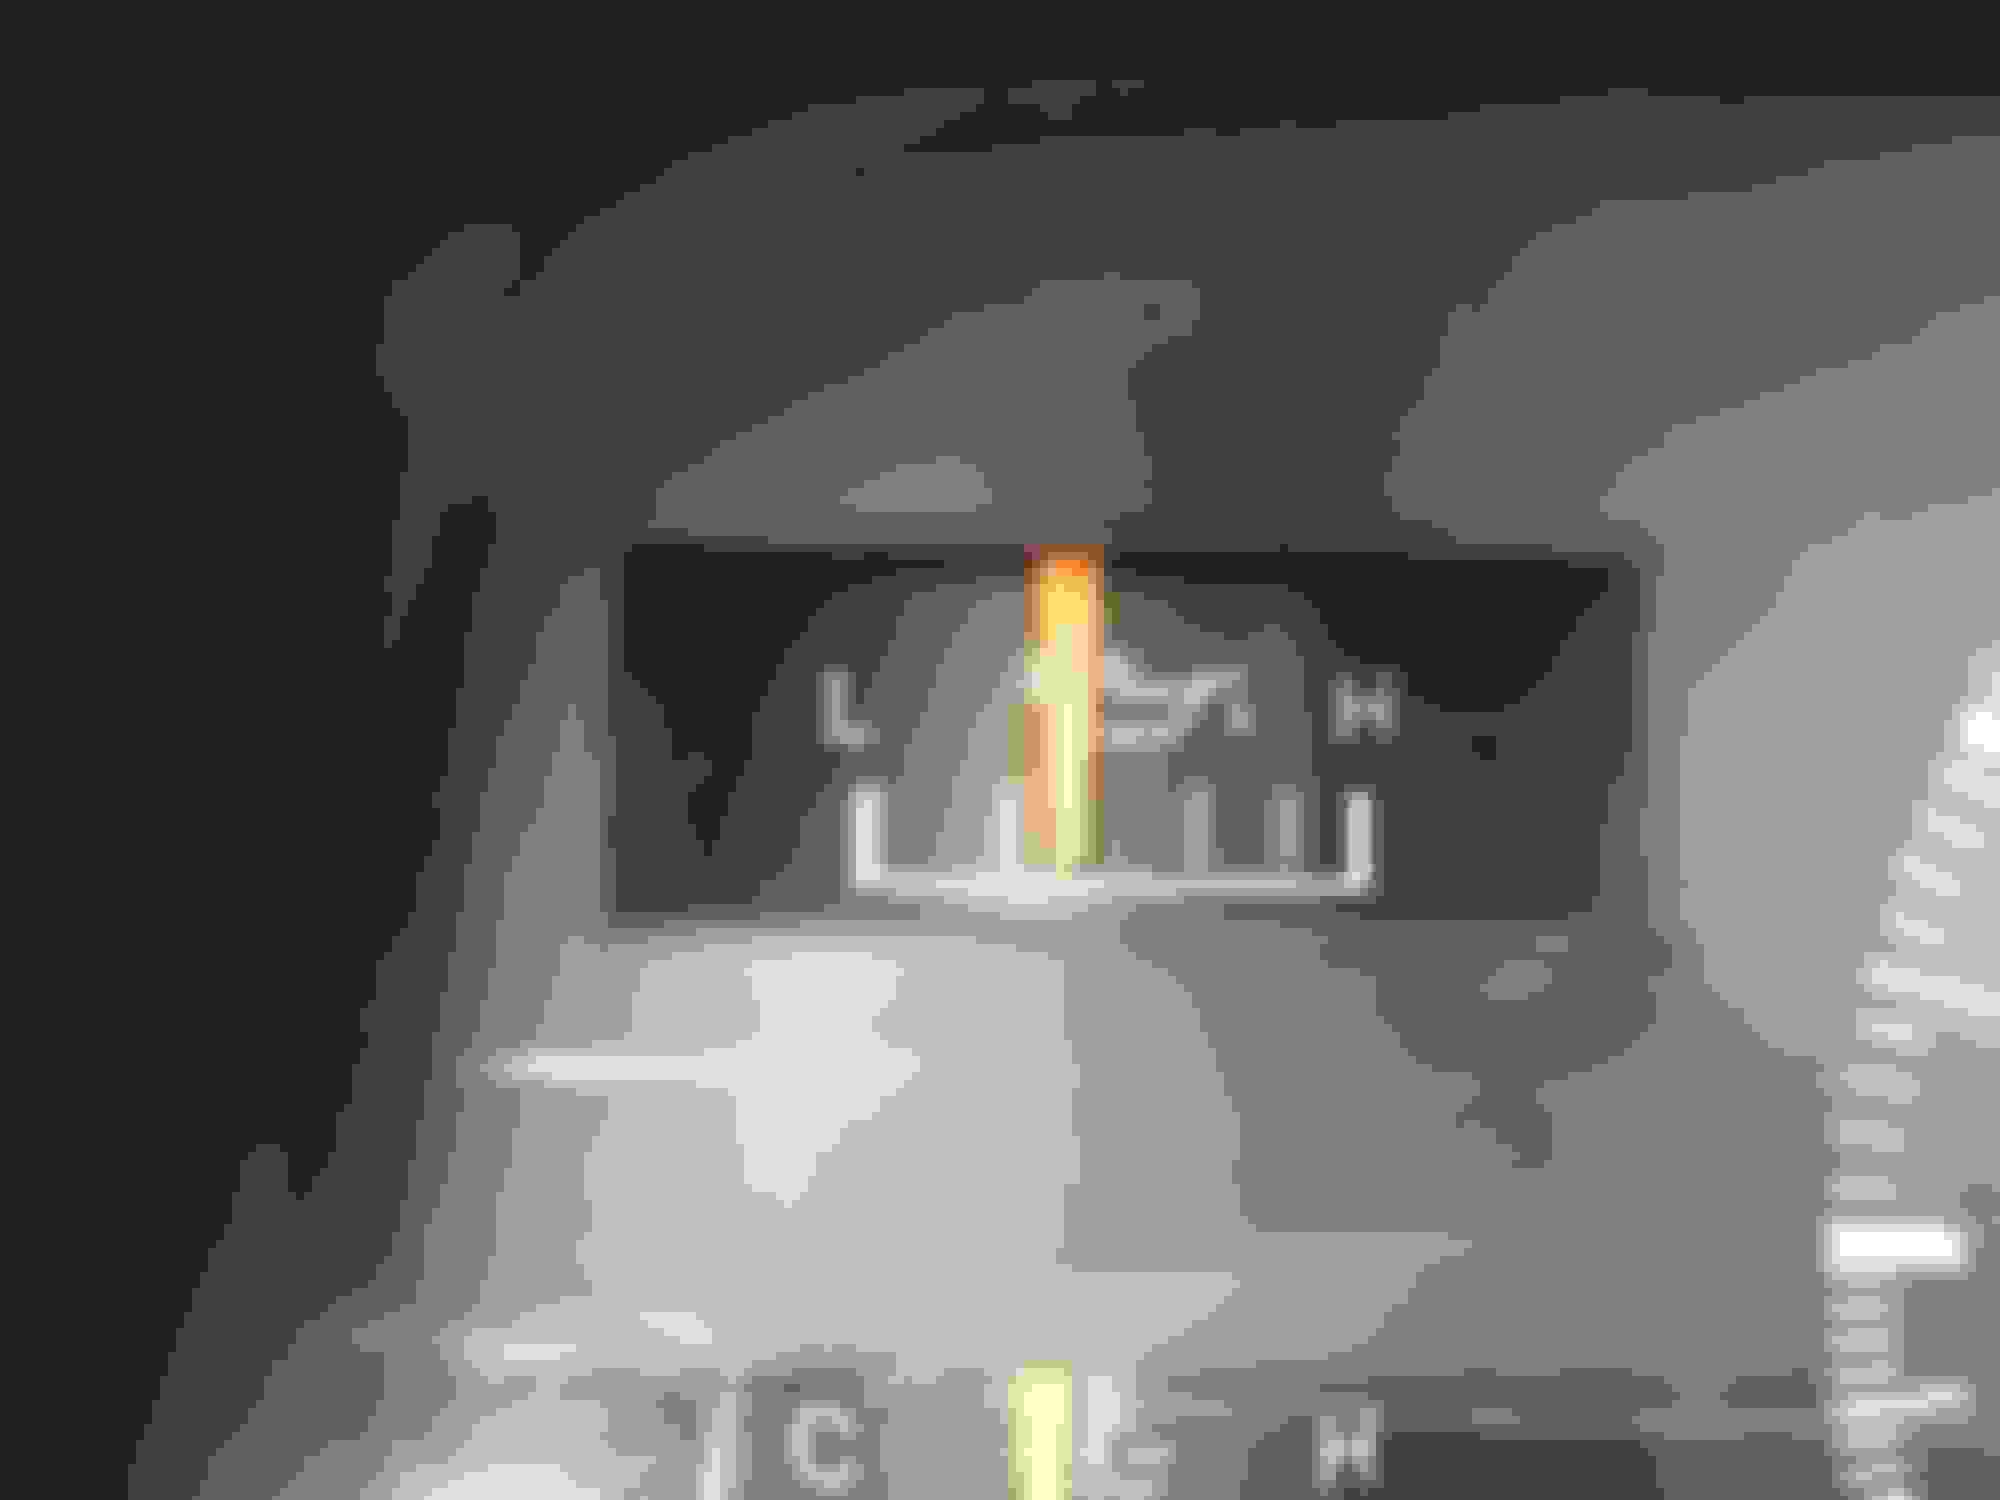
What oil pressure are you guys seeing at idle with your 3VZE? This is at idle, and the next picture is at 3000 RPM.
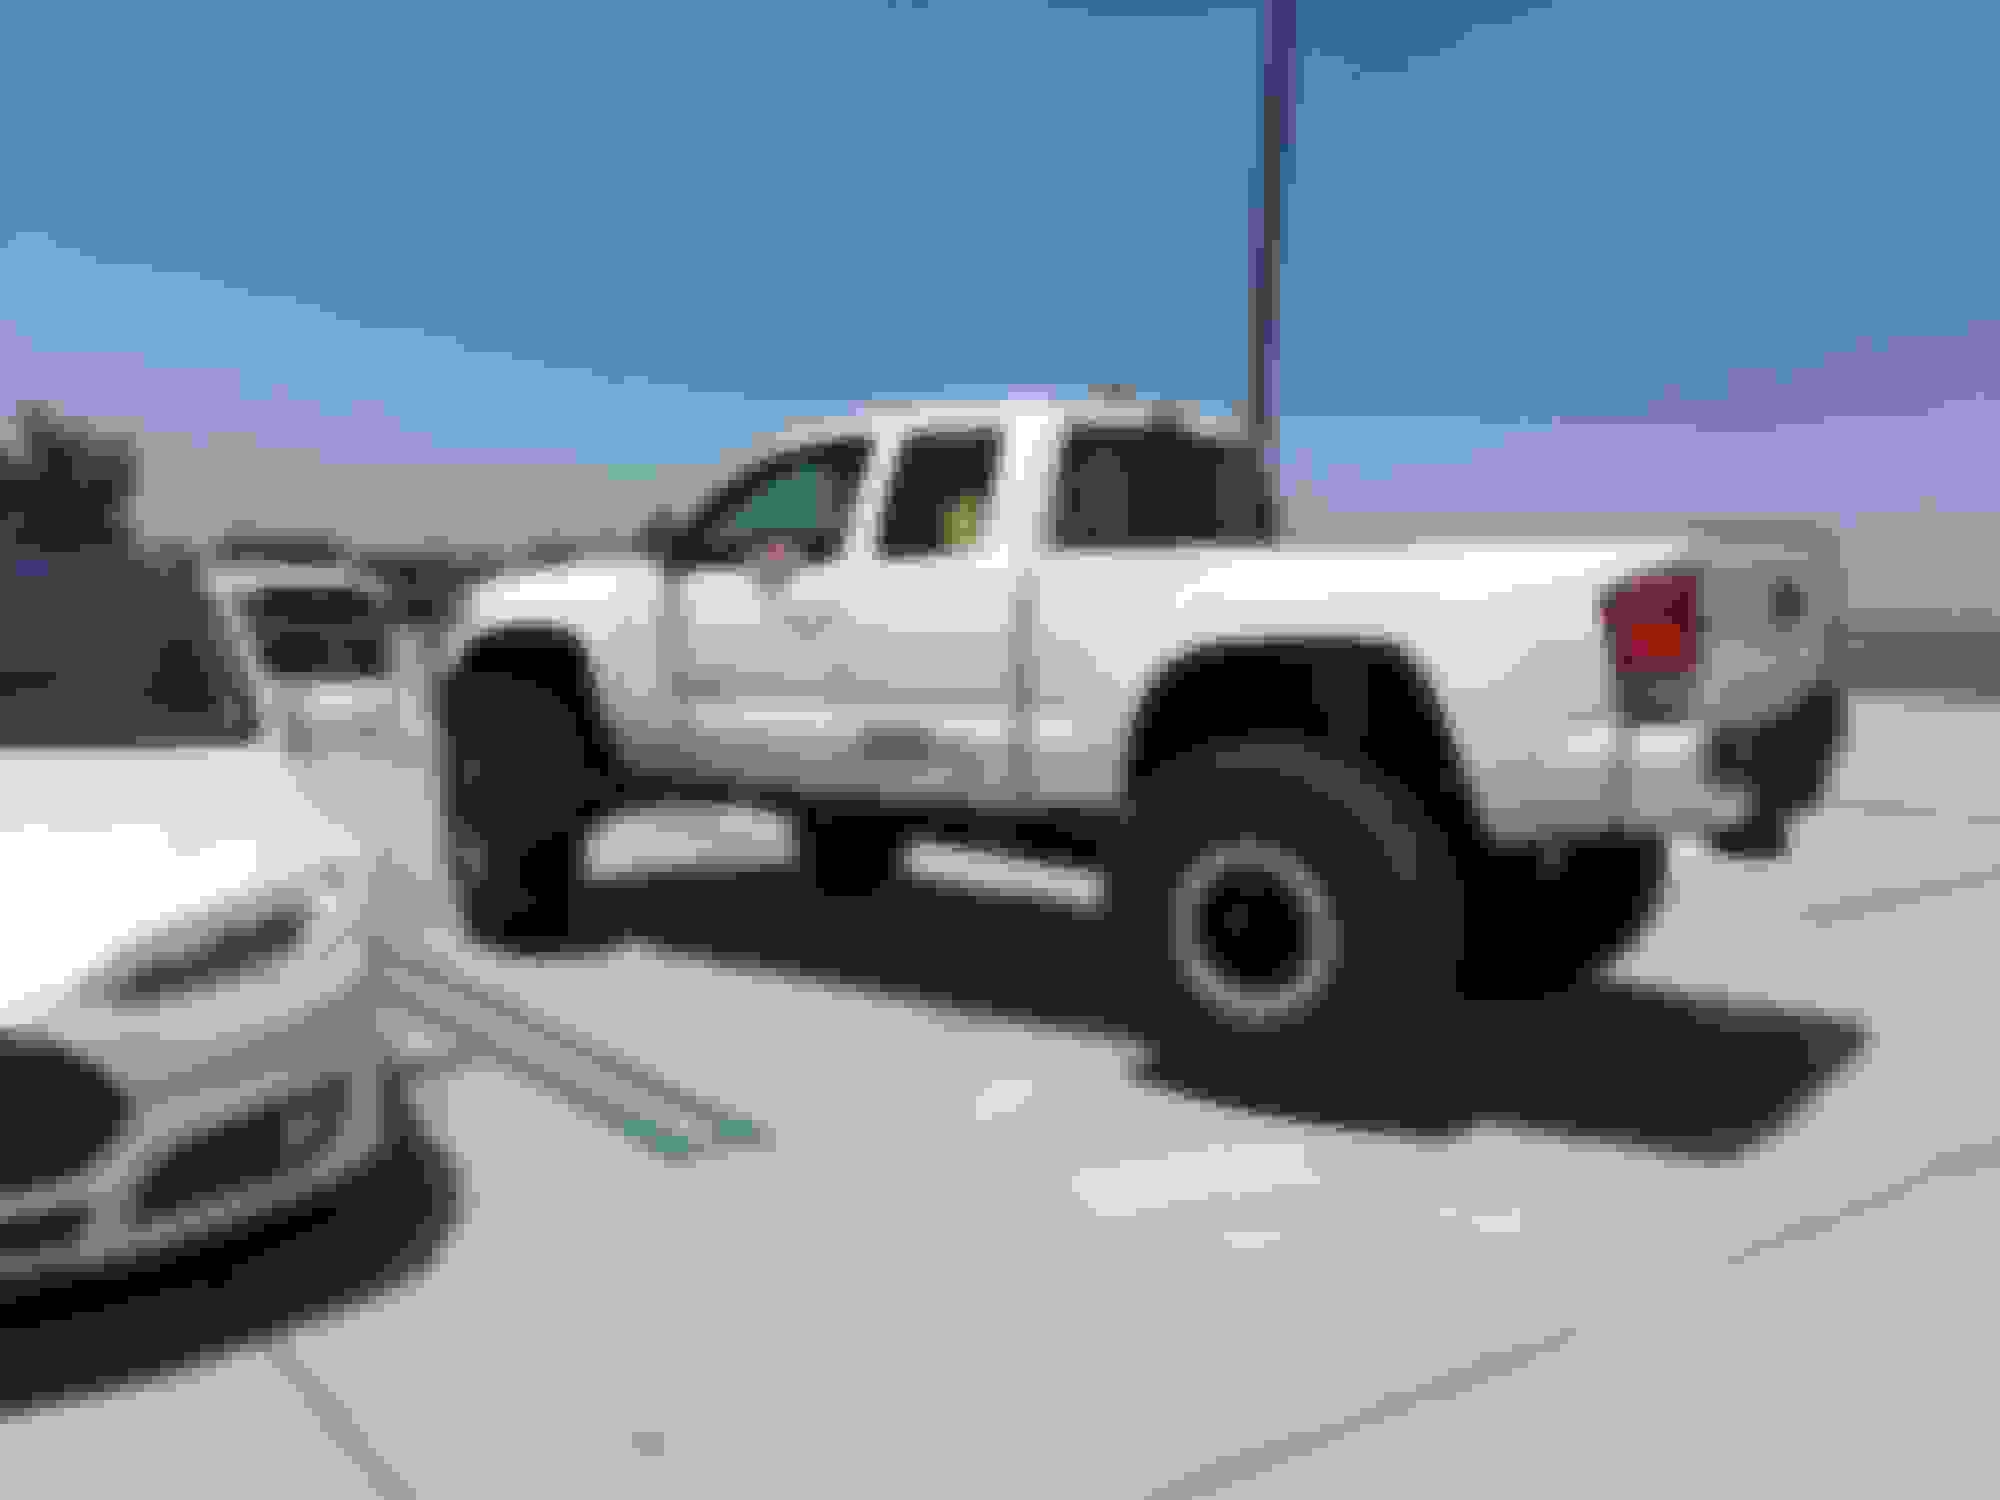
Ran into the "Slowest Tacoma in the World" while getting lunch last Friday. (Marlin Crawler Taco)
A pic of how it sits at the moment. Might try to go wheeling on the 15th.
And saving the biggest update for last....
Springs, shocks, and steering components are for sale in the Fresno, CA area if anyone needs these parts.
Last edited by yota_terror; 06-03-2019 at 12:06 AM.
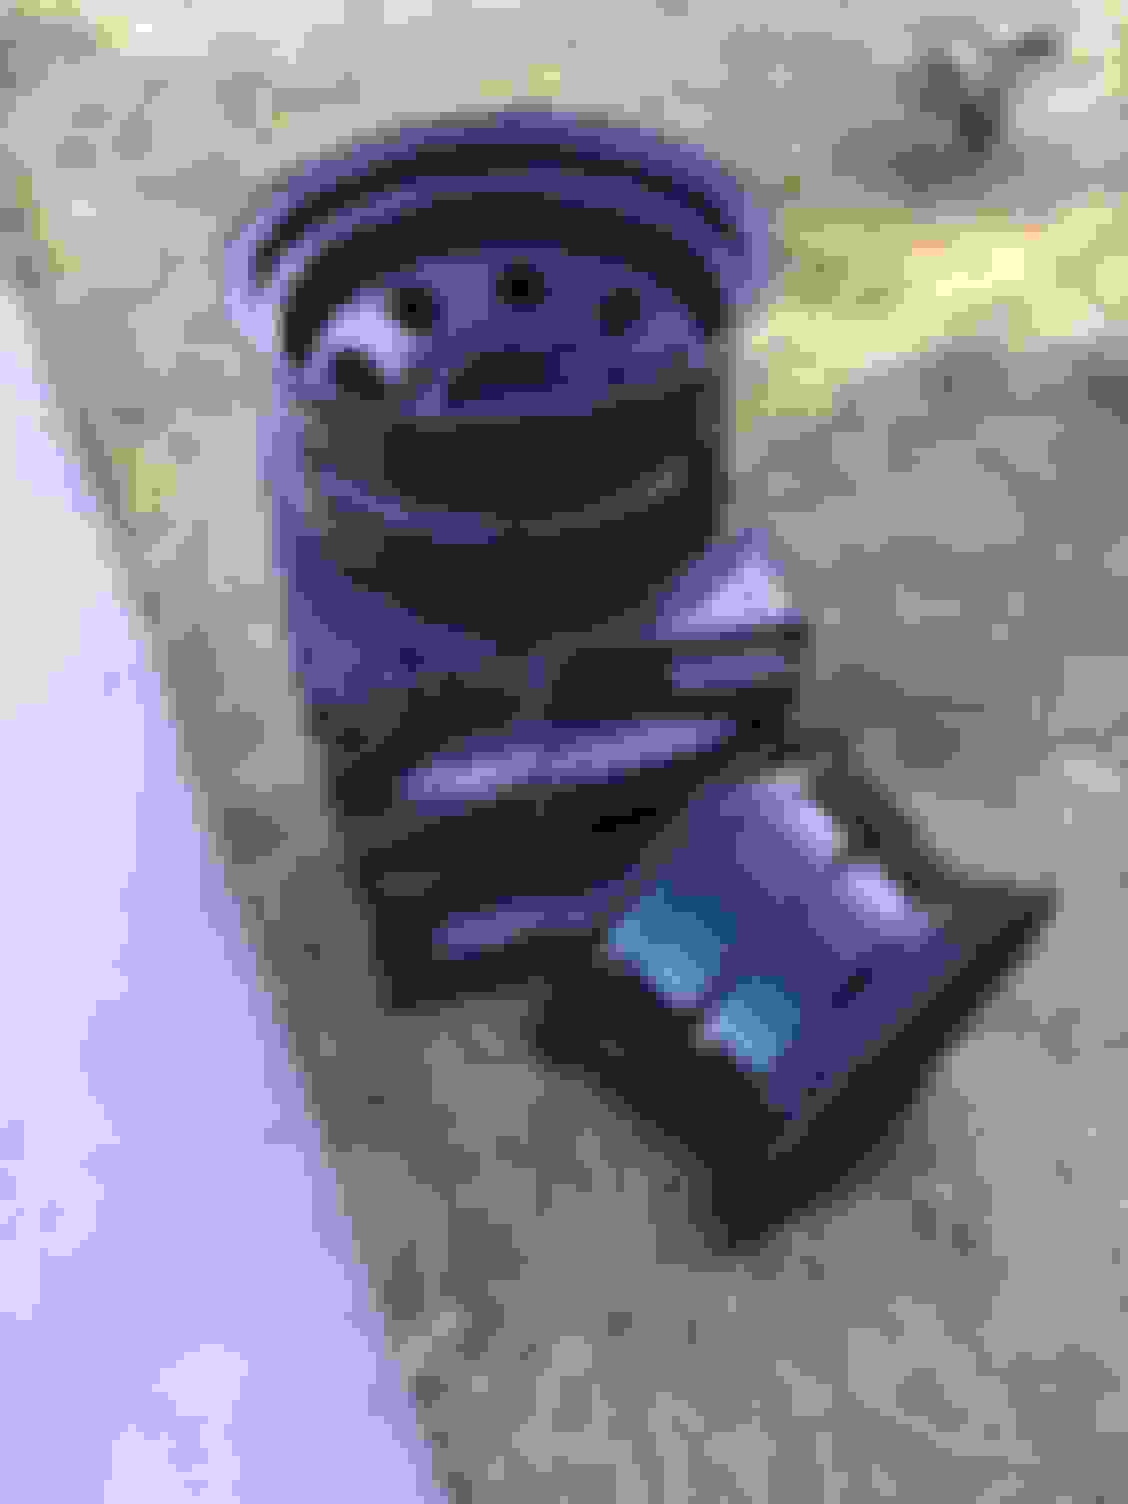
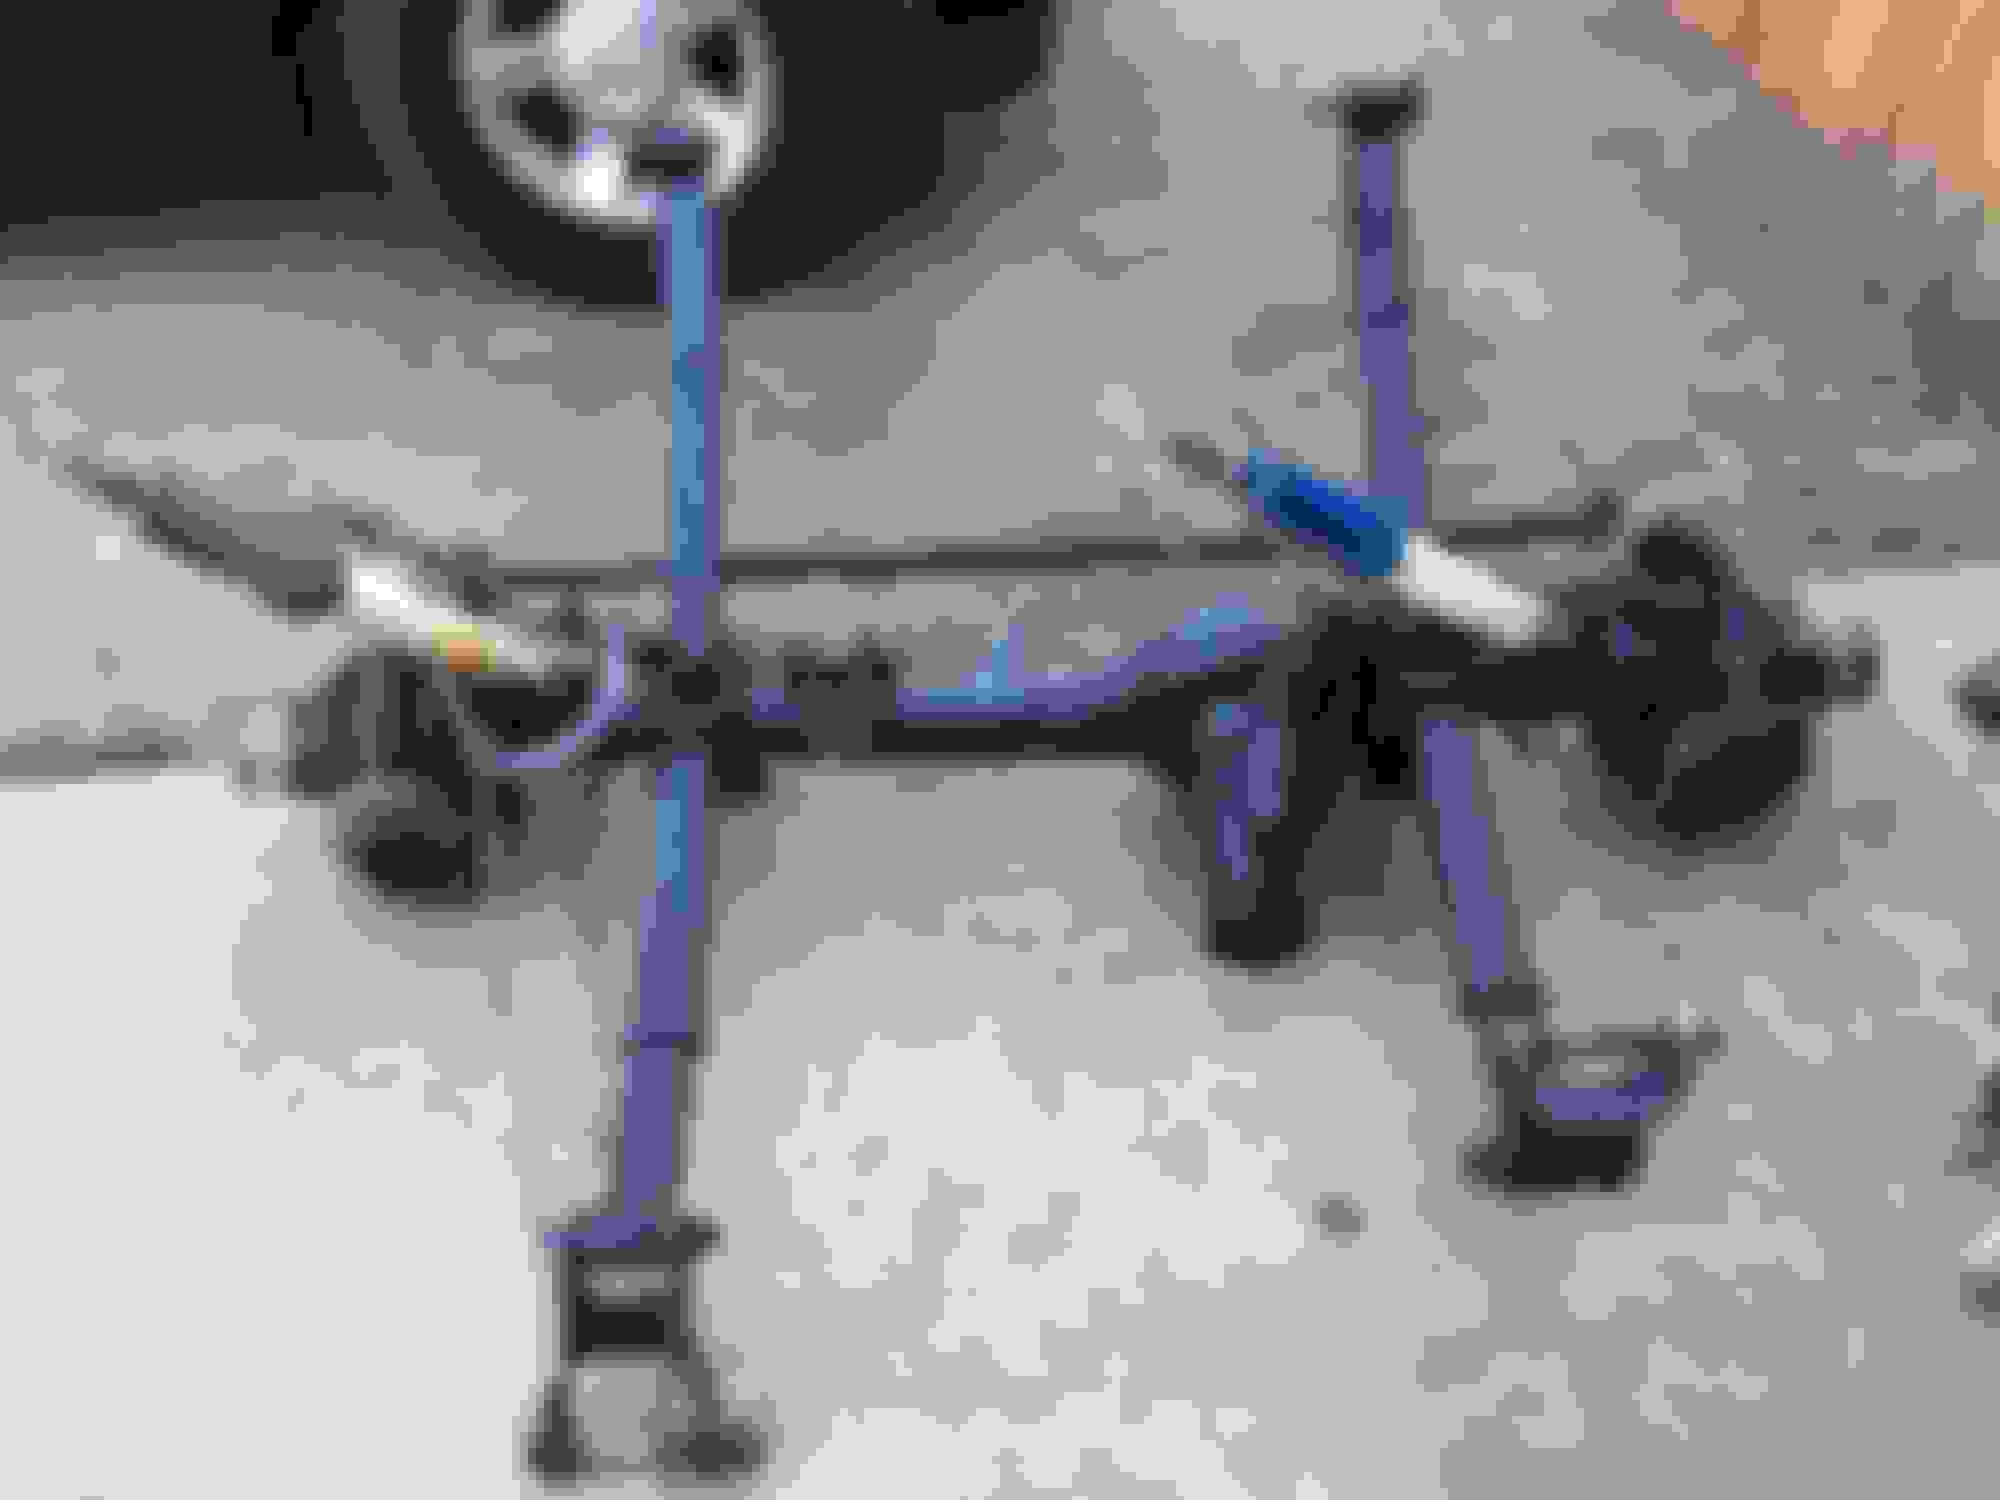
Installed my extended length rear shocks and promptly tested out the flex by driving up onto some tires...Nothing else to test with, so this worked! Much better than the old shocks (they were fully extended while the truck was sitting level)
Nice!
Installed some ball joint spacers today from 4Crawler. Great service and insanely fast shipping.
Ball joint spacers installed. 4Crawler makes a great product.
Trail gear extended rear line. I'm not sure why I needed to order a bracket kit for it...recommended on TG's website. I didn't need the bracket and there was nowhere for it to go. Clipped it into the factory mount no problem. Also installed a 4Crawler panhard drop bracket, but that isn't pictured.
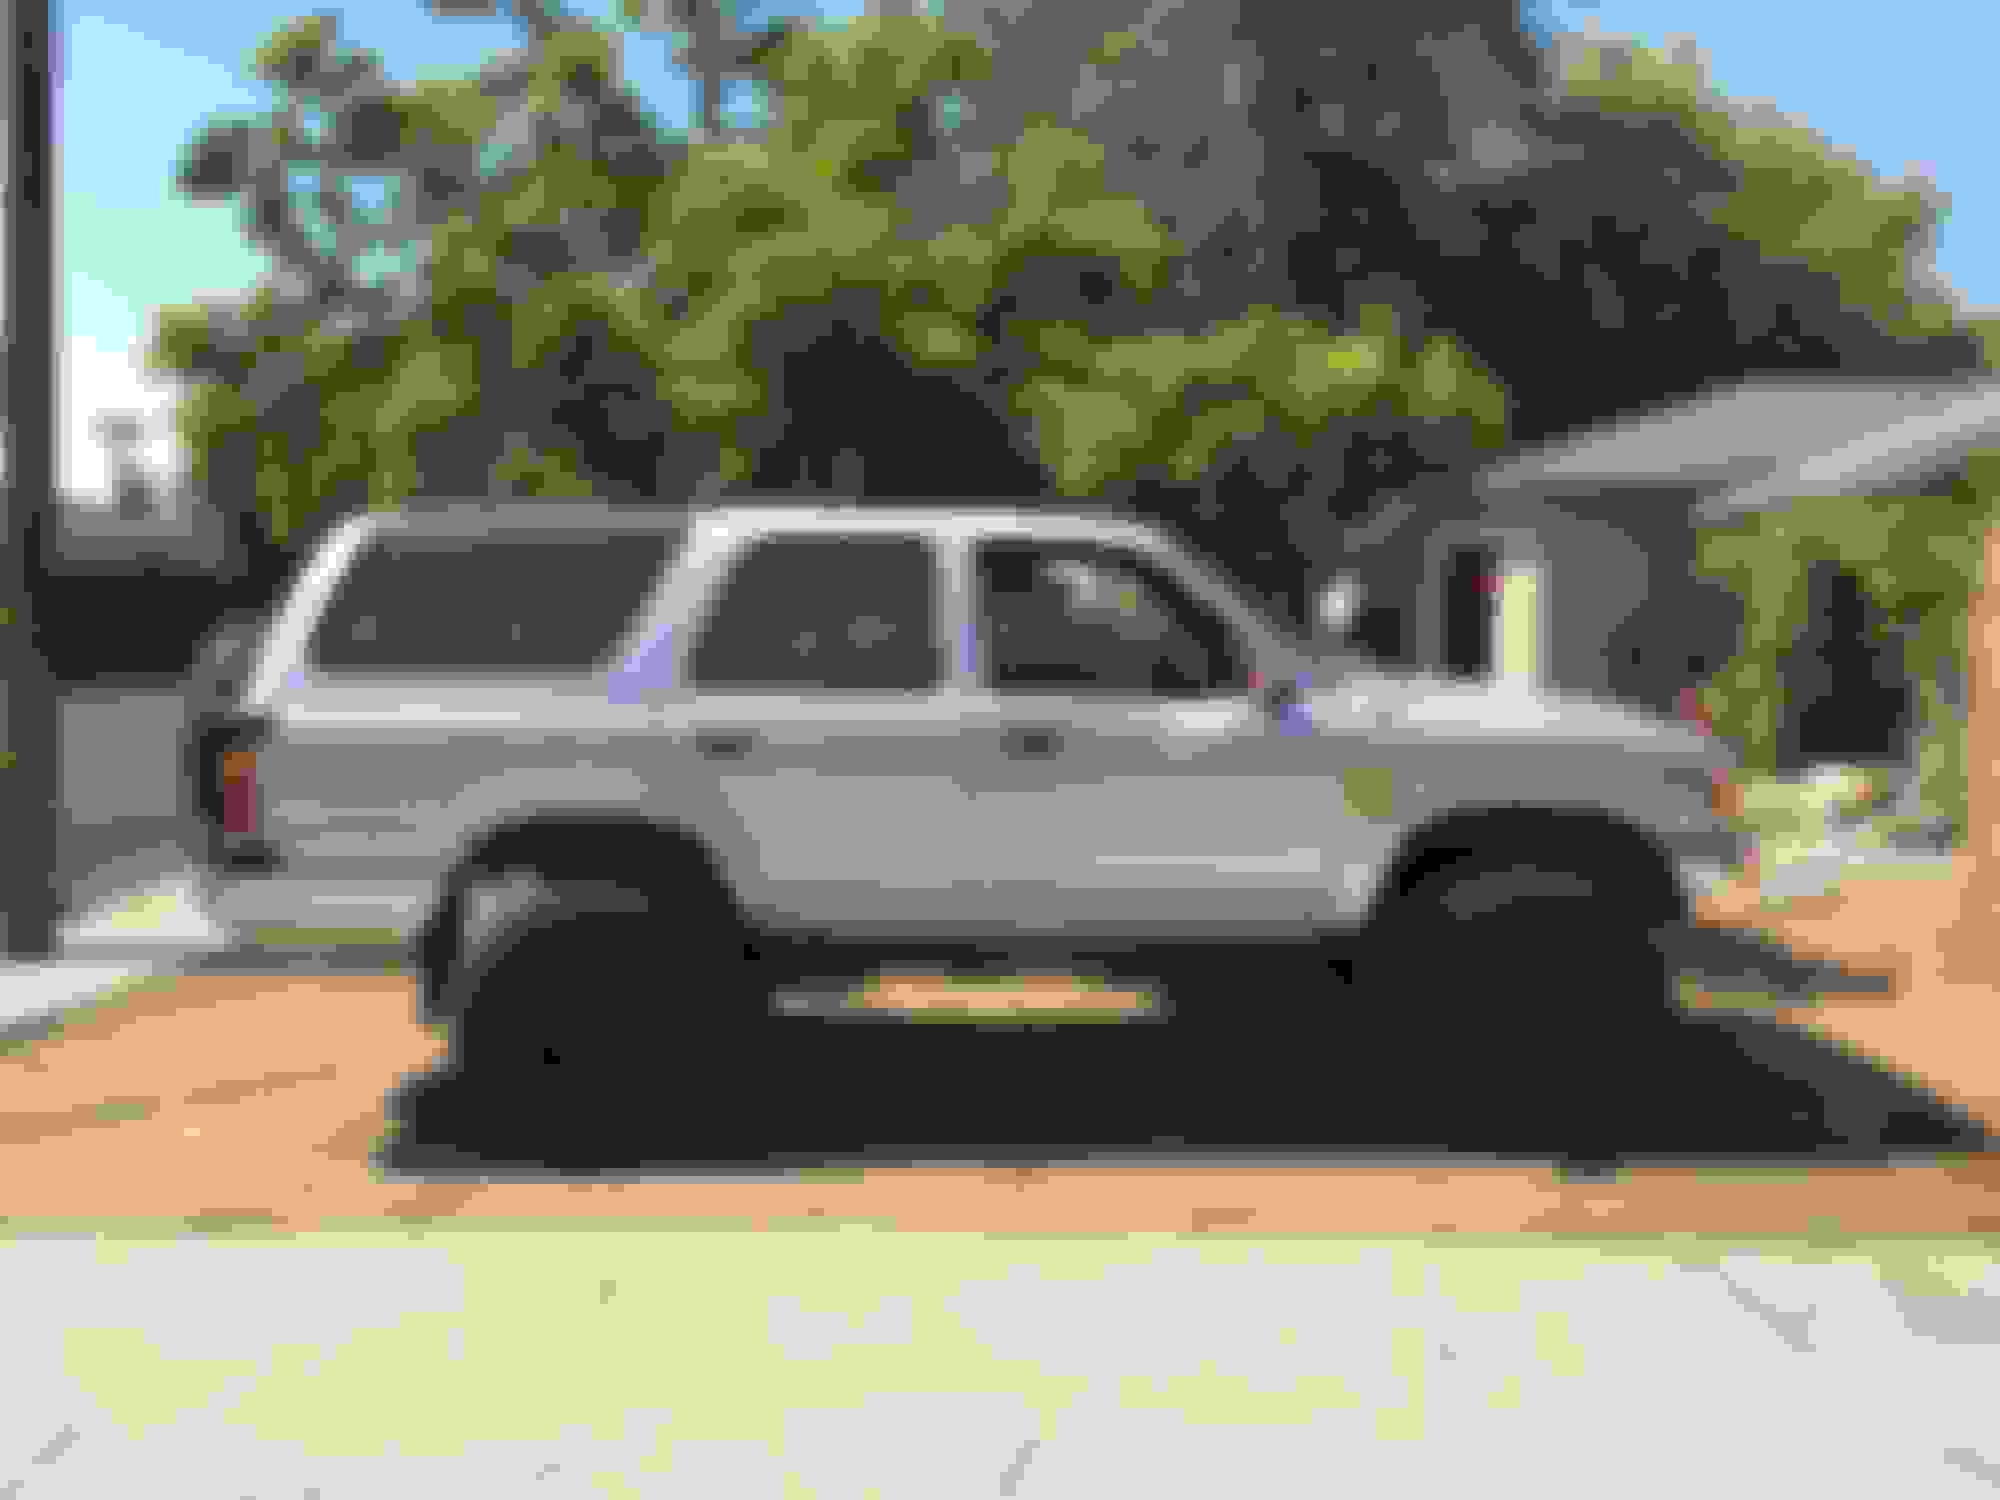
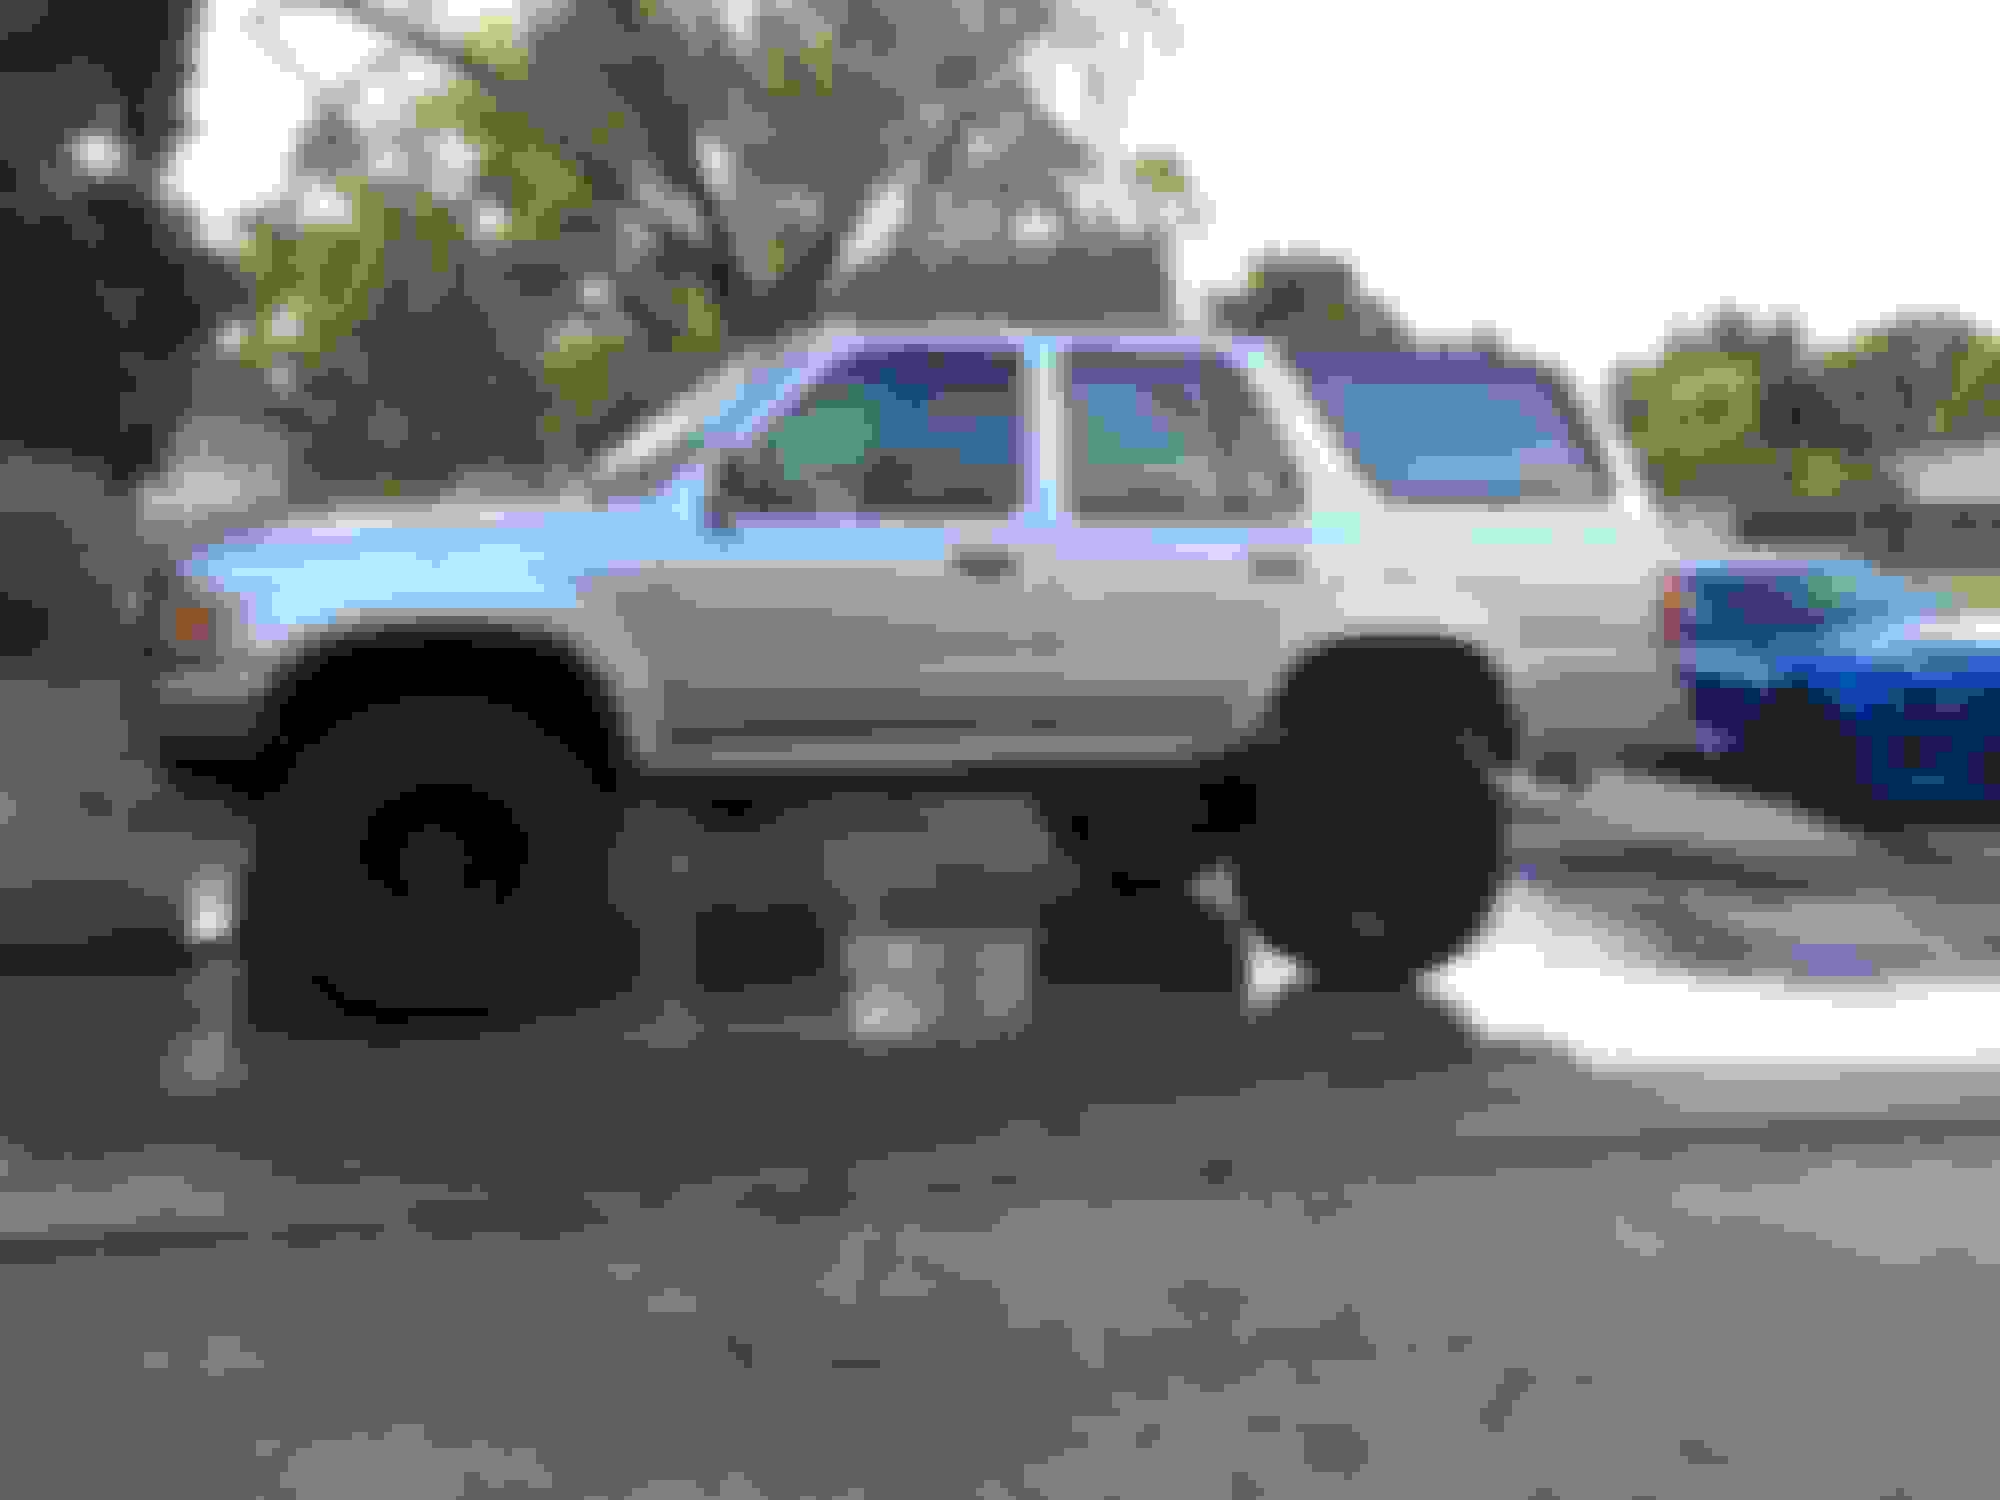
Here's the truck with front ball joint spacers, torsion bars relaxed, rear FJ80 coils, and 33x12.50 tires. No body lift. My Camaro's photobombing in the background.
It passed smog today with flying colors! Now I can drive this thing to the trail, we're going up on the 15th.
Also your idle oil pressure is fine. Just make sure you have the right amount of oil inside and that the pressure builds up above idle. That is exactly how mine has been since I got it 40k miles ago.
Well, I took the 4Runner on it's first wheeling trip! We went to Bald Mountain OHV near Fresno, CA.
Here are some shots of a campsite where my buddies were camping.
My 4Runner on the trail, it did great on its maiden voyage. Nothing broke, nothing leaked, and nothing went wrong. The only issue we ran into was stuffing the rear tire into the wheel well too much, which ended up grabbing a bumper tab and ripping part of the tire. We fixed that on the trail with a hammer...(a rock)
My rig next to my buddy Ryan's 1st gen 4Runner. His rack is made from his kids old bunk bed and honestly, it works great.
I met this guy on the trail. He has a badass 2nd gen 2-door 4Runner. SAS, 37's, dual cases, rear leaf conversion, on-board air, etc
This guy had a pretty awesome rig too! Ran on propane.
Some more..
The view from the top of Bald Mountain!
When I got home, I immediately removed my hitch and rear bumper. That hitch was hitting everything on the trail. Not anymore.
Dove into my straight axle. The people I bought it from said something was wrong with the locker that was installed. They didn't mention the entire carrier was screwed. Check out these bolt holes on the carrier. This is useless now, I will have to replace it with a locker.
The pin started to back out. Housing looks a little torn up by the pin area as well.
Stopped by Marlin Crawler and picked up a truss and full face armor. The axle goes under the knife on Saturday!
Last edited by yota_terror; 06-20-2019 at 09:53 PM.
 05-19-2019, 07:19 PM