Valve adjust help
#1
Valve adjust help
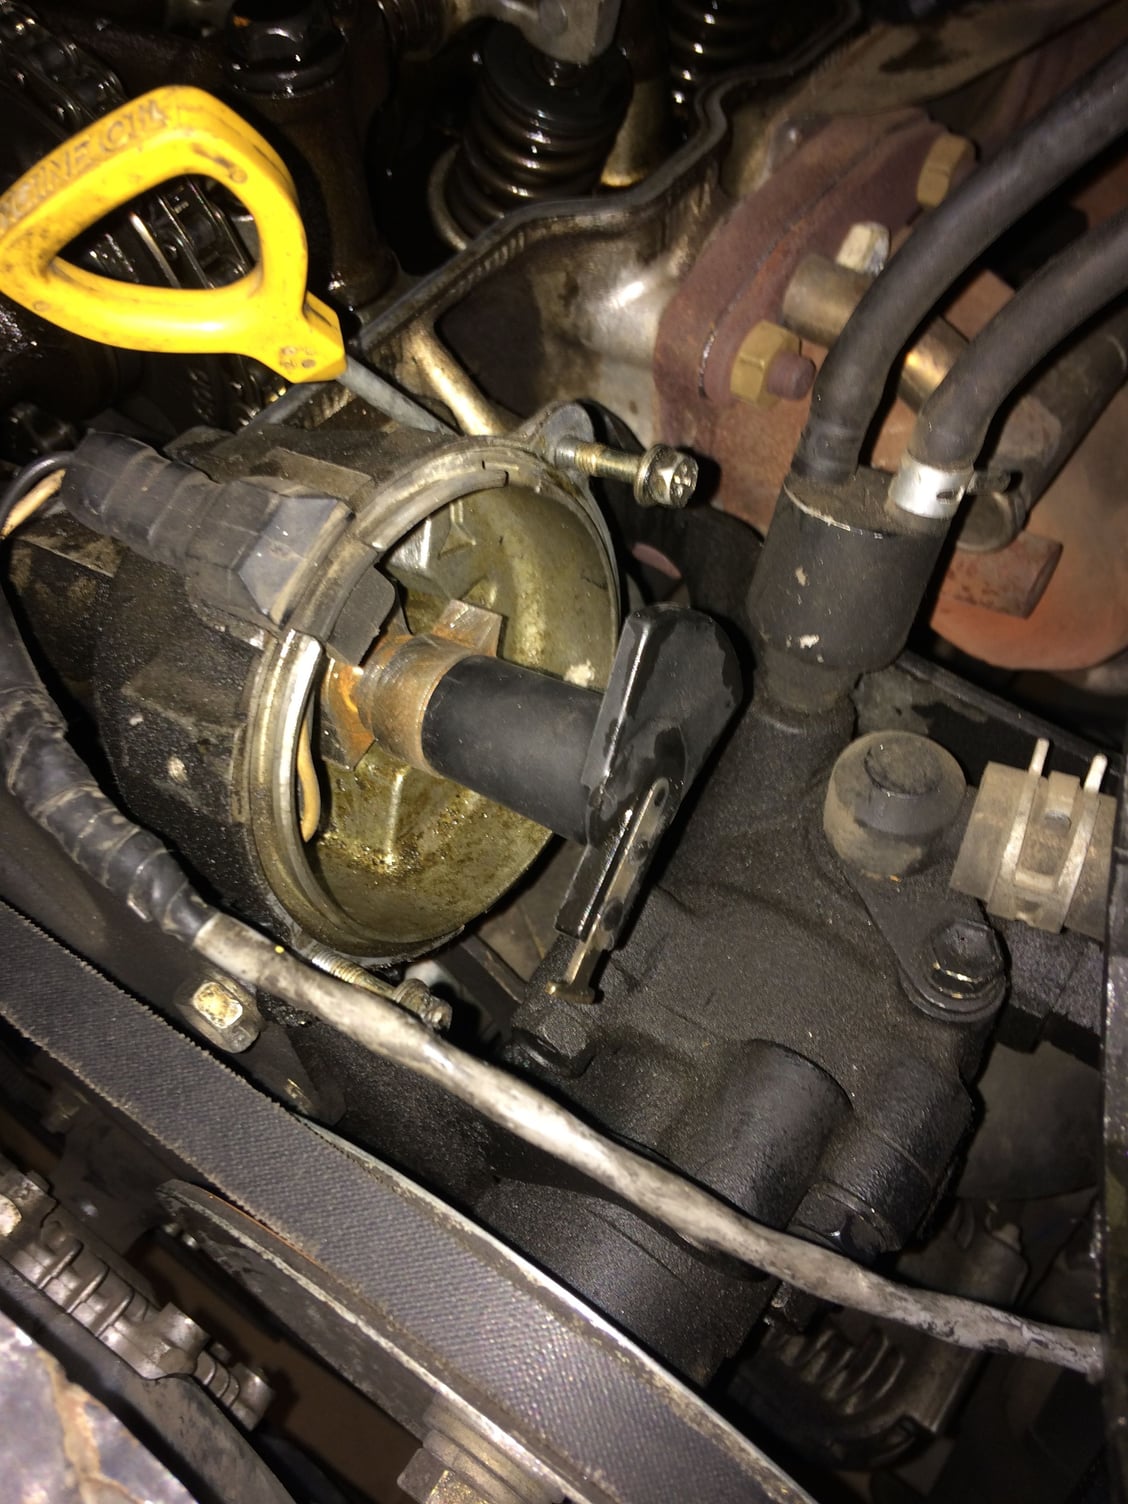
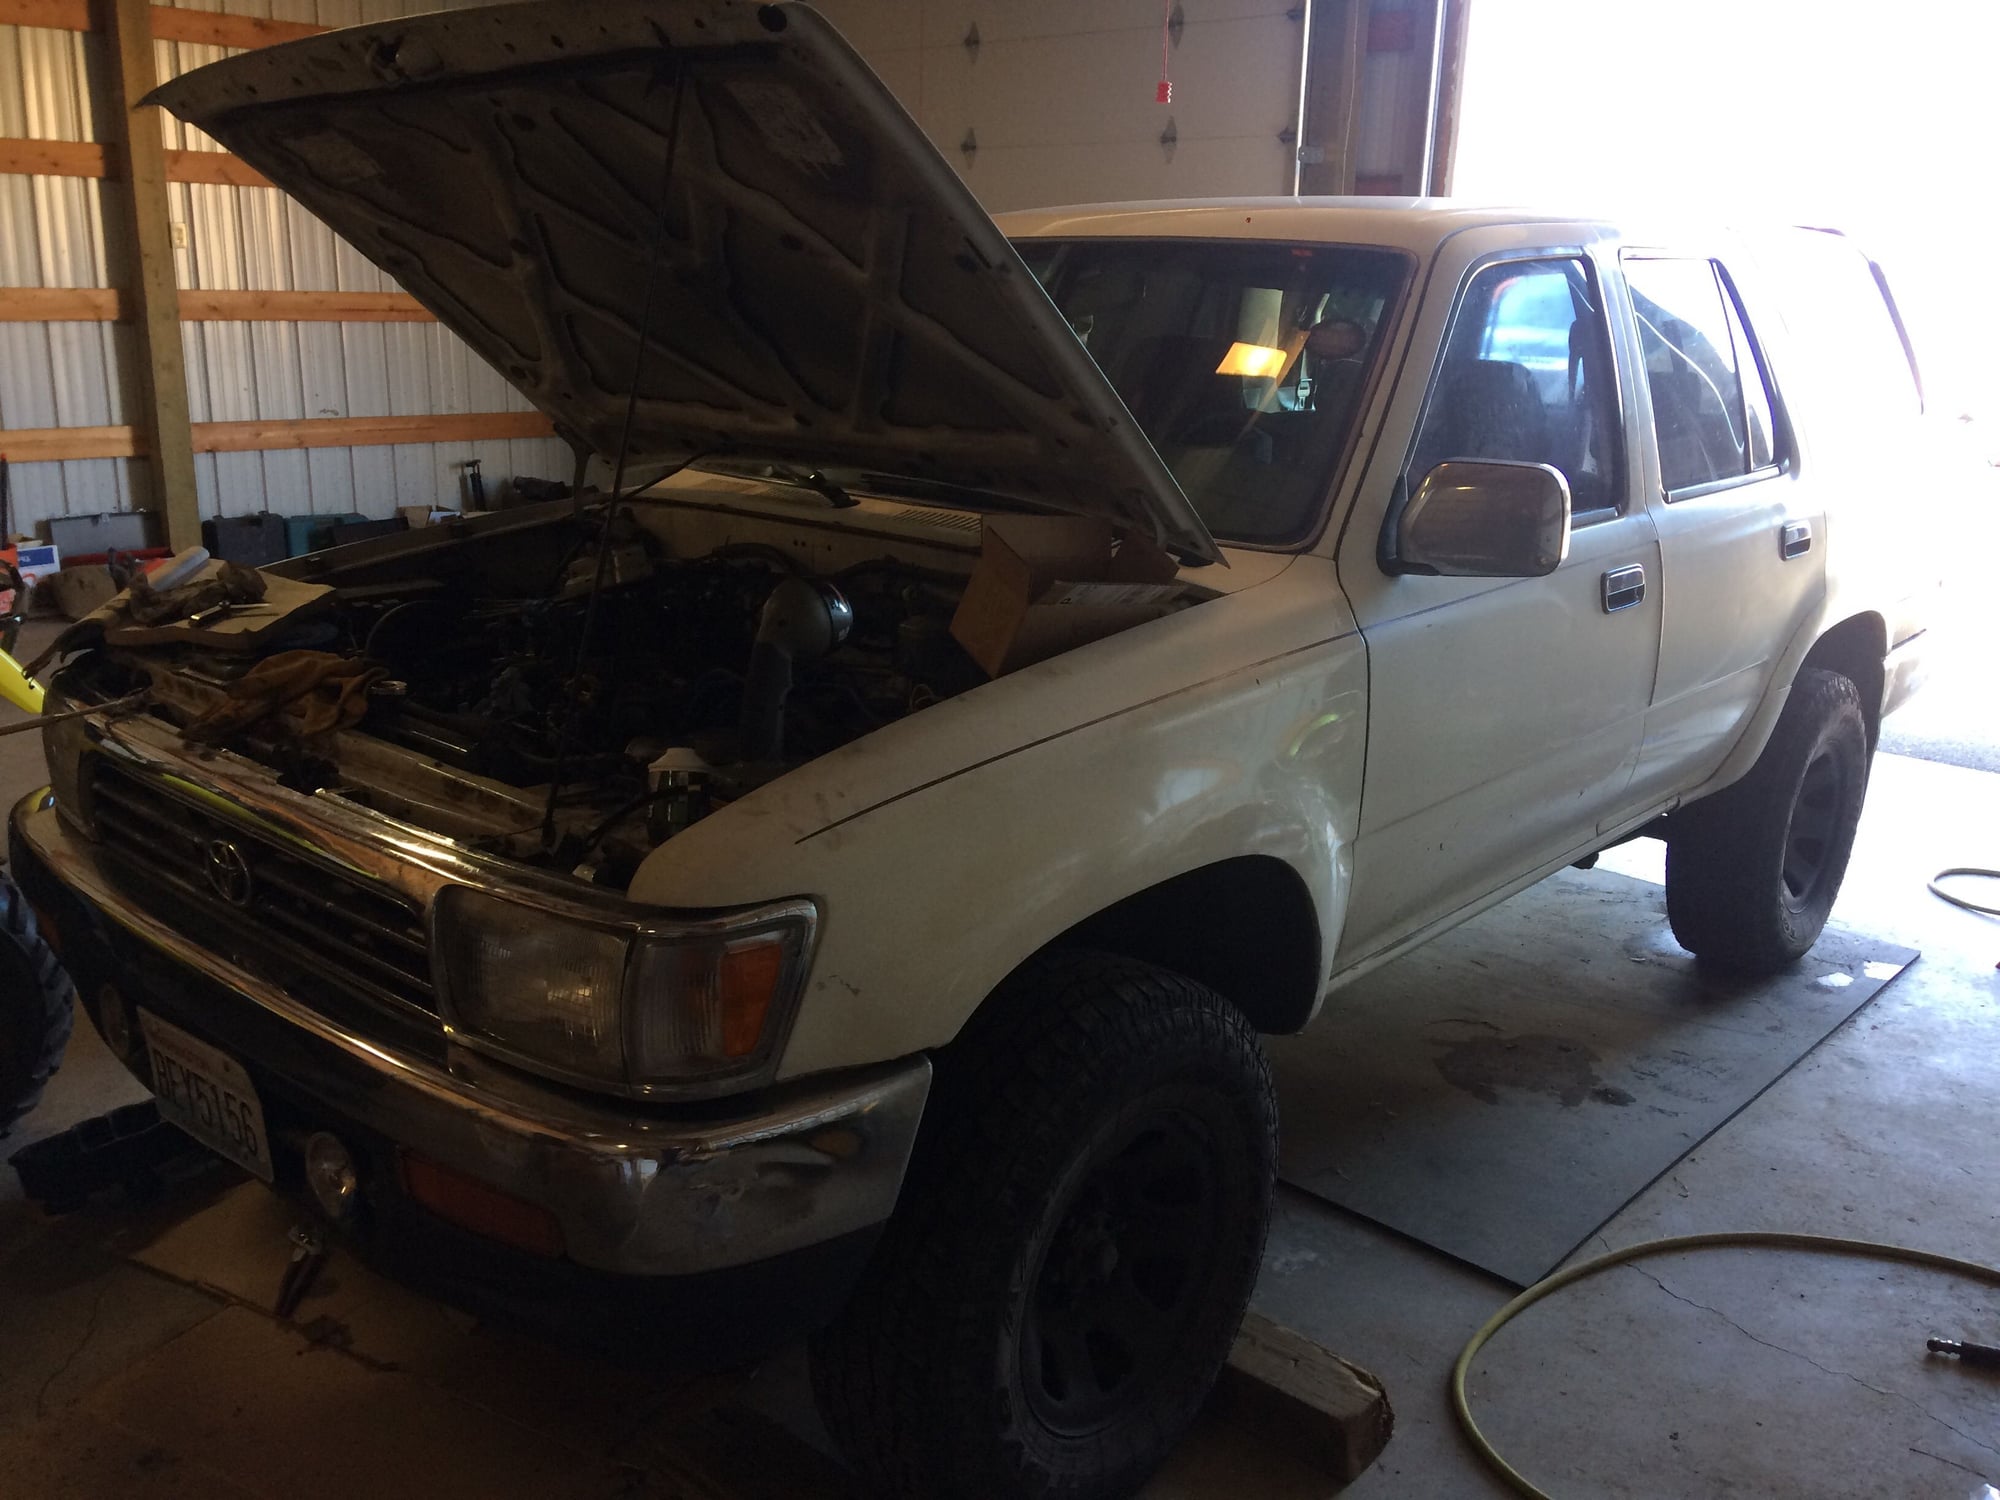
Bought a 95 4Runner with the 22re had a little valve rattle at higher rpms and a surging idle, I got the valve cover off and got the notch on the pulley aligned to zero I adjusted my first set of valves did the full rotation on the pulley back to zero and the second set of valves were still tight, I took off the distributor cap and noticed that when my notch was on zero the distributor was actually on #2 instead of one, not really sure were to go from here any pro tips would be much appreciated
#3
Edit, can't see any pics?
Crank case 0į first set of valves
Crank case 360į second set.
Are you looking at the right manual or webpage? What is the "first set"?
At the adjusting valve part of your problems, the distributor position is irrelevant. One thing at a time.
Crank case 0į first set of valves
Crank case 360į second set.
Are you looking at the right manual or webpage? What is the "first set"?
At the adjusting valve part of your problems, the distributor position is irrelevant. One thing at a time.
Last edited by ev13wt; 11-16-2018 at 05:39 PM.
#4
Iím going off a Chilton itís all I got


First set to adjust is #1 exhaust and intake,#2 intake , and #3 exhaust. Second set to adjust is #2 exhaust, #3 intake, and #4 intake and exhaust
Last edited by Dzander; 11-16-2018 at 06:30 PM.
#5
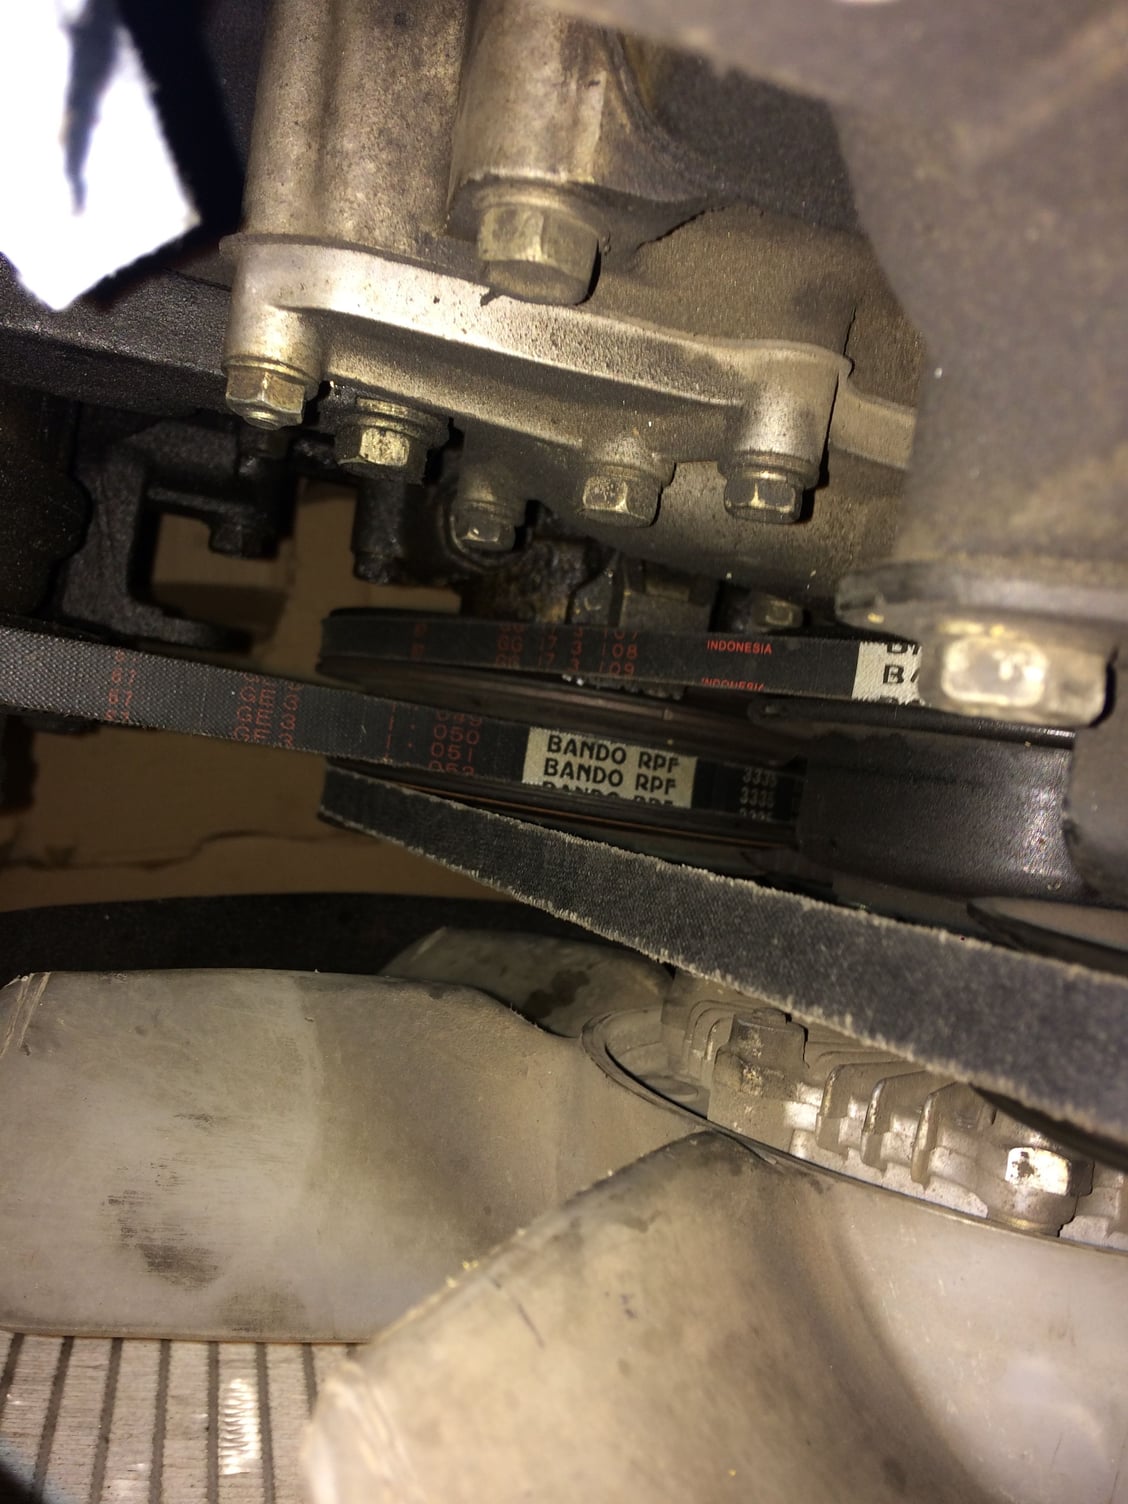
Pulley notch
From what I have gathered I thought the pulley notch should be at 0, the distributor should be on #1, and the #1 piston should be pushed up for everything to be aligned to adjust the first set of valves hereís two videos Iíve watched as well
Last edited by Dzander; 11-16-2018 at 07:20 PM.
#6
#1 piston has to be TDC on compression stroke.
To verify compression stroke. Pull #1 spark plug, and plug it with your finger. As #1 piston comes up on compression stroke, the compression will be pushing your finger out of the hole. You can also stick a long screwdriver down the spark plug hole, and let it sit on top of the piston as it comes up to verify TDC.
To verify compression stroke. Pull #1 spark plug, and plug it with your finger. As #1 piston comes up on compression stroke, the compression will be pushing your finger out of the hole. You can also stick a long screwdriver down the spark plug hole, and let it sit on top of the piston as it comes up to verify TDC.
Last edited by snippits; 11-16-2018 at 07:49 PM.
#7
I think the damper / pulley assembly is keyed on the crankshaft?
Can it be wrong?
On your pic, the distributor IS pointing wrong.
Can it be wrong?
On your pic, the distributor IS pointing wrong.
Last edited by ev13wt; 11-17-2018 at 03:57 AM.
Trending Topics
#8
Registered User
You need to watch the valve operation to fully understand the difference between TDC on the compression stroke and TDC on the exhaust stroke.
As you turn the engine #1intake will open, then close and then match the marks in the pulley. Thatís TDC #1 compression stroke. Your rotor will be pointed to #1 on the cap(slightly past actually, because you have some 6* or so of ignition advance dialed in).
Now You can follow the firing order 1, 3, 4, 2. Every 180* from #1 TDC you can adjust the next cylinders valves. You are done in two full revolutions. Pulling spark plugs makes it easier to turn the engine by hand but can be confusing to try to put fingers over spark plug holes while turning the engine. The valve cover is off anyhow, simply watch the valve operation until it sinks in. People get confused by this until they watch the valve operation...intake opens, intake closes, TDC.
Last edited by Melrose 4r; 11-17-2018 at 04:44 AM.
#9
Really don't have to pull the #1 spark plug, but the OP is having problems with the rotor not pointing at #1. Verifying compression stroke on #1, and using a screwdriver or whatever to watch when the #1 piston comes up to TDC is the only way I know how to get it right even if the marks do not show zero at the crank pulley, or the rotor does not point at #1. The point is to get #1 piston TDC on compression stroke, and work from that point.
Last edited by snippits; 11-17-2018 at 08:07 AM.
#10
Valves
Would it mean the timing is off if I am never getting it all aligned? When the notch is on zero the distributor is never on one it is always on two also I have the number one apark plug off and when the notch is at zero I canít see the piston but when I rotate it about forty five degrees off the zero mark I get a visual on the #1 piston, does this mean my timing is way out of whack?
#11
Then you pull out the distributor, and re-enter it correctly. When you pull it straight out, watch how the rotor turns.
Verify TDC first though.
If you have tdc compression stroke, and some valves are tight when they should be loose, maybe you put the chain on wrong one tooth.
Iirc, the shiny link of the chain and the dot of cam sprocket should be at 12 o'clock.
Edit
Verify TDC first though.
If you have tdc compression stroke, and some valves are tight when they should be loose, maybe you put the chain on wrong one tooth.
Iirc, the shiny link of the chain and the dot of cam sprocket should be at 12 o'clock.
Edit
Last edited by ev13wt; 11-17-2018 at 12:54 PM.
#13
Thanks


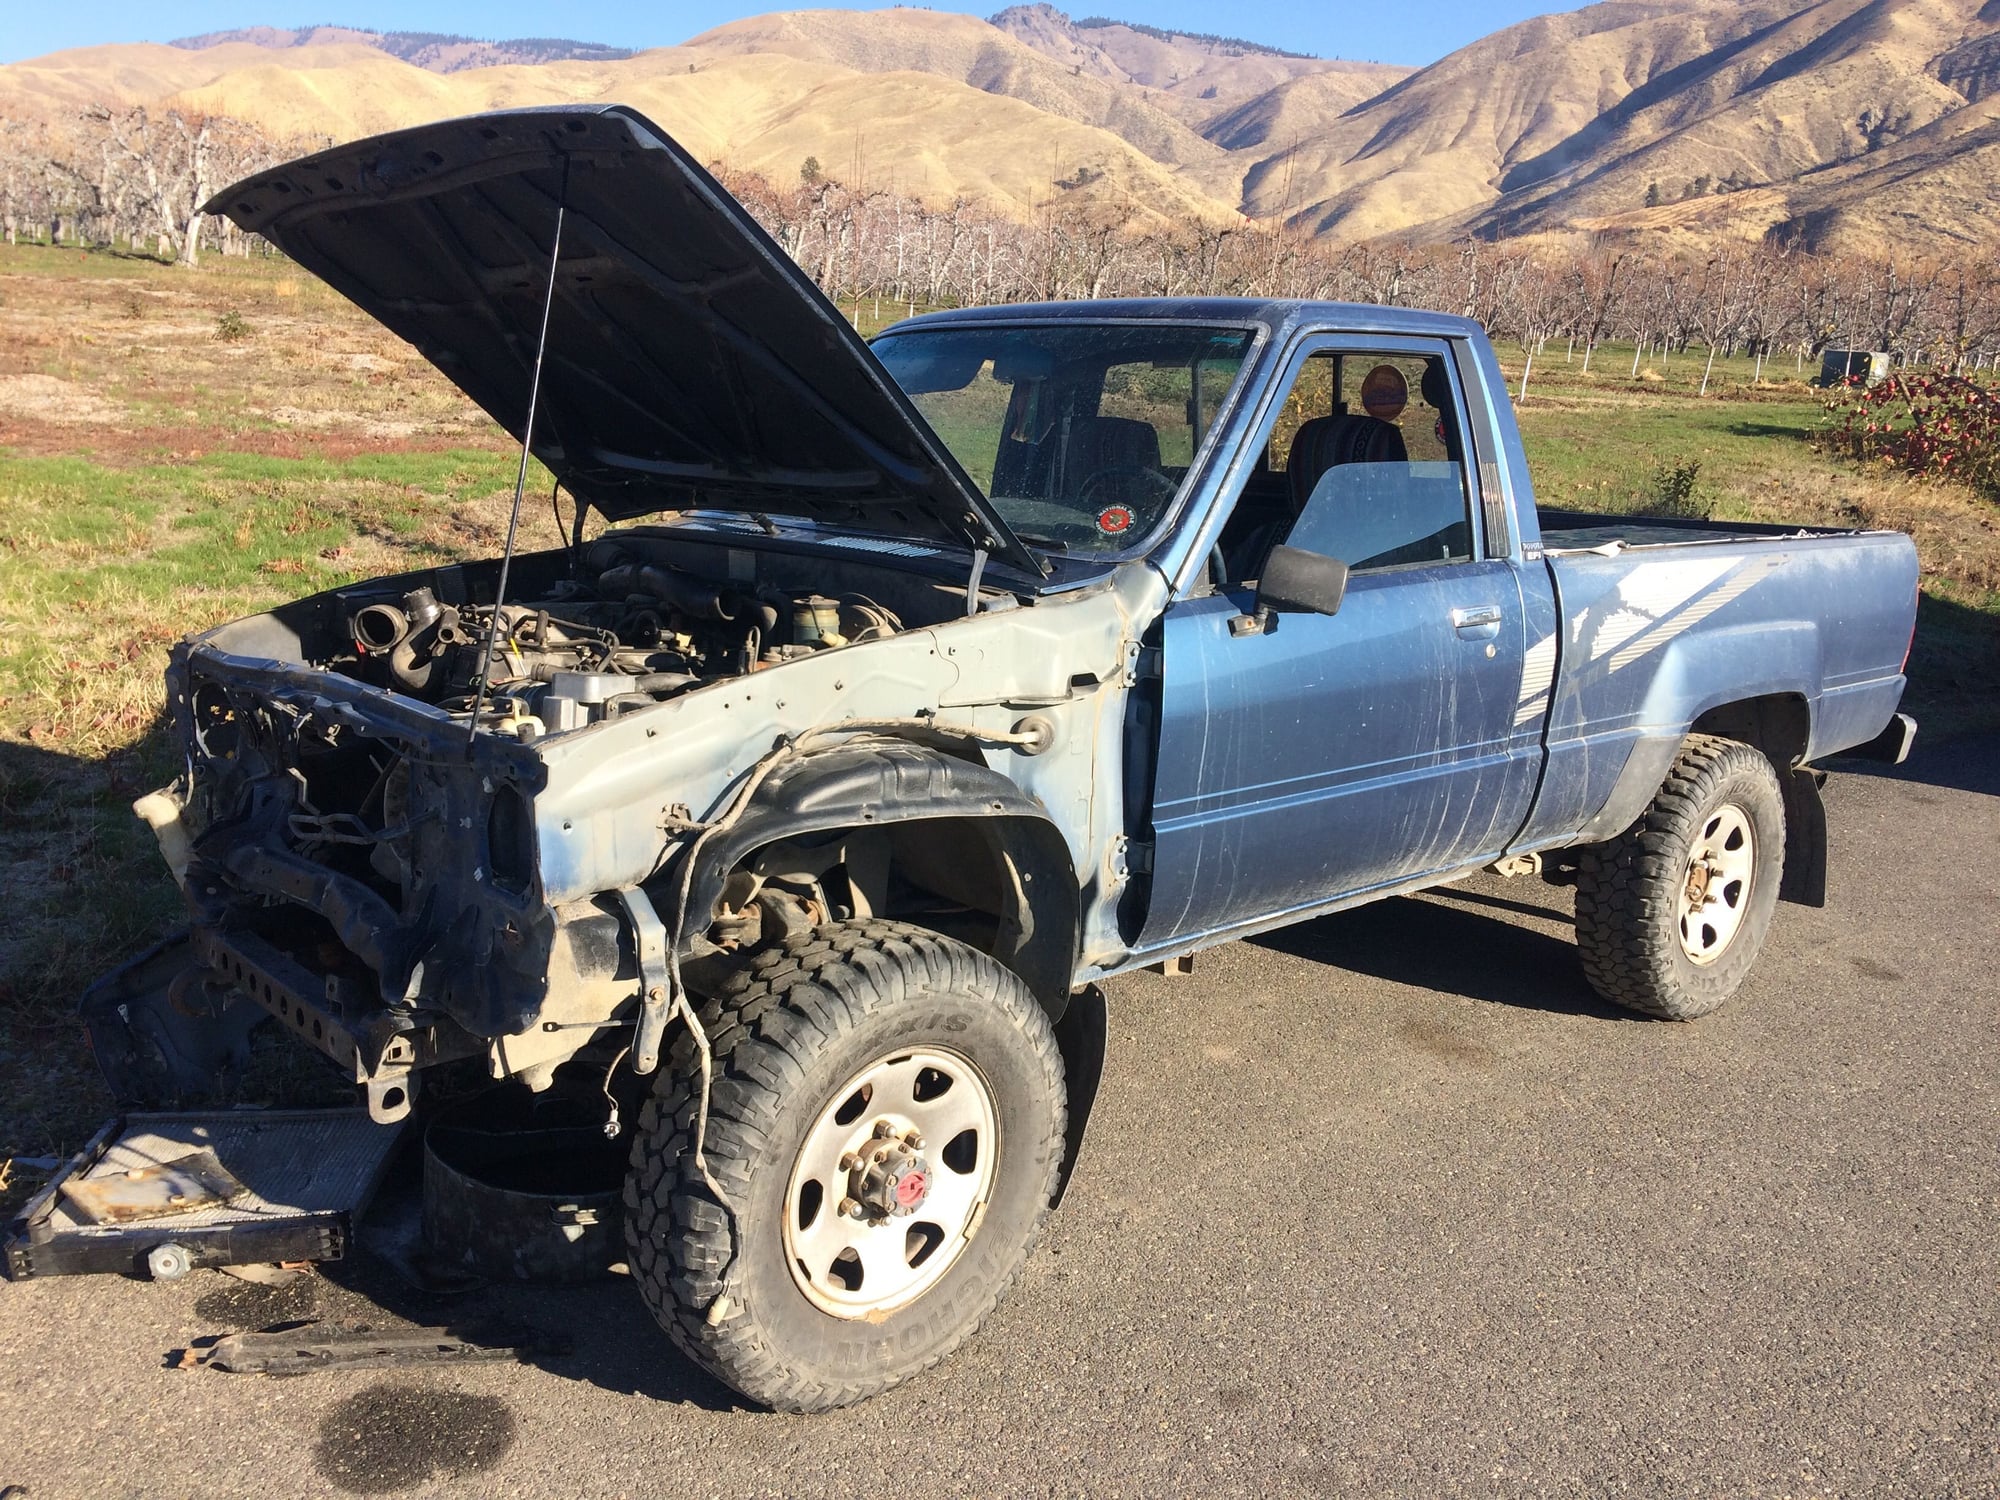
thanks for the help so far guys this is my second yota I still have my 88 pick up but the front end was done in by an unlucky deer both have 206000 and I am trying to avoid canabilzing parts so I can fix the pick up next fire season when Iím making money again
#14
Registered User
iTrader: (-1)
Then you pull out the distributor, and re-enter it correctly. When you pull it straight out, watch how the rotor turns.
Verify TDC first though.
If you have tdc compression stroke, and some valves are tight when they should be loose, maybe you put the chain on wrong one tooth.
Iirc, the shiny link of the chain and the dot of cam sprocket should be at 12 o'clock.
Or a minute before or after, depending on deck and head clearances.
the cam dowel goes straight up at the 12 position, the cam gear mark will be on the tooth just to the left, since The mark is on a peak and the dowel lines up with the valley of the cam gear. The bright link on the chain isn't relevant, it's just a bit of a bench mark and doesn't line up every rotation (there are two of these actually iirc, so you wouldn't be certain which is which unless the cover was off)
Using any metal objects in the cylinder bore is a very bad idea guys please don't tell people this. You should use a straw or wooden dowel.
To be certain the balancer pulley hasn't spun you can also just pull it off and the keyway should be straight up and aligned with the cam dowel.
Looking at the valve action is a good idea since your also supposed to be performing a visual inspection of the cam surfaces while you are in there.
#15
#16

The proper way is not to use metal objects. Kids could see you!
#17
Registered User
Don't need to check compression on every spark plug hole. Just on #1 to verify being on compression stroke. Everything else falls into place after that.
Really don't have to pull the #1 spark plug, but the OP is having problems with the rotor not pointing at #1. Verifying compression stroke on #1, and using a screwdriver or whatever to watch when the #1 piston comes up to TDC is the only way I know how to get it right even if the marks do not show zero at the crank pulley, or the rotor does not point at #1. The point is to get #1 piston TDC on compression stroke, and work from that point.
Really don't have to pull the #1 spark plug, but the OP is having problems with the rotor not pointing at #1. Verifying compression stroke on #1, and using a screwdriver or whatever to watch when the #1 piston comes up to TDC is the only way I know how to get it right even if the marks do not show zero at the crank pulley, or the rotor does not point at #1. The point is to get #1 piston TDC on compression stroke, and work from that point.
Some people may be surprised by this but Its possible to throw the disti in in any random position you want and then move spark plug wires around on the cap to compensate, which is cheater trick, but the math holds up and will work. Maybe somebody tried that. That could explain it if the rotor was way off from where #1 is normally on the cap at TDC. This or the balancer pulley ring slip are the only ways I can think of. This is more common on old, old Chevys. I personally donít know if itís common or possible on Toyota balancer pulleys.
#18
Registered User
Is there a possibility that you turned the engine over backwards?
I am not even sure if there is enough slack in the chain to allow the timing to be off that much though, but just another thing to think about.

I am not even sure if there is enough slack in the chain to allow the timing to be off that much though, but just another thing to think about.

#19
Registered User
iTrader: (-1)
Do not rotate your engine backwards. This particularly important for an interference engine like the Toyota R series. The crank will rotate but the cam doesn't move until the tensioner on the chain takes up all the slack.
This is easy to see with the valve cover or distributor cap removed. There will be substantial lag (several degrees) between the crank and cam moving.
#20
Backwards
definitely have not gone backwards, I think I will get TDC and rotate the distributor but even when I got it tdc by visually looking through the #1 spark when I did the rotation for the second set of valves they were still tight, I will let ya know what happens thanks for all the info


