LiebeYota4X4's 2001 SR5 4Runner
 12-06-2012, 04:48 AM
#1
Registered User
Thread Starter

LiebeYota4X4's 2001 SR5 4Runner
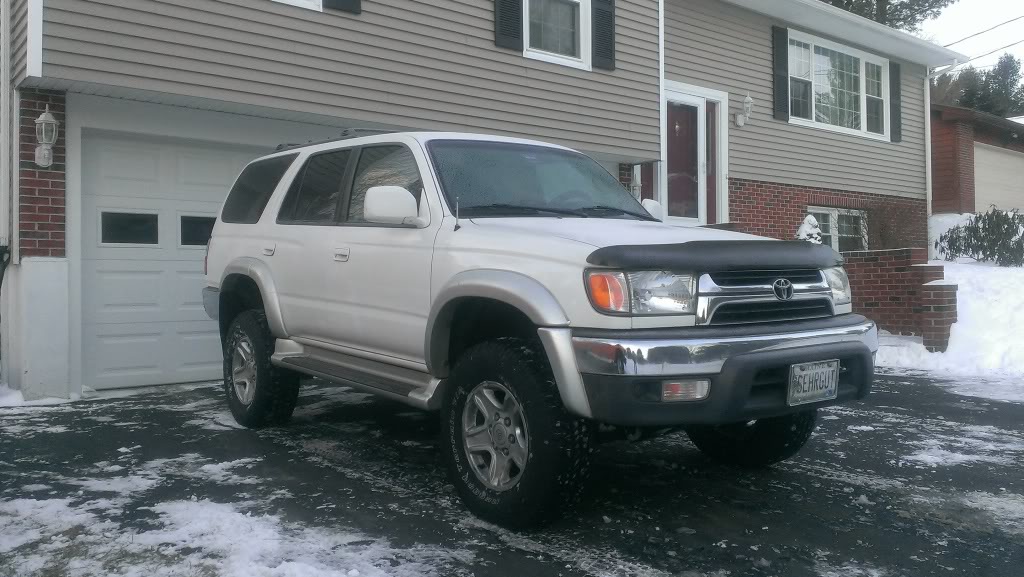
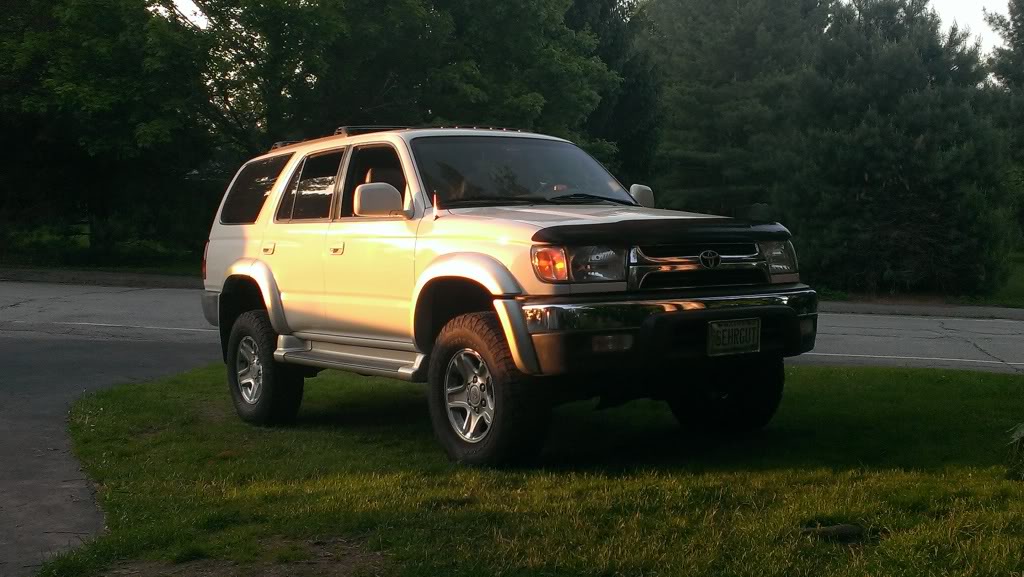
After months of reading, researching and more reading (some use of the search bar too) Here's my long term build thread!
224,xxx
Current lift:
-5100 Tundra Billsteins
-Toytec/Eibach 3 inch lift springs
-Monroe Gas Magnum rear shocks for an 80 series Land Cruiser
-Land Cruiser 7.5/7.75 wraps
-1" IFS Diff. Drop
1st set of tires:
BF Goodrich Rugged Terrain A/T
265/70/16
Current set:
General Grabber AT^2
285/75/16
Extras:
Re-built Pass. side outer CV joint Replaced the entire axle in spring of 2019 because re-packing the joint was a total PITA
2nd Gen 4Runner swaybar end links
new OEM sway bar mount bushings
E-bay LED interior lighting
Aftermarket valence Fogs + OEM switch
Satoshi Grill Mod with the big TOYOTA emblem: 75311-90K00
Skar Audio 12" 800W sub with custom ported box
2400W component amp
1600W sub amp
Kenwood Excelon DPX double-din head unit
Stock transmission gave up due to pink milkshake in the Fall of 2018
Used Transmission swapped in from a 99' with 93K
Trans-cooler installed & stock radiator bypassed.
Lower ball joints replaced in winter 2020
224,xxx
Current lift:
-5100 Tundra Billsteins
-Toytec/Eibach 3 inch lift springs
-Monroe Gas Magnum rear shocks for an 80 series Land Cruiser
-Land Cruiser 7.5/7.75 wraps
-1" IFS Diff. Drop
1st set of tires:
BF Goodrich Rugged Terrain A/T
265/70/16
Current set:
General Grabber AT^2
285/75/16
Extras:
2nd Gen 4Runner swaybar end links
new OEM sway bar mount bushings
E-bay LED interior lighting
Aftermarket valence Fogs + OEM switch
Satoshi Grill Mod with the big TOYOTA emblem: 75311-90K00
Skar Audio 12" 800W sub with custom ported box
2400W component amp
1600W sub amp
Kenwood Excelon DPX double-din head unit
Stock transmission gave up due to pink milkshake in the Fall of 2018
Used Transmission swapped in from a 99' with 93K
Trans-cooler installed & stock radiator bypassed.
Lower ball joints replaced in winter 2020
Last edited by LiebeYotas4X4; 03-25-2021 at 08:36 AM.
 12-06-2012, 04:54 AM
#2
Registered User
Thread Starter
Front struts, and rear shocks, along with the front diff drop

Rotor difference during our driveway brake job.

Rotor difference during our driveway brake job.
Last edited by LiebeYotas4X4; 12-06-2012 at 04:59 AM.


 12-10-2012, 12:01 PM
#7
Registered User
Thread Starter
Toytec/Eibach front 3 inch lift springs that just came in today
Part number = 112620

Gonna pair these up with some Tundra 5100 adjustable front struts and use my stock top plate untill I have enough money to get new ones and go from there. Ill hopefully have these in this weekend along with the front diff drop and the FJ80 setup in the back.
Everything together.

Part number = 112620
Gonna pair these up with some Tundra 5100 adjustable front struts and use my stock top plate untill I have enough money to get new ones and go from there. Ill hopefully have these in this weekend along with the front diff drop and the FJ80 setup in the back.
Everything together.
Last edited by LiebeYotas4X4; 11-03-2013 at 12:58 PM.
Trending Topics
12-27-2012, 06:18 PM
#9
Registered User
Thread Starter
I did the rear lift today with the help of my dad; The 9.25 wrap LC springs I have gave me about 4 1/2 - 4 3/4 inches of lift with the shocks I used, unless Im wrong... The final measurements came to about 25 inches from the center of the wheel to the fender. Everything was pretty well rusted onto whatever it was attached to, so the Dremel tool came in handy.
The 9 wraps needed spring compressors. End of story. pictures will be up soon.
Edit: After the 9.25 LC springs leveled out, they came to around 5 inches of lift.
The 9 wraps needed spring compressors. End of story. pictures will be up soon.
Edit: After the 9.25 LC springs leveled out, they came to around 5 inches of lift.
Last edited by LiebeYotas4X4; 11-03-2013 at 01:04 PM.
12-27-2012, 06:46 PM
#10
Registered User
Thread Starter
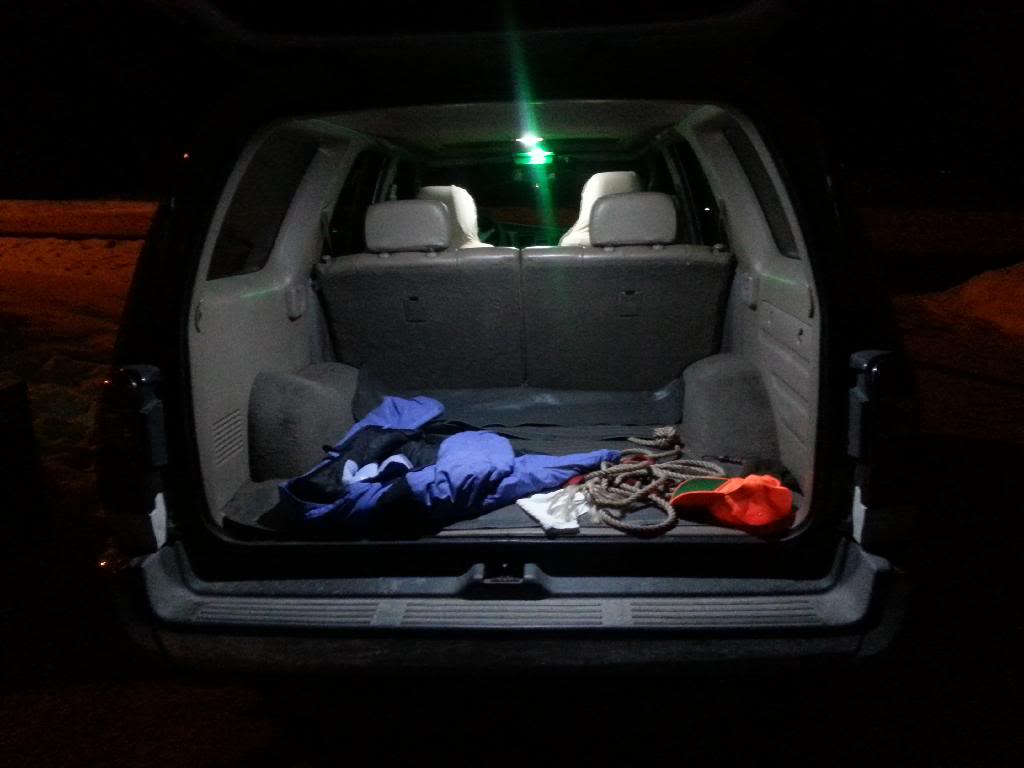
A pic from the rear with the spare tire removed..... thinkin about a rear mounted rack or a roof mount.

This is with everything on the ground, both tires on, both shocks/springs installed after everything was said and done.

Okay, so I started to tear apart the front, which is gonna end up being more of a hassle because new top (mounting) plates are in the mail to arrive at the shop tomorrow, which is why Im going all out on trying to remove ice-age-frozen-nuts off the top of the strut mount.

This is with everything on the ground, both tires on, both shocks/springs installed after everything was said and done.
Okay, so I started to tear apart the front, which is gonna end up being more of a hassle because new top (mounting) plates are in the mail to arrive at the shop tomorrow, which is why Im going all out on trying to remove ice-age-frozen-nuts off the top of the strut mount.
12-28-2012, 01:35 PM
#11
Registered User
Thread Starter
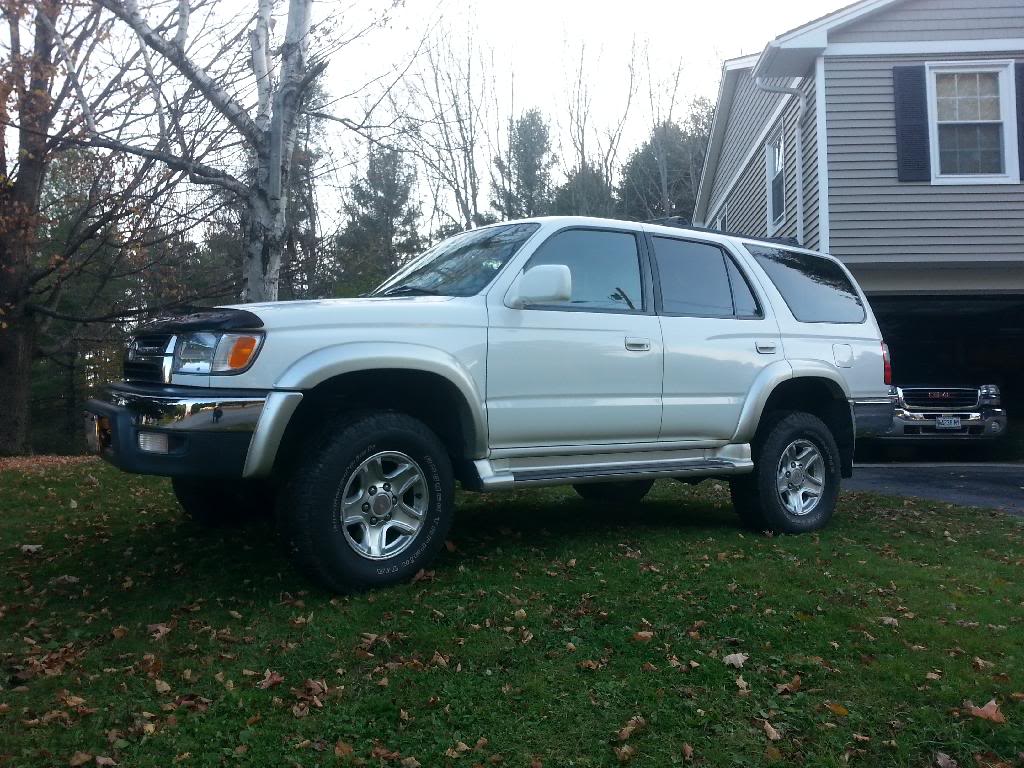
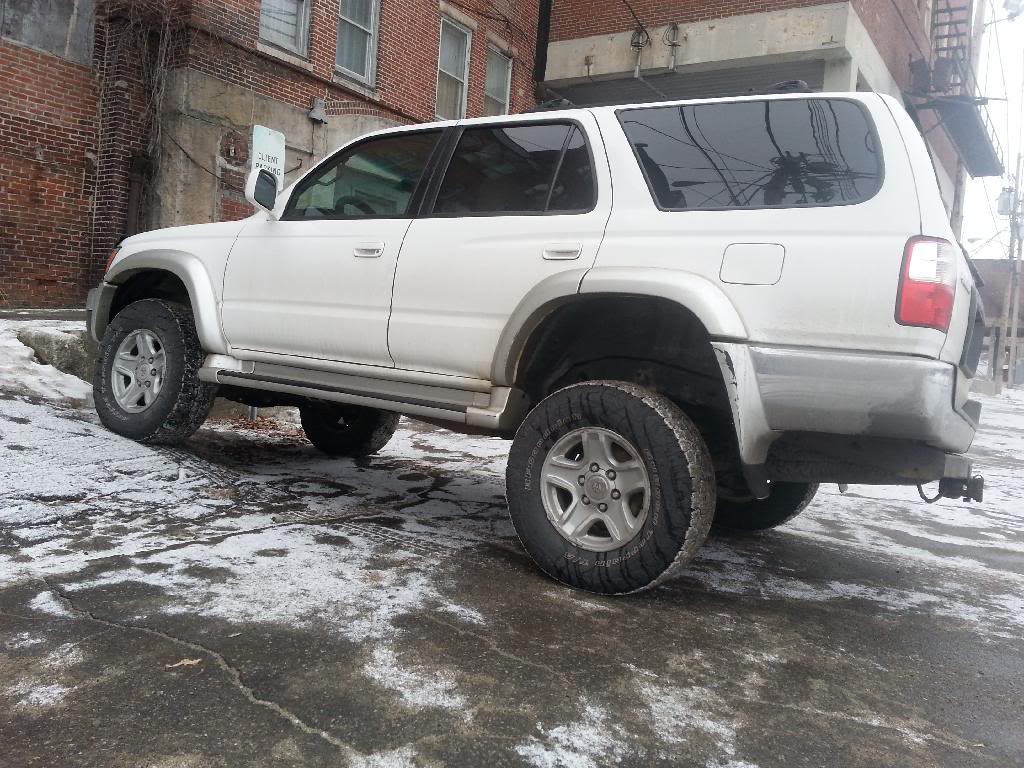
After lots of blood, sweat, and clothes destroyed by vehicle grease, my LC coil&Monroe Gas Magnum/Toytech-Eibach&Bilstein lift is finally in, and I am LOVING IT!!!
My measurements from the ground to the bottom of the fender are as follows: Both front left & right 36 inches, Rear left & right: About 39 inches.
Yeah, yeah, I know, its about a 3 inch rake..... oh well. I might get some 7 wraps this coming summer, but that all depends on my work load.
The only thing I have to do now is install the 1 inch diff drop I ordered, and get 4 new end links, because they are all broken.
 the front 2 had been broken before we started, but the rear left end link snapped when we (my dad and I) were putting in the LC coils.
SO on that note, I have, as of now, two 2nd gen rear end links in the mail to be installed at a later date, and Im still trying to figure out what I should do about the front end links, but I haven't searched it yet (advice would be very helpful). I also see some new bushings in the near future too.
No write up, Es tut mir leid. Im too lazy. 
Last edited by LiebeYotas4X4; 11-01-2013 at 05:12 PM.
01-07-2013, 04:20 PM
#13
Registered User
Thread Starter
Yeah, I know, no good pics yet, but they will come!! I have about 3-3.5 inches of lift in the front, and probably 4-4.5 in the back, which is ideal for the 16' fishing boat I usually tow behind The weird thing is I have about half an inch more lift on one side of the vehicle than the other... I dont know whats up with this but I will do some more investigations later.
Tomorrow the front end links are supposed to show up in the mail, and they will probably be in either tomorrow or Thursday, depending on Homework/studying load (yes, homework; midterms are next week) and to follow that up, a 4 tire alignment is in the near future also. The diff drop should be in maybe this weekend, or sometime this week also, but Im not gonna worry about it.
loljk heres some pictures

These 2nd gen links fit perfect with the lift that the 7.5/7.75 wraps gave me.

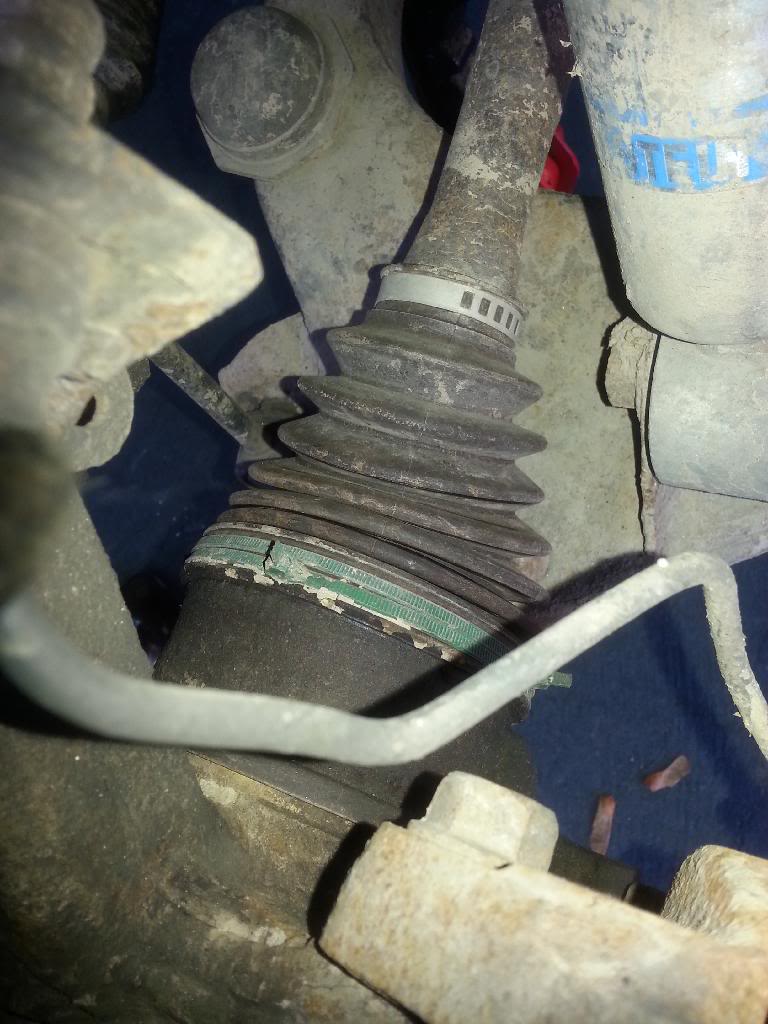
Oh yeah, my CV's decided to puke today too. Nice huh? As much as yall's opinions has swayed my decisions, Ive decided Im gonna be different this time and re-boot my current axles just because I can. (mosly because Im cheap) This will probably get done some time soon with the $9 kit Part's Geek offers, and whoever stumbles upon this looking for reviews will hear what I think when I recover from my lift and actually get it done!
By the way I also have a pair of LC 9.25 wraps sitting in my garage waiting for a new home if someone wants to make me a Pm'd offer....
They gave about ~6.5 inches of lift and UnBeLiEvAaBlE flex for those of you who have SAS'd 4runners and want to dominate those pesky jeeps!!! ;D
The weird thing is I have about half an inch more lift on one side of the vehicle than the other... I dont know whats up with this but I will do some more investigations later. Tomorrow the front end links are supposed to show up in the mail, and they will probably be in either tomorrow or Thursday, depending on Homework/studying load (yes, homework; midterms are next week) and to follow that up, a 4 tire alignment is in the near future also.
The diff drop should be in maybe this weekend, or sometime this week also, but Im not gonna worry about it. loljk heres some pictures
These 2nd gen links fit perfect with the lift that the 7.5/7.75 wraps gave me.
Oh yeah, my CV's decided to puke today too. Nice huh? As much as yall's opinions has swayed my decisions, Ive decided Im gonna be different this time and re-boot my current axles just because I can. (mosly because Im cheap) This will probably get done some time soon with the $9 kit Part's Geek offers, and whoever stumbles upon this looking for reviews will hear what I think when I recover from my lift and actually get it done!
By the way I also have a pair of LC 9.25 wraps sitting in my garage waiting for a new home if someone wants to make me a Pm'd offer....
They gave about ~6.5 inches of lift and UnBeLiEvAaBlE flex for those of you who have SAS'd 4runners and want to dominate those pesky jeeps!!! ;D

 11-01-2013, 04:59 PM
#15
Registered User
Thread Starter
Heres one from last winter
Puttin on the new bumpers!!

Heres some from summer vaca.
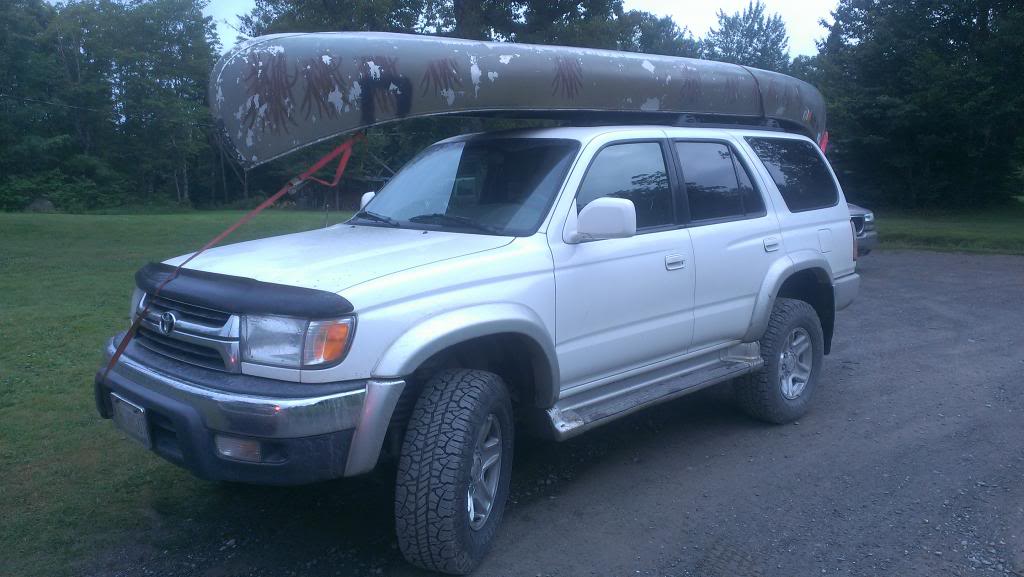
Got a little muddy on our trip upta Jackman!!
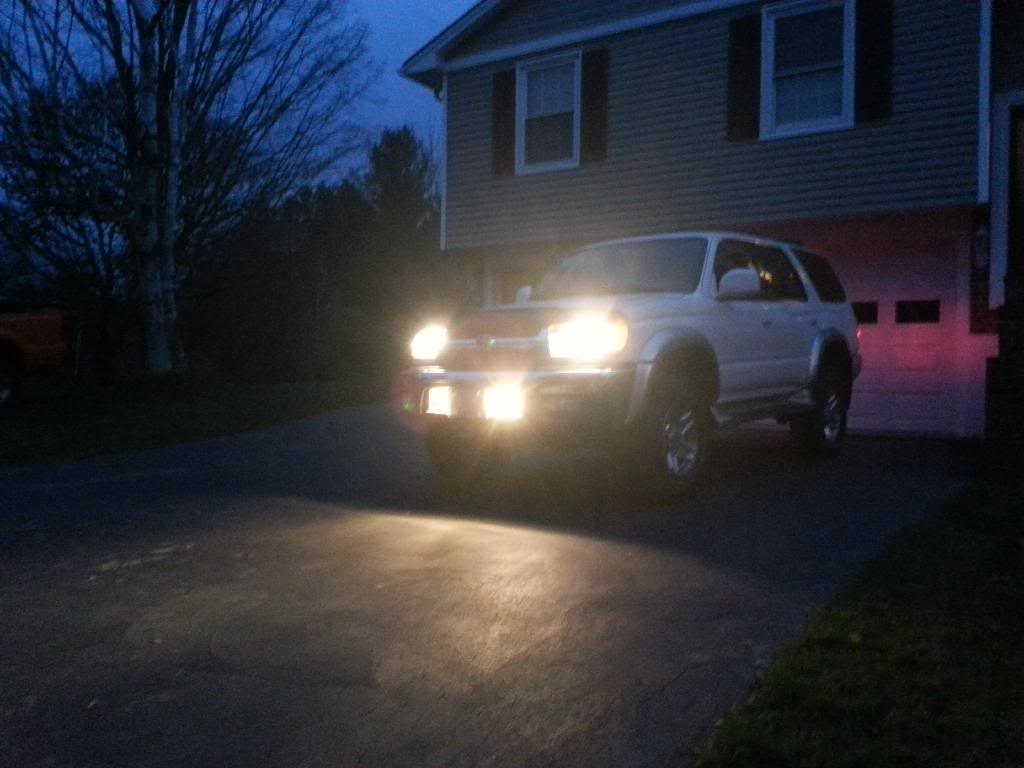
Custom fogs
Special thanks and credit to >>> steezmcqueen <<< and the link to his thread here:
http://www.toyota-4runner.org/engine...t-install.html
More soon!!
Puttin on the new bumpers!!
Heres some from summer vaca.
Got a little muddy on our trip upta Jackman!!
Custom fogs
Special thanks and credit to >>> steezmcqueen <<< and the link to his thread here:
http://www.toyota-4runner.org/engine...t-install.html
More soon!!
12-08-2013, 06:05 PM
#16
Registered User
Thread Starter
Update:
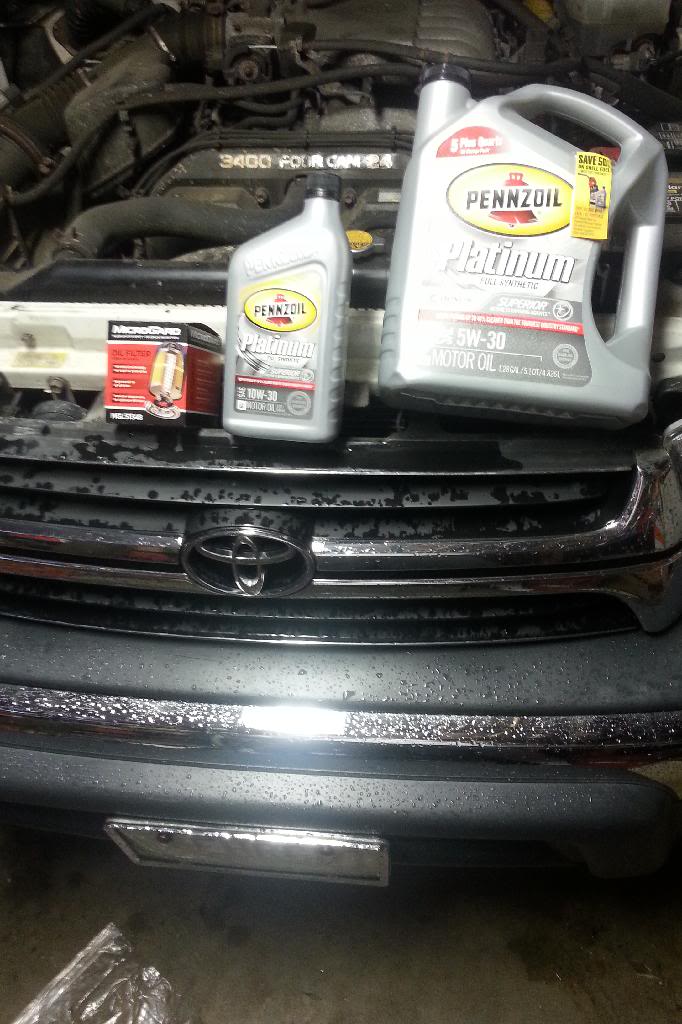
Oil change, as well as a new filter.
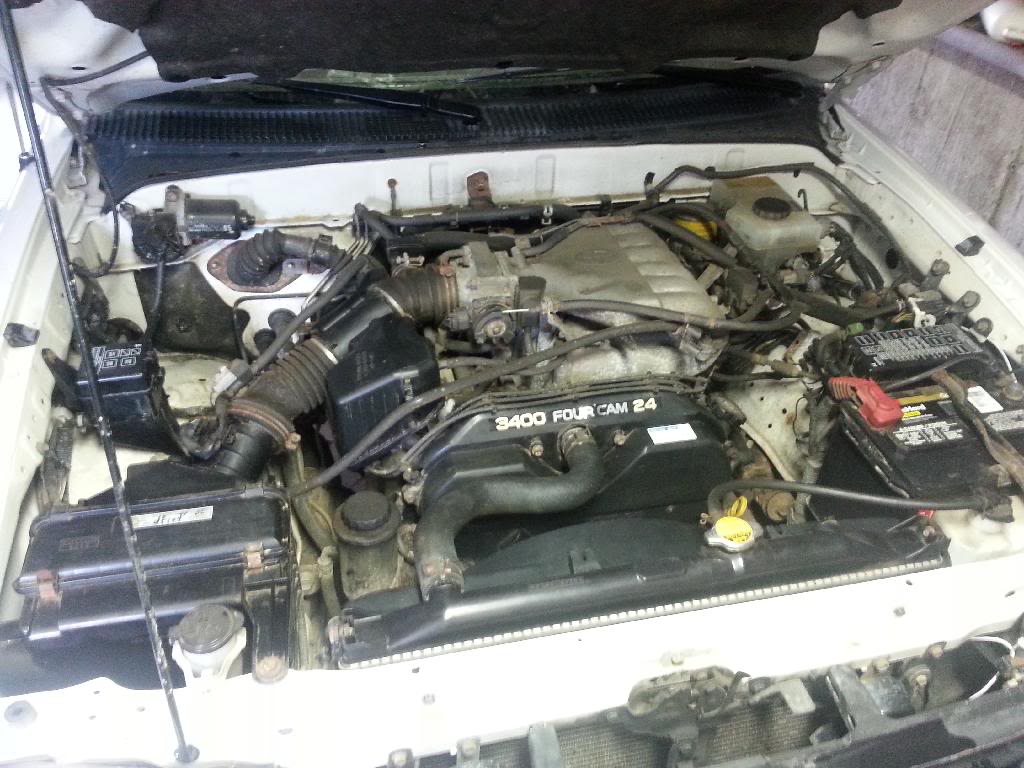
The bay all cleaned up
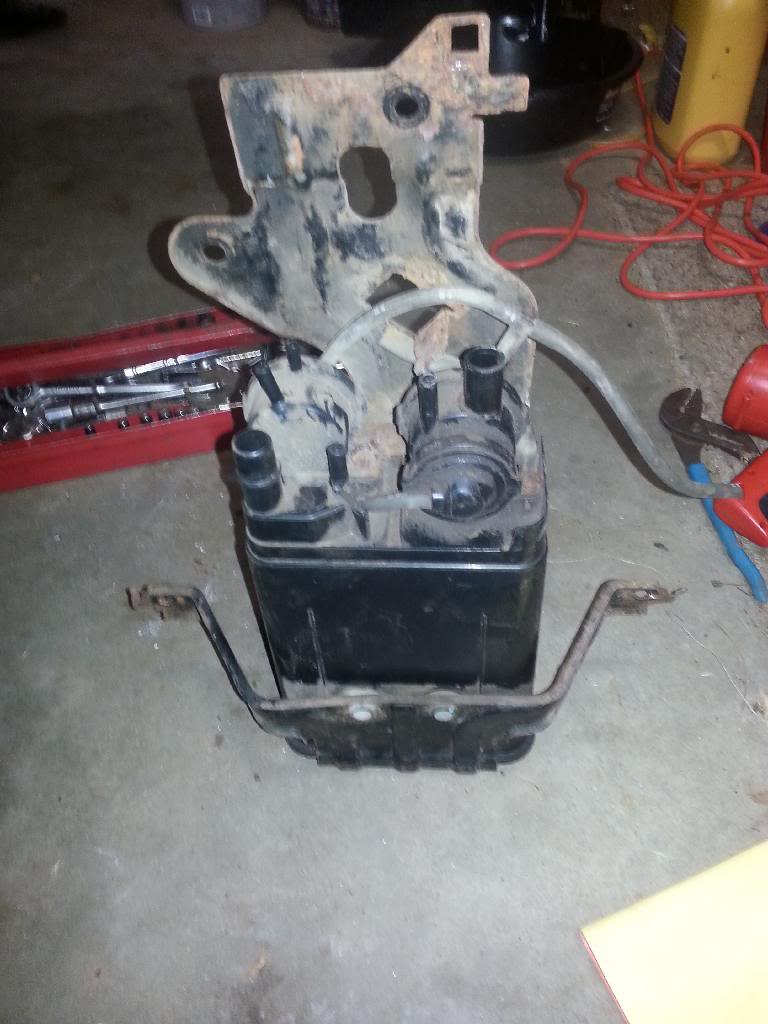
She threw up a Po446 code earlier this summer, but I didn't think much of it so I cleared it. Well, the end of the year came as did the time for a new inspection sicker, and the guy says he could smell some strong gas fumes. He said it was probably a bad Charcoal canister. Well, it turns out that with a little help from google I found that the VSV (vacuum switch valve) had gone bad, and wasnt closing, causing gas fumes to be allowed out of the system when I turned the truck on. The new switch installed, and all is well!

Heres the canister:
And heres the old switch.
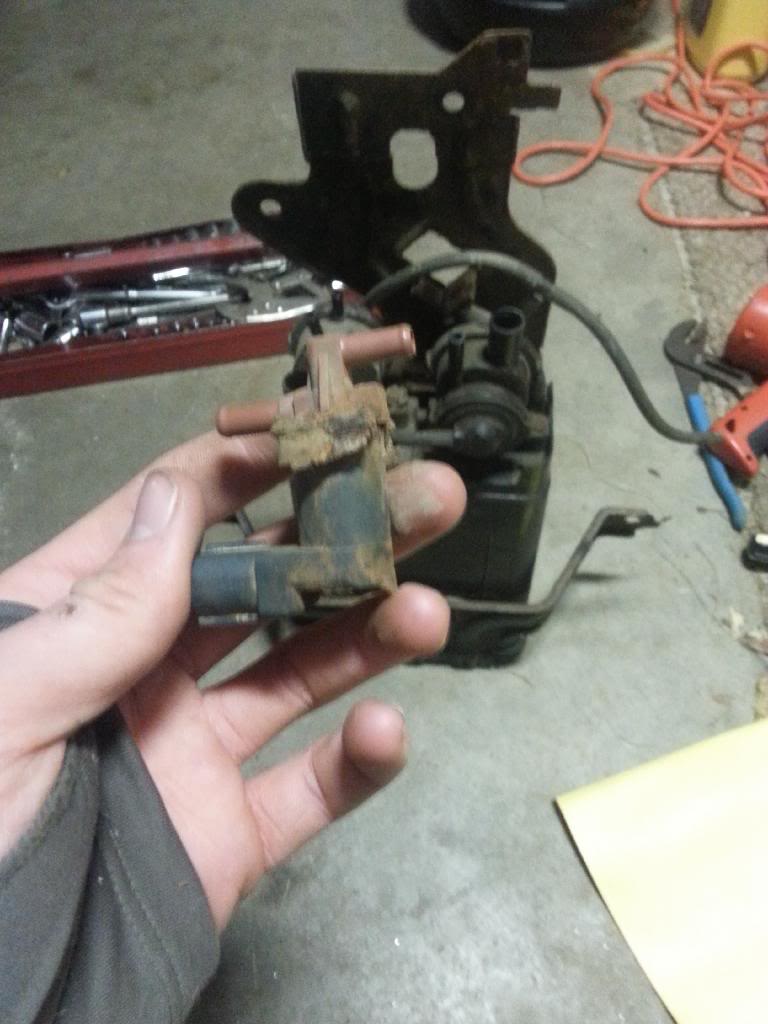
No pics of the new switch, it looks exactly the same as the old one, just black all over... and it actually works. I also bought some new hose clamps for the canister, because the old ones decided to disintegrate, just like almost all the other things on this Maine truck that is made of a ferrous metal that hasn't been either painted or is already rusted...
Some more pics

The red-neck boot clamp is holding very well I might add!!!
Oil change, as well as a new filter.
The bay all cleaned up
She threw up a Po446 code earlier this summer, but I didn't think much of it so I cleared it. Well, the end of the year came as did the time for a new inspection sicker, and the guy says he could smell some strong gas fumes. He said it was probably a bad Charcoal canister. Well, it turns out that with a little help from google I found that the VSV (vacuum switch valve) had gone bad, and wasnt closing, causing gas fumes to be allowed out of the system when I turned the truck on. The new switch installed, and all is well!
Heres the canister:
And heres the old switch.
No pics of the new switch, it looks exactly the same as the old one, just black all over... and it actually works. I also bought some new hose clamps for the canister, because the old ones decided to disintegrate, just like almost all the other things on this Maine truck that is made of a ferrous metal that hasn't been either painted or is already rusted...
Some more pics
The red-neck boot clamp is holding very well I might add!!!
Last edited by LiebeYotas4X4; 12-08-2013 at 06:08 PM.
12-27-2013, 11:26 AM
#17
Registered User
Thread Starter
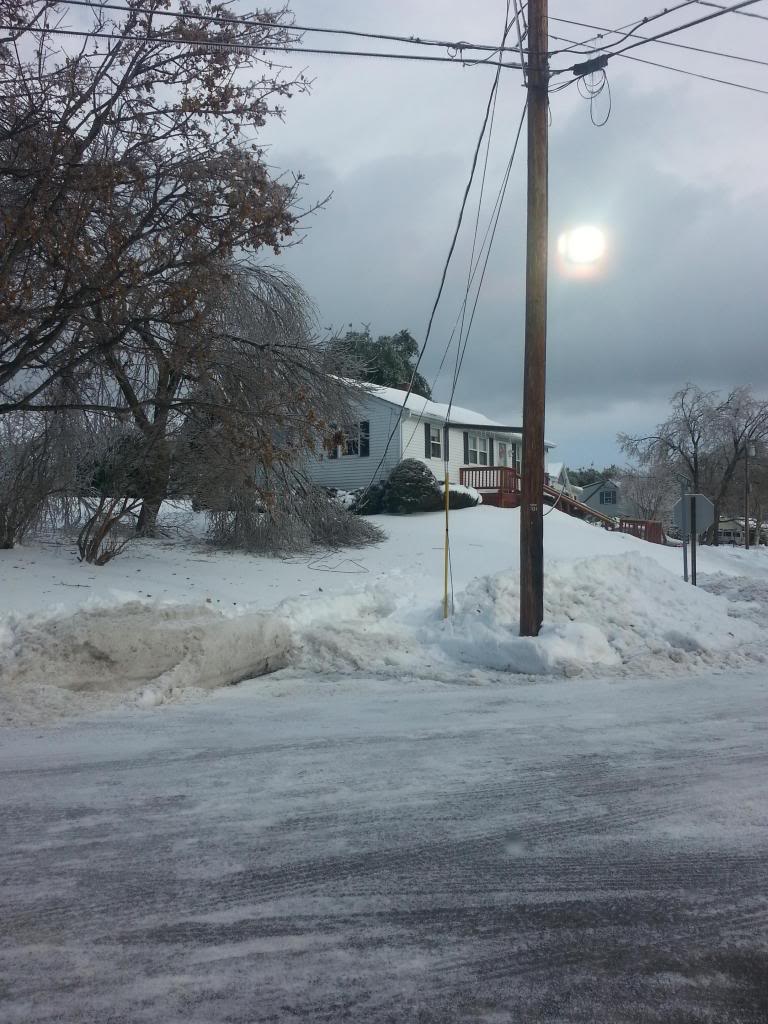
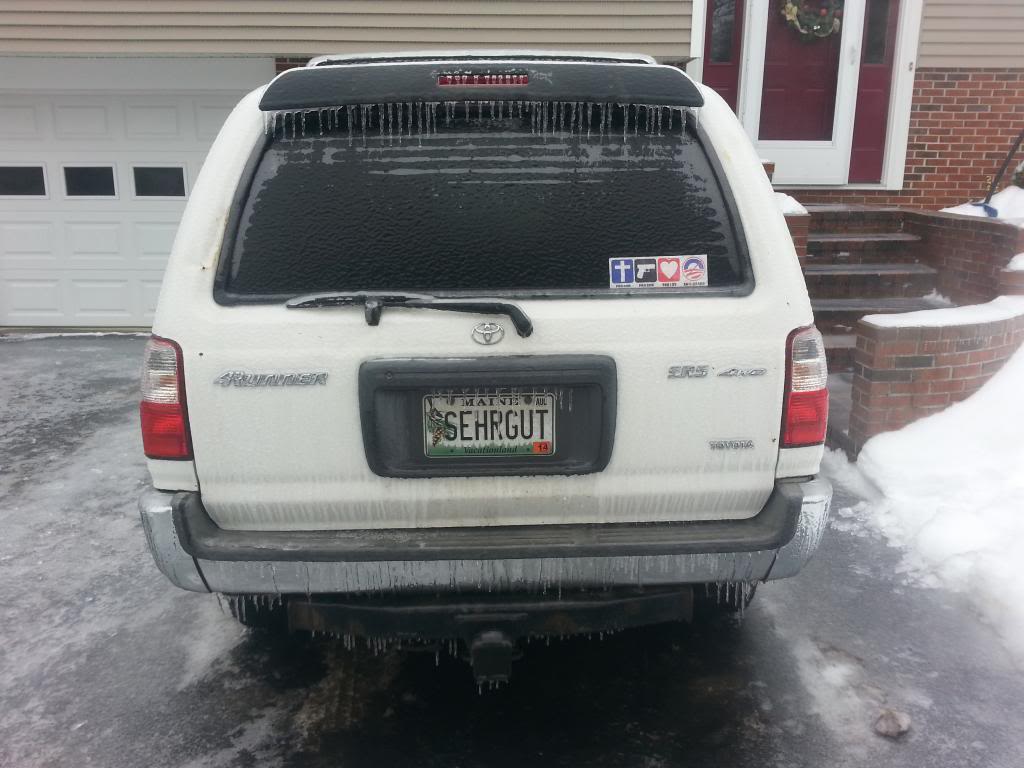
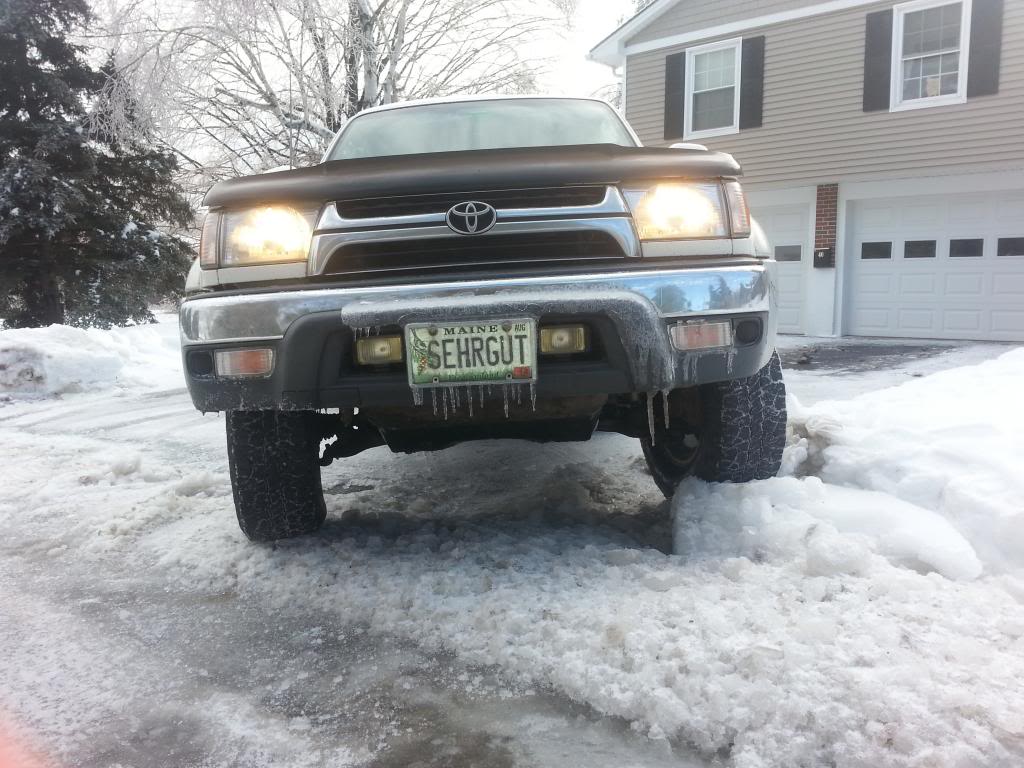
Hey fellow Mainah's, howa bout that ice storm eh? Yeah, that was fun.... NOT! Anyways, here are some pictures of the aftermath for all of you who aren't as lucky as we are.
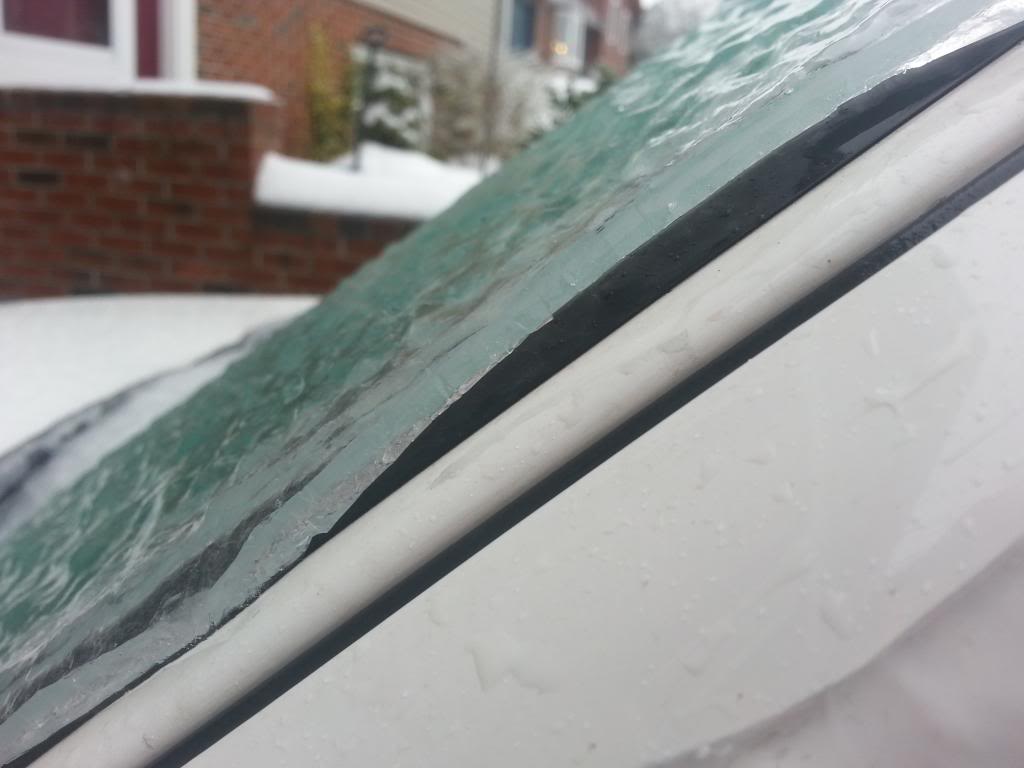
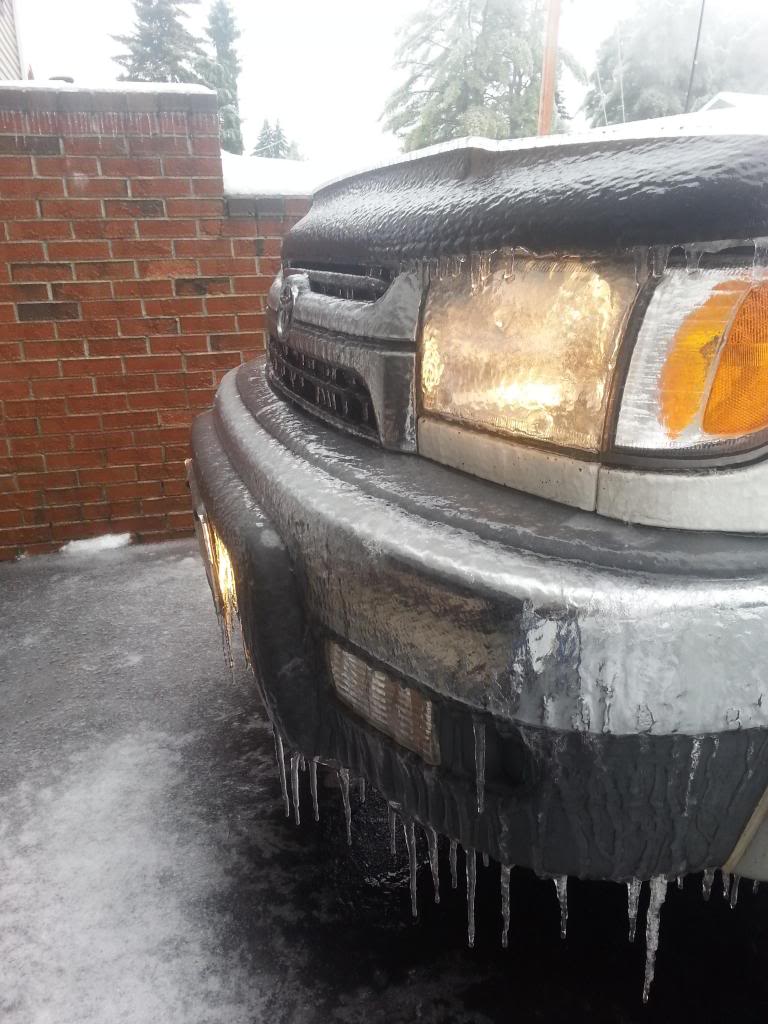
Beautiful right?
Beautiful right?
 03-18-2014, 01:14 PM
#19
Registered User
Thread Starter
Did some stuff recently, and thought some of you might be able to relate!
Heres a picture of the new dome interior lights I put in!! And yes, they're from Ebay
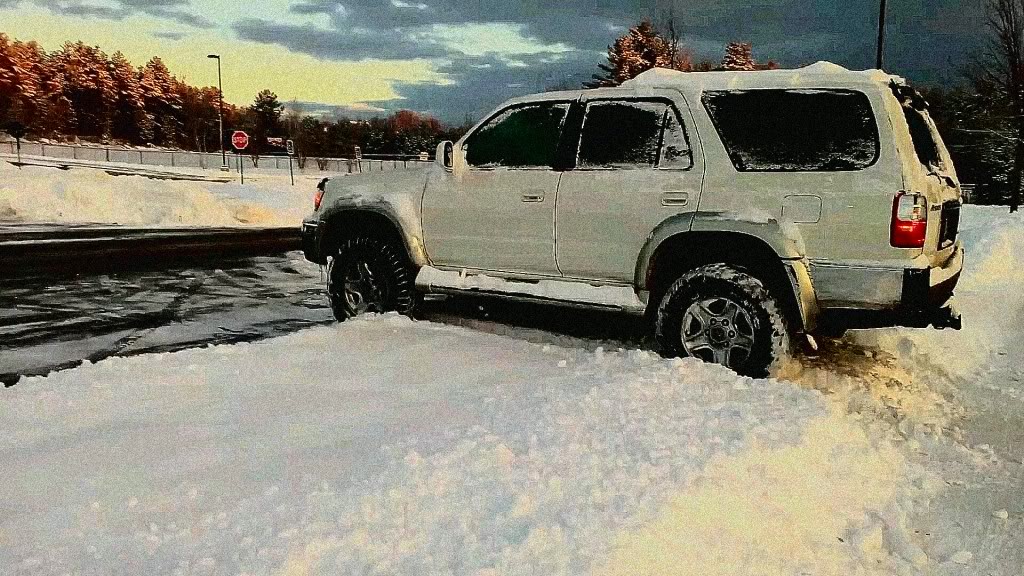
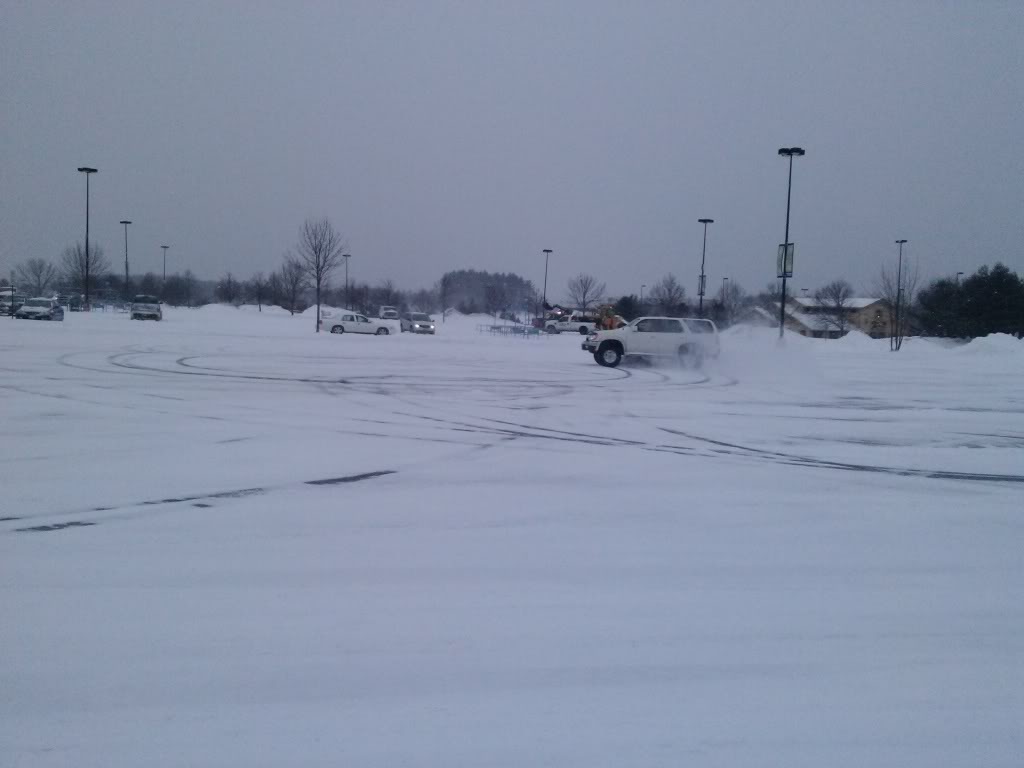
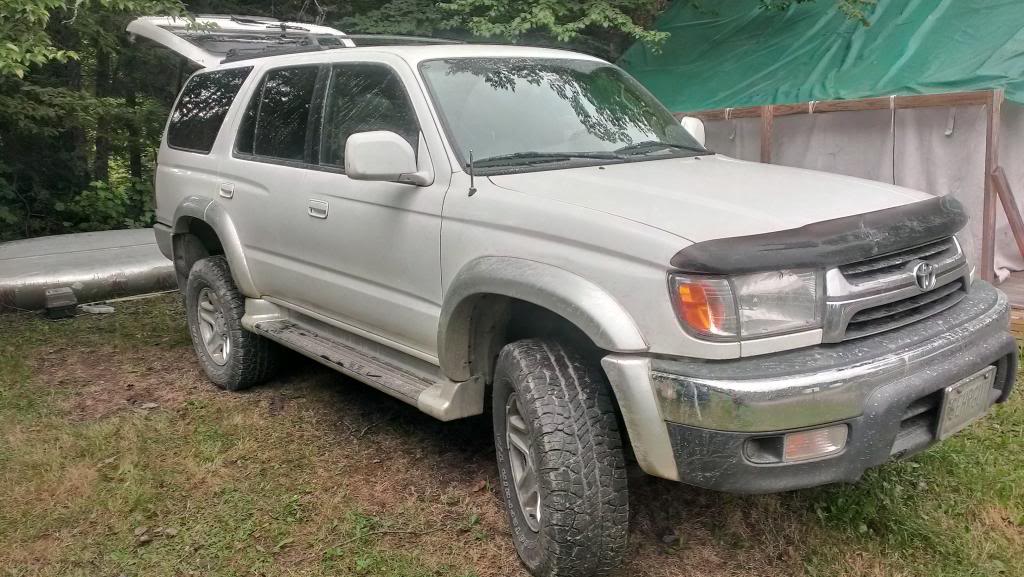
I got bored, so I did some flexing down near the river while I was at the Dr.'s office
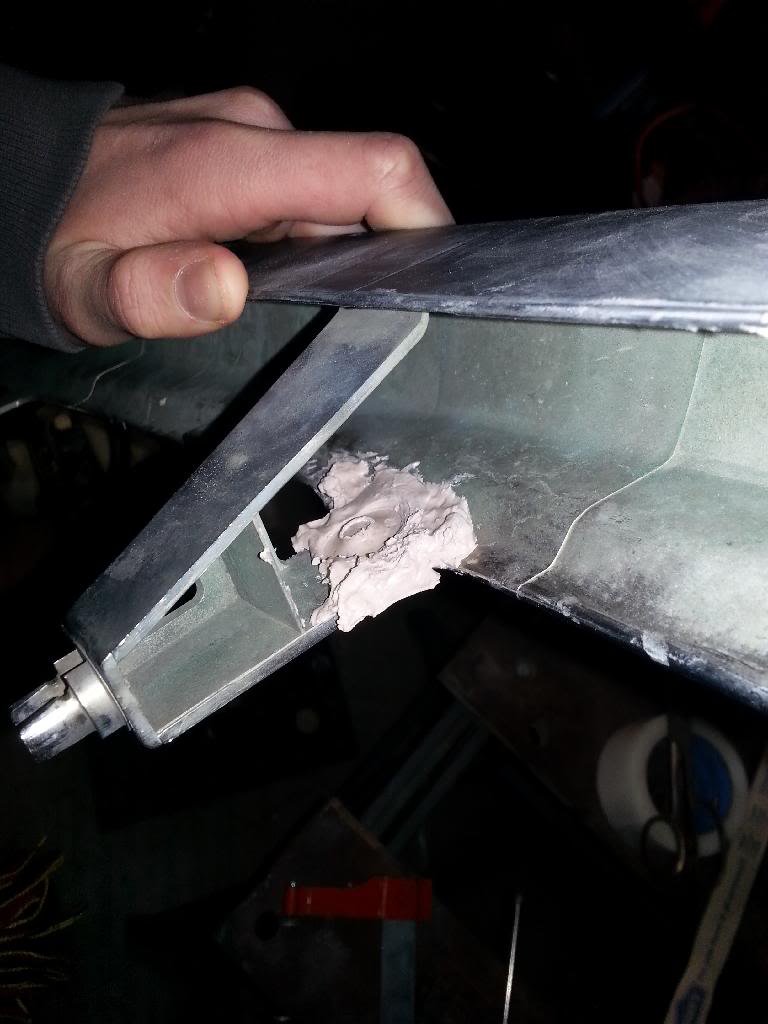
And, the newest project, a Satoshi grill mod!!
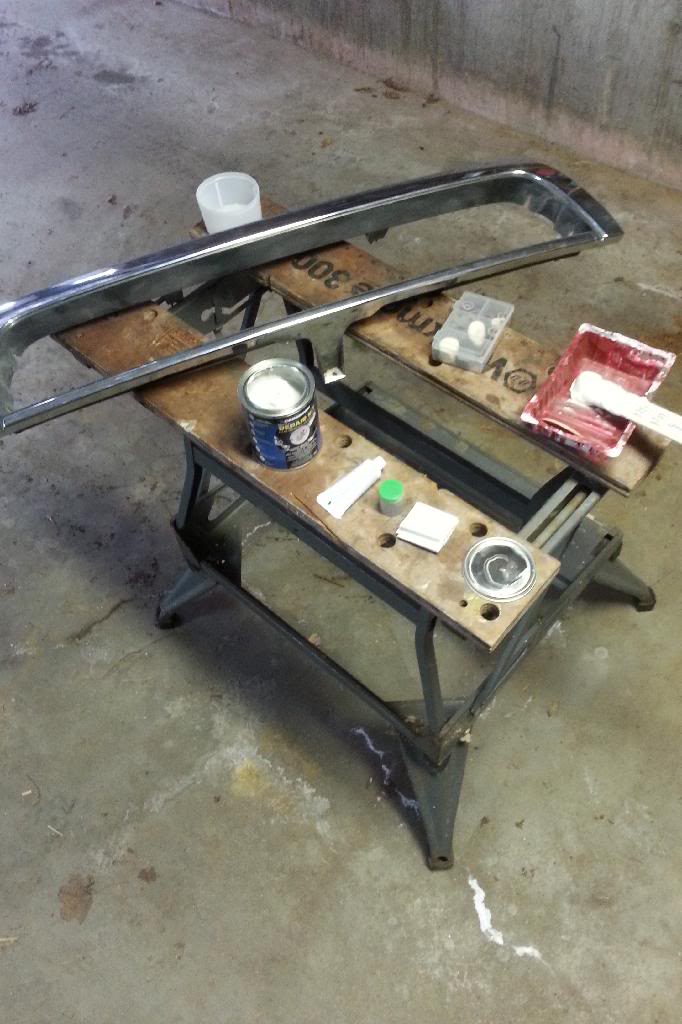
Yes, I know its not done in this picture, and wont be for a couple days but it's come a long way since then!
I bought the grill at a junk yard for an unbelievable price, and it doesn't look that bad, aside from the broken part which I fixed with body filler. 
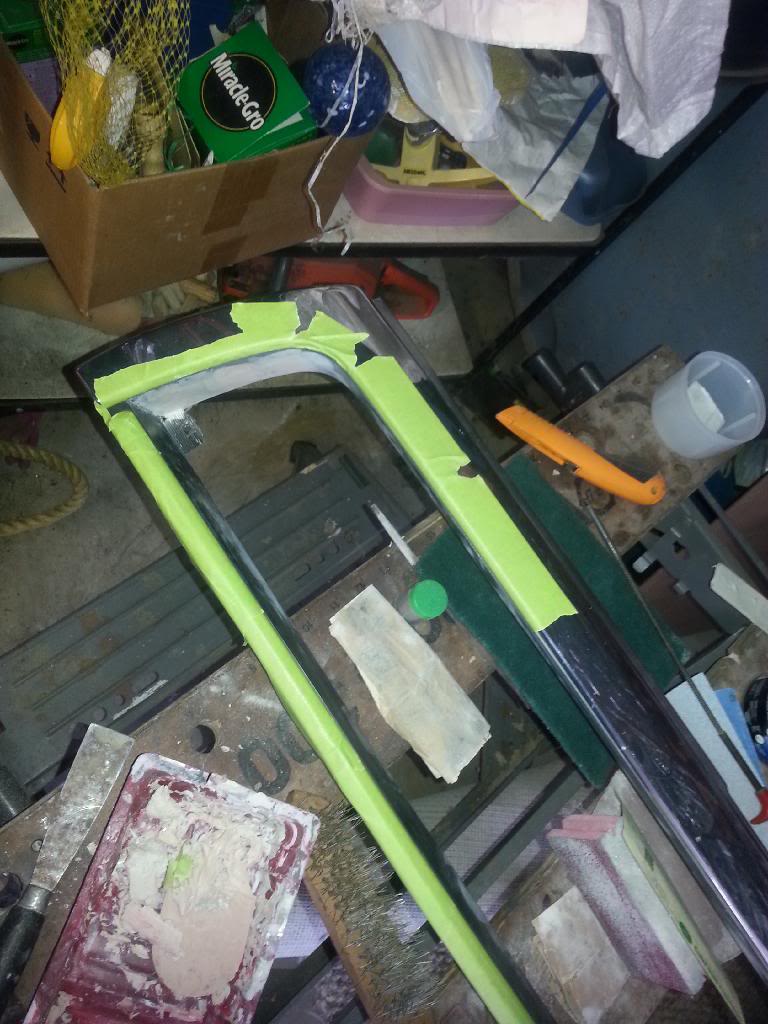
Getting ready for paint!!
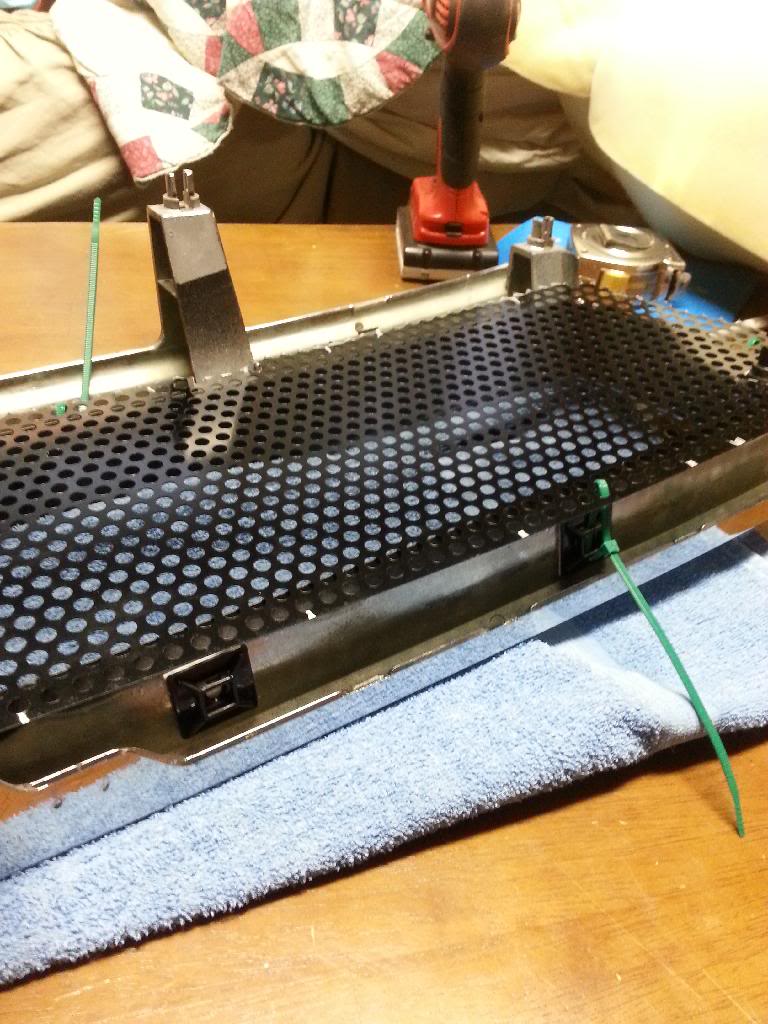
paint is done, now putting the grill on. (I wont show the tedious process of lining everything up and making sure its perfect)
Heres a picture of the new dome interior lights I put in!! And yes, they're from Ebay
I got bored, so I did some flexing down near the river while I was at the Dr.'s office
And, the newest project, a Satoshi grill mod!!
Yes, I know its not done in this picture, and wont be for a couple days but it's come a long way since then!
I bought the grill at a junk yard for an unbelievable price, and it doesn't look that bad, aside from the broken part which I fixed with body filler.
Getting ready for paint!!
paint is done, now putting the grill on. (I wont show the tedious process of lining everything up and making sure its perfect)
03-18-2014, 06:48 PM
#20
Registered User
Thread Starter
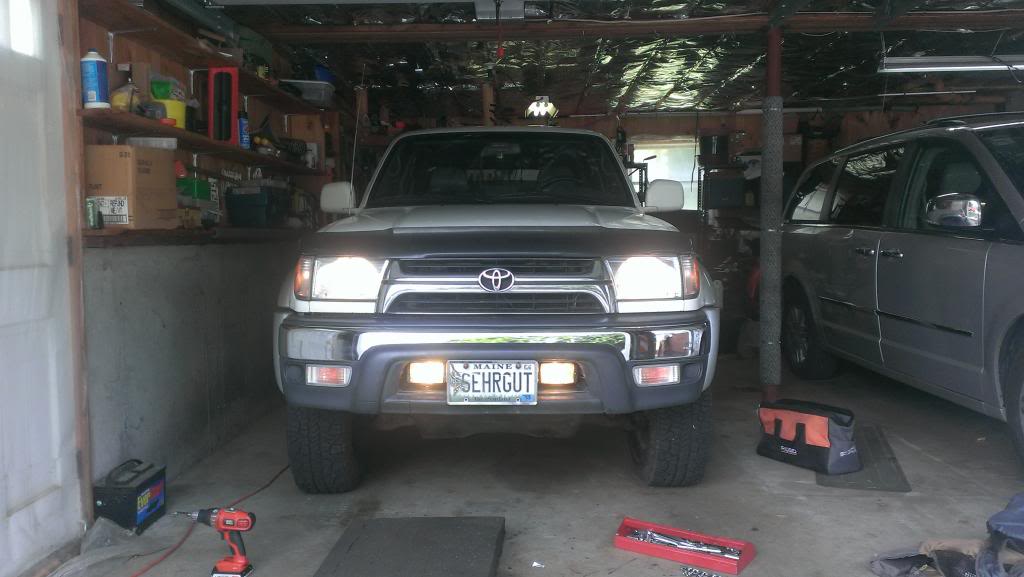
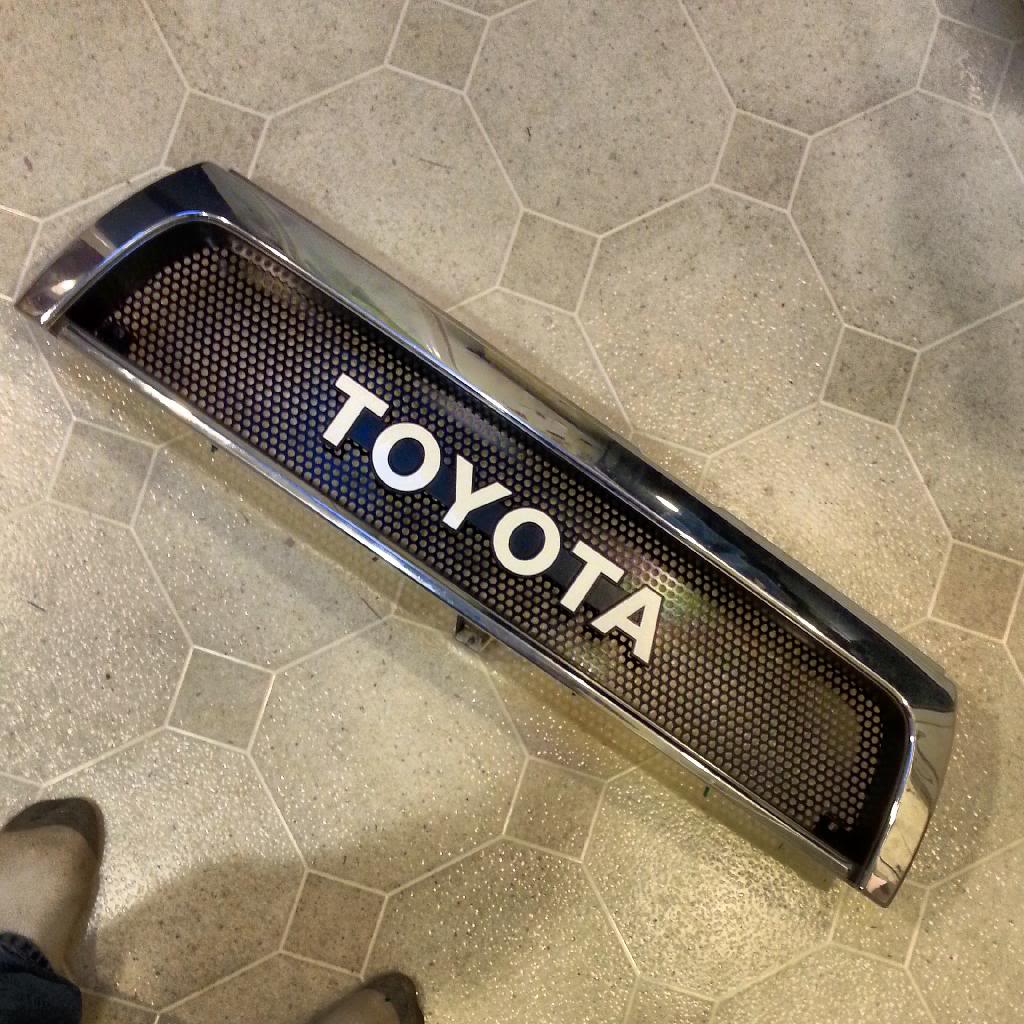
Well, here's what it'll look like when its done; I just took a picture from the top down to see if I was happy with it.
Annnnnnd while I was up'n at it this weekend, I noticed my drivers side head light was dim. So, upon further inspection, I found that the connector coming from the mess of wires that powers the bulb had been long gone for a while.
This thing
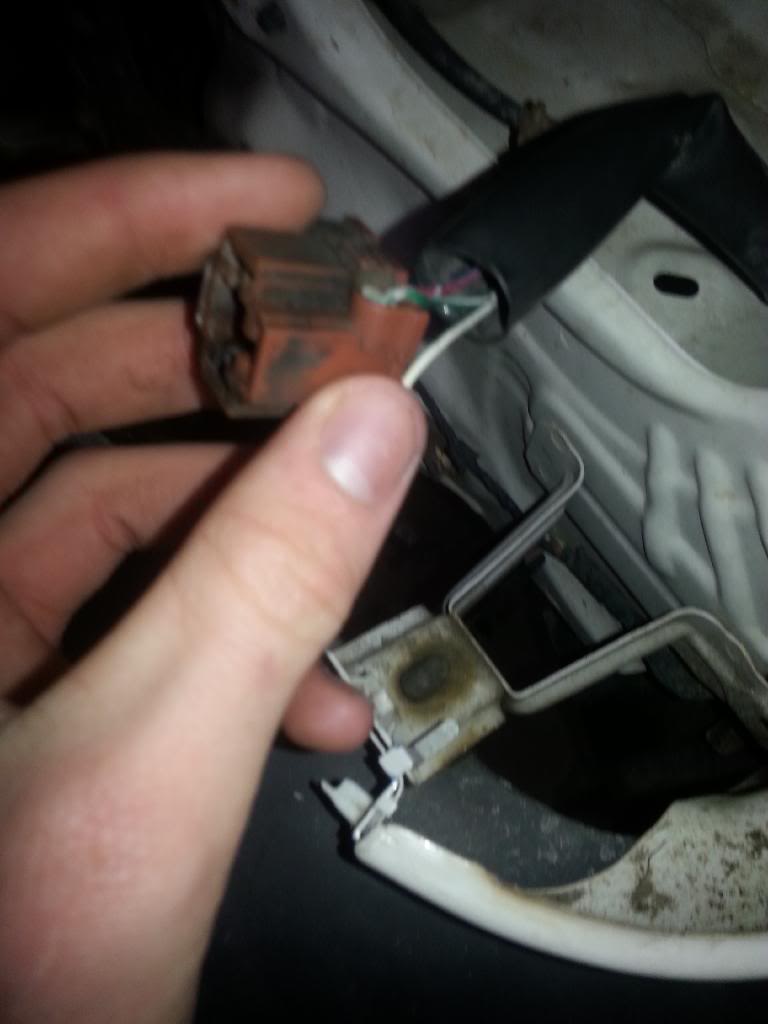
A quick trip to the auto parts store to get a new generic bulb connector, and an hour later it works again!!
These work fine
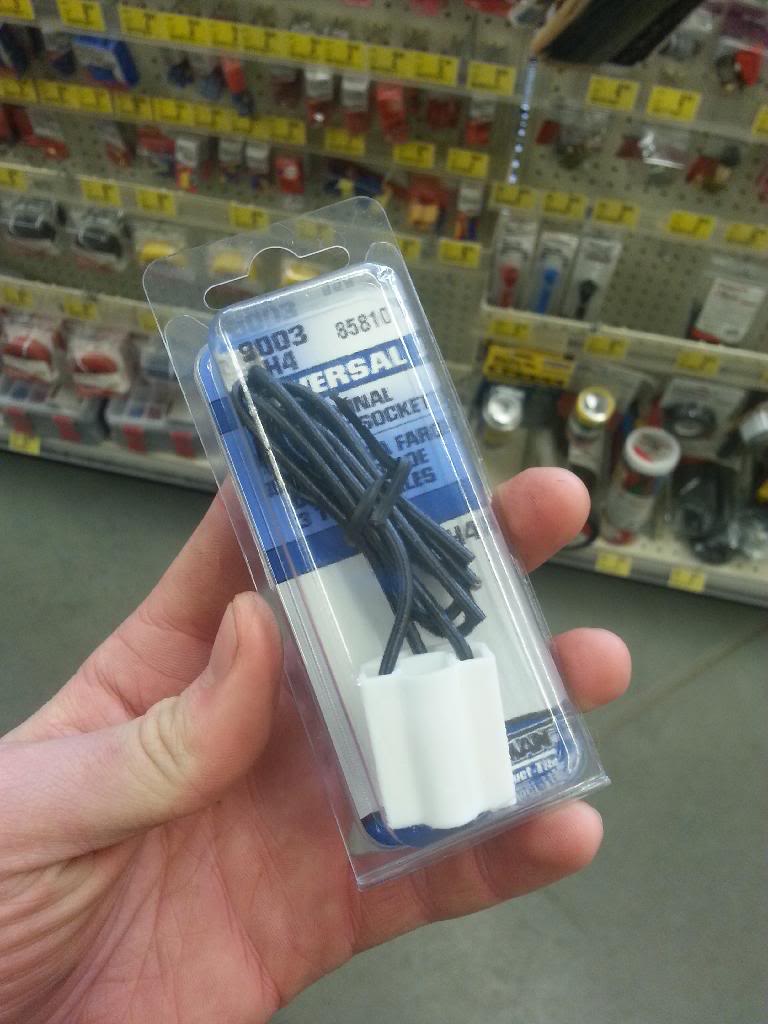
However, I do have some advice for whoever attempts this repair in the future.
These things.... (This is attempt #1 btw)

They suck for what we were trying to do. The headlight wire was just too thin for what this connector was designed for, so we ended up with some parts we didnt need. Instead, I popped over to the auto parts store again to get some shrink tube, and with some help from a lighter, she's good as new.
Annnnnnd while I was up'n at it this weekend, I noticed my drivers side head light was dim. So, upon further inspection, I found that the connector coming from the mess of wires that powers the bulb had been long gone for a while.
This thing
A quick trip to the auto parts store to get a new generic bulb connector, and an hour later it works again!!
These work fine
However, I do have some advice for whoever attempts this repair in the future.
These things.... (This is attempt #1 btw)
They suck for what we were trying to do. The headlight wire was just too thin for what this connector was designed for, so we ended up with some parts we didnt need. Instead, I popped over to the auto parts store again to get some shrink tube, and with some help from a lighter, she's good as new.
Last edited by LiebeYotas4X4; 03-18-2014 at 06:50 PM.


