When you click on links to various merchants on this site and make a purchase, this can result in this site earning a commission. Affiliate programs and affiliations include, but are not limited to, the eBay Partner Network.
I guess, I've only had this truck for 4 years. I could start a thread on it....
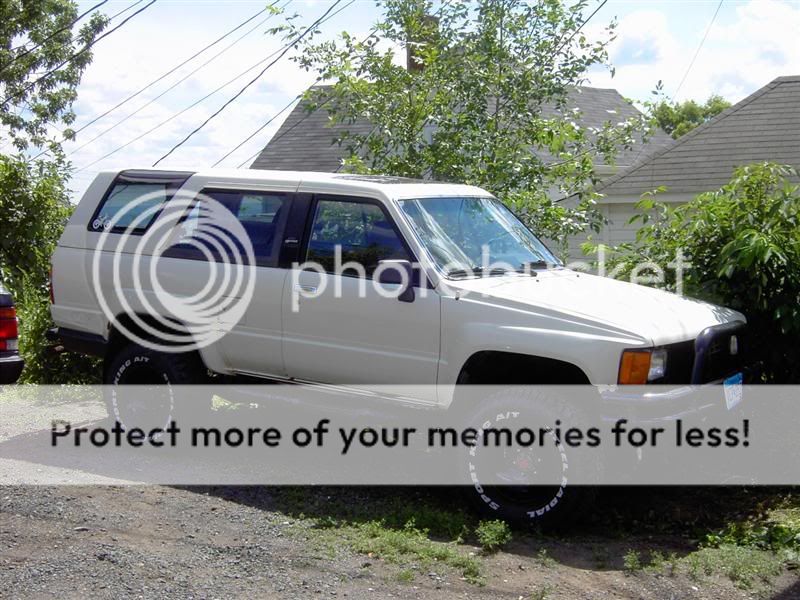
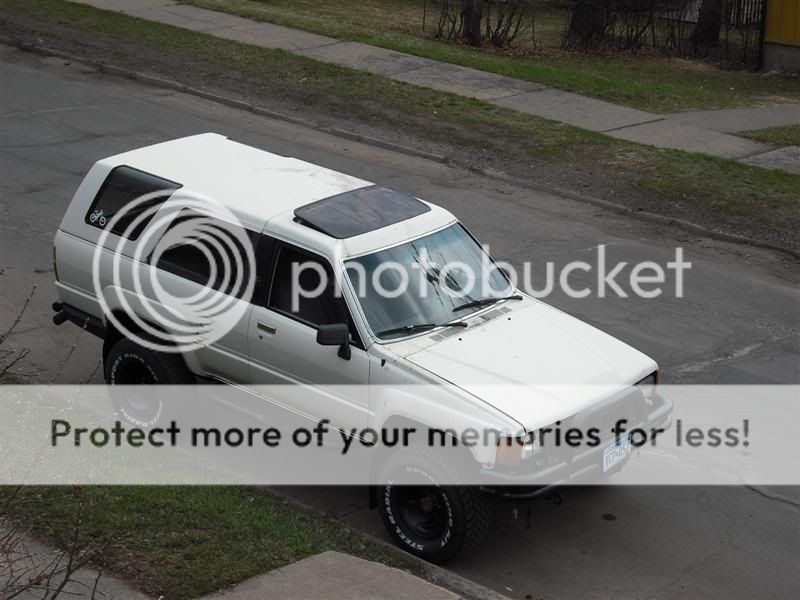
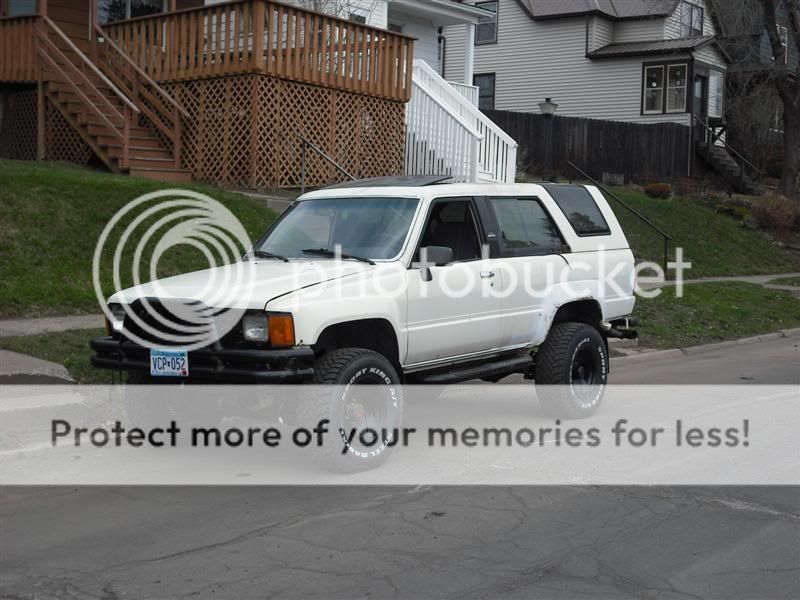
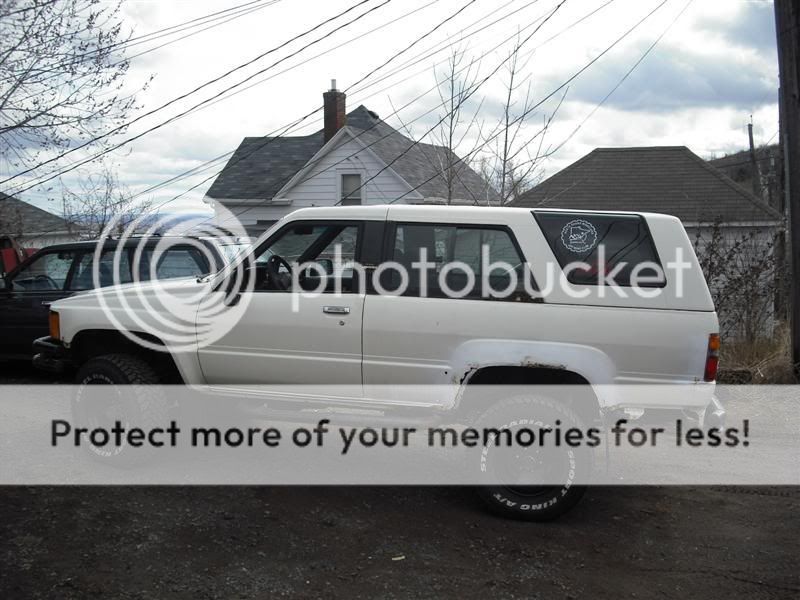
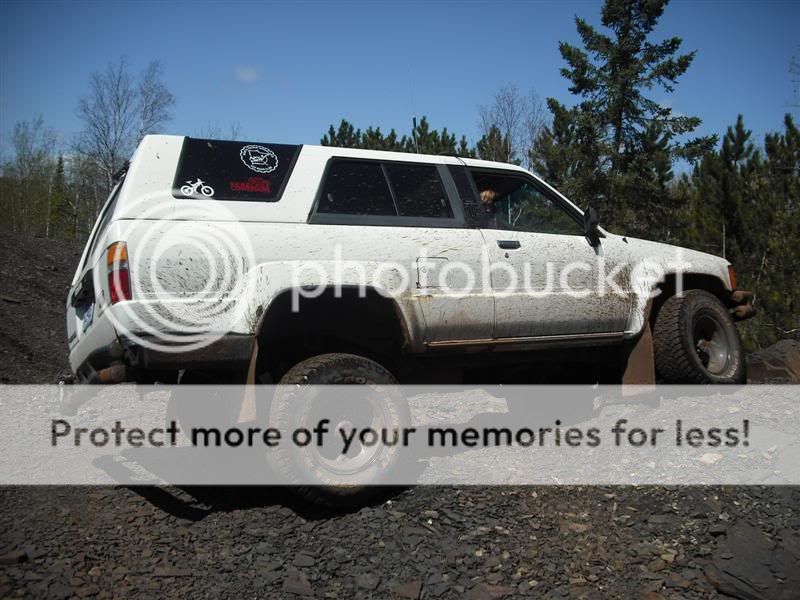
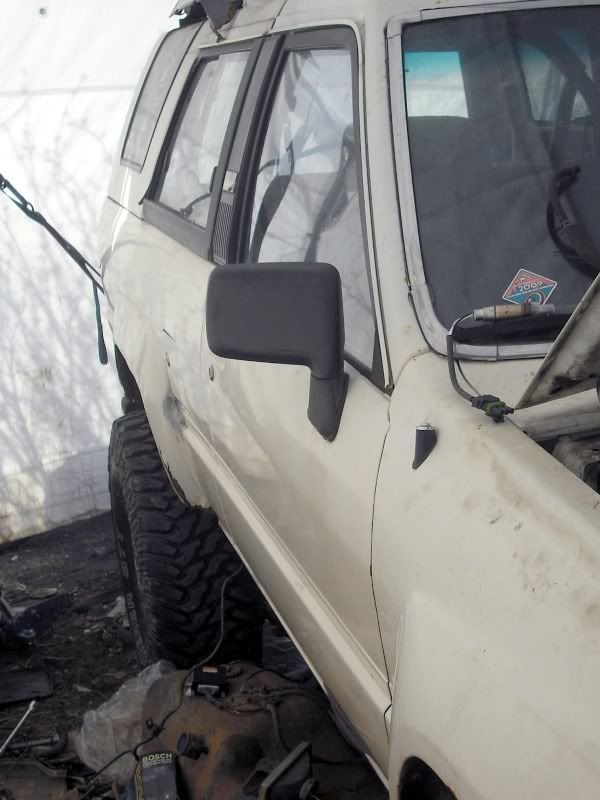
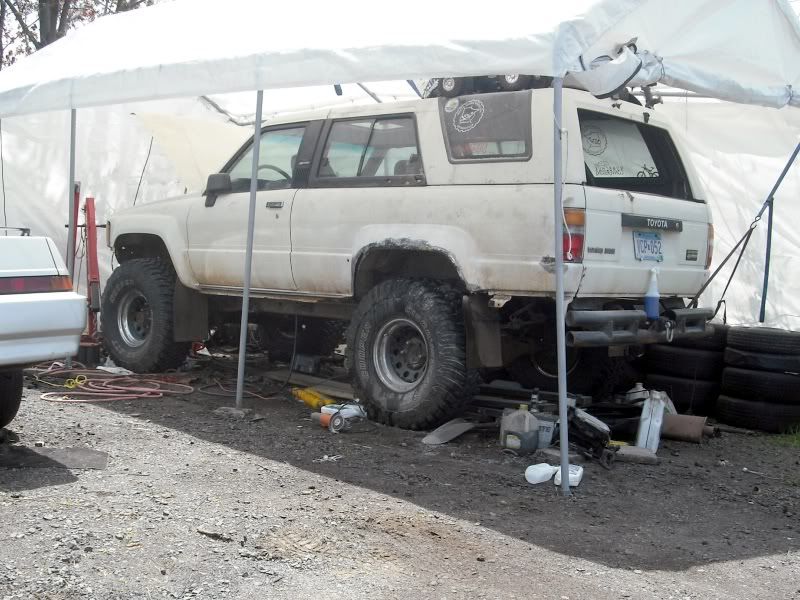
4 years ago this month. I sold my old lifted '88 Subaru wagon to make a step up in the wheeling world to something a bit more beefy. replaced it with this '87 4Runner SR5 Turbo.
pretty soon after I got it:
background....
I bought it from a guy in the local offroad club who salvages cars. in ~'97 he purchased this truck at insurance auction. it had been stolen, and the 2 guys that stole it drove it through a store front to rob the place. the impact blew the radiator (as well as destroying bumper/headlights/grill/hood/fenders), so they left it and took off on foot. The insurance company totalled it out. So he bought it, fixed it, put tube bumpers, step bars, an add-a-leaf, wider wheels with low backspacing, and 31x10.5 tires on it, and sold it to his sister-in-law. She lived in Colorado for much of that time, so it hasn't been exposed to salt for more than 10 years.
about 1.5 years before I bought it, they put a few grand into a brand-new head, turbo, and radiator. and about a year later, her boyfriend "changed" the oil.....and it quickly developed rod knock. we don't know much, other than the fact that 300 miles later, she noticed the noise and the fact that oil pressure gauge read nothing. she had it towed to the dealer, and they charged her for oil, and a drain plug (and labor)......
he bought it back and sold her a newer 4runner, and he planned to put a chevy 4.3 V6 into it, but never got around to it, so he put it up for sale.
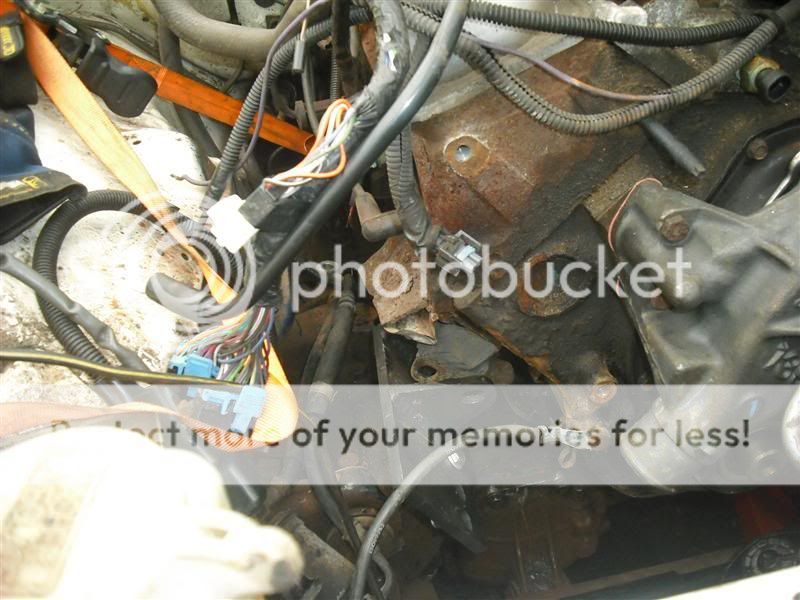
that winter, I dropped the oil pan, and found these in the bottom:
all 4 thrust washer halves, one pretty thoroughly deformed
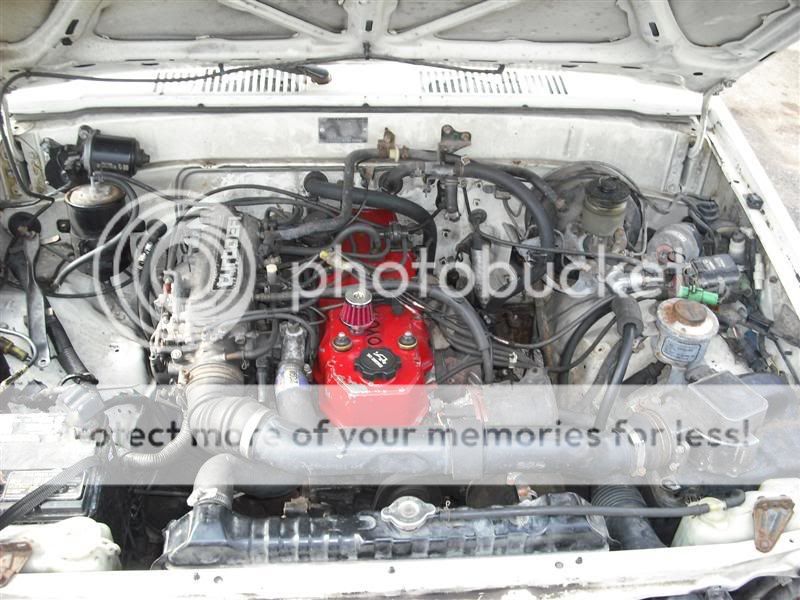
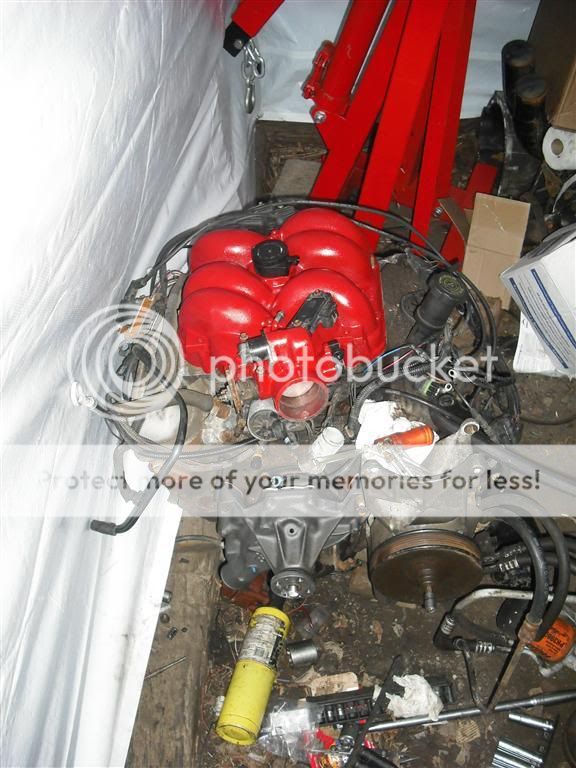
and painted the valve cover and air pipe
replaced them, and the main bearings (rod bearings measured well within spec, mains were borderline). started it up, and it was no better. I put it in gear and put the brakes on to see if the noise went away under load.......and noticed that as soon as the turbo started to spool, it started burning oil like crazy. great, seals in the turbo are shot!
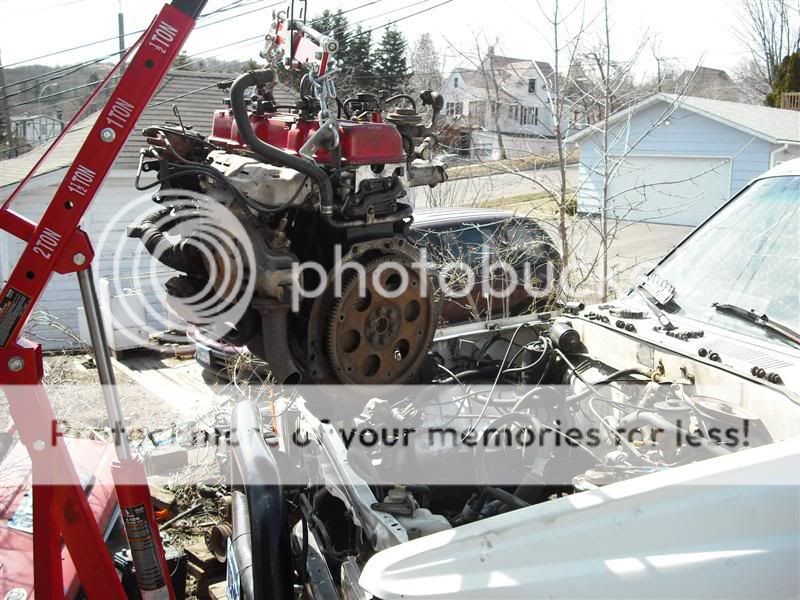
so I started looking for a new motor.
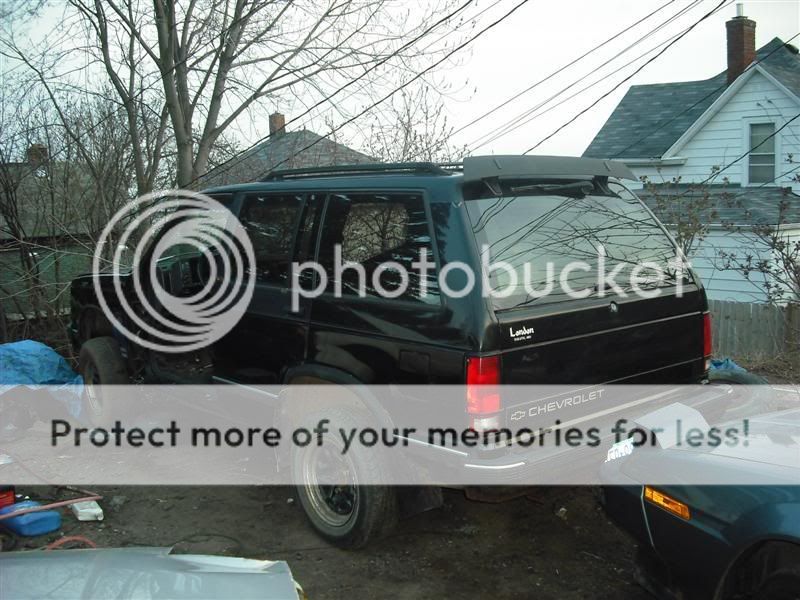
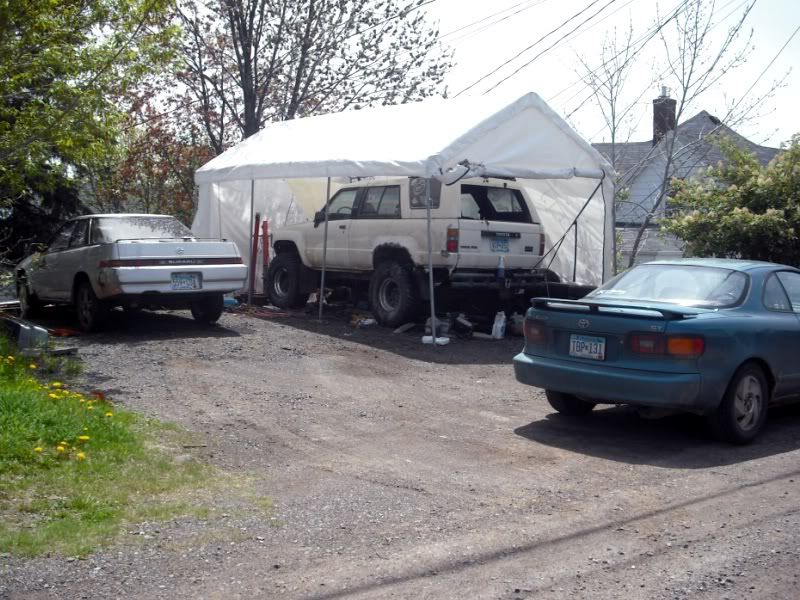
the next winter (Jan 2008), I noticed a rusty 4runner that had been run into a pole and been sitting for a month or so. offered the guy $200, we settled on $250:
too rusty to be worth fixing, but a decent engine donor. didn't actually get around to parting it out until August.
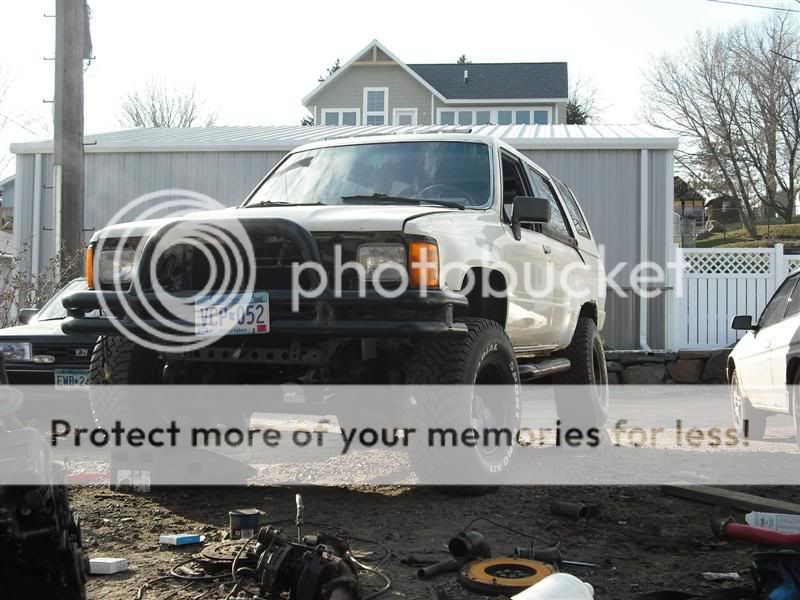
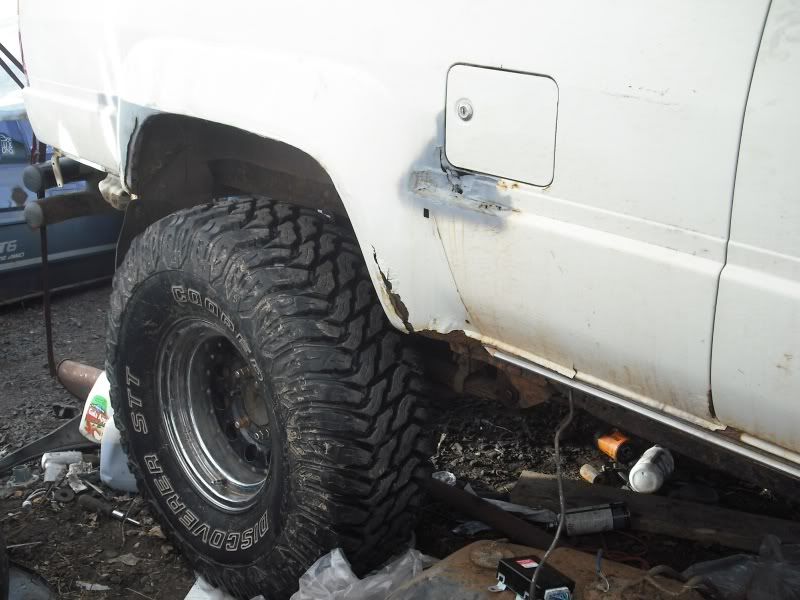
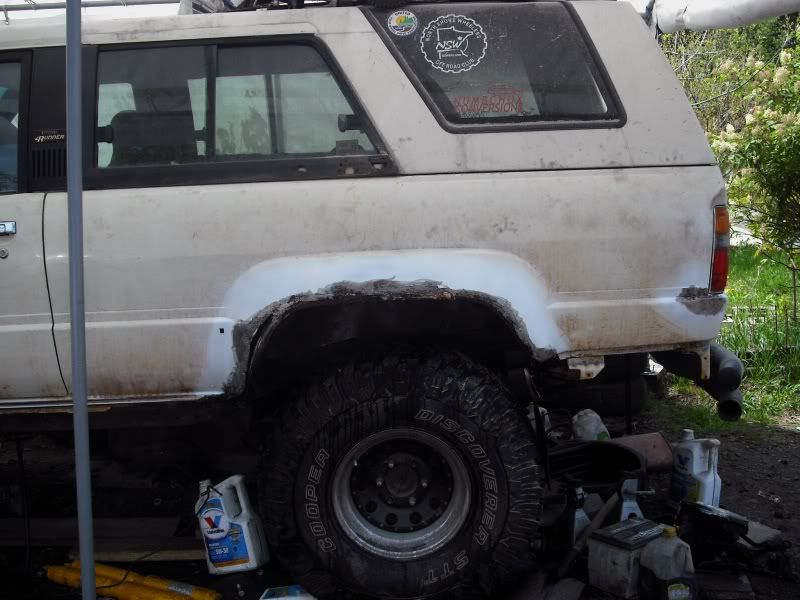
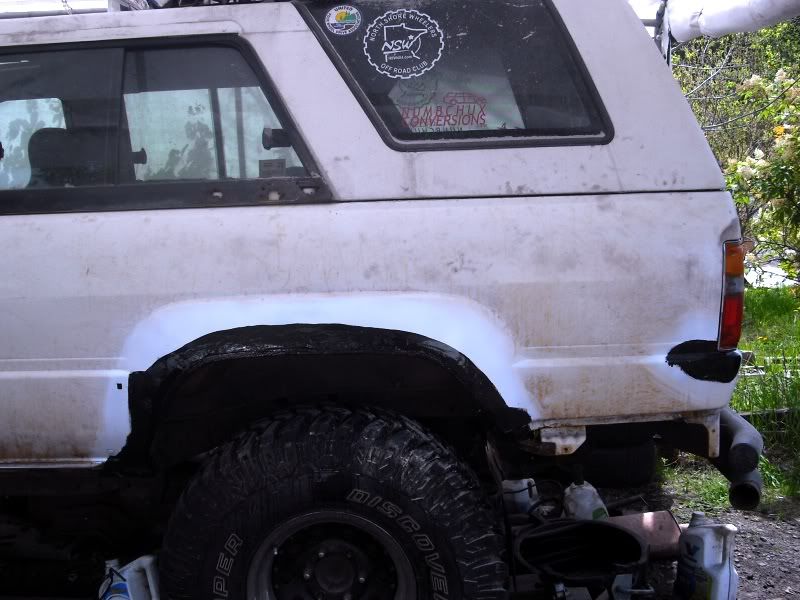
but I did paint the ugly ass wheels on the white one:
in november, I finally had the remains of the parts truck hauled away:
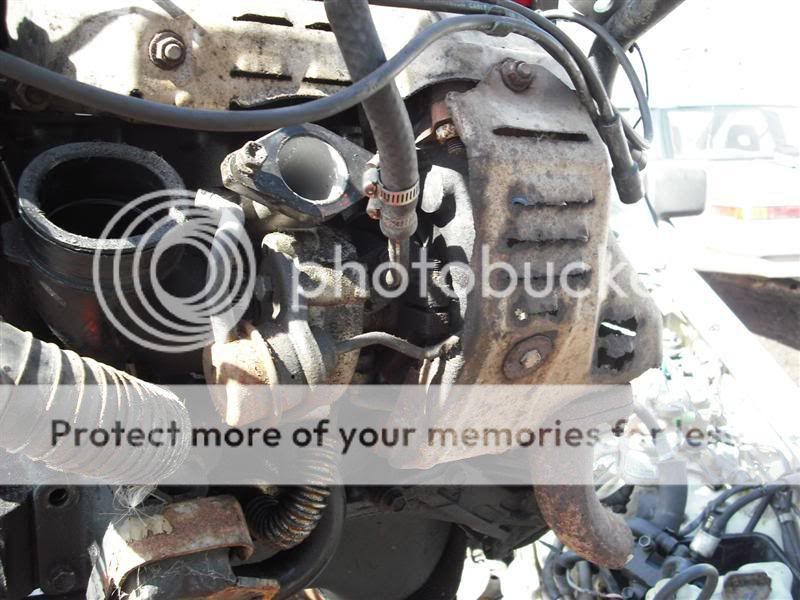
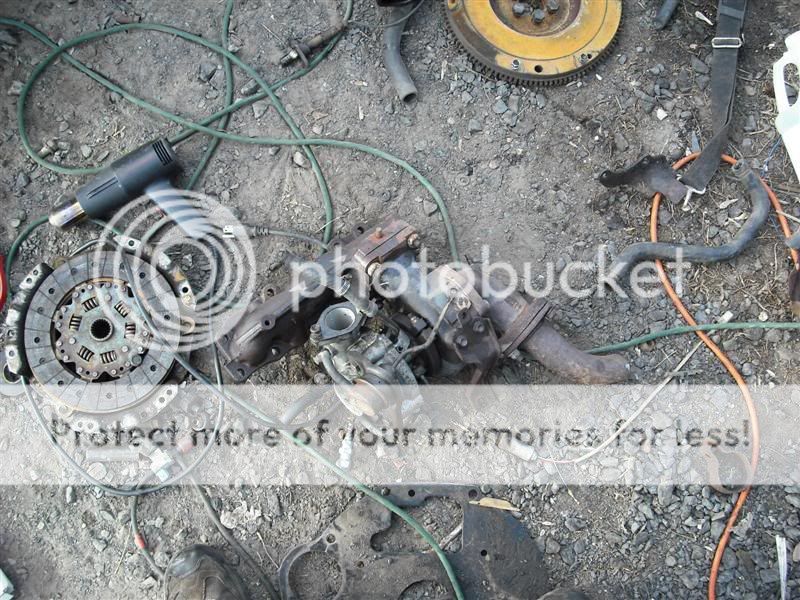
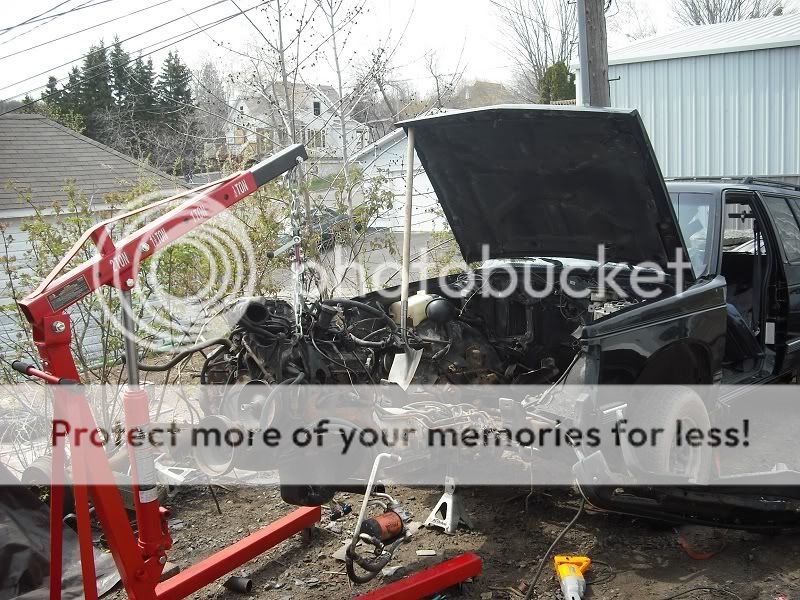
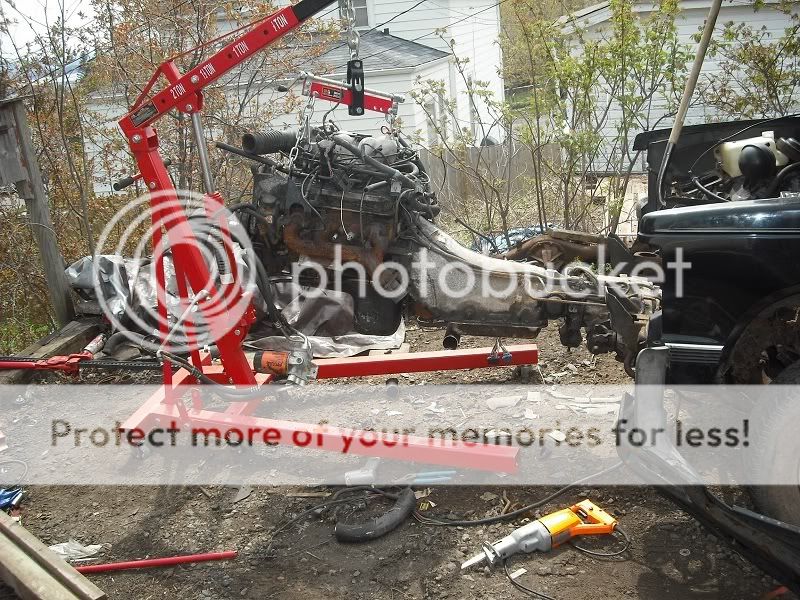
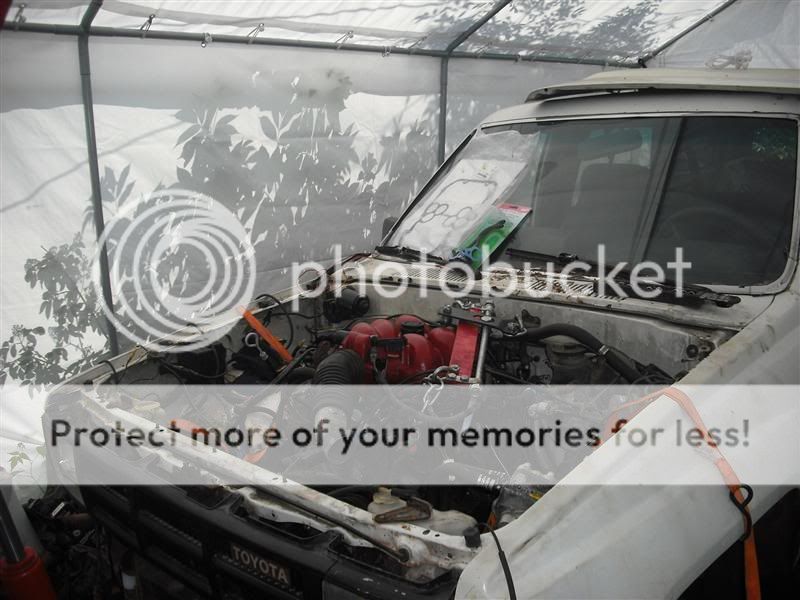
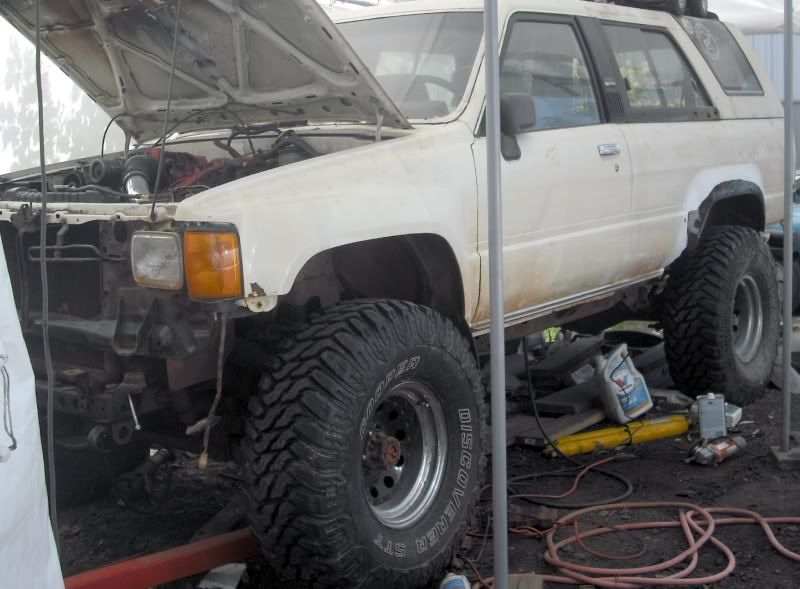
I used the N/A block, head, and lower intake manifold. and the injectors, upper manifold, valve cover, sensors, solenoids, MAF, and wiring from the turbo setup. while I let it run to make sure I got all the air out of the cooling system I saw the ramps just sitting there......
CT-20 turbo:
unfortunately, the downey header I bought is for an older truck. I knew the flange was the same, and that an 02 bung would be needed......what I didn't anticipate, was that one of the primaries on the header needs the space occupied by one of the torsion bars for the front suspension (wouldn't be there on an older solid-axle truck). so, stock N/A header is back in it.
for the first time in 2.5 years. it left the alley, and under it's own power. I only drove it around the corner to park on the street in front of my house for awhile while I put new plugs in my mom's legacy.....but it still counts!!
got the important mods done.....STICKERS!!!!
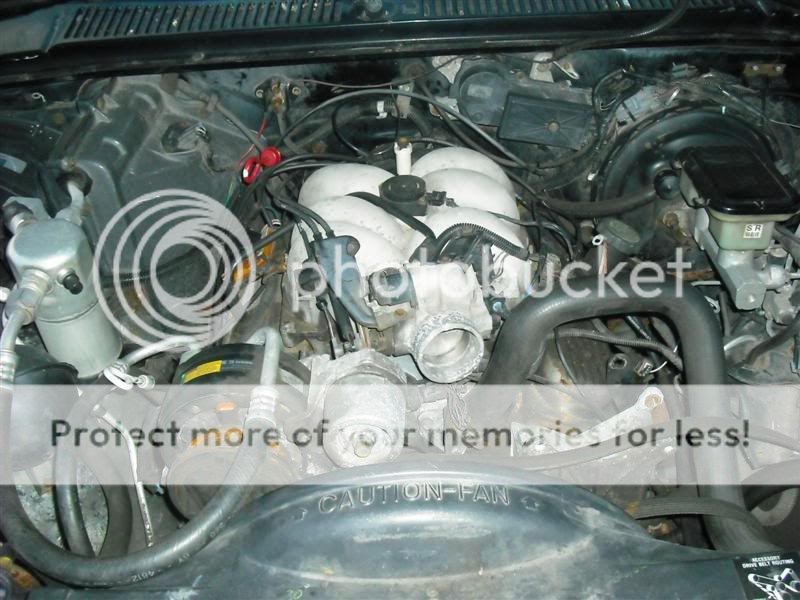
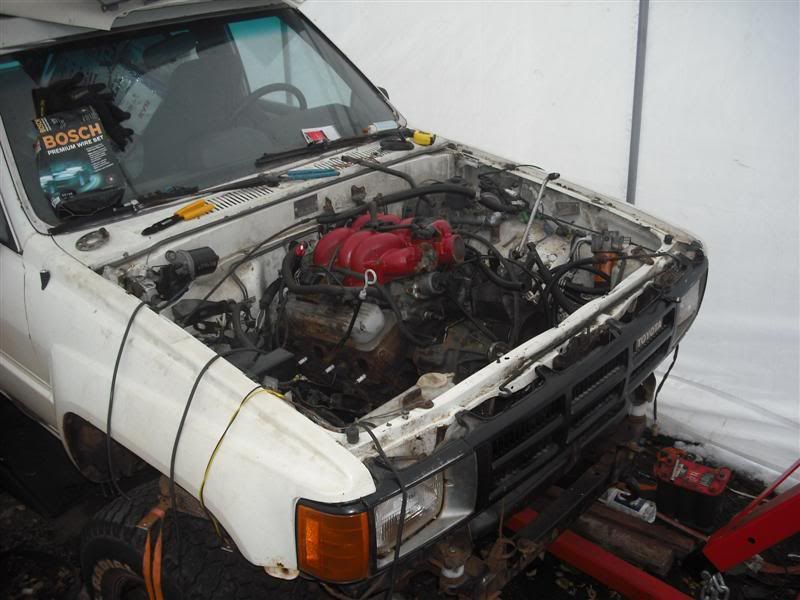
and bought a breather filter for the PCV vent. and took an engine bay shot
Took it up north to the off-road park for the open house. Wheeled it for about 8 hours straight!! nice!!
About a month later. the Head Gasket blew......I only got about 1k miles on that motor. That was last July sometime.
Last edited by IB Cristina; 07-28-2017 at 02:21 PM.
after some contemplating, I decided fixing it (I found many many screwed up threads when I went to replace the gasket) was more work than it was worth. and would be quite a project to get the power out of it that I wanted to make the truck really streetable and maintain the auto trans for wheeling.
after plotting all winter....the first of many parts arrived:
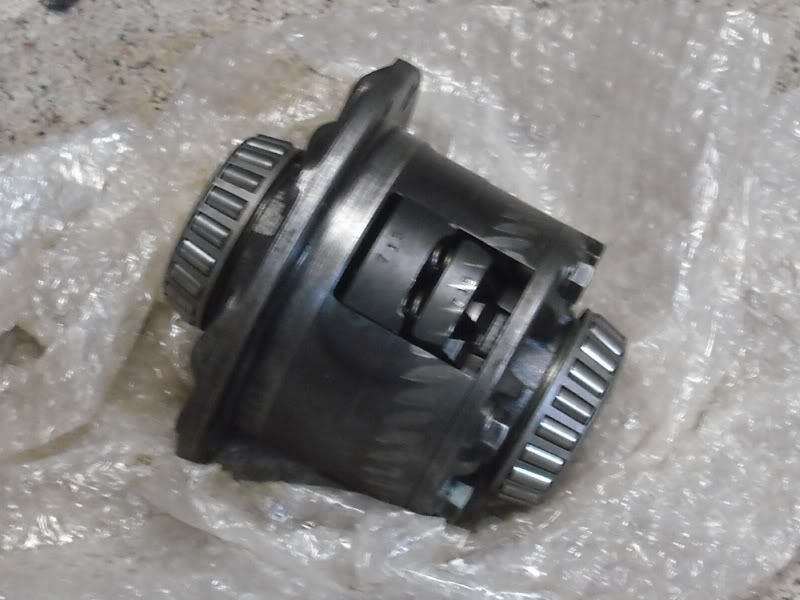
it's a '92. complete with a 190hp 260lb/ft Central-Port injected 4.3:
cost me $40......delivered
I WIN!!!!!
after a fiasco with FedEx (I'll be going out of my way to not use them in the future!), a couple boxes from RockAuto arrived. New water pump, timing set, spark plugs, wires, cap, rotor, fuel lines (plastic ones in the intake manifold to the injector.....they tend to get brittle and crack), and a few other things.
AA tcase and motor mount adapters arrived as well. some more fitment issues may have shown themselves. I decided to wait and do the body/drivetrain lift at the same time, and just do it right once. instead of making it work, and then changing everything...
timing set is in, new water pump is on.
also...this:
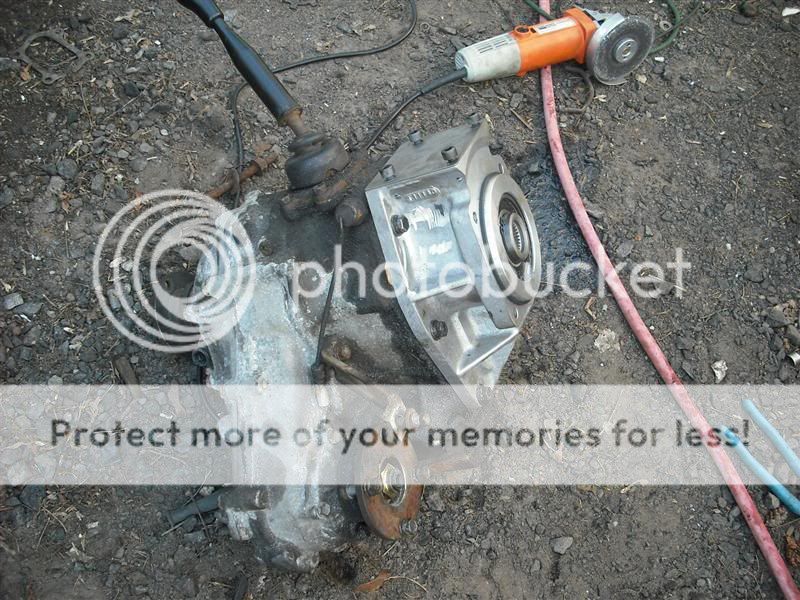
bolted the AA adapter up to the gear-drive tcase out of the red truck
"AA" was cast into the side of the adapter....I thought it was pretty cool. until I realized it prevented the installation of 2 of the mounting bolts. so, a minute with the grinder was necessary. That's ok, a simple, yet major, oversight like that makes me less encouraged to advertise for them anyway
Also got the 2" 4Crawler body lift and engine mount spacers installed.
First test fit. motor mounts didn't quite line up.
Looks like without the GM clutch fan, I'll have room to mount the engine further forward, which will put the transfer case in stock position....which means simpler linkage and no driveshaft modification.
Hood clearance is going to be interesting....might need a small cowl
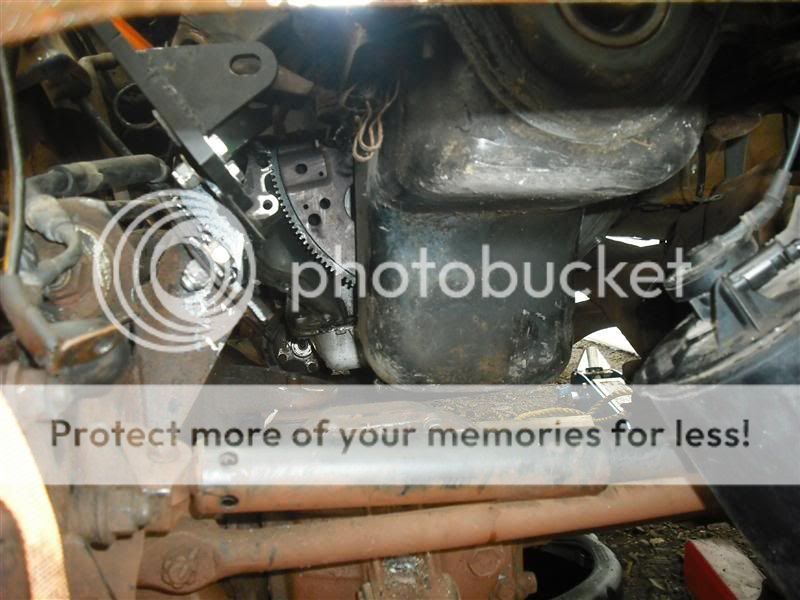
oil pan clearance is fine. with the 2" drivetrain lift, the oil pan sits entirely above the front diff. although the drain plug is directly above it, which is annoying....(the chevy's are driver's side drop, whereas the yota is passenger-side).
pics!
got a set of motor mounts for a '60s comaro. same bolt config on the engine, but lower profile (part # listed in the AA instructions). Installed them today, and everything lines right up.
engine sits a healthy inch lower now. so hood clearance looks like it'll work out. There's still oxygen between oil pan and front diff, but only just. I might massage that corner of the oil pan a bit to be sure.
engine is moved a bit further forward. I will have to adjust the motor mount adapters to the next notch back (which should help the vertical clearance a bit). I really don't understand why people were moving their tcase back to do this swap! I've got the tcase on the stock xmember now, and a good 1.5" gap between engine and transmission. with plenty of room for radiator and electric fan in front of that.
Transmission and transfer case are bolted to each other, and supported by the Budbuilt tcase crossmember. Engine has been in and out a few times. I'll have to bolt the motor mount adapters to the engine first, and then the frame, as I can't seem to line it up the other way around.
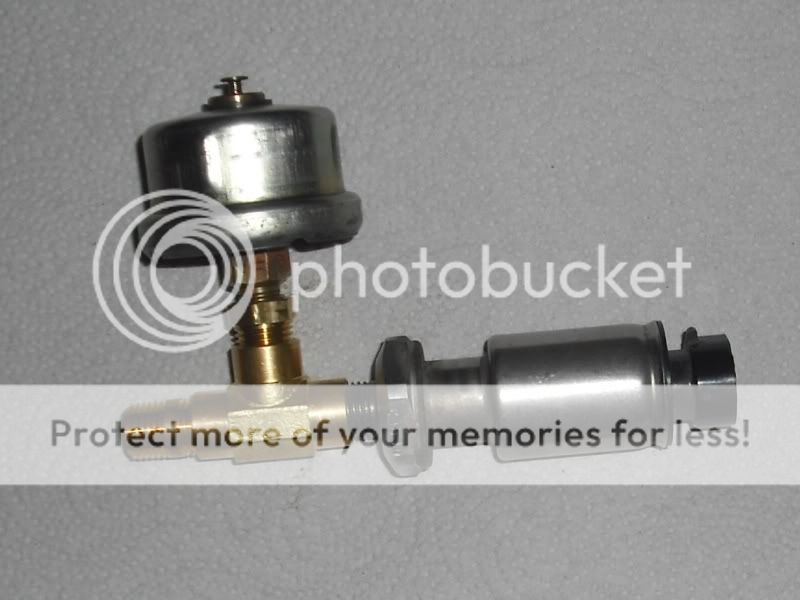
Been working on the sensors to make the Toyota gauges work. The temp sensor for the gauge had the exact same threads, so that was a direct swap. Oil pressure wasnt as simple, since the fuel pump circuit uses the oil pressure switch. That means that I needed both sensors. Luckily the sending units both have standard pipe threads, so for about $10 at Home Depot, I made a T fitting to make them both work.
So....for the first time since they left the donor truck. The engine and transmission are bolted together. AND, they're bolted to the truck!
just enough room for both oil senders back there. also got the OEM transmission dip-stick in there. I really don't know why people say you have to move the tcase back for this project. There's so much room for it otherwise.
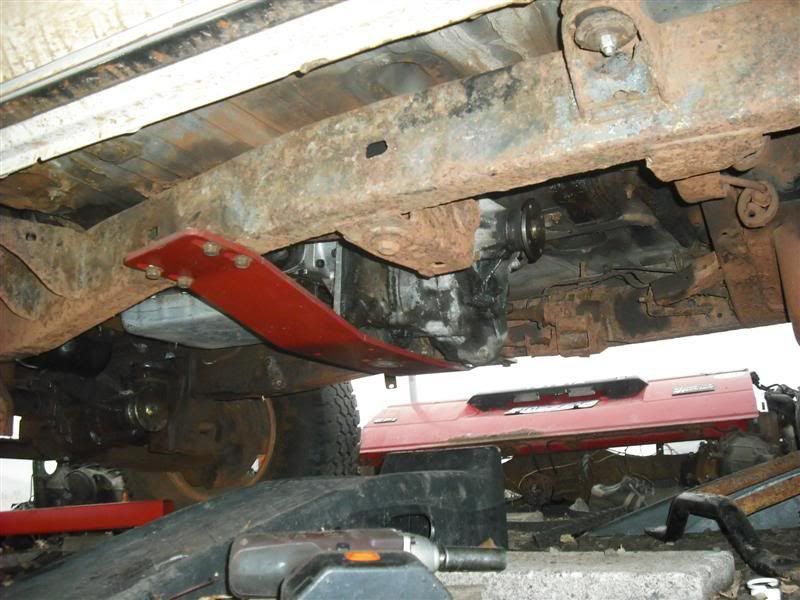
Also, took a picture of the tcase crossmember. nice!
getting the engine and trans bolted together was a pain. now that everything is tight, the oil pan is touching the front diff.....So. diff will come out and I'll round off that corner with a hammer.
Nah, I think a full rebuild would have just added un-necessary time and cost to the project.
So, winter is on it's way out. And my work schedule has gotten a bit easier....so progress has been made. For more details on the swap, check out my thread in the domestic engine swap section. https://www.yotatech.com/forums/f163...runner-224443/
Hoping to have the engine running before too long (I know I've said this before....but really. I'm getting close!)
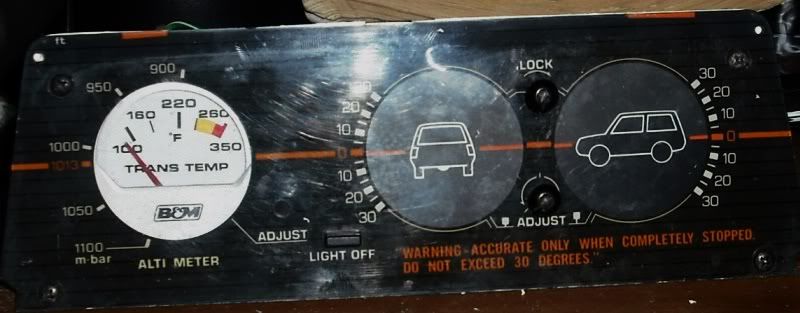
Since I'm using a 700R4 auto trans. And as with all ATs, they're pretty tough unless they get hot. Since I'm unsure of how much load this setup will put on it, and how effective the stock toyota tranny cooler will be, I decided to run a trans-temp gauge.
Next step was mounting it. Keeping a clean, stockish interior is fairly important to me....so...
I don't use the altimeter, at all. Besides, my GPS has a much more accurate one. I didn't modify anything visible, so it'll be possible to return it to stock.
Also, with a tiny bit of modification, the stock light that was behind the altimeter fit in the gauge housing. so it'll light up the same color as stock and the dimmer will still work just fine.
In other aspects of the project. Since I'm lifting the gas tank to match the body lift, I have to re-work the mounts anyway. The exhaust will all be custom, and the shocks are getting relocated. Fuel lines are getting re-run, and pump re-wired.
Sooo.....I'm relocating it to the driver's side. Only extra work, is extending the filler and vent lines.
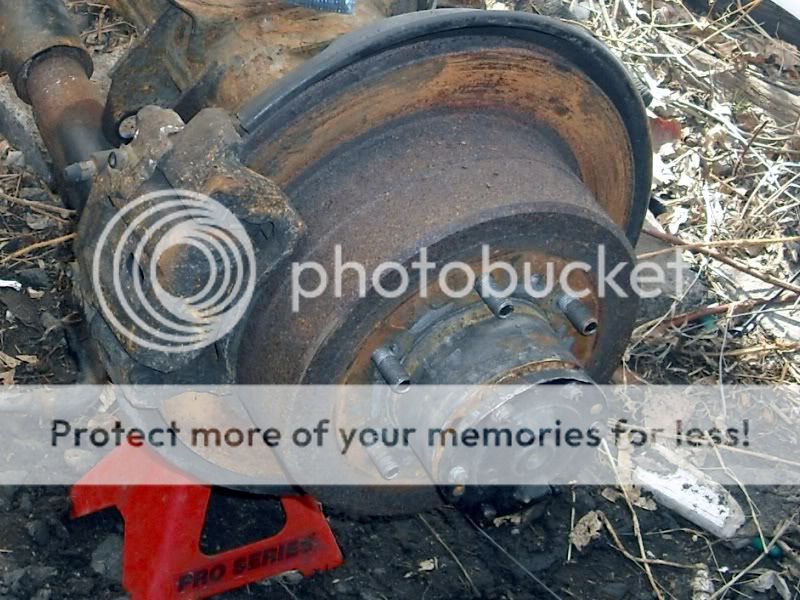
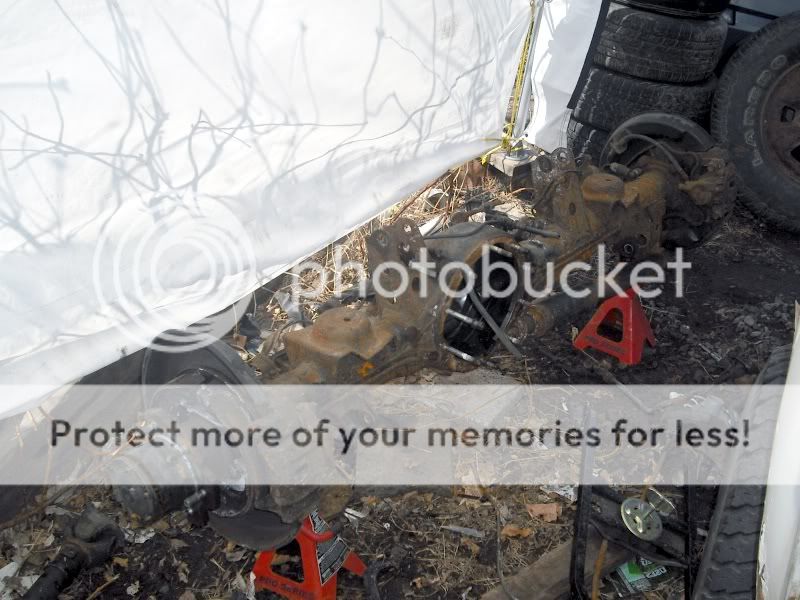
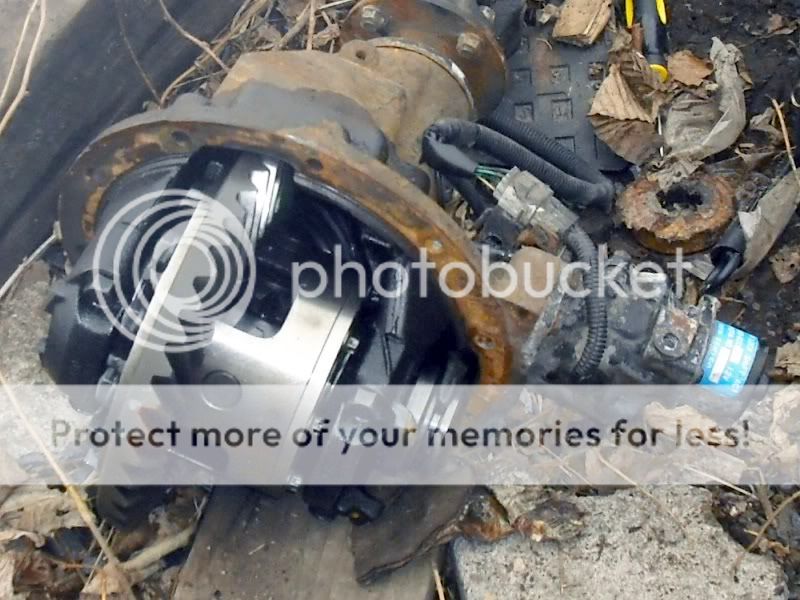
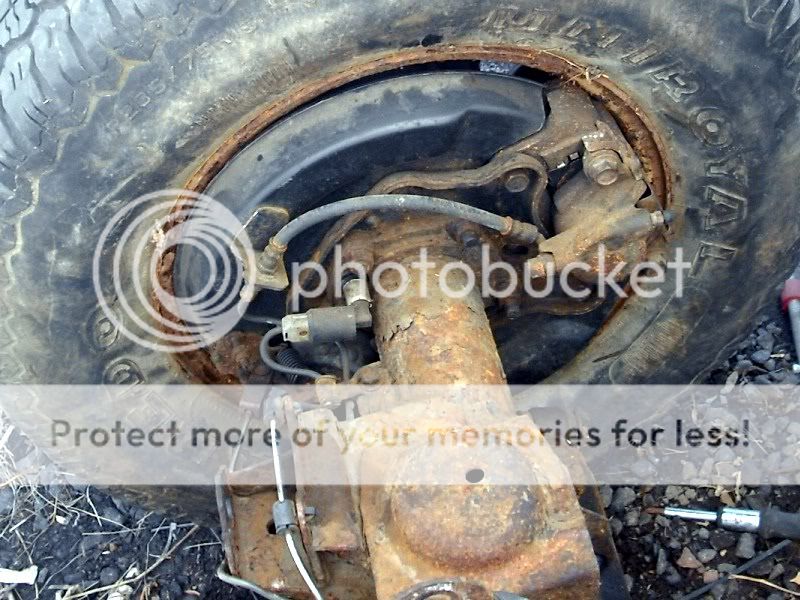
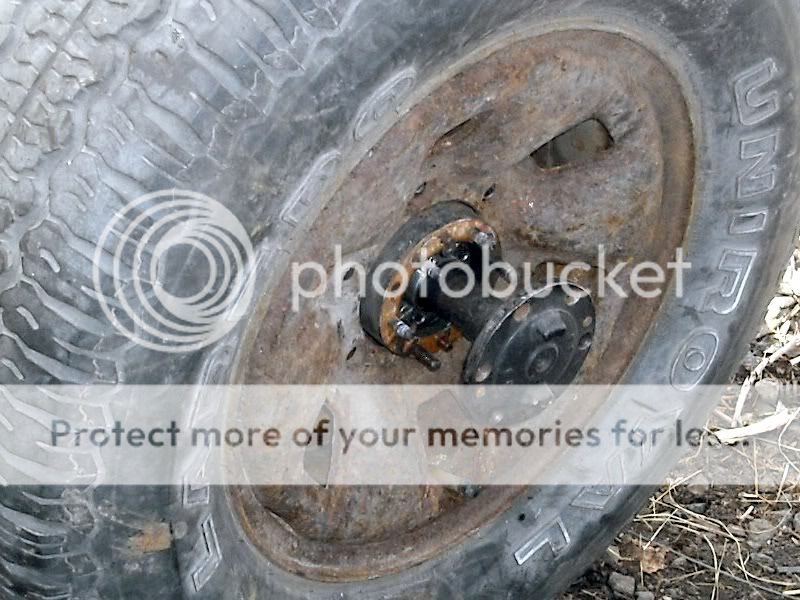
And in a few days, I'm driving down to Minneapolis to a UPull yard. Should be able to get an FZJ-80 rear axle (with elocker) for about $150. With that, I'll get full-floating hubs, disc brakes, drum-in-disc parking brakes, and obviously the locker. Also, the width will match a blazeland kit pretty much perfectly...
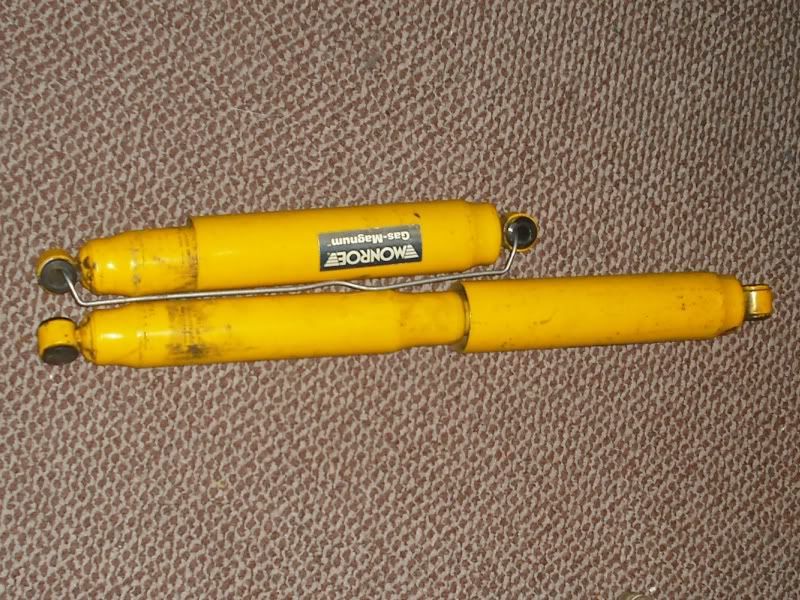
Got these to go with my Bud-built shock relocation:
Also got a 6-position fuse block from waytekwire. Also got some rocker switches with green LEDs in them. They'll be used for the locker, OBA, rad fan, and some aux lighting.
Bypassed the LSPV, and removed the extra brake line along the frame. I still need to get a manual valve and plumb it in up by the Master Cylinder, but I'm one step closer.
Also removed the rear shocks, and stock muffler heat sheild (will be remounted on the other side to protect the fuel filler a bit).
Should have a beast of an update over the next couple days...
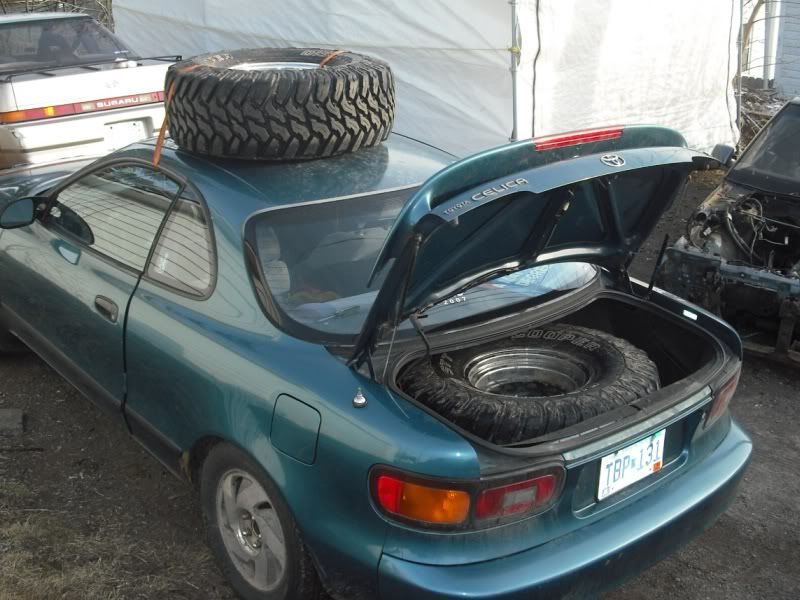
35x12.5r15 Cooper Discoverer STTs on 15x8 American Racing steelies. Tires are virtually brand-new. $600 and a Downey 22R header (cost me $50 a few years ago) for 'em.
Got these 2 on the back:
I think the old wheels were 15x10s. And these definitely have a bit more backspacing. So they don't stick out any more:
Still shooting for the Open house (free day up at the ORV park here in MN, about a month away) as the test-run. List of stuff to-do before then:
Install rear shocks (assuming I can get my hands on a pair of 3" exhaust clamps)
Bleed the brakes (install proportioning valve?)
Finish shifter cable mount (not too hard, but the passenger seat has to come out so I can drill a couple holes in the tunnel)
Wire Radiator fan/switch
Install driveshafts
Finish up the ECU wiring
Install gas tank
Run fuel lines (no plan for this, other than about 12' of 5/16 FI-grade hose)
Connect trans cooler
Connect oil cooler loop (don't actually have the cooler, yet)
Figure out coolant hoses
Exhaust (no real plan here either...)
Test-drive
Fix whatever stupid crap gives me trouble
Should be able to get the first 5 or 6 done this weekend. Hoping to get out there and tinker on it a bit every day next week.
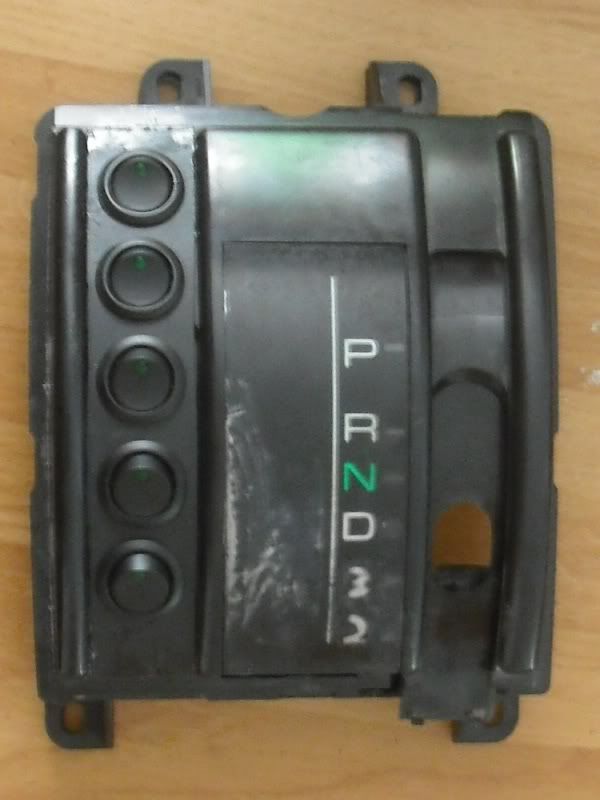
Cut out a chunk from an old Thinkpad laptop case to cover the hole where the old tcase shifter was. Then I drilled 5 holes in it.....
Then I started the wiring...with 3 tabs per switch, there was a bit to do
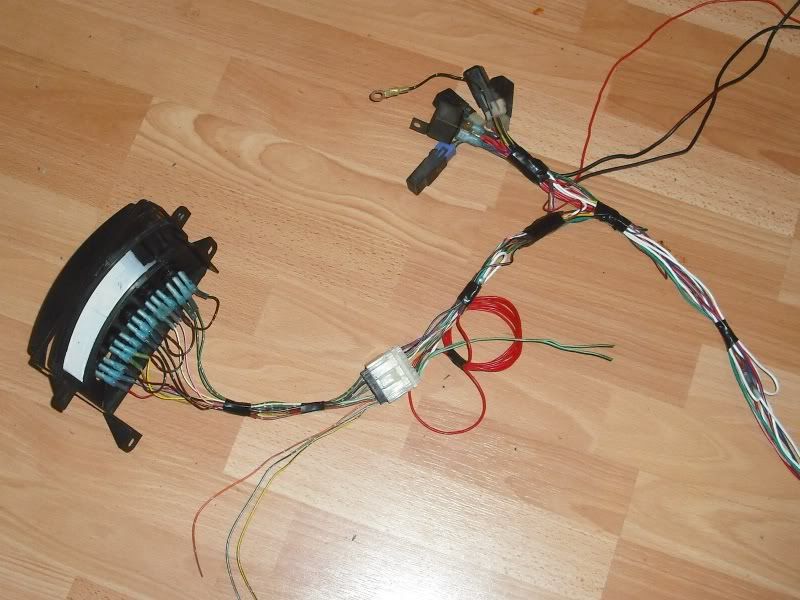
I decided to integrate a number of circuits into a custom add-on harness so that I can continue to add to this setup without having a rats-nest of wiring. So I found a matched pair of plugs from an old subaru harness so I can unplug the shifter trim for future maintenance. Then 5 relays will mount behind/under the radio.
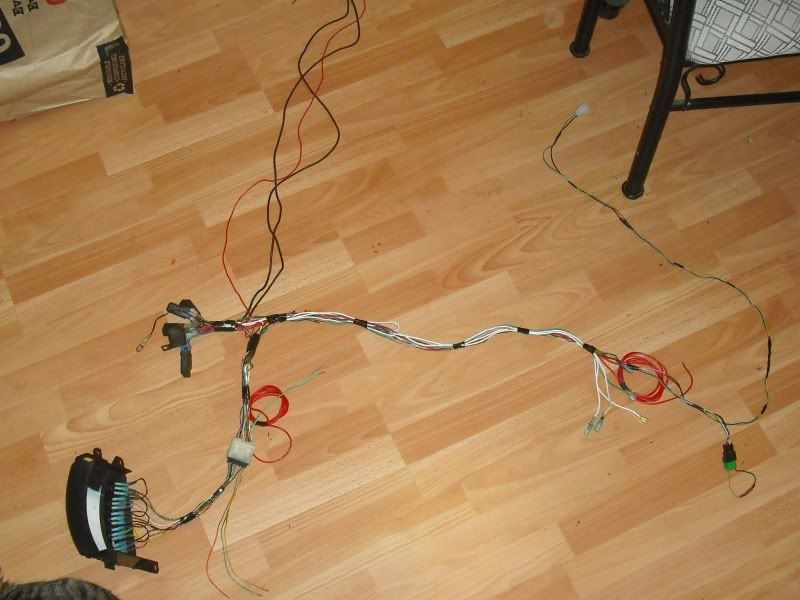
Then the wires go over towards the passenger side, where they will tap into a 6-position fuse box mounted to the body under the glovebox. And then the wires that go into the engine bay will tie into the Blazer engine harness for a nice, clean, OEM look.
the 6 circuits are:
radiator fan (using a SPDT relay, using the "normal-on" side to reverse the polarity of the switch. So the light on the switch will be ON when the fan is OFF. I have also added a plug so I can add a temp switch in the upper radiator hose in the future for automatic control)
On-Board Air (plan on using the blazer A/C compressor, also wired for a pressure switch)
E-locker (using the Land-Cruiser control unit which is why there isn't a relay, and a covered toggle switch so it can't be accidentally switched)
and 3 sets of lights (probably 1 on the front bumper, 1 on the roof, and rock lights)
 11-14-2010, 11:25 PM