Vendors Build-Ups (Build-Up Section) Vendors can showcase customer builds here

toyotafiberglass - Erik's runner

Thread Tools
 
Search this Thread
 
Old 11-22-2013, 05:21 PM
  #1  
Registered User
Thread Starter
iTrader: (1)
 
slacker's Avatar
 
Join Date: Jan 2006
Location: BC Canada
Posts: 6,299
Received 273 Likes on 184 Posts
toyotafiberglass - Erik's runner

Erik brought us his runner to repair ..
previously , some other person had cut the rust out , and made it work for a few years , but now time to do it right !


and the cuts on the outer wheel house ..


.
Old 11-24-2013, 02:50 PM
  #2  
Registered User
iTrader: (1)
 
gillesdetrail's Avatar
 
Join Date: Jan 2013
Location: Montreal, qc
Posts: 803
Likes: 0
Received 1 Like on 1 Post
Another one of your nice project I'll be following! Have fun with this one!

P.S. which gen do you like working on the most?

Last edited by gillesdetrail; 11-24-2013 at 02:52 PM.
Old 11-25-2013, 04:14 PM
  #3  
Registered User
Thread Starter
iTrader: (1)
 
slacker's Avatar
 
Join Date: Jan 2006
Location: BC Canada
Posts: 6,299
Received 273 Likes on 184 Posts
Thanks
i'm partial to the first gen trucks ... and I love the trekkers .
4Runners are also a passion .. so I'm very lucky , I get to build em all


.
Old 11-25-2013, 04:29 PM
  #4  
Registered User
Thread Starter
iTrader: (1)
 
slacker's Avatar
 
Join Date: Jan 2006
Location: BC Canada
Posts: 6,299
Received 273 Likes on 184 Posts
got the old sheet metal off .. and here's why I recommend doing the whole panel instead of a patch


clearly you can see the rust !! also .. it allows you to clean and repair the complete inner .

because of the previous owners "repair" , we had to replace the outer wheel house on both sides


and with everything all cleaned and prepped , time for some POR 15


and wheel house "glued"


.
Old 11-26-2013, 05:08 PM
  #5  
Registered User
Thread Starter
iTrader: (1)
 
slacker's Avatar
 
Join Date: Jan 2006
Location: BC Canada
Posts: 6,299
Received 273 Likes on 184 Posts
with everything cured , the rear 1/4r panels are now fit and epoxied into place


also got the fronts on


.
Old 11-26-2013, 05:16 PM
  #6  
Registered User
 
HighLux's Avatar
 
Join Date: May 2010
Location: Ofallon Missouri
Posts: 2,587
Likes: 0
Received 7 Likes on 7 Posts
You are truly a Master Craftsman, and a hero to Toyota restorations.
No BS. I mean it. I hope to shake your hand someday.
Old 11-26-2013, 05:17 PM
  #7  
Registered User
Thread Starter
iTrader: (1)
 
slacker's Avatar
 
Join Date: Jan 2006
Location: BC Canada
Posts: 6,299
Received 273 Likes on 184 Posts
thanks brutha ..


.
Old 11-27-2013, 12:16 PM
  #8  
Registered User
 
dsal_86Yota's Avatar
 
Join Date: Aug 2011
Location: Canon City, Colorado
Posts: 592
Received 0 Likes on 0 Posts
Your skills are incredible. Your doing great things saving old Yotas.
Old 11-27-2013, 03:38 PM
  #9  
Registered User
Thread Starter
iTrader: (1)
 
slacker's Avatar
 
Join Date: Jan 2006
Location: BC Canada
Posts: 6,299
Received 273 Likes on 184 Posts
thanks

.
Old 11-27-2013, 03:45 PM
  #10  
Registered User
Thread Starter
iTrader: (1)
 
slacker's Avatar
 
Join Date: Jan 2006
Location: BC Canada
Posts: 6,299
Received 273 Likes on 184 Posts
and last but not least , our new rear inner panels installed


and everything back together today ..


Erik picked up , and another happy customer


.
Old 02-18-2014, 06:22 PM
  #11  
Registered User
Thread Starter
iTrader: (1)
 
slacker's Avatar
 
Join Date: Jan 2006
Location: BC Canada
Posts: 6,299
Received 273 Likes on 184 Posts
well Erik is back ..
Dropped us a deposit for a 3.4L install ...


coming soon


.
Old 02-18-2014, 06:27 PM
  #12  
Contributing Member
iTrader: (3)
 
BigBluePile's Avatar
 
Join Date: Dec 2006
Location: Sedro-Woolley, WA
Posts: 15,177
Received 178 Likes on 124 Posts
I didn't see it but is there a weight savings? Just curious great stuff!
Old 02-18-2014, 06:32 PM
  #13  
Registered User
Thread Starter
iTrader: (1)
 
slacker's Avatar
 
Join Date: Jan 2006
Location: BC Canada
Posts: 6,299
Received 273 Likes on 184 Posts
no .. our panels are built for strength , not weight savings .. if you want this "special option" we can do it , just not a "production " piece ..


.
Old 03-09-2014, 07:34 PM
  #14  
Registered User
Thread Starter
iTrader: (1)
 
slacker's Avatar
 
Join Date: Jan 2006
Location: BC Canada
Posts: 6,299
Received 273 Likes on 184 Posts
Erik just dropped us a deposit for the 3.4L swap .. coming in May 2014


.
Old 04-04-2014, 05:19 PM
  #15  
Registered User
Thread Starter
iTrader: (1)
 
slacker's Avatar
 
Join Date: Jan 2006
Location: BC Canada
Posts: 6,299
Received 273 Likes on 184 Posts
busy working on Erik's engine

Name:  SSPX2686_zpsef53c34e.jpg
Views: 423
Size:  86.2 KB

Name:  SSPX2687_zpsbb35d80b.jpg
Views: 477
Size:  72.2 KB

Erik has opt. for our black painted headers , as well as our new clutch , filters , belts , plugs and t/belt and water pump .. so busy getting everything prepped and cleaned before the install

Name:  SSPX2691_zps0f166774.jpg
Views: 433
Size:  77.6 KB


.
Old 04-05-2014, 03:58 PM
  #16  
Registered User
Thread Starter
iTrader: (1)
 
slacker's Avatar
 
Join Date: Jan 2006
Location: BC Canada
Posts: 6,299
Received 273 Likes on 184 Posts
just a little today ..
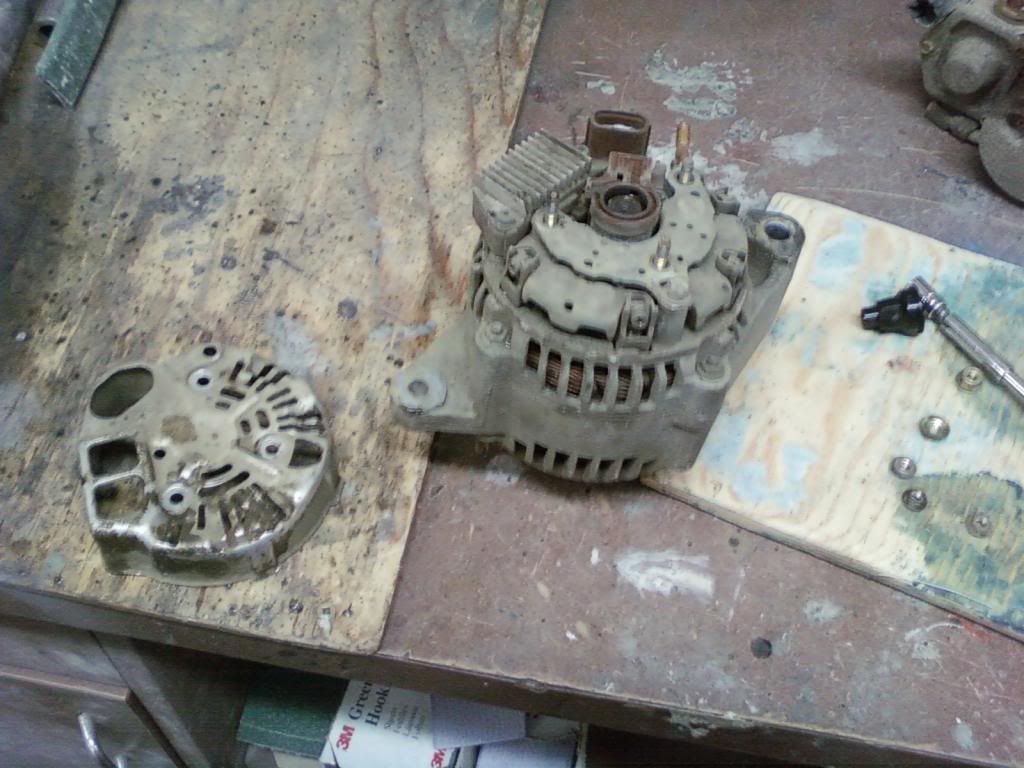
pulled the Alt apart to check condition of brushes .. all good
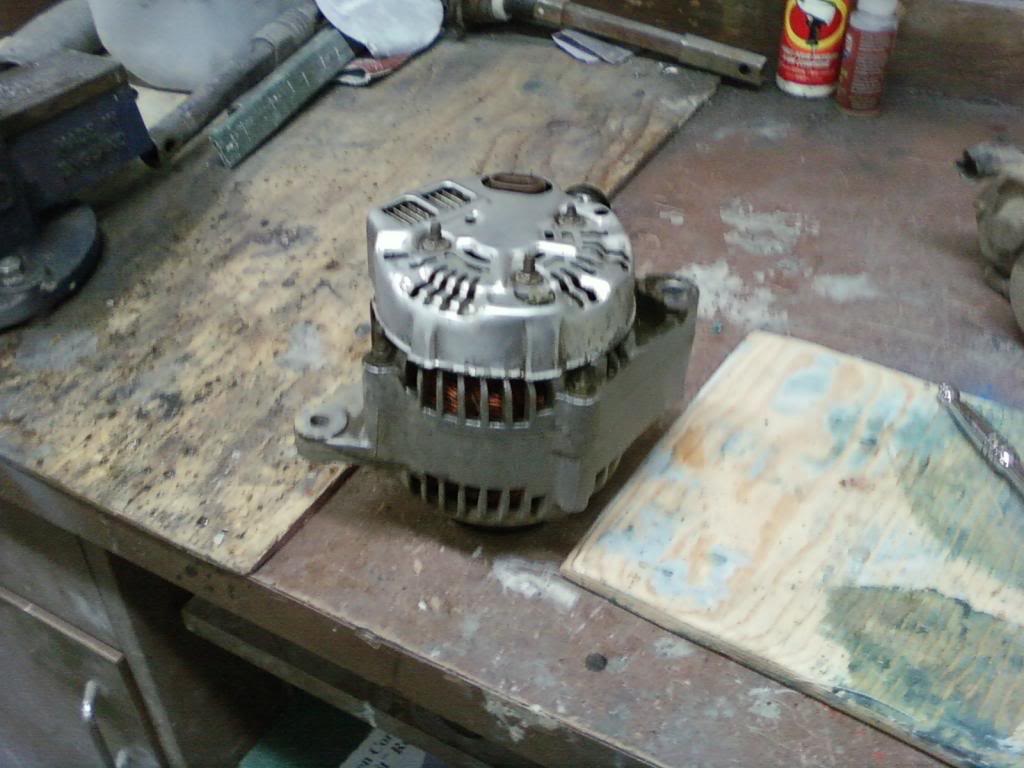
cleaned up and ready to install

Name:  SSPX2696_zps1ec06fa6.jpg
Views: 433
Size:  101.2 KB

Name:  SSPX2697_zpsc294b80f.jpg
Views: 411
Size:  86.5 KB

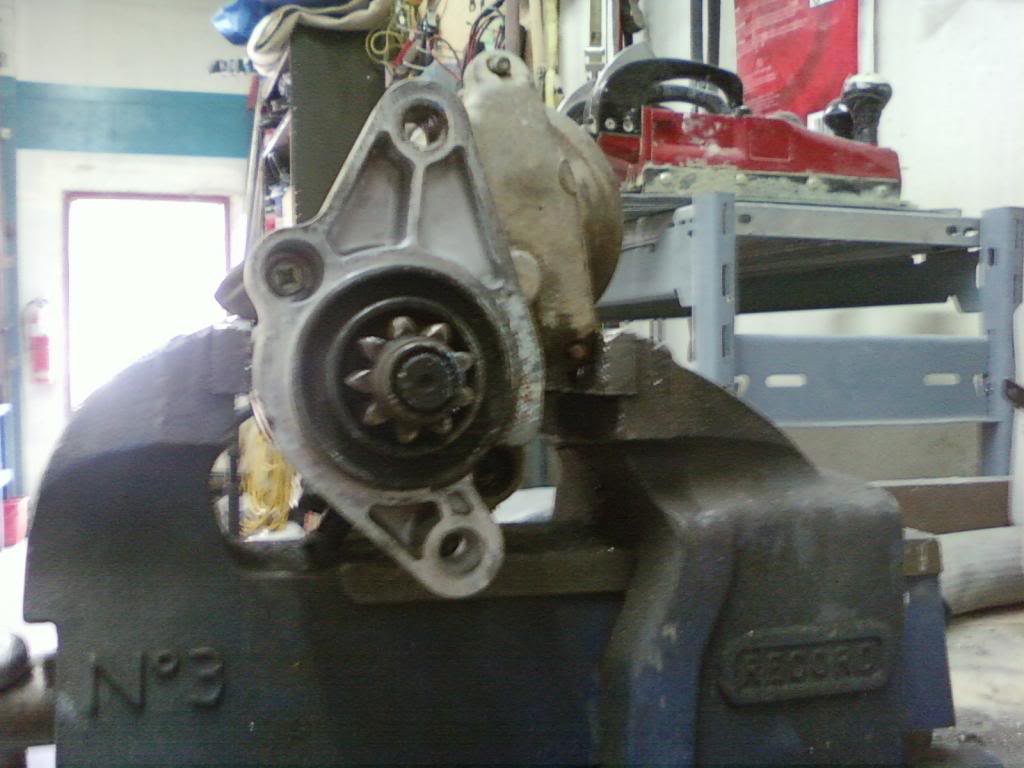
also , got the starter pulled apart and checked contacts .. all good

Name:  SSPX2701_zps3c805aa8.jpg
Views: 422
Size:  60.3 KB

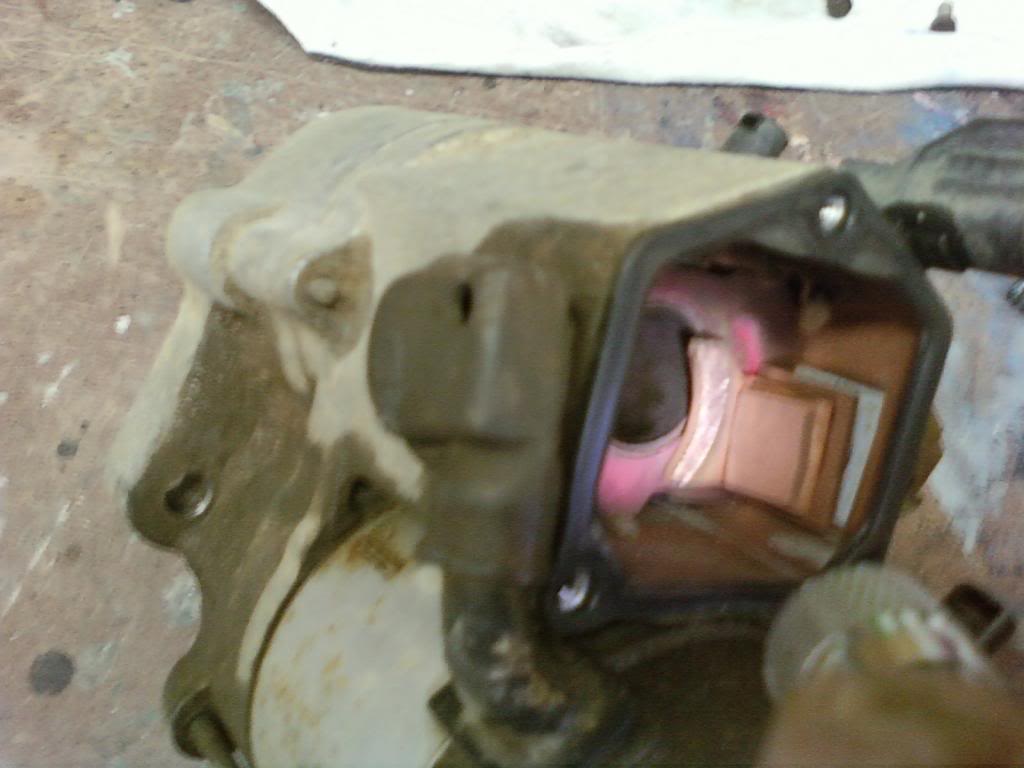
bottom mount hole drilled and now ready to install

Name:  SSPX2702_zps5b337f6f.jpg
Views: 421
Size:  76.5 KB


.
Old 04-23-2014, 05:04 PM
  #17  
Registered User
Thread Starter
iTrader: (1)
 
slacker's Avatar
 
Join Date: Jan 2006
Location: BC Canada
Posts: 6,299
Received 273 Likes on 184 Posts
more cleaning and prepping today .
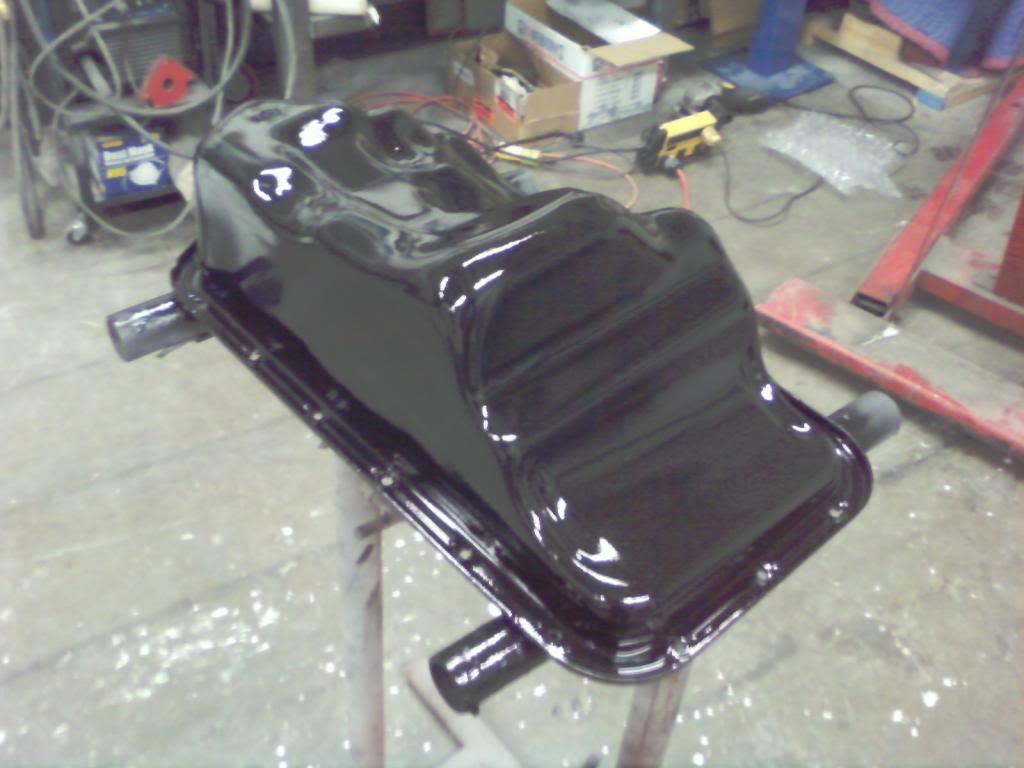
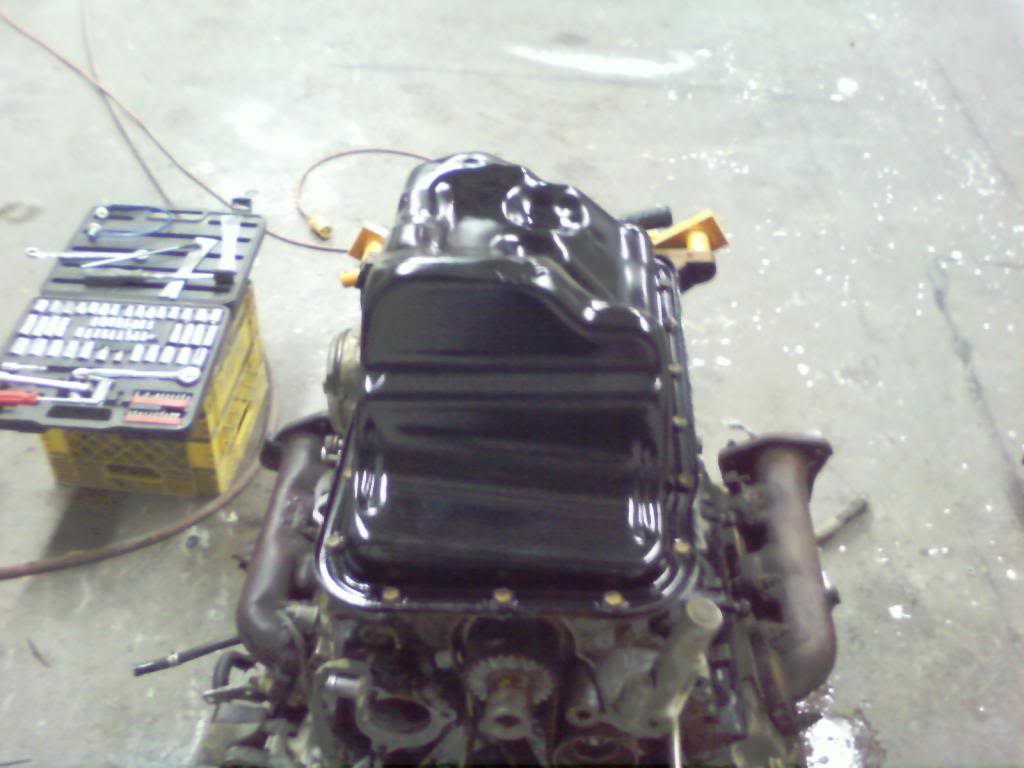
got a bunch of parts blasted , and painted , including the oil pan .

Name:  SSPX2719_zpsdbfbc362.jpg
Views: 412
Size:  65.4 KB

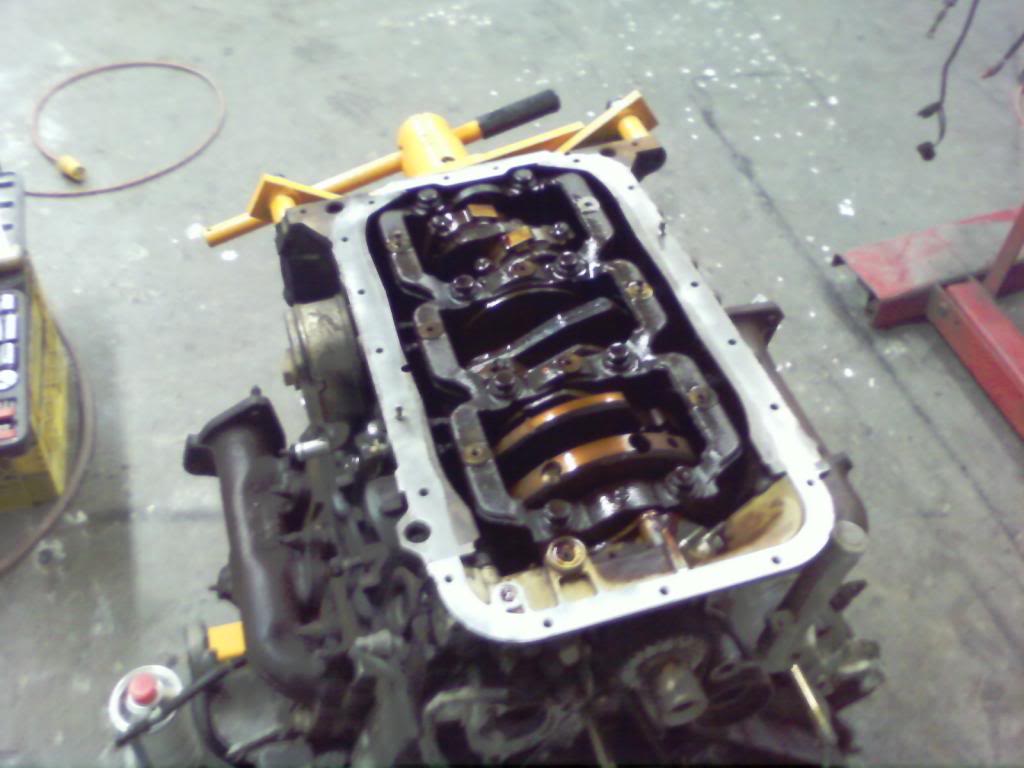
also got the bottom end buttoned up . drilled the dipstick , tapped the old dipstick hole , new pickup , and attached the clean pan , oil pressure sensor , oil filter

Name:  SSPX2720_zpsd5bdaf81.jpg
Views: 426
Size:  69.5 KB

Name:  SSPX2721_zpsaa894884.jpg
Views: 434
Size:  63.5 KB

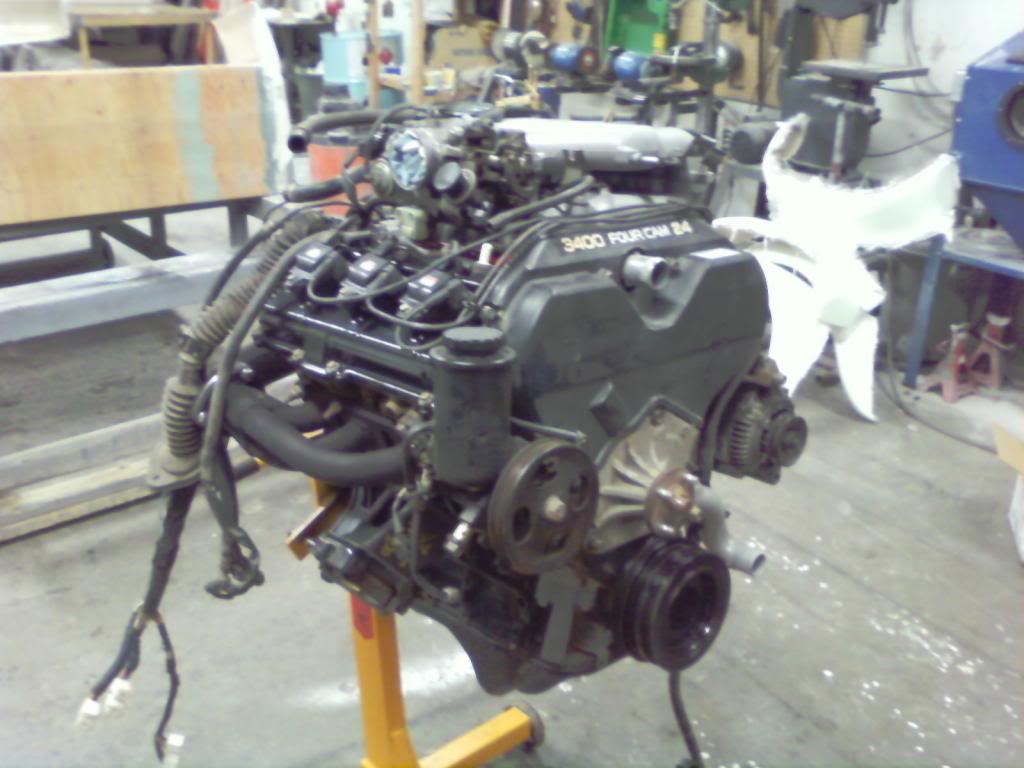
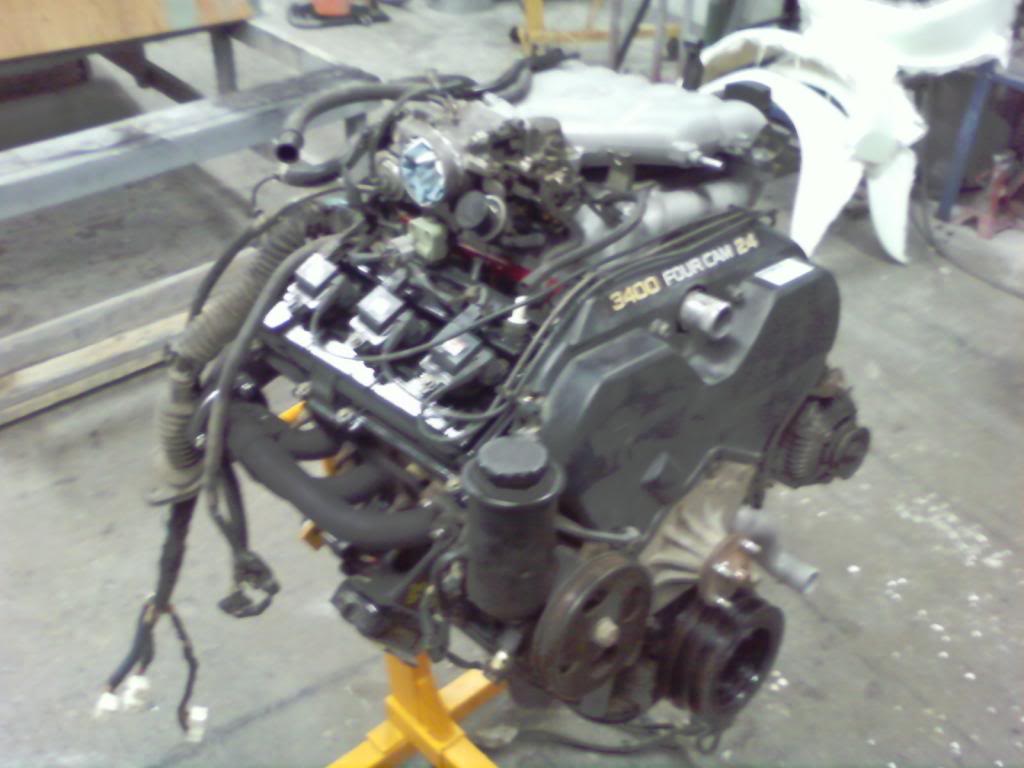
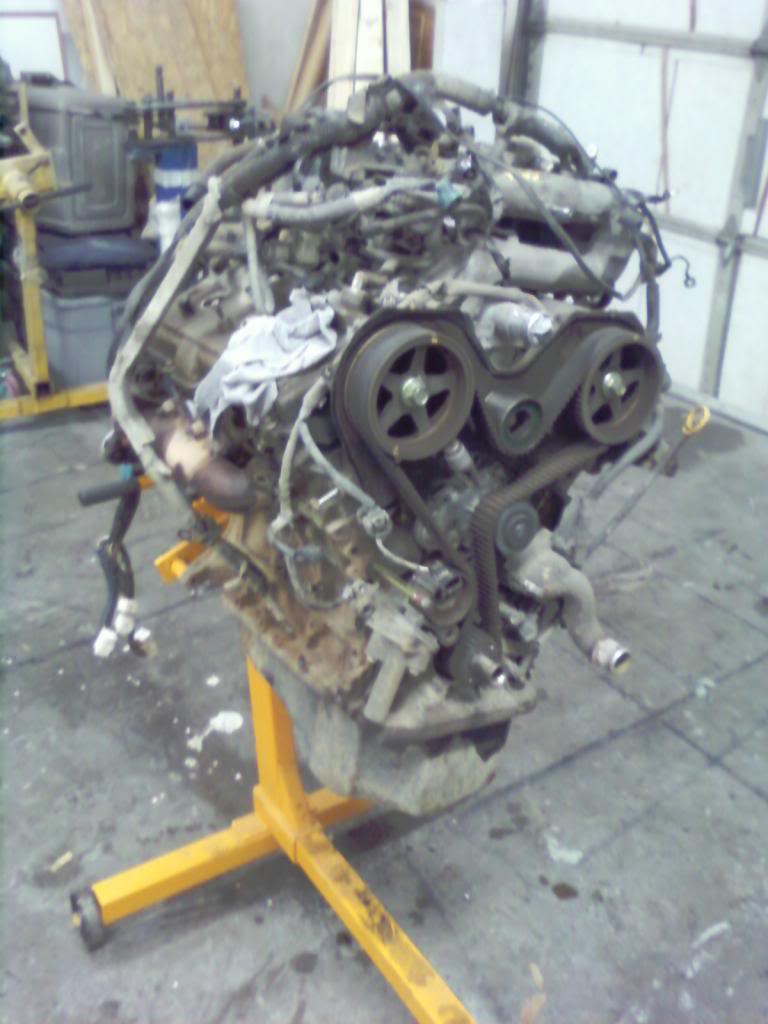
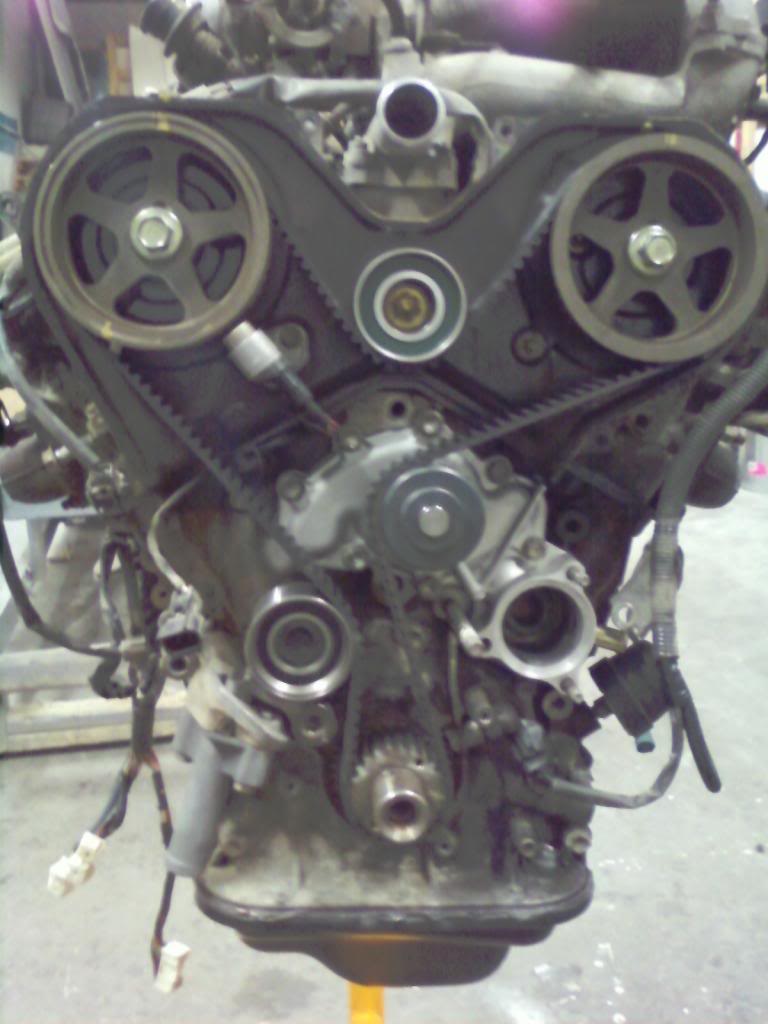
flipped it back over , and started the top end .. as well as new water pump and timing pieces

Name:  SSPX2722_zpsd939d610.jpg
Views: 430
Size:  68.6 KB

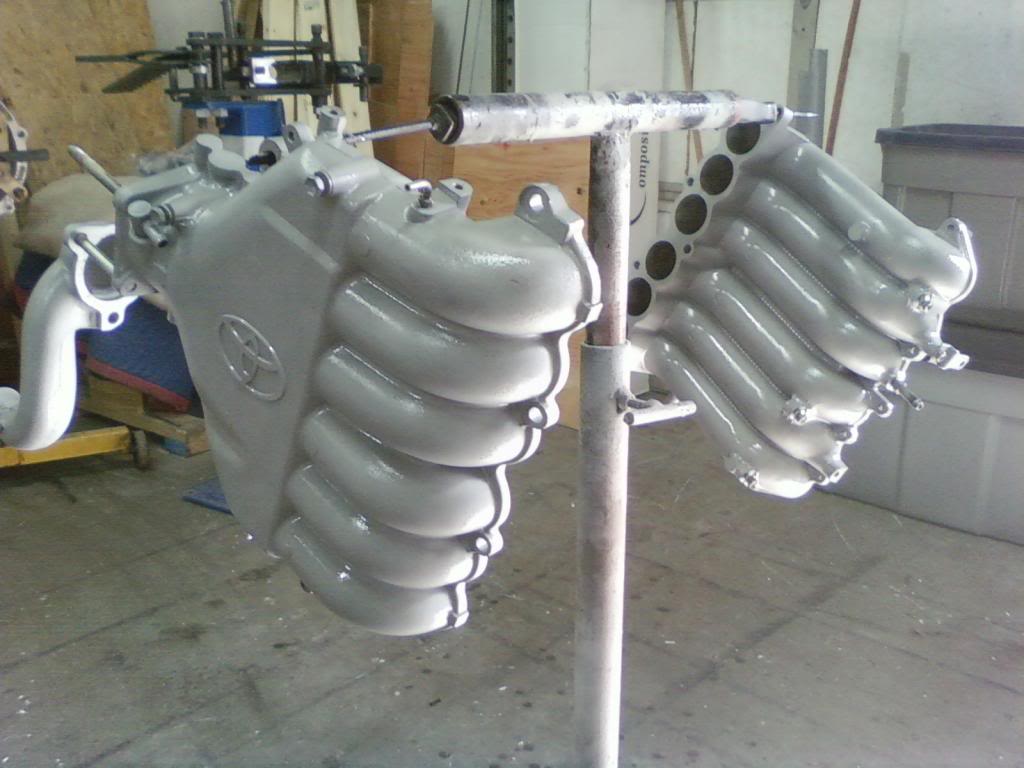
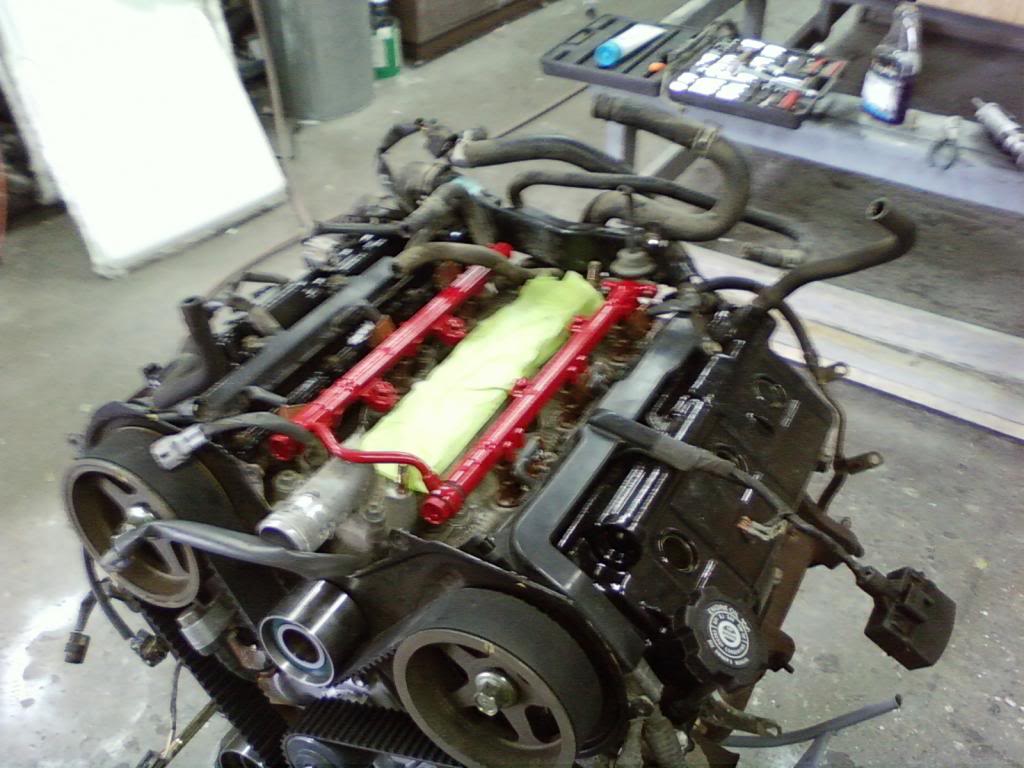
and added some powder coated pieces

Name:  SSPX2724_zps8d92eed9.jpg
Views: 430
Size:  101.7 KB


.
Old 04-23-2014, 05:17 PM
  #18  
RBX
Registered User
 
RBX's Avatar
 
Join Date: Jan 2010
Location: Bloodymore
Posts: 3,794
Received 33 Likes on 22 Posts
nice work.
Old 04-23-2014, 07:05 PM
  #19  
Registered User
Thread Starter
iTrader: (1)
 
slacker's Avatar
 
Join Date: Jan 2006
Location: BC Canada
Posts: 6,299
Received 273 Likes on 184 Posts
thanks


.
Old 04-25-2014, 07:31 PM
  #20  
Registered User
Thread Starter
iTrader: (1)
 
slacker's Avatar
 
Join Date: Jan 2006
Location: BC Canada
Posts: 6,299
Received 273 Likes on 184 Posts
so now engine is ready .. couple of pieces to add , but I think we're ahead of the game

Name:  SSPX2727_zps6677a03b.jpg
Views: 440
Size:  76.2 KB

notice our new headers

Name:  SSPX2728_zpsae850a33.jpg
Views: 416
Size:  79.3 KB

Name:  SSPX2729_zps7ab954e8.jpg
Views: 435
Size:  70.0 KB

basically ready to install


.


Quick Reply: toyotafiberglass - Erik's runner


All times are GMT -8. The time now is 10:30 AM.