When you click on links to various merchants on this site and make a purchase, this can result in this site earning a commission. Affiliate programs and affiliations include, but are not limited to, the eBay Partner Network.
Looking at videos from the Roav. Pretty clear though you have to be fairly close to see license plates.
One thing I've learned is that all my mental notes are out loud!
Will have to record without sound before I post, unless you want to hear me blah blah blah not much that makes sense blah blah blah.
.
haha, same thing with me. some of my videos have a few 'what the' and 'dumb....' you get the idea
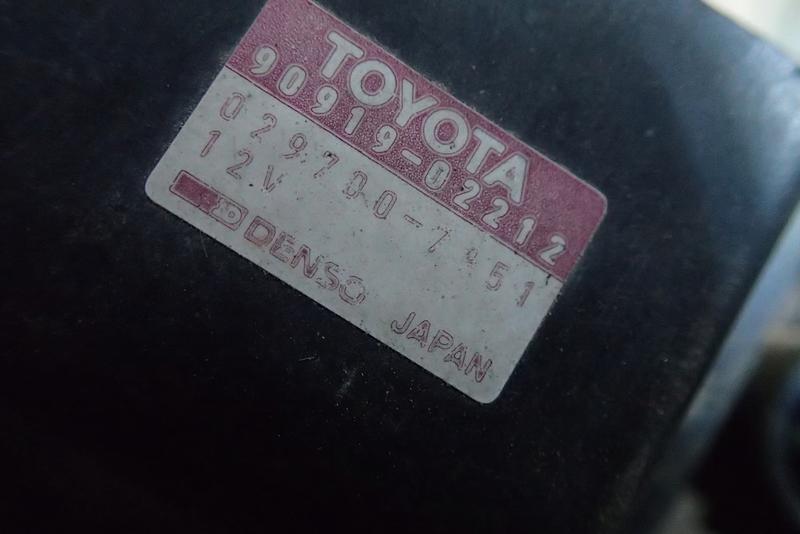
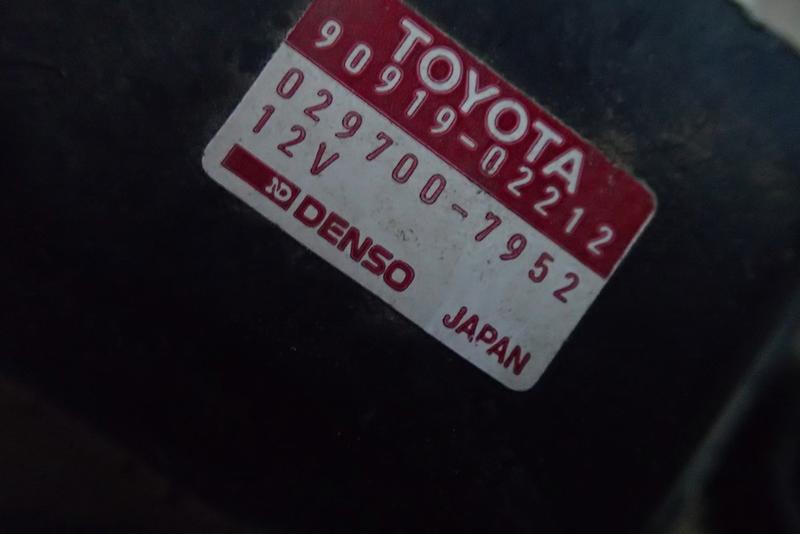
Changed the coils out with ones from a newer 4Runner, same one I picked the roof rack and alternator out of. They are the same number in one spot and slightly different numbers in another. The newer coils are shiny and cute and have more metal, they are otherwise identical.
Old
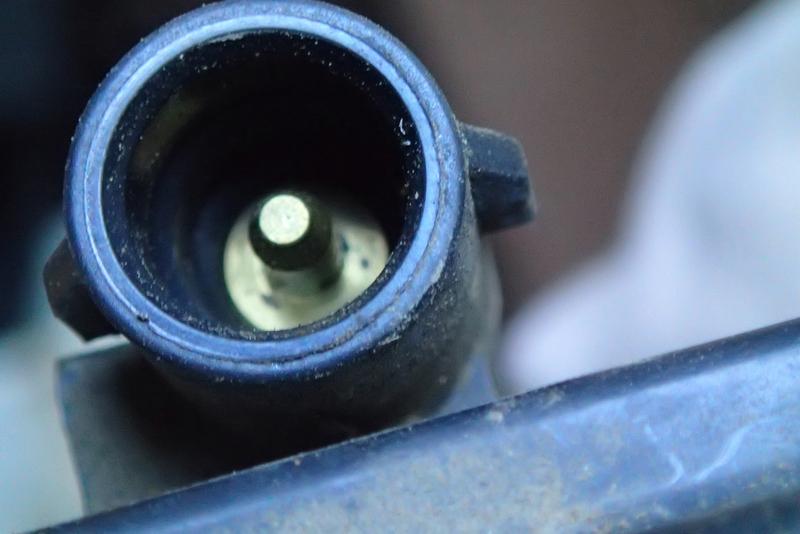
new
new
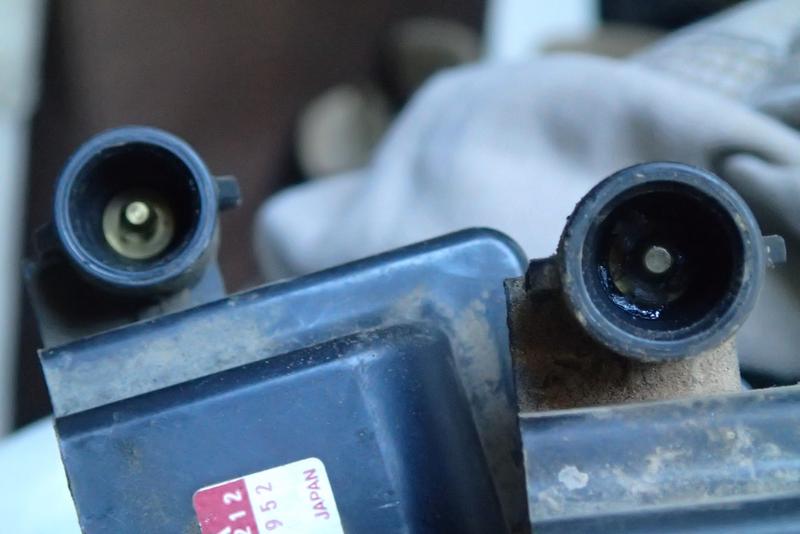
new on left, old on right
Nothing wrong. I'd grabbed the sparkly new ones for spares, then decided what the heck and swapped them so now my old ones are spares.
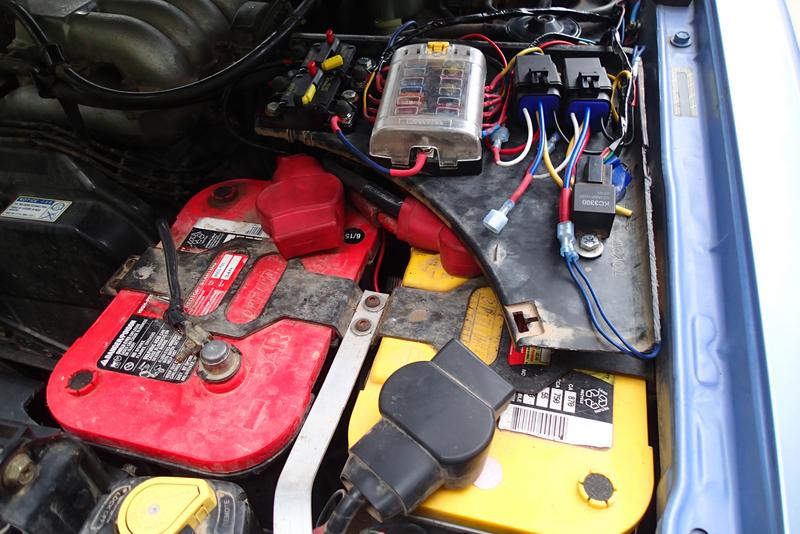
Finally got around to installing the circuit breakers. It took me forever to figure out where to put them.
My little house fuse block holder was too small for them but I wanted them near the batteries. Kept looking at the fan shroud, could I bolt them to that? Then I looked at the broken fan shroud I'd pulled out of the truck not all that long ago.
I made a tray out of the old broken fan shroud for the 2 circuit breakers, the house fuse block, and the 3 relays that are in the engine bay- horn, start fuse block and kc lights.
Part of the old holder is bolted underneath for support. It's held on by 2 bolts, both on top, and can be swung up out of the way when unbolted. Since I have the anderson connectors having access to the battery posts are not really important, the hubby made a set of jumper cables with an anderson connector to jump somebody else and having dual batteries with the Blue Sea switch means I can jump myself with the push of a switch.
Anywho....it's a wiring clustermess, there's no getting around all that wire that I know of. Still, everything has a place...
One of the circuit breakers is tripped because I haven't finished the wiring between the relay and the through-panel connector.
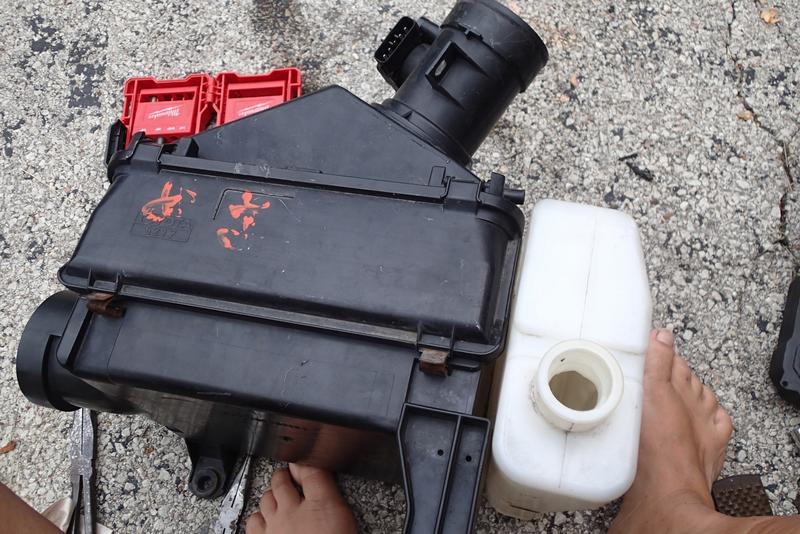
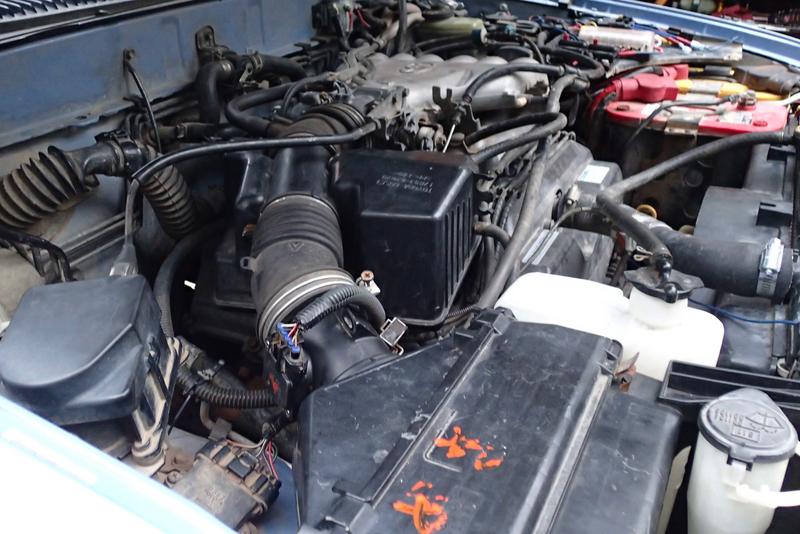
First I had to modify the new air box (junkyard, where else?) to attach the coolant overflow to it just as the old airbox had. For anyone who isn't in the know, I had to move the overflow when I added the dual battery set-up. Anywho, a couple of bolts and some silicone sealer and ta-da.
I also removed the nasty little phillips head screws that hold the new-style maf in and replaced them with allen-head screws.
I will add experiences here as I go through a few tanks of gas. It may take a month or two. If anything happens beyond that I'll put it in here too. I did do a test drive last night without incident. Nothing felt different. I did replace a working maf.
So it's been more than 3,000 miles and no codes, no mpg difference.
There is a test procedure for the 96's maf in this thread somewhere for those who might want it.
Found an airbox with new style maf and intake hose that wasn't cracked apart. I'm going to leave the humongous new-style intake silencer as is for now. I'm also leaving the deckplate out for now. Thanks to the hubby for finding them for me.
Replaced the tiny maf screws with allen head style and cleaned the maf.
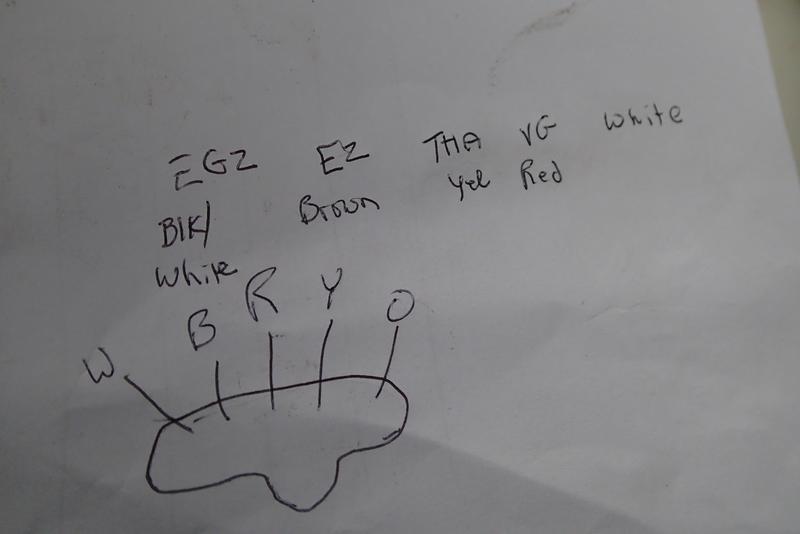
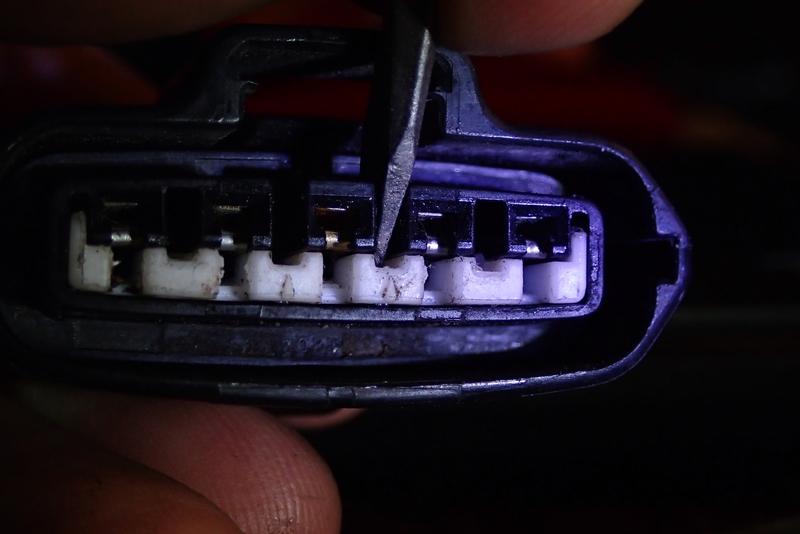
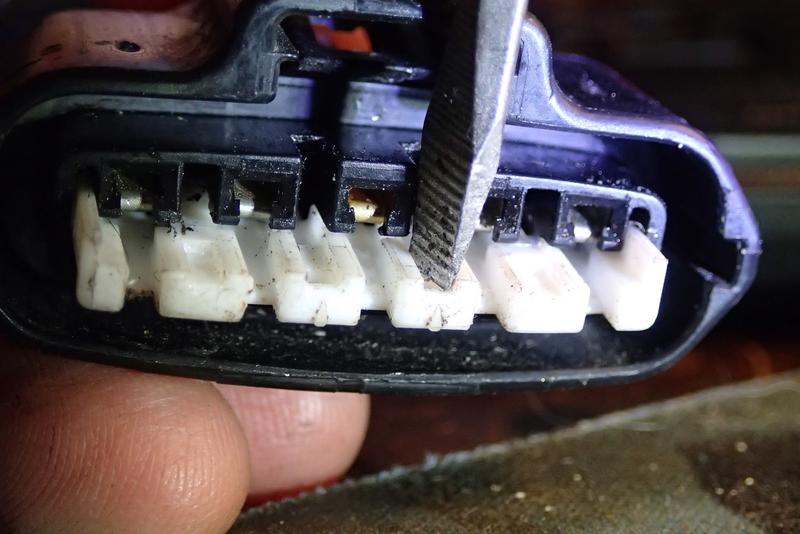
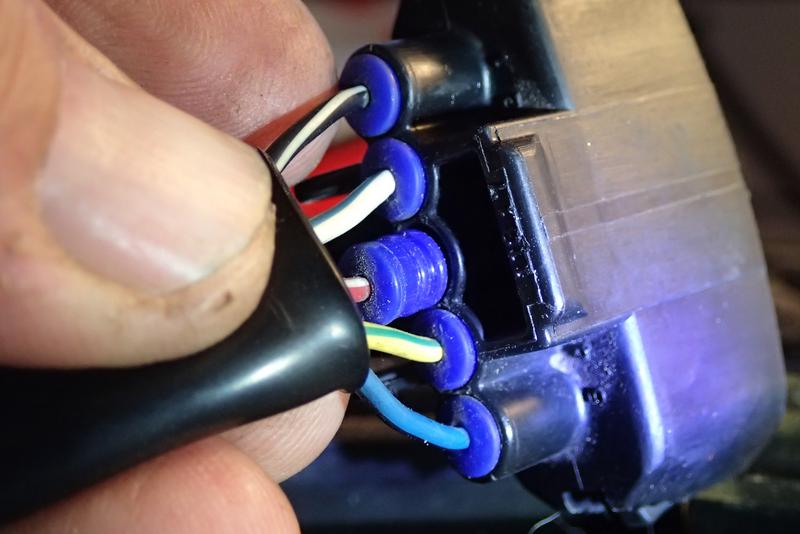
Time to re-pin. It's not a plug n play mod but it's not hard, either. There's a white keeper in the plug that easily pries out. Next each pin needs the little black keeper gently pried away from it while tension is held on the corresponding wire.
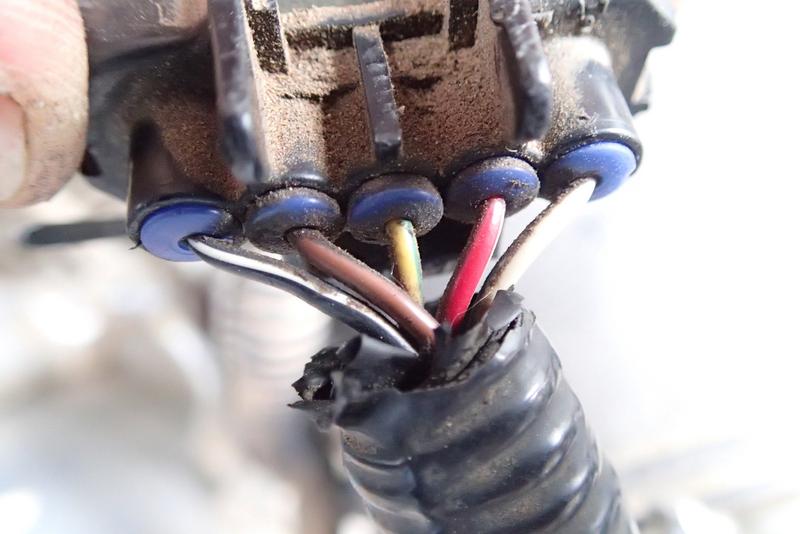
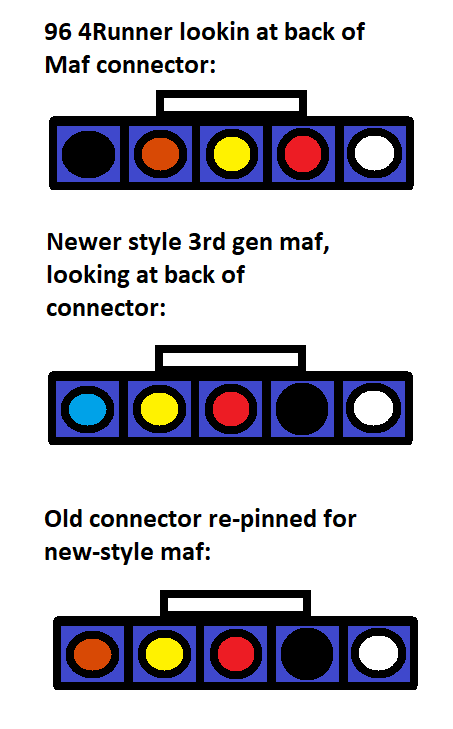
Here is the 96's wiring configuration:
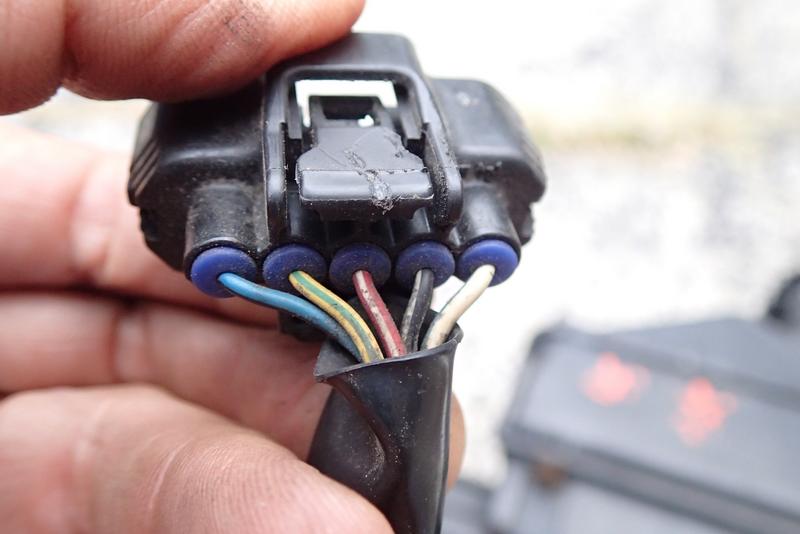
And the 99+'s wiring configuration:
And the newly repinned 96's connector:
The colors were nearly all the same so it was obvious what went where.
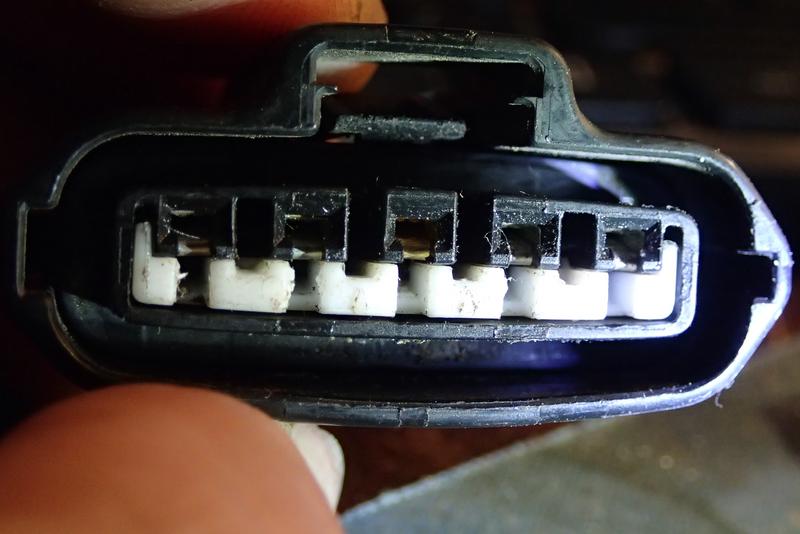
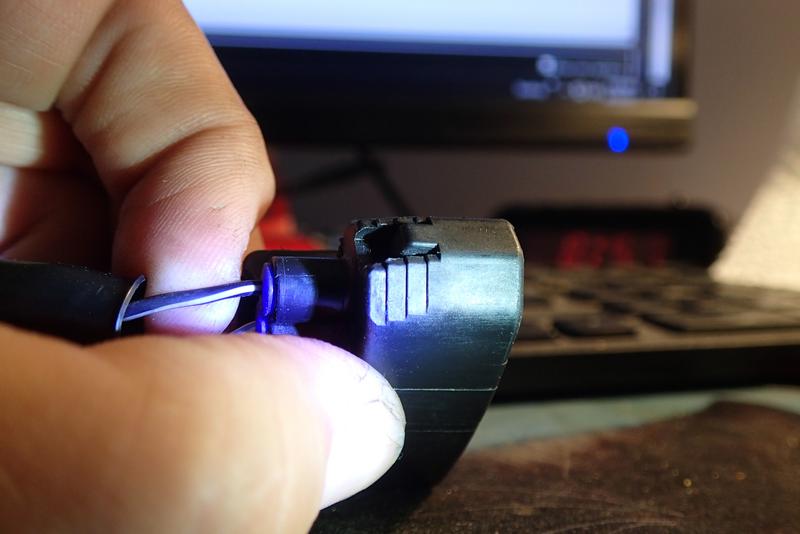
Here is the maf plug. Just a small how-to get the pins out.
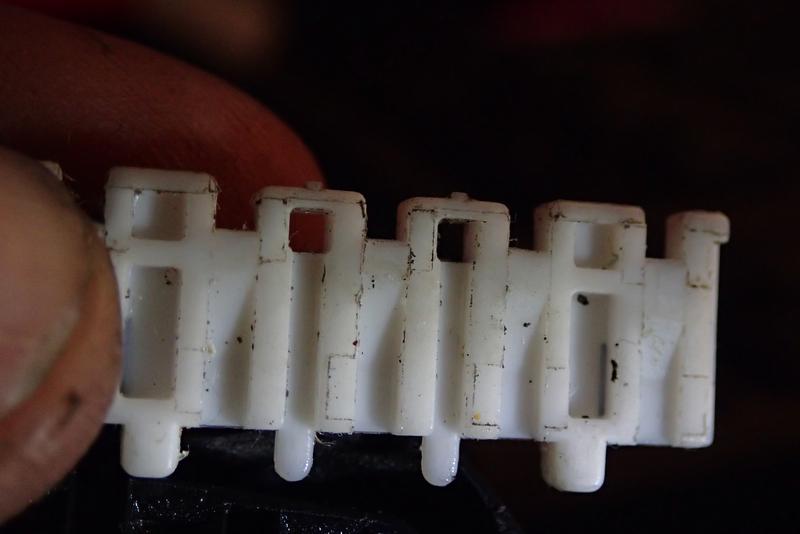
First take out the white keeper:
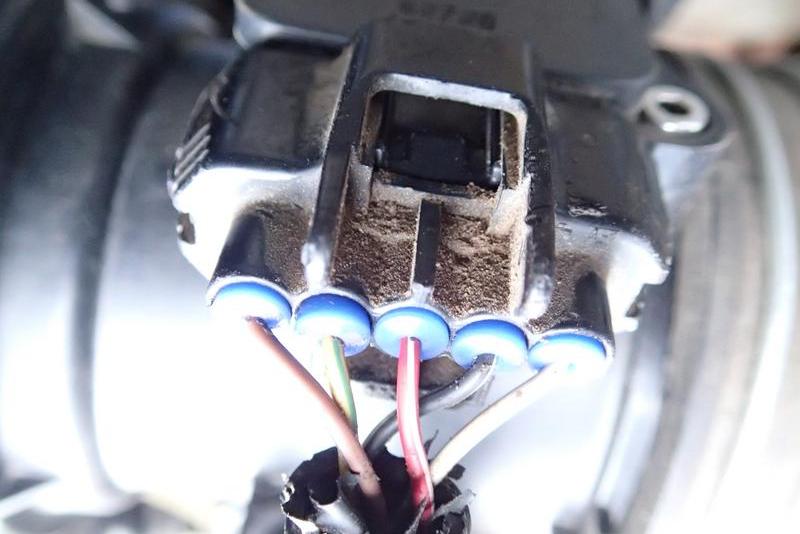
The two little white holes at the top of the keeper is what holds it to the plug though I had no reason to do anything about them
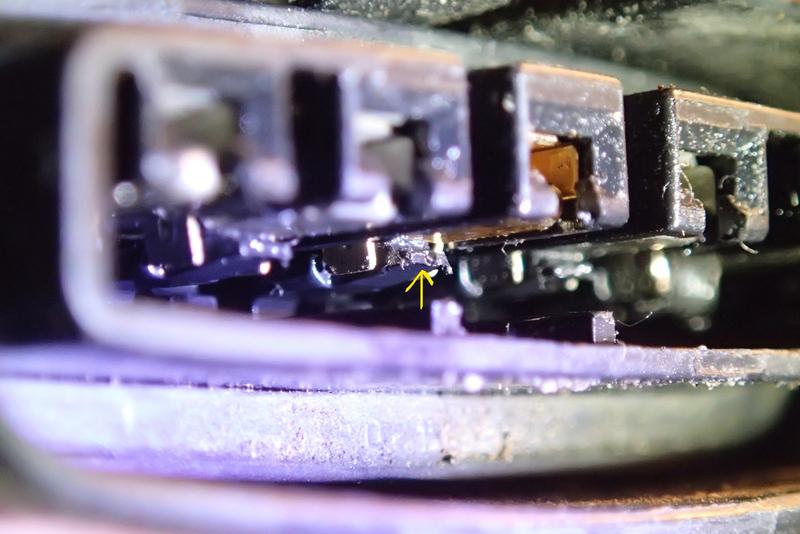
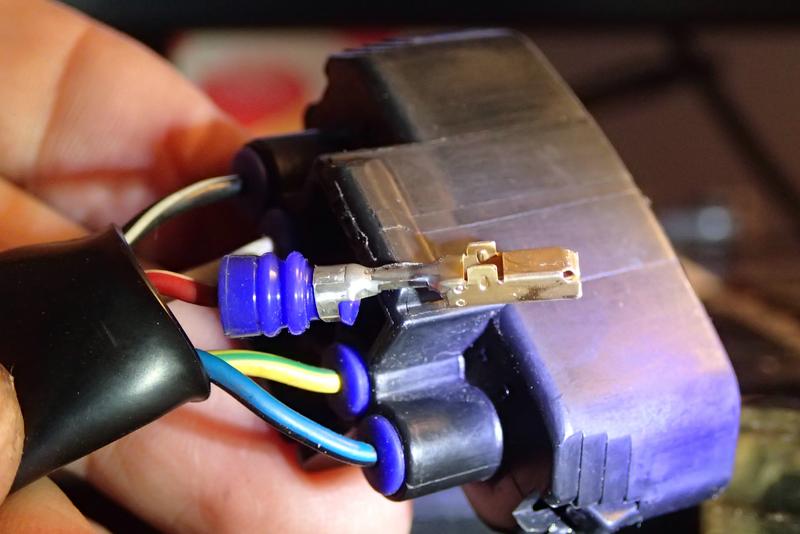
This is the best picture of one of the keepers that I could get (yellow arrow). Use something small to pry the tab away from the pin
While holding tension on the corresponding wire. I actually had better luck holding the tab and pushing the pin down from the top. I really need a 3rd hand mod...
There's a thread over on t4r about a 5th gen that unfortunately flopped heading down Black Bear Pass in Colorado. That was the same spot that I lost my roof rack and basket in July.
You all know I took the entire interior apart to see how the roof rack attaches to the truck in an effort to come up with something more secure. I didn't get anywhere with amazing ideas though. Nada. Zilch.
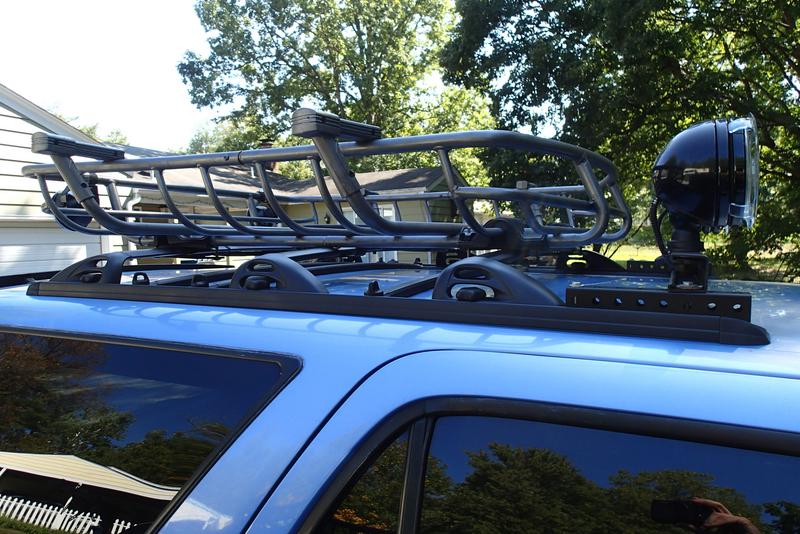
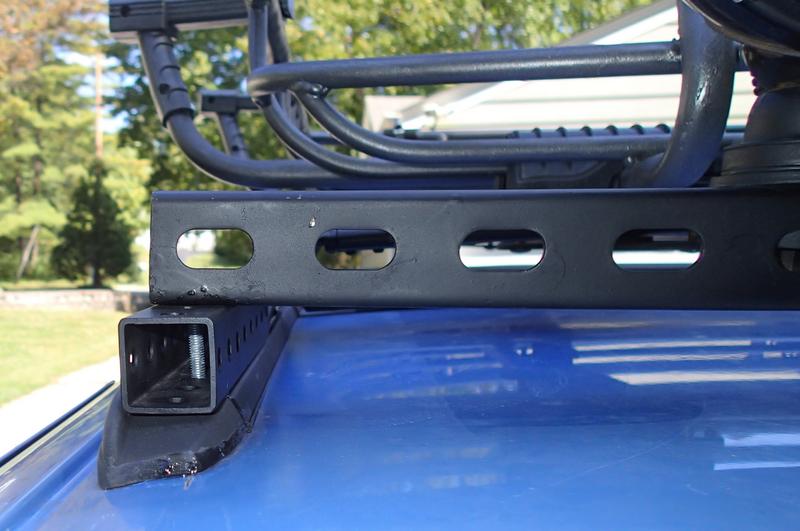
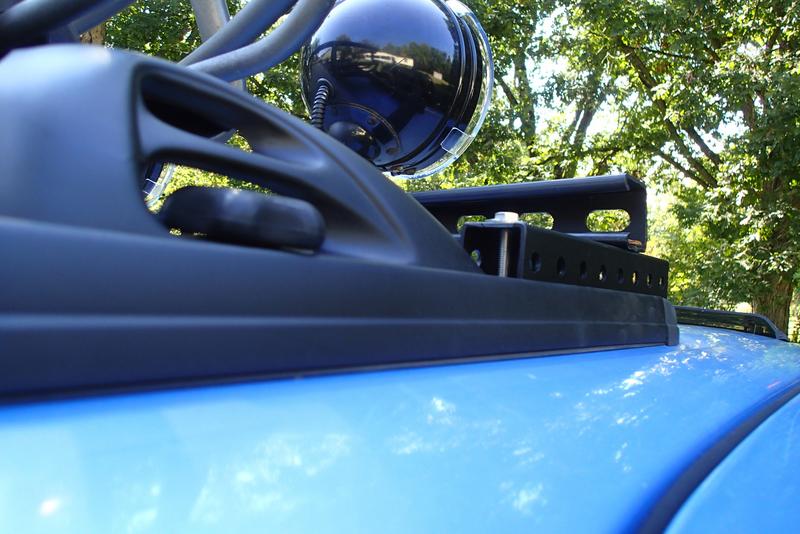
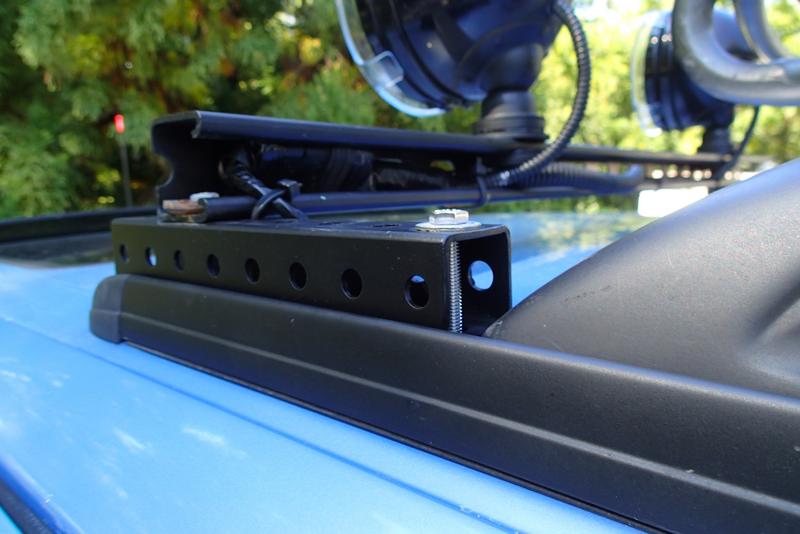
After some consideration I decided to make the light bar more secure using some 1 1/4" perforated square steel from Lowes. It fits very nicely on top of the rails. Its length allows for a total of 4 connection points over a more broad area. I still need to find 2 furniture end caps to fit into the front ends.
Because the original roof rack and rails was messed up I picked up a donor from an '01 and replaced the entire mess. I also made sure all the little sliding plates were inserted with the edges facing upwards to dig into the rack.
ive always appreciated the tasteful mods and upgrades you do, hab.
X2, what Troy said
I read about that 5th gen too, it could have been much worse but i had to giggle at the license plate
I like the use of the superstrut mounts. Your hubby used something similar to mount his rack too if I remember correctly.
I think that is the route I will go when i finally get around to chopping my roof rack down to a lower version. 99% of the time it won't have any thing up there except a small atv locking box for straps and junk
ive always appreciated the tasteful mods and upgrades you do, hab.
Thanks! All the junk I stick on the truck....literally....glad it's more than just hilarious to more people than me. Your stick-to-it-tiveness and willingness to work things out and include Doomy (or is she including you? ) and the kids and even the dogs are why I watch your threads even though I have very little useful to add.
Originally Posted by dropzone
X2, what Troy said
I read about that 5th gen too, it could have been much worse but i had to giggle at the license plate
I like the use of the superstrut mounts. Your hubby used something similar to mount his rack too if I remember correctly.
I think that is the route I will go when i finally get around to chopping my roof rack down to a lower version. 99% of the time it won't have any thing up there except a small atv locking box for straps and junk
Thanks for the compliment and support and re-purposing inspiration!
That's the 5th gen. Saw that plate too.
He did use superstrut. We had left-overs so I used that for my light bar. It was perfect for tucking the wiring into and is stiff enough the lights aren't too wiggly. For the rails I used square tubing. There's still the issue with either the stock load bars or the uni-strut, we're still relying on the rails and the little squares we tension against the rails with bolts.
For the record he is very happy with the unistrut mounts.
I need to get a picture of how I have my cross bars set up. I put a grade 8 bolt with a big washer in the channel sticking up and I have 1/2" galvanized pipes bolted on each side. Very sturdy!
I need to get a picture of how I have my cross bars set up. I put a grade 8 bolt with a big washer in the channel sticking up and I have 1/2" galvanized pipes bolted on each side. Very sturdy!
Sounds sturdy and intriguing, you've described well enough to get a good idea of it, but I sure wouldn't mind seeing pics.
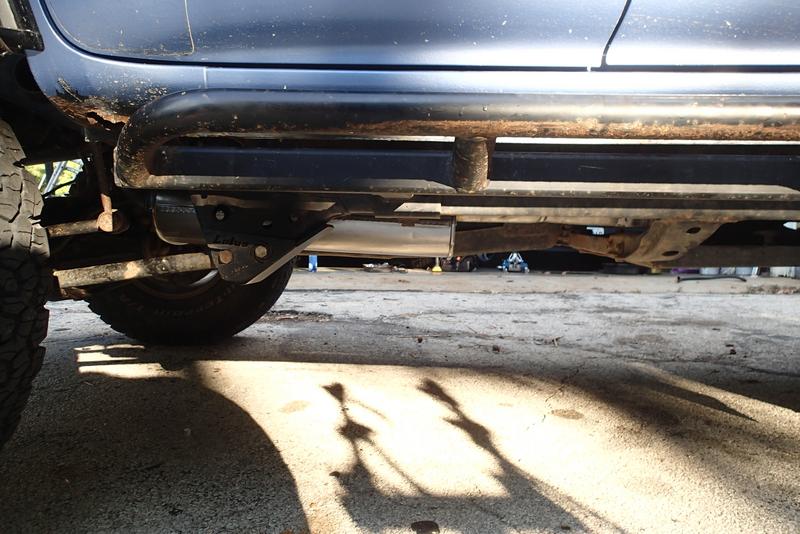
Walker exhaust is done, muffler and tailpipe and gaskets. Easy peasy. Guess the anti-seize worked because the flange nuts were easy to remove. One of the old o2 sensor studs unscrewed from the bottom but off is off so that's okay by me.
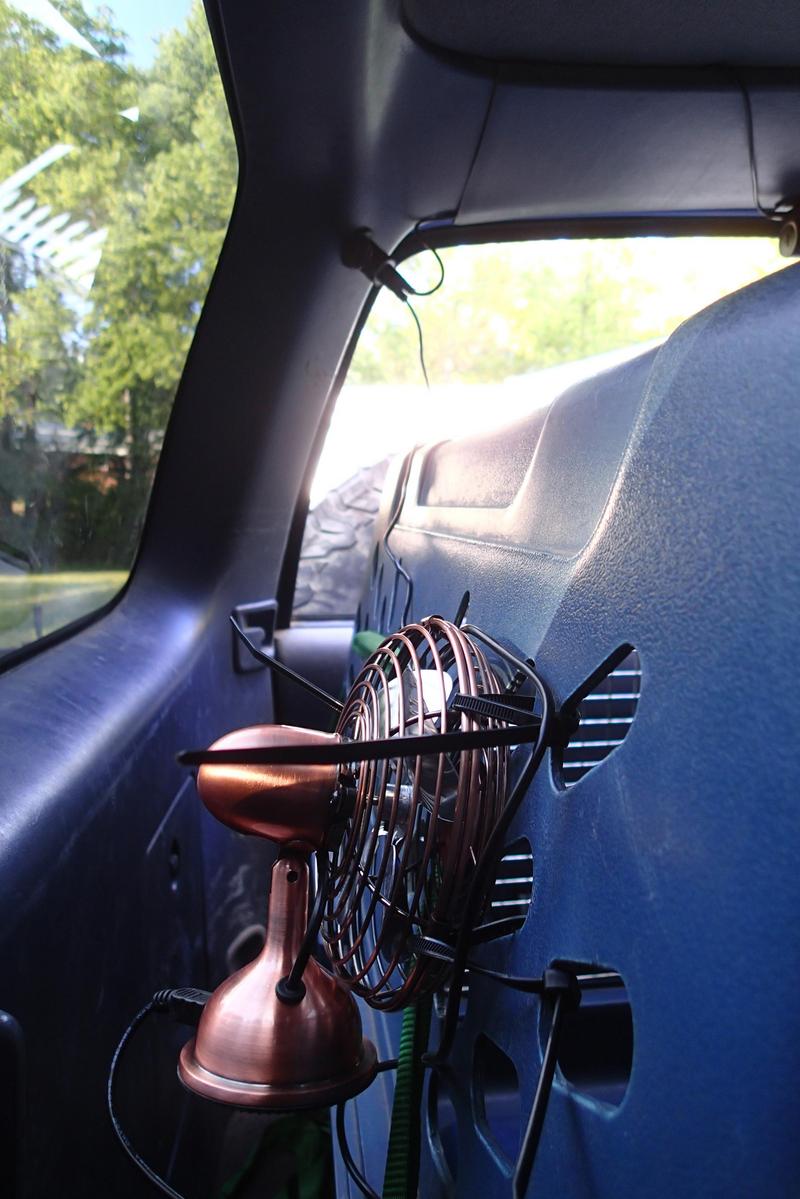
Also installed dash cam in the rear today, along with a socket at the top right corner of the cargo area to power it and a small usb fan for the dog crate for air circulation.
All the panels are back in the truck and it's all back together again finally.
It's actually a dash-cam, curious to see how it does.
Of course I used a Fat Wallet code for a much more reasonable deal. Haven't had a chance to use it, will have to let you know whether it or the Anker Roav is better.
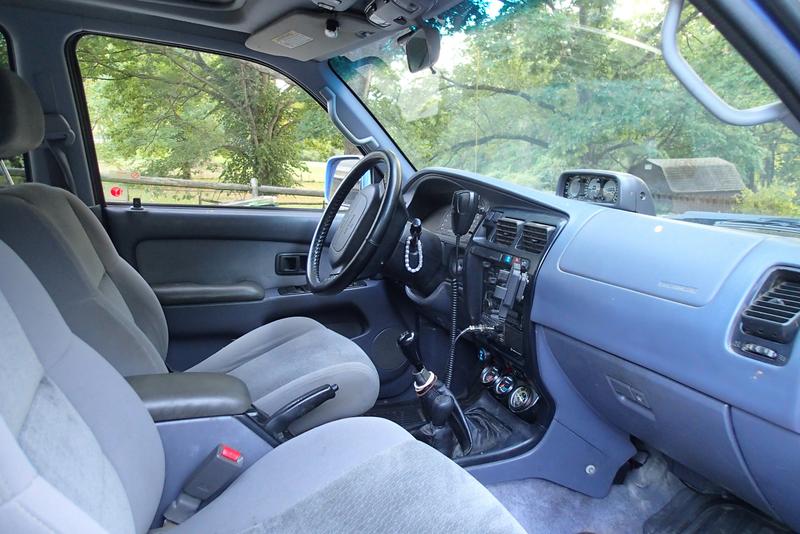
Today I put a socket under the dash to free up my regular dash socket, it's to power the Roav and there's a second usb port free for whatever. Was going to hardwire, didn't. That makes 5 sockets....two up front, two in the rear and one in the middle for the kid's camera and phone.
It's alongside the center part of the dash, below the glove box. Still readily accessible, but out of the way. It's probably easier to see the 6mm bolt head surrounded by washer that holds the home-made bracket in place.
Those reddish-tan spots on the dash are Moab mud. I keep forgetting to clean those off!
 09-12-2017, 07:13 AM


 Your stick-to-it-tiveness and willingness to work things out and include Doomy (or is she including you?
  ) and the kids and even the dogs are why I watch your threads even though I have very little useful to add.