
yotarob2005's 1986 4Runner Build-Up Thread
 Feb 17, 2010 | 08:31 PM
#1
Thread Starter
Registered User
Joined: Jan 2010
Posts: 1,803
Likes: 14
From: Bryan Tx,
yotarob2005's 1986 4Runner Build-Up Thread
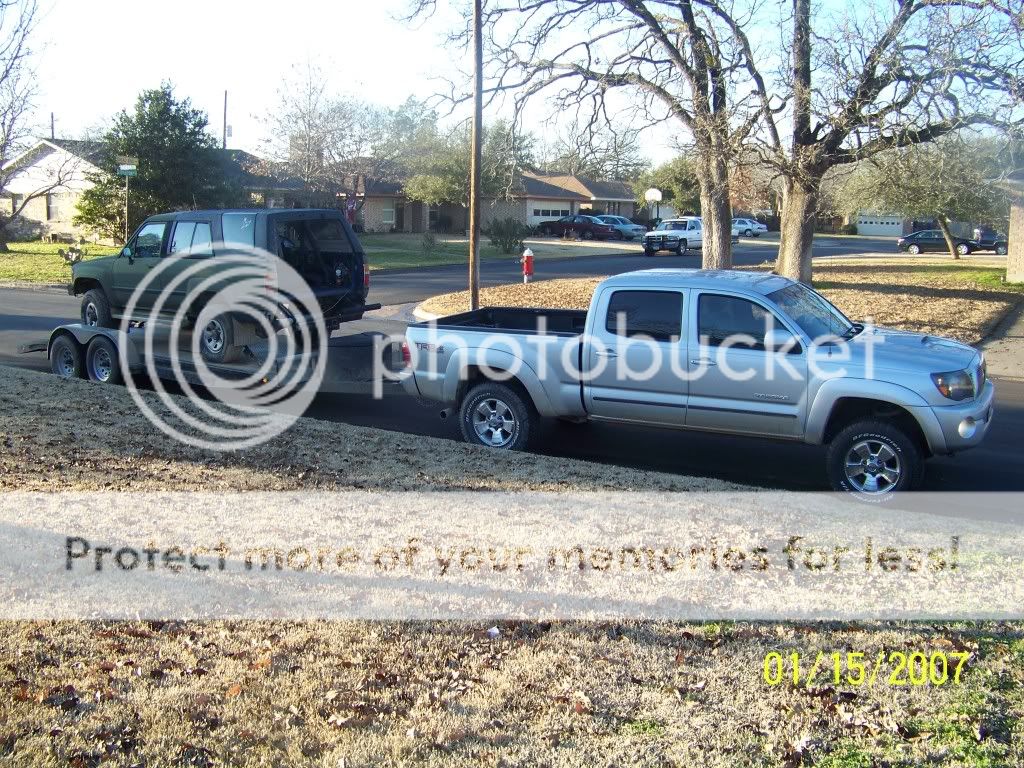
Here is what I am working with, it has a 22re, automatic trans & 4.30 gears. The plan is to build it into an off-road warrior that can also be used for light on road duties. It is going to be a long, slow & tight budget build up. I will continue to update the first post as I make progress.

This is what it looked like when I brought it home not running.

I got it running, but it had some pretty bad timing chain slap & several oil leaks so first order of buisness was to get it running perfect. I decided that it would be easier to just pull the motor & work on it on the engine stand.


Long story short this turned in to alot of work. Not a full on rebuild, but a new headgasket, lapped the valves, new timng chain set & a good cleaning.


Back in goes the motor

My favorite mod to date

Runs really well now,
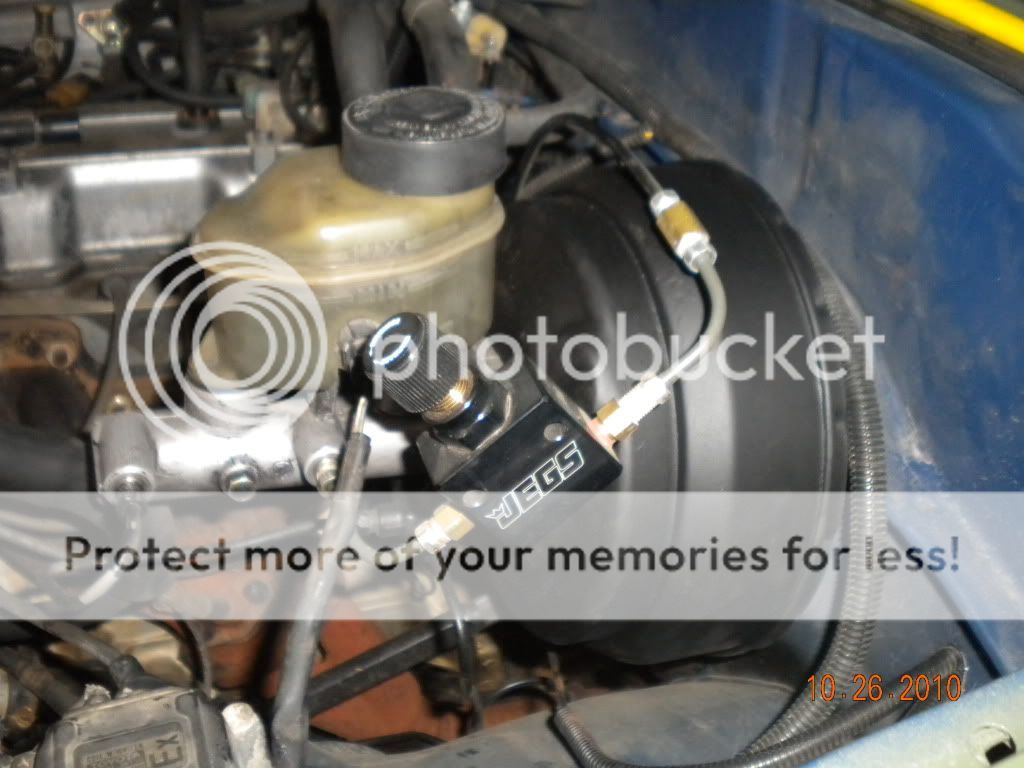
I eliminated the crappy LSPV & installed a universal Jegs regulator. Replaced the rear wheel cylinders & took it wheeling


I installed a cheapo Sun-Pro mini tach that I've had laying arond for years

Made an aluminium plate to mount my Cobra 25LTD CB & hold my Summit brand mechanical oil pressure & water temp gauges.

CB antenna mount needs a little more work also, Version 1.0 is just not strong enough. Trust me when I say that version 2.0 will be plenty strong

I scored a really sweet deal on a set of seats out of a 91 model 4runner. The drivers seat is a little rough looking but nothing a set of covers won't fix. Got them installed with a few modifications. These seats are leaps & bounds better than the ones that where in it.


I removed the 3rd member & installed a Spartan lunch box locker.


I measured out & machined a set of ball joint spacers for a little lift. They are 1-7/8" tall.


Needed wheel spacers after the BJ spacers

Replaced both front CV Joints, Front brake pads & rotors, rebuilt the calipers, cleaned up & greased the hubs.


A buddy gave me a gallon of green urethane paint. With Keith & Andy's help I put an 8 hour paint job on.


Then I picked up 5 used 33-10.5x15 BFG Mud Terrains in excellent condition. They are the original KM's.

Made a sweet trade for some factory aluminum wheels.


Sky Off-Road diff armor.


New Billies for the rear


Added some cheapo rock lights to the front, Also replaced both head lights.


Hot shot starter mod. Cured my intermittent starting problem

Then I smashed it up on a tree at Brazos Valley Off Road Ranch.........twice. Looks like I am going to get some practice at body work


Ordered some 3/4" cryo treated Heims from rough stuff, machined some adjusters & replaced my tie rod ends.


Picked up a set of Downey torsion bars from a fellow YT member, I have them relaxed as much as possible for now but still ended up with about a 1/2" of lift.

scored a dual diaphram brake booster & 1" bore master cylinder out of a 97 V-6 Tacoma. $100 percent bolt on swap!

Beefied up my weal idler arm with bronze bushings and a Downey brace


Made some progress on repairing the body damage

New steering wheel, 13" GT Grant

Some cheap seat covers from Cabelas front and rear.
http://www.cabelas.com/auto-seat-cov...:referralID=NA

Completely rewired the back window using the factory switch and a couple of relays, put the switch in a knock out on the dash.


Removed the cruise control box (who needs that anyways) and made a bracket to mount my Blue Sea accessory fuse block.
http://bluesea.com/category/5/21/productline/126


Scored a deal on a set of Doetsch Tech Prerunner 8000 shocks from the former owner of Downey. They are extended lenght (15-1/2" long fully extended) to work with the BJ spacers.
http://www.doetsch-shocks.com/2.asp


Fabbed a new CB antenna mount, much stronger than the last one I made.

Cut out the sheet metal and welded it in place


Picked up the last new set of Downey 2" leaf springs on the planet.

Front Range Off-Road U-bolt flip kit.

Fabbed an upper mount to relocate my shocks

Welded tabs to the axle housing for the lower mounts


Springs and U-bolt flip installed

All painted and wrapped up.

That pretty much gets this up to current with the build, much more to come though.
This is what it looked like when I brought it home not running.
I got it running, but it had some pretty bad timing chain slap & several oil leaks so first order of buisness was to get it running perfect. I decided that it would be easier to just pull the motor & work on it on the engine stand.
Long story short this turned in to alot of work. Not a full on rebuild, but a new headgasket, lapped the valves, new timng chain set & a good cleaning.
Back in goes the motor
My favorite mod to date
Runs really well now,
I eliminated the crappy LSPV & installed a universal Jegs regulator. Replaced the rear wheel cylinders & took it wheeling
I installed a cheapo Sun-Pro mini tach that I've had laying arond for years
Made an aluminium plate to mount my Cobra 25LTD CB & hold my Summit brand mechanical oil pressure & water temp gauges.
CB antenna mount needs a little more work also, Version 1.0 is just not strong enough. Trust me when I say that version 2.0 will be plenty strong
I scored a really sweet deal on a set of seats out of a 91 model 4runner. The drivers seat is a little rough looking but nothing a set of covers won't fix. Got them installed with a few modifications. These seats are leaps & bounds better than the ones that where in it.
I removed the 3rd member & installed a Spartan lunch box locker.
I measured out & machined a set of ball joint spacers for a little lift. They are 1-7/8" tall.
Needed wheel spacers after the BJ spacers
Replaced both front CV Joints, Front brake pads & rotors, rebuilt the calipers, cleaned up & greased the hubs.
A buddy gave me a gallon of green urethane paint. With Keith & Andy's help I put an 8 hour paint job on.
Then I picked up 5 used 33-10.5x15 BFG Mud Terrains in excellent condition. They are the original KM's.
Made a sweet trade for some factory aluminum wheels.
Sky Off-Road diff armor.
New Billies for the rear
Added some cheapo rock lights to the front, Also replaced both head lights.
Hot shot starter mod. Cured my intermittent starting problem
Then I smashed it up on a tree at Brazos Valley Off Road Ranch.........twice. Looks like I am going to get some practice at body work
Ordered some 3/4" cryo treated Heims from rough stuff, machined some adjusters & replaced my tie rod ends.
Picked up a set of Downey torsion bars from a fellow YT member, I have them relaxed as much as possible for now but still ended up with about a 1/2" of lift.
scored a dual diaphram brake booster & 1" bore master cylinder out of a 97 V-6 Tacoma. $100 percent bolt on swap!
Beefied up my weal idler arm with bronze bushings and a Downey brace
Made some progress on repairing the body damage
New steering wheel, 13" GT Grant
Some cheap seat covers from Cabelas front and rear.
http://www.cabelas.com/auto-seat-cov...:referralID=NA
Completely rewired the back window using the factory switch and a couple of relays, put the switch in a knock out on the dash.
Removed the cruise control box (who needs that anyways) and made a bracket to mount my Blue Sea accessory fuse block.
http://bluesea.com/category/5/21/productline/126
Scored a deal on a set of Doetsch Tech Prerunner 8000 shocks from the former owner of Downey. They are extended lenght (15-1/2" long fully extended) to work with the BJ spacers.
http://www.doetsch-shocks.com/2.asp
Fabbed a new CB antenna mount, much stronger than the last one I made.
Cut out the sheet metal and welded it in place
Picked up the last new set of Downey 2" leaf springs on the planet.
Front Range Off-Road U-bolt flip kit.
Fabbed an upper mount to relocate my shocks
Welded tabs to the axle housing for the lower mounts
Springs and U-bolt flip installed
All painted and wrapped up.
That pretty much gets this up to current with the build, much more to come though.
Last edited by yotarob2005; Mar 11, 2011 at 01:46 PM.
 Feb 19, 2010 | 07:19 AM
#6
Thread Starter
Registered User
Joined: Jan 2010
Posts: 1,803
Likes: 14
From: Bryan Tx,
Do you guys think that it would be just as easy to yank the whole engine & do everything on a stand, or drop the front diff. to get access to the oil pan. If I pulled the motor it would also give me an opportunity to replace the rear crank seal & the front pump trans seal.
Feb 22, 2010 | 02:54 PM
#7
Thread Starter
Registered User
Joined: Jan 2010
Posts: 1,803
Likes: 14
From: Bryan Tx,
The guy in brown dropped off my box from LC Engineering today
I am going to try & do a compression test today after work. I figure it would be best to know what I am working with before I pull the engine. If I need head work, then I should do it all at the same time. What are the best sources for a new head? I have looked at LC Engineering & engnbldr. Any answers regaurding pulling the motor to clean out the oil pan?
I am going to try & do a compression test today after work. I figure it would be best to know what I am working with before I pull the engine. If I need head work, then I should do it all at the same time. What are the best sources for a new head? I have looked at LC Engineering & engnbldr. Any answers regaurding pulling the motor to clean out the oil pan?
Last edited by yotarob2005; Feb 23, 2010 at 08:45 AM.
Trending Topics
Feb 23, 2010 | 08:24 AM
#8
Registered User


Joined: May 2005
Posts: 1,979
Likes: 233
From: S. FL
Drop the front diff and just remove the pan. At least that's what I would do. Also, while you are in there cleaning out the pan, see if there is any excess play in any of the rod bearings. My #1 rod bearing was down to the brass and there was a knock and of course I had already done the timing chain, and pan clean out and had to drop everything again.
Feb 25, 2010 | 10:55 AM
#10
Thread Starter
Registered User
Joined: Jan 2010
Posts: 1,803
Likes: 14
From: Bryan Tx,
Some bad news to report. I did a compression test last night & the numbers are pretty bad. Suprisingly flat, but low. I have 100 psi in all 4 cylinders. I think that I am going to try & adjust the valves & do it again. Also I think that I should have warmed the engine up before the test, it was 35 deg. last night when I did it & I haven't started the truck in over a week. How important is it to warm the engine first? Also going to try putting some oil in the cylinder & see if it gets better, how much oil should I add? Then I am going to try & rent a leak down tester & see if it is the rings or valves. I sure hope it is the valves, I could swing a new head but rebuilding the short block is not in my budget right now.
Feb 26, 2010 | 10:04 AM
#11
Thread Starter
Registered User
Joined: Jan 2010
Posts: 1,803
Likes: 14
From: Bryan Tx,
I spent several hours tinkering with the cream puff last night trying to get it running better & hopefully getting it warmed up & repeating the compression test. I started by removing the valve cover & adjusting all of the valves. Every valve was set too loose, some as much as .008" others where at least .003". The valve adjustment was easy! When I was putting the valve cover back on I noticed that a few vacuum lines to the EGR valve didn't seem quite right so I found a diagram & ended up re-running a few of them, I must have had a pretty bad vacuum leak. I already had a new distributor cap & rotor so I went ahead & replaced them, the old cap was badly corroded! After that I couldn't get the plug wires to stay tight on the new cap? The prevous owner had replaced the plugs & wires already & he gave me all of his recipts so I decide to go get the wires warrantied at Auto Zone. I also picked up a cheap set of spark plugs. It had a nice new set of E3's in it but I think I fouled them out turning it over . I am going to clean them up & reuse them later. The plug wires fit much better! I tried to start it one more time & she ran great!!!! Nice & smooth, no spitting or sputtering, just like a top. I was so happy that I didn't want to ruin my good mood by doing another compression test so I am saving that for today! It is still leaknig oil pretty bad, I am going to try to get the timing chain done and work on the exhaust leak this weekend.
__________________
__________________
Mar 1, 2010 | 05:26 PM
#12
Thread Starter
Registered User
Joined: Jan 2010
Posts: 1,803
Likes: 14
From: Bryan Tx,
Saturday was a big day for the 4runner, with the help of a couple local college kids from Tacoma World, we got the engine out. I decided to go ahead & pull it for three reasons. 1st is because I know I need to remove the oil pan & clean it out to be sure the oil pump pick-up is clear, the only 2 ways to get the oil pan off is to drop the front diff or pull the engine. 2nd, since I had it running pretty good it was obvious that the rear main seal was leaking & I would have to either pull the trans or the engine to replace that. 3rd I intend to replace the head gasket & timing chain & thought it would be nice to do all of the work on an engine stand rather than leaning over the truck. As an added bonus by having it out, it gives me the opportunity to replace the front pump seal on the trans & clean up all of the mess from the many oil leaks. It was in all honesty a bigger job than I expected it to be. There are a couple of bell housing bolts that where very difficult to get to. I have pulled several engines in my day & expected this one to be easier than it was. It took us almost 8 hours to get it out but we took our time & labeled everything, drank a few beers, grilled some dinner & had a good time doing it. Here are a couple pics.

I have a lot of clean up work to do. This engine is seriously greasy. I guess it has been leaking oil for quite some time. I am really looking forward to getting the head off of the block. Since I know the compression is low, I want to see how the cylinder walls look & just how sloppy the pistons are. I do not intend on rebuilding the short block or the head, just clean them up & replace the gaskets. As I have said before, I know this engine CAN run good as is, I am just trying to get the most out of it that I can without spending a ton of money. I will be looking for another 22re to rebuild the right way once I have the cream puff ready for the trails.
I have a lot of clean up work to do. This engine is seriously greasy. I guess it has been leaking oil for quite some time. I am really looking forward to getting the head off of the block. Since I know the compression is low, I want to see how the cylinder walls look & just how sloppy the pistons are. I do not intend on rebuilding the short block or the head, just clean them up & replace the gaskets. As I have said before, I know this engine CAN run good as is, I am just trying to get the most out of it that I can without spending a ton of money. I will be looking for another 22re to rebuild the right way once I have the cream puff ready for the trails.
Mar 1, 2010 | 05:28 PM
#13
Thread Starter
Registered User
Joined: Jan 2010
Posts: 1,803
Likes: 14
From: Bryan Tx,
Sunday was not near as productive, I had some other fish to fry the first half of the day, then I spent the second half running around town, trying to round up supplies. I went to just about every hardware store in town & still cant find any bolts to mount the engine to the engine stand. I know of a place that will have them for sure, but they aren't open on Sunday so I will have to try again tomorrow. I did pick up some industrial degreaser & a bunch of wire brushes. I also found a deal on a couple of cheap torque wrenches for reassembly.
Last edited by yotarob2005; Mar 1, 2010 at 06:57 PM.
Mar 1, 2010 | 05:35 PM
#14
Registered User

Joined: May 2008
Posts: 3,277
Likes: 23
From: way way nor cal
Looking good! Keep up with the pictures. When I did my timing chain on my 94 I was too stupid to do a dual row conversion. I wish I had done it then. You might want to check into that. It really doesn't cost a whole lot more. The only additional cost is a different cover and having a machine shop shortening the lower gear deal.
Mar 1, 2010 | 06:31 PM
#15

Registered User
Joined: Feb 2009
Posts: 212
Likes: 0
From: Vancouver, BC
Nice work on the runner. When your removing or installing the motor, if you unbolt the motor mounts from the frame and motor your able to lower the motor enough to get access to those 2 upper tranny bolts. Also, if you remove the front tires or turn them to full left/right you can fit your arm through to those bolts. I just went through this when installing my new 7mge 
Mar 1, 2010 | 06:56 PM
#16
Thread Starter
Registered User
Joined: Jan 2010
Posts: 1,803
Likes: 14
From: Bryan Tx,
Thanks for the tips guys, I plan on trying to find another 22re & will prob. do the LCE dual row conversion to that engine down the line. I will def. take the front tires off when I put it back in & please keep the advise coming. It has been several years since I had a project truck that needed this much work, I am a little rusty to say the least.
Mar 1, 2010 | 08:41 PM
#17
Registered User
Joined: Feb 2009
Posts: 212
Likes: 0
From: Vancouver, BC
Hey man, no problem, it'll all come back to ya soon enough! I'm not sure how much room there is between the front diff and the oil pan, (mine is solid axle) but you should be able to lower it enough to get to those bolts. Good luck...its coming together nice! What else are you planning on doing? Lockers, lift, anything like that?
Mar 2, 2010 | 04:26 AM
#18
Thread Starter
Registered User
Joined: Jan 2010
Posts: 1,803
Likes: 14
From: Bryan Tx,
Hey man, no problem, it'll all come back to ya soon enough! I'm not sure how much room there is between the front diff and the oil pan, (mine is solid axle) but you should be able to lower it enough to get to those bolts. Good luck...its coming together nice! What else are you planning on doing? Lockers, lift, anything like that?
Mar 3, 2010 | 09:02 AM
#19
Thread Starter
Registered User
Joined: Jan 2010
Posts: 1,803
Likes: 14
From: Bryan Tx,
I have been sick for the past couple days, but I did get the bolts to mount the engine on a stand & I started to dissasemble the intake side. I had to take a lot of extra care removing all of the vacuum lines so that I can get them back right when I put it back together. After work today my plan is to pug all of the intake & exhaust ports on the head & pressure wash this bad boy, It is filthy!!
Mar 4, 2010 | 05:44 AM
#20
Thread Starter
Registered User
Joined: Jan 2010
Posts: 1,803
Likes: 14
From: Bryan Tx,
Got the engine the rest of the way torn down last night. Very happy to say that the short block looks exellent!!!! There is parctically no ridge at the top of the cylinders and the walls are smooth! I did find some damage to the head gasket, there are some pretty obvious signs that it was leaking. Also the timing chain guides where broken, but the chain was not rubbing the timing cover! This is great news! Here are the pics.


That is what I call a pile of parts.
That is what I call a pile of parts.


