wannaBwheelin's 1987 turbo 4runner build

 07-16-2018, 08:22 PM
#23
Registered User
Thread Starter
Join Date: Oct 2009
Location: Kent, Washington
Posts: 54
Likes: 0
Received 0 Likes
on
0 Posts
Thanks guys!
So I have this bad habit of bouncing around on projects on this rig. I start one get to a certain point where I need certain tools from work and then start on another project so bare with me if have some have finished projects haha!! After I got the adapter welded onto the intake I was time to figure out the throttle cable setup. With the mustang throttle body pivot point in an odd ball location for the standard toyota throttle cable it was time to fab a bracket to make it happen!
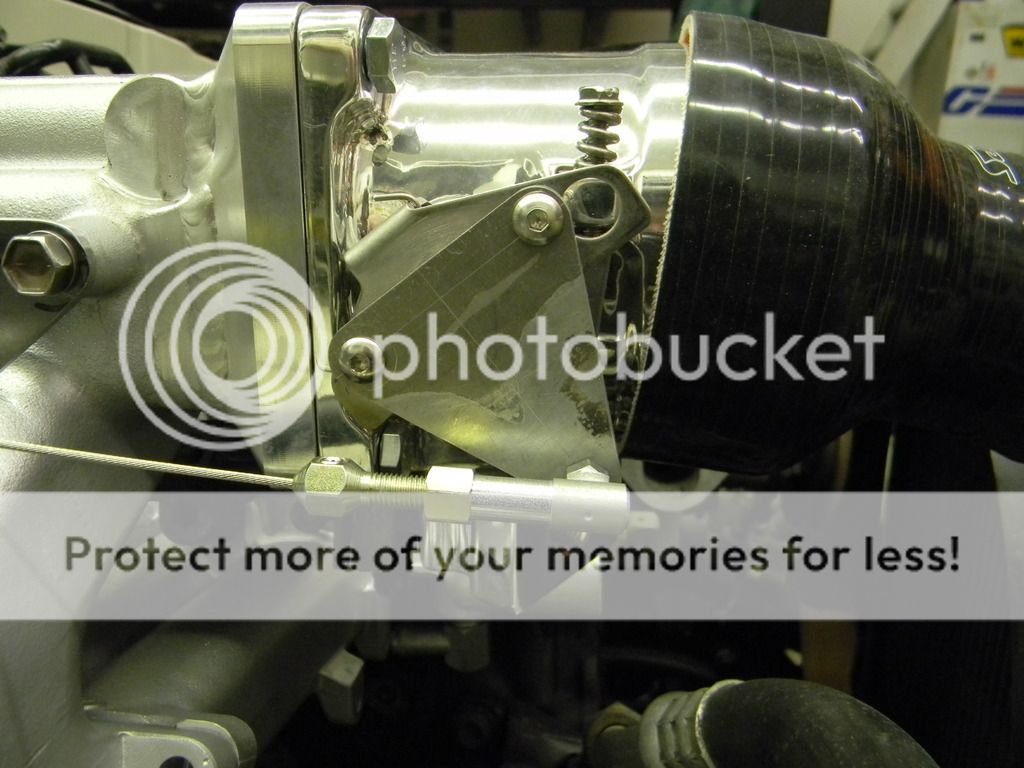
started with finding the total angle that the throttle blade would sweep at a given length wanted to get the pivot point to line up lower mounting point on the intake manifold after a few different card board templetes this is the final design I came up with.
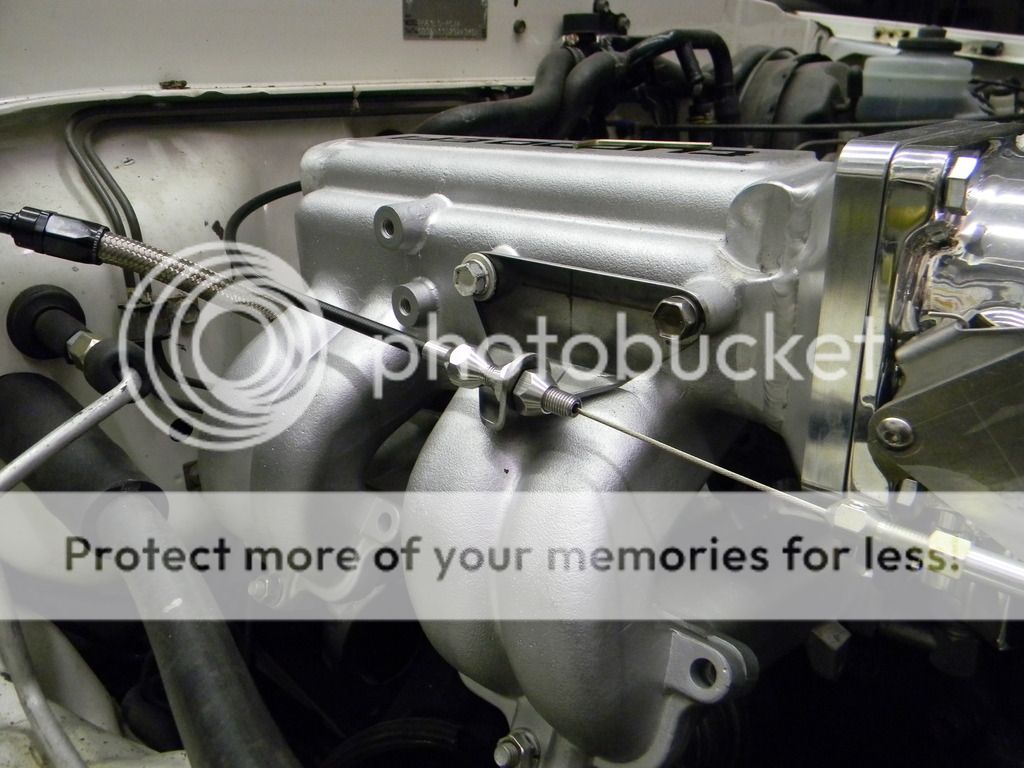
working from the throttle body back to the fire wall, I didn't want to leave the stock bulky throttle bracket on the side of the sleek intake. I had some 12ga steel laying around and bend up this lil bracket.
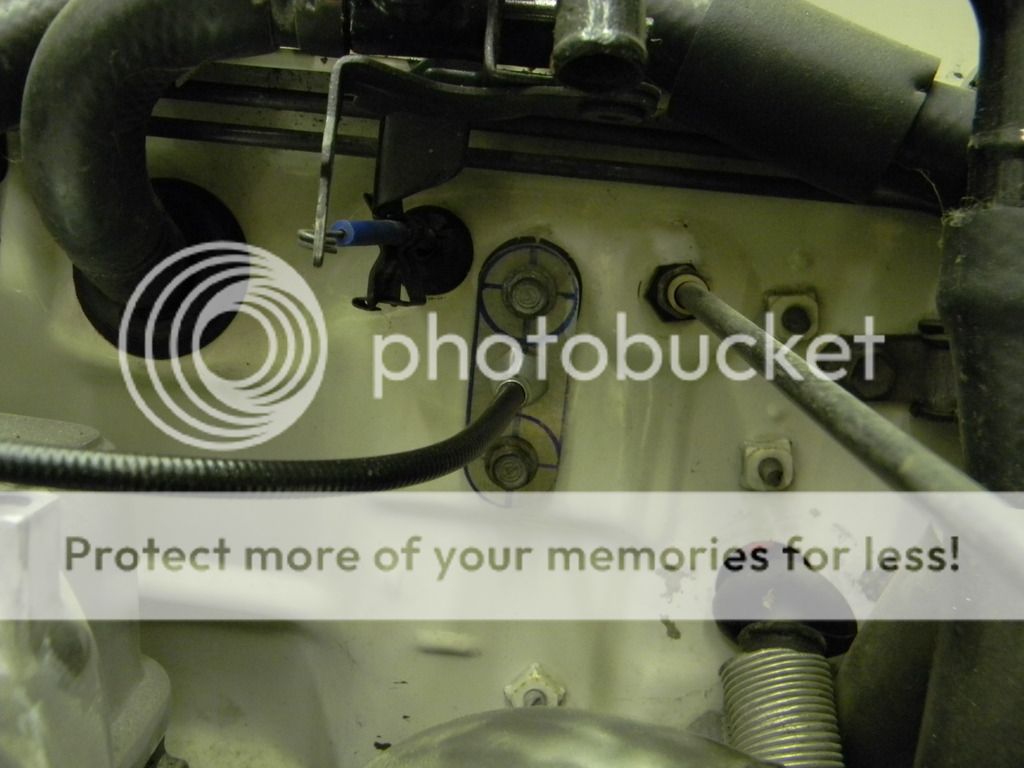
once I got to the fire wall I removed the stock cable and cut the universal cable to length and built a plate using the factory holes and firewall gasket to hold the cable in place. What you cant see is the small delron washer that is on the end of the throttle cable to hold in into the pedal just like the stock cable did.
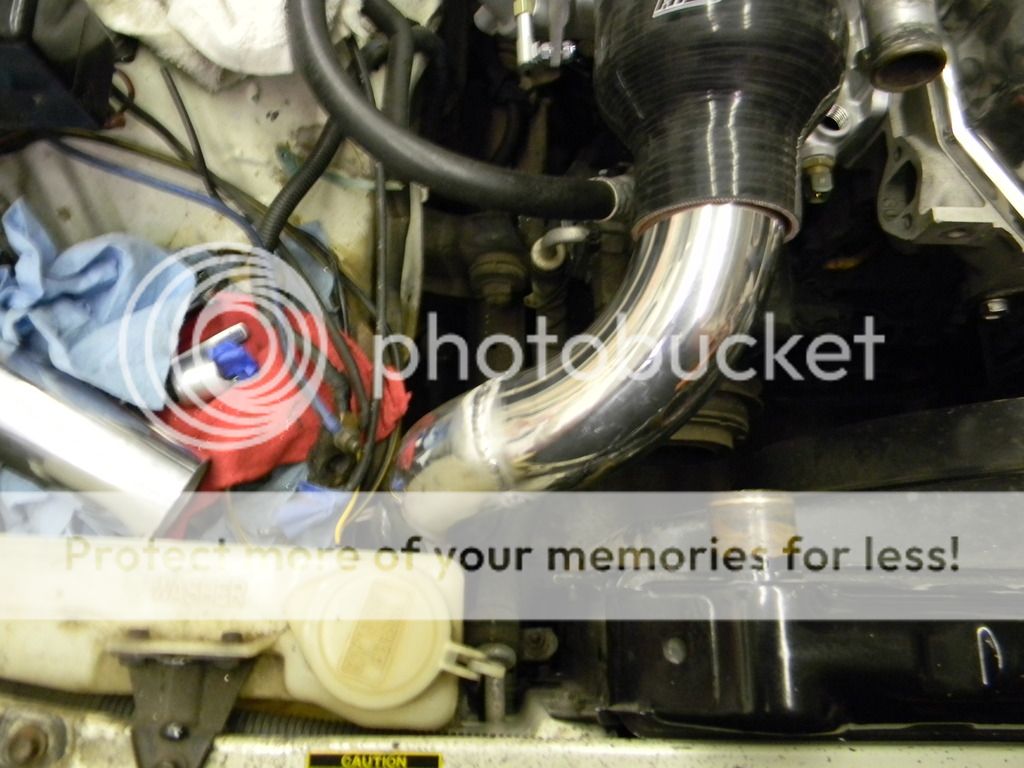
with the intake squared away I went on to finish up the intake plumbing on the intake side this was the preliminary design.
07-17-2018, 07:33 PM
#24
Registered User
Yea dang killer!!!!!
And im with you on the digital dash, something about any old digital dashes brings back all my childhood memories of cool cars, the 300z, corvettes etc, all the cool 80’s rides!!!!!
Can’t wait to see more
And im with you on the digital dash, something about any old digital dashes brings back all my childhood memories of cool cars, the 300z, corvettes etc, all the cool 80’s rides!!!!!
Can’t wait to see more
08-11-2018, 08:02 AM
#26
Registered User
Thread Starter
Join Date: Oct 2009
Location: Kent, Washington
Posts: 54
Likes: 0
Received 0 Likes
on
0 Posts
The point where it gets out of control...
I have this build up on the 22rte truck page also and have been lurking on there for quite some time. I was back and forth on what ecu to run since I went beyond the threshold of the stock ecu parameters. I was initially looking at buying the PnPII from megasquirt but the addition of the larger throttle body and wanting to run sequential injection. I decided to go with a full meal deal stand alone ecu.
Picked up the amp efi evo unit from diyautotune when they had a black friday sale going on!
while I was in shopping mode I picked up a turbosmart wastegate 50mm race port variety! The credit card hated me after these two purchases haha!!
I tend to bounce from project to project on the truck due to the fact that I only have so many tools at home and being spoiled at work in a fab shop has me waiting to do certain projects til i have access to the proper tools. This is one of the projects that I bounced to after needed to weld up some of the intercooler tubing. I added a dual remote oil filter system to the truck to alleviate the mess associated with doing an oil change on a 22r series engine and gain twice the filtration!

I removed the old tranny cooler and mounted the dual filter system in place of it. By the time I gained the clearance I was comfortable with I noticed the short filters that I had for the oil system hung way below the frame. Started with my beer box template and bam!! this is the skid plate that I came up with for the oil filters. Its 12ga steel and dimple died so it should be fairly strong to protect the filters from debris.

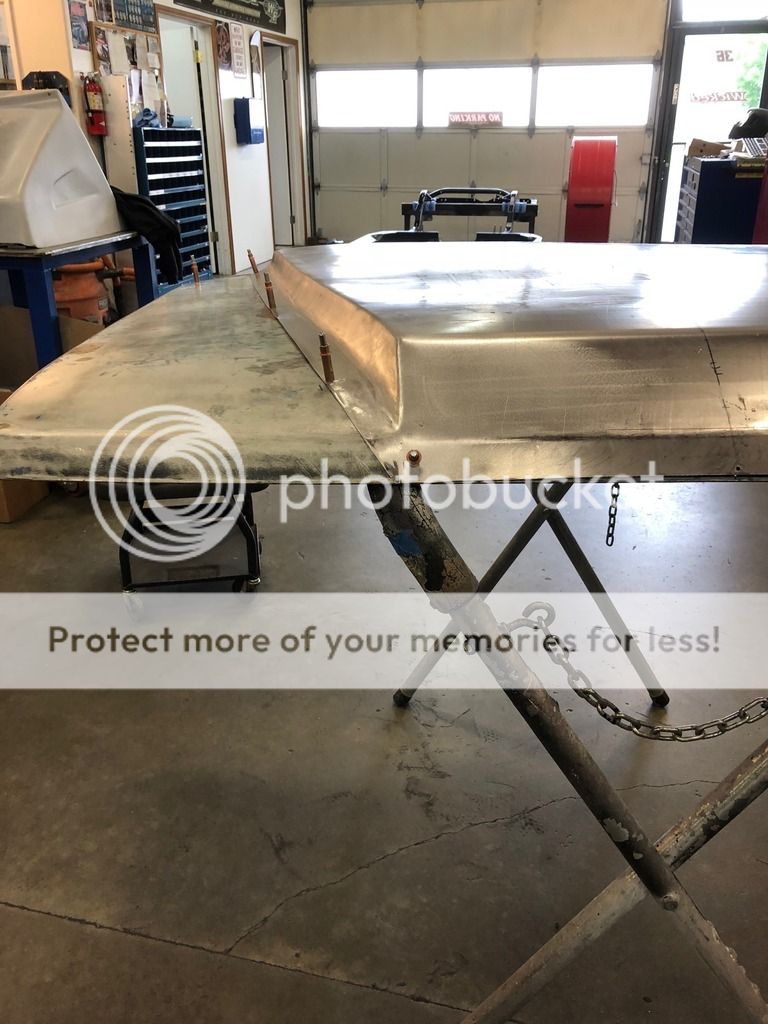
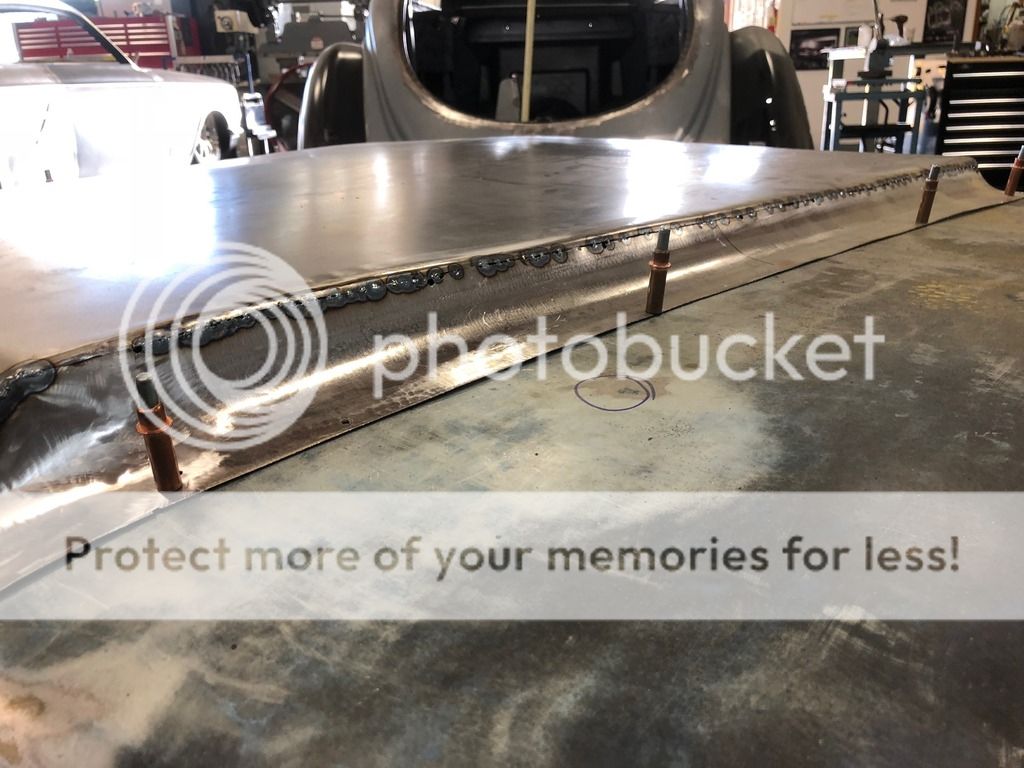
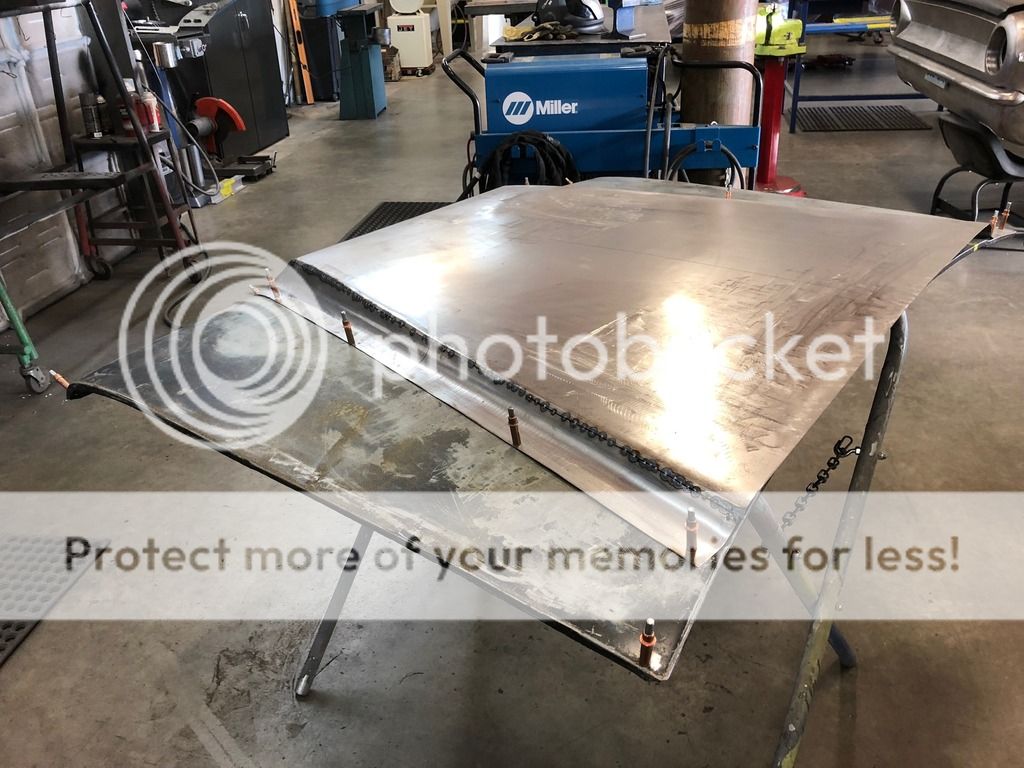
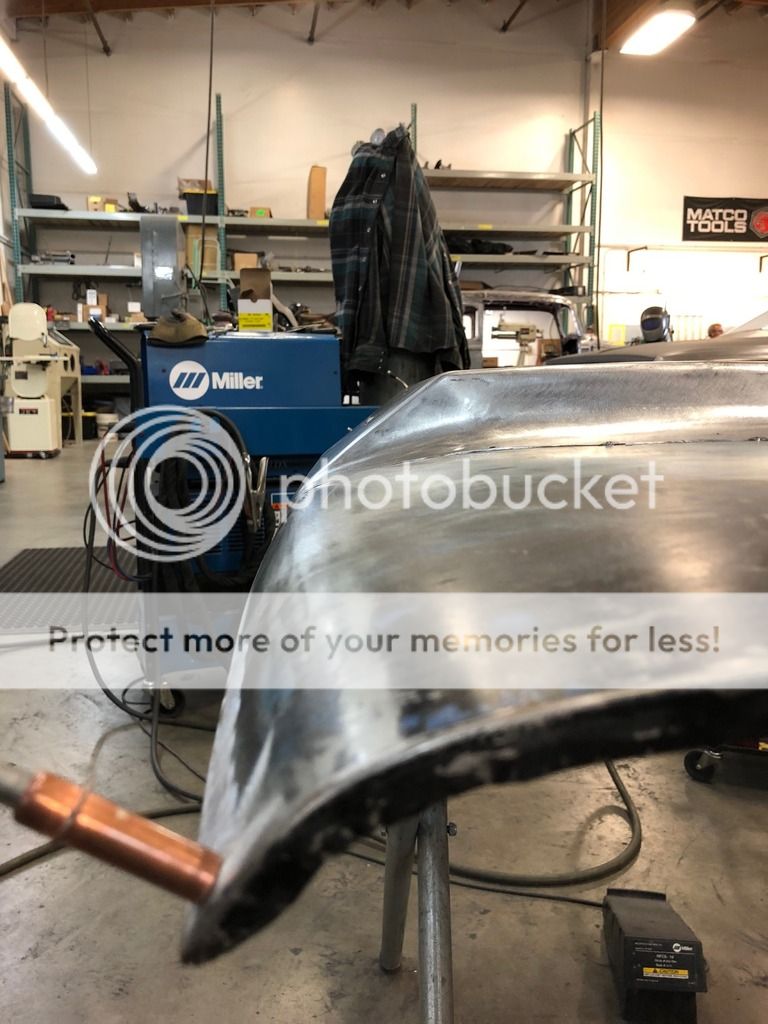
With all the fab work getting close to being finished, I had to go and add more to the list. Standing back and staring at the hood I though man wouldn't it be cool to have a cowl hood? nothing outrageous, just a 1" raised center in the hood. I started googling around and couldn't find anything I liked for the first gen 4runners. I found tons of home brewed stuff and a couple tall fiberglass ones but nothing what I had pictured in my head. I figured what the hell Ill fab up a new center section and stab it on a spare hood, can't be too hard right? haha! boy was I wrong. I've been working on it for about two months off and on for about an hour after work so its taking longer than if I had the tools at home to do it but here's what I've got so far.
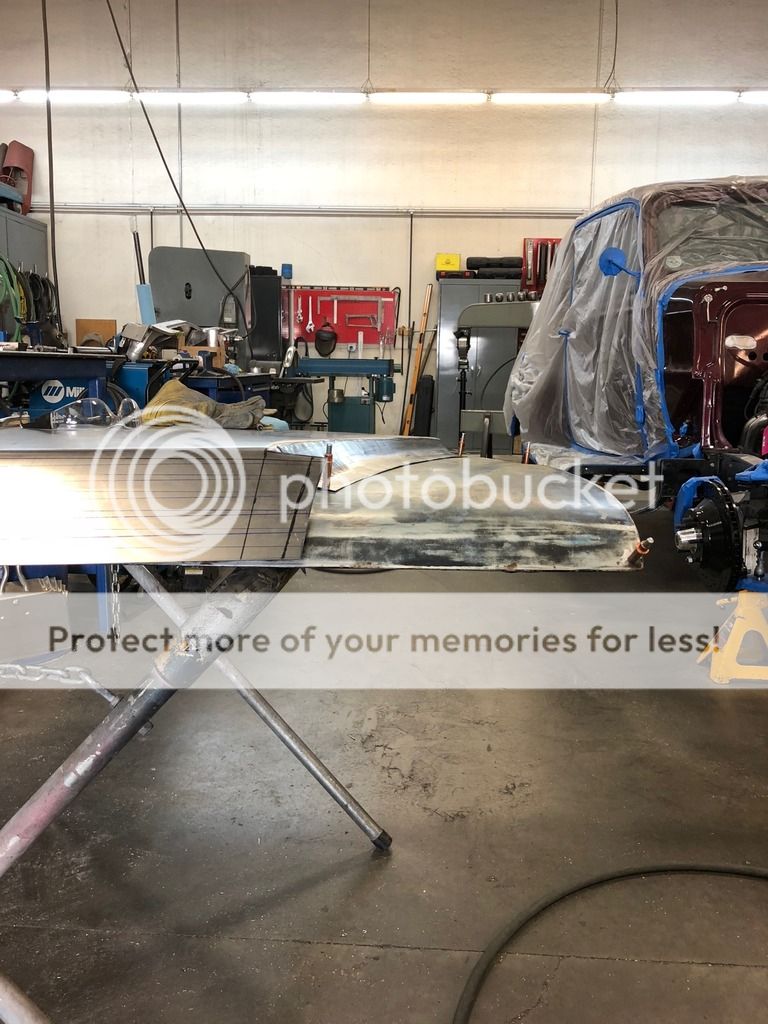
started out with a flat piece of 20ga steel and used the english wheel at work to roll some crown into it similar to the stock one. I then took it to the break and rolled the front leading edge in it with a similar radius as the stock hood. Once that was in its initial state I went on to fab the curved sides that transition down to the hood. I built some curved dies and ran another strip of 20ga thru the power hammer we have at work to get the side you see in the picture above.
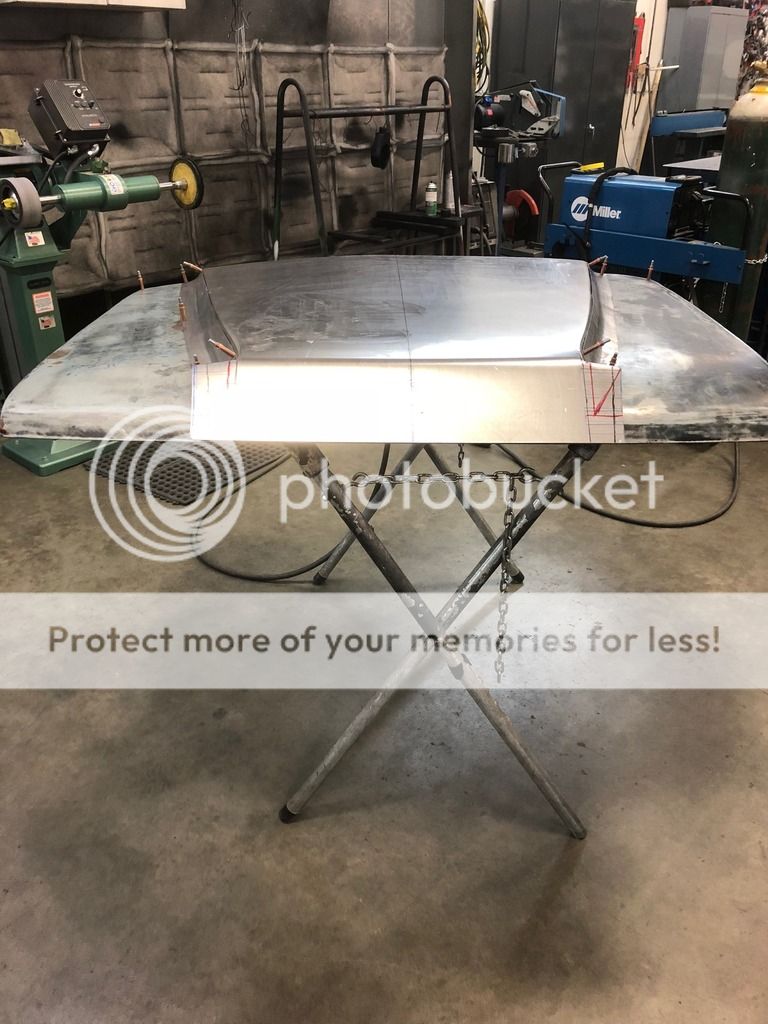
With the sides made and the front trimmed down, I took it home to see what the initial look would be on the truck, I was fairly pleased for just wingin it!

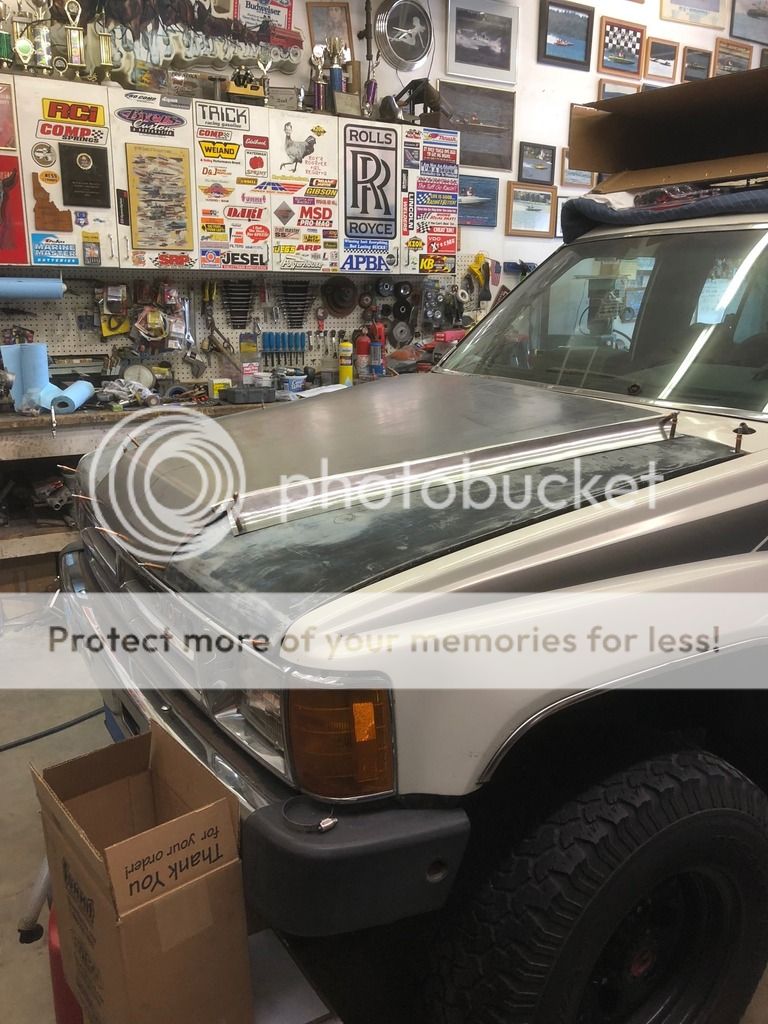
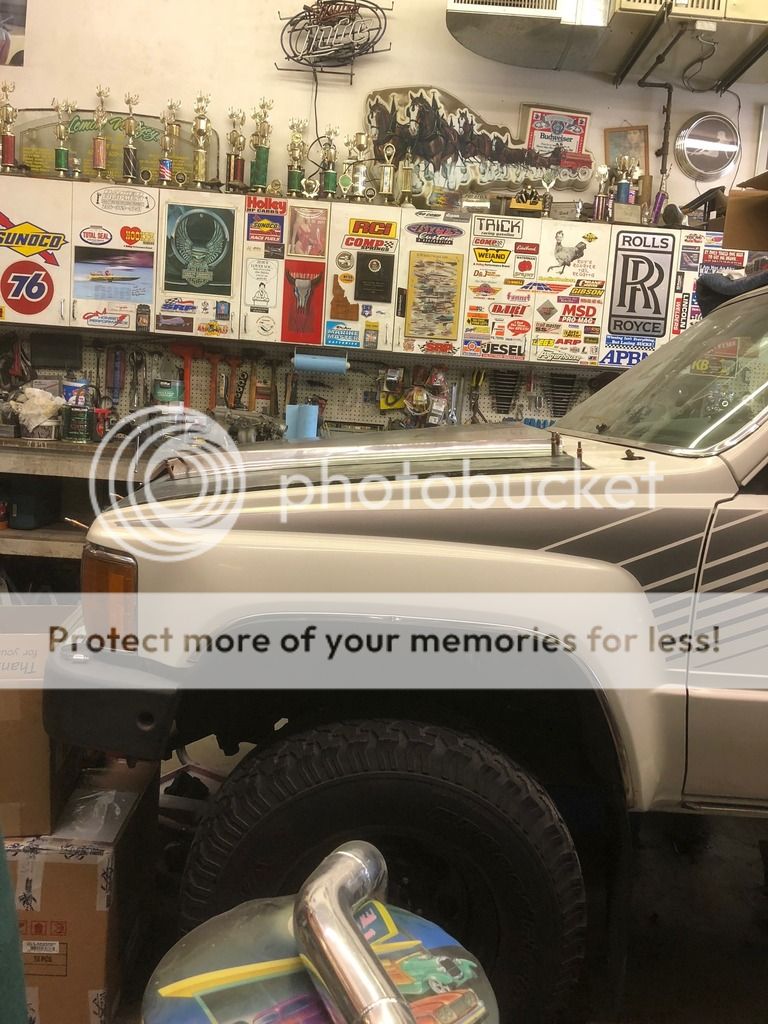
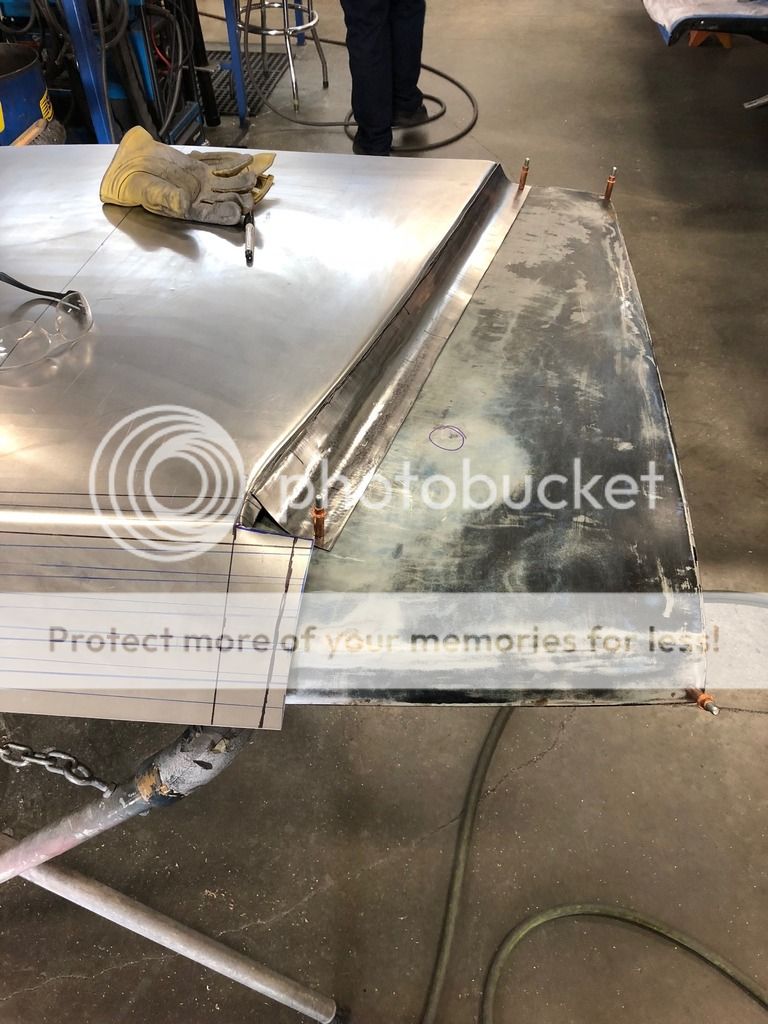
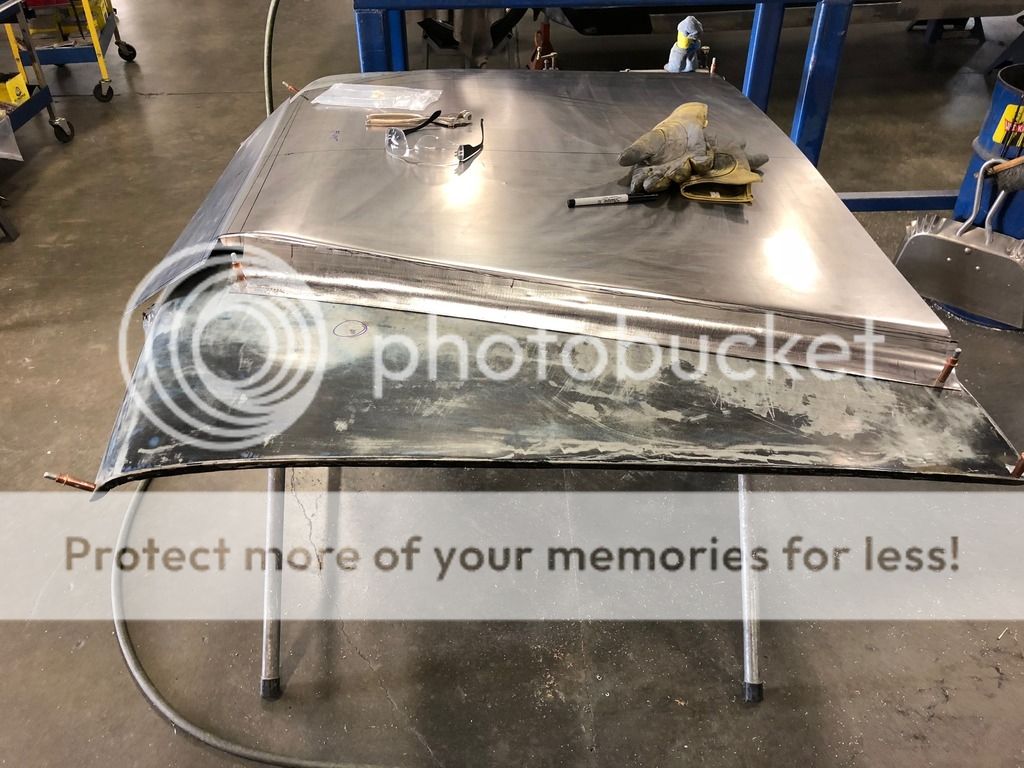
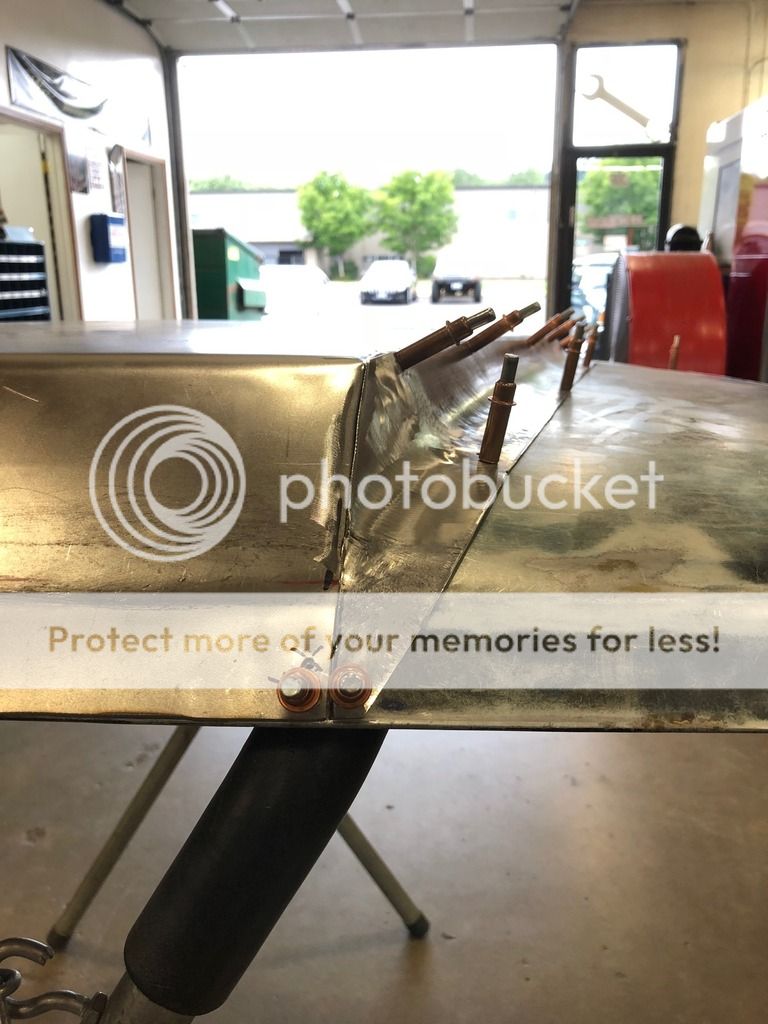
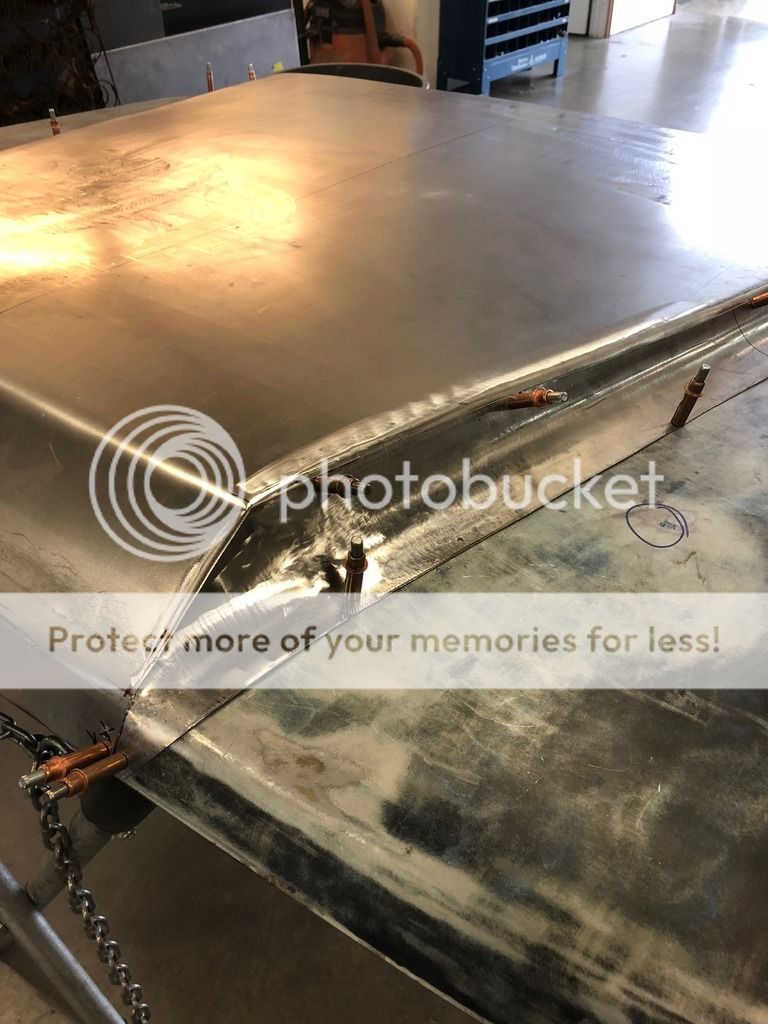
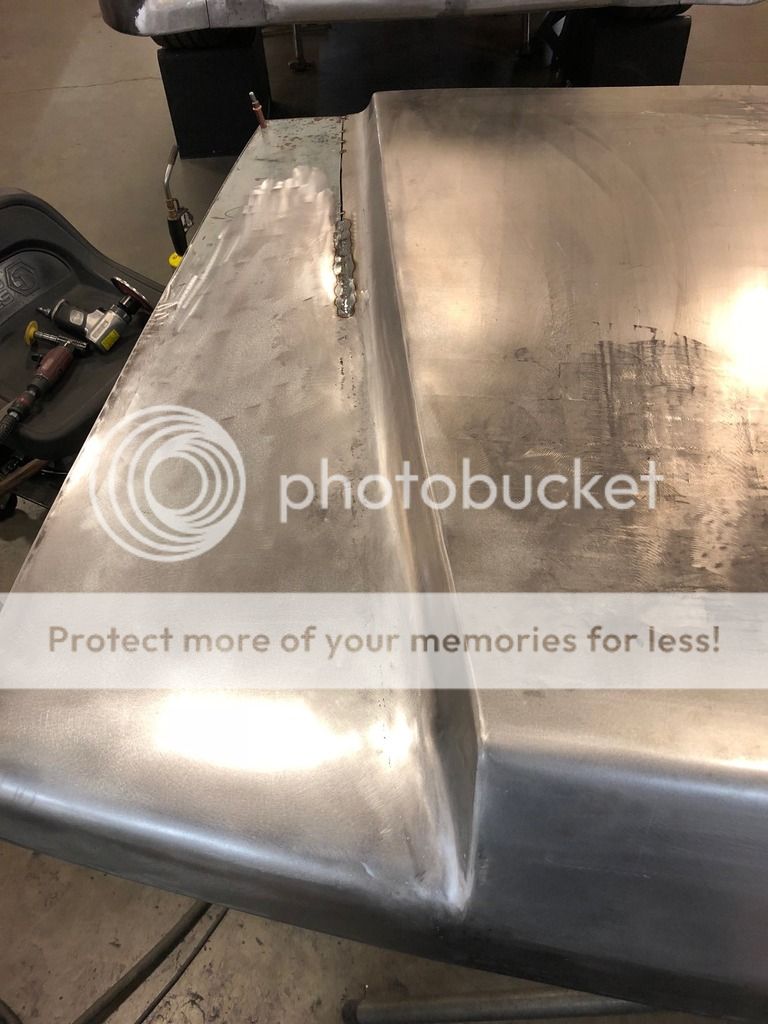
I took it back to work and continued on with the hood sides the front leading edge transition was a pain to get dialed in but with enough hammering and shaping ( thankfully 20ga moves pretty easily compared to 18ga!) I got the from transition in place.
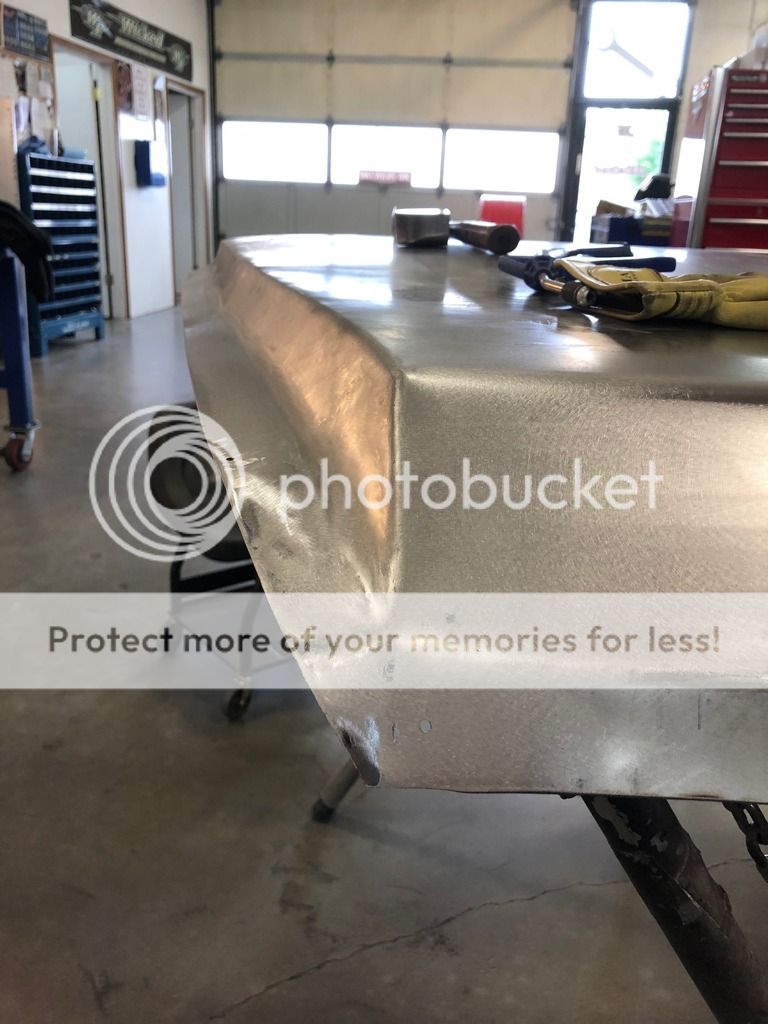
looks similar to the stock hood just 1" taller!
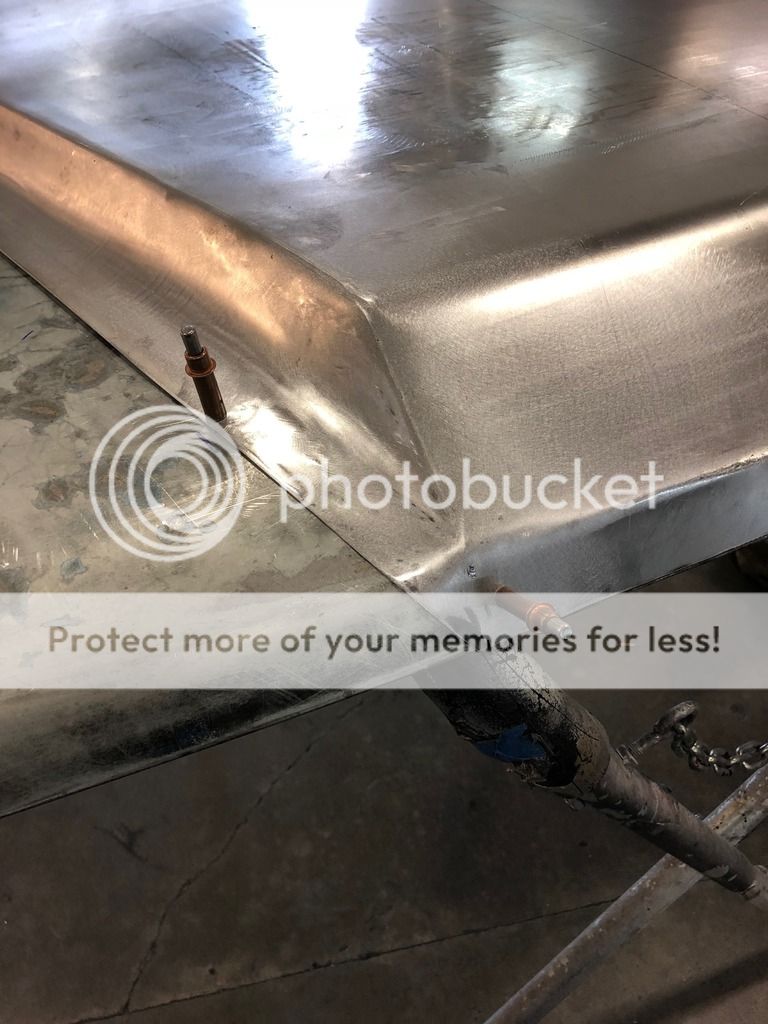
heres the opposite side pre-metal finishing

Picked up the amp efi evo unit from diyautotune when they had a black friday sale going on!
while I was in shopping mode I picked up a turbosmart wastegate 50mm race port variety! The credit card hated me after these two purchases haha!!
I tend to bounce from project to project on the truck due to the fact that I only have so many tools at home and being spoiled at work in a fab shop has me waiting to do certain projects til i have access to the proper tools. This is one of the projects that I bounced to after needed to weld up some of the intercooler tubing. I added a dual remote oil filter system to the truck to alleviate the mess associated with doing an oil change on a 22r series engine and gain twice the filtration!

I removed the old tranny cooler and mounted the dual filter system in place of it. By the time I gained the clearance I was comfortable with I noticed the short filters that I had for the oil system hung way below the frame. Started with my beer box template and bam!! this is the skid plate that I came up with for the oil filters. Its 12ga steel and dimple died so it should be fairly strong to protect the filters from debris.

With all the fab work getting close to being finished, I had to go and add more to the list. Standing back and staring at the hood I though man wouldn't it be cool to have a cowl hood? nothing outrageous, just a 1" raised center in the hood. I started googling around and couldn't find anything I liked for the first gen 4runners. I found tons of home brewed stuff and a couple tall fiberglass ones but nothing what I had pictured in my head. I figured what the hell Ill fab up a new center section and stab it on a spare hood, can't be too hard right? haha! boy was I wrong. I've been working on it for about two months off and on for about an hour after work so its taking longer than if I had the tools at home to do it but here's what I've got so far.

started out with a flat piece of 20ga steel and used the english wheel at work to roll some crown into it similar to the stock one. I then took it to the break and rolled the front leading edge in it with a similar radius as the stock hood. Once that was in its initial state I went on to fab the curved sides that transition down to the hood. I built some curved dies and ran another strip of 20ga thru the power hammer we have at work to get the side you see in the picture above.


With the sides made and the front trimmed down, I took it home to see what the initial look would be on the truck, I was fairly pleased for just wingin it!


I took it back to work and continued on with the hood sides the front leading edge transition was a pain to get dialed in but with enough hammering and shaping ( thankfully 20ga moves pretty easily compared to 18ga!) I got the from transition in place.


looks similar to the stock hood just 1" taller!

heres the opposite side pre-metal finishing


 08-11-2018, 08:27 AM
#27
Registered User
Thread Starter
Join Date: Oct 2009
Location: Kent, Washington
Posts: 54
Likes: 0
Received 0 Likes
on
0 Posts
Wheelin Fun!!!
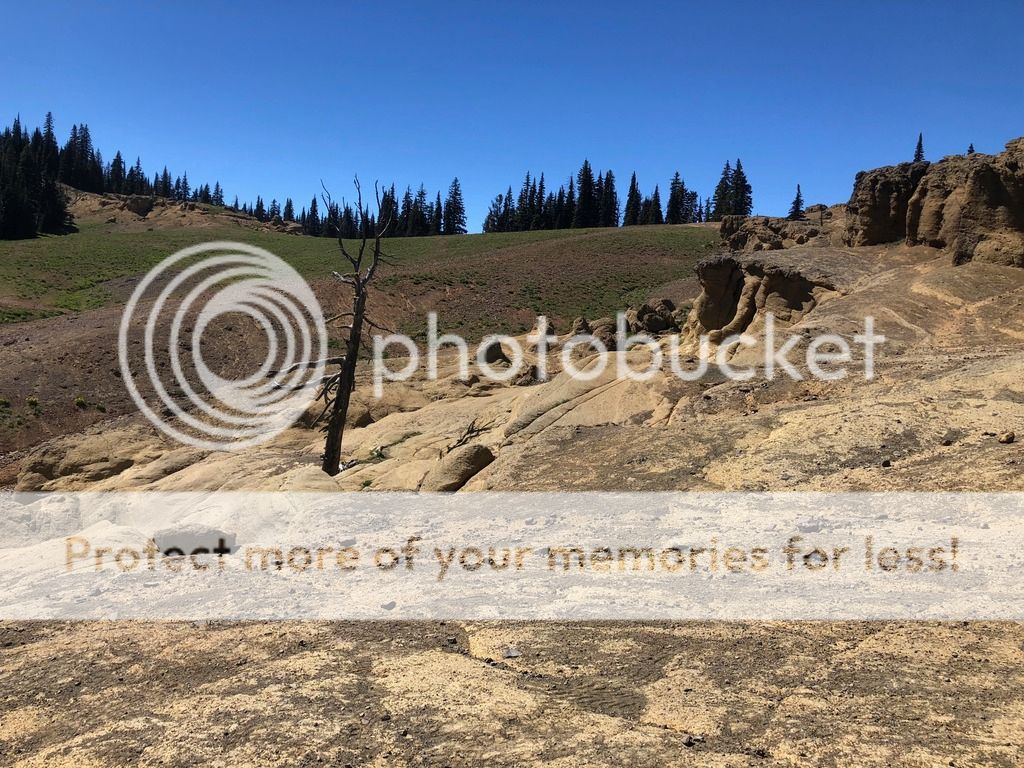
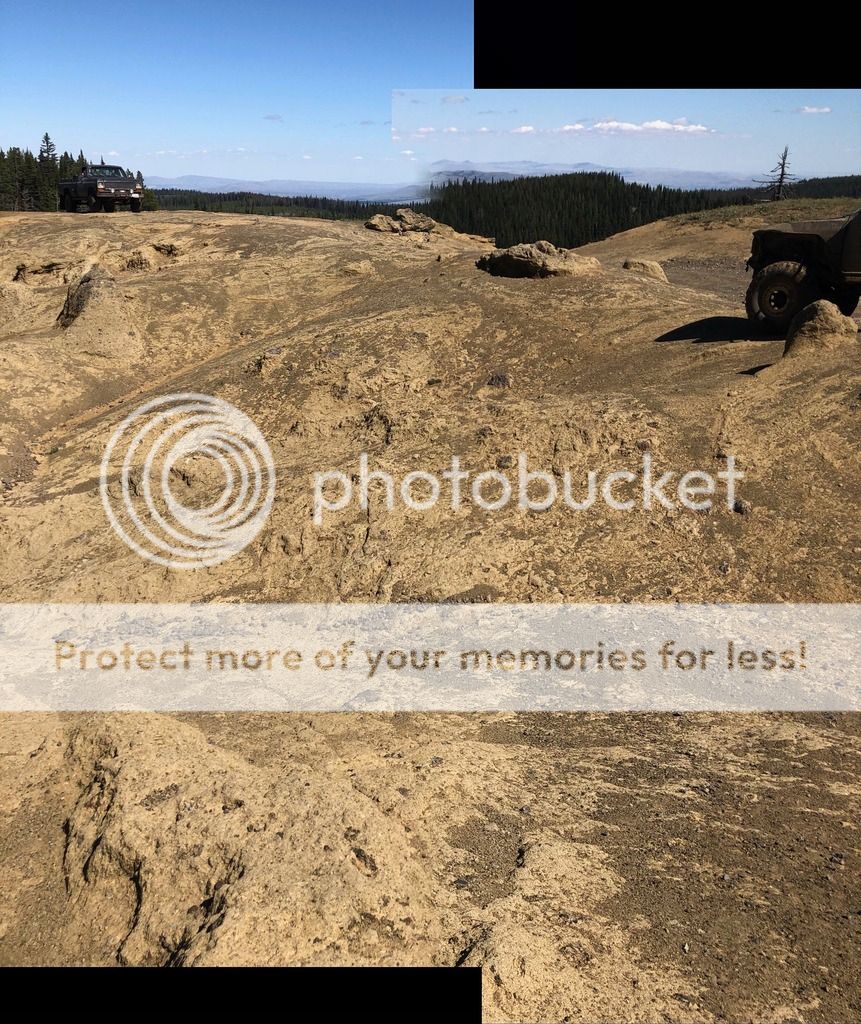
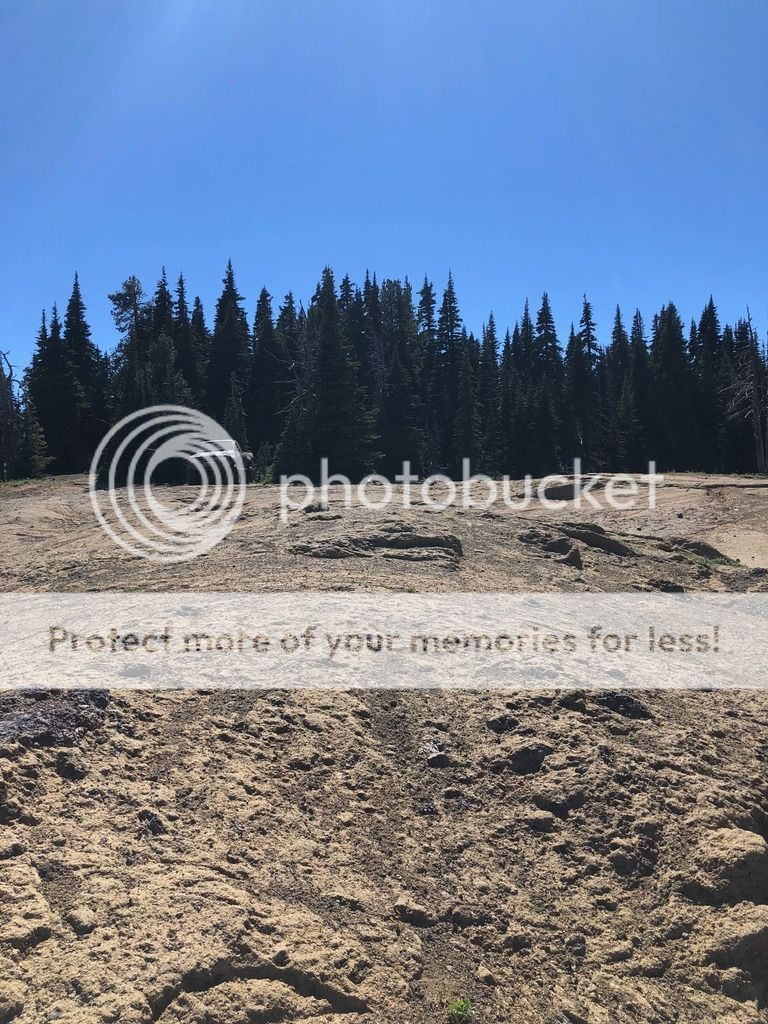
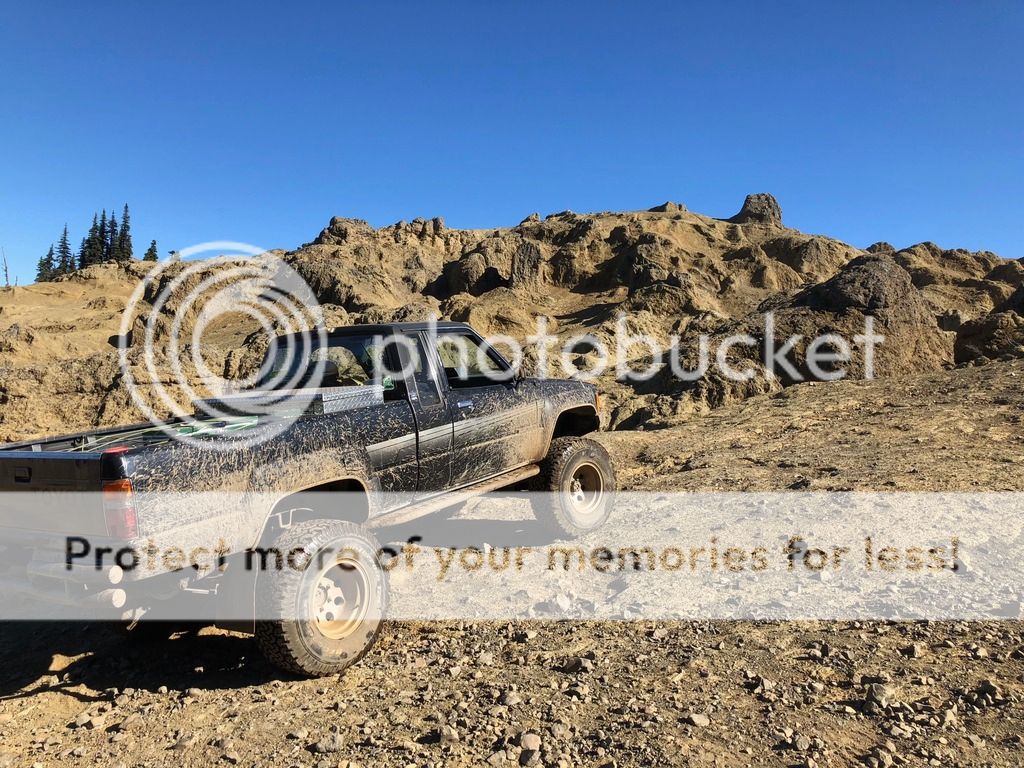
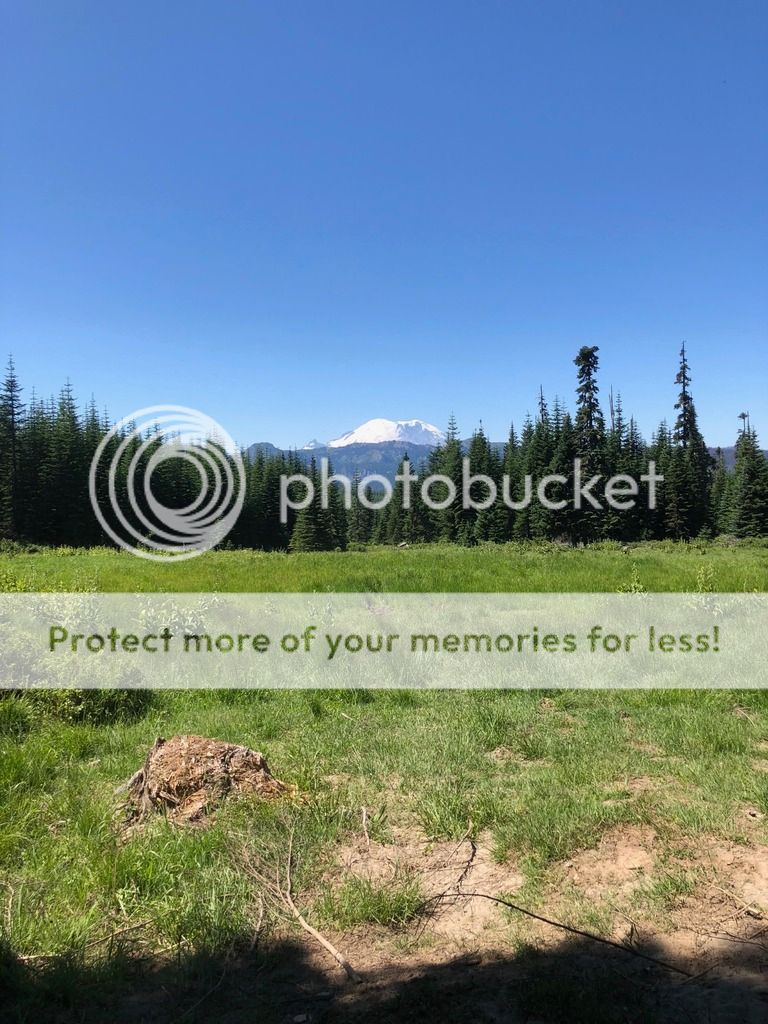
In between the building the truck, I have had the opportunity to actually get out and have some fun! back in June I was able to take my black truck up to funny rocks/ moon rocks with a few friends the white 85 long bed on 40's that I helped build, his brother with a first gen pickup, and a full size long bed 73' chevy that I helped revamp some sheet metal on. ( typical chevys always rusting out in the floors! haha!) anyone that has been up to Naches area knows its not the widest trails. needless to say the fullsize got some dents and we got a ton of looks with it and me rolling around on 33" all terrains and ifs!

After the trip the black truck had some issues. It started with the alternator hot wire grounding out on the ground wire for it. I managed to blow off the sheathing with the pressure washer after the trip cleaning off the mud and didn't notice it til the next day on my way to work and noticed nothing in the cab worked because it blew the main 80 amp fuse. how it was still running I do not know!
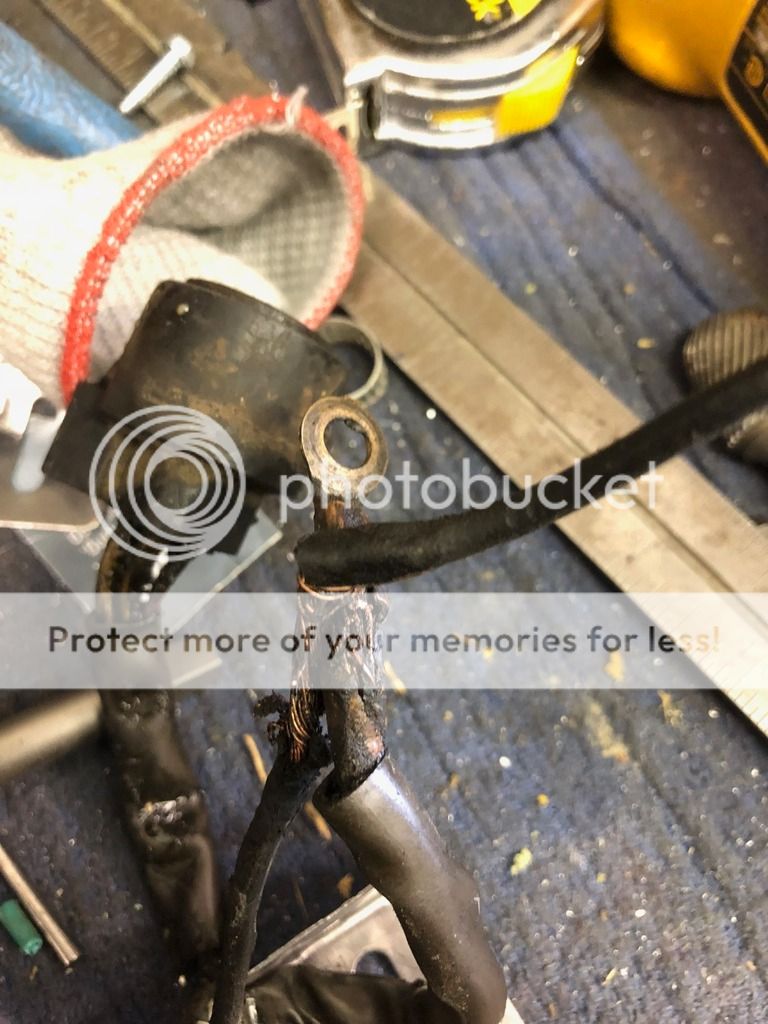
This was just the tip of the automotive iceburg. After that the radiator had some tubes leaking that required me replacing it with the brand new aluminum one that I got for the 4runner. Then found out the ball joints and control arm bushings were shot so all of that got replaced a few weeks ago.
08-16-2018, 08:24 PM
#28
Registered User
Thread Starter
Join Date: Oct 2009
Location: Kent, Washington
Posts: 54
Likes: 0
Received 0 Likes
on
0 Posts
more wheelin fun
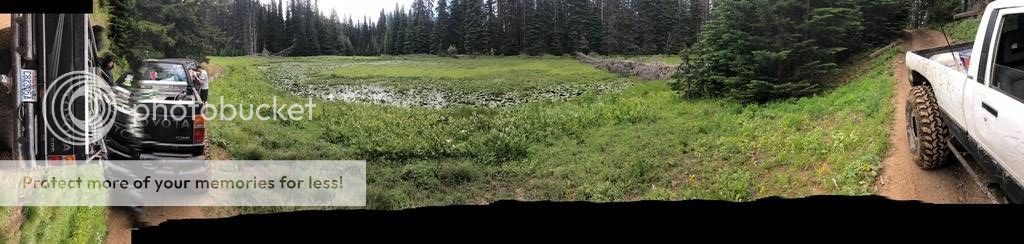
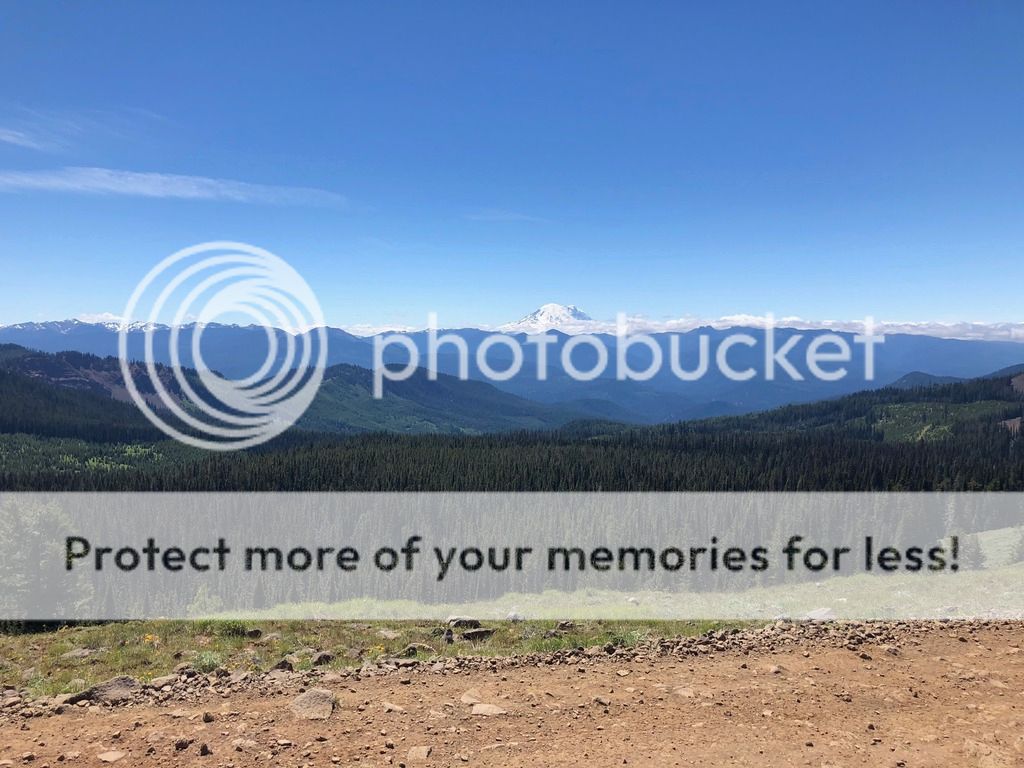
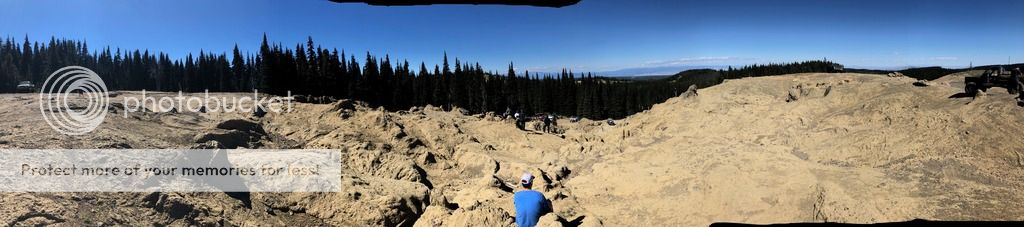
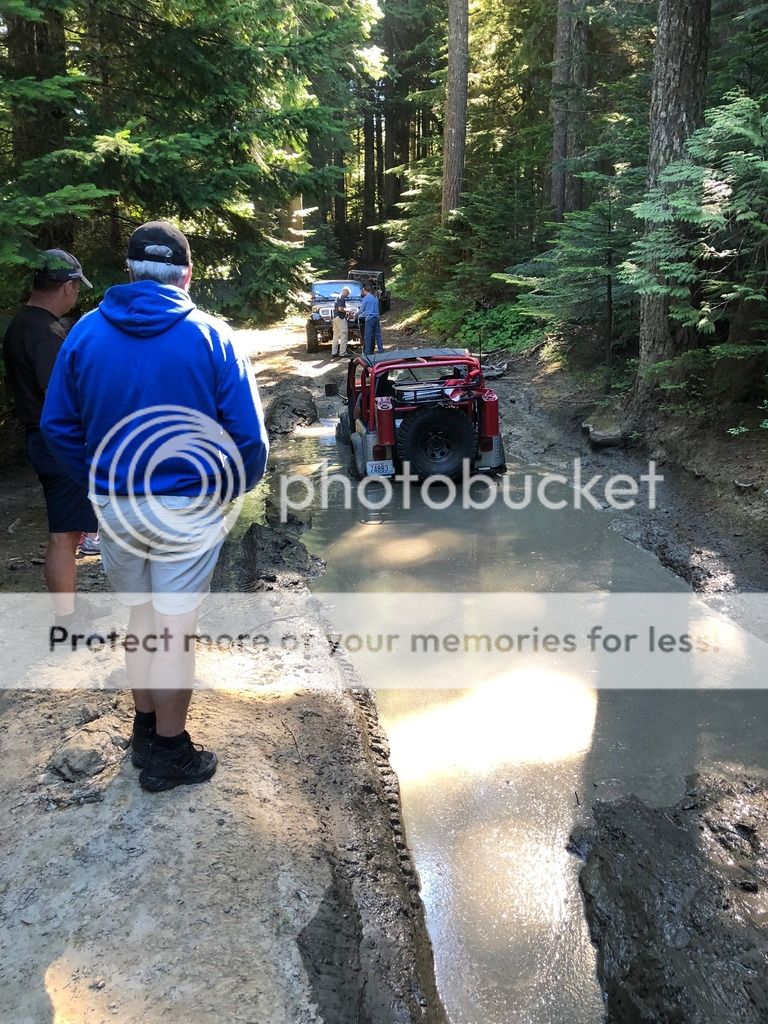
With my black truck out of commission, my Just Empty Every Pocket neighbor invited me on a wheeling trip to show his buddies how Toyota's are the superior rig ( in his words) but I couldn't hold up on my end due to the fact that I had my truck strewn across the shop. ( mind you he asked me this as I was working on the truck with all the front suspension laying on the ground and the trip was the next day..) anywho here's some pics from me riding passenger for the day in about six diffferent rigs
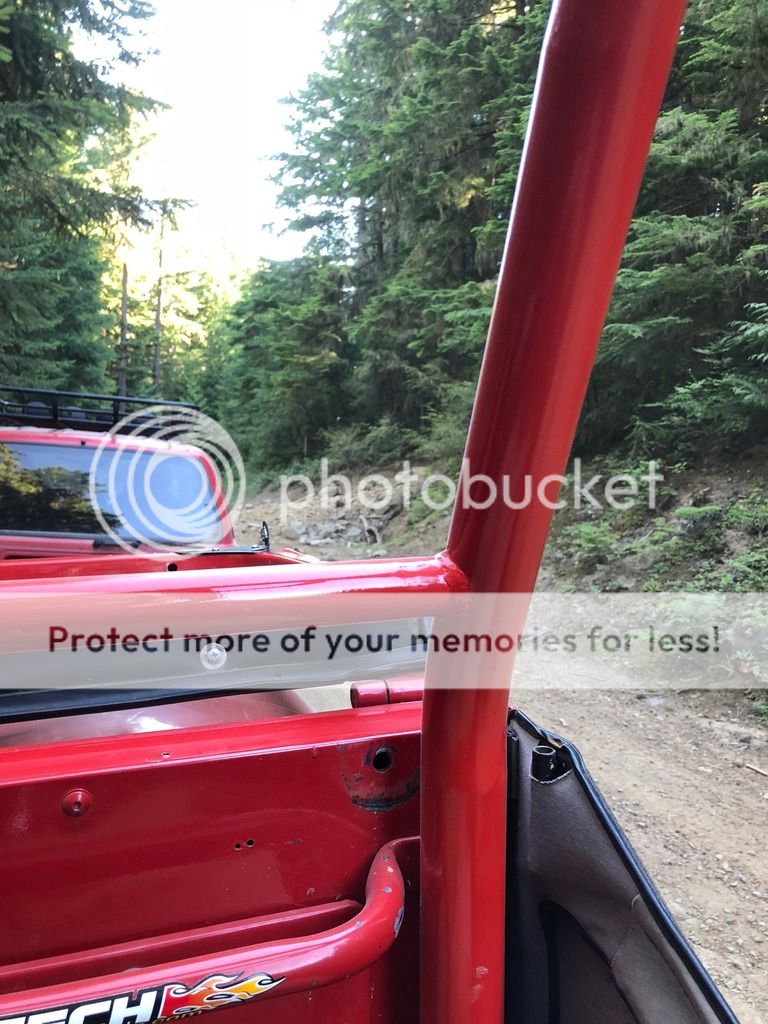
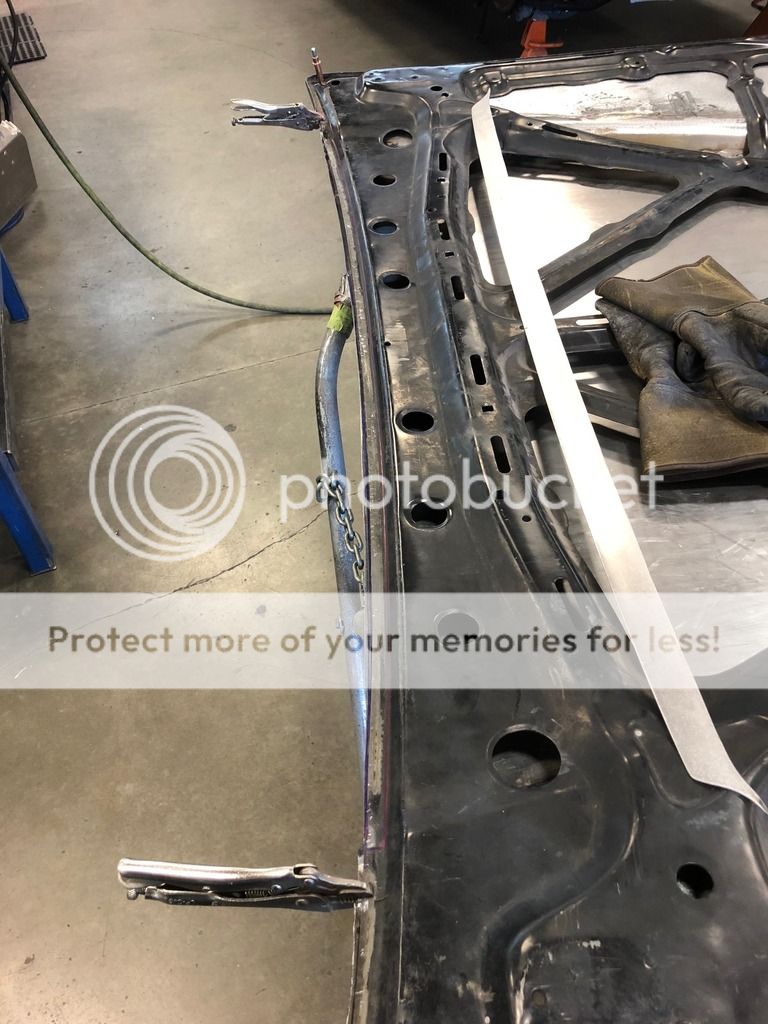
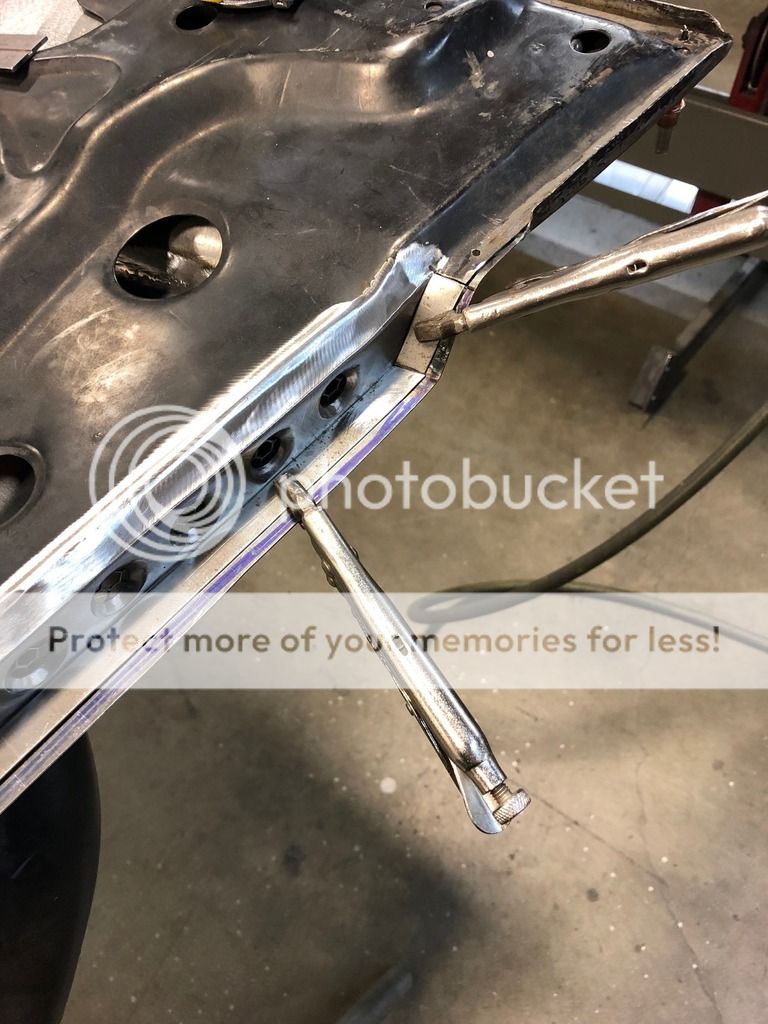
The entire time that I was riding passenger my neighbor tried to get me to hop in the drivers seat and see what a "real offroad" rig was all about... needless to say this is what I managed in 30 min of driving a jeep.

I managed to rip the wheel cylinder out of the backing plate wrap it around the axle and pierce it thru the backing plate. I guess the jeep didnt want a toyota guy driving it lol!!!
02-15-2019, 08:14 PM
#29
Registered User
Thread Starter
Join Date: Oct 2009
Location: Kent, Washington
Posts: 54
Likes: 0
Received 0 Likes
on
0 Posts
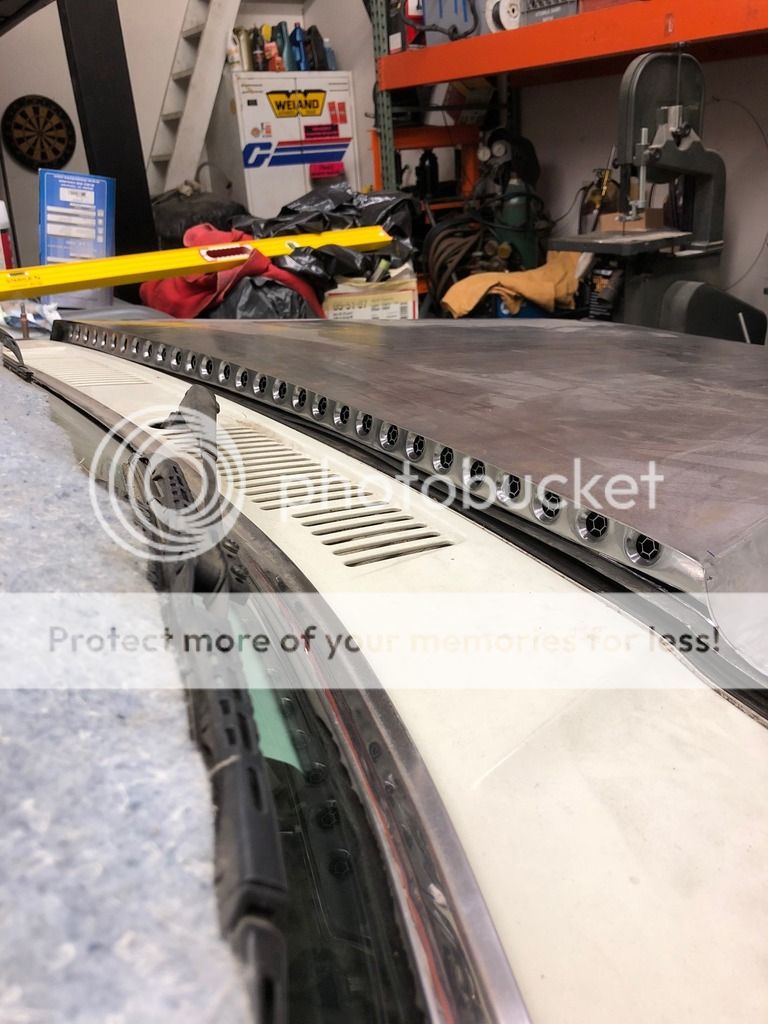
I know its been since Nam that Ive posted on here but I have made some progress!! I left off working on the hood, Well lets say this was a task that was way more difficult to do than I thought but Im this far in so Im gonna finish it!!!! I currently have the hood skin 90% finished and now need to start on the inner structure!
I spent 8hrs on one of my free fridays just ironing out the highs and lows to make the hood lazer straight
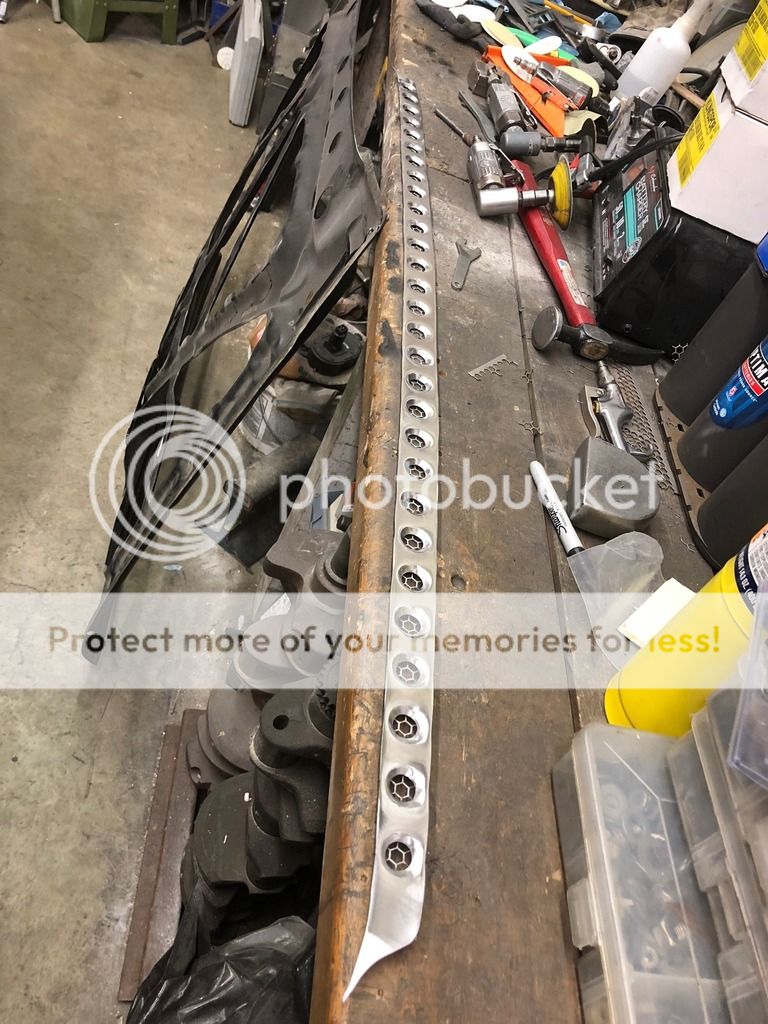
I progressed then to the rear of the cowl and started building the filler between the cowl section and the inner structure. Started with a piece of 16ga steel and shaped it to the top profile of the hood and the base of the skin.
Once I had the basic shape I decided to dimple die the back of it and fill the holes with expanded metal just like the valance and the air intake.

Once the piece was installed I stood back and and checked how it looked turned out pretty decent! very similar looking to the trans am kitt from Knight Rider with the strobing lights in the grille dont know why but when i saw it thats what popped into my head lol!
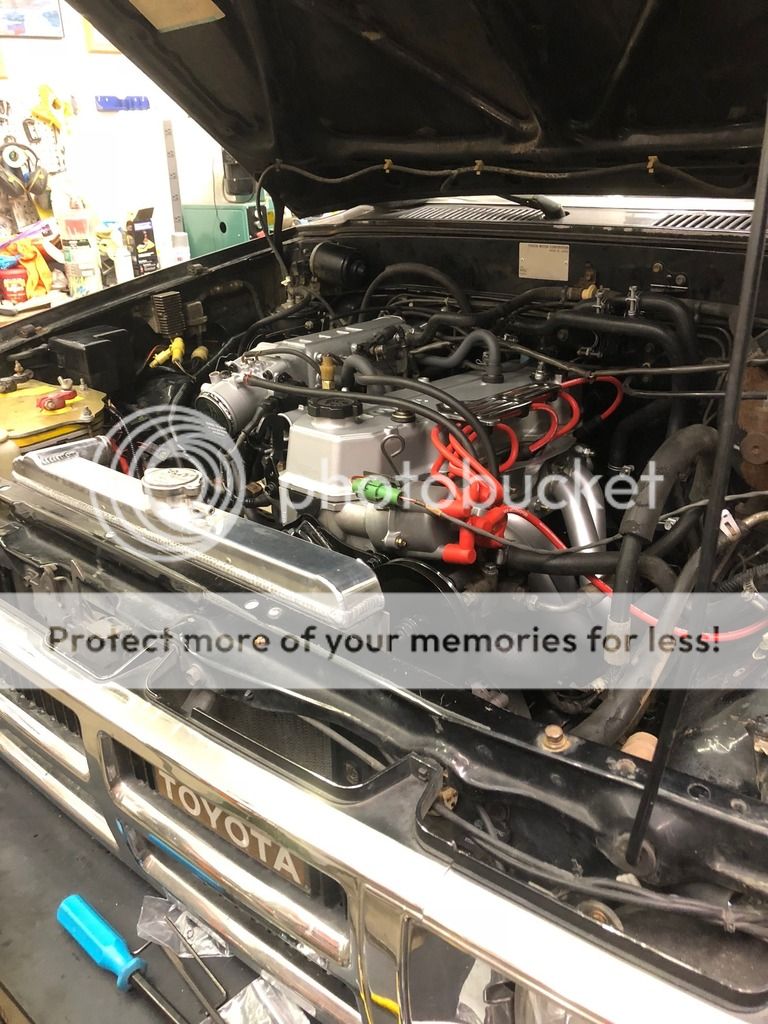
The progress of the 4runner halted back in November/ December after I blew a head gasket on my daily driver and that took president over the 4runner. gotta make it to work to buy parts for the runner!! I went a little overboard with rebuilding the engine rather than just slapping a head gasket on and going. Ended up building this engine too. Went with oversized stainless valves, dual row timing chain, MLS head gasket, egr delete, header, full 2.25" stainless hand fabbed exhaust, and every bracket, bolt and nut sand blasted and powder coated.
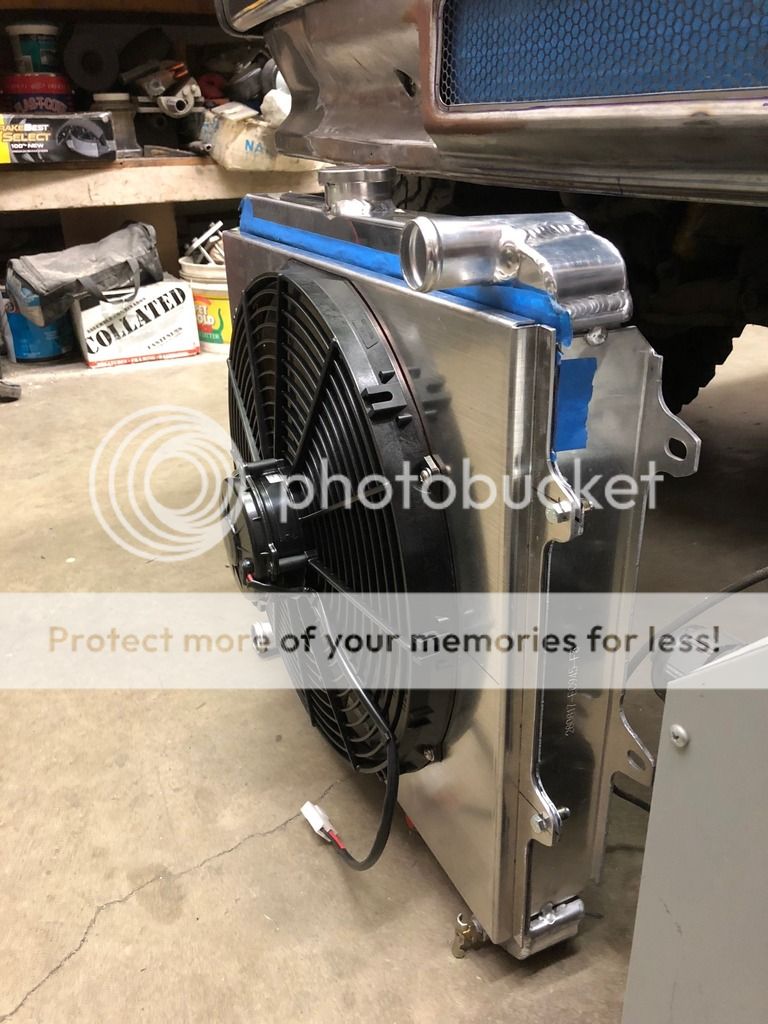
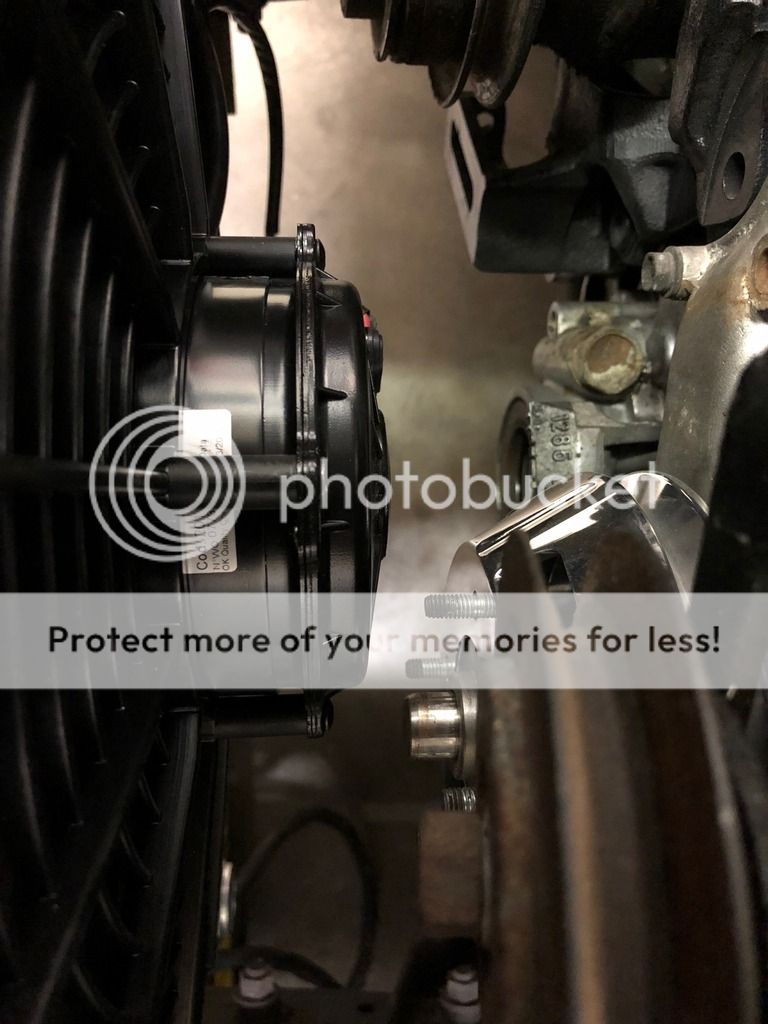
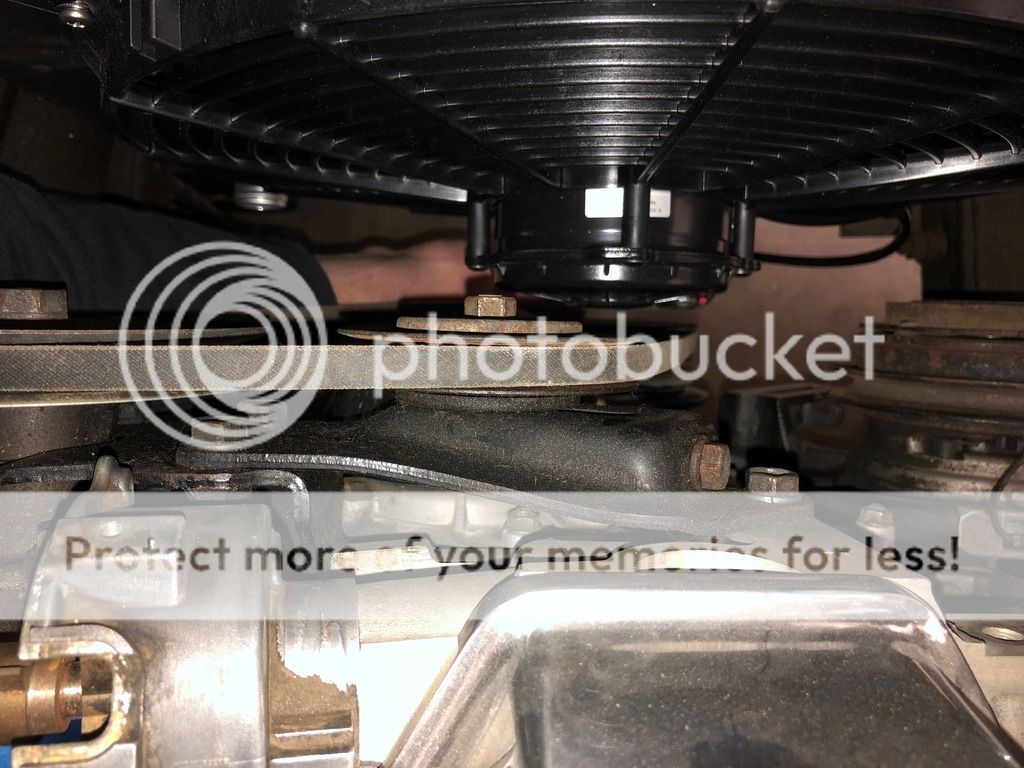
As of today I was able to build the fan shroud for the electric fan and get it placed in the 4runner and man are the clearances tight! got roughly 3/8" all the way around the motor but thats it!


I spent 8hrs on one of my free fridays just ironing out the highs and lows to make the hood lazer straight

I progressed then to the rear of the cowl and started building the filler between the cowl section and the inner structure. Started with a piece of 16ga steel and shaped it to the top profile of the hood and the base of the skin.

Once I had the basic shape I decided to dimple die the back of it and fill the holes with expanded metal just like the valance and the air intake.


Once the piece was installed I stood back and and checked how it looked turned out pretty decent! very similar looking to the trans am kitt from Knight Rider with the strobing lights in the grille dont know why but when i saw it thats what popped into my head lol!

The progress of the 4runner halted back in November/ December after I blew a head gasket on my daily driver and that took president over the 4runner. gotta make it to work to buy parts for the runner!! I went a little overboard with rebuilding the engine rather than just slapping a head gasket on and going. Ended up building this engine too. Went with oversized stainless valves, dual row timing chain, MLS head gasket, egr delete, header, full 2.25" stainless hand fabbed exhaust, and every bracket, bolt and nut sand blasted and powder coated.

As of today I was able to build the fan shroud for the electric fan and get it placed in the 4runner and man are the clearances tight! got roughly 3/8" all the way around the motor but thats it!


 03-21-2019, 07:14 PM
#30
Registered User
Thread Starter
Join Date: Oct 2009
Location: Kent, Washington
Posts: 54
Likes: 0
Received 0 Likes
on
0 Posts
More Progress!!!!!!!!!!!!
Hey all!!!
I've been diligently working away on it!
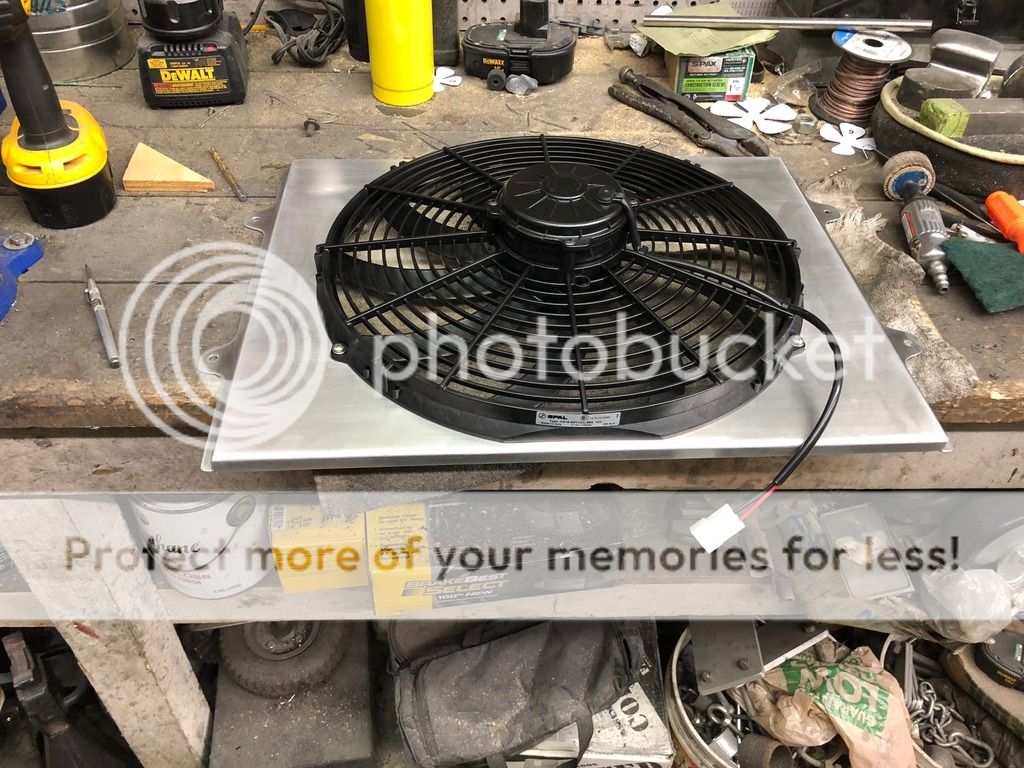
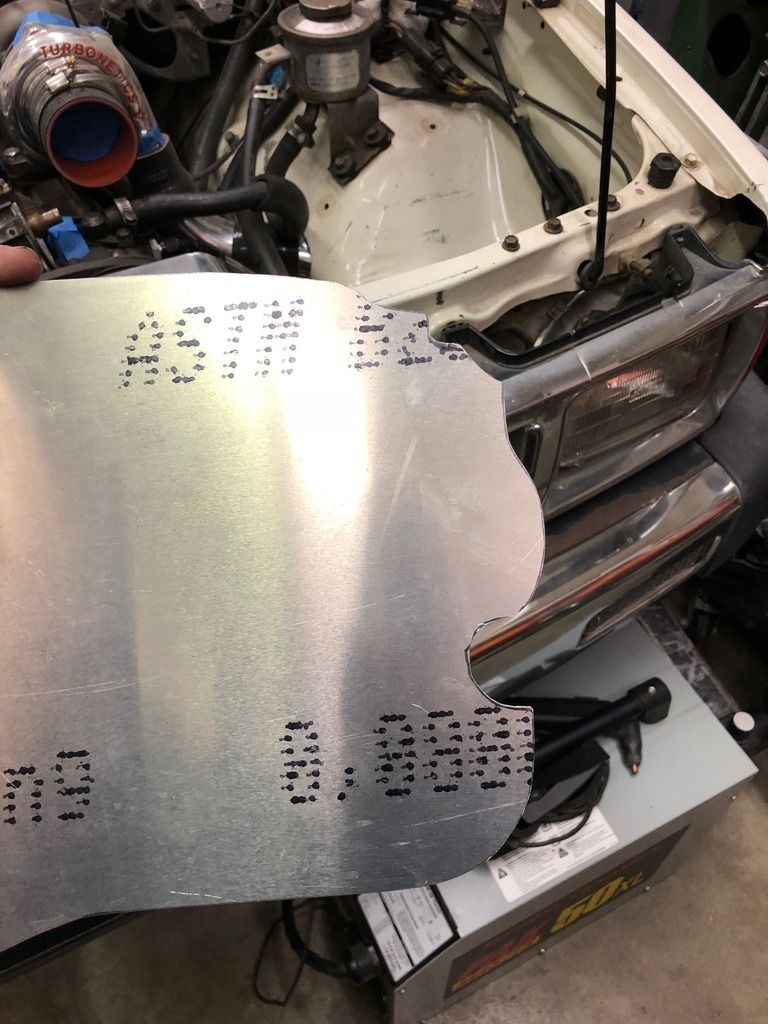
I left ya off with the fan shroud that I was building. I was able to weld all the corners up on it sand it down and grain it. I'm not sure if ill leave it grained or paint it black. What do you guys think?!

After working on the shroud I bounced over to the air box. I checked the area that the box fit into and decided that I could fab the box up without having the inner structure of the hood completed. I started with the typical beer box template and ended up with this.
Since I had the skin of the hood off It made it a breeze to contour the top edge to the inner structure of the hood.
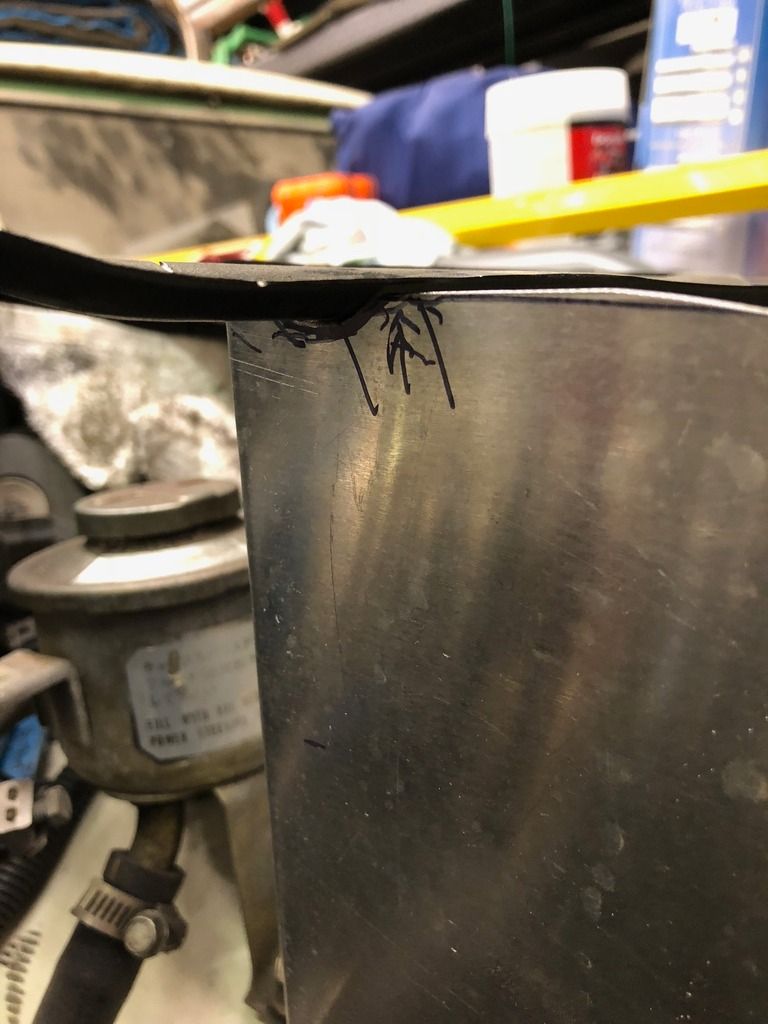
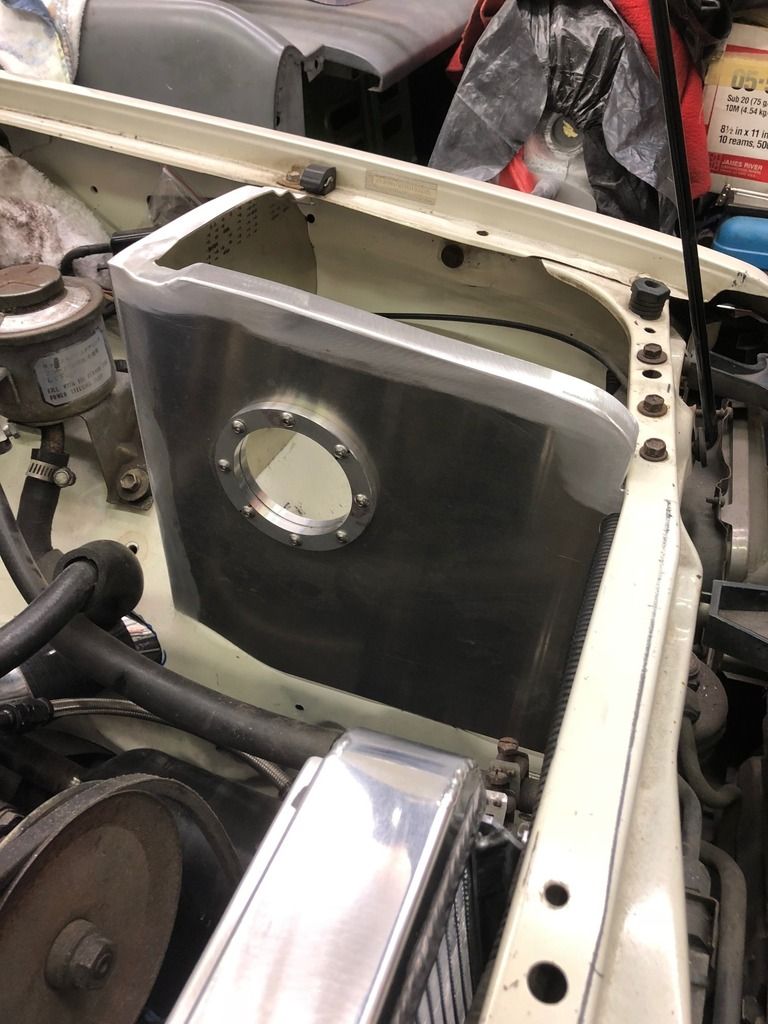
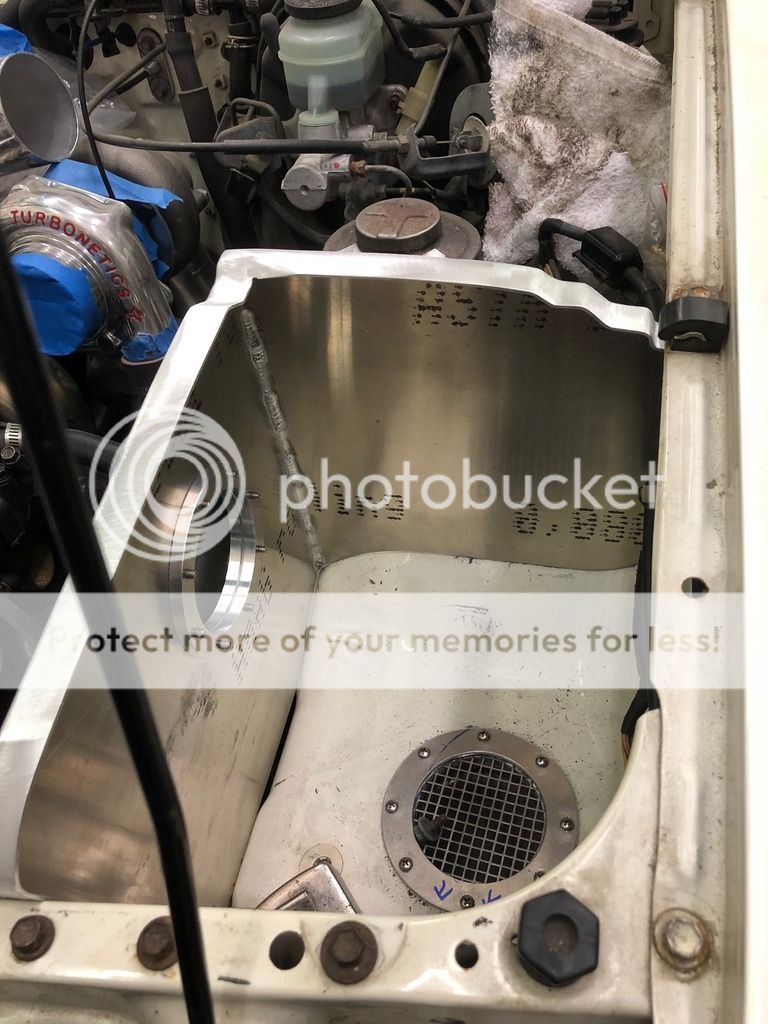
final result of the air box. Its mounted off of the dryer mounting stud on the core support, ties into the lower rear original air box mount and a spare mounting hole on the inner fender. The top has a 3/4" wide flange that will hold the camper foam to seal to the hood. Prior to welding the flange onto the top the air box was cut down 1/4" to allow for the camper foam to compress and seal against the hood.
I stitch welded the inside of the air box to prevent any cracking down the road from vibration.
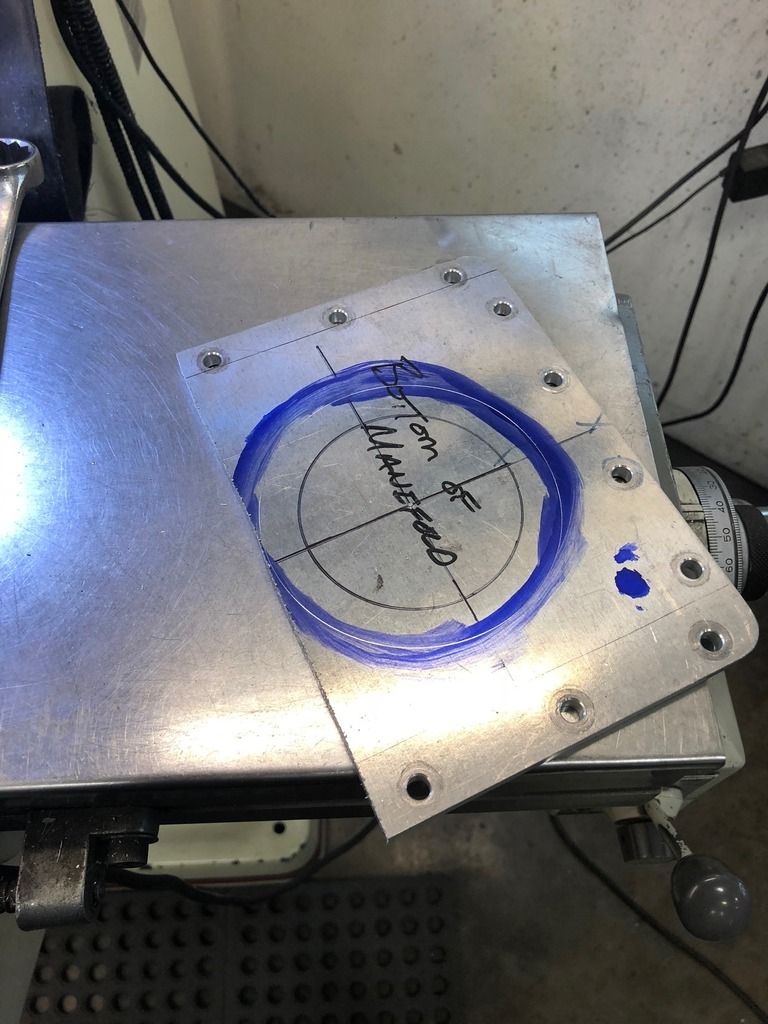
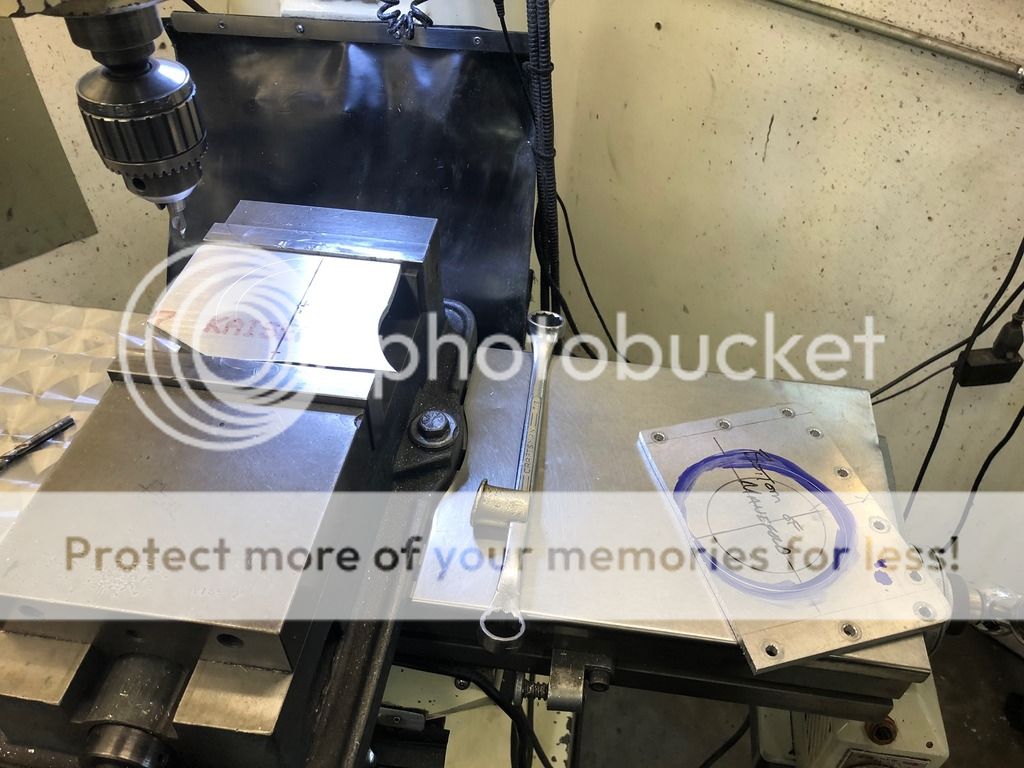
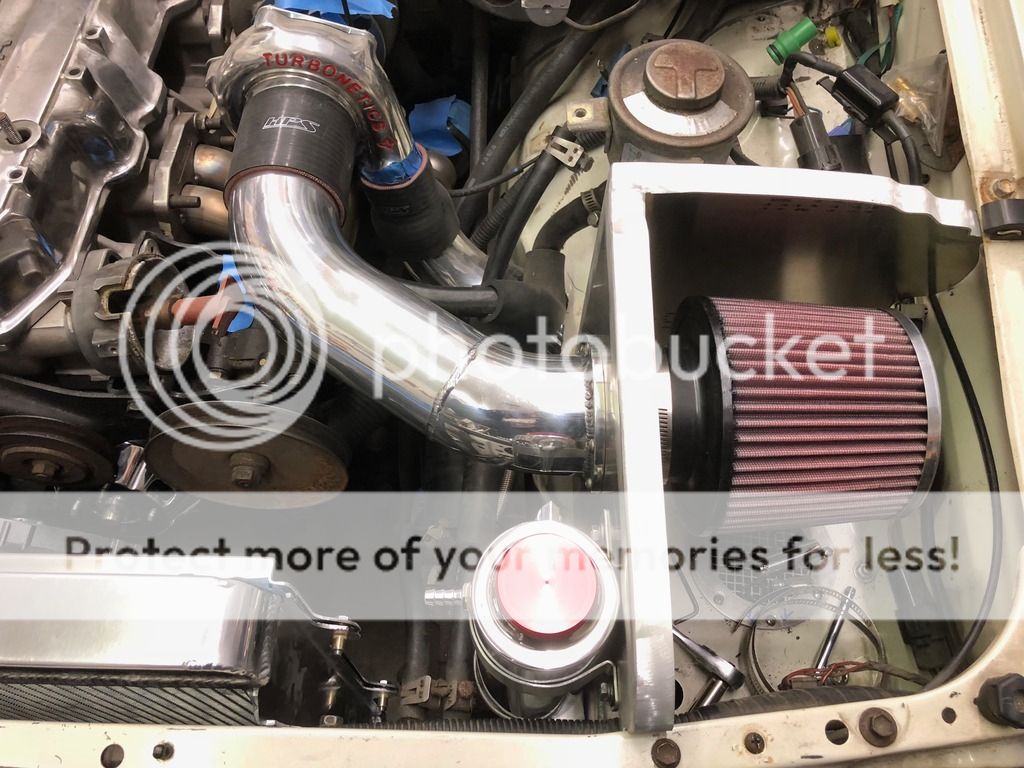
Once the box was built, I moved on to making mounting rings for the air intake tube. I took two pieces of 1/4" flat plate aluminum and cut rings out using the rotary table on the manual mill at work and laid out a symmetrical bolt pattern while I was at it to allow ease of installation.
Heres the ring material I didn't get much of the machining process but the end result is kinda self explanatory.
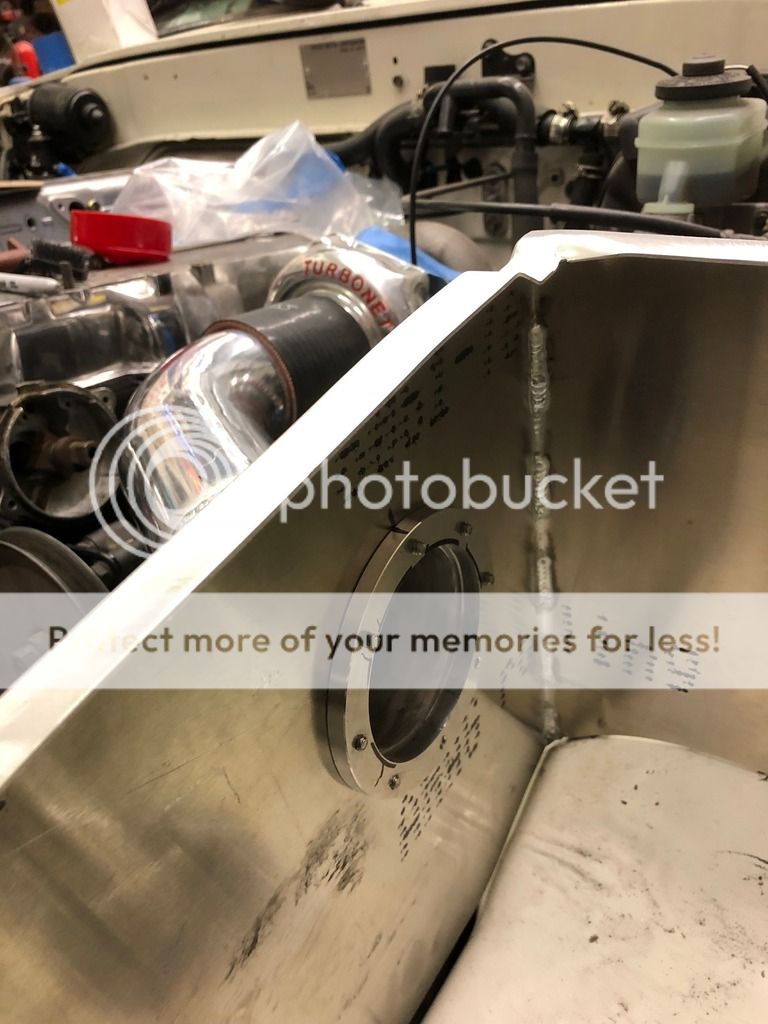
Rings all finished up and mounted on the air box.

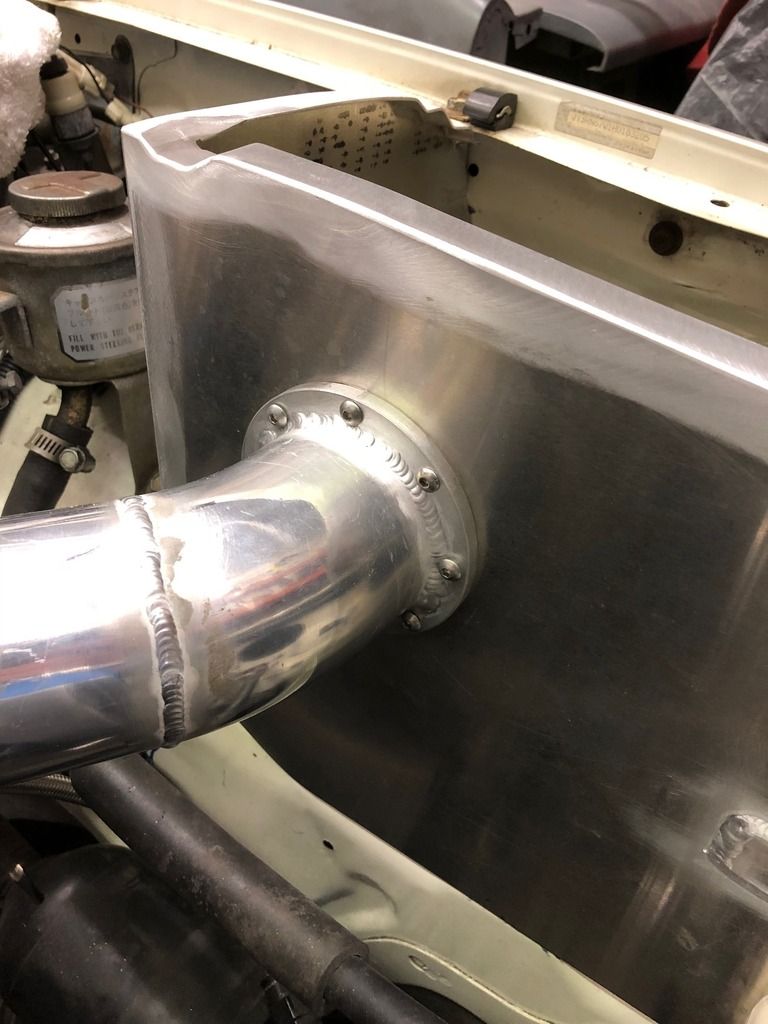
Once the rings were built it was on to finishing the air intake tube and welding the flange to the tube. Heres the finished result. I went through after welding and spot faced the weld where the bolts were so that the bolts would seat flush.

I have a tendency to bounce around so I hopped back onto the hood and started the rear flange of the inner structure. I took a scrap piece of 20ga sheet metal and shrunk the edge of it to match the desired curve of the hood structure.
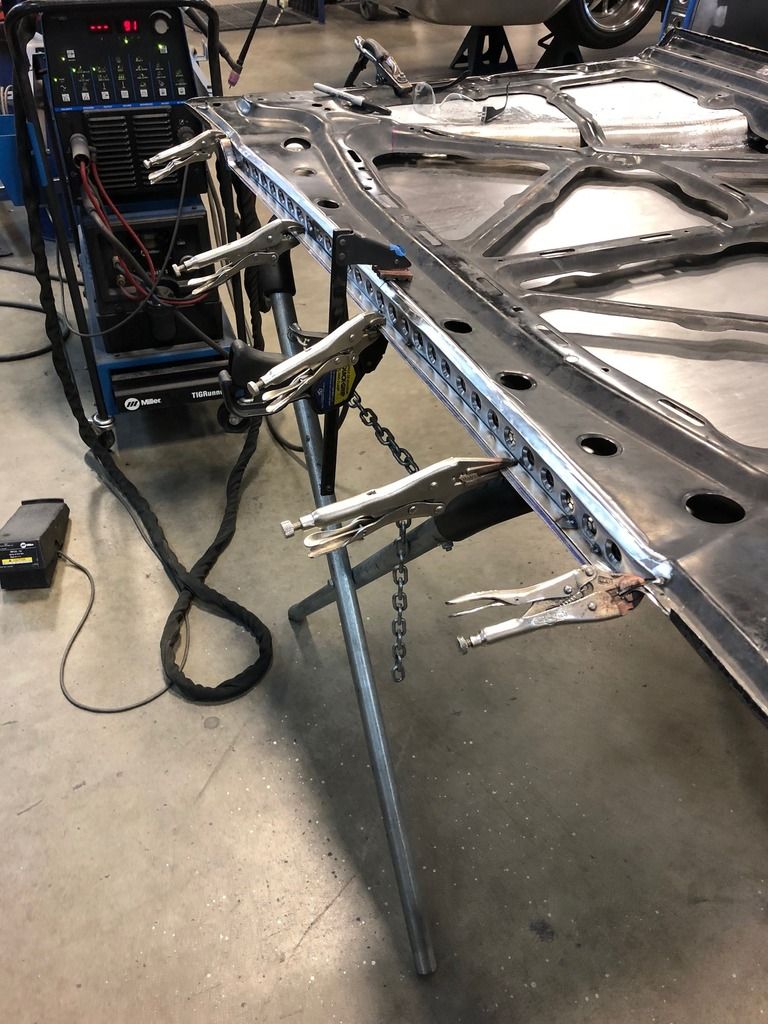
I did some small sections to transfer from the original hood down the the cowl section of the hood and welded them together before welding the flange to the inner structure.
I have more pics to come!!
I've been diligently working away on it!
I left ya off with the fan shroud that I was building. I was able to weld all the corners up on it sand it down and grain it. I'm not sure if ill leave it grained or paint it black. What do you guys think?!


After working on the shroud I bounced over to the air box. I checked the area that the box fit into and decided that I could fab the box up without having the inner structure of the hood completed. I started with the typical beer box template and ended up with this.

Since I had the skin of the hood off It made it a breeze to contour the top edge to the inner structure of the hood.

final result of the air box. Its mounted off of the dryer mounting stud on the core support, ties into the lower rear original air box mount and a spare mounting hole on the inner fender. The top has a 3/4" wide flange that will hold the camper foam to seal to the hood. Prior to welding the flange onto the top the air box was cut down 1/4" to allow for the camper foam to compress and seal against the hood.

I stitch welded the inside of the air box to prevent any cracking down the road from vibration.

Once the box was built, I moved on to making mounting rings for the air intake tube. I took two pieces of 1/4" flat plate aluminum and cut rings out using the rotary table on the manual mill at work and laid out a symmetrical bolt pattern while I was at it to allow ease of installation.
Heres the ring material I didn't get much of the machining process but the end result is kinda self explanatory.


Rings all finished up and mounted on the air box.


Once the rings were built it was on to finishing the air intake tube and welding the flange to the tube. Heres the finished result. I went through after welding and spot faced the weld where the bolts were so that the bolts would seat flush.


I have a tendency to bounce around so I hopped back onto the hood and started the rear flange of the inner structure. I took a scrap piece of 20ga sheet metal and shrunk the edge of it to match the desired curve of the hood structure.

I did some small sections to transfer from the original hood down the the cowl section of the hood and welded them together before welding the flange to the inner structure.

I have more pics to come!!


 03-24-2019, 07:22 PM
#35
Registered User
Thread Starter
Join Date: Oct 2009
Location: Kent, Washington
Posts: 54
Likes: 0
Received 0 Likes
on
0 Posts
wheel trim and over flow tank
Thanks Guys!!!
I haven't gotten much done in the past week but I need to remind myself not matter what I get done progress is progress. I've had this over flow tank for a few months now and finally with the air box roughed in I can actually mount it. I started by taking a piece of .080" aluminum and laying out the flat pattern design of the base. Once a hole was bored in the center for a drain I then bent it up and mounted it to the air box. to actually hold the reservoir in place I bent another piece of aluminum around the top of the tank as a strap.
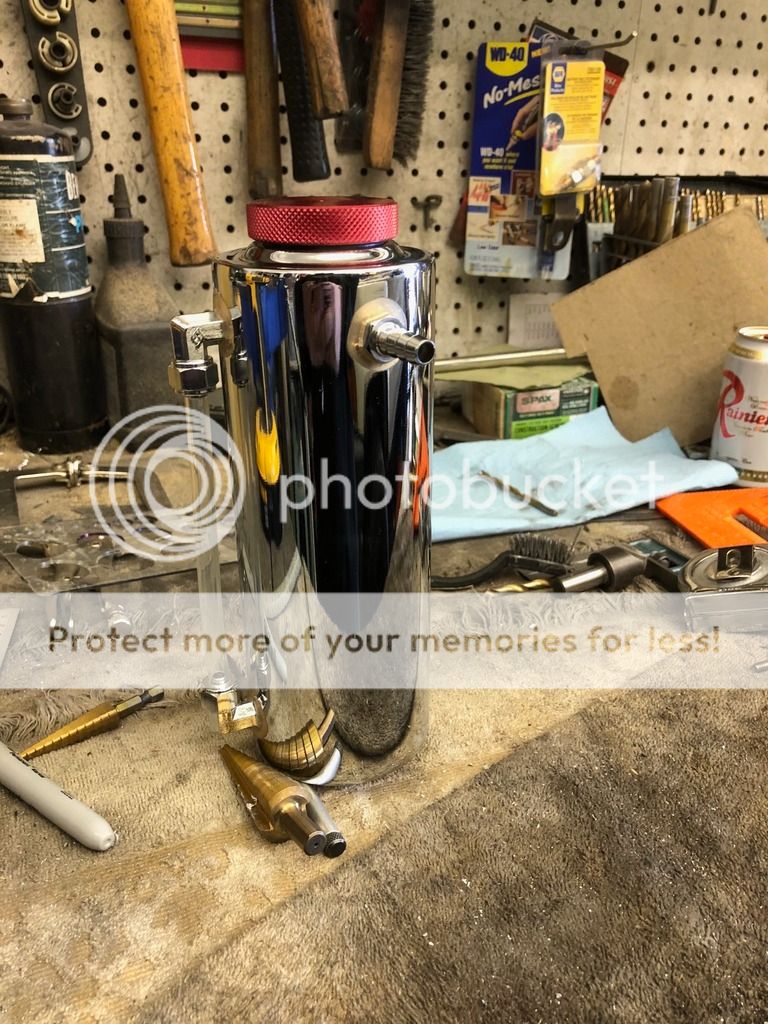
Mr. Gasket over flow with trick sight level line
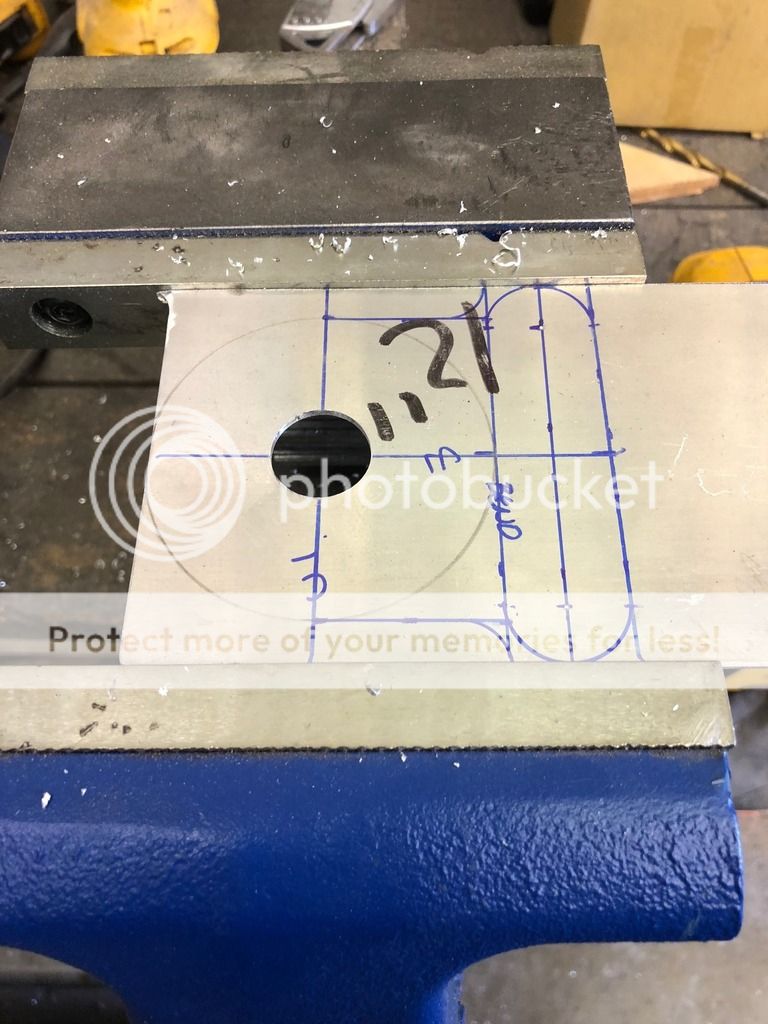
base plate layout
tank all mounted up into position

Dented rear passenger wheel well trim. spent 4hrs with a block of oak and some pick style body hammers to get to this point....
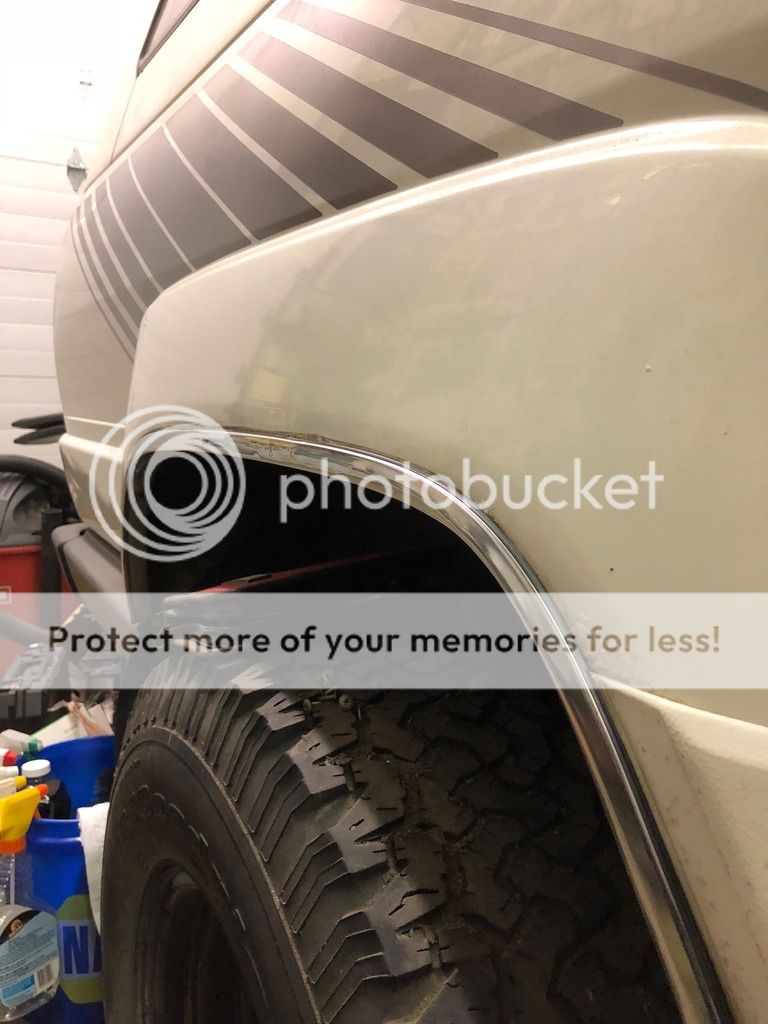
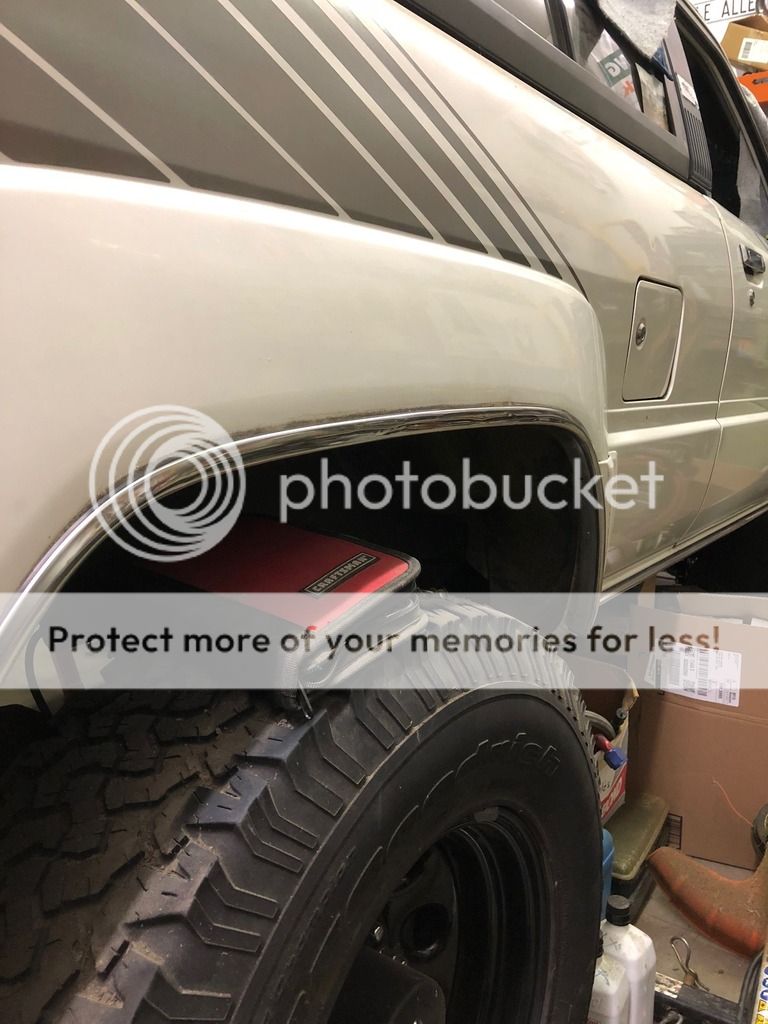
all the dents are out just need to body work the body line in the trim to make it laser straight!!!!
I haven't gotten much done in the past week but I need to remind myself not matter what I get done progress is progress. I've had this over flow tank for a few months now and finally with the air box roughed in I can actually mount it. I started by taking a piece of .080" aluminum and laying out the flat pattern design of the base. Once a hole was bored in the center for a drain I then bent it up and mounted it to the air box. to actually hold the reservoir in place I bent another piece of aluminum around the top of the tank as a strap.

Mr. Gasket over flow with trick sight level line

base plate layout

tank all mounted up into position

Dented rear passenger wheel well trim. spent 4hrs with a block of oak and some pick style body hammers to get to this point....


all the dents are out just need to body work the body line in the trim to make it laser straight!!!!
04-01-2019, 12:34 AM
#36

I'm glad I found this thread! You are building a 22re turbo rig that I have dreamed about!
Excellent fab work.
I'm glad you decided to swap in a manual to enjoy the driving experience more
Where did you get your mechanical engineering degree from? I'm finishing mine this year at Gonzaga University!
Excellent fab work.
I'm glad you decided to swap in a manual to enjoy the driving experience more
Where did you get your mechanical engineering degree from? I'm finishing mine this year at Gonzaga University!
04-01-2019, 09:18 PM
#37
Registered User
Thread Starter
Join Date: Oct 2009
Location: Kent, Washington
Posts: 54
Likes: 0
Received 0 Likes
on
0 Posts
Thanks 84 yota dude!!
I got my degree from Central Washington in Ellensburg. Its not the traditional Mechanical Engineering degree. It's technically a Mechanical Engineering Technology degree, more hands on work and slightly less text book theory. Im more of a hands on person so it was perfect for me. It's not seen the same as a traditional ME degree but it suited me!
I got my degree from Central Washington in Ellensburg. Its not the traditional Mechanical Engineering degree. It's technically a Mechanical Engineering Technology degree, more hands on work and slightly less text book theory. Im more of a hands on person so it was perfect for me. It's not seen the same as a traditional ME degree but it suited me!
04-04-2019, 05:01 PM
#38
Right on! Explains all your hands on skill!

Thread
Thread Starter
Forum
Replies
Last Post
RedRunner_87
95.5-2004 Tacomas & 96-2002 4Runners (Build-Up Section)
84
06-01-2021 01:51 PM


