UpTheYotaPunx's 1990 Pickup Build-Up Thread

 05-31-2010, 06:00 AM
#82
Registered User
Thread Starter
Join Date: Jun 2009
Location: North Shore, Mass.
Posts: 99
Likes: 0
Received 0 Likes
on
0 Posts
Fell off? Dang, you rough on the Ol' Yeller? Hahaha, jk, ....I think that color would look sick if it had some, maybe, Brown and White Off Road Toyota Racing paint scheme? Dang, can't remember the name, but the original was white, brown and orange I believe? Know the one?
On second glance, if you really ad some nice mods, black bumpers, black shell.....that is pretty original and would look nice, IMHO! My friend just stopped by and said, "I LIKE IT", and he reminded me of a friend who had a TRICKED OUT MR2 the same color, ....he called it "Banana Daiquiri Vomit Racing Yellow", lol
On second glance, if you really ad some nice mods, black bumpers, black shell.....that is pretty original and would look nice, IMHO! My friend just stopped by and said, "I LIKE IT", and he reminded me of a friend who had a TRICKED OUT MR2 the same color, ....he called it "Banana Daiquiri Vomit Racing Yellow", lol


was this what you were thinking of? (Ivan Stewart scheme)
If so yeah thated be nice!

I've also got a black cap! and as for the rest, theyre in the works! sorta ha
i like that color name ha my buddy said it looked like baby poop mustard..
05-31-2010, 06:10 AM
#83
Registered User
Thread Starter
Join Date: Jun 2009
Location: North Shore, Mass.
Posts: 99
Likes: 0
Received 0 Likes
on
0 Posts
Good progress man love the rims
Ive always like BfG's mud terrains instead of all terains but looks good
Also the reason why your olive brown came out so yellow is beacuse Maaco uses whit or grey primer for all its paint jobs(unlce worked for maaco for 3 years) so when you spray a bright color on a bright primer it brings out the brightest color in the mix wich in your case was yellow
Did you get a clear coat on that??
If you dint you can still get your oilve brown from that yellow
um.. wet sand it with 1000 grid enough to scough it up and the spray your olive brown
i would do at least 2 heavy coats or 4 light coats what ever your better at
wet sand that till smooth spray at least 3 coats of clear wet sand out imperfections buff and youll have a custom paint job on your hands
Oh one quick tip when buffing use a buffer or any buffing power tool
dont I repeat dont use high speed/ rpm tools your burn your paint seriously
Ive always like BfG's mud terrains instead of all terains but looks good
Also the reason why your olive brown came out so yellow is beacuse Maaco uses whit or grey primer for all its paint jobs(unlce worked for maaco for 3 years) so when you spray a bright color on a bright primer it brings out the brightest color in the mix wich in your case was yellow
Did you get a clear coat on that??
If you dint you can still get your oilve brown from that yellow
um.. wet sand it with 1000 grid enough to scough it up and the spray your olive brown
i would do at least 2 heavy coats or 4 light coats what ever your better at
wet sand that till smooth spray at least 3 coats of clear wet sand out imperfections buff and youll have a custom paint job on your hands
Oh one quick tip when buffing use a buffer or any buffing power tool
dont
I repeat dont use high speed/ rpm tools your burn your paint seriouslyTHANKS for the good info! I'm planning on taking your advice (I didnt get a clear coat) Ill post a write up/pictures in a few weeks when it happens! oh and i will definitely buff by hand!
Again thanks for the knowledge it was greatly appreciated!
05-31-2010, 09:52 AM
#85

Anyway, I was saying it wouldn't have to be 'just like' that....it could be your own version of that scheme....you could even put "Punx Special Edition" on the side, hahaha. Maybe that yellow with brown, orange and white? .........I know, you're not looking to spend THOUSANDS OF DOLLARS! lol.....Just was thinking out loud! LOL.
06-05-2010, 09:19 AM
#87
Registered User
Thread Starter
Join Date: Jun 2009
Location: North Shore, Mass.
Posts: 99
Likes: 0
Received 0 Likes
on
0 Posts
06-06-2010, 07:50 AM
#88
Registered User
Join Date: May 2010
Posts: 84
Likes: 0
Received 0 Likes
on
0 Posts
06-06-2010, 08:51 AM
#89
Registered User
Thread Starter
Join Date: Jun 2009
Location: North Shore, Mass.
Posts: 99
Likes: 0
Received 0 Likes
on
0 Posts
08-07-2010, 09:57 PM
#90
Registered User
Thread Starter
Join Date: Jun 2009
Location: North Shore, Mass.
Posts: 99
Likes: 0
Received 0 Likes
on
0 Posts
havent updated in a bit but the new exhaust should be going on monday, hopefully..
i got most of the parts wicked cheap by shopping around, I'm replacing the exhaust pipe with a new stock one then going to 2" from there on. I got a cat from rock auto for 45 bucks which will lead to a flowmaster 50 series muffler. I think it should work out nicely, hopefully not too loud, ill post pictures
i posted a thread about this but does anyone know what bolts i need to replace the 3 connecting the exhaust pipe to the exhaust manifold? id rather not take them out until i have to in case they break... id appreciate any info
also may be picking up some crx bucket seats on monday as well!
and lastly i got another wiper bolt cap...
08-07-2010, 10:49 PM
#91
Super Moderator
Staff
iTrader: (1)
Join Date: Aug 2008
Location: Anderson Missouri
Posts: 11,788
Likes: 0
Received 21 Likes
on
19 Posts
Great build. You definetly made a great improvement on it. Stories I like to follow along on. On your exhaust bolts, I dont know the size, but I have had problems getting them to stay in after I took them out. It has happened to me twice and that is the reason I go to a header. I even bought 3 new bolts from Toyota and it seems like the center one keeps coming out on me. I even tried JB Weld, but the exhaust is to hot even for it.Just trying to warn you ahead of time. Might try leaving the manifold to pipe alone and replace after it.
08-08-2010, 04:47 AM
#92
Registered User
Thread Starter
Join Date: Jun 2009
Location: North Shore, Mass.
Posts: 99
Likes: 0
Received 0 Likes
on
0 Posts
Terry- Glad you like it! and thanks for the heads up... i think im gonna try to go ahead and replace it since ive already got it and hope that that doesn't happen ha. I'll find out soon enough, maybe ill be in the market for a header too
were the threads in the manifold stripped? hopefully i wont have to deal with all that but if so its nice to know its already happened and save me some time trying to figure out what went wrong
were the threads in the manifold stripped? hopefully i wont have to deal with all that but if so its nice to know its already happened and save me some time trying to figure out what went wrong
08-18-2010, 07:00 PM
#94
Registered User
Thread Starter
Join Date: Jun 2009
Location: North Shore, Mass.
Posts: 99
Likes: 0
Received 0 Likes
on
0 Posts
Thanks!
I got the exhaust taken care of and its BA
I also resprayed the truck "Land Cruiser Rustic Green" and I like it a lot more
Ill post up some pictures soon and more details about the exhaust
I got the exhaust taken care of and its BA
I also resprayed the truck "Land Cruiser Rustic Green" and I like it a lot more
Ill post up some pictures soon and more details about the exhaust
08-18-2010, 07:41 PM
#95
Registered User
wow!
Post those up I would love to see the paint.
I just got out from under my 94 doing a new exhaust. I put a flowmaster in there a friend of mine had he never used. It sounds a little throaty now but eh.
What kind of exhaust did you go with??
Post those up I would love to see the paint.
I just got out from under my 94 doing a new exhaust. I put a flowmaster in there a friend of mine had he never used. It sounds a little throaty now but eh.
What kind of exhaust did you go with??
08-18-2010, 09:08 PM
#96
Registered User
Thread Starter
Join Date: Jun 2009
Location: North Shore, Mass.
Posts: 99
Likes: 0
Received 0 Likes
on
0 Posts
!!
btw your new trucks looking great!
08-20-2010, 08:17 PM
#97
Registered User
Thread Starter
Join Date: Jun 2009
Location: North Shore, Mass.
Posts: 99
Likes: 0
Received 0 Likes
on
0 Posts
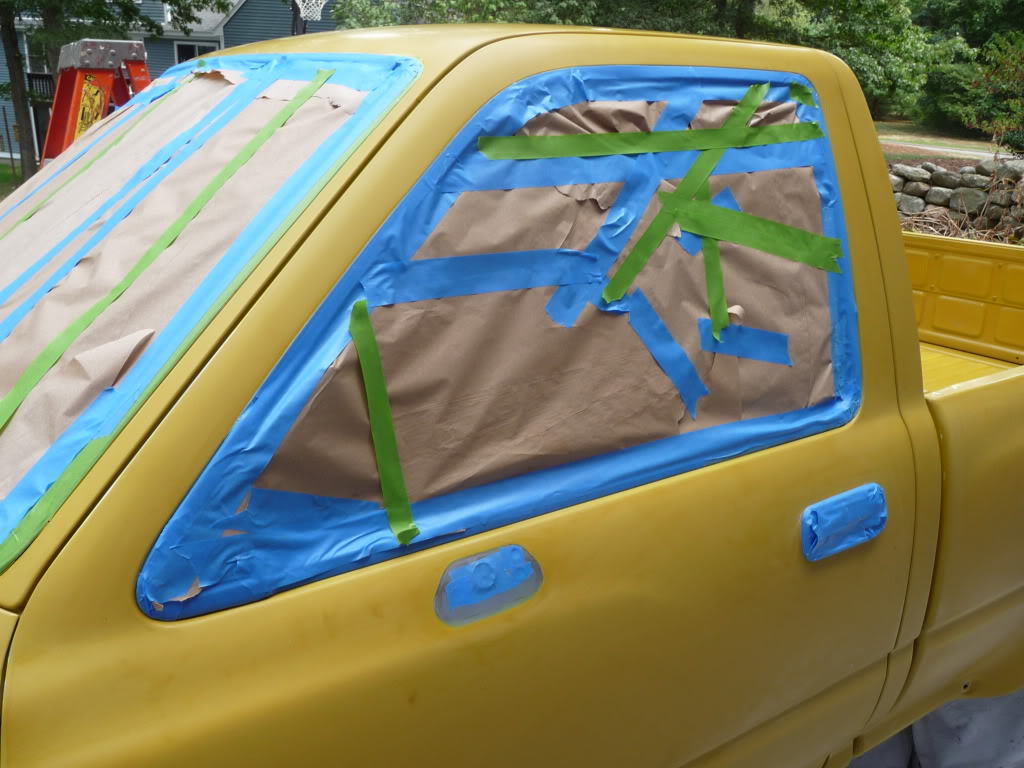
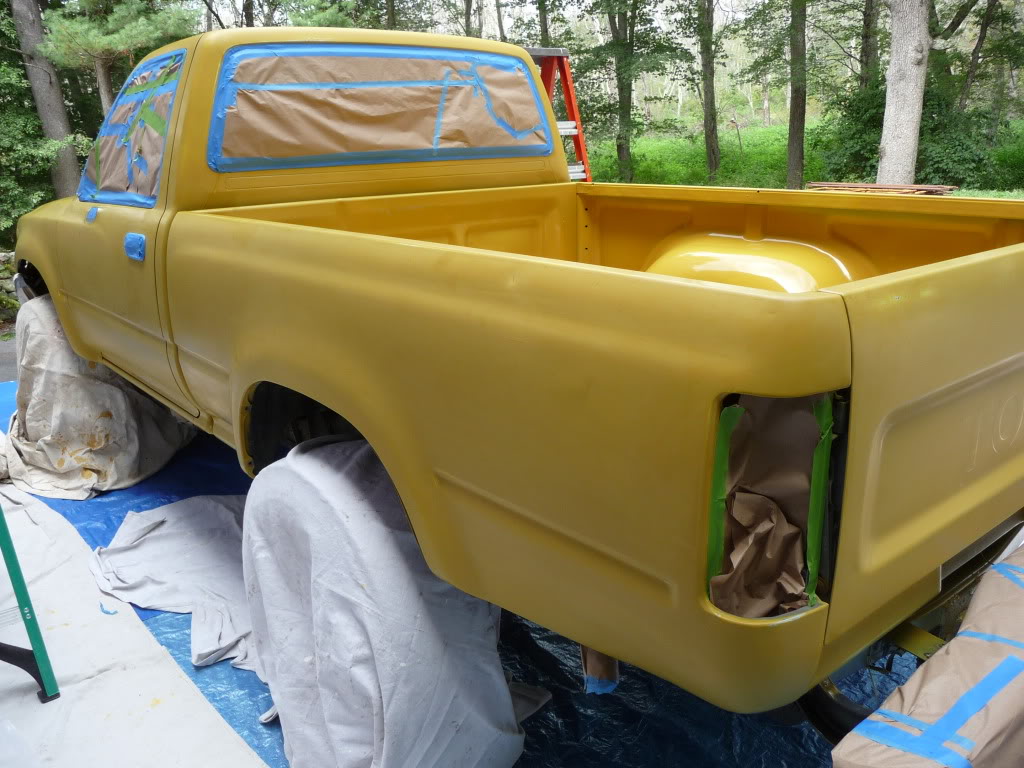
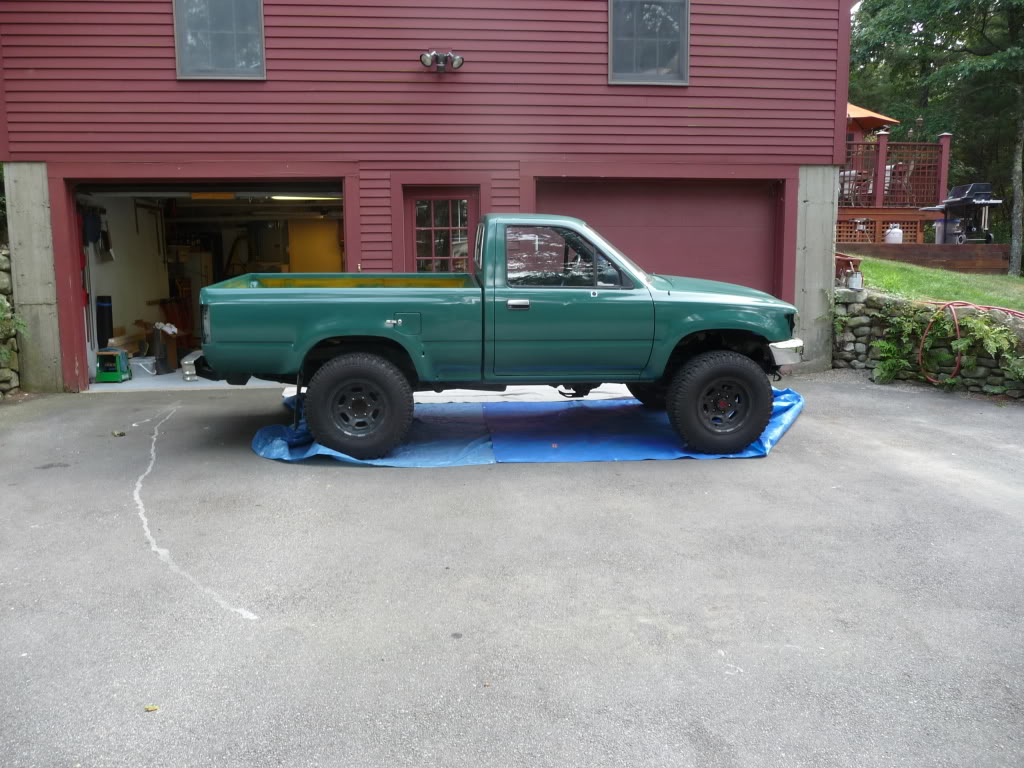
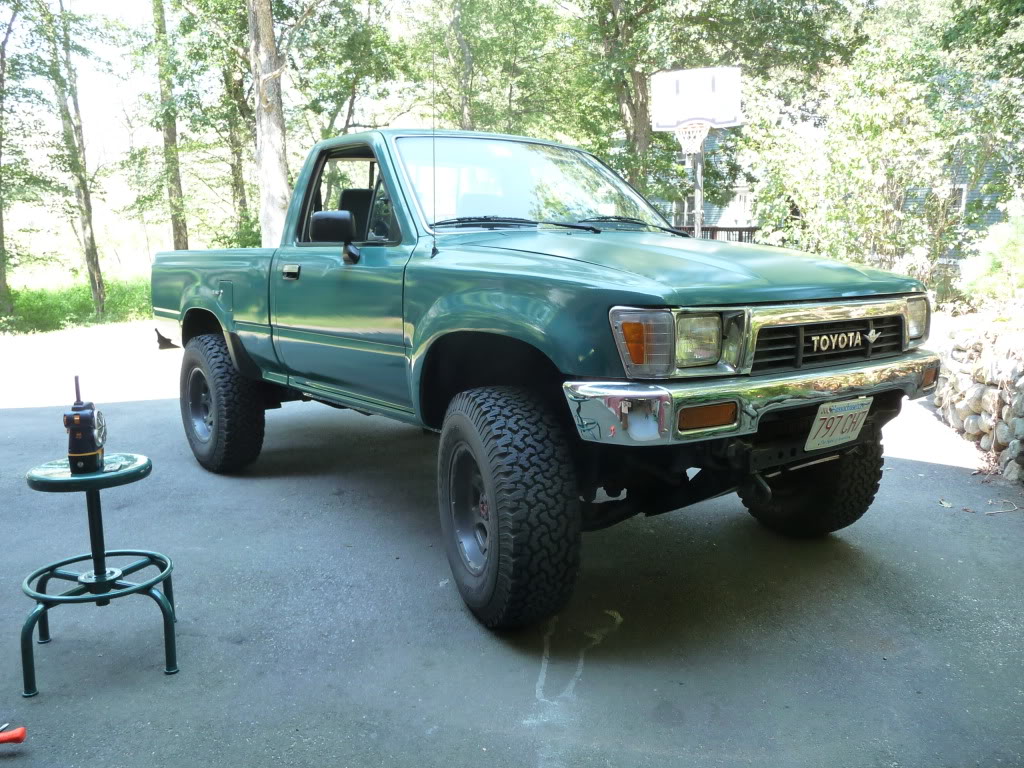
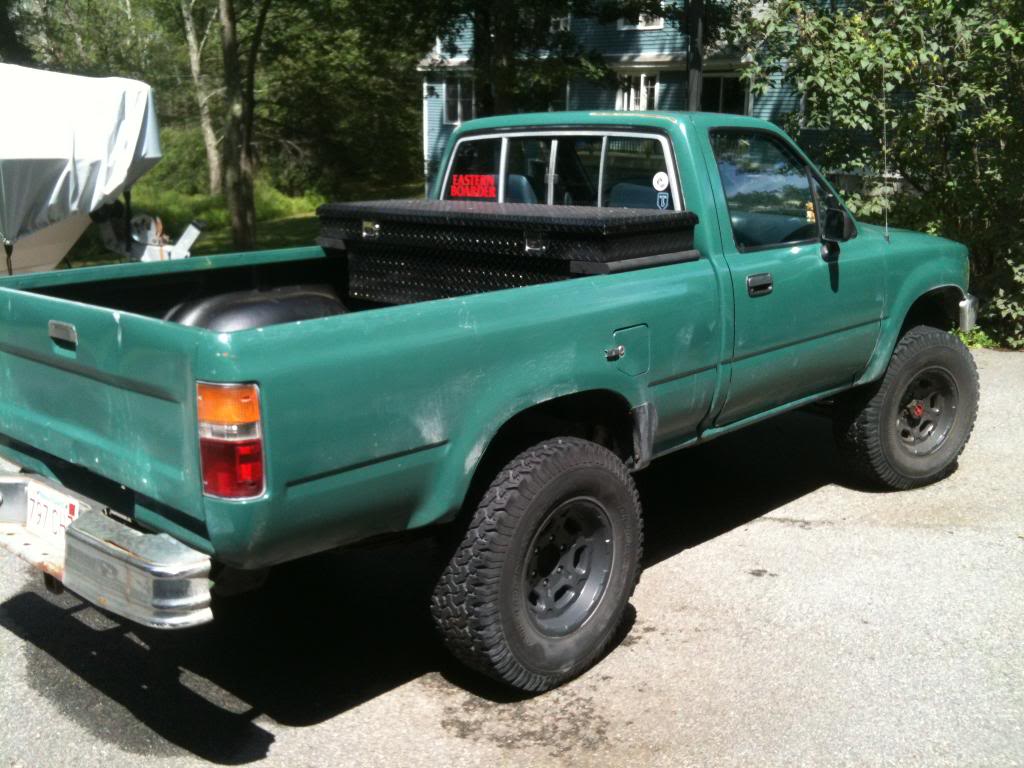
well heres the new paint!
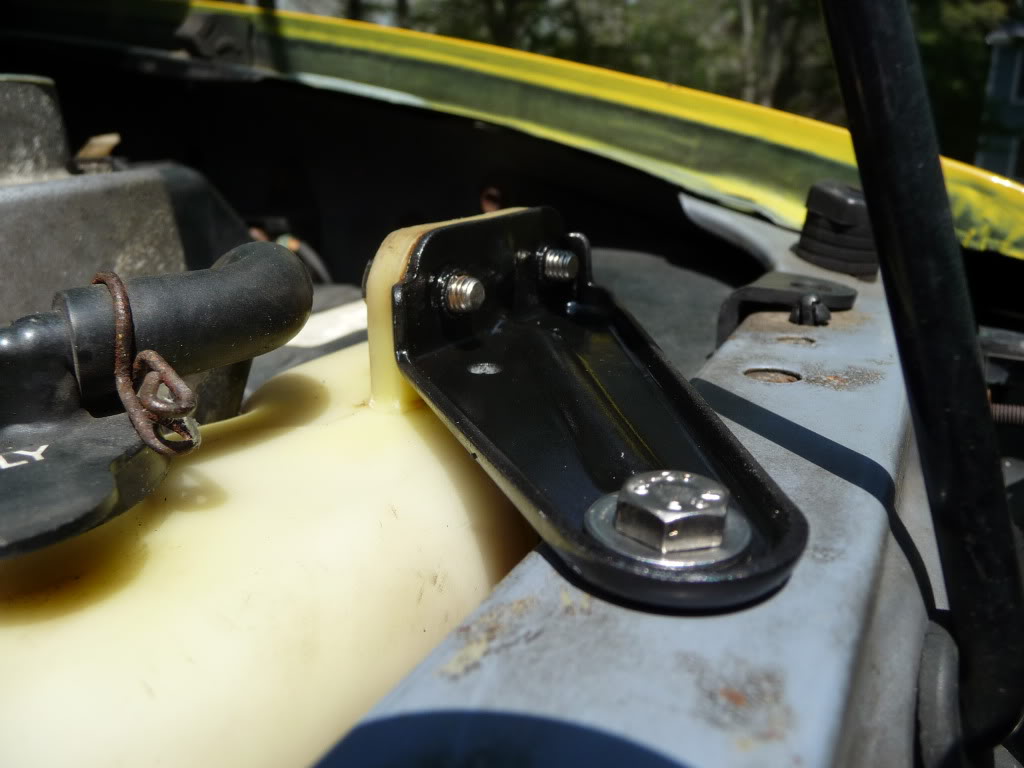
first though, i restored my radiator fluid resevoir bracket, look at that stainless hardware
prep work. since it had recently been painted i just wet sanded with 500 grit to take the sheen off and give the new paint a better surface to stick to

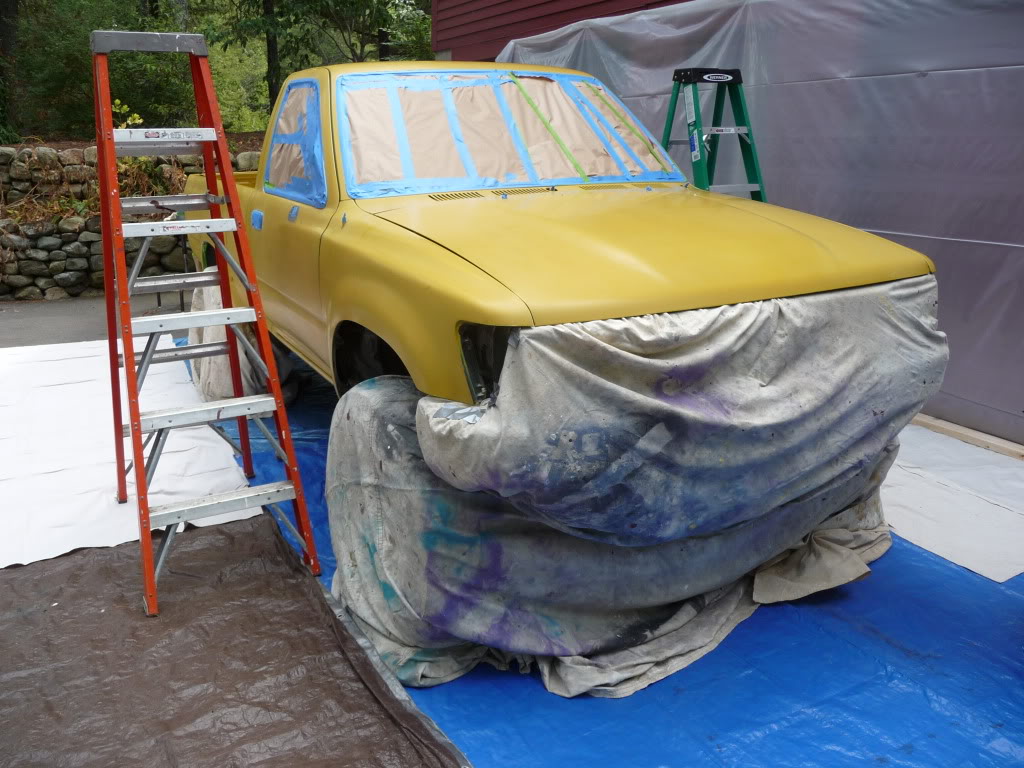
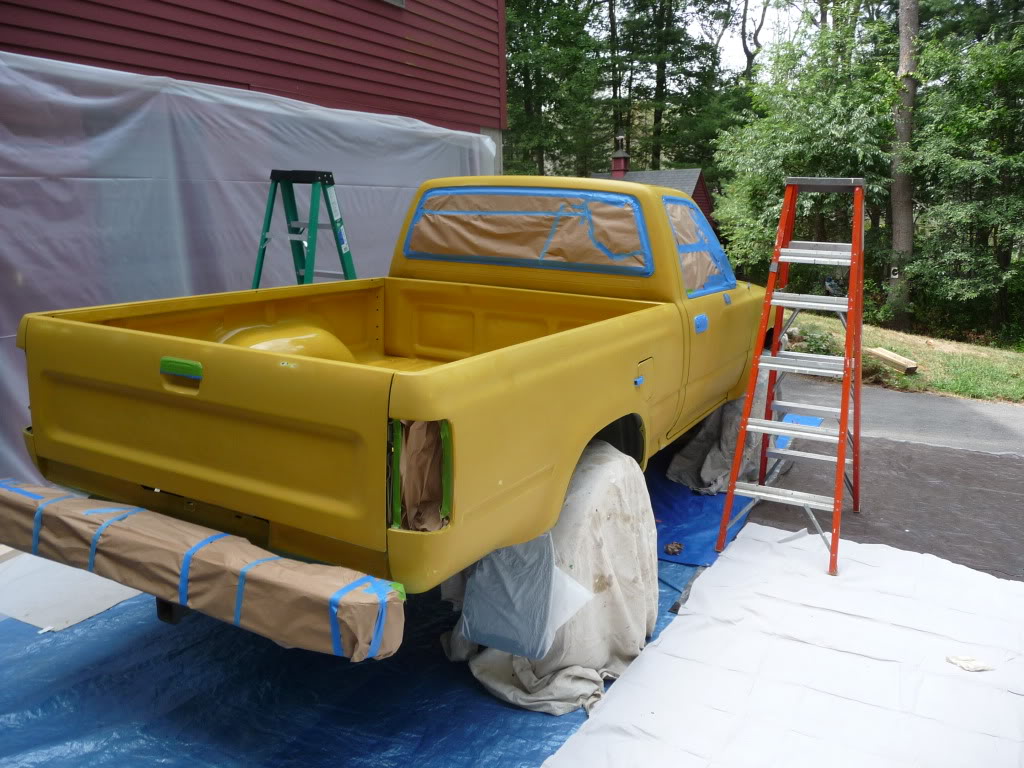
painted with the most expensive gun from harbor freight i think my fathers buddy paid $24 from one of their warehouses when he visited Colorado. I got the Paint at Cooper Lewis in Lynn. It was $198.05 total for a gallon of paint, gallon of med reducer, 2 pints of hardener(only used one), stir sticks, filters, and some 500 grit wet/dry. got 6 or so coats with a bit to spare. i used a preval disposable sprayer afterwards and did the door jams, a bit in the engine bay etc. theyre awsome... and will only set you back $5 or $7 and spray 16oz a can

when you dont have your respirator on this works... sorta
1972 Land Cruiser Rustic Green, Code 621
the finish has orange peel texture, but i dont care.
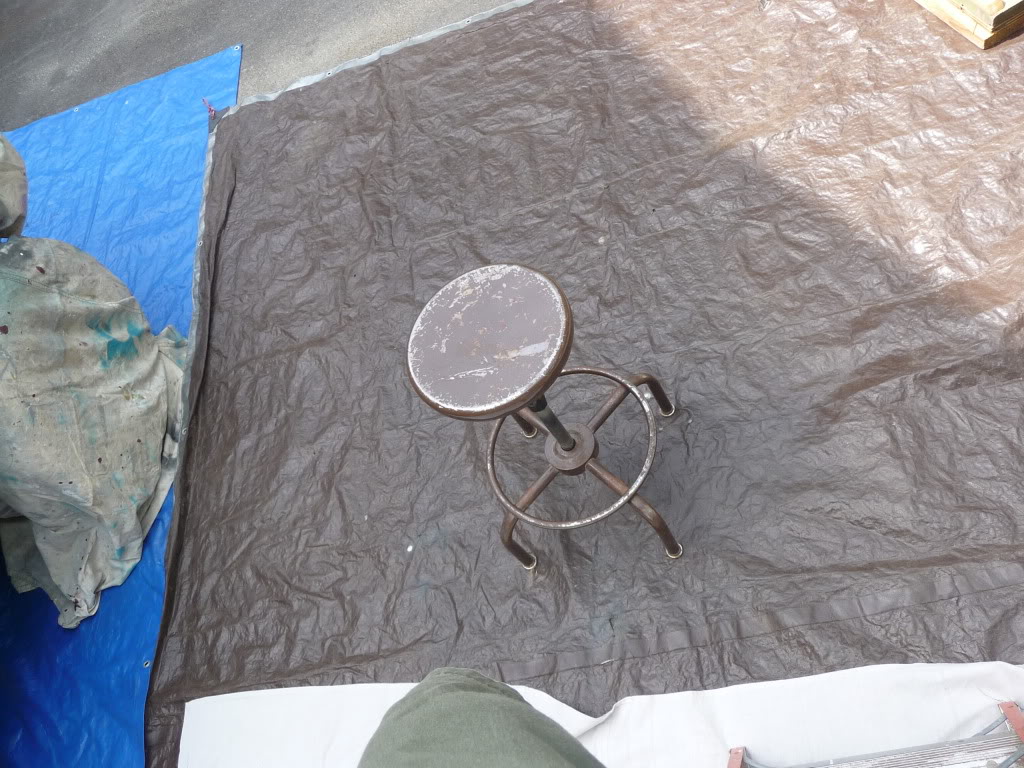
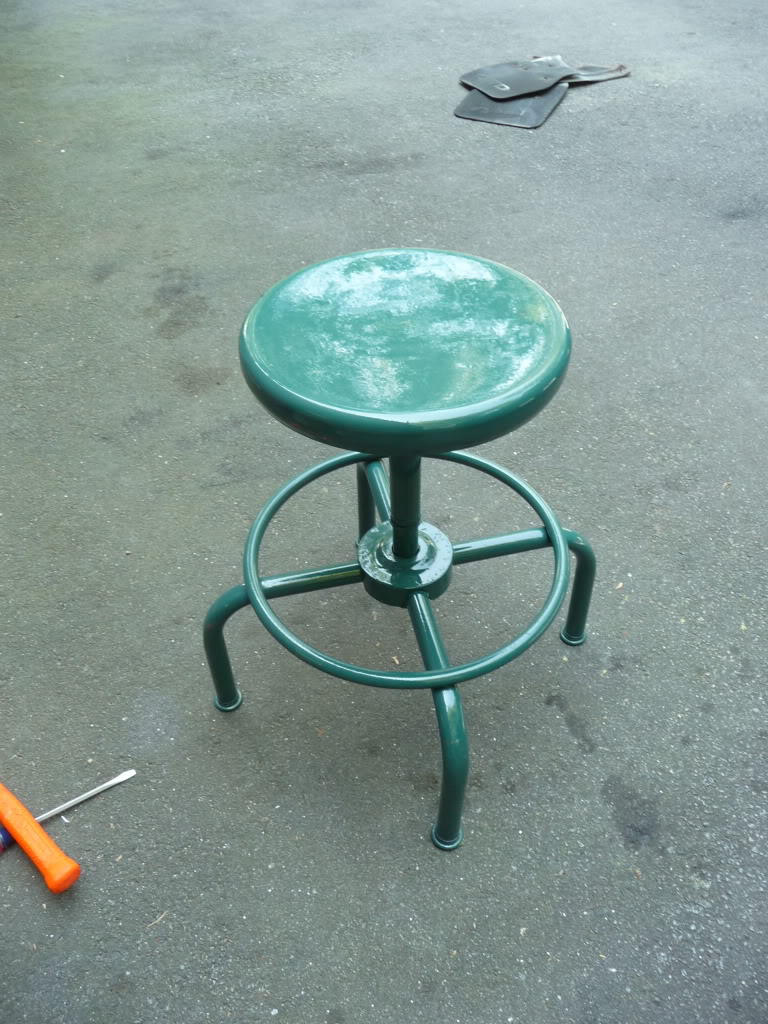
also had a stool from my dads past
now its landcruiser rustic green!
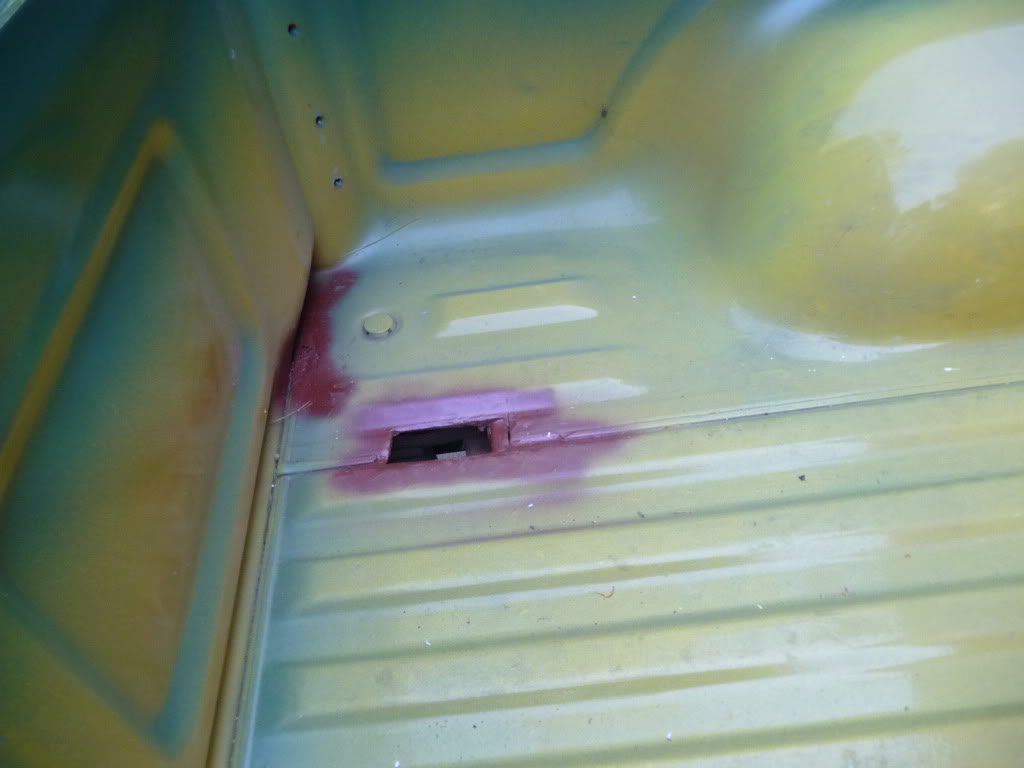
beds next, i just ordered some monstaliner gotta fix a couple of things first, mainly just this
ill post up the exhaust soon
first though, i restored my radiator fluid resevoir bracket, look at that stainless hardware
prep work. since it had recently been painted i just wet sanded with 500 grit to take the sheen off and give the new paint a better surface to stick to
painted with the most expensive gun from harbor freight i think my fathers buddy paid $24 from one of their warehouses when he visited Colorado. I got the Paint at Cooper Lewis in Lynn. It was $198.05 total for a gallon of paint, gallon of med reducer, 2 pints of hardener(only used one), stir sticks, filters, and some 500 grit wet/dry. got 6 or so coats with a bit to spare. i used a preval disposable sprayer afterwards and did the door jams, a bit in the engine bay etc. theyre awsome... and will only set you back $5 or $7 and spray 16oz a can
when you dont have your respirator on this works... sorta
1972 Land Cruiser Rustic Green, Code 621
the finish has orange peel texture, but i dont care.
also had a stool from my dads past
now its landcruiser rustic green!
beds next, i just ordered some monstaliner gotta fix a couple of things first, mainly just this
ill post up the exhaust soon
Last edited by UpTheYotaPunx; 08-21-2010 at 05:29 AM.
08-21-2010, 08:24 AM
#98
Registered User
Thread Starter
Join Date: Jun 2009
Location: North Shore, Mass.
Posts: 99
Likes: 0
Received 0 Likes
on
0 Posts
 02-23-2013, 09:23 PM
#99
Registered User
Thread Starter
Join Date: Jun 2009
Location: North Shore, Mass.
Posts: 99
Likes: 0
Received 0 Likes
on
0 Posts
2 years since I've updated this! figure I have a couple things I can add. Ill try to get some photos up soon. I put the Monstaliner in a few months ago and it's amazing I would highly recommend it. Resurrection soon to come!
02-24-2013, 08:51 AM
#100
Registered User
Thread Starter
Join Date: Jun 2009
Location: North Shore, Mass.
Posts: 99
Likes: 0
Received 0 Likes
on
0 Posts
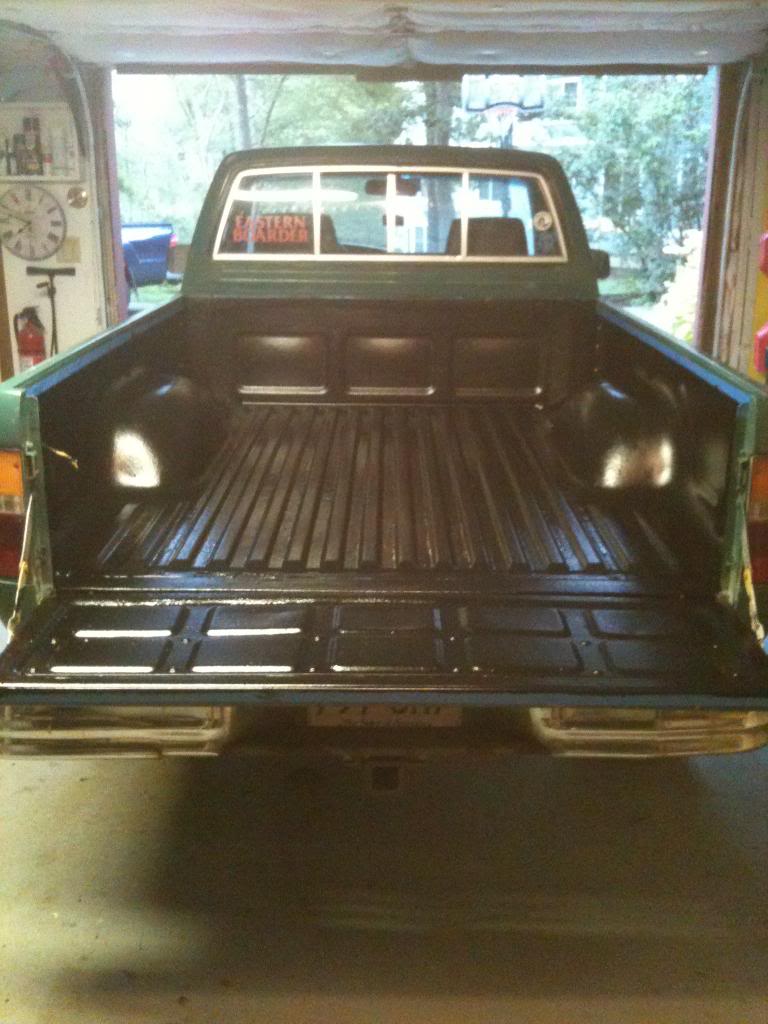
Heres the 1st coat
2nd (wet)
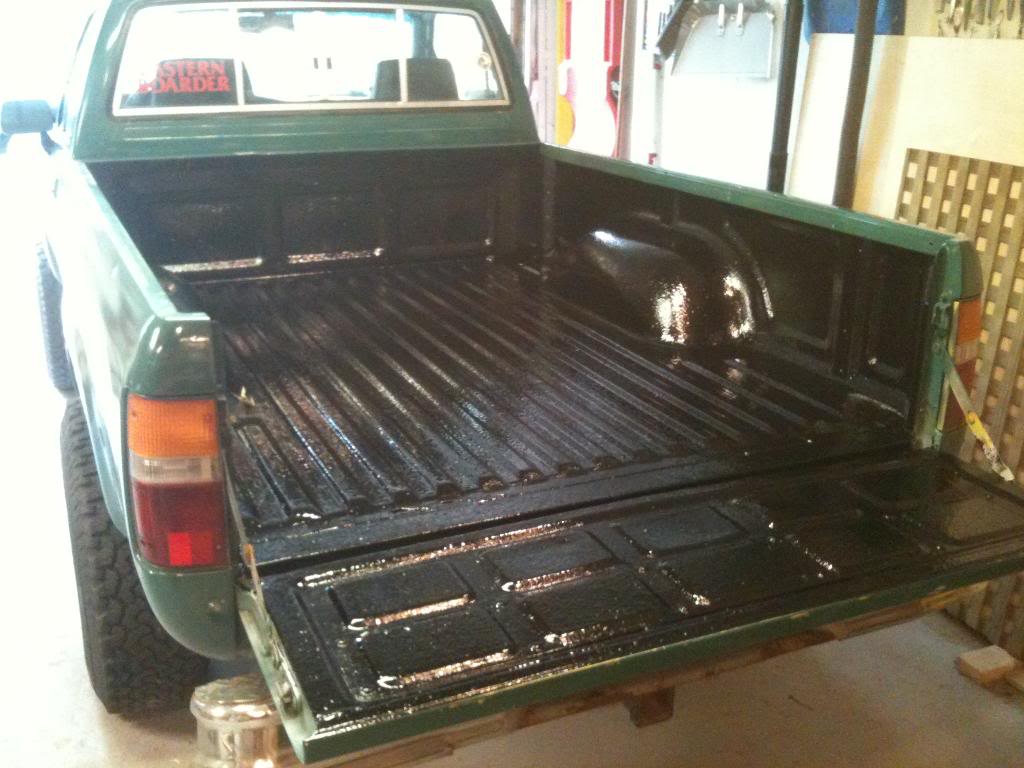
only photo I have of it dry. It's textured but smooth, no ground up tire's like the other brands. I put this on in August after having the kit do nothing for a year and it still worked great.
I got a millermatic 180 mig recently and have been using it for furniture commissions but I'd like to finally build myself a rear bumper, and get new leafsprings and shackles. Other than that not much has changed asides from routine maintenance type stuff. I'll try to get some exhaust photos soon as well which also worked out great.
2nd (wet)
only photo I have of it dry. It's textured but smooth, no ground up tire's like the other brands. I put this on in August after having the kit do nothing for a year and it still worked great.
I got a millermatic 180 mig recently and have been using it for furniture commissions but I'd like to finally build myself a rear bumper, and get new leafsprings and shackles. Other than that not much has changed asides from routine maintenance type stuff. I'll try to get some exhaust photos soon as well which also worked out great.


