When you click on links to various merchants on this site and make a purchase, this can result in this site earning a commission. Affiliate programs and affiliations include, but are not limited to, the eBay Partner Network.
Been lurking on here for over a year now as I built my '91. I got the truck looking about the way I want now so I figured it's time to post a build thread.
I've been wanting to get my hands on a Pickup for as long as I can remember. Probably some sort of subconscious deal based on Back to the Future and that Top Gear episode. I didn't really care if it was 4WD, but this one just happened to be. The goal of this build was to:
Obtain a 22-RE Pickup.
Learn. I'm an electrical engineer and I knew nothing about mechanical stuff other than how to change the oil in my car. I wanted to learn how engines work. Mission accomplished now. Learned a lot about a lot.
Do it cheaply...without making it look too cheap.
Salvage as many parts as possible.
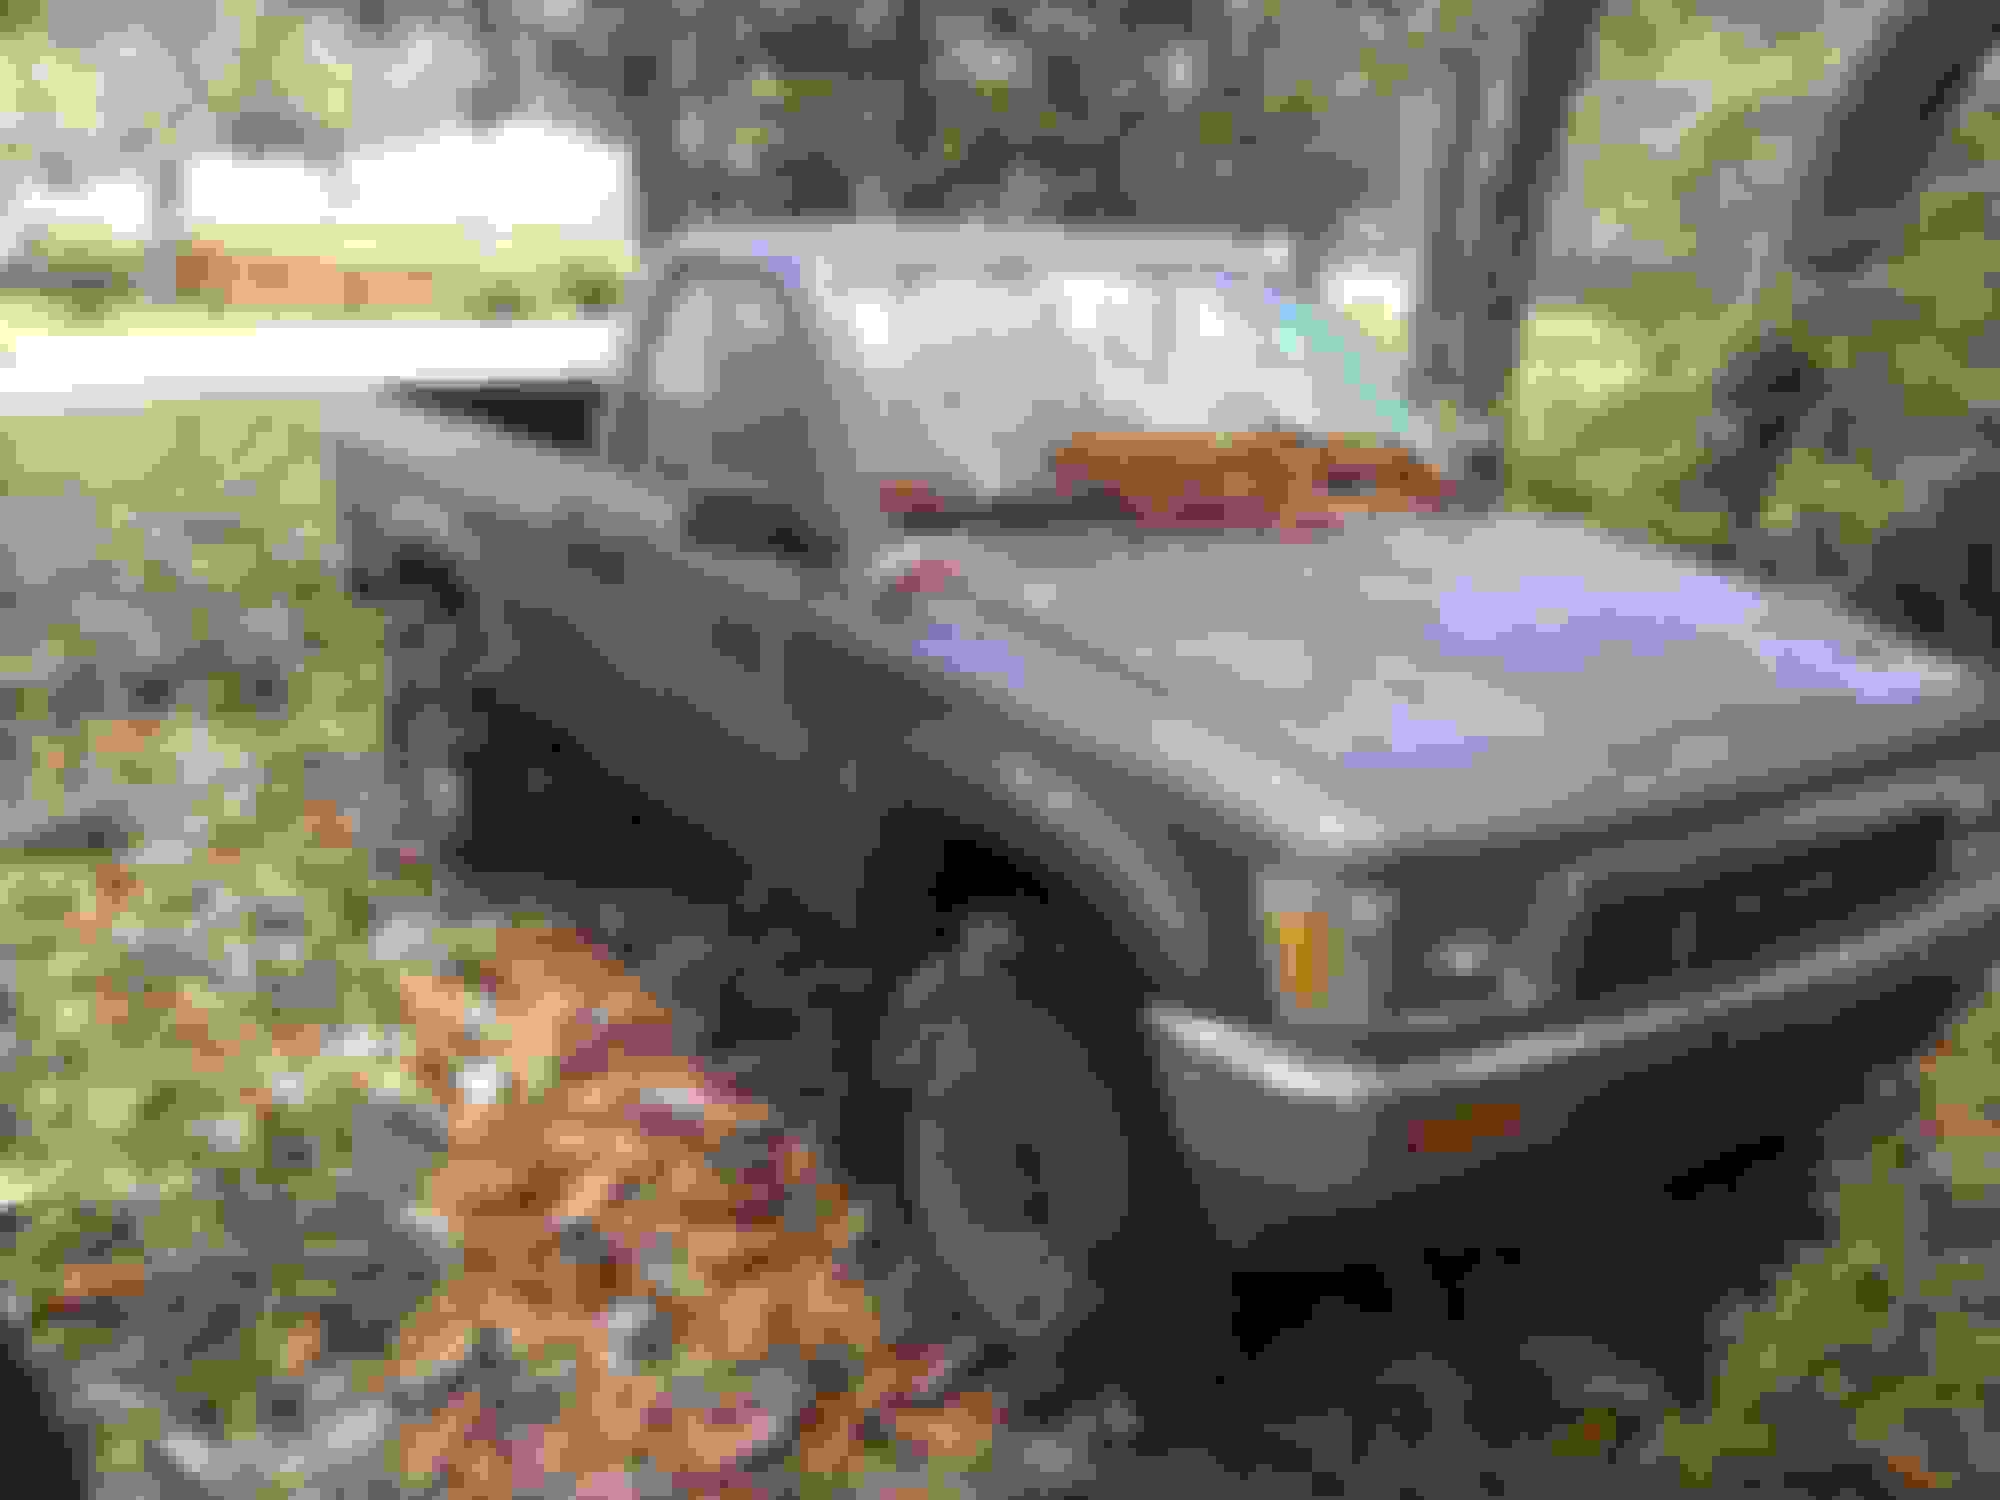
I got this beauty from a guy at work. It broke down about two years ago and I finally got him to sell it last May (2018). Gave him $500 and had it towed north about 20 miles to where I would be doing the engine swap (if it needed it...spoiler alert, it did).
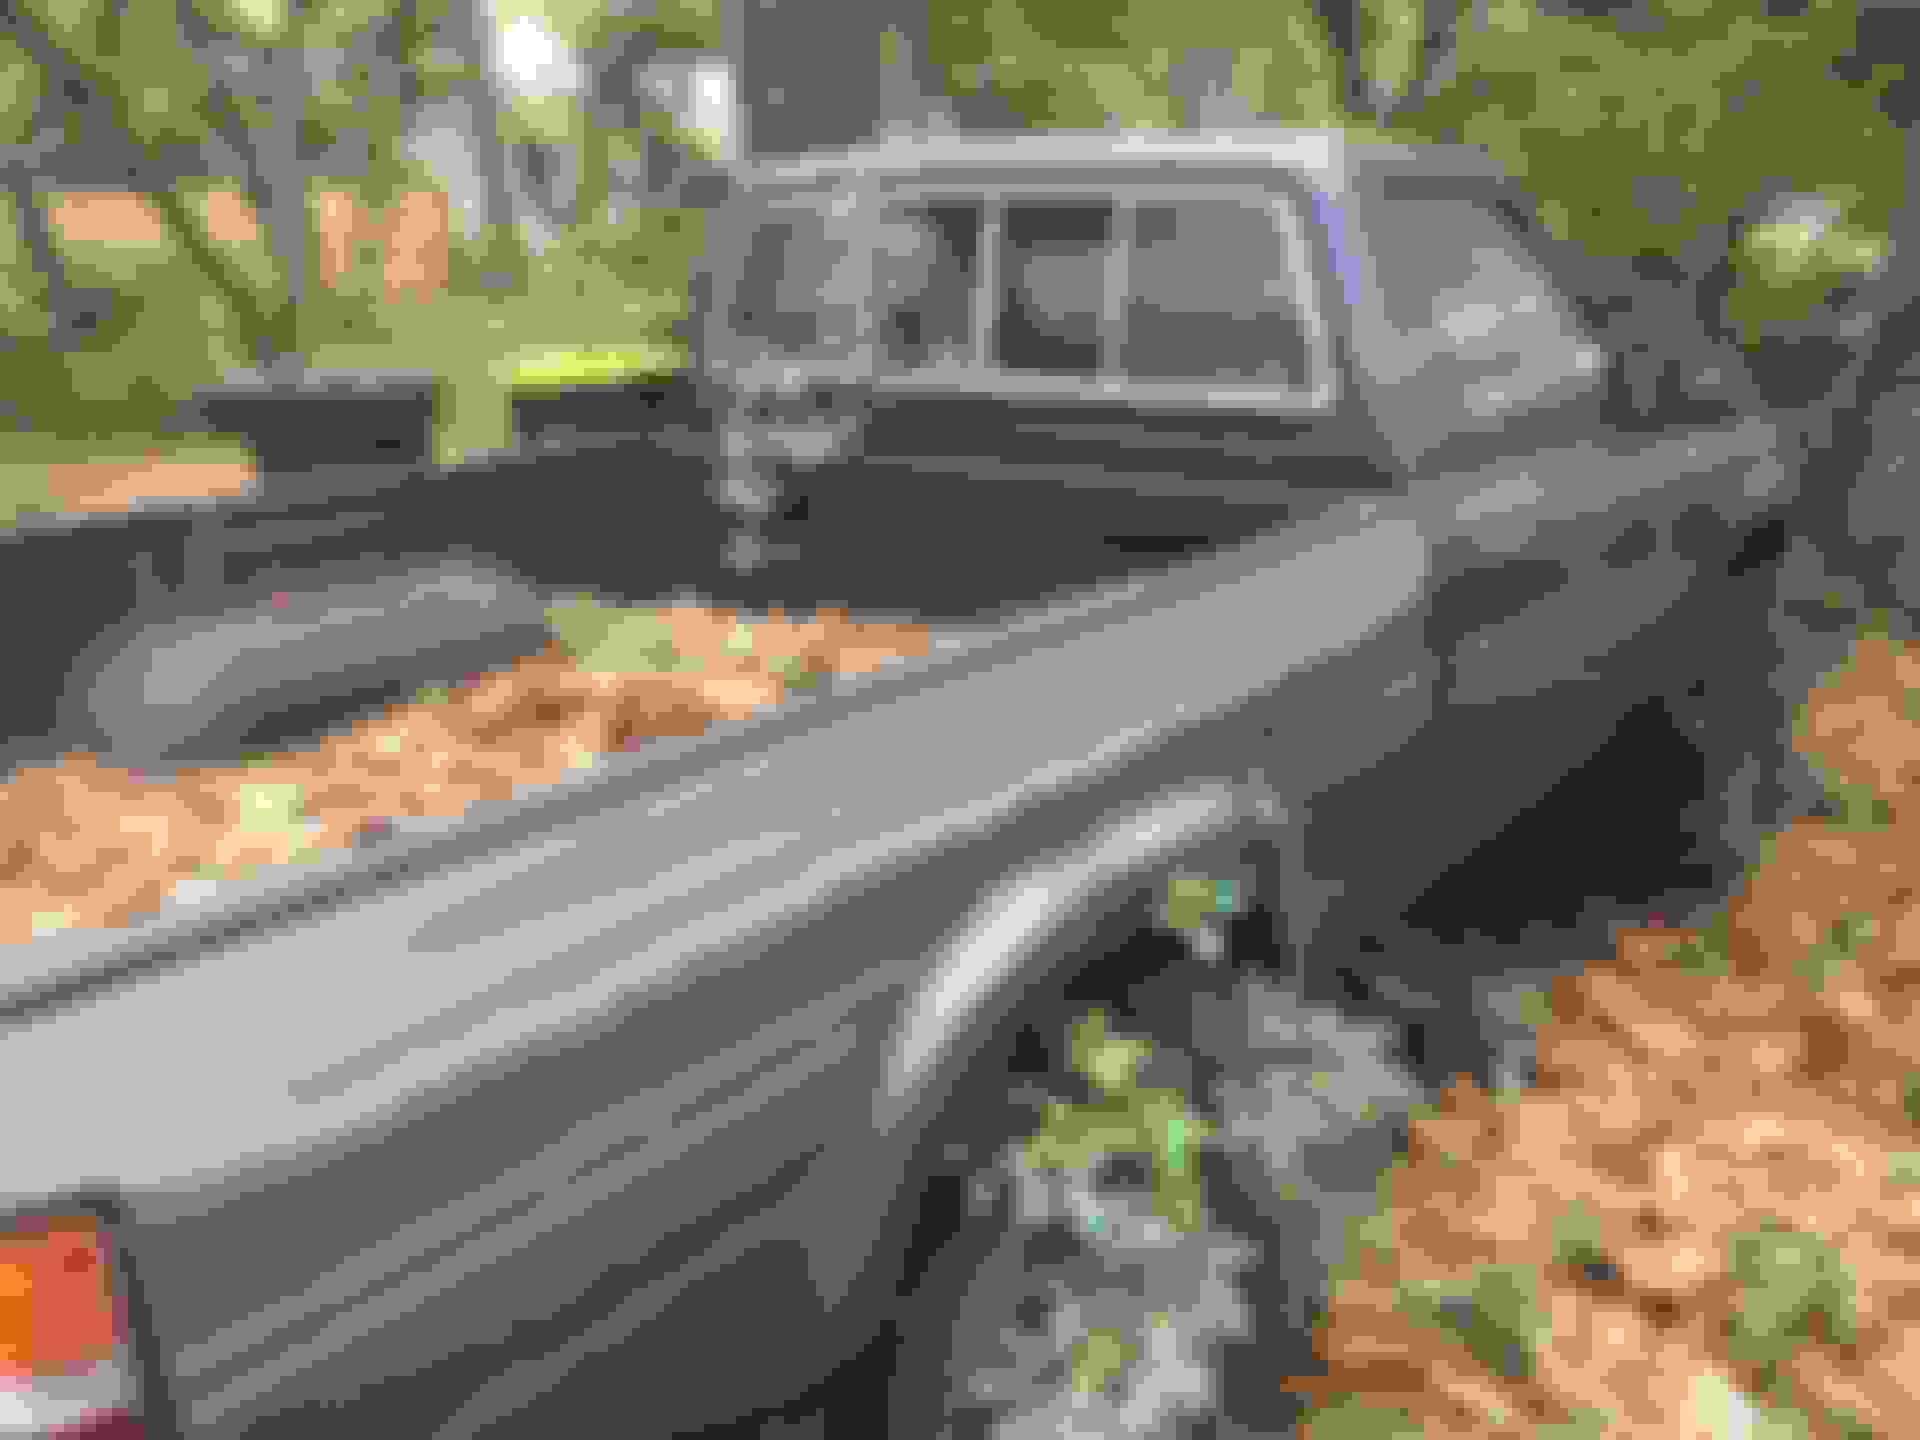
Lots of vines growing in, on, and around the truck. The bed was completely full of leaves and had started its own ecosystem. The vines were actually growing out of the bed. Inside was a mess but salvageable, no signs of rust on the bottom of the bed, and the tires looked like they were worth about $500 themselves so I figured I couldn't really lose.
Got it to a buddy's house who let me use his garage, tools, and knowledge for the engine swap. I wasn't comfortable enough to go it alone at this point.
Took the pressure washer to her and she cleaned up pretty good. I don't think this truck had ever seen a coat of wax, and the Florida sun had taken a toll on the clear coat. Knowing nothing about paint, I thought I could probably salvage it. I was wrong. More on that later.
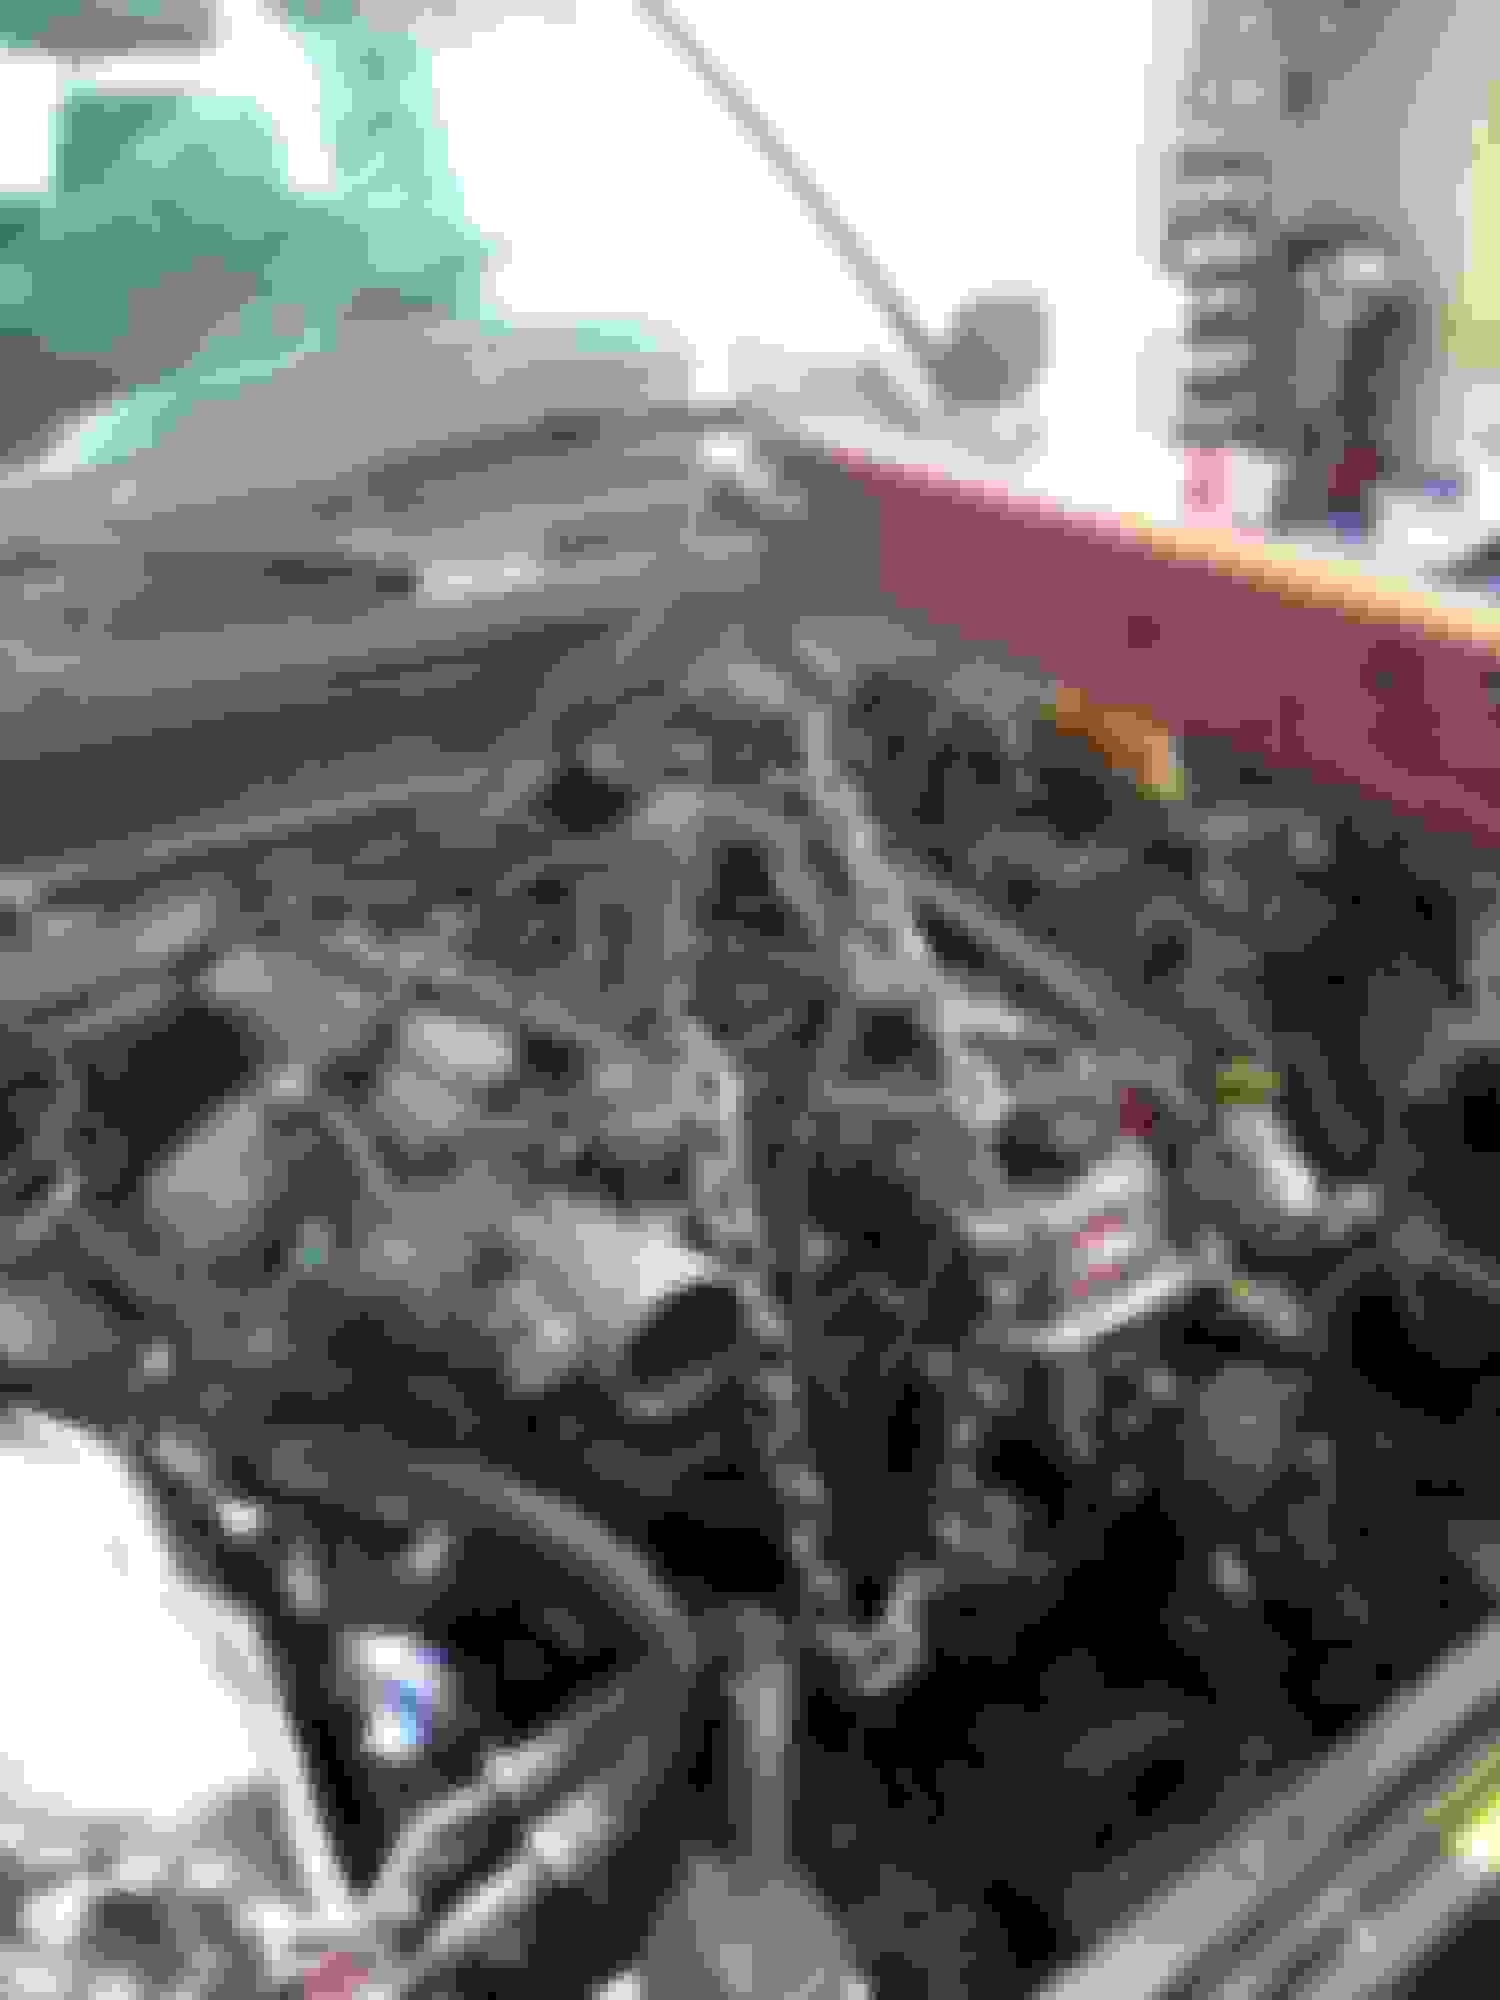
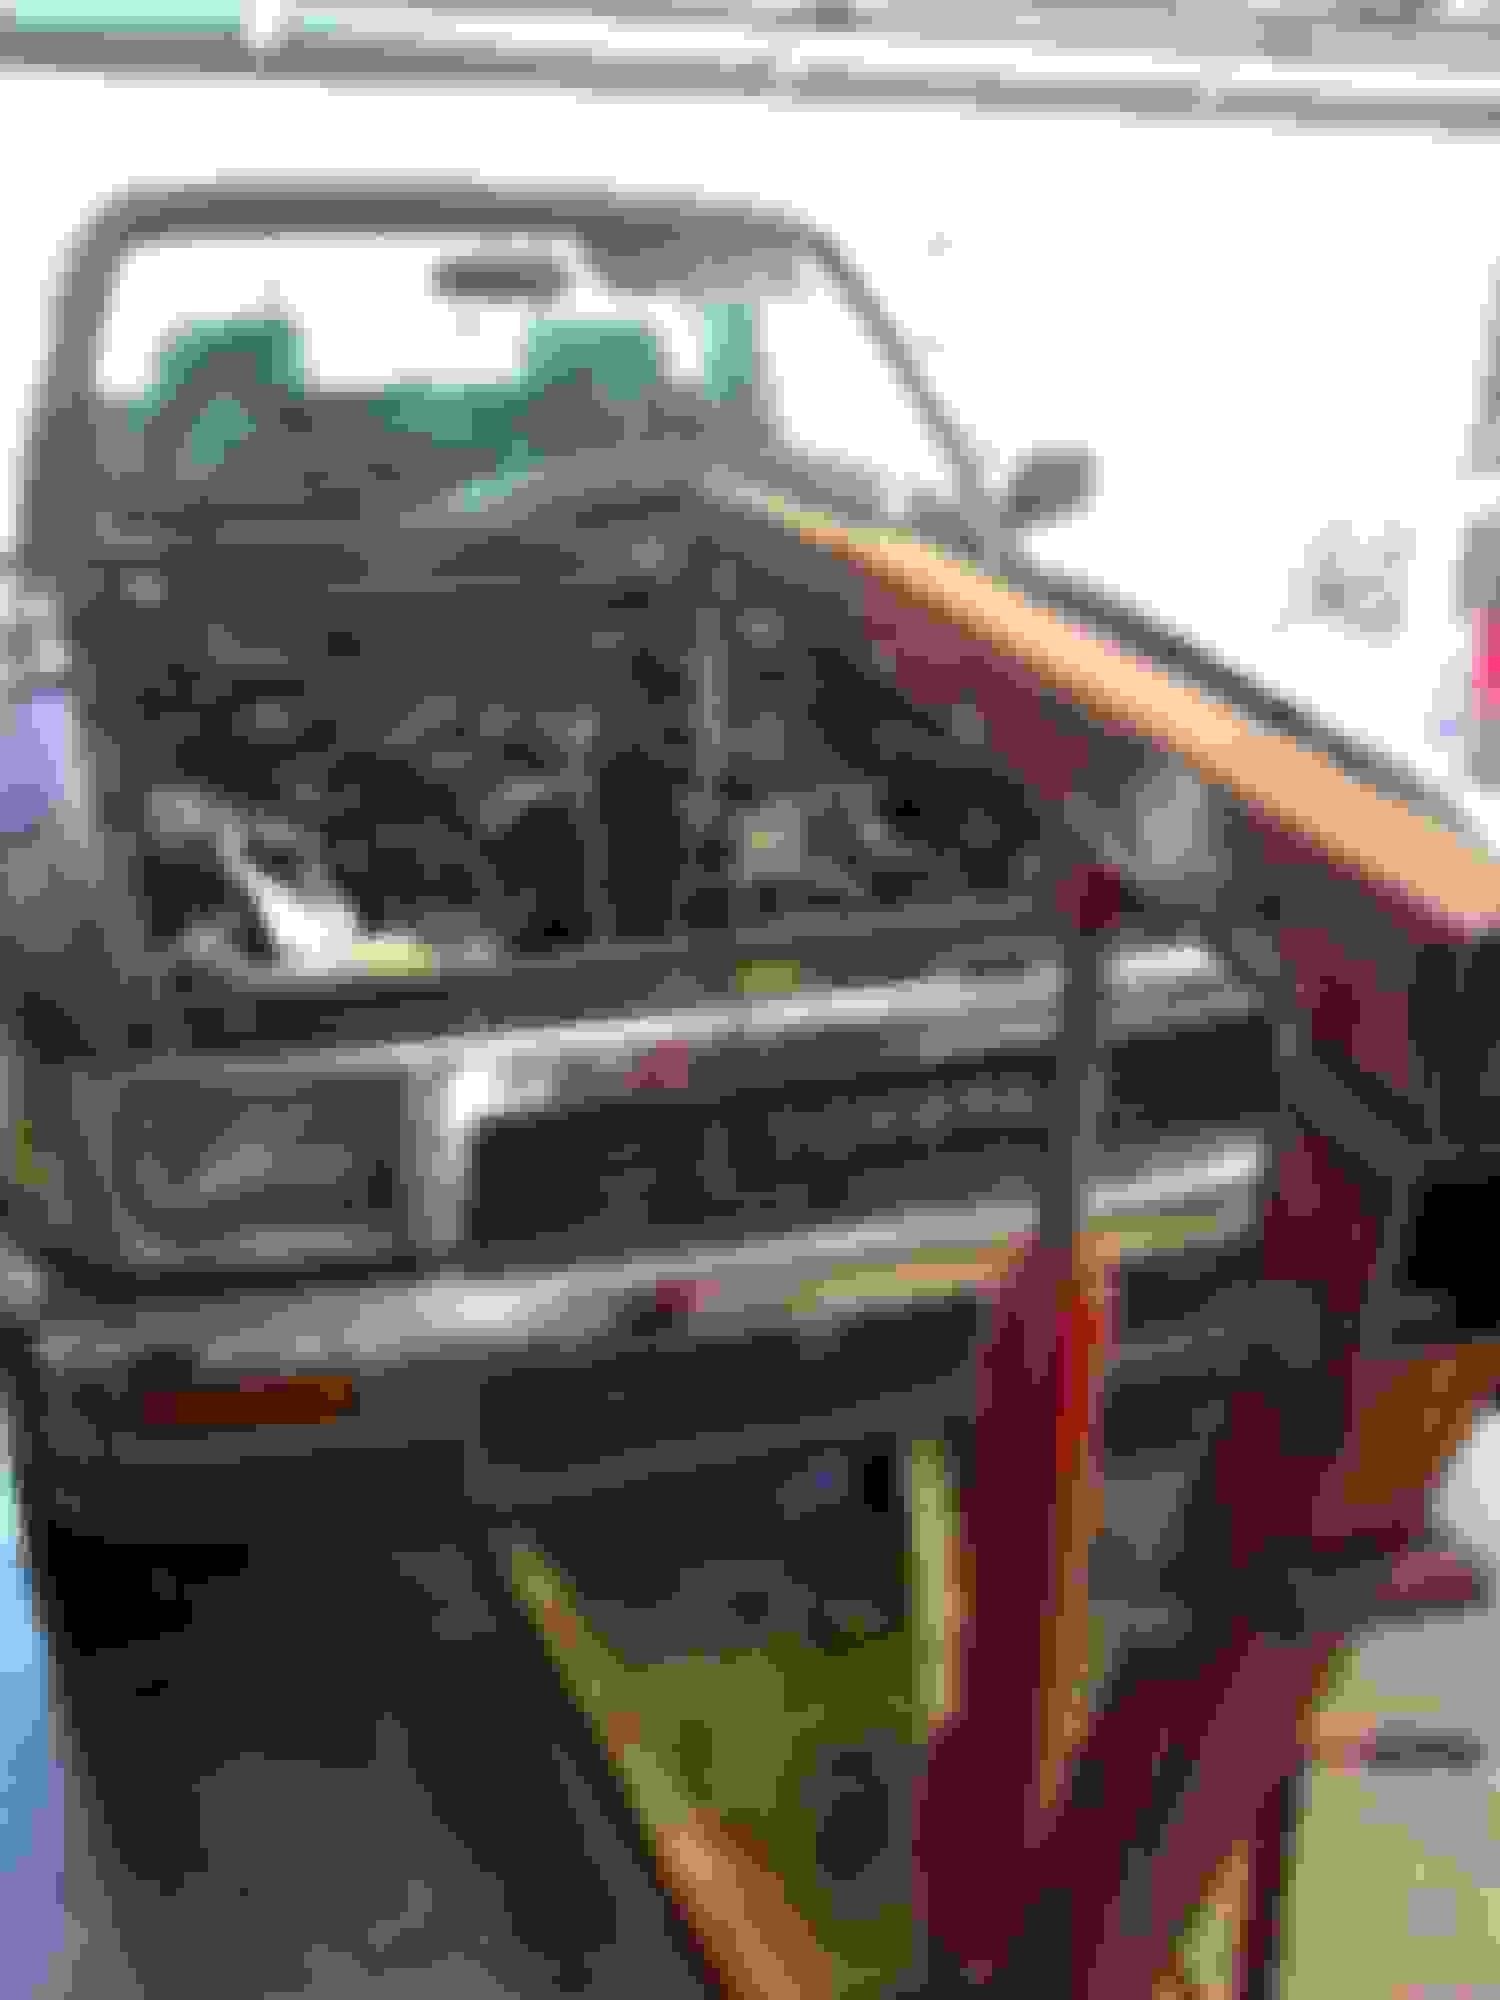
Engine looked good enough. Previous owner said his mechanic claimed to timing chain was snapped and couldn't be repaired. We took the valve cover off and the chain was still good but loose. My guess is this truck was a victim of the notorious chain guides failing. We tried to perform a quick miracle to see if we could get it running, but she wasn't having any of that.
BEST PRACTICE: Use one of these plastic storage cabinets and place nuts, bolts, etc in them in the order you take them off. For each step, write down where the part(s) came from and put a note in the drawer with each part. When you go to rebuild all you have to do is put things on in reverse order.
I didn't really know too much, so I figured I could just order a rebuilt ATK 22-RE from Advance Auto and be good to go. I placed the order from Advance and waited for it to arrive. The whole time I was reading this forum and seeing the horror stories about ATK and other rebuilt 22-REs available at the big box stores. I started looking at other options. Then my ATK engine showed up. Took the plastic off in the store to check it out and there were what appeared to be black plastic shavings all throughout the engine. The guys at Advance were cool...I cancelled the order and got my money back. And we're back to square one.
Looked at a lot of places online...ended up getting a 22-RE from Sunwest Automotive in Washington. They've got a pretty good reputation, they sounded pretty knowledgeable over the phone, and shipping across the entire U.S. wasn't horrible. Sold. Got the one with the RV cam.
Was happy with the packaging and it came with the full gasket set. I can't really find too many pictures of this stage so here is one from when we got it back home from the nearest freight dropoff in Pensacola. The engine looked great and no plastic shavings like the ATK one.
After plenty of struggle and learning and wanting to toss the whole thing in a nearby pond, the engine went in and started. The truck was alive. Time to bring it home.
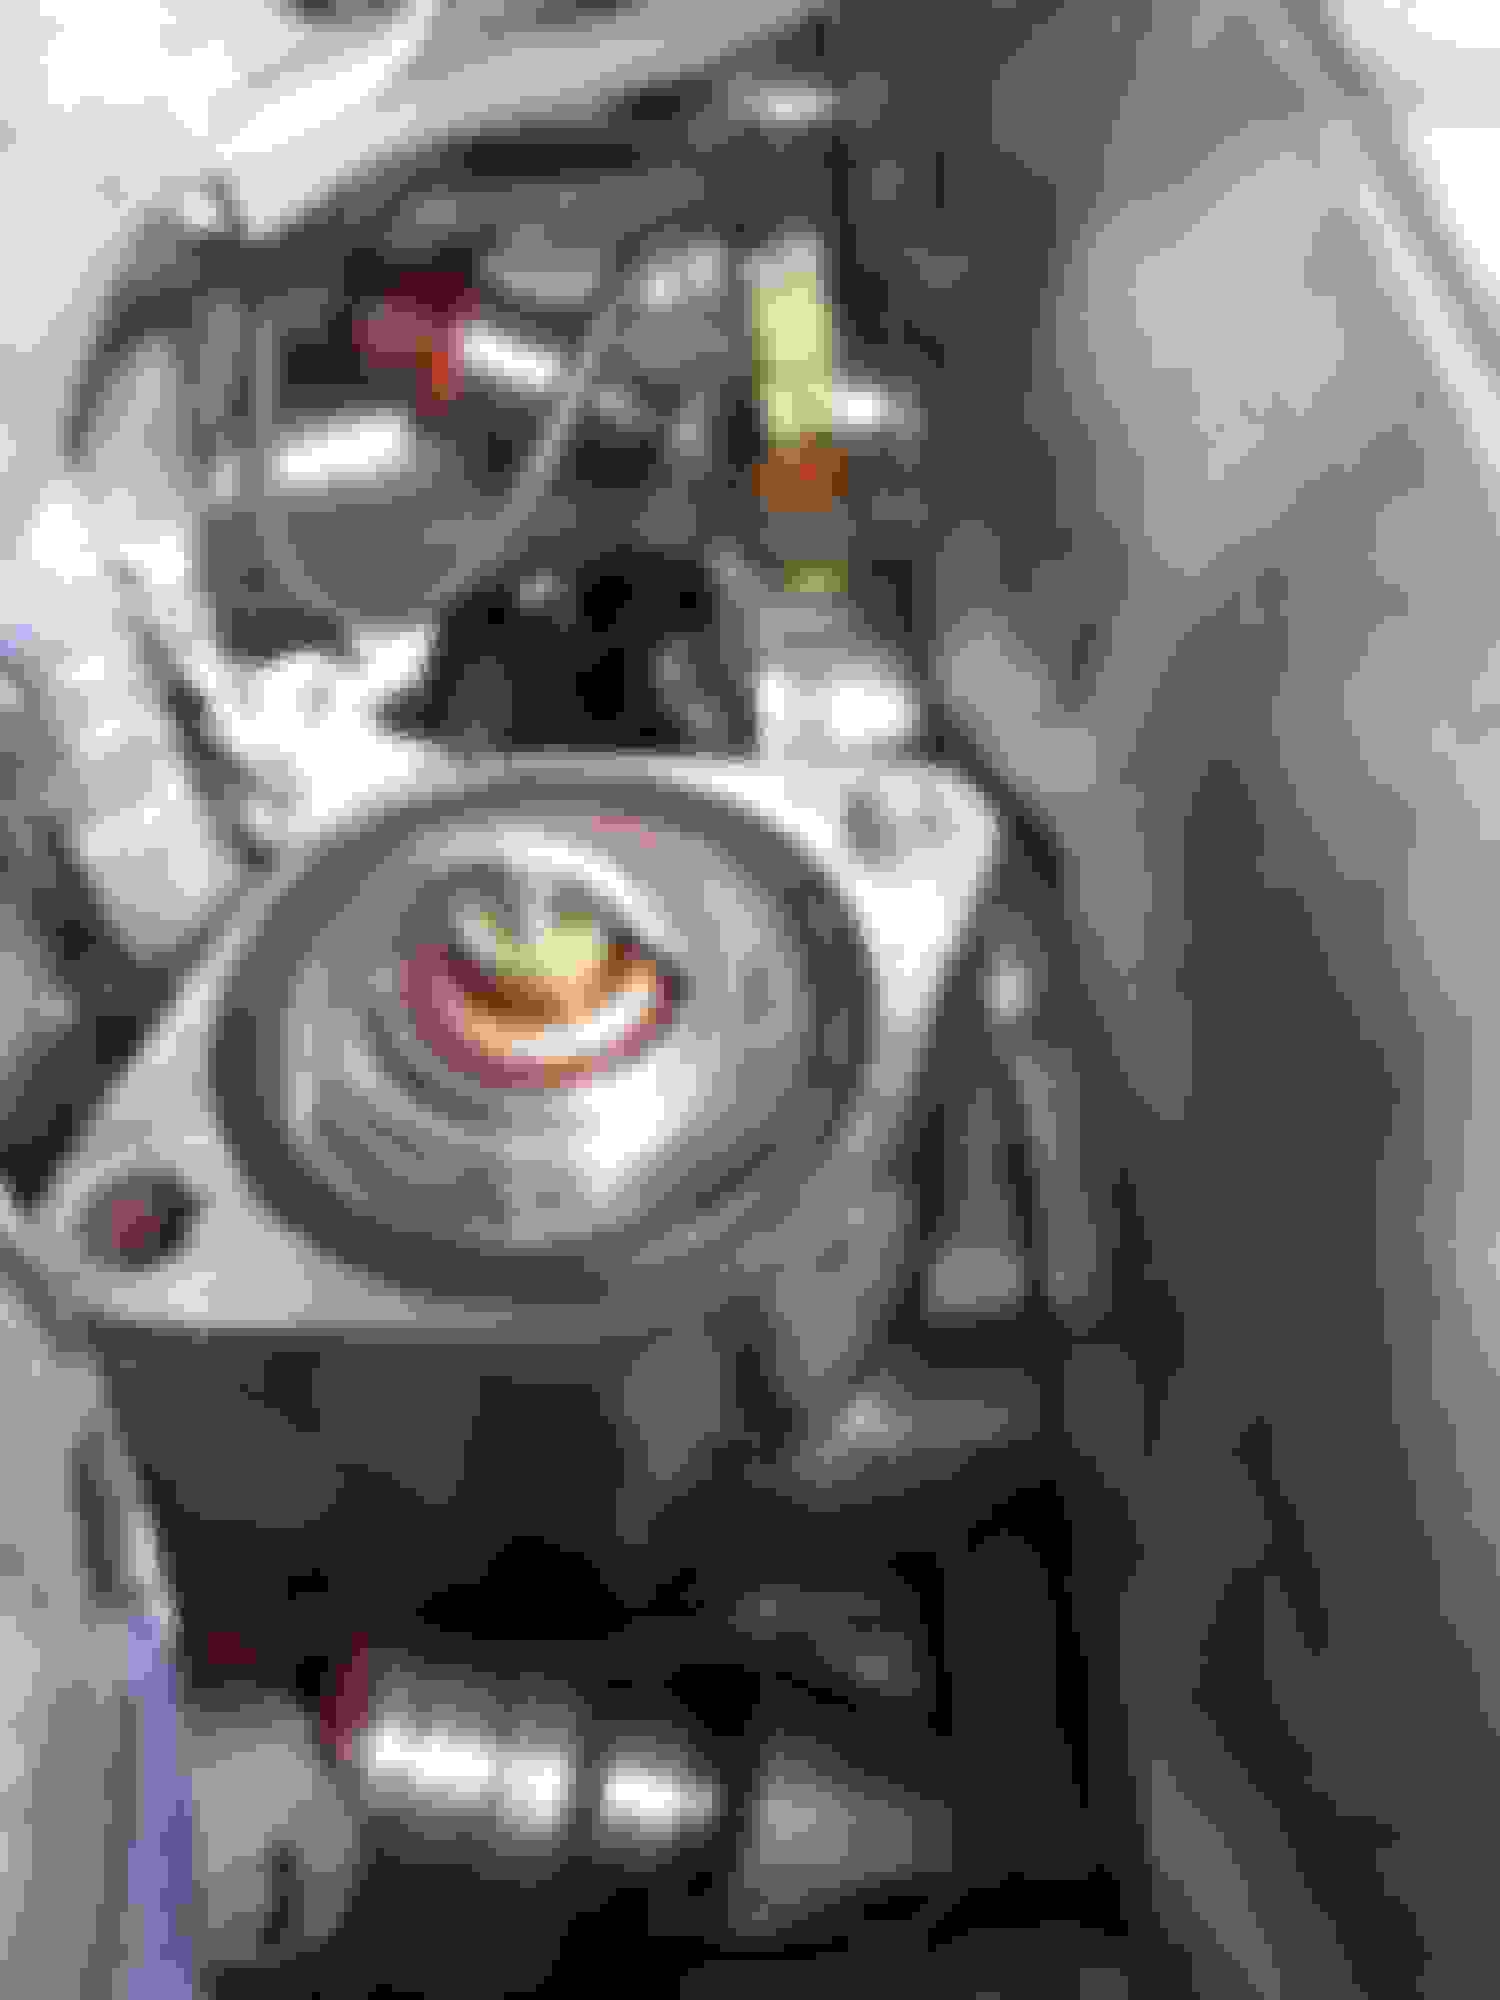
Had the truck running for about a month or two. I wasn't comfortable with how low the temp gauge was reading, so I decided to change the thermostat to the Toyota 190 degree. In the process I broke off one of the %$%$ing thermostat bolts. Then broke an extractor in the bolt. Double F. Removed the entire intake and took it to a local machine shop to remove the bolt and clean the intake in the process. I was expecting to get bent over royally, but when I went to pick it up the price was $20. I have found my go to machine shop!
In the long run this was probably a good thing. I learned a lesson about reusing bolts. Ordered all new bolts for the intake reinstall. The thermostat swap didn't change the temperature gauge and it was a total waste of time...except for all the learning. Plus the new bolts are better in the long run.
Felt pretty comfortable with her now, so took her out for some range time. No mountains around here, just lots of sand and red mud. 4WD worked, locking hubs worked. Changed front and rear diff fluid, MT fluid. Everything looked good. Score.
After procrastinating for a few months, it was time to actually figure out what to do about paint. I couldn't justify spending thousands on a nice paint and clear coat just to have it get all scratched up first time out on the range. Buddy suggested bed lining the whole thing. I thought that sounded stupid, but the more I thought about it the more it made sense. Started watching some tutorials on YouTube and picking out colors. Or should I say eliminating colors. Bed lining a whole truck is a little different. Blacks and grays turn out looking like primer. Bright primary colors look OK, but I don't really want a red truck. I wanted something in between tan and brown. More on that later.
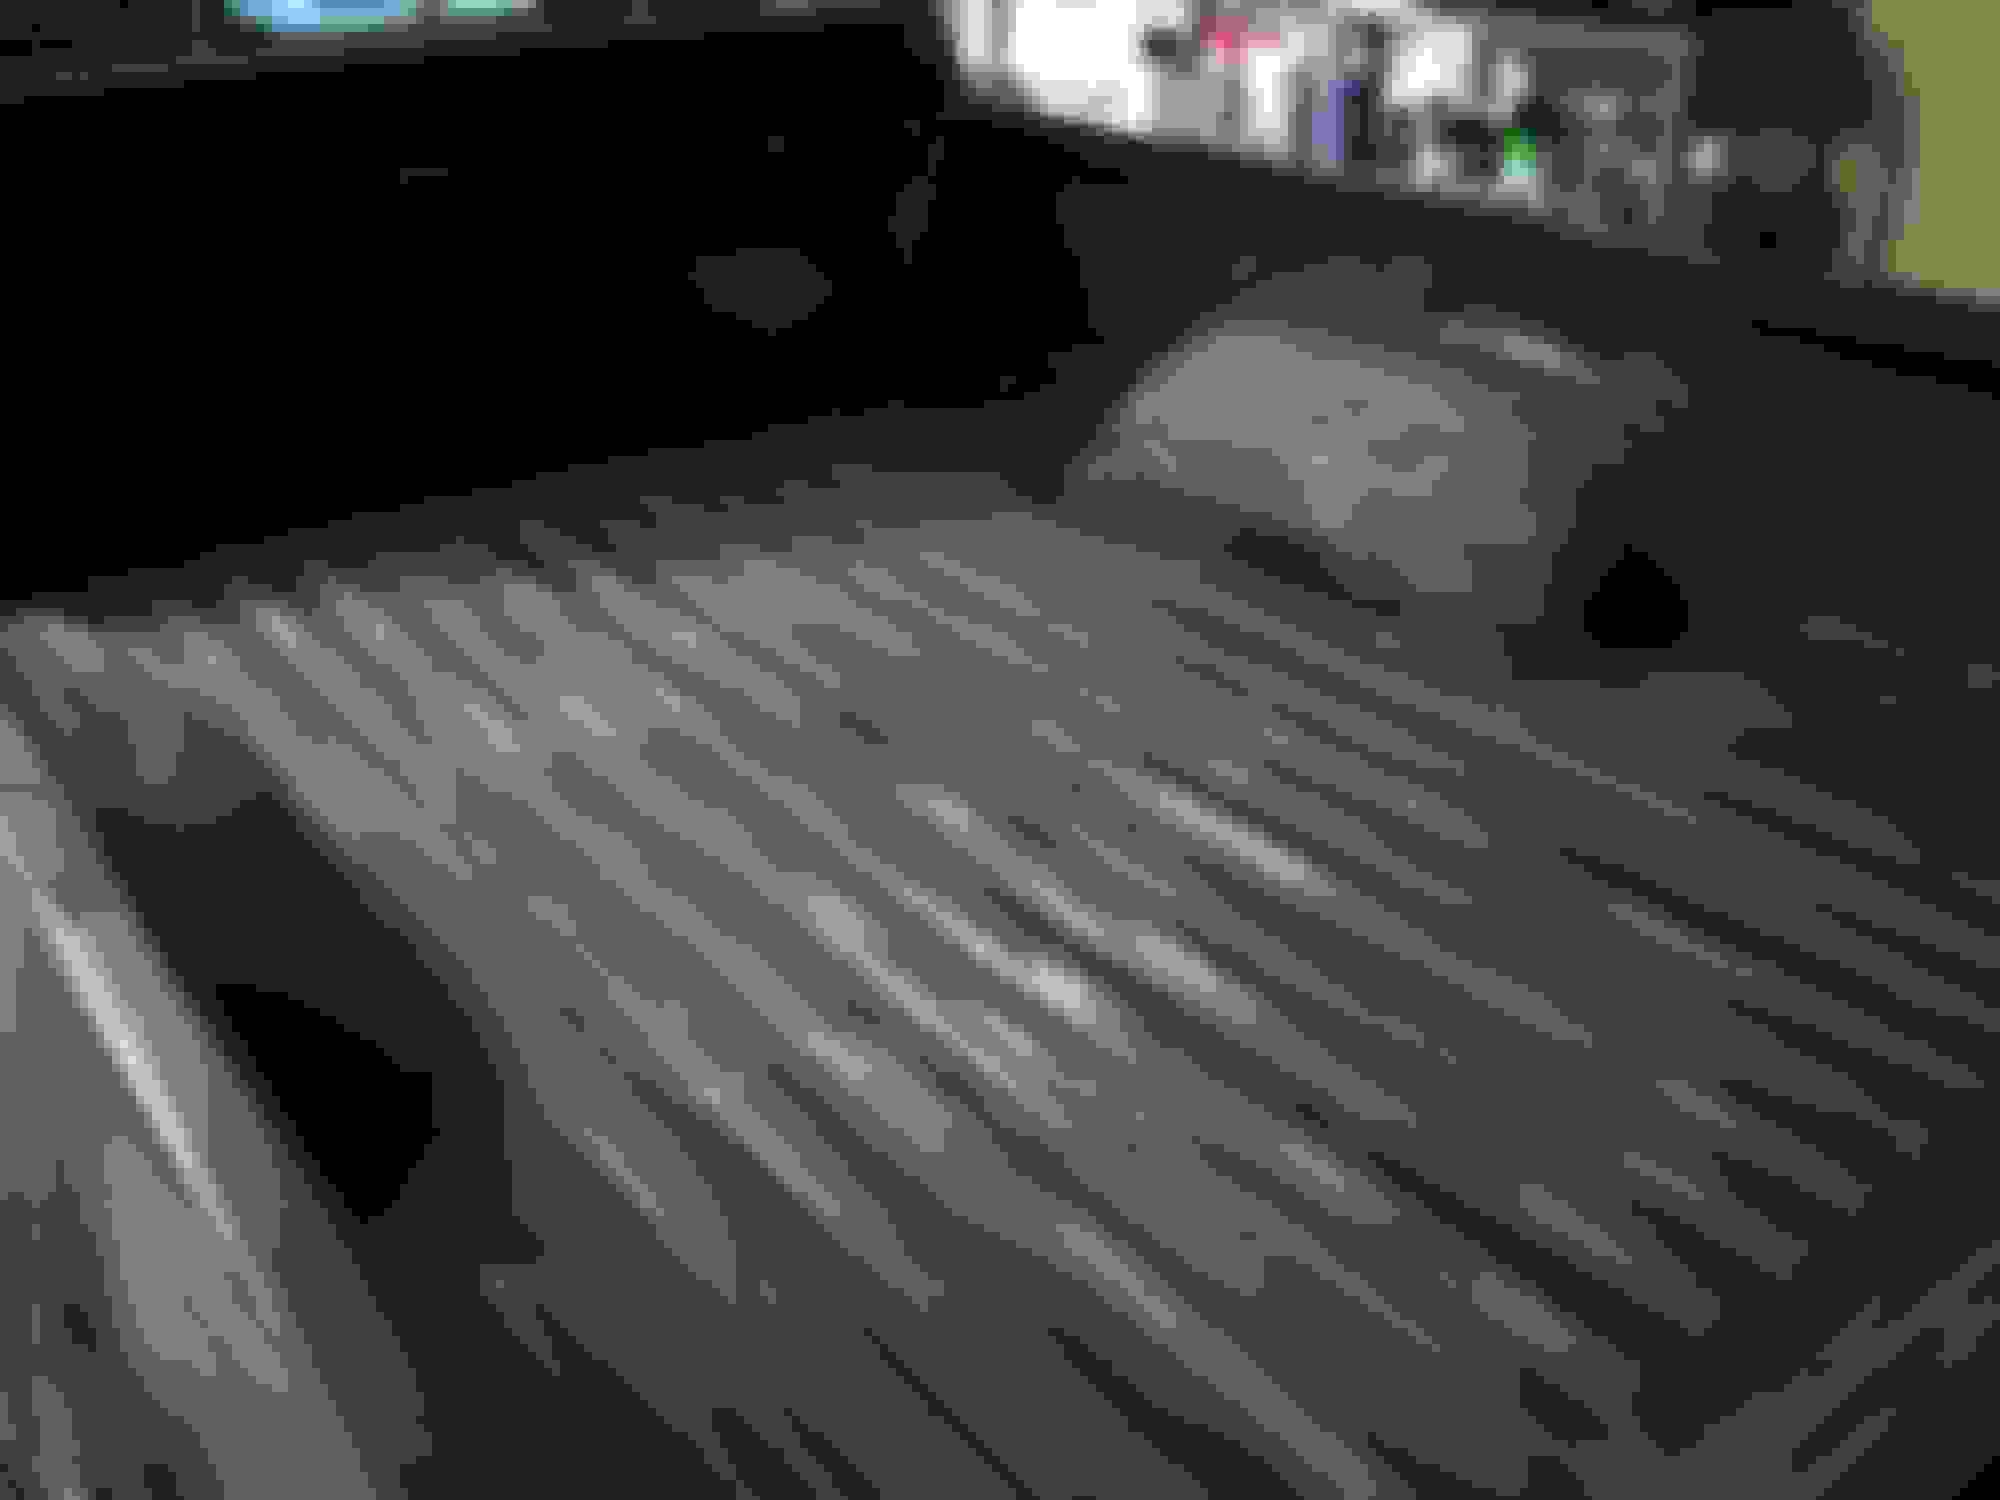
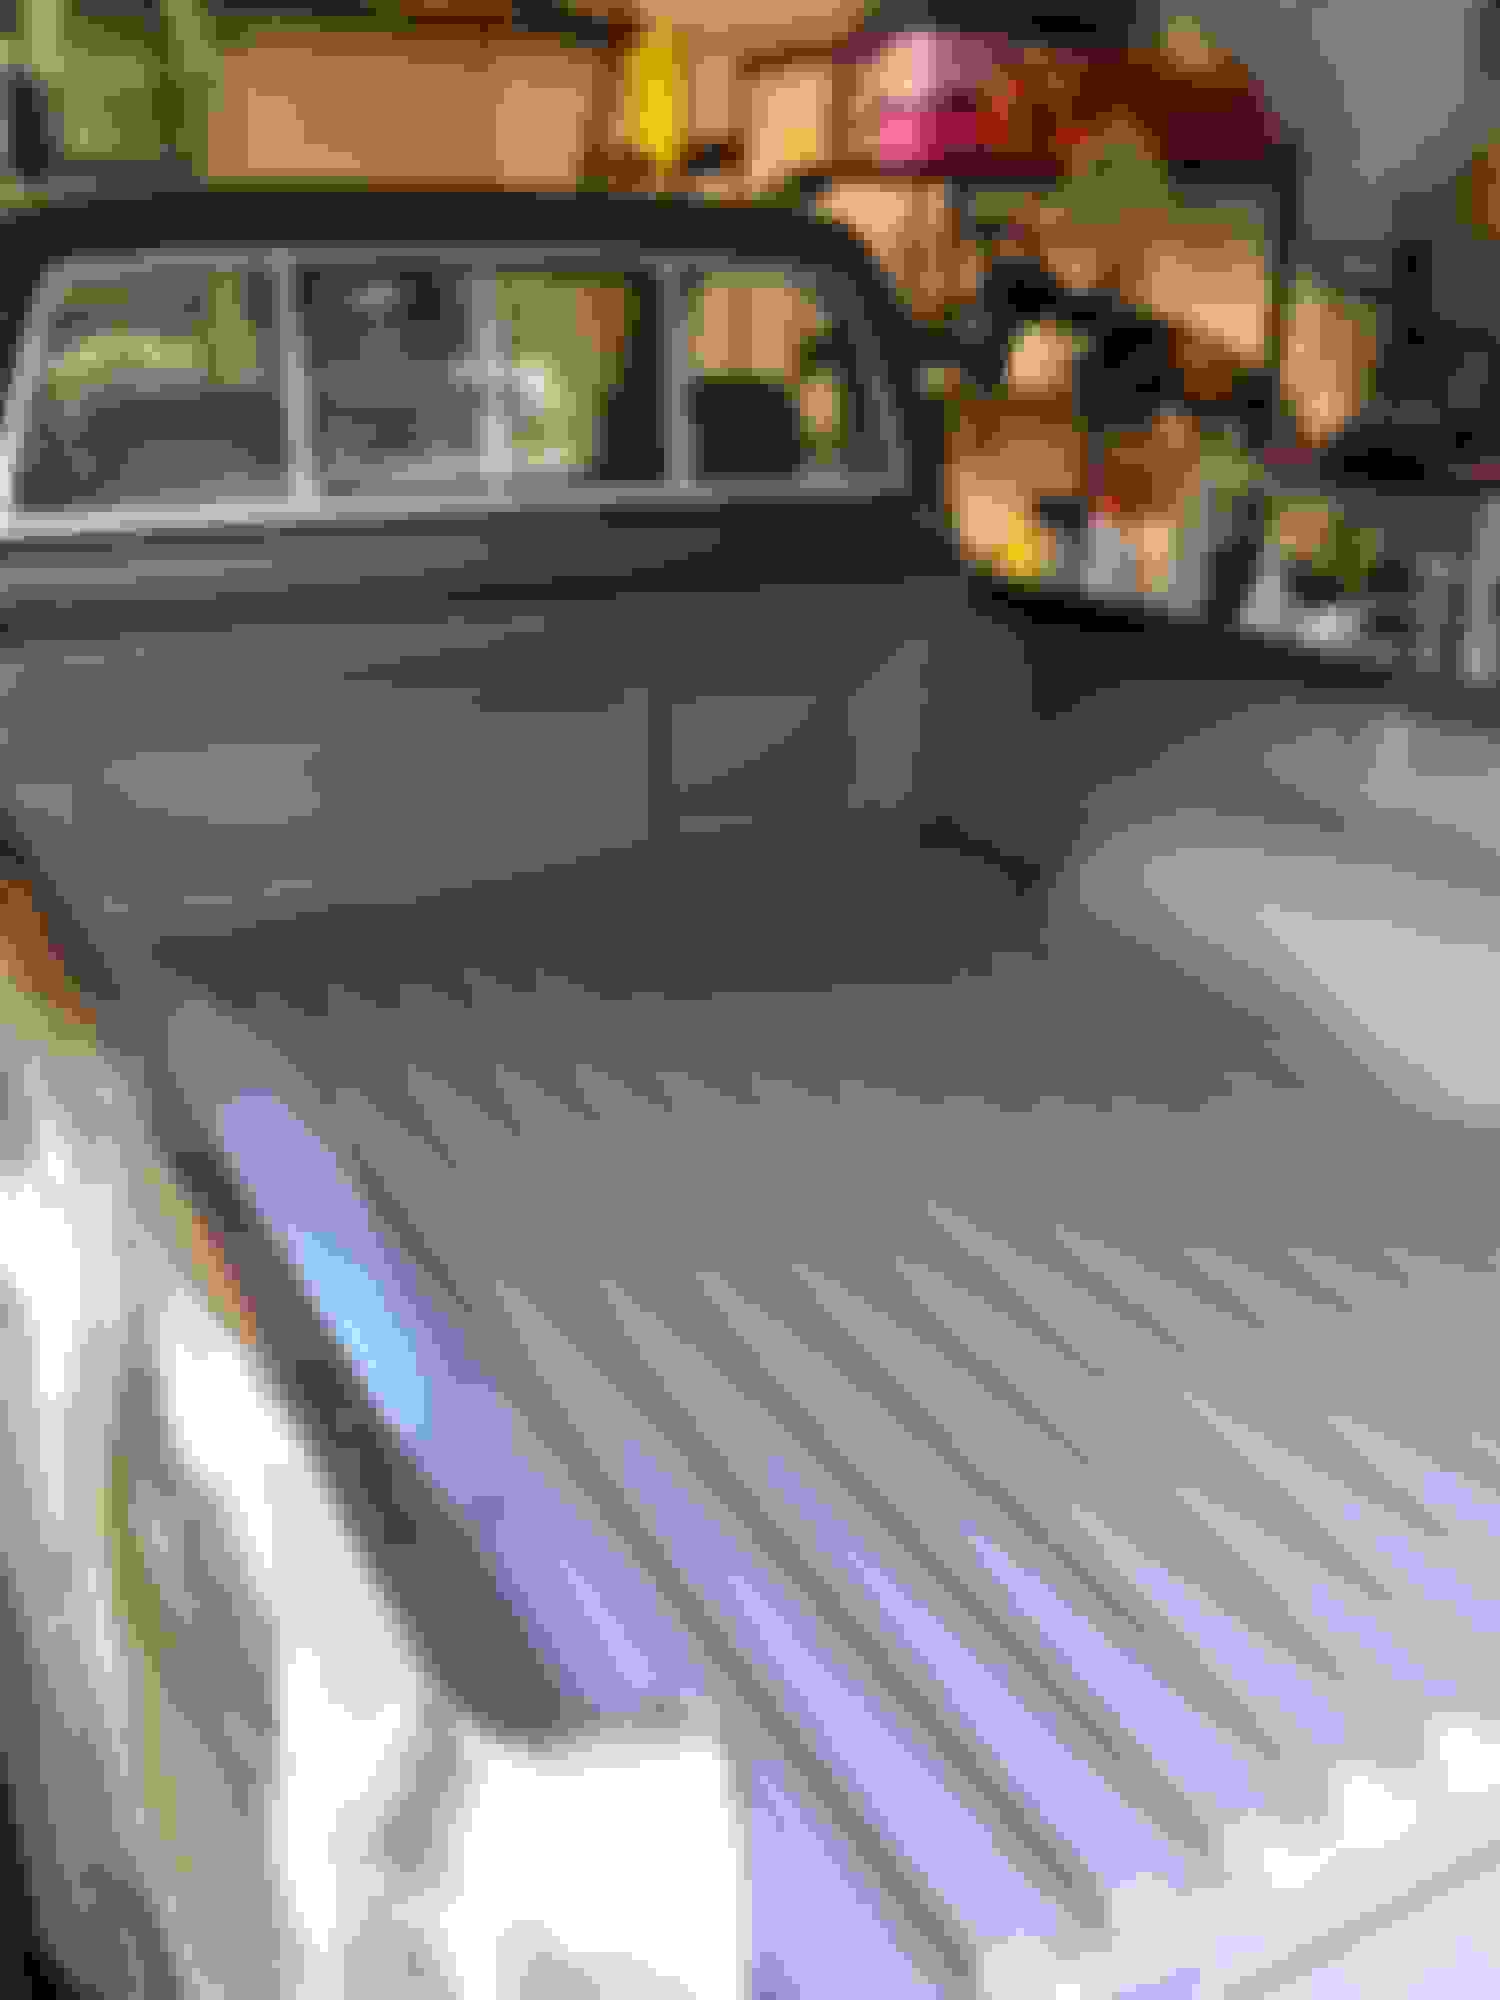
I went with Raptor Liner for the whole thing. It comes with a Schutz gun, which works great for the normal consistency. I decided to try out the bed and see how I liked it. If I didn't think it would look good on the whole thing, I could just stop with the bed. Got some tintable Raptor and got to it. First step is cleaning and scuffing up the bed. OMG this sucked. That bed was 30 years of gross. Had to sand quite a few areas of surface rust then primer those spots. Got it done, taped it all up, and away we go. The Raptor sprays on super easy. This was my first time using a spray gun of any type. I tinted the Raptor with a grey that was darker than the original Dark Gray Metallic (179) on the truck. The tintable Raptor definitely turns out a lighter shade. I'm still happy with it, just a little unexpected.
After how much work it took to Raptor the bed, I was less than enthusiastic about starting the entire truck. Used that time to watch lots of YouTube videos. The only rust on the truck was in the bottom of the passenger door. I decided to try my hand with fiberglass and bondo. The great thing about this build was being able to experiment with stuff. If it didn't go well, who cares? It's a $500 truck. Since I planned on bed lining the whole truck, it didn't have to be perfect either. The only pic I have is below. I'm not good at documenting my processes. I promise I sanded this down smooth.
No turning back now. Started sanding the bed and found some Bondo layers. I don't believe the truck had ever been in an accident, so I'm not sure why there's body work done here. Oh well, sand it smooth and continue scuffing it all up to get ready for Raptor.
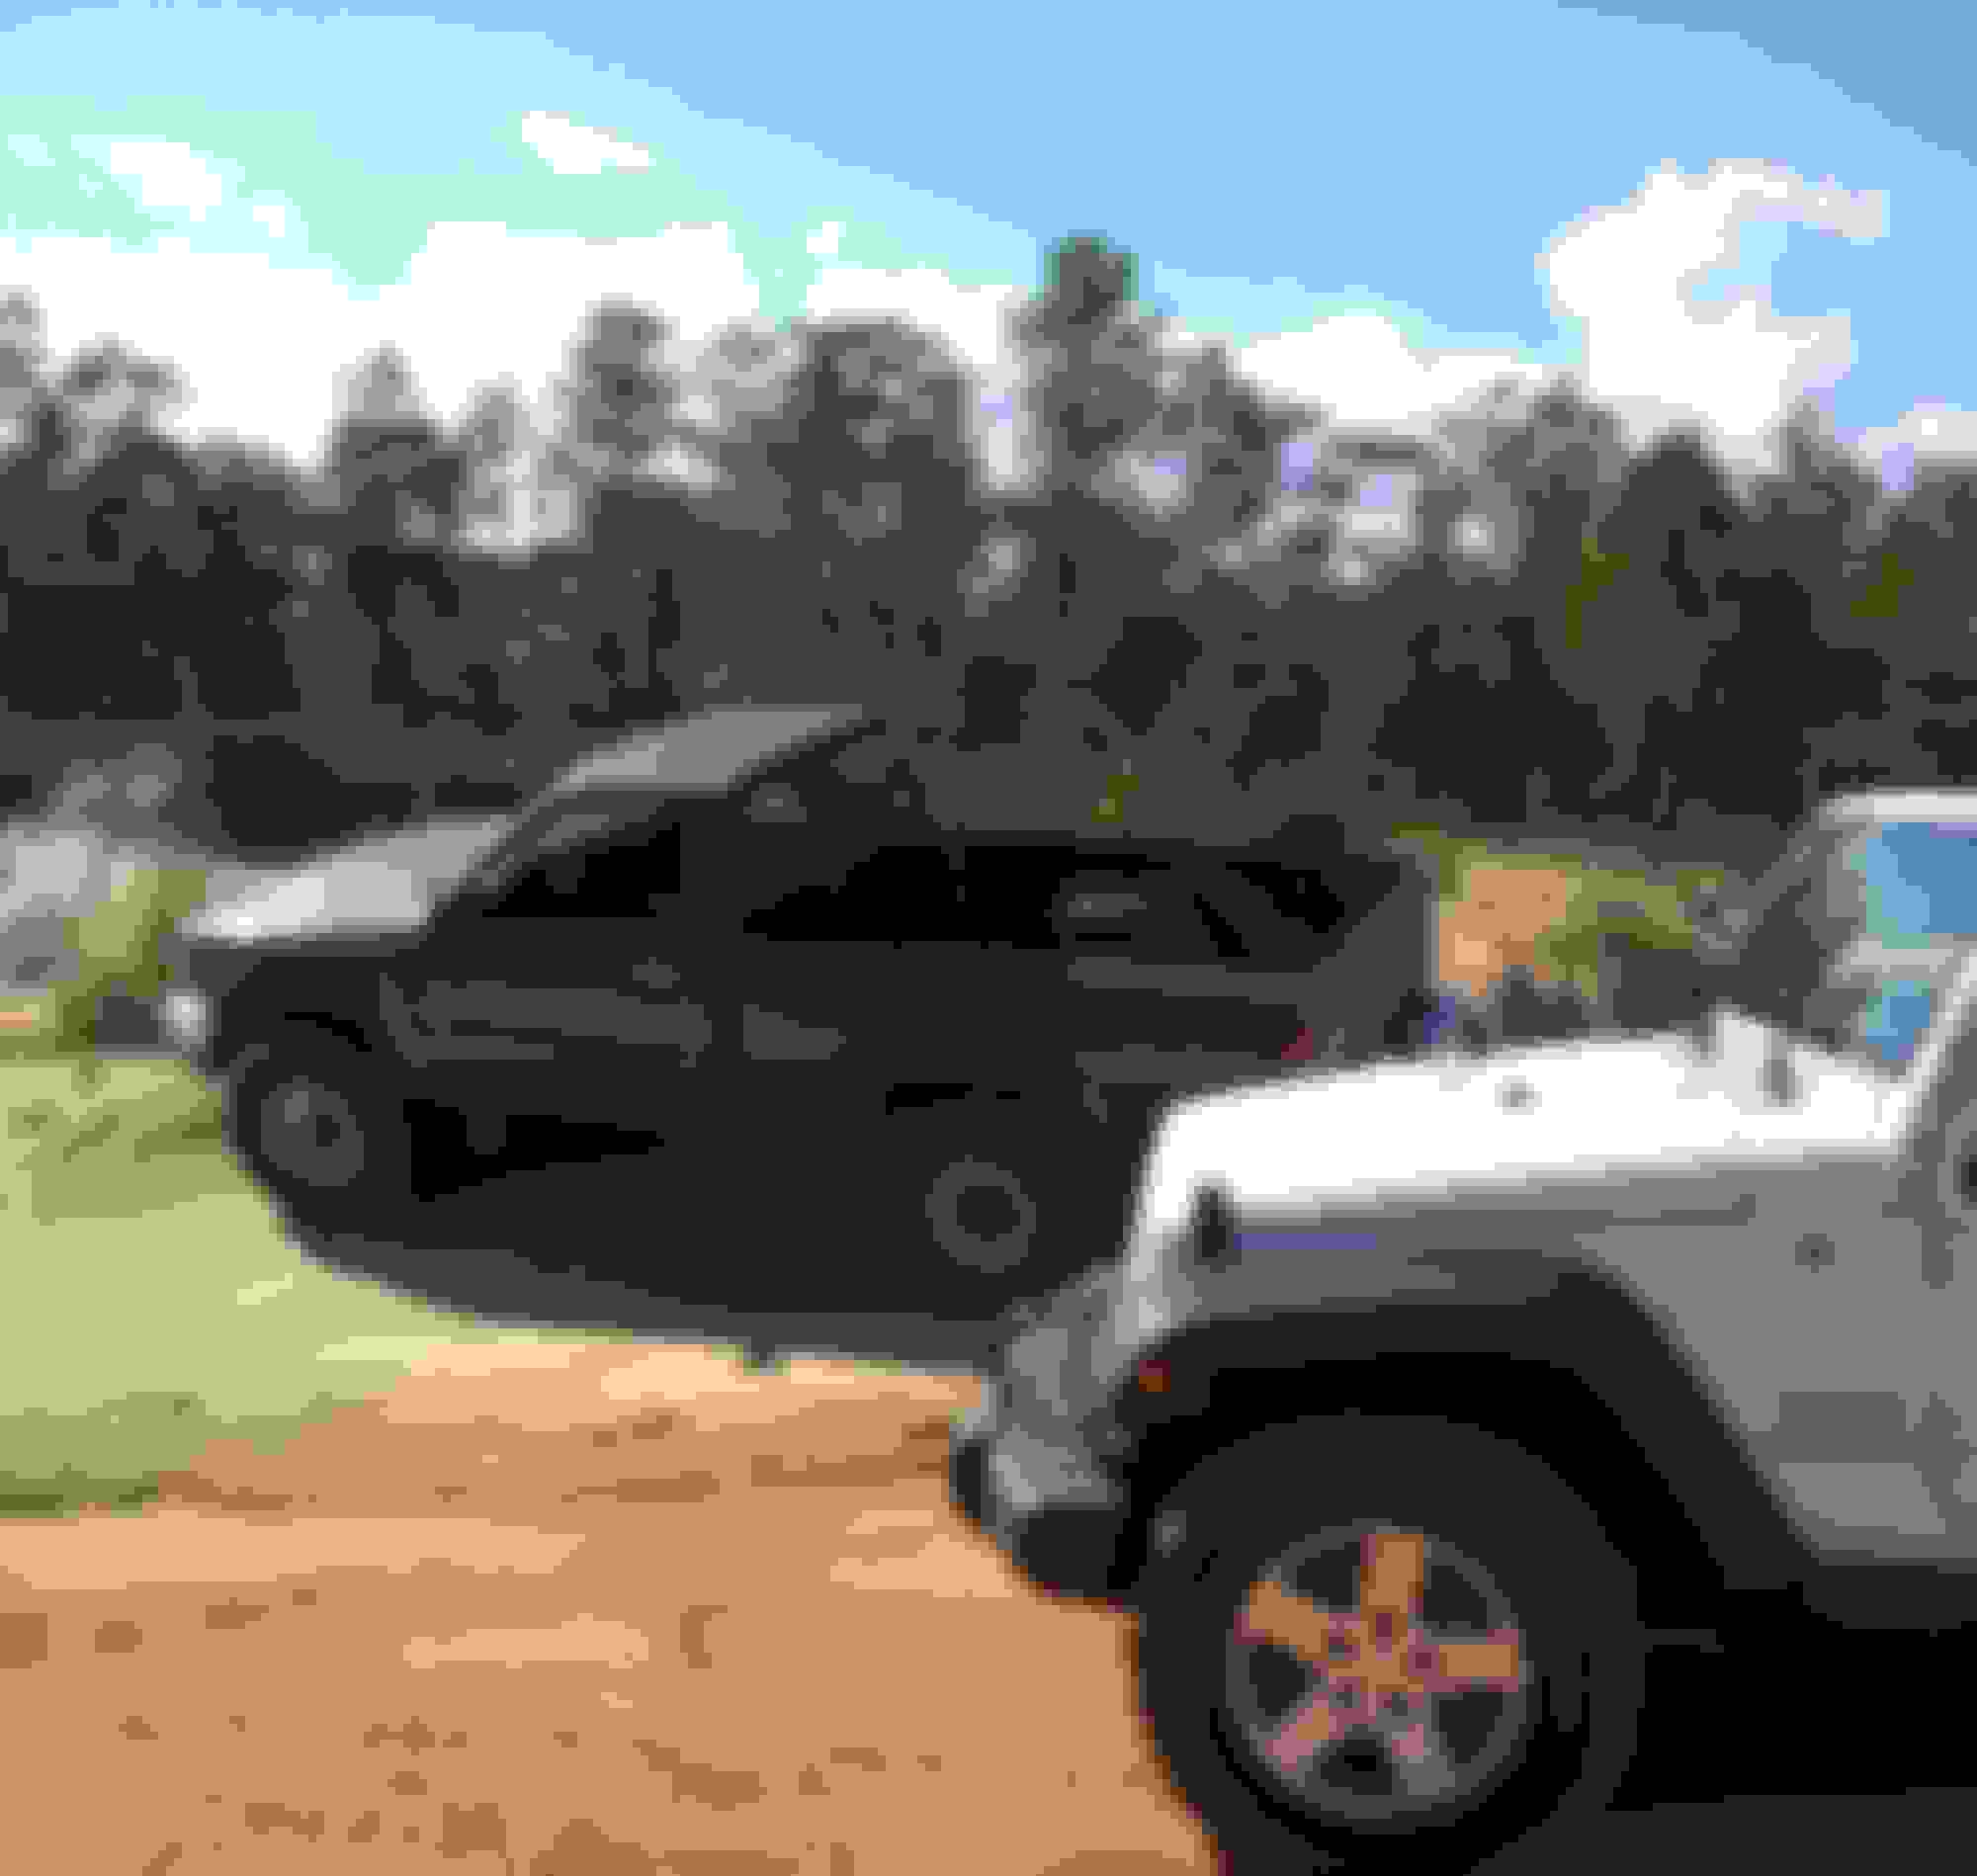
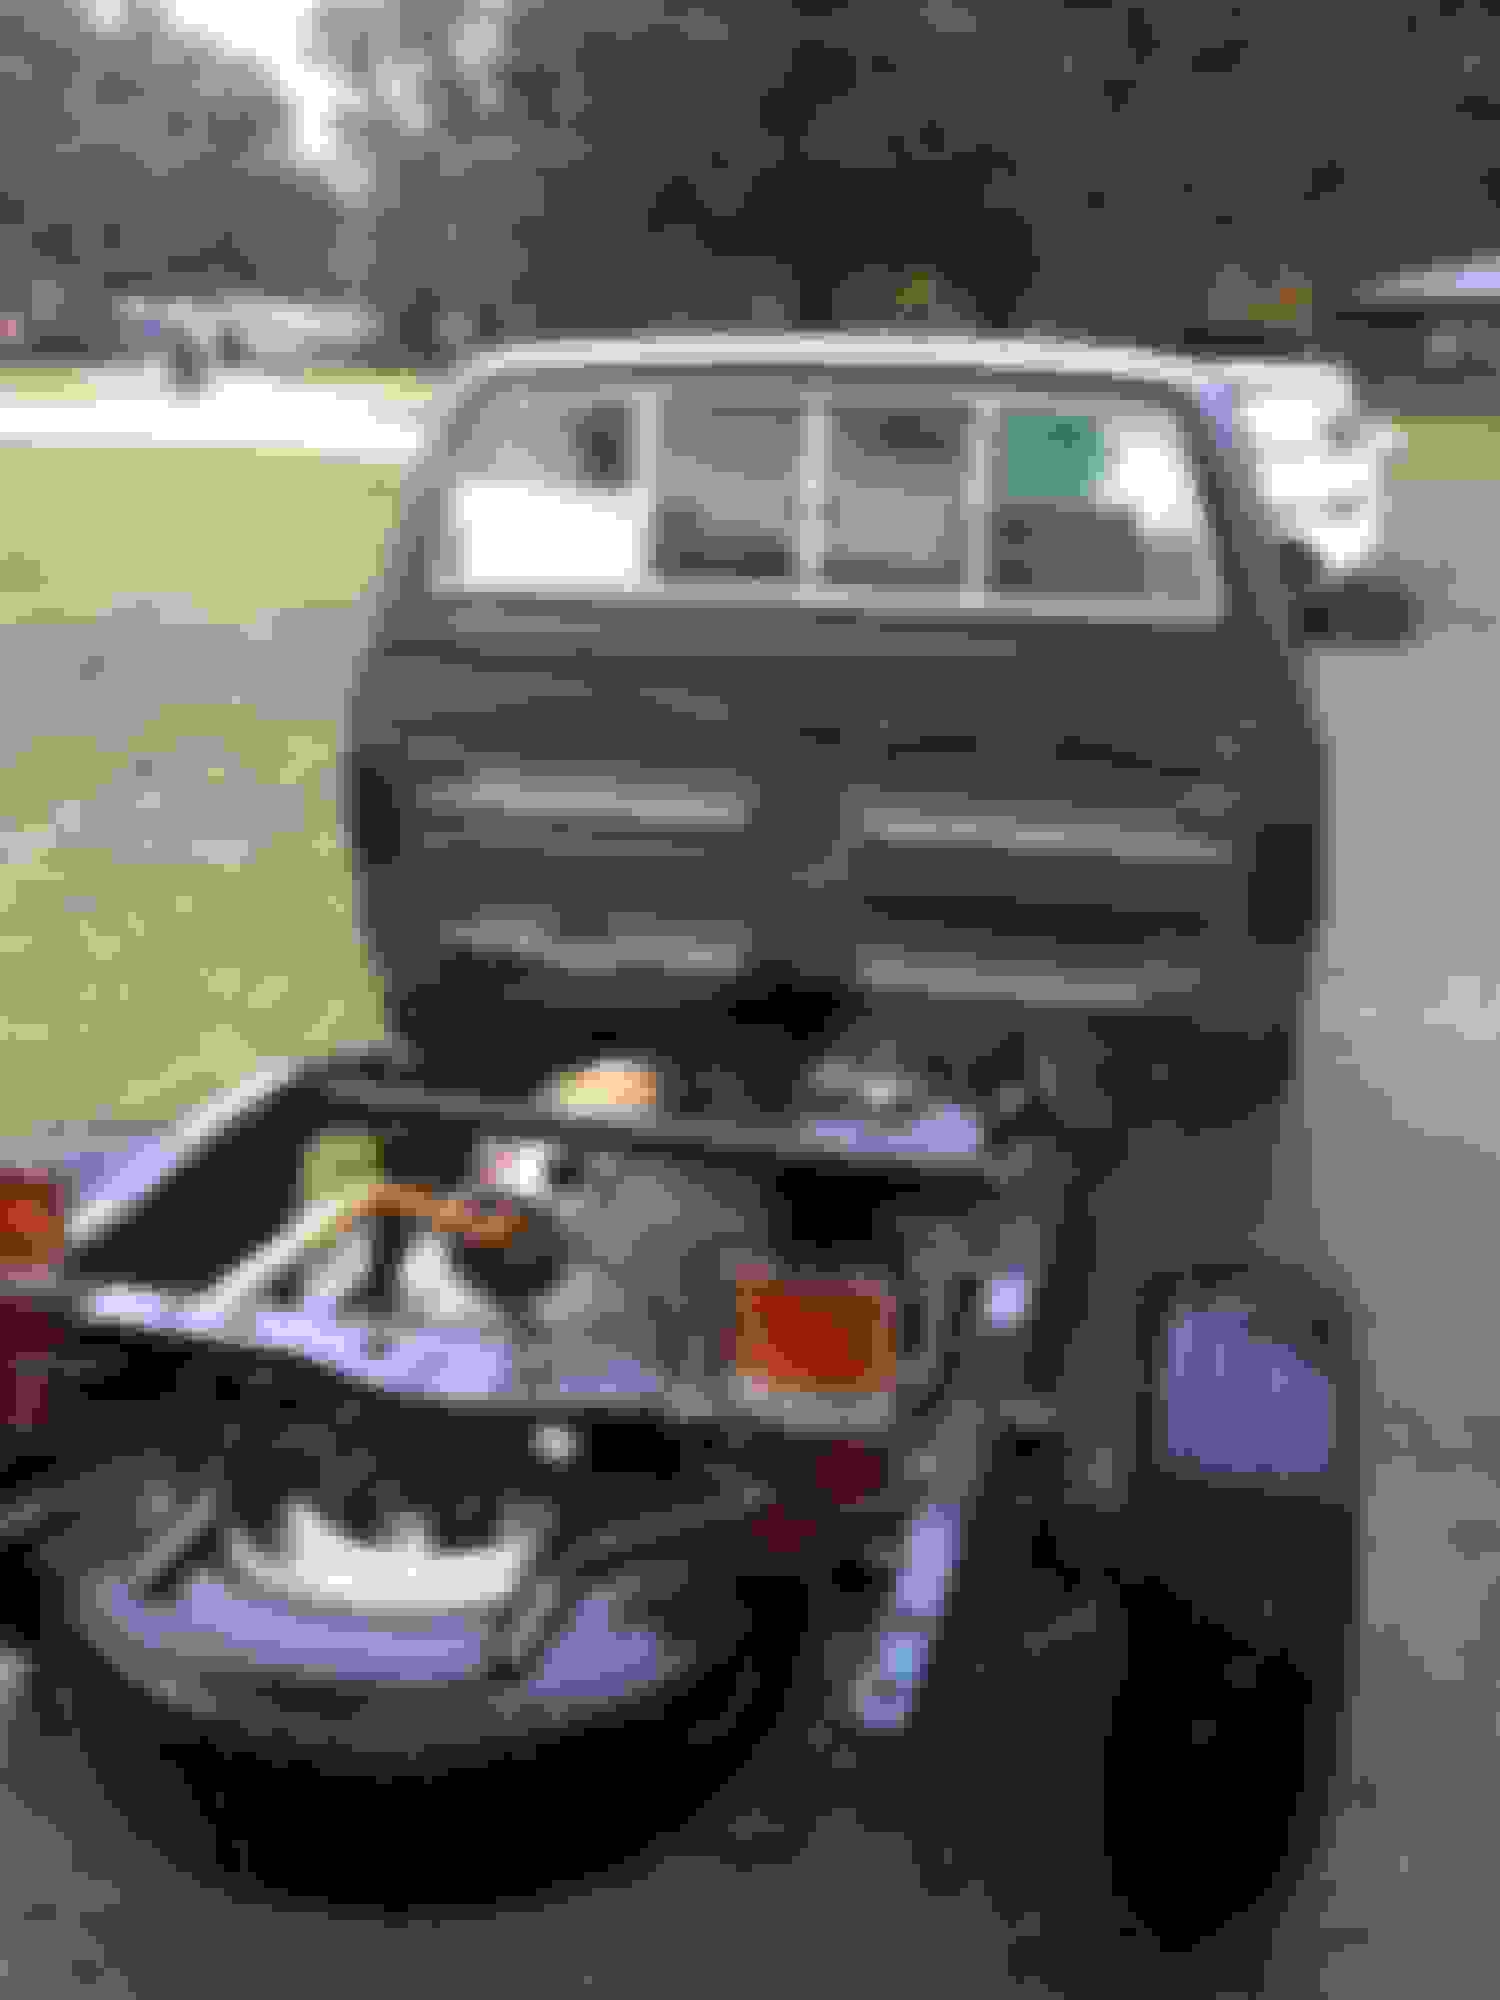
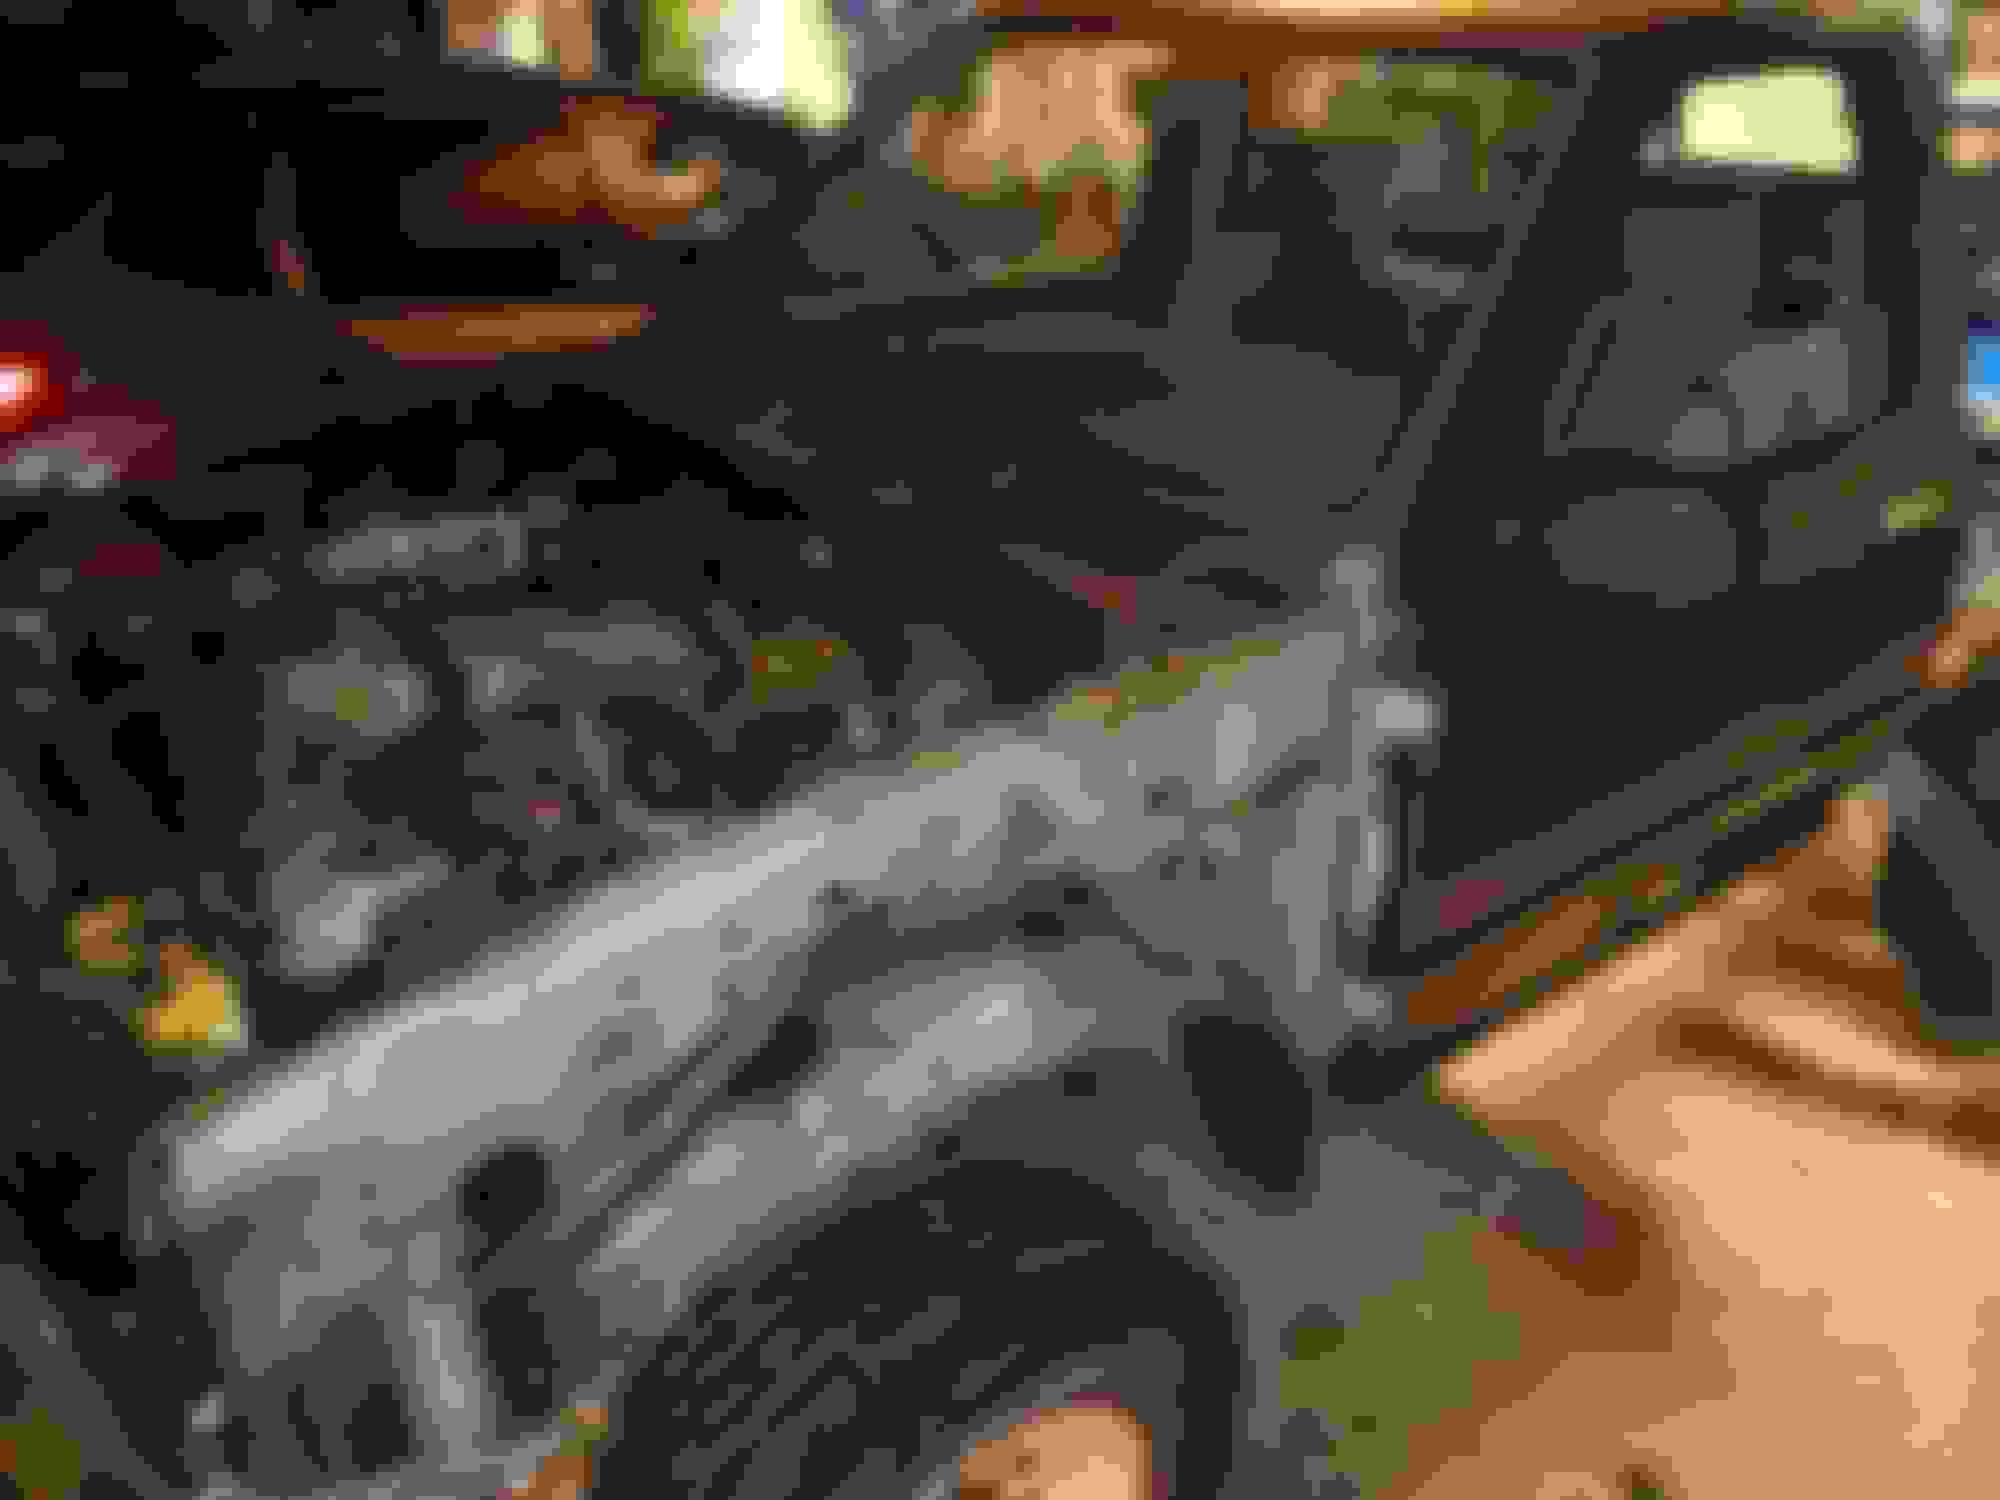
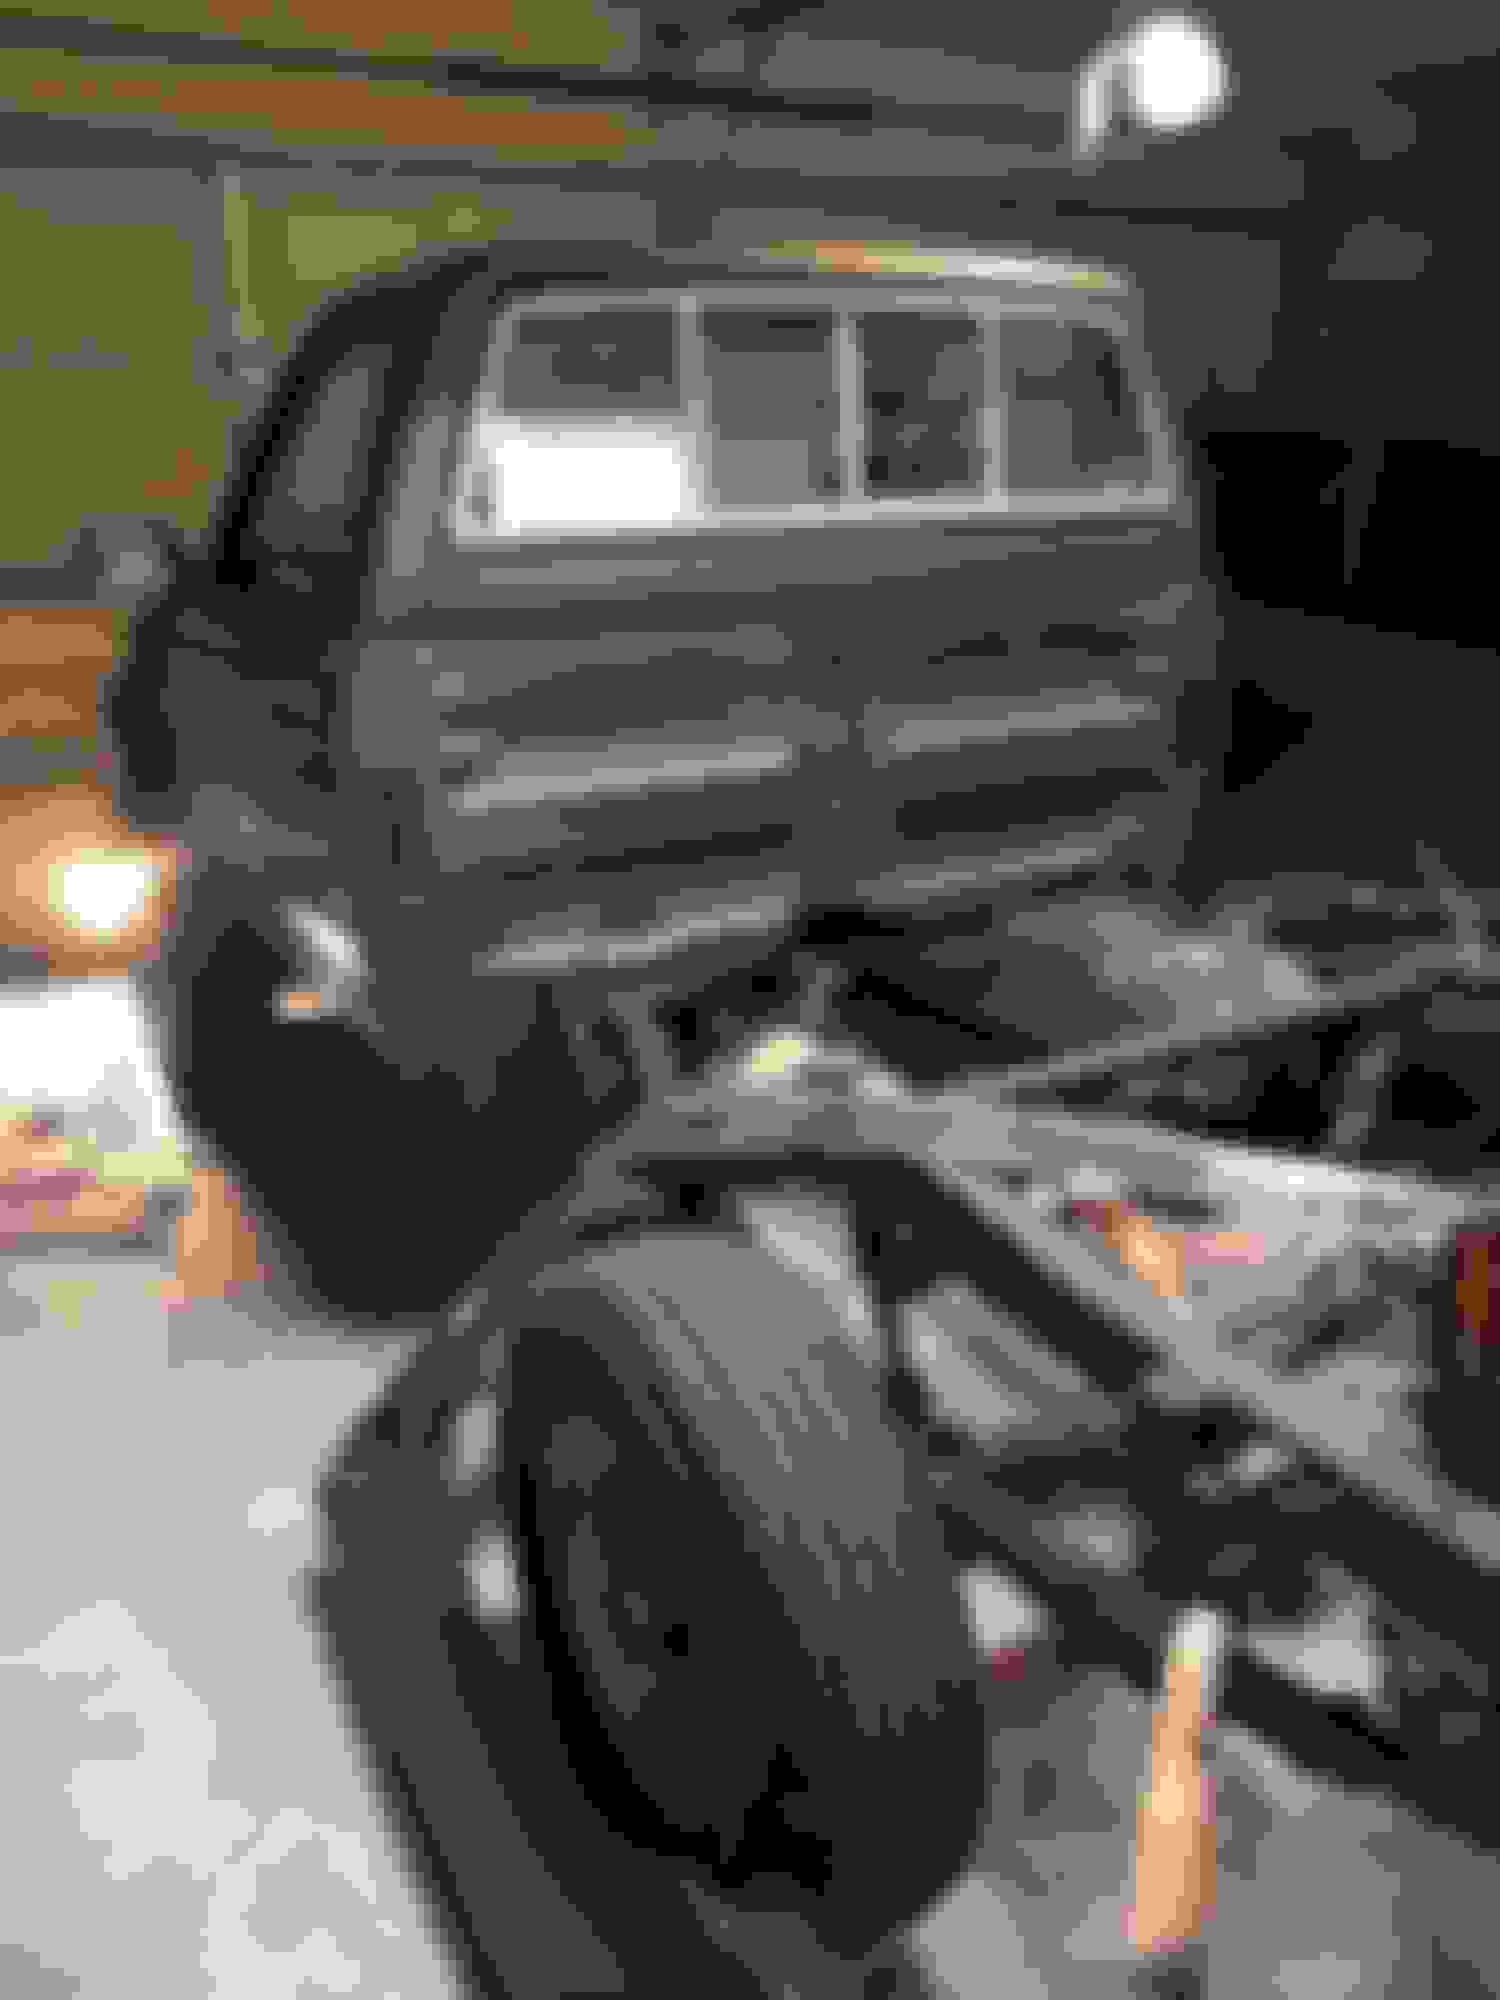
Decided to embrace the pain and do it right. Took the bed off. Pressure washed the frame and under-goodies while I had the chance. Zip tied the tail lights on so I could drive the beast around without the bed.
OK I really love this truck in Dark Gray Metallic, but having decided on the Raptor for the whole truck, and not liking dark colors for bed lined trucks, I needed a new color. I kind of liked all the Desert Tan trucks I see these days, but I wanted something a little darker. I knew the tintable Raptor would lighten whatever shade I picked. I decided on a darker tan/grey looking color and moved forward.
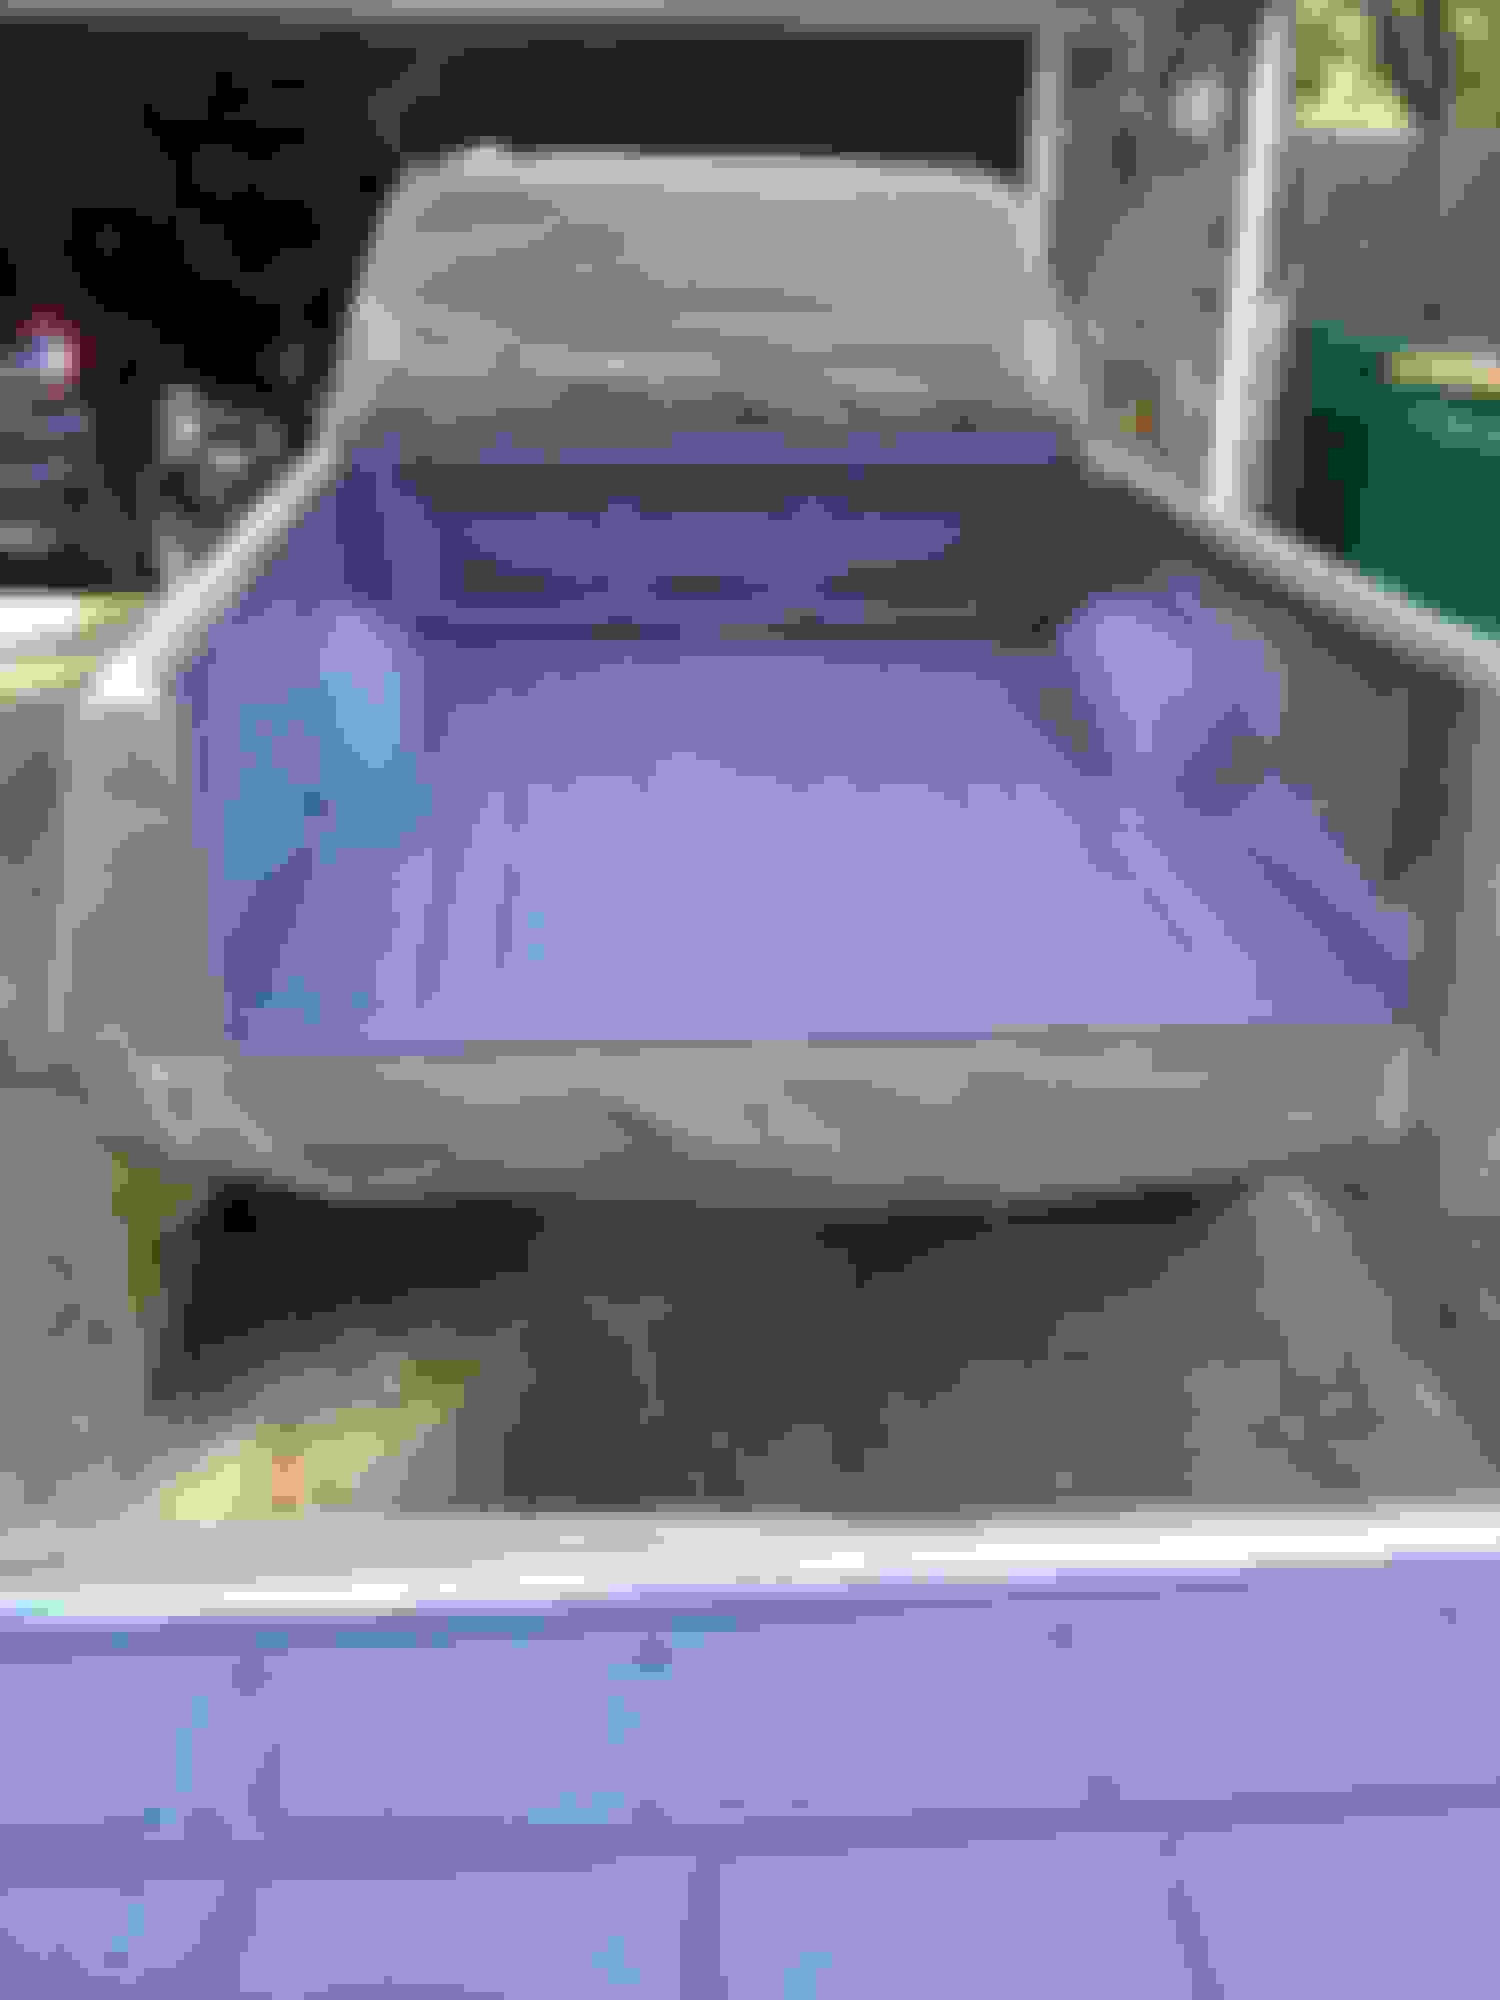
The tricky part was figuring out how I wanted to lay down the Raptor. I didn't want it as coarse as the bed, so I needed a scheme to thin it out. Raptor says you can thin it by about 10% using urethane reducer. I found a good video on YouTube of a guy who did it, so I stole his recipe. Bought a $10 purple HVLP gun from Harbor Freight, drilled out the tip to 1.8mm, and borrowed a compressor from a buddy. Played around with the pressure until I got a consistency I was happy with and then started spraying.
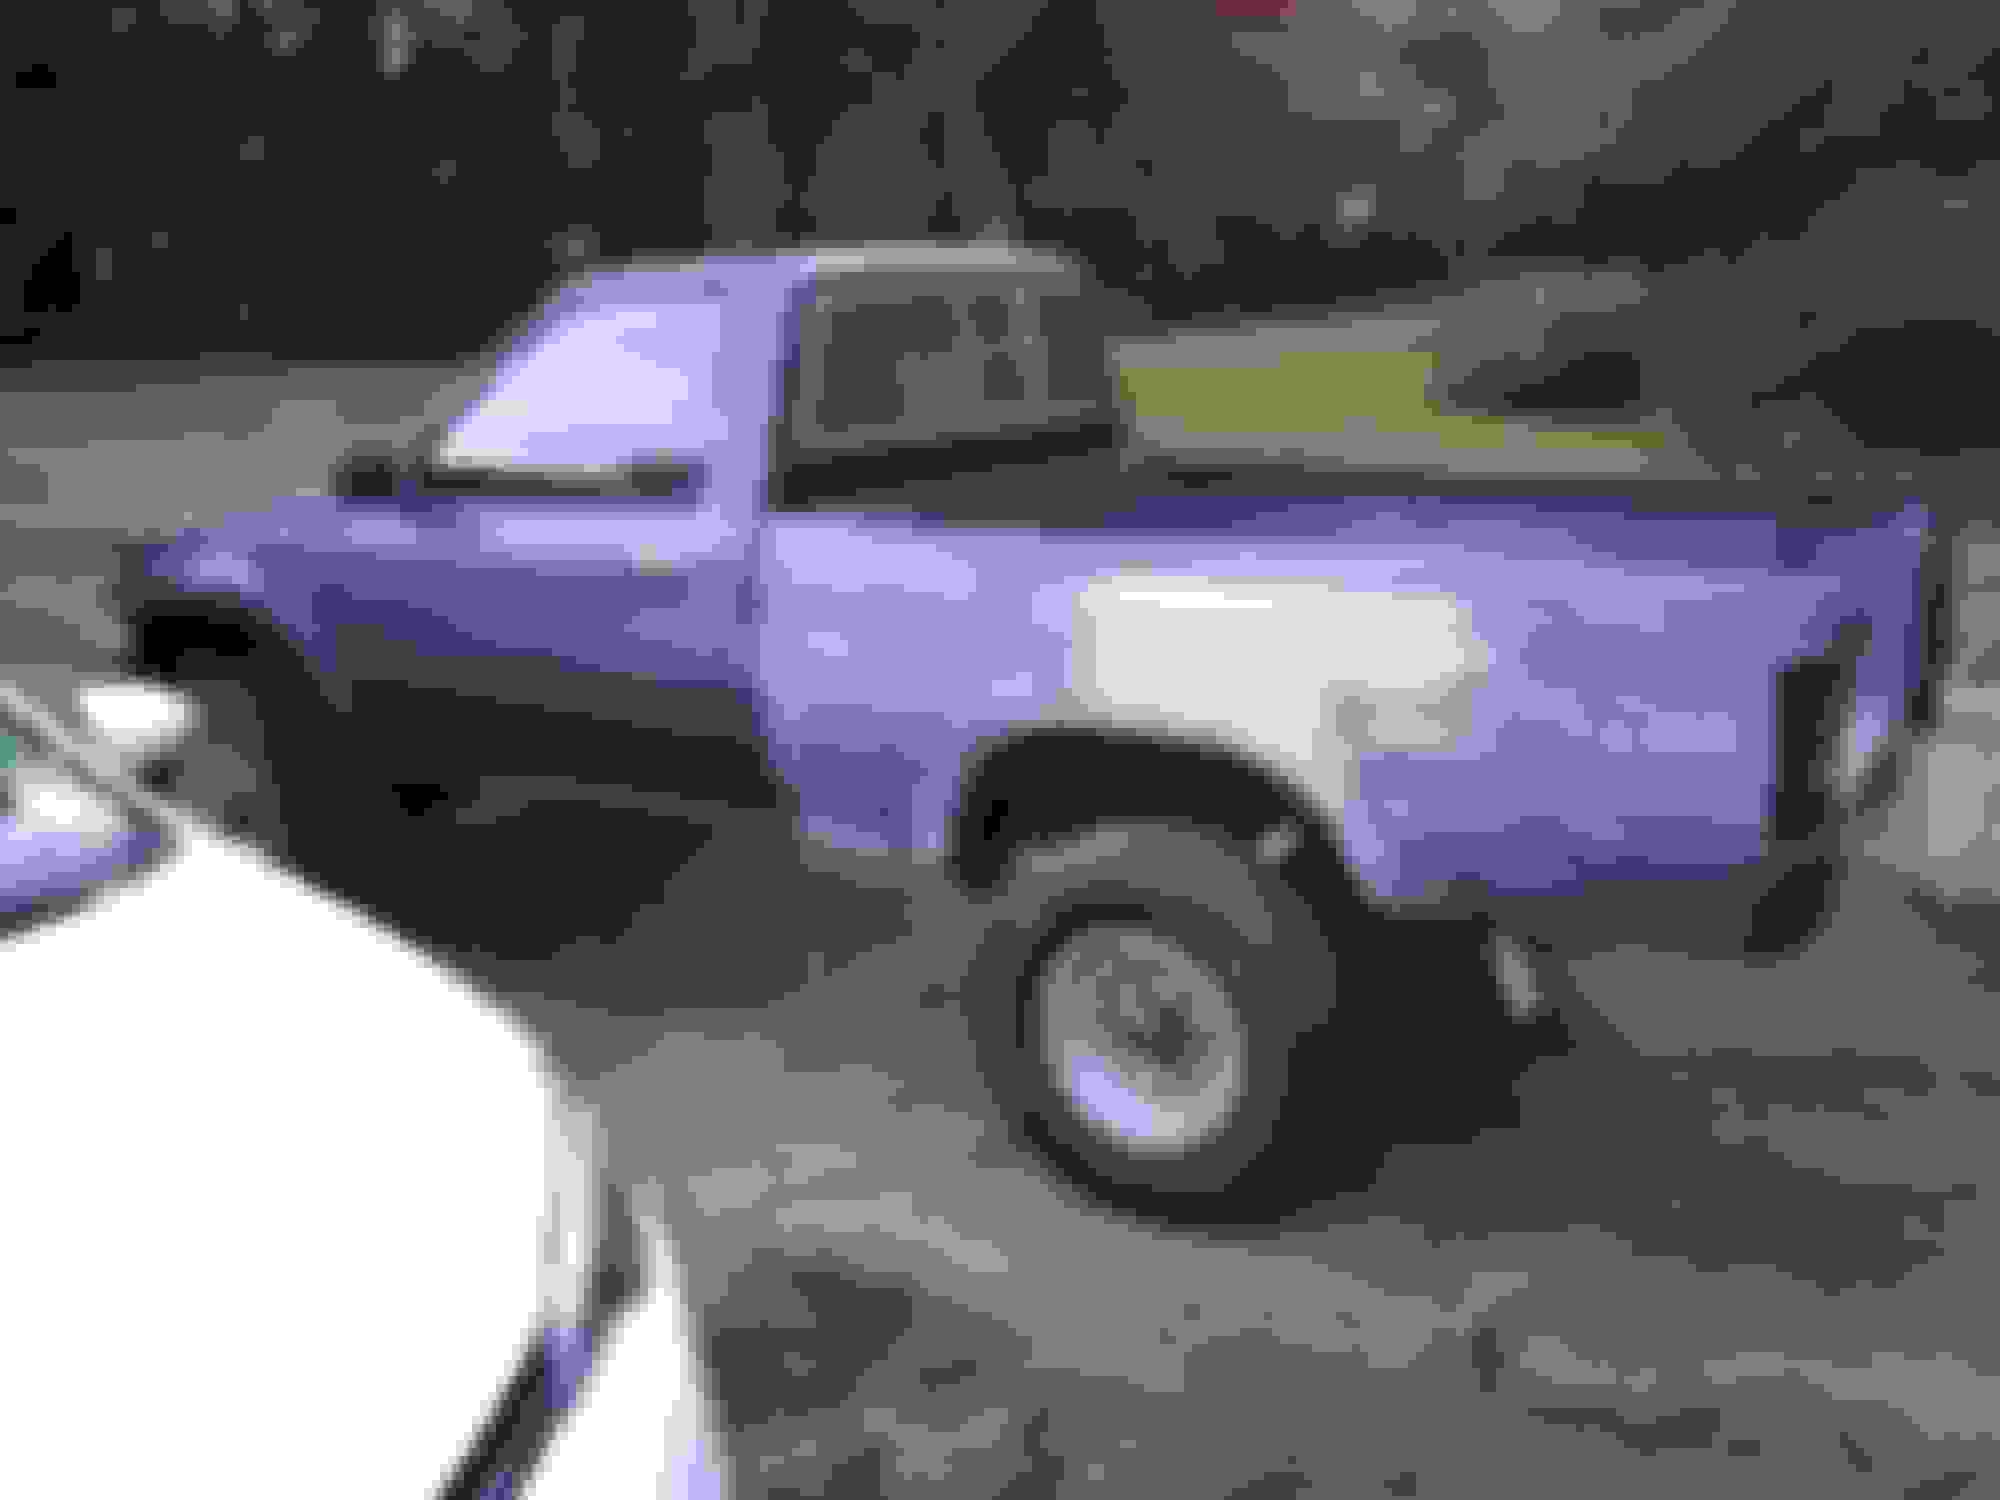
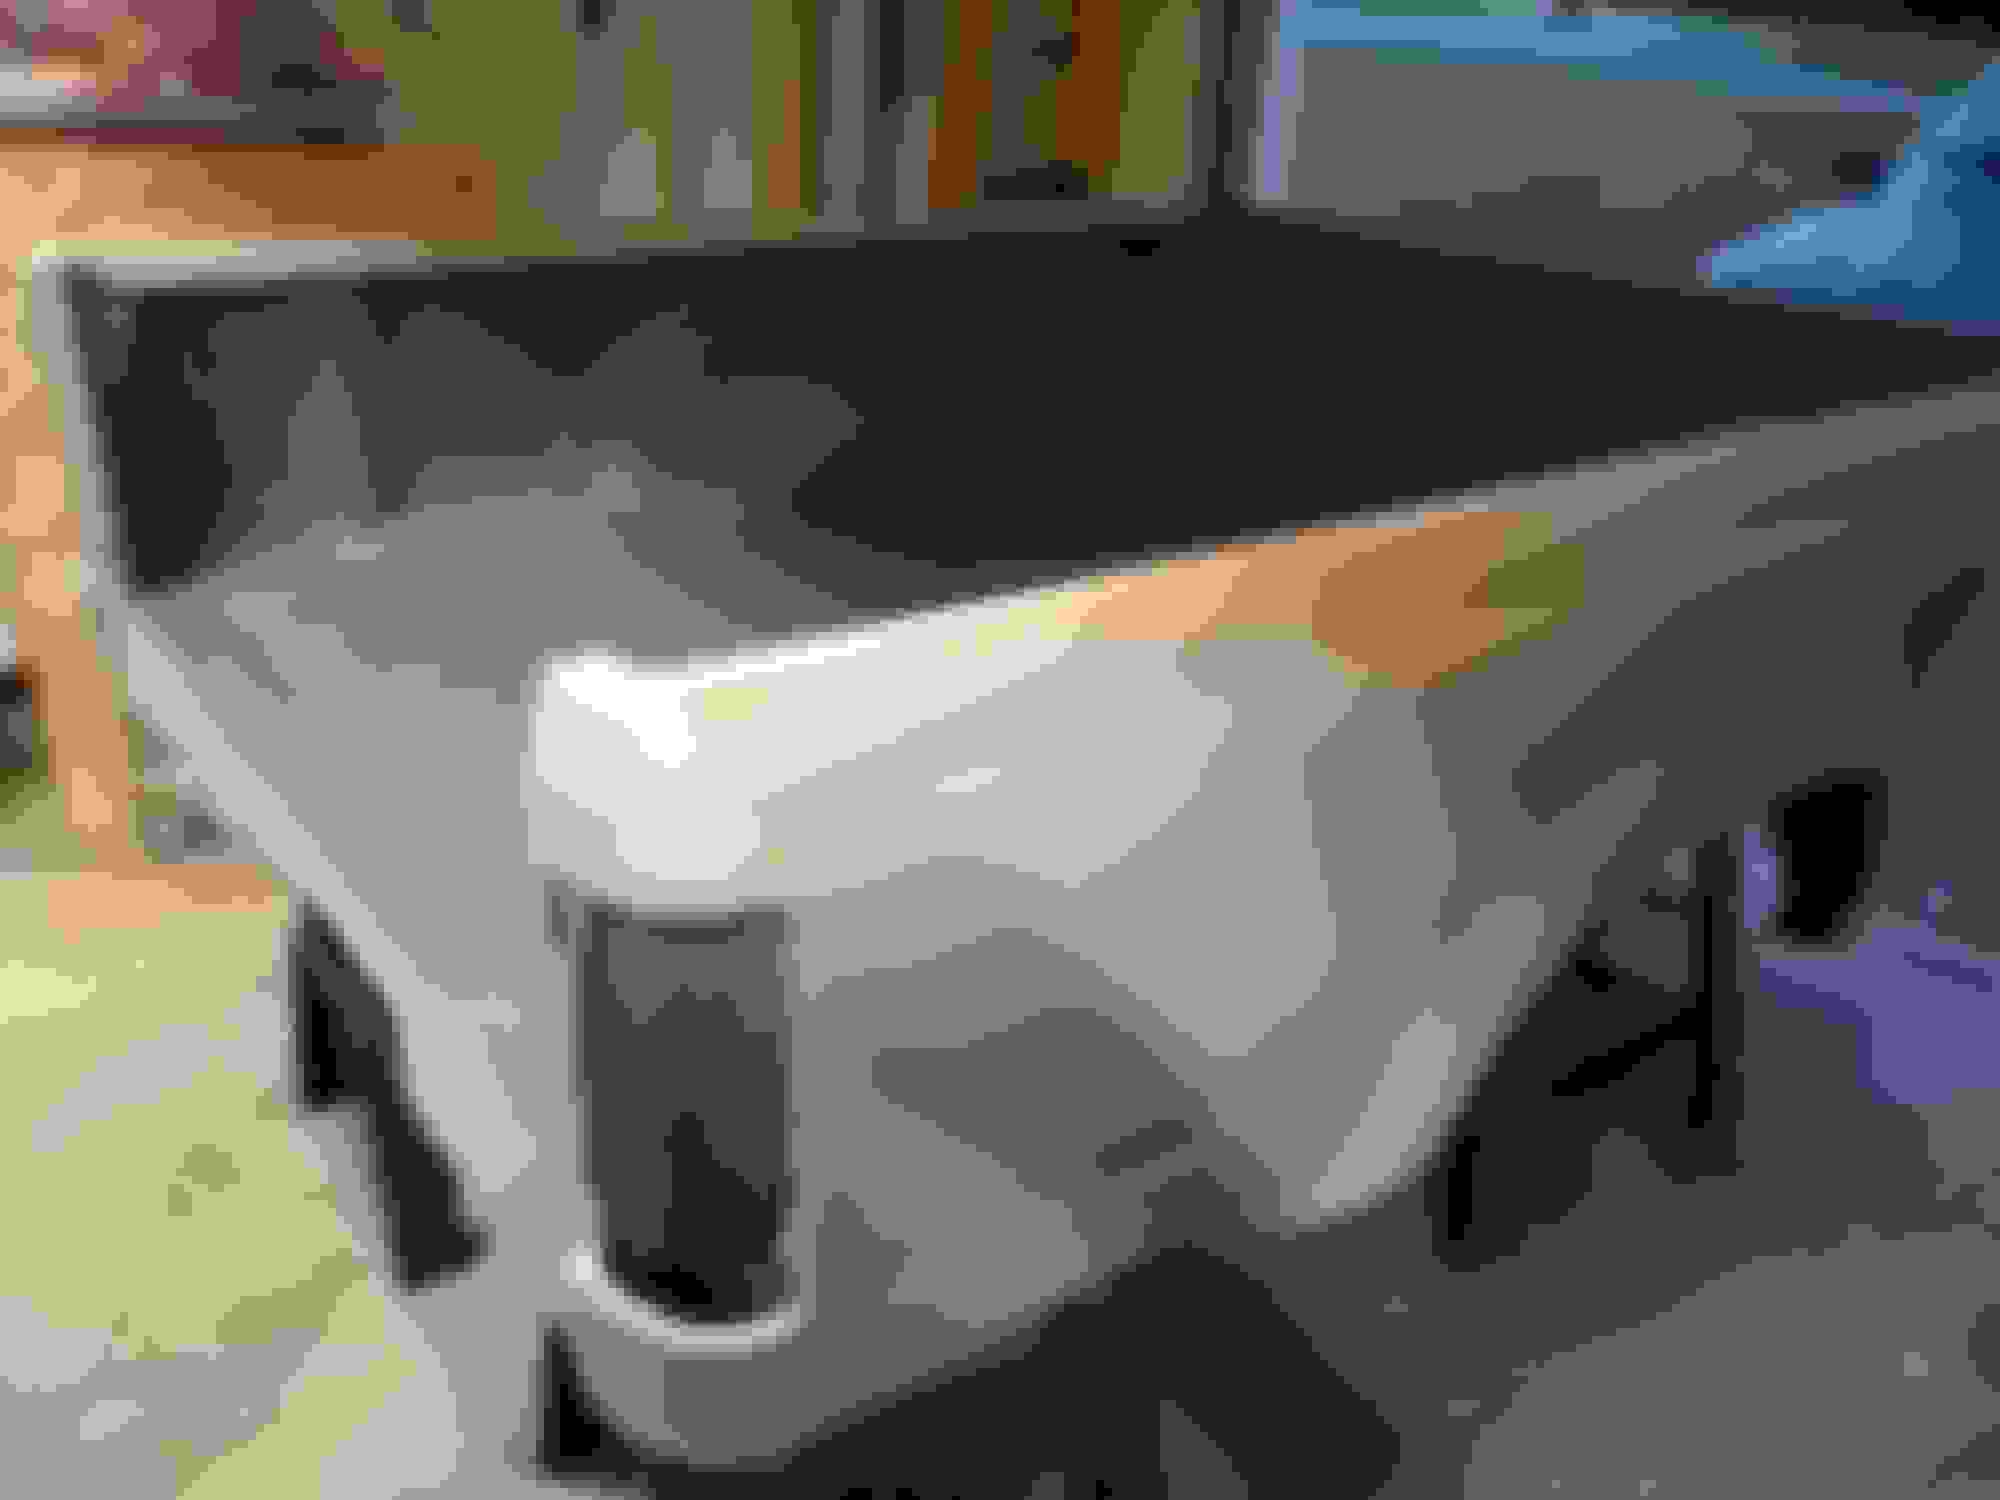
Here we go! The color turned out completely different than what I picked out. Between the tintable Raptor and the urethane reducer, the color went from a darker tan/grey to a light tan. Oh well, it still looks good to me. You can see the texture in the last pic. Comes out pretty uniform in the HVLP and it's pretty forgiving, as long as you clean the gun religiously after every coat. Overspray was minimal so I was able to do it in the garage without masking anything off.
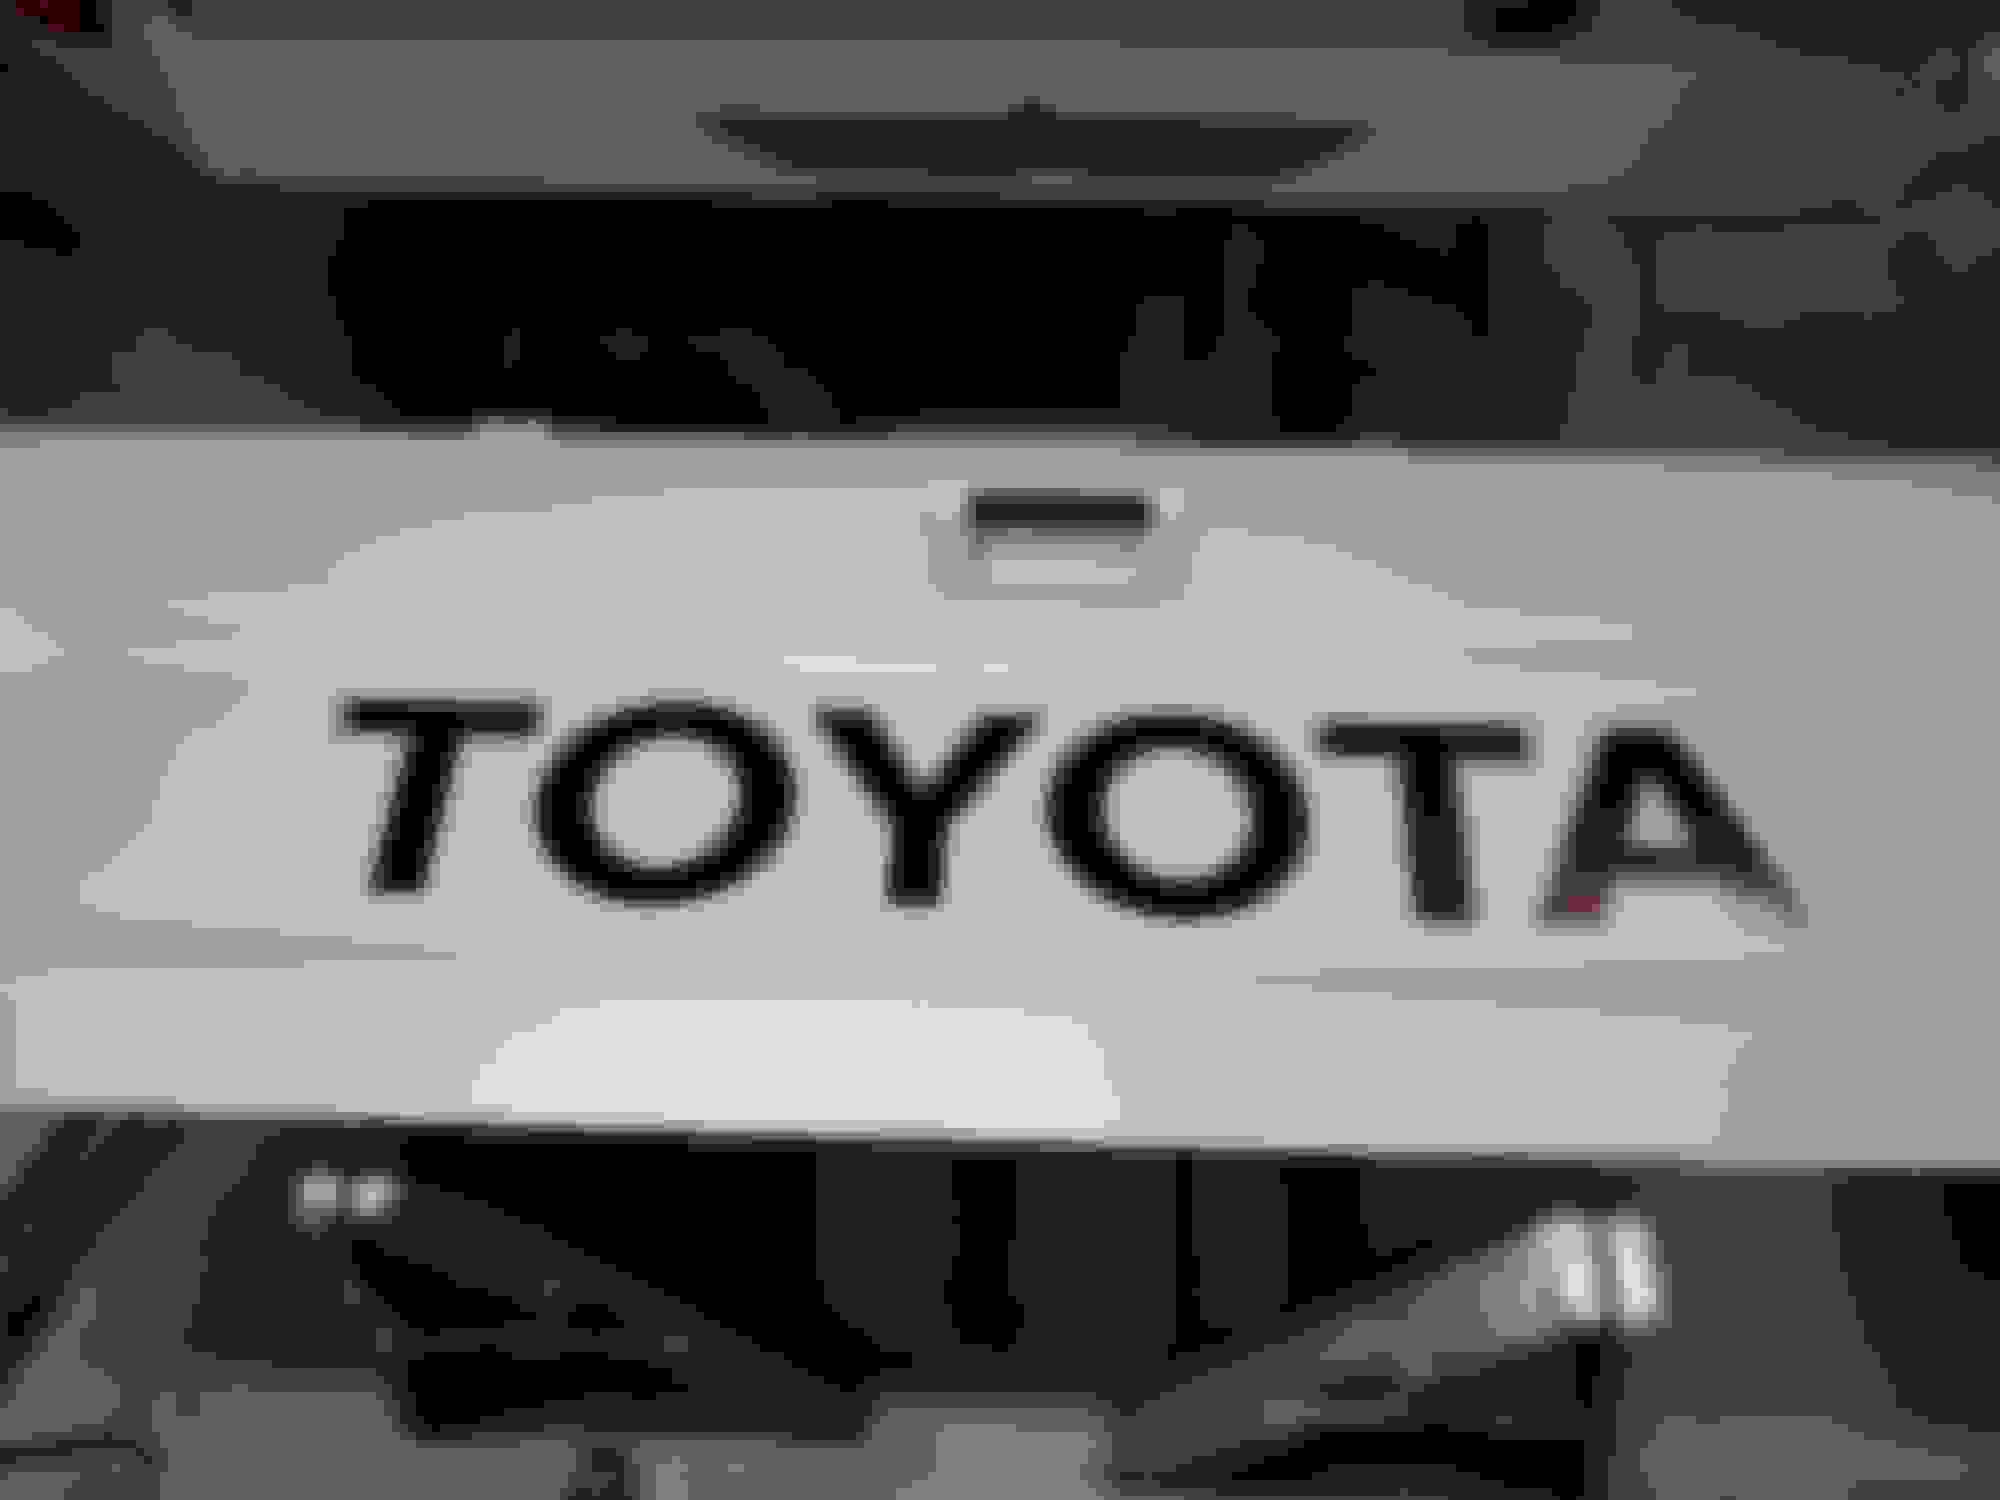
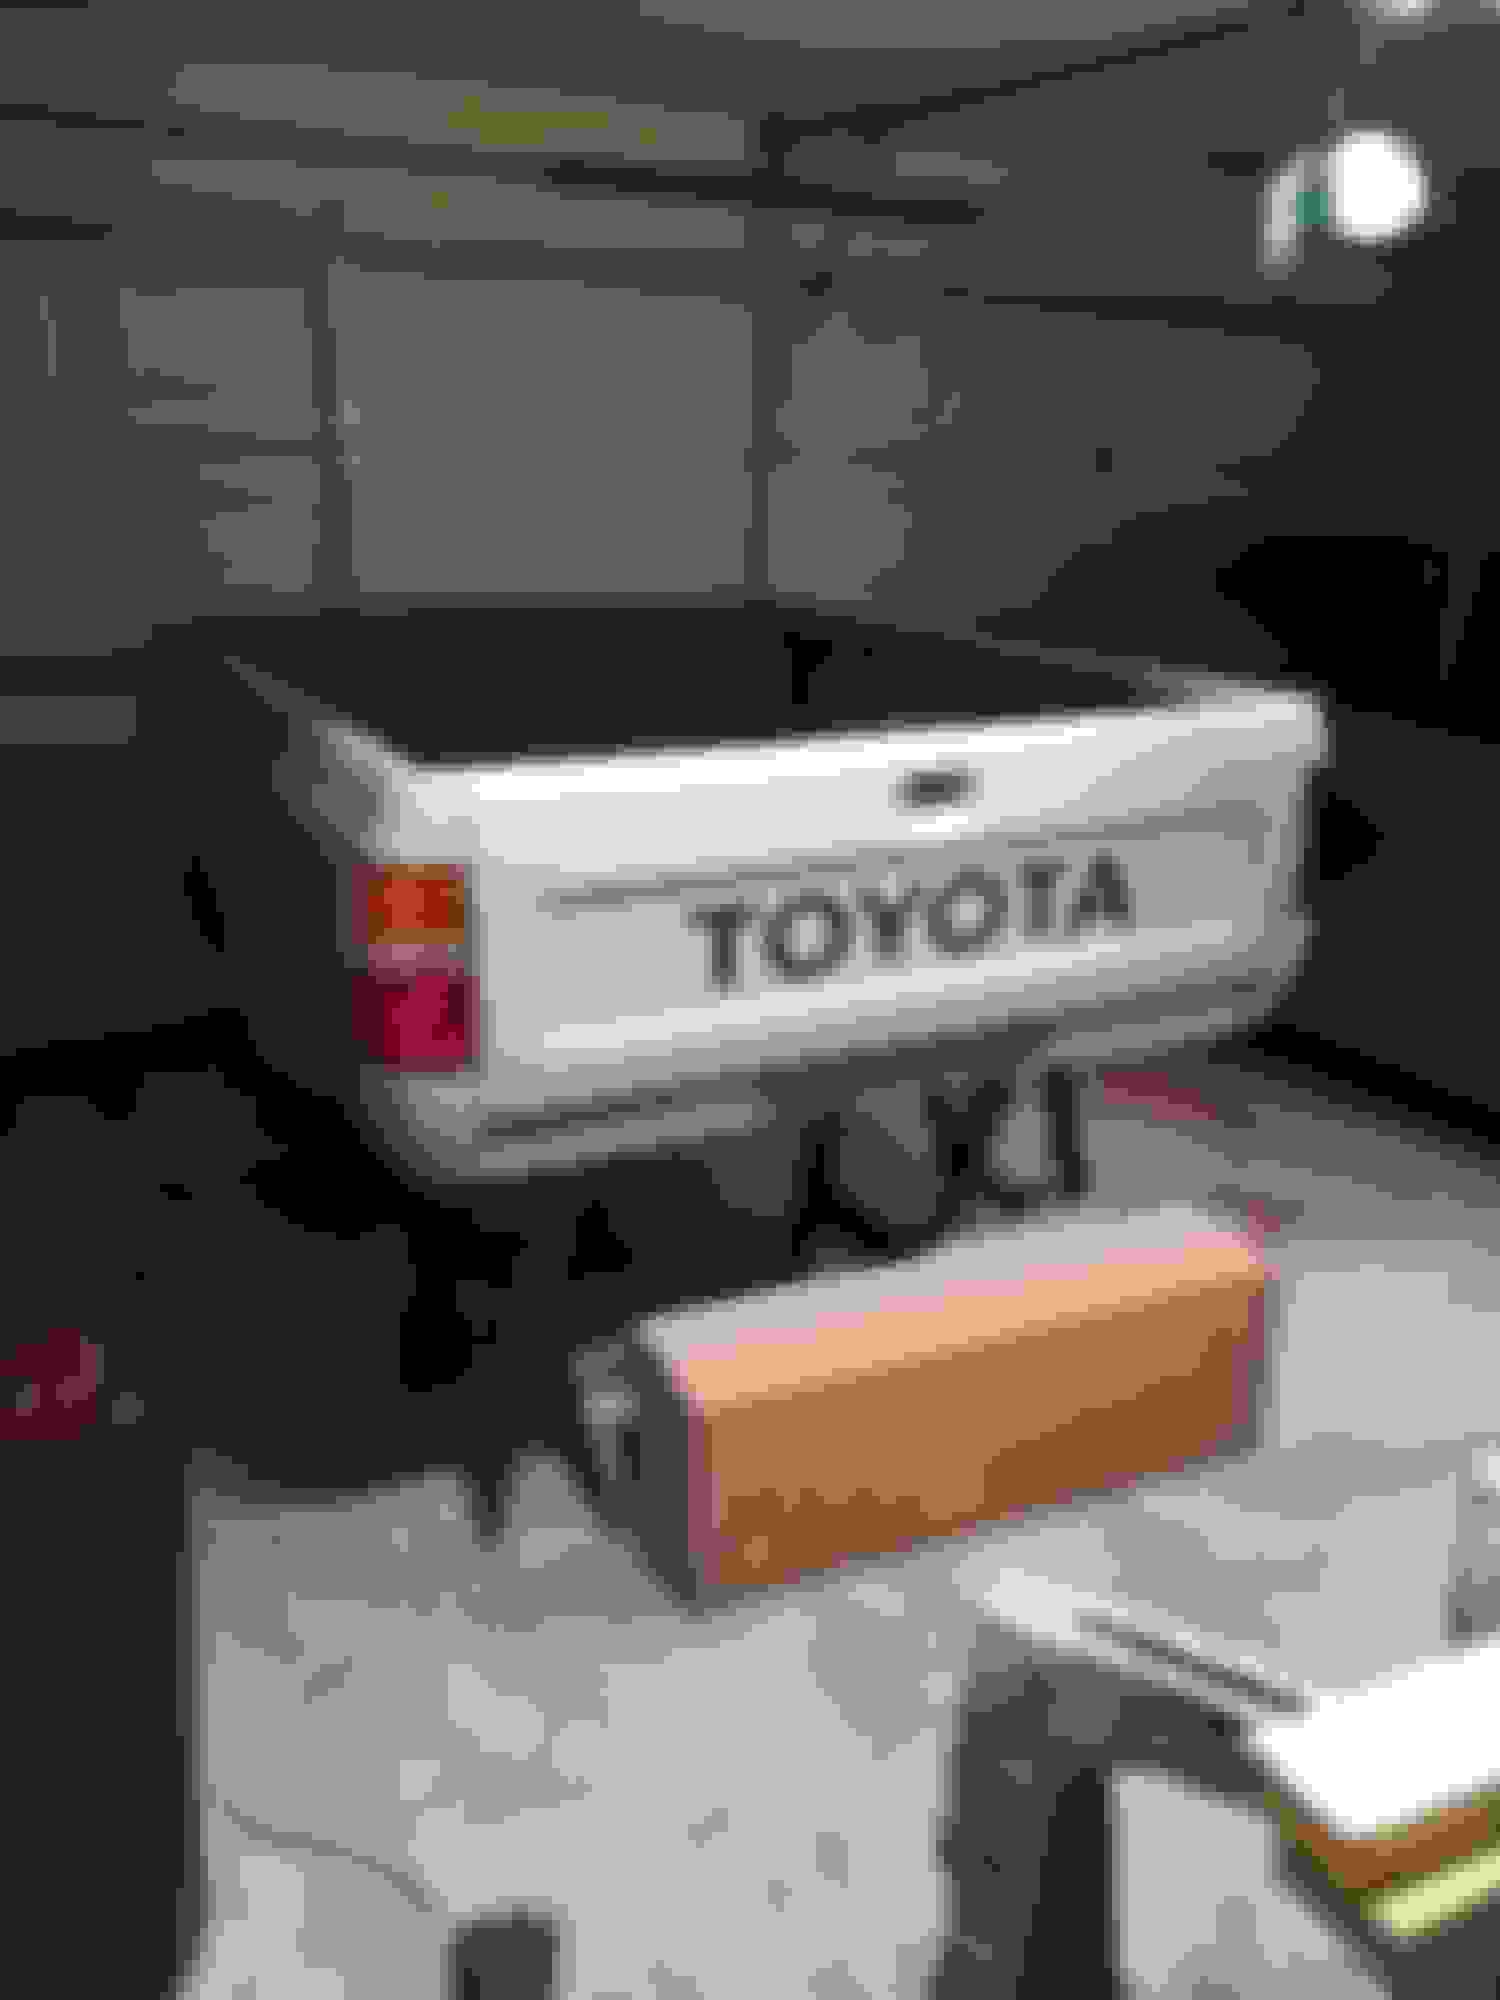
It's the little things that really make the biggest difference. It really feels good to slap the Toyota decal on there. I bought this vinyl Toyota decal off eBay for cheap. Vinyl decals don't really stick to the Raptor liner. You have to use a heat gun to warm them up and then apply pressure. I used my thumb, and by the end there was no skin left. I figured out a better way to do this later. In the first pic the vinyl has just been placed on there without getting heated and tacked down. Once it's heated and tacked, you can see all the tiny bumps from the Raptor finish.
Props to this crazy redneck's video, it really helped:
Once the bed was done and the Raptor had a few days to cure, I set it outside in the driveway on blocks and brought the rest of the truck in to get Raptored. Found a lot of dirt and mud and nasty stuck in the front fenders. Also broke what was left of the antenna. I ended up just fiberglassing the antenna hole and using an antenna sticker mounted on the windshield. No more banging the antenna on the garage door.
Had a lot of fun driving it around the neighborhood in Mad Max mode.
OMG I hate prep work! Sanding and cleaning and sanding and cleaning. With the Raptor you really just have to scuff the clear coat, but that still takes time and you need to get every nook and cranny. And there are so many nooks and crannys. It feels so good to finally start spraying.
I tried using one of those fitted carpet dash mats to cover up the cracked dash, but I just couldn't find one that fit very well. Ended up grabbing a plastic one off eBay and it fit like a glove. Folded up cardboard works great for applying pressure while the silicone is setting up.
The last major body part to be sprayed was the hood. Lots of little scrapes and scratches over the years. Tried to find as many as I could and sanded/primed them before the Raptor. Sprayed the fenders at the same time.
 04-21-2019, 04:12 PM