sweet_madness94's 1986 4Runner Build
 03-20-2013, 01:25 PM
#1
Registered User
Thread Starter

Join Date: Mar 2011
Location: Reno, NV/ Cool, CA
Posts: 10
Likes: 0
Received 0 Likes
on
0 Posts
sweet_madness94's 1986 4Runner Build
Hello Yotatech, I've been a member for a while and have drawn a lot of inspiration from all of the great rigs on here. I've finally gotten to the point on my build where I feel like I can post enough pictures to satisfy the masses.
So heres the backstory on how I got this 4runner. My dad and I rebuilt a 1997 SR5 4runner with a 5 speed in 2011. It was a great truck for high school, never gave me any problems and it handled everything we threw at it from towing to trails like Barney Riley. I put a 3" OME lift on it and I bought 285/75/R16 Duratracs after saving up. It was pretty fun and rode well, but I wanted a rig that I could wheel harder, since I'm not too far from the Rubicon.
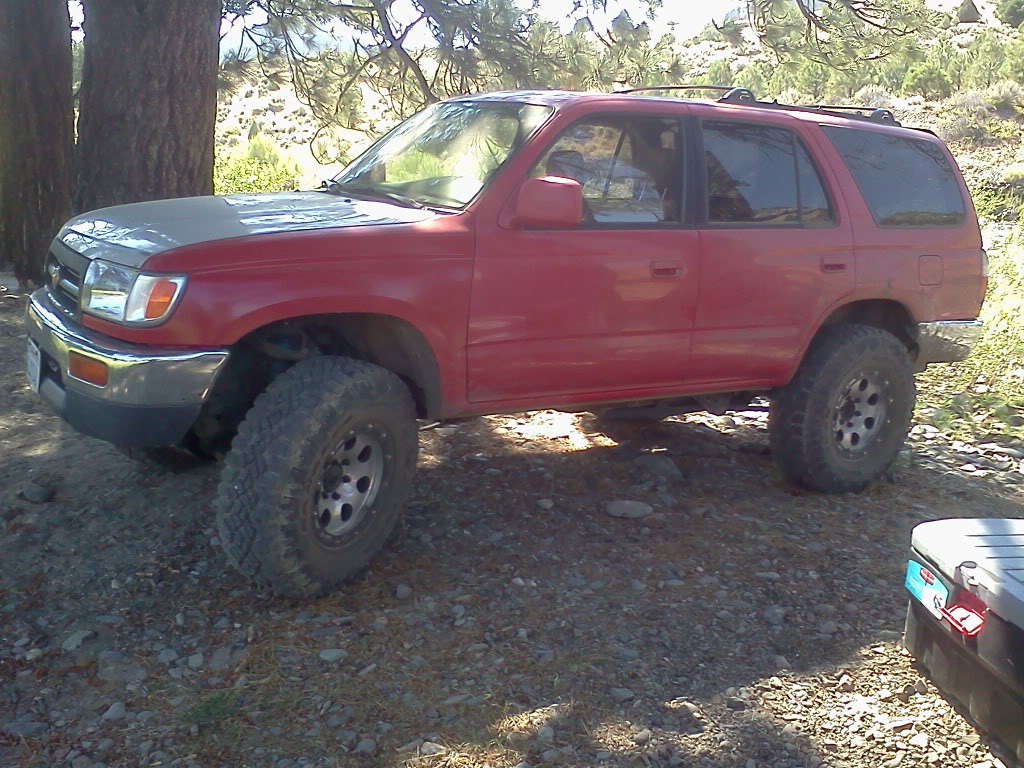
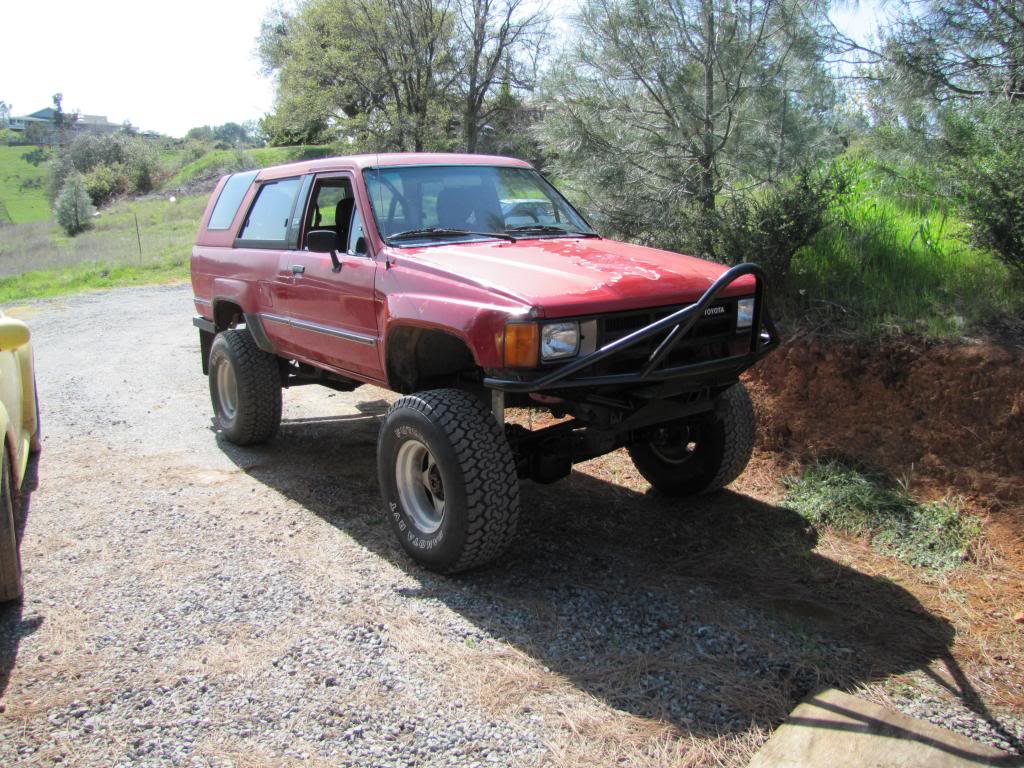
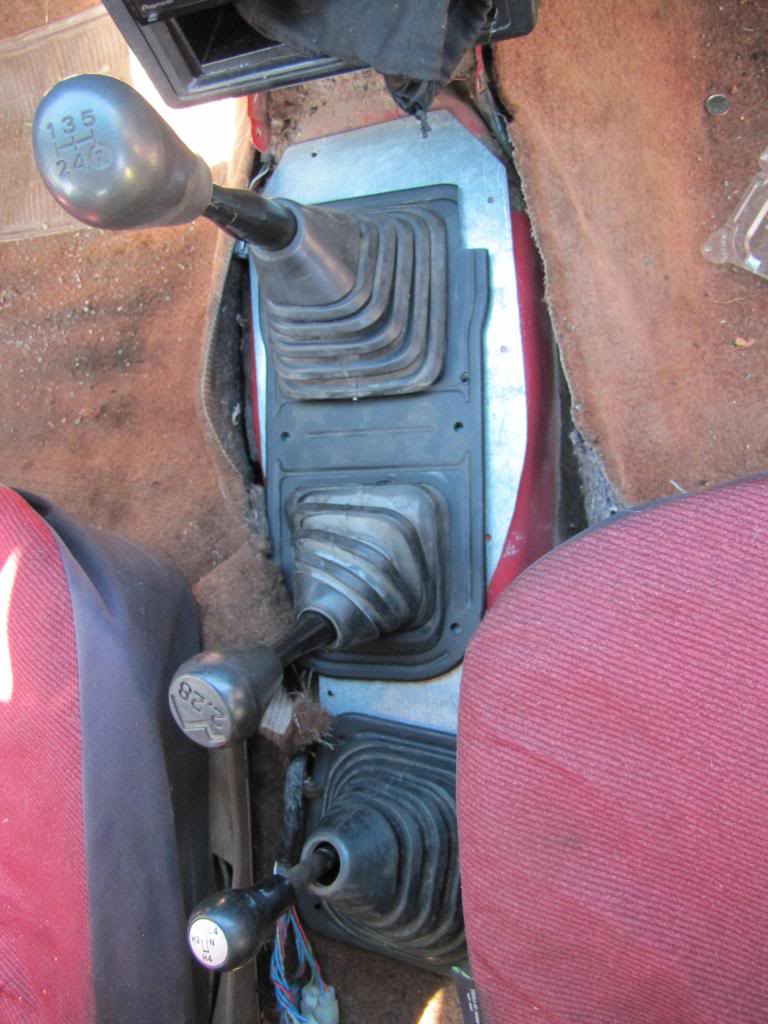
The '97 got me hooked on 4runners, and I decided that a 1st gen would be badass. So after 6 long months of looking, we finally found an SAS'ed 86 with dual cases, 33's, and only a little rust. The paint is rough, but it was supposed to be a wheeler. I bought it cheap since it had a blown headgasket. We had a buddy tow it home from Reno and after I graduated high school we started to get to work. Unfortunately I don't have any pictures of the engine work, but we ended up getting a new head since the old one was cracked. We used a Engnbldr gasket kit, except for the headgasket, which was a genuine Toyota part. After sorting out all the other miscellaneous issues, I drove it to college without any major work.
I drove the truck for my first semester at UNR with no problems until my last day, when traveling home after finals. The transmission died outside of Truckee while on I-80. It wouldn't shift out of 5th gear and there would be no way to make it over the pass with a 22RE in 5th gear. I had it towed home but unfortunately the tow company lost my driveshaft since they didn't send out a flatbed or adequately tie up the driveline, but they ended up reimbursing me, which was perfect since I ended up having to get a shortened driveshaft.
Before my tranny died, I had been planning to rebuild and upgrade the front axle, so during the Black Friday madness, I bought everything I thought I might need for the rebuild along with some other goodies which were waiting for me when I got home
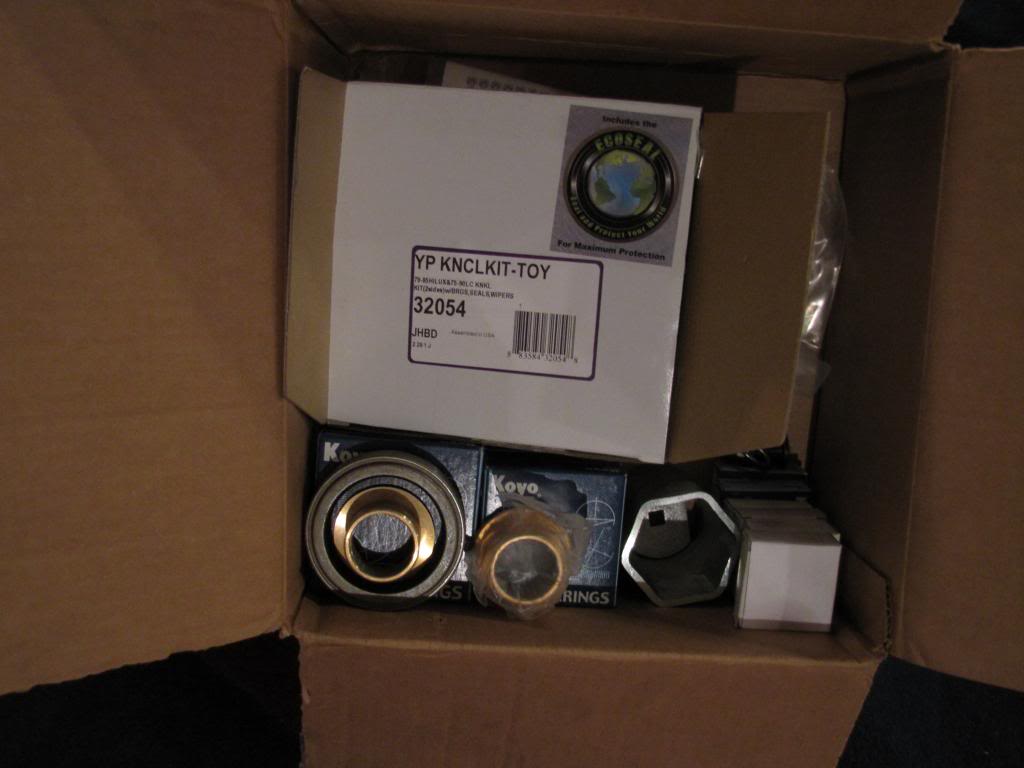
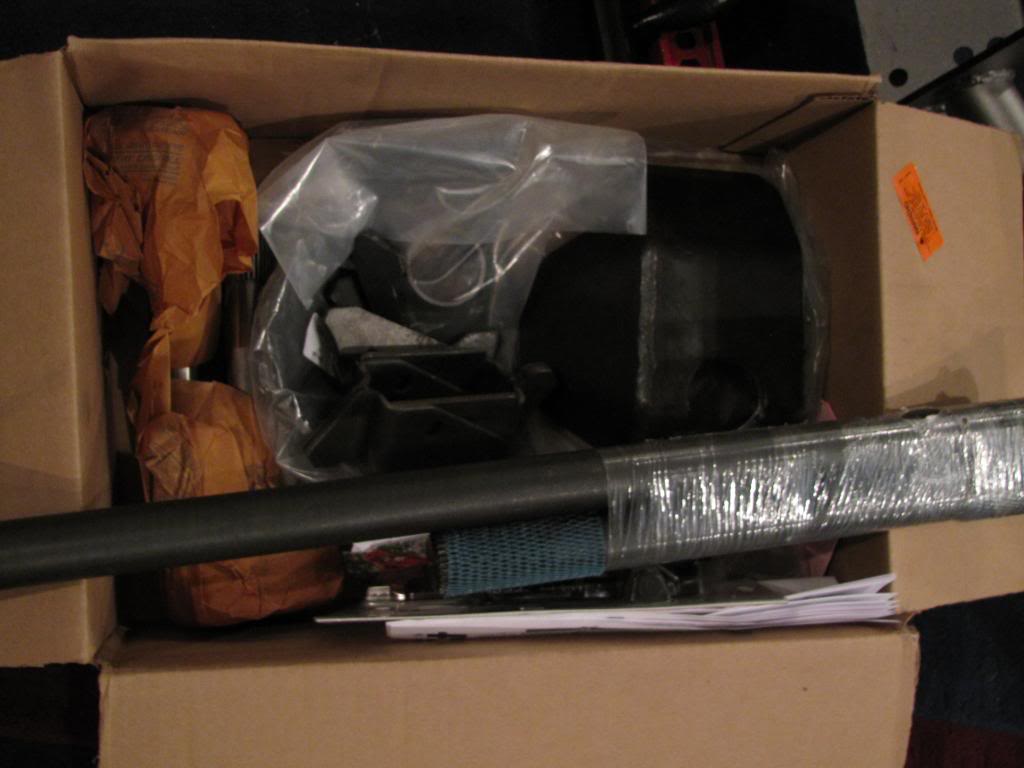
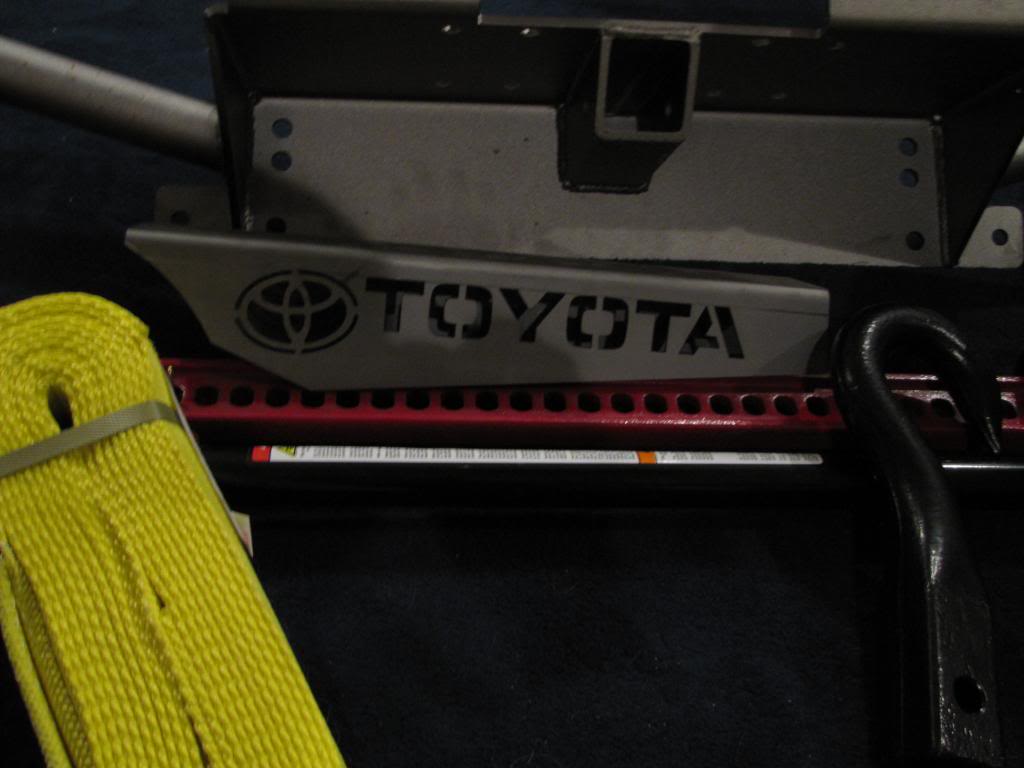
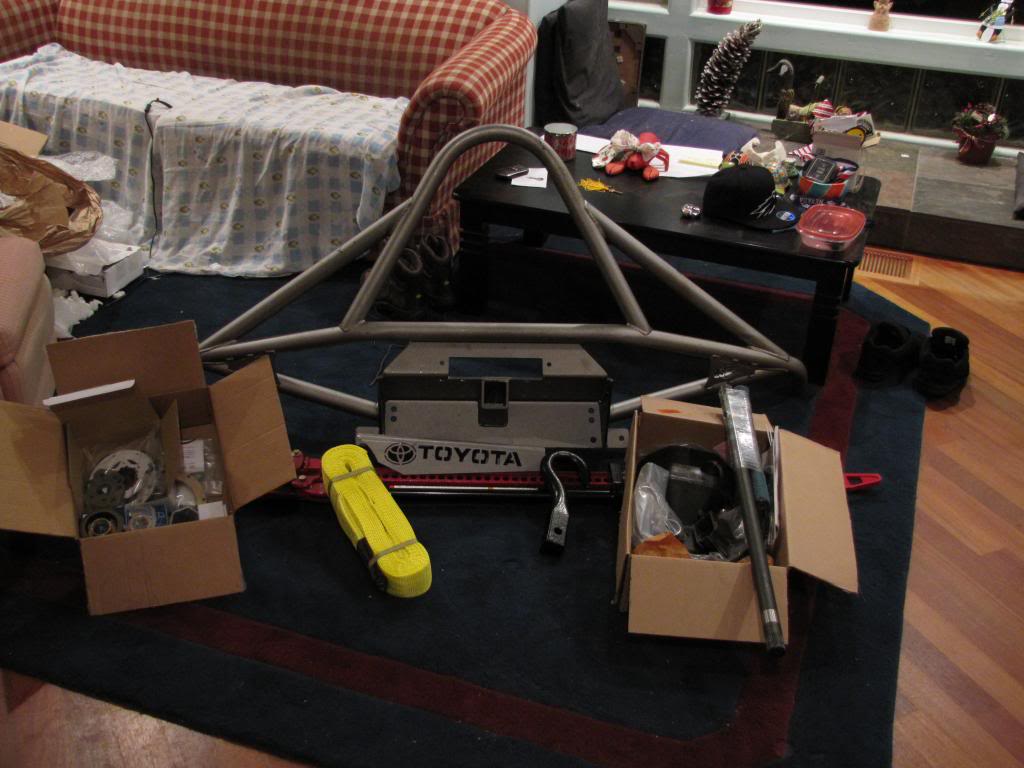
I bought a complete front axle rebuild kit from Marlin, a Trail Gear front bumper, front and rear axle armor, Dirty 30's, Creeper gussets, a high lift, tow strap, Sky axle truss, vented rotors, an e locker for the rear and a high pinion e locker for the front. The nice thing was that after buying all this plus the cost of my 4runner, it was still less than what I had sold my '97 for.
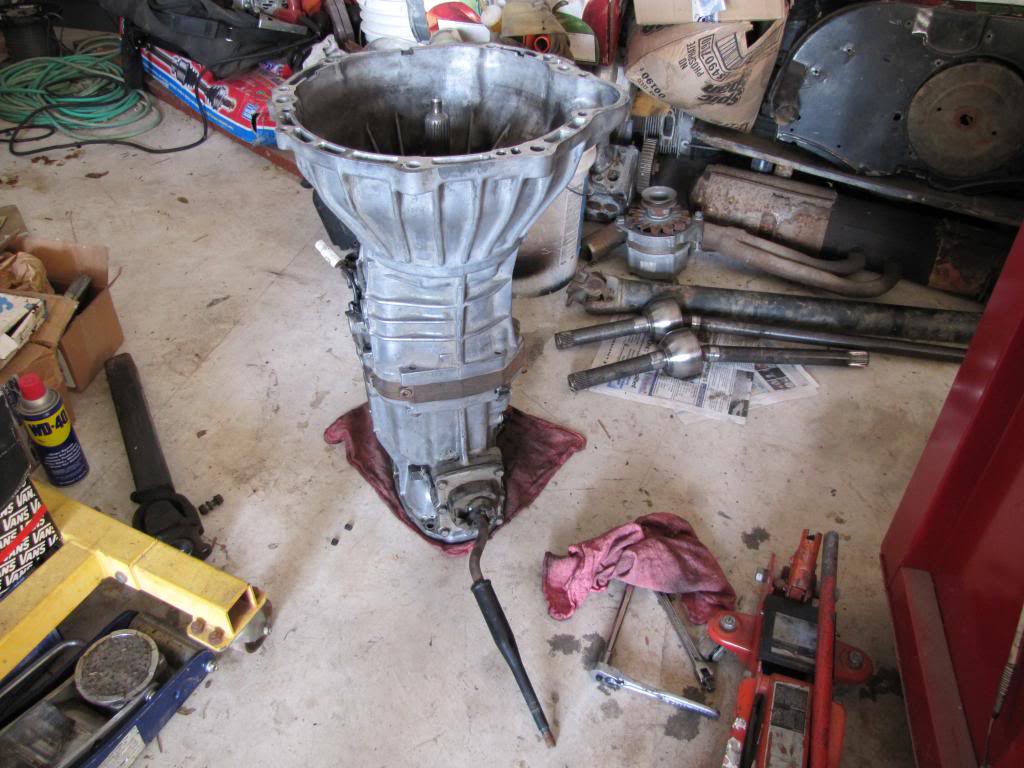
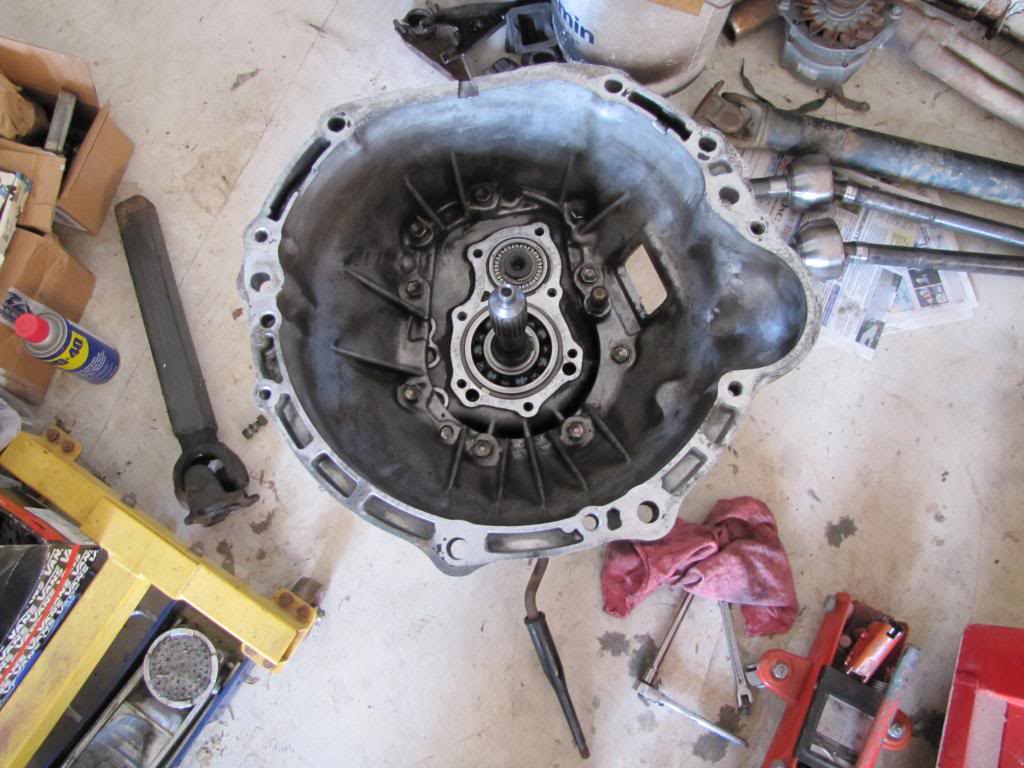
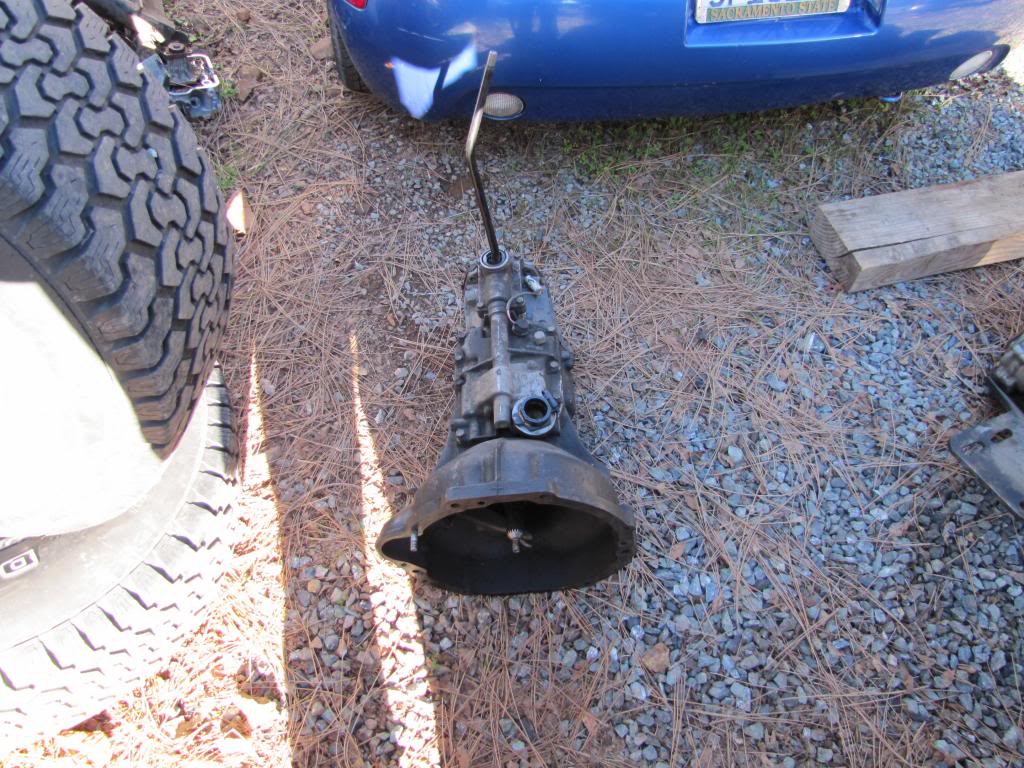
We started to look at transmissions, and decided to get a used transmission so we scoured craigslist until we found an appropriate W56. We replaced the input shaft bearing just to play it safe. The reason we didn't look into rebuilding the tranny I had was because its an L53, out of an earlier truck! Whoever put it in there wasn't thinking long term....
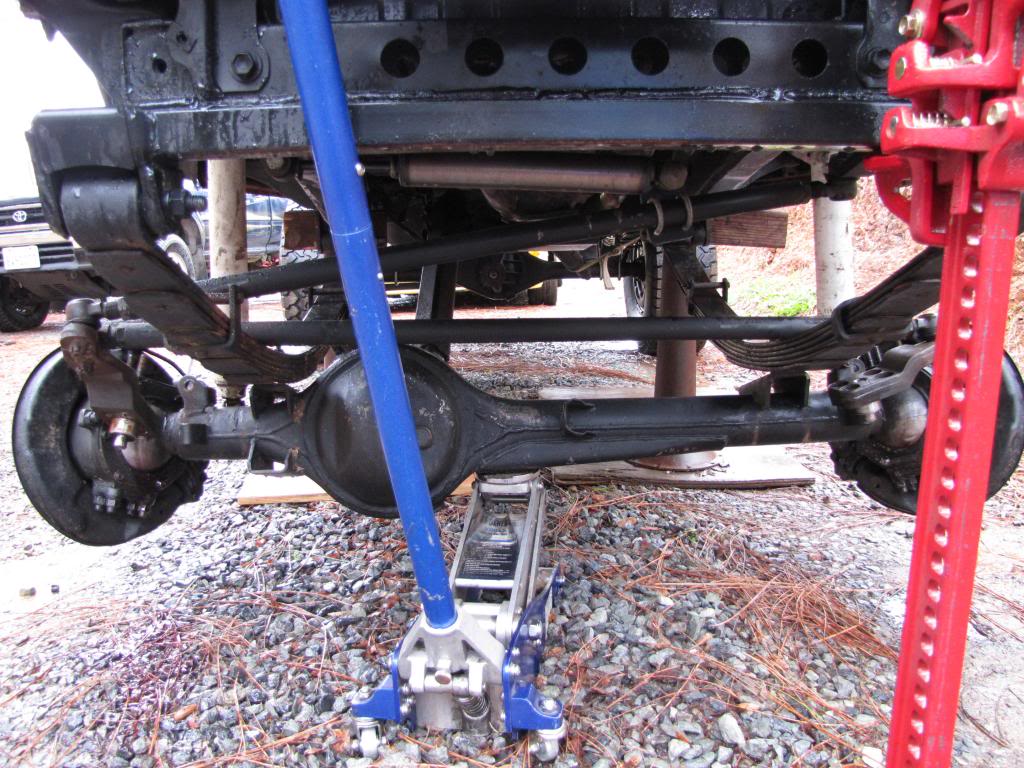
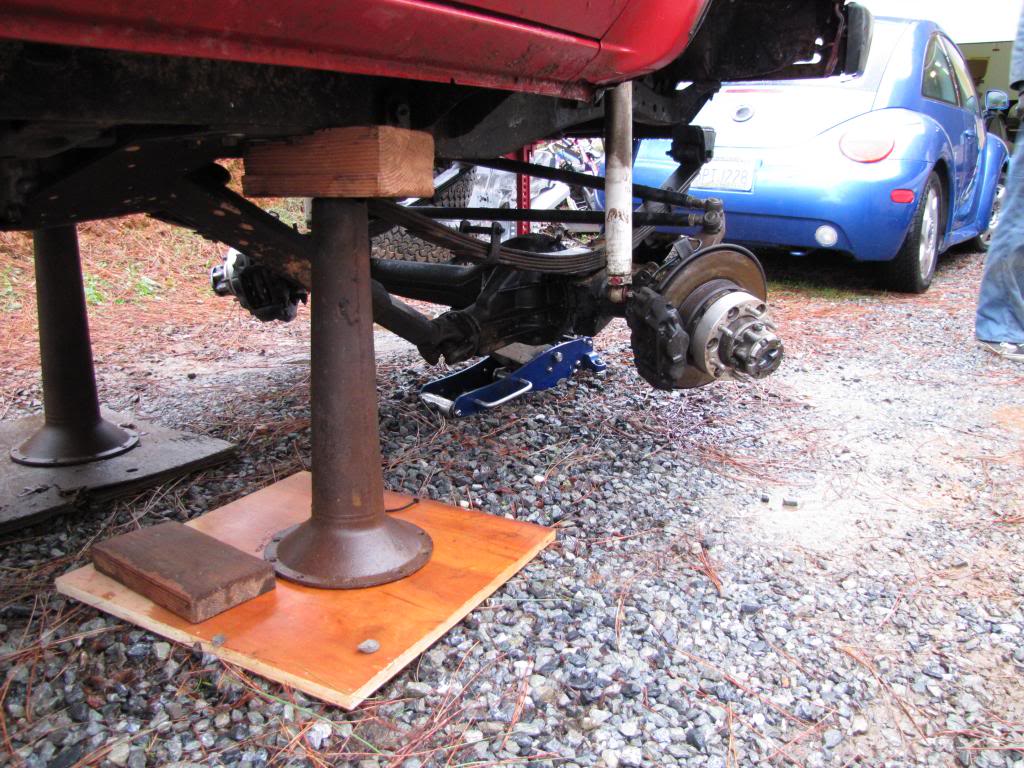
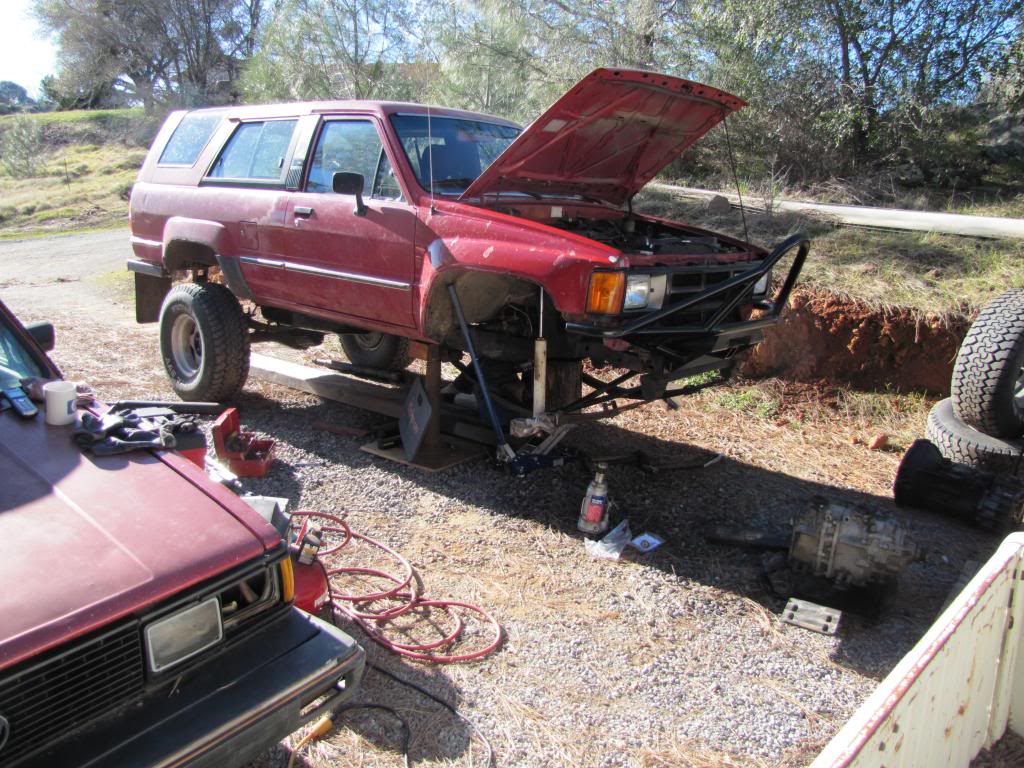
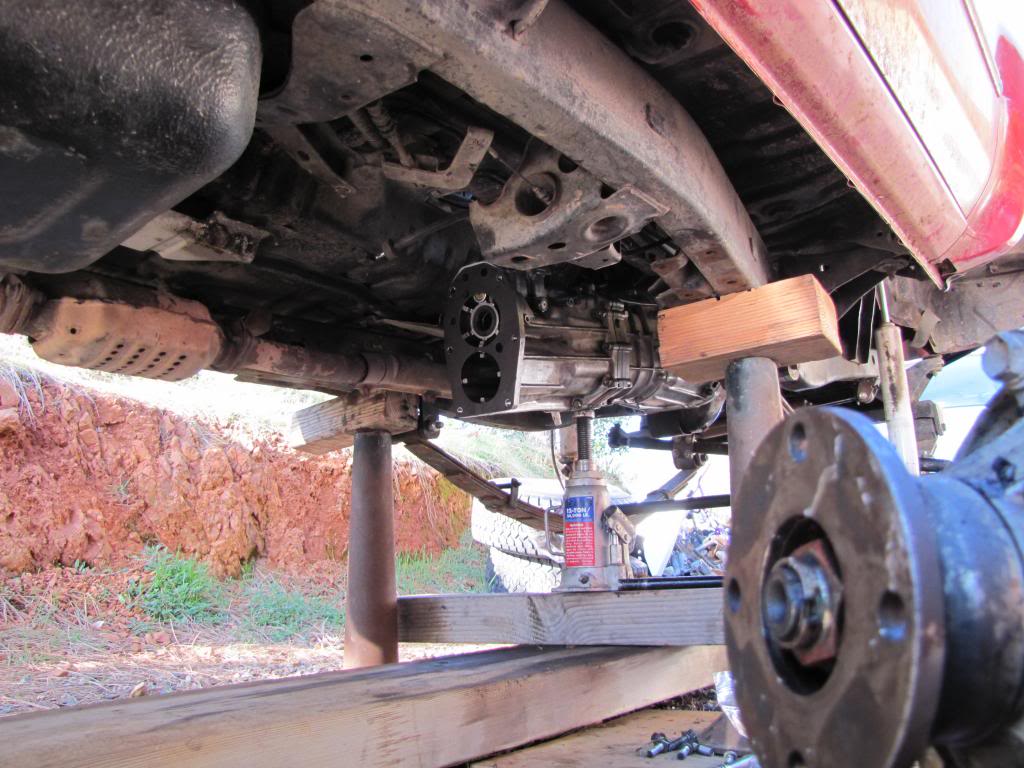
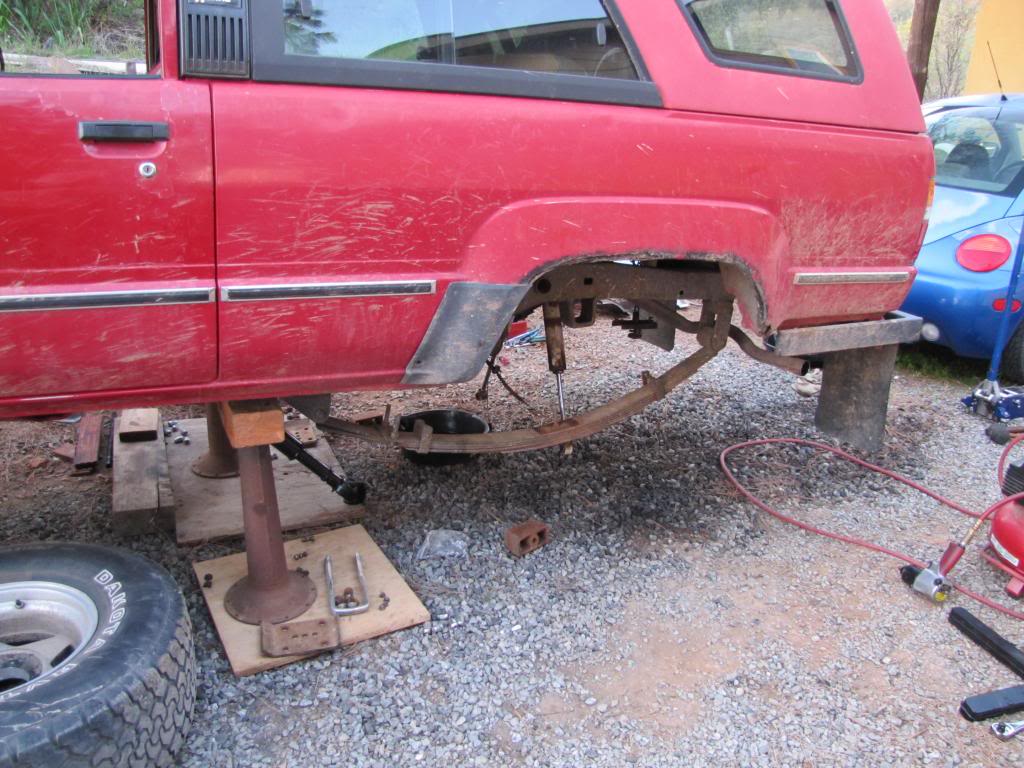
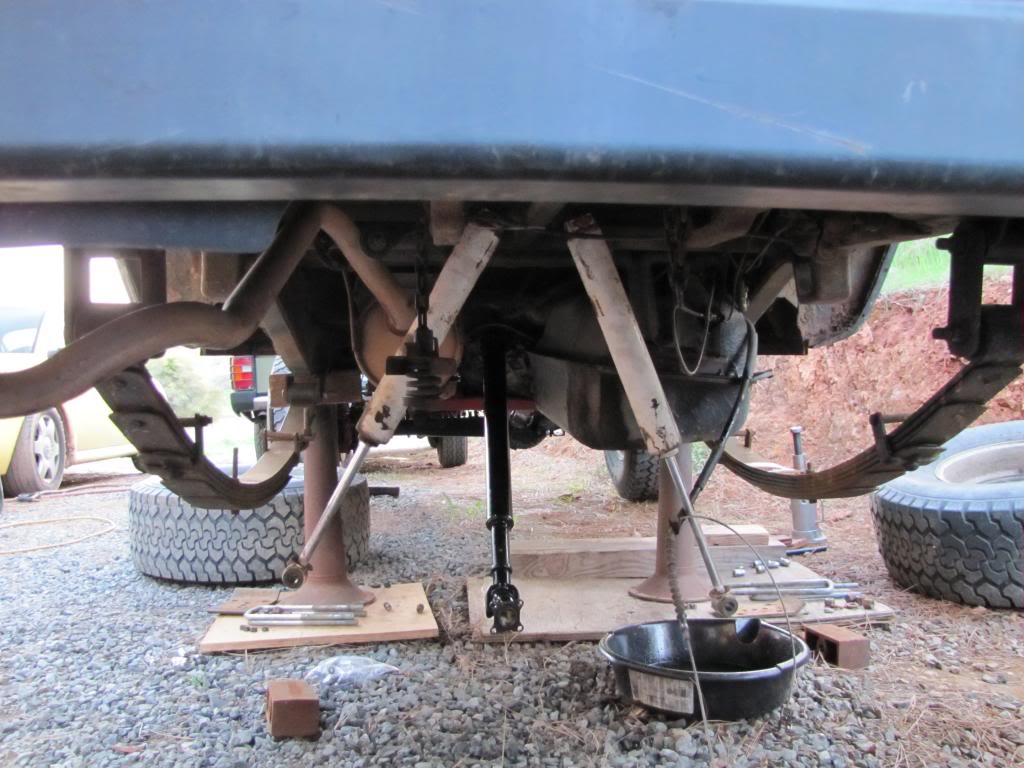
While searching for the new tranny, me and my pops pulled the front axle in preparation for a complete rebuild. We were in a crunch for time so we did it all in the rain...
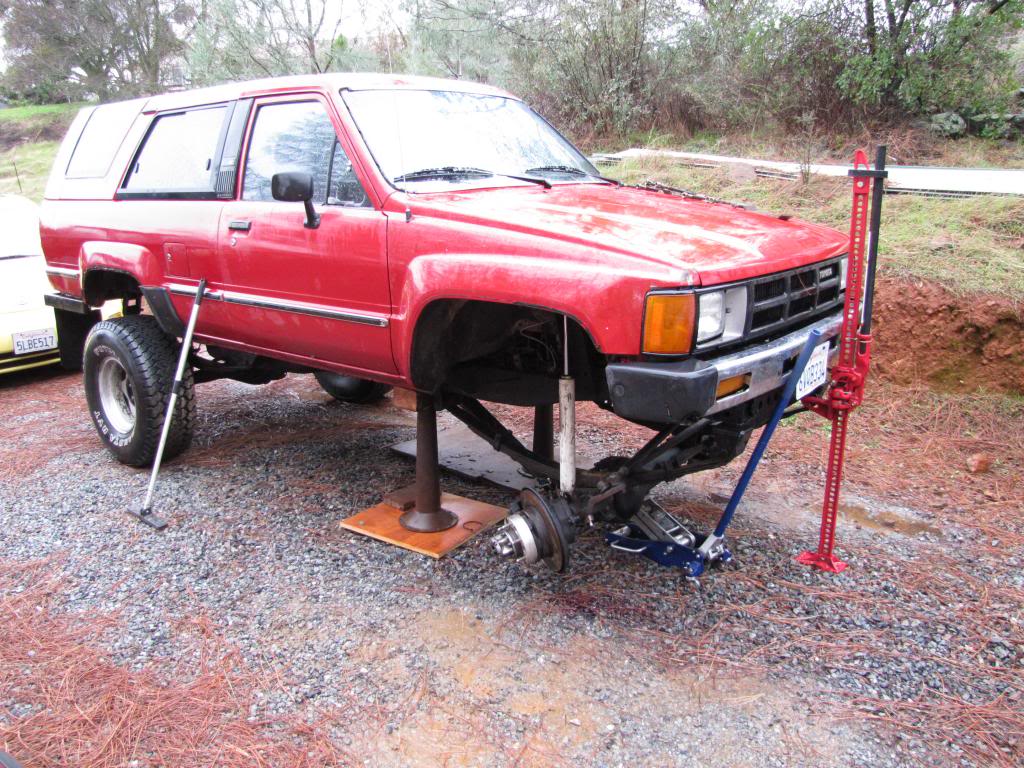
Putting that new high lift to use
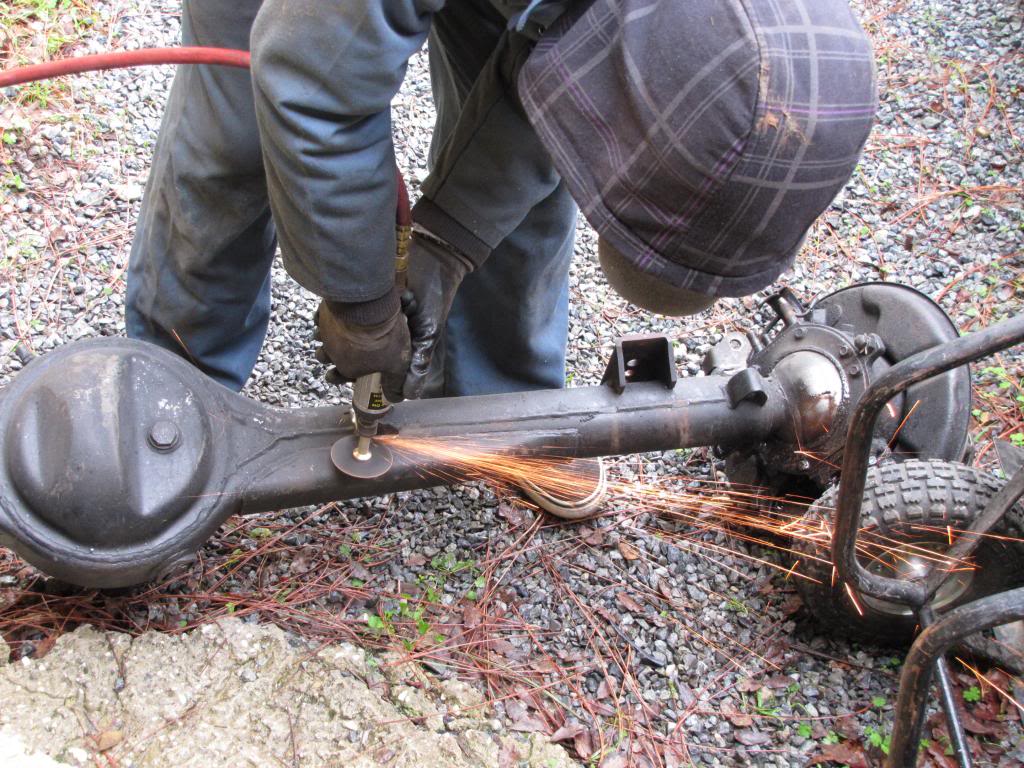
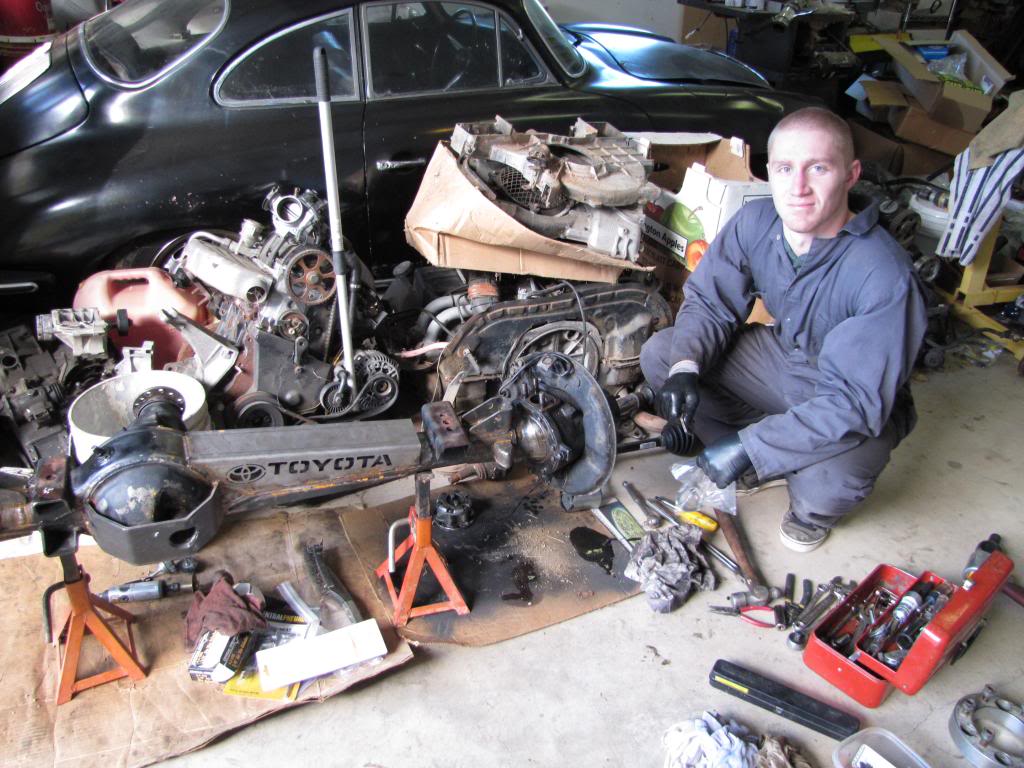
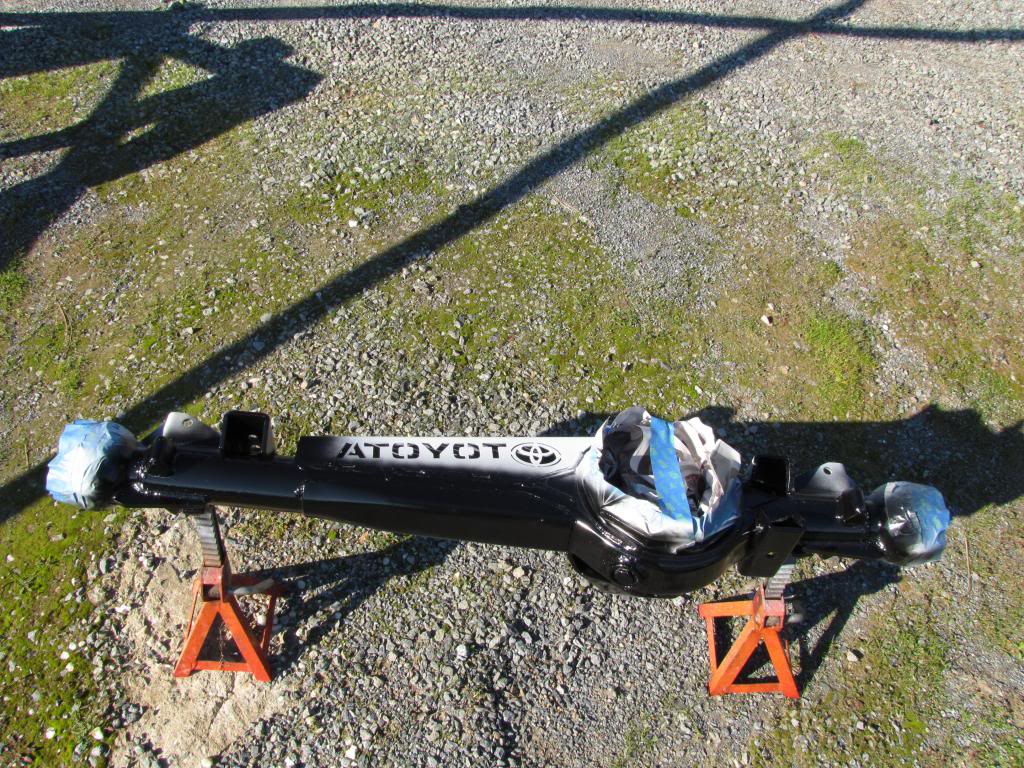
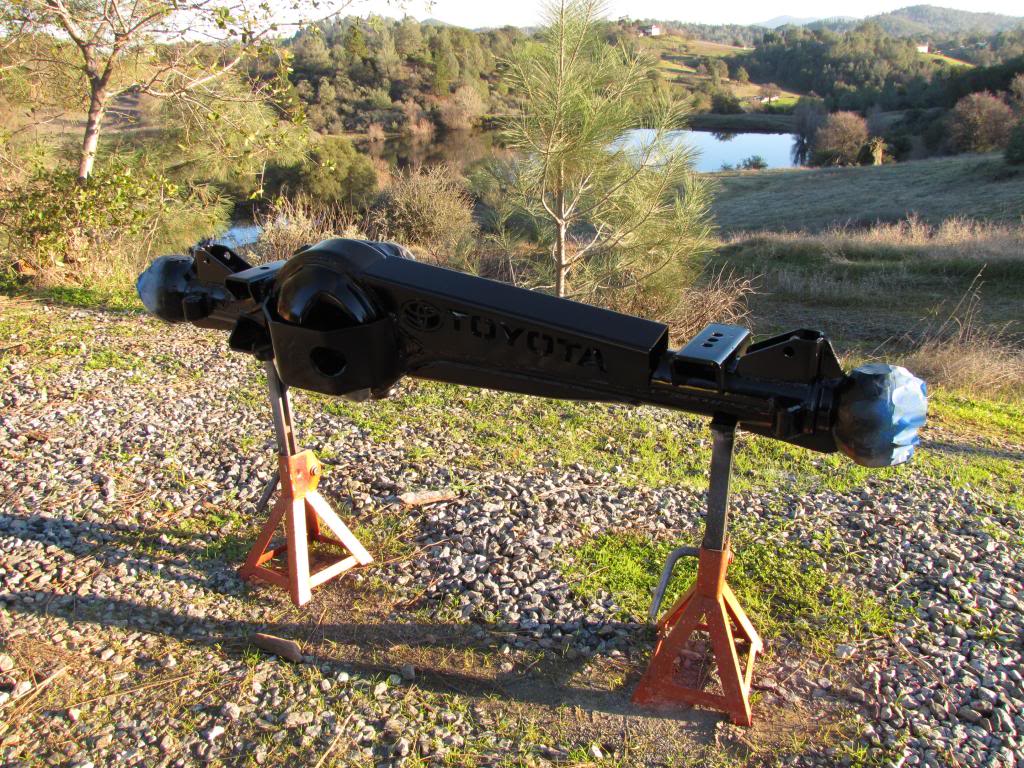
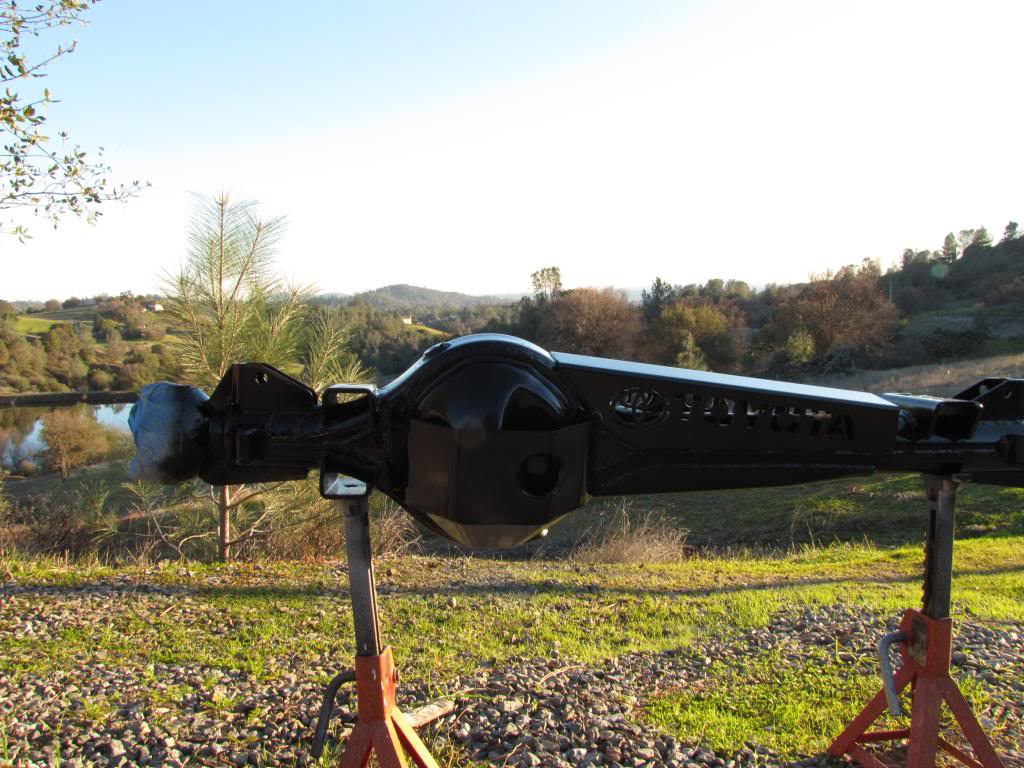
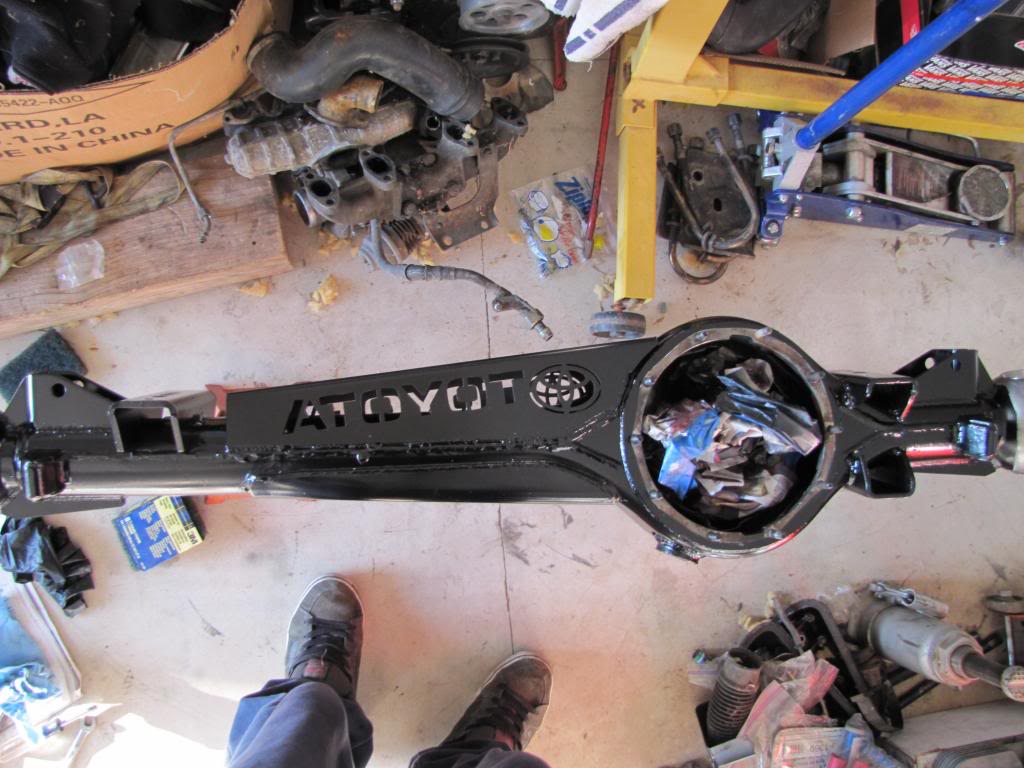
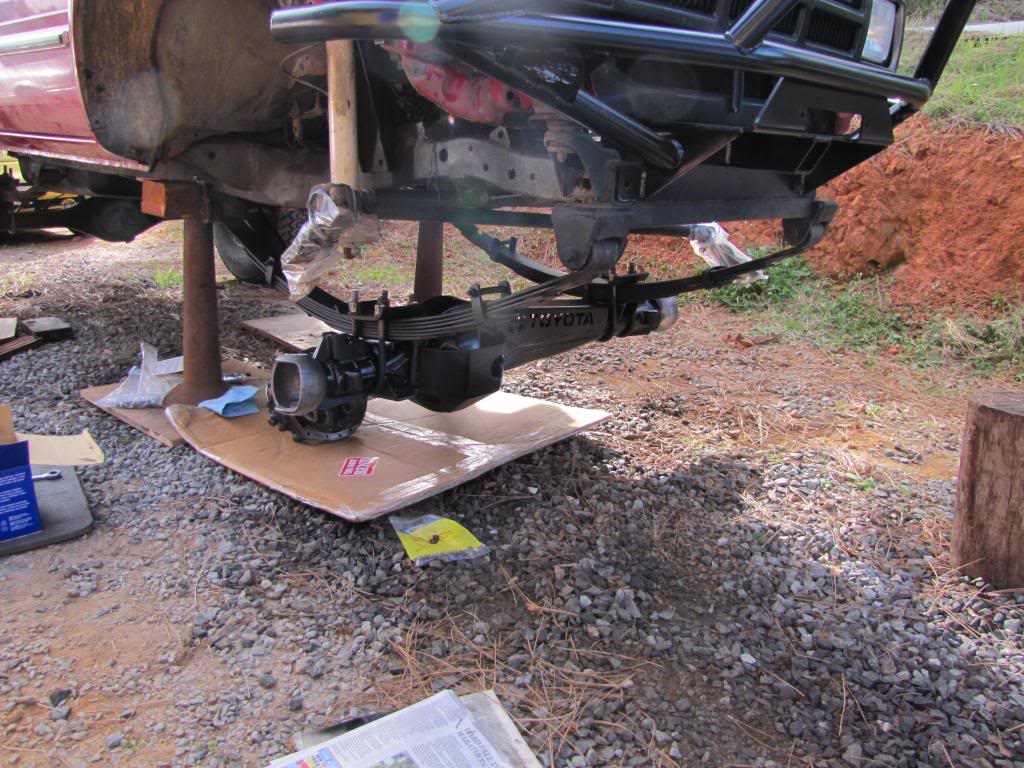
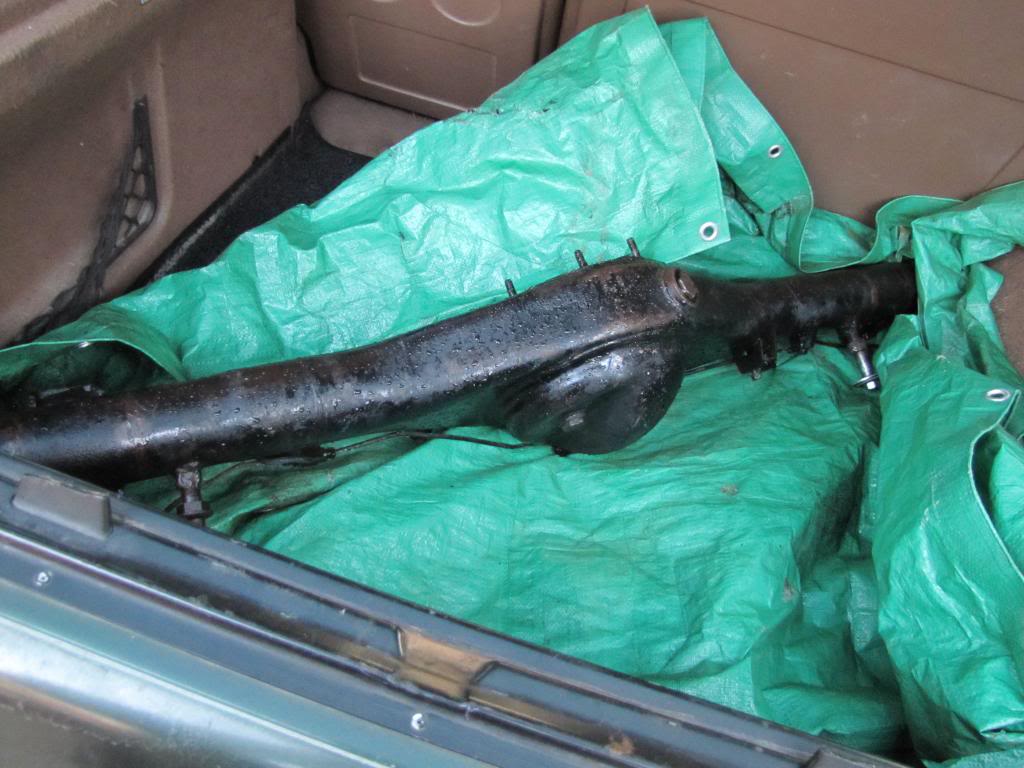
My dad grinding away in the rain. That axle was pretty heavy but we managed to get it in the bed of my friend's pickup and take it to a buddy's house to get all the armor welded on. Heres what it looked like with all the armor on in our garage. And thats about 1 of 6 VW diesel engines my dad has in the background along with an aircooled Porsche motor and a 356 SC project.
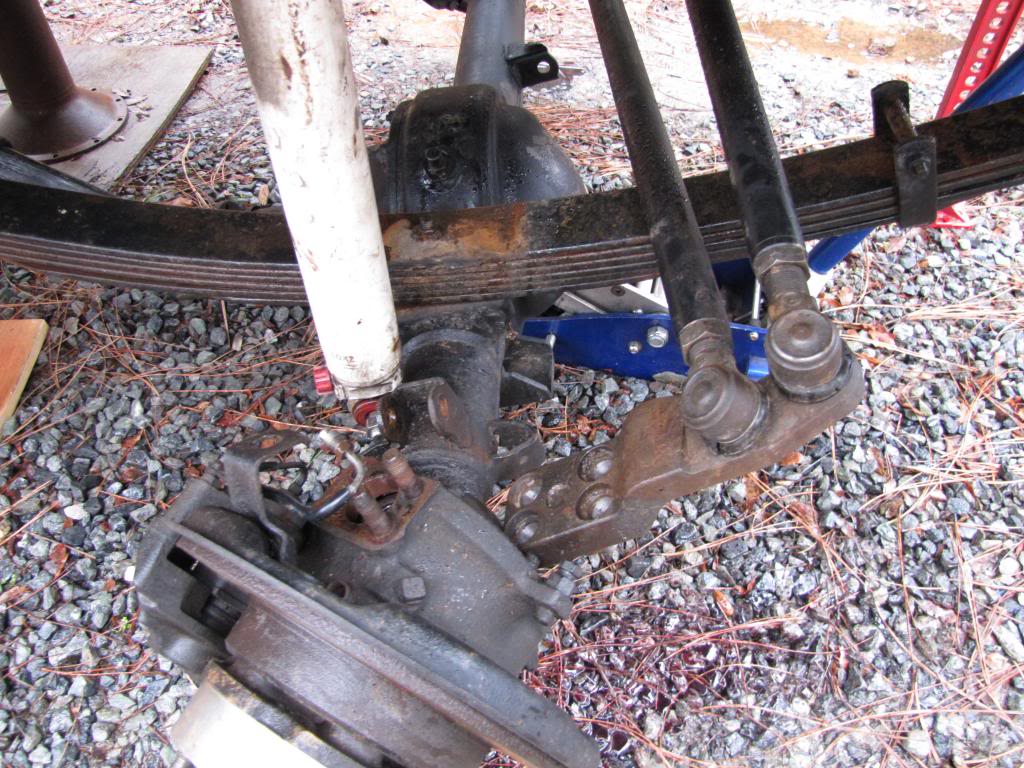
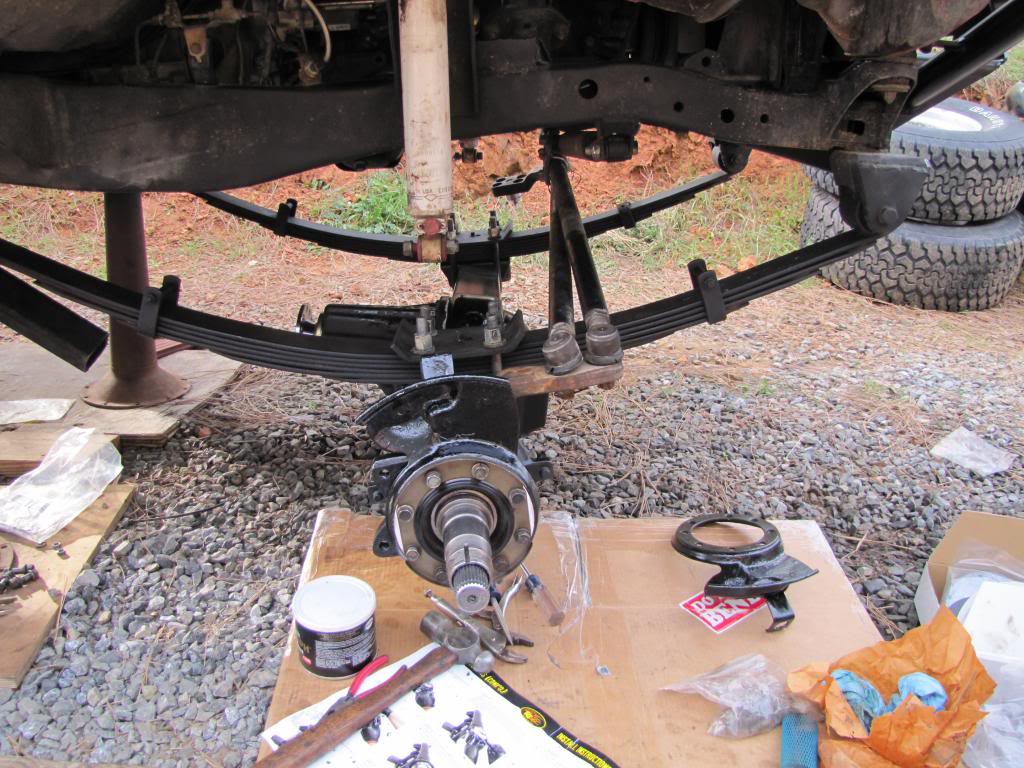
Here's the beginning of the dis assembly of the axle, right before I started wrenching.
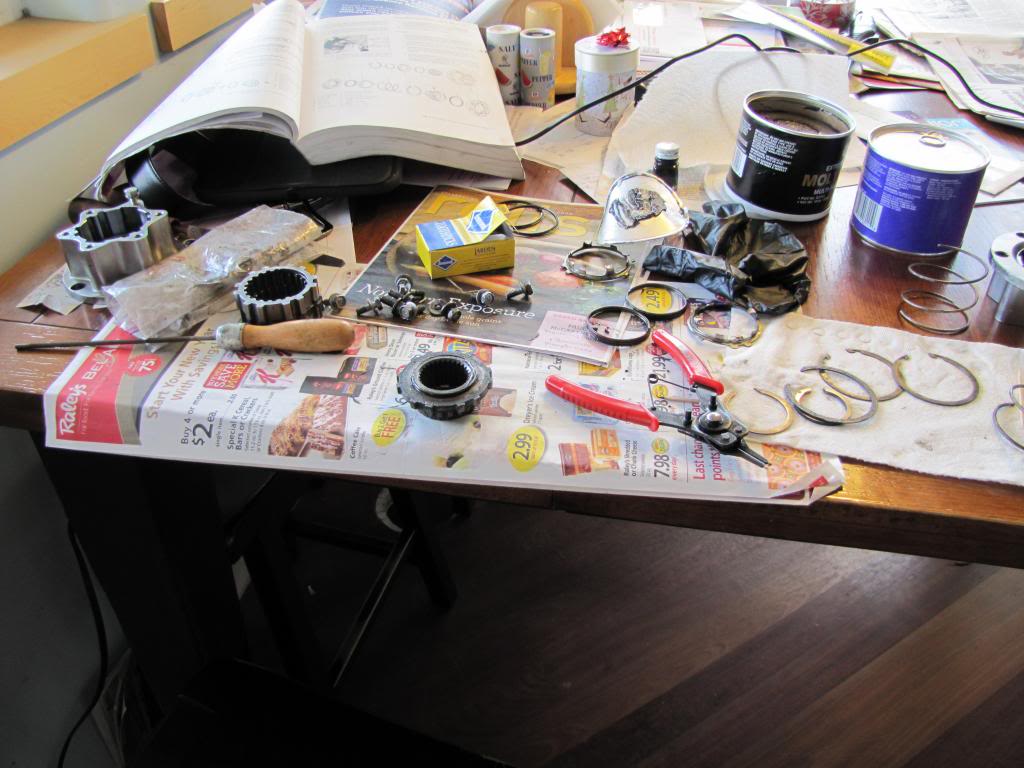
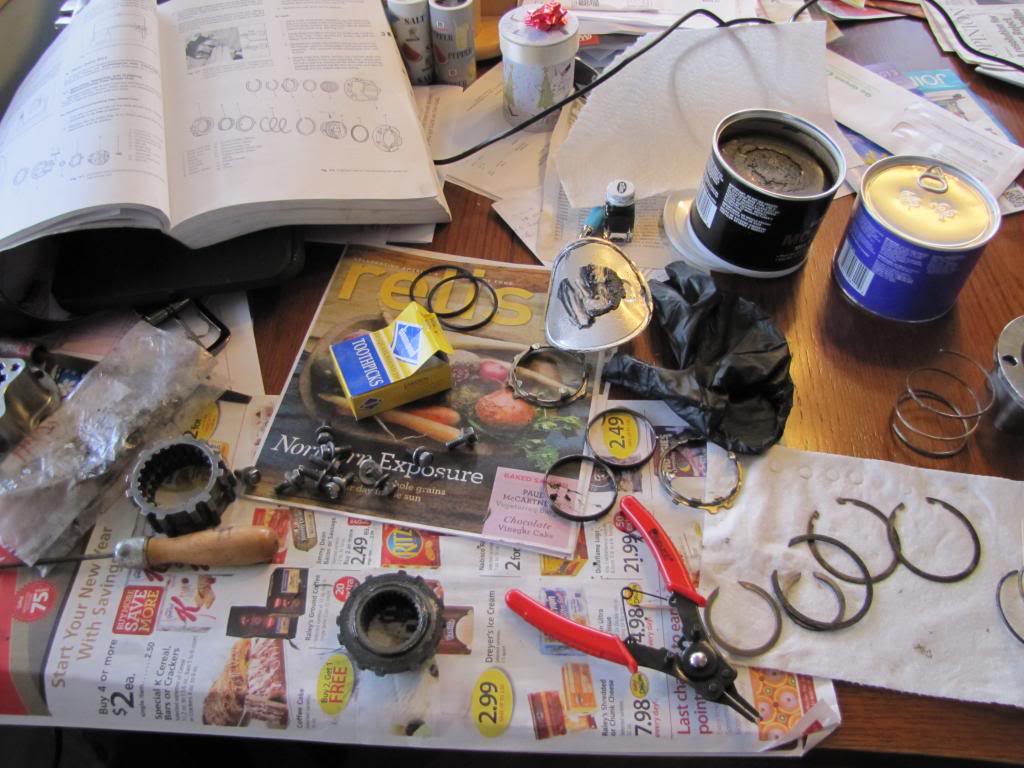
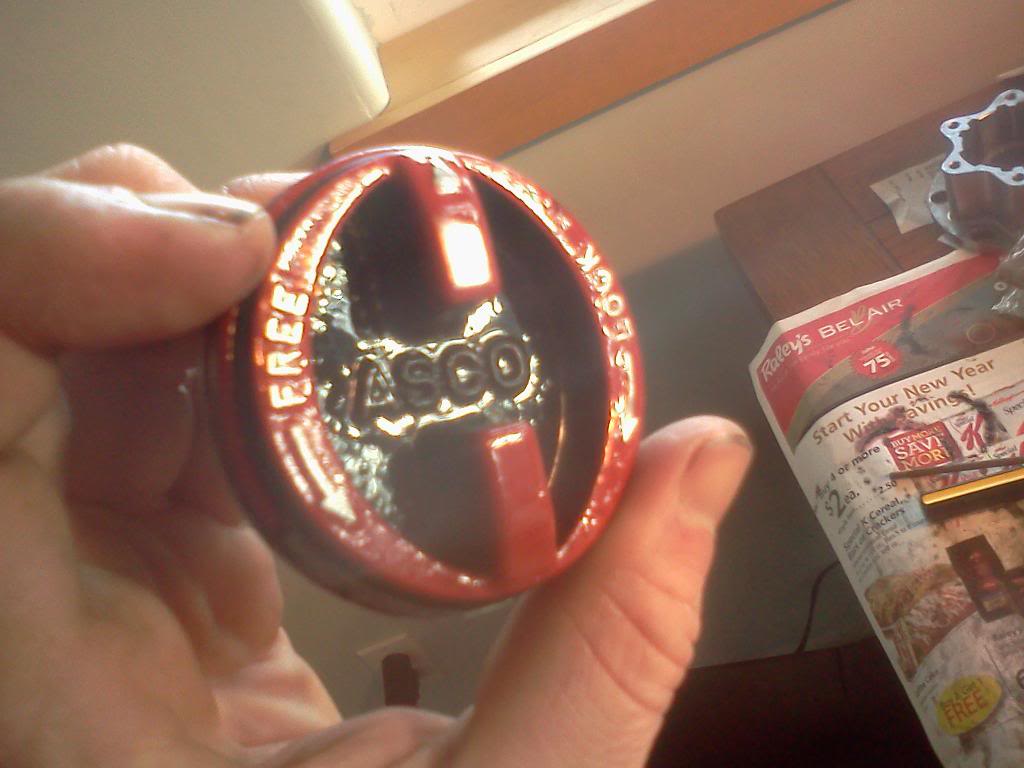
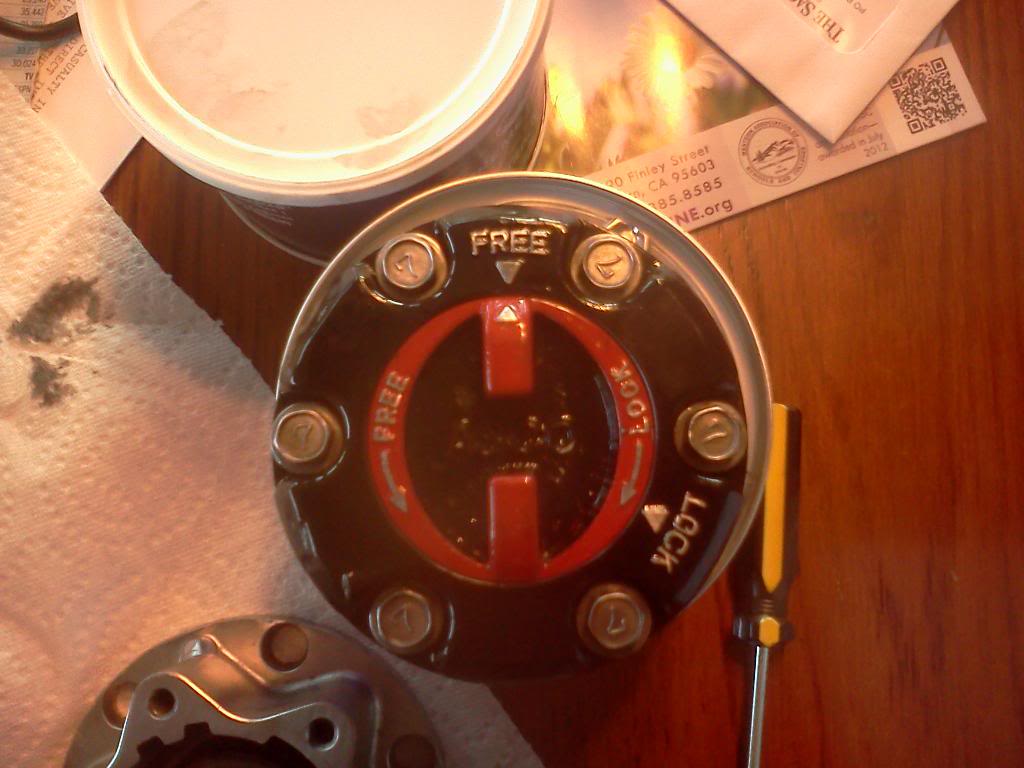
My mom is so used to my dad working on cars (he has around 10 VW projects and parts stored all over the house), this didn't even faze her. Rebuilding my hubs on the kitchen table.
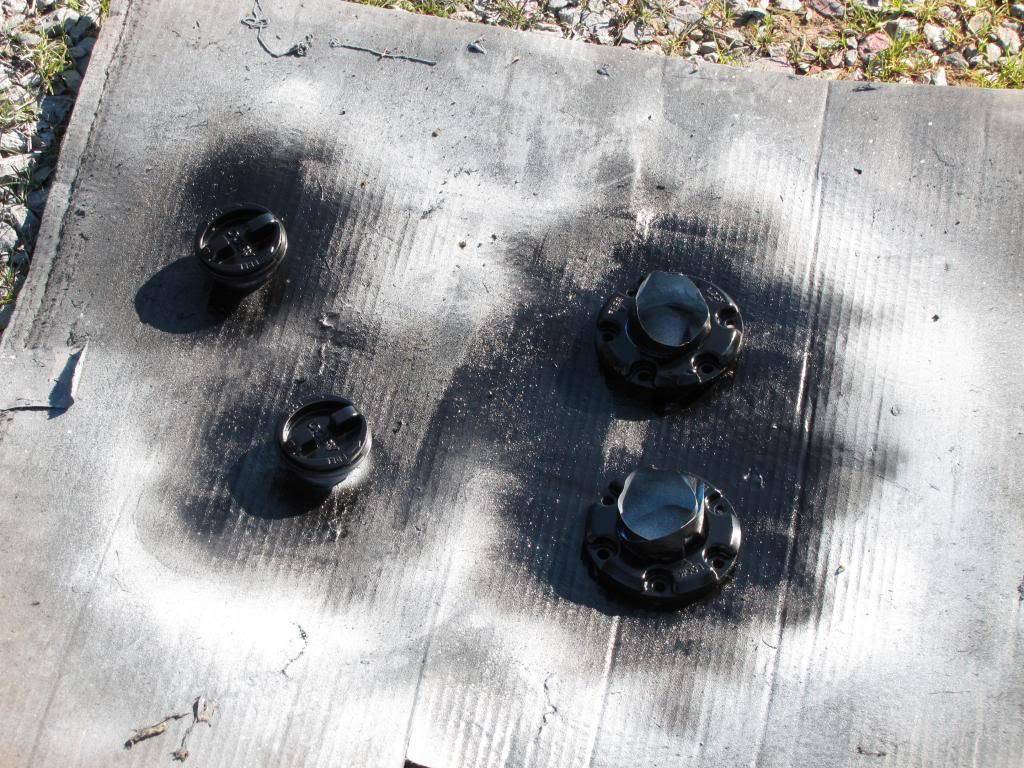
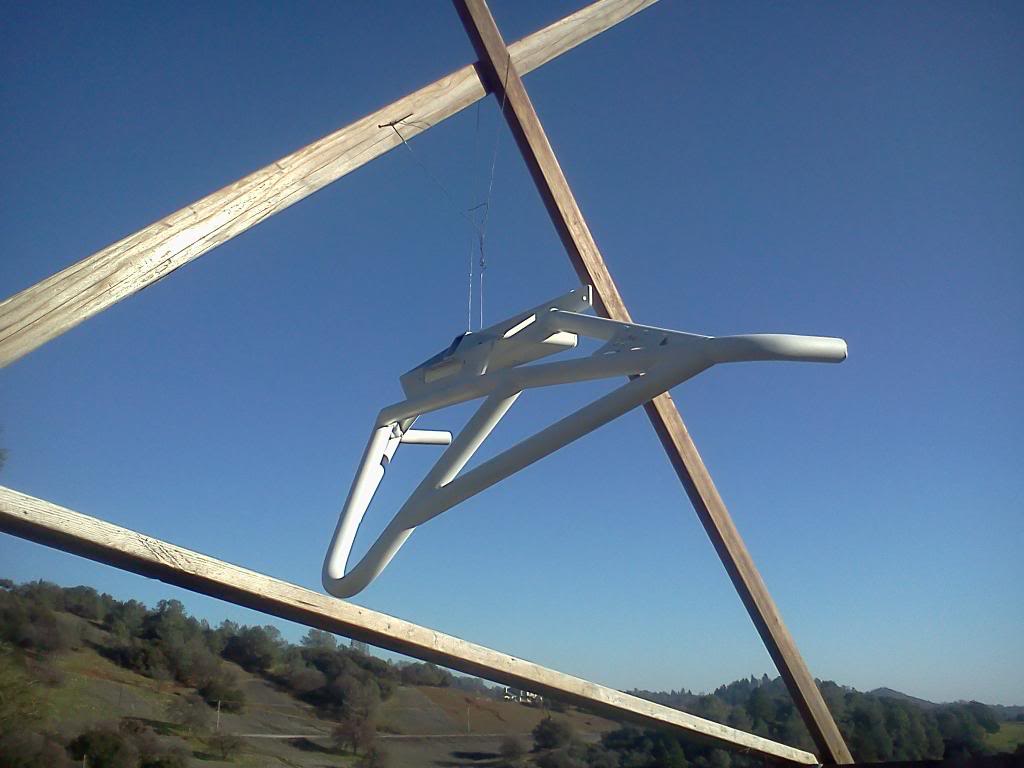
Painting
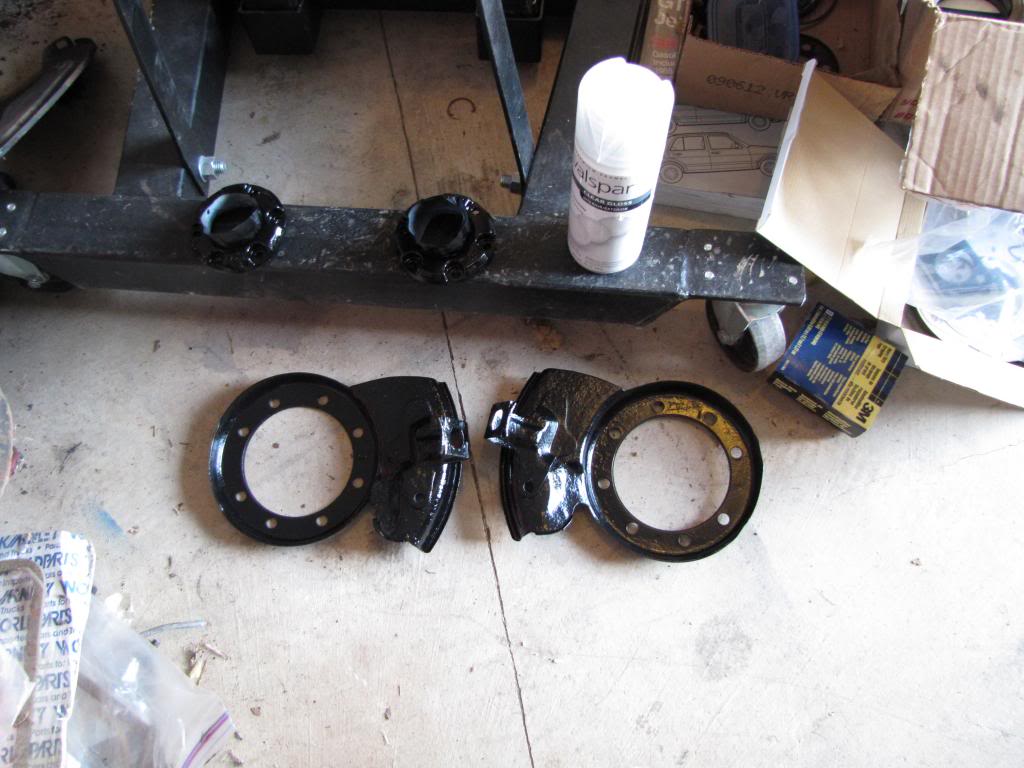
Cut up backing plates
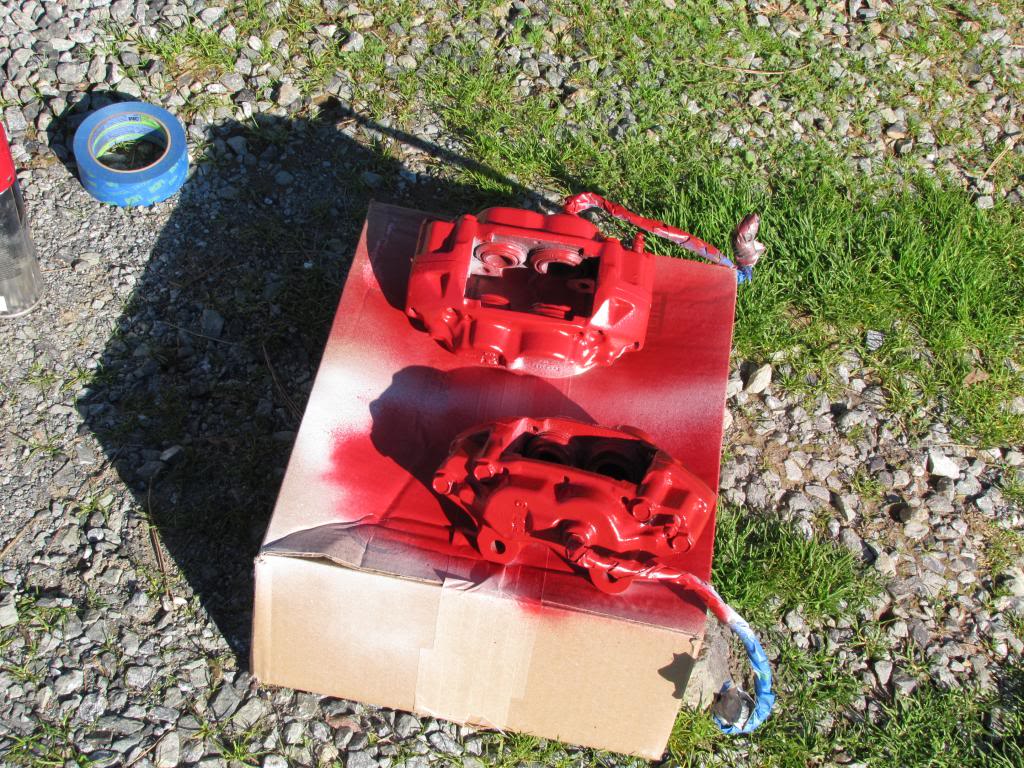
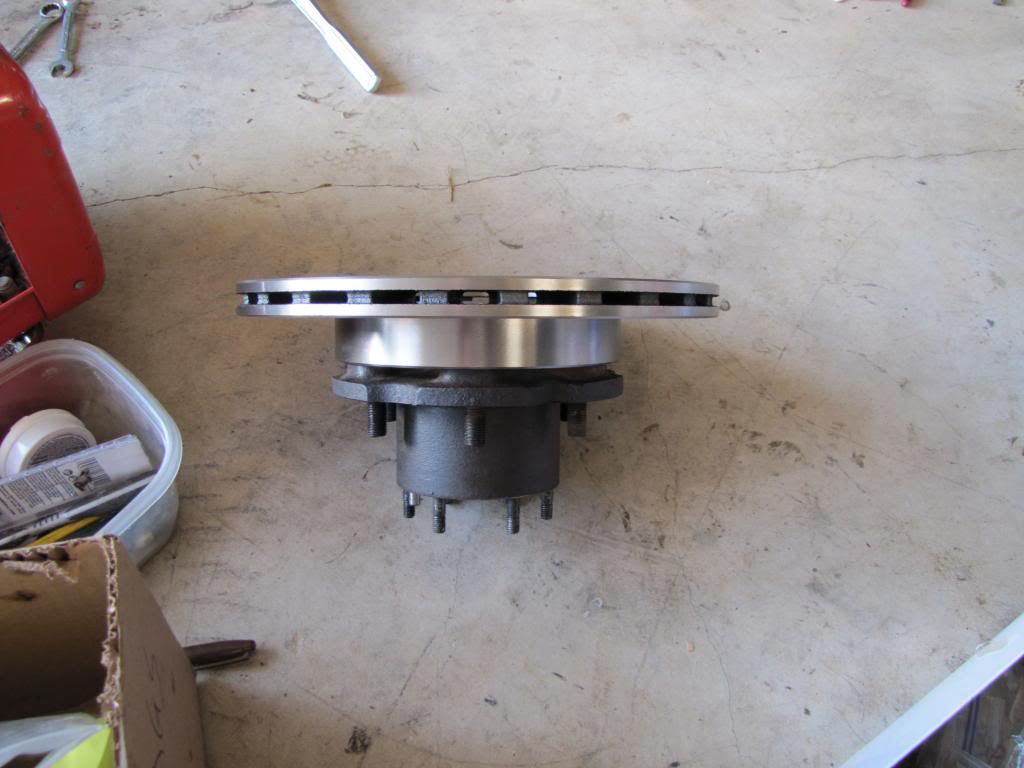
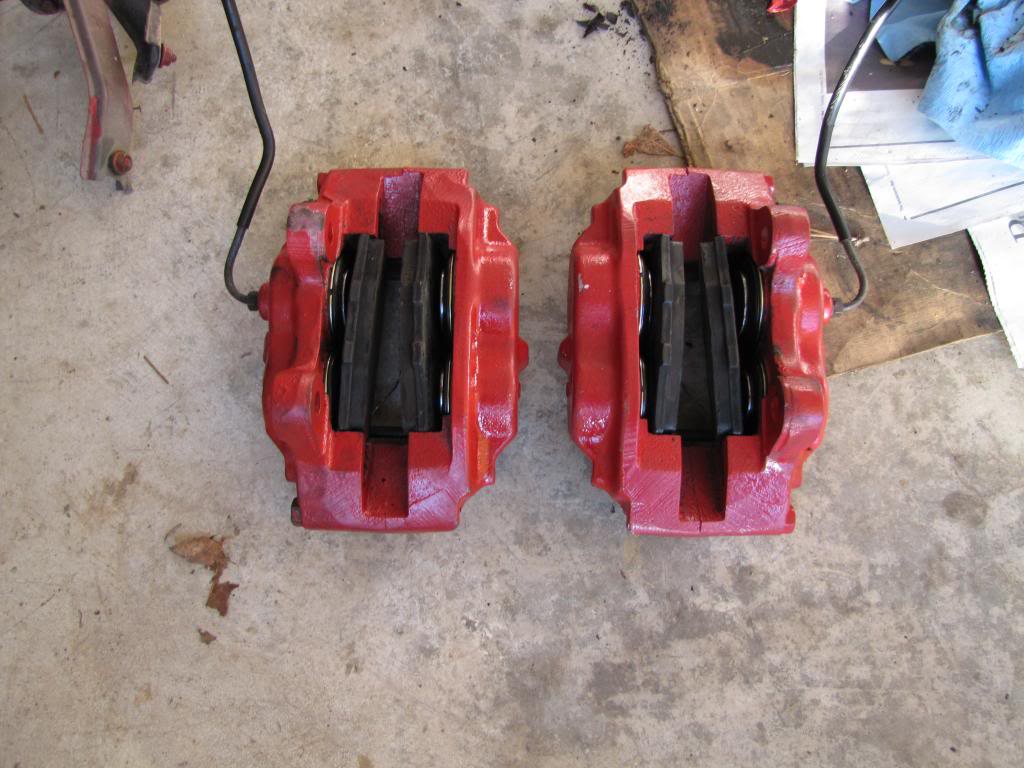
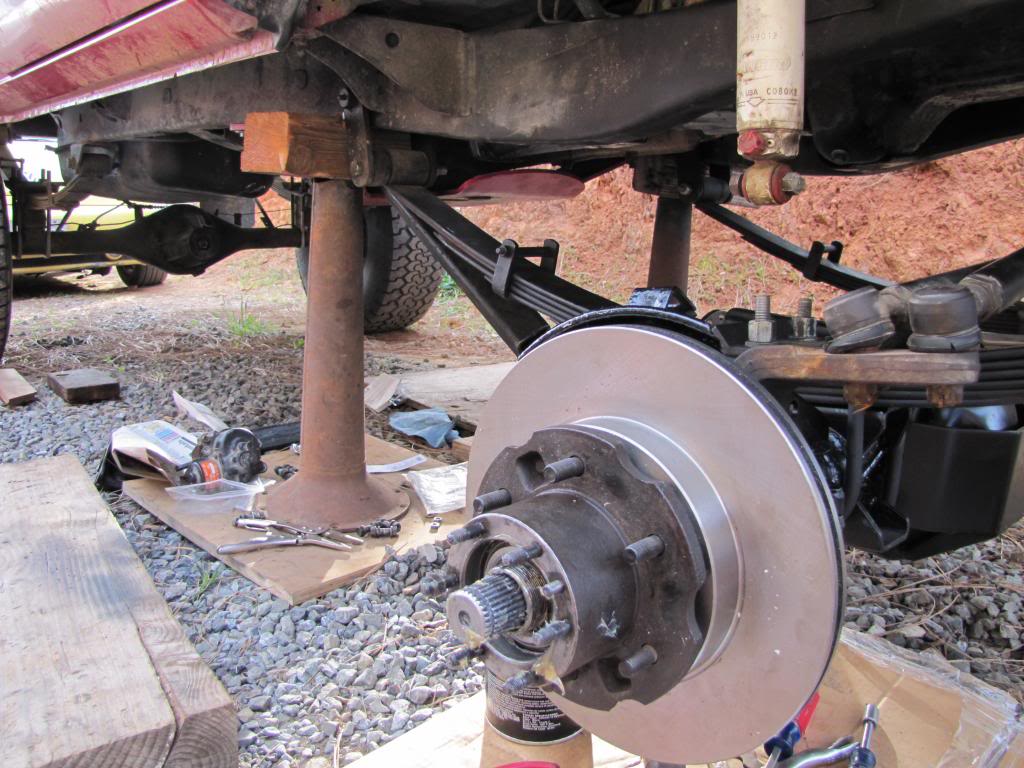
Rebuilt the wheel hubs and put on the new vented rotors. It turns out that I had IFS calipers but solid rotors... not the best combo. I rebuilt the calipers after painting them and put on new pads, they look as good as new
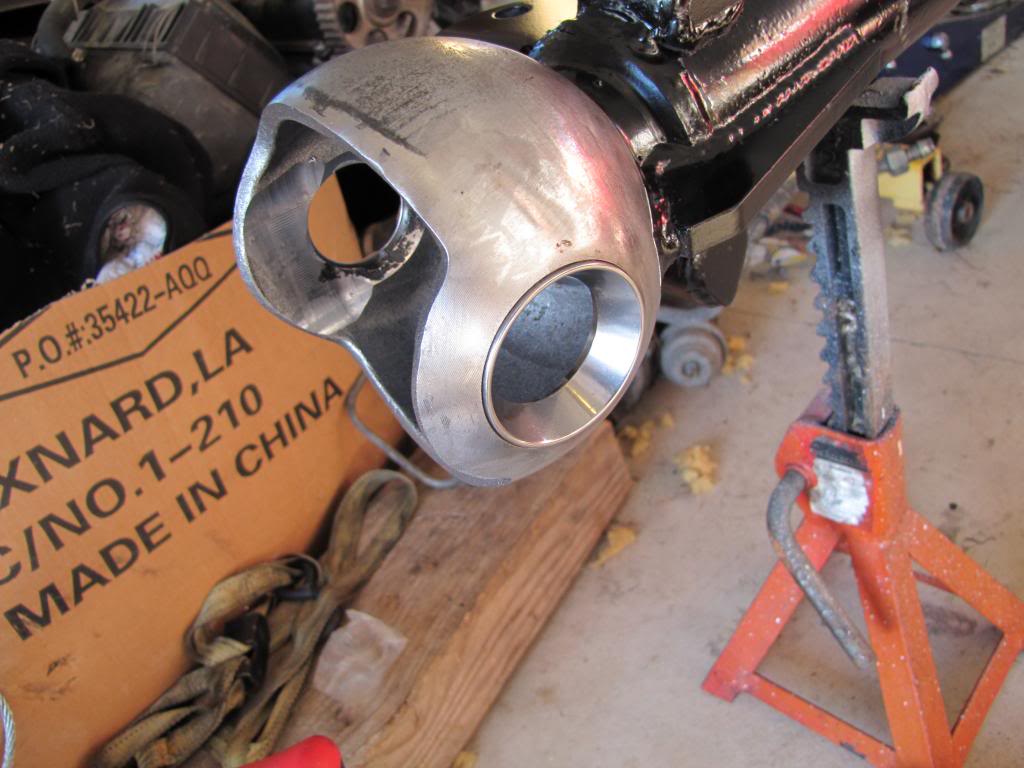
New races in the front axle
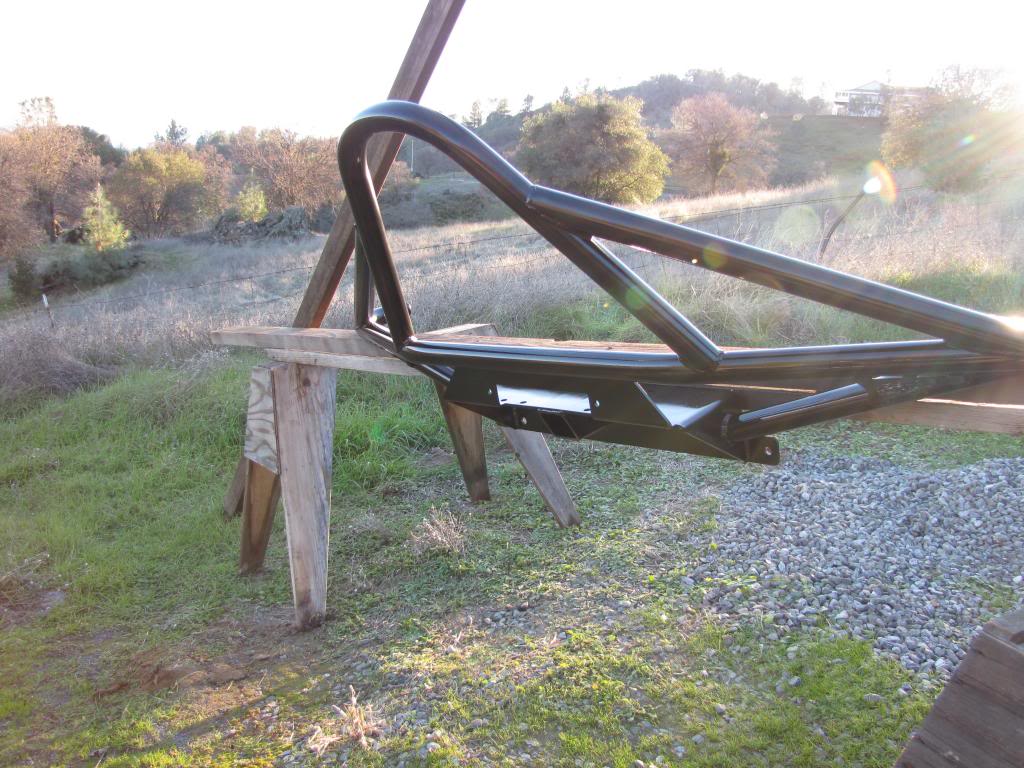
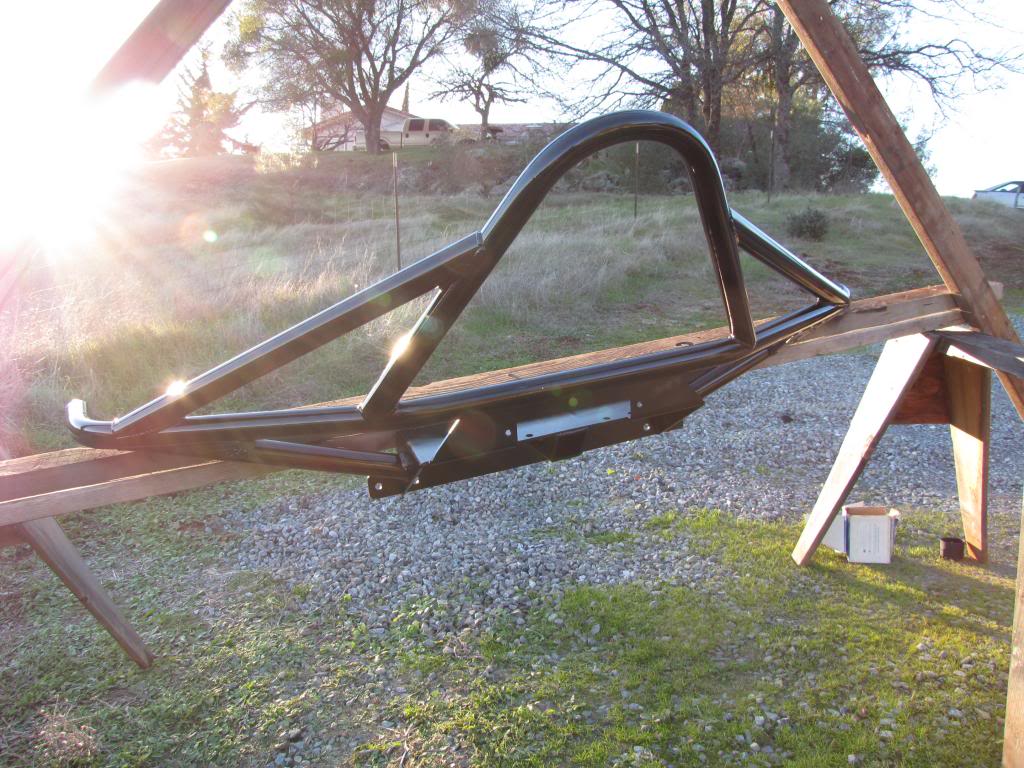
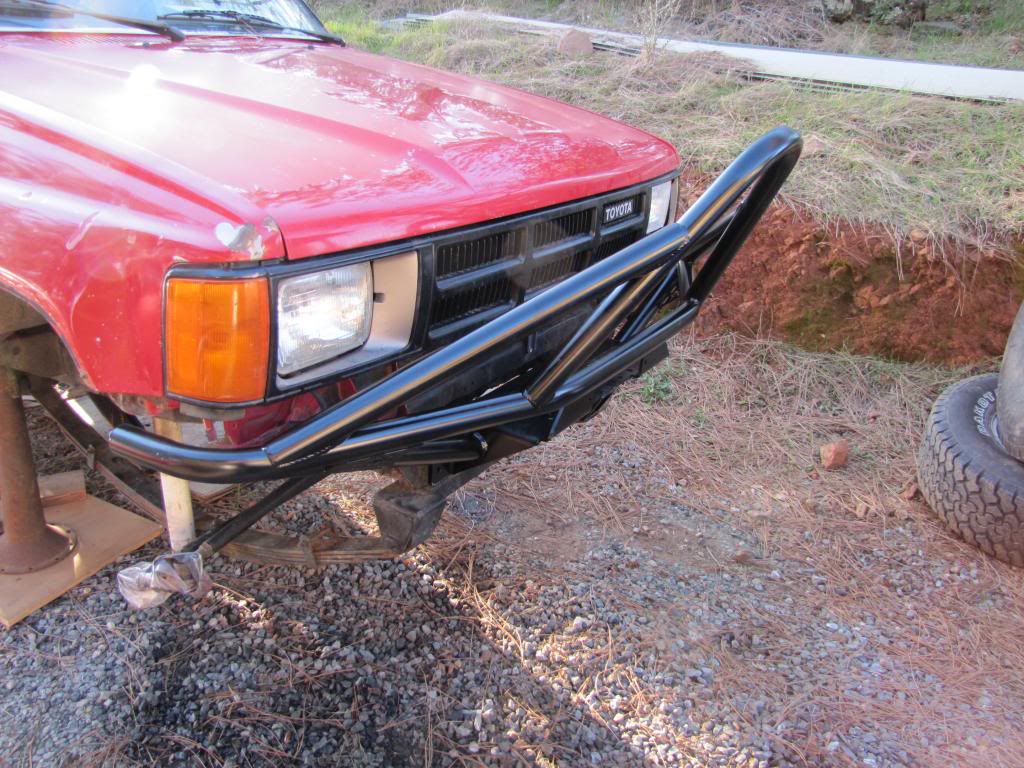
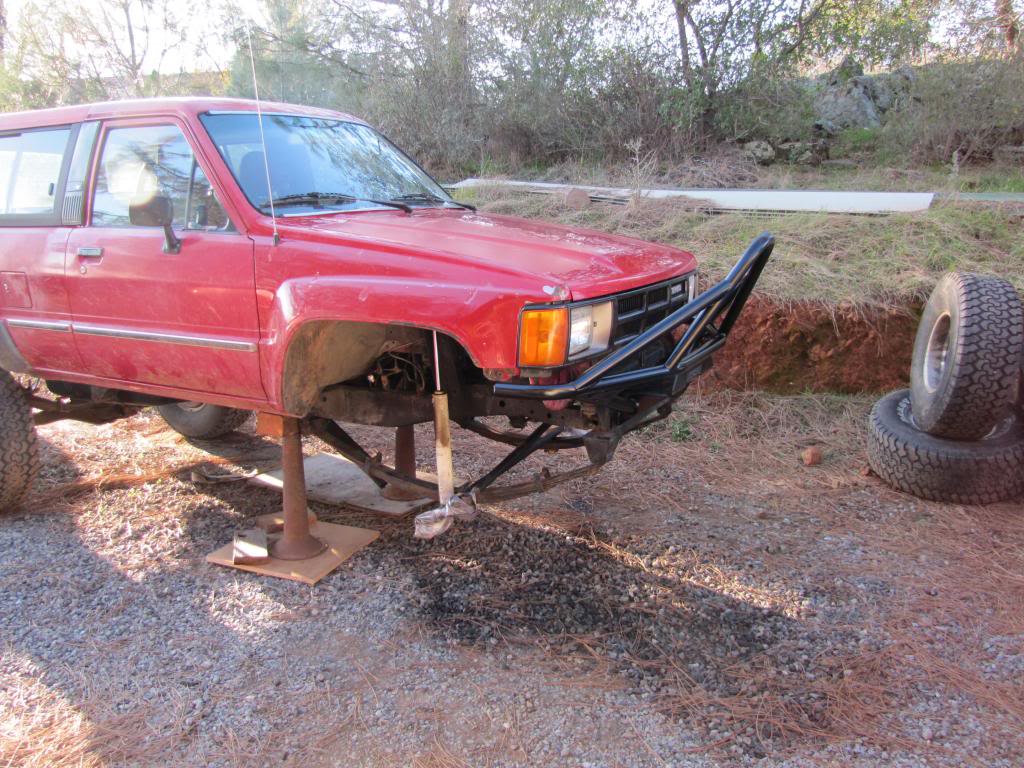
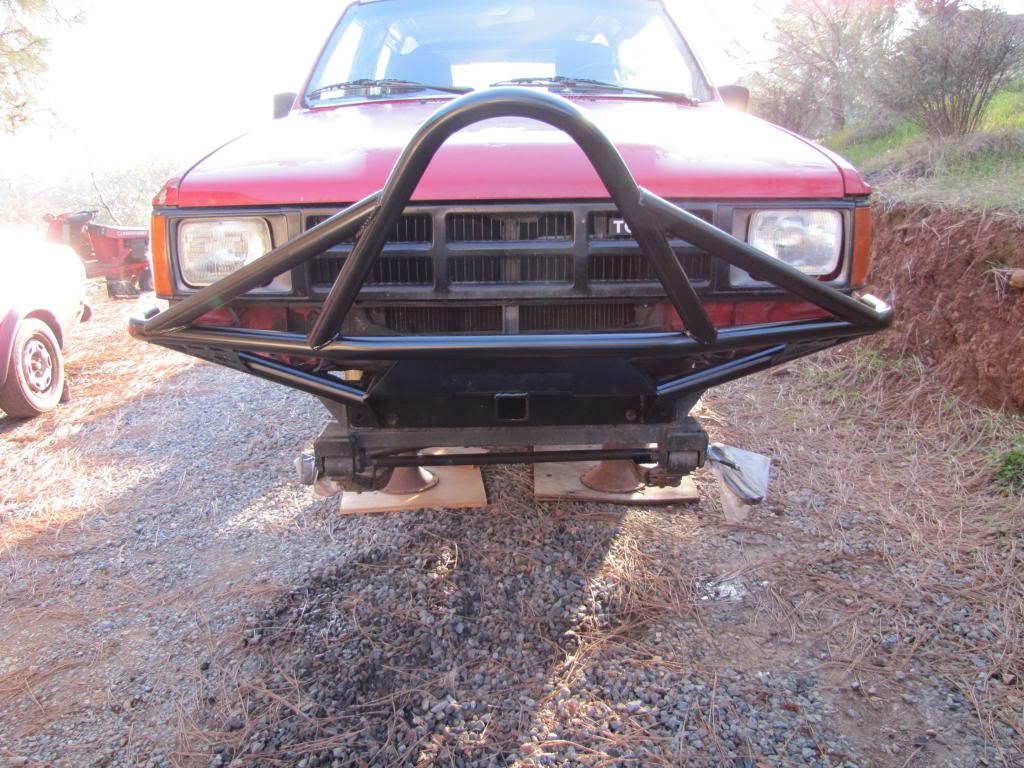
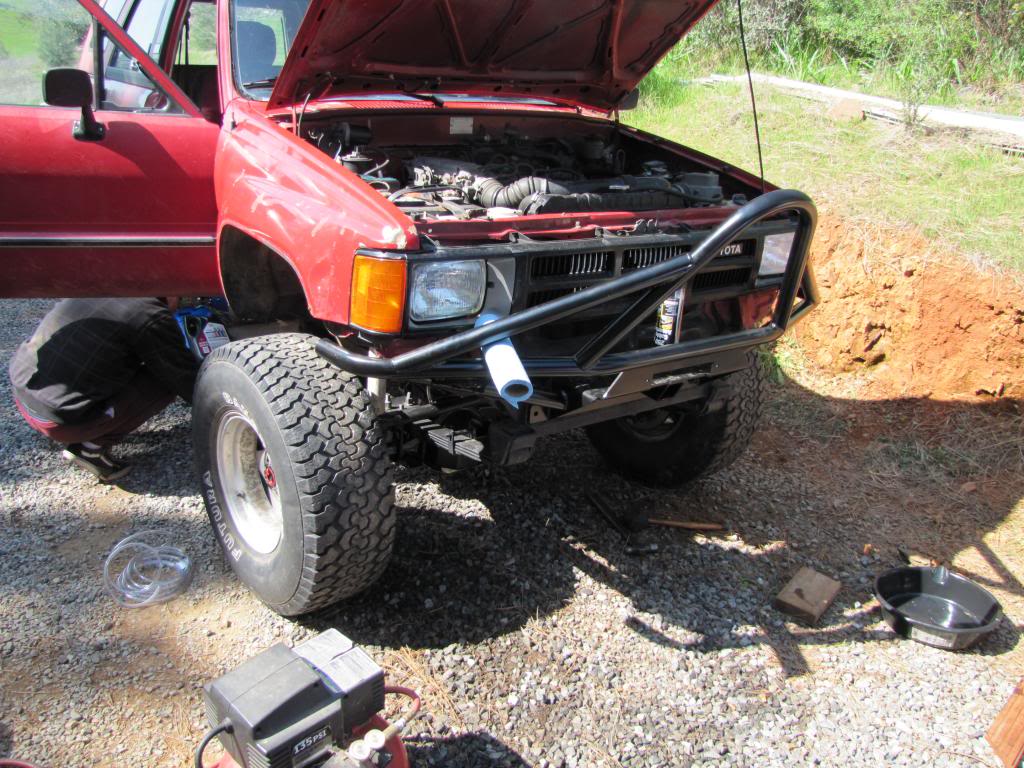
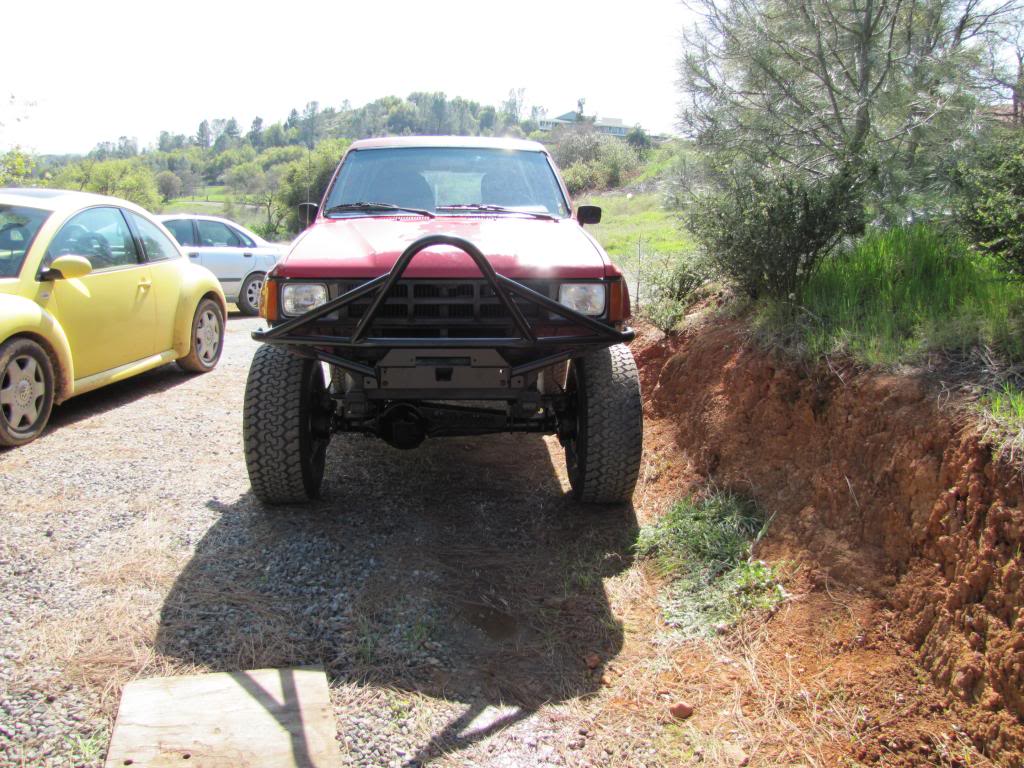
I mounted up the new Trail Gear front bumper, I'm pretty happy with it. I was having a hard time deciding between the Addicted bumper and this one, but when this went on sale on Black Friday I couldn't resist. It cleans up the front alot, we will see how functional it is once I get to wheel it.
Unfortunately we didn't get it finished before my break ended so I took my dad's Audi Coupe Quattro up to Reno. When I came back for a 3 day weekend, we pulled the tranny and tcases
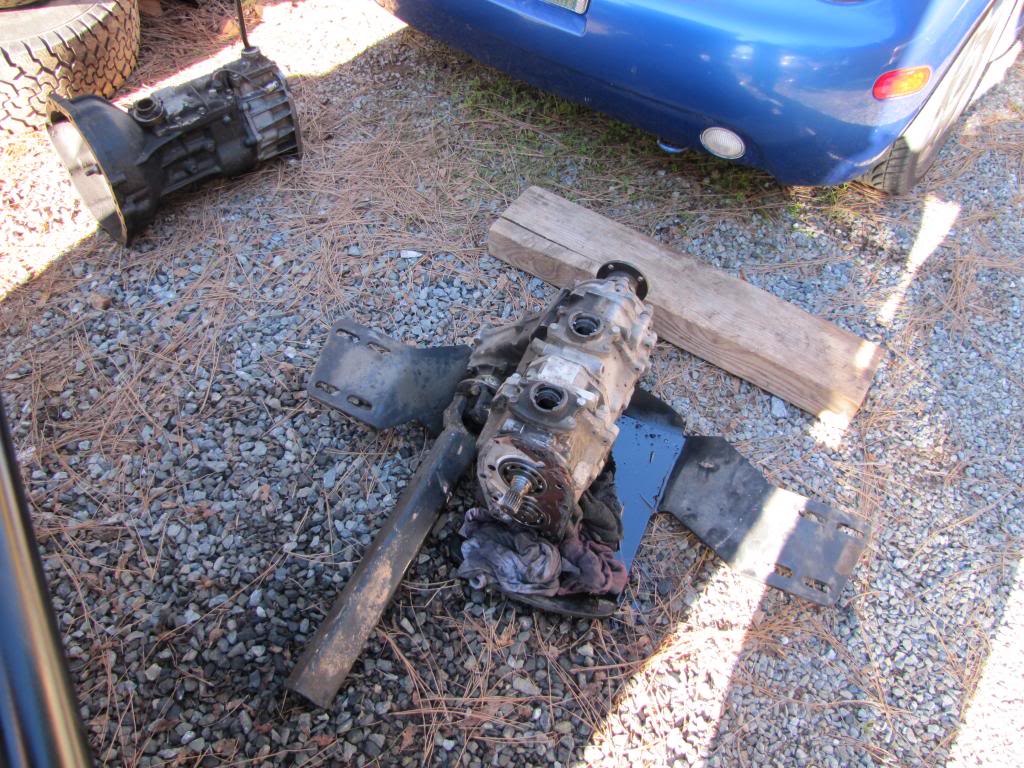
So in order to get the crossmember to work with the early tranny, the previous owner had cut then rewelded the flanges, meaning the W56 wouldn't mount correctly. Fortunately I had dropped my 2 e lockers off at Davez Offroad to be rebuilt and regeared to 4.88, and he needed a plate like this and had a spare one so we traded. Although rebuilding the high pinion took a while because of backordered reverse cut gears, I would recommend Davez, they were helpful and the prices were right on.
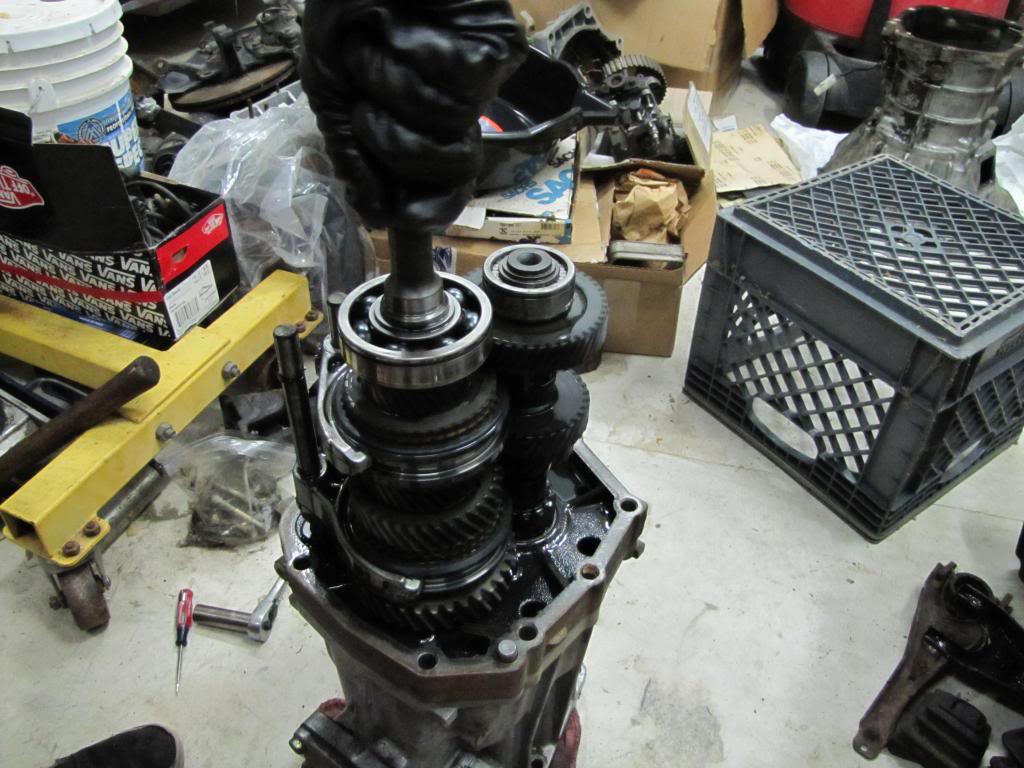
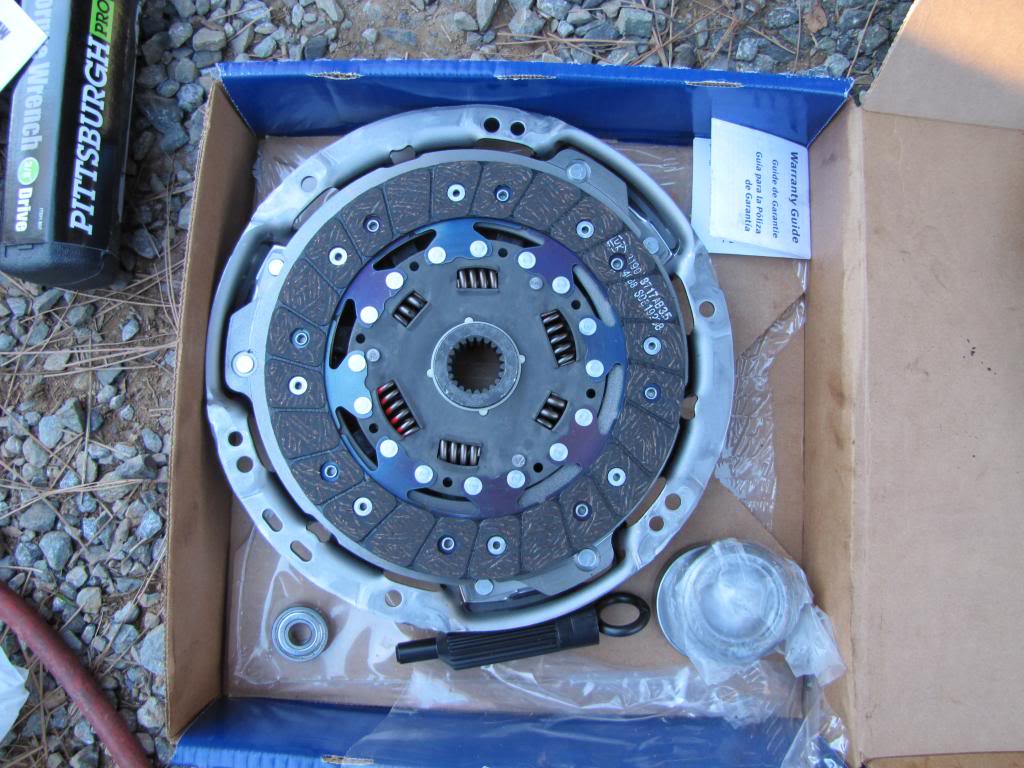
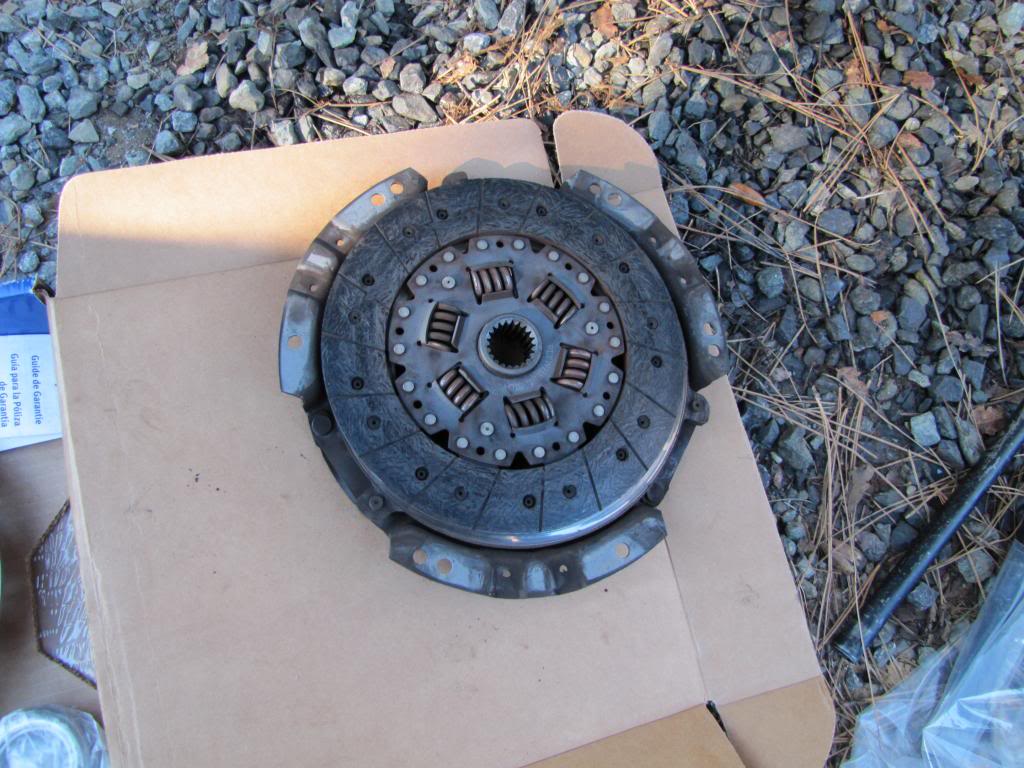
While we were in there, I decided to put in a new clutch, the old one had about half its life left but I want to avoid pulling the tranny again.
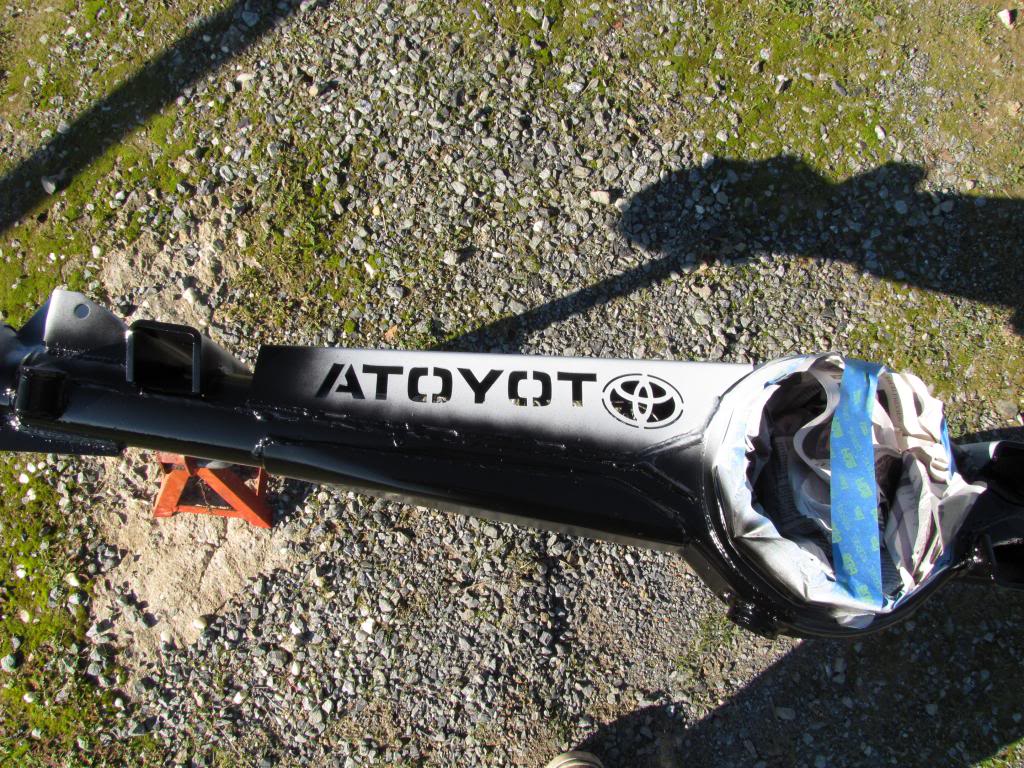
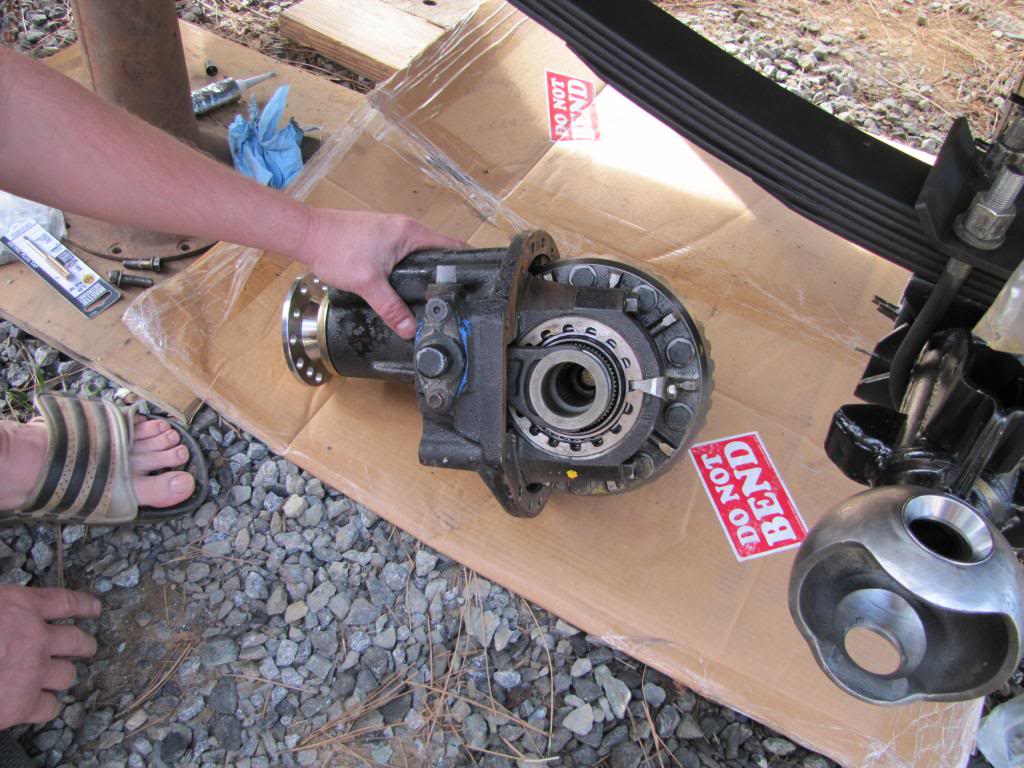
Heres the housing all ready for the high pinion elocker
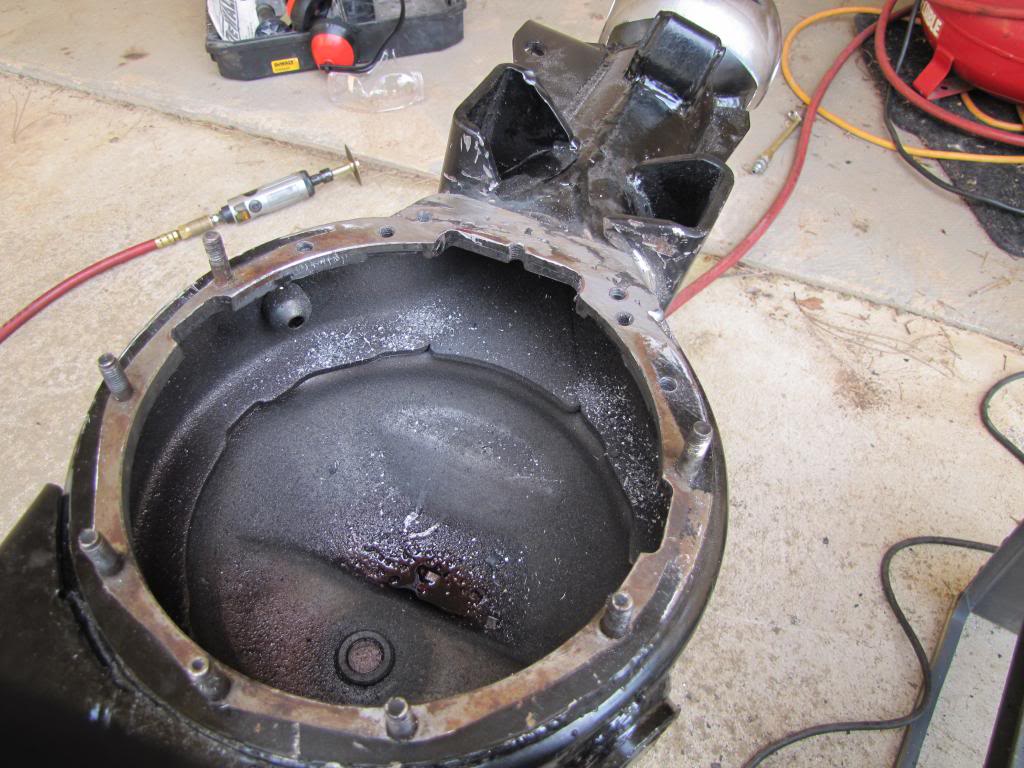
And the housing is finally hung after a few long months of neglect
High pinion about to go in
But we ran into some clearance issues with the leaf spring, but it wasn't something that a countersunk bolt and little grinding couldn't fix
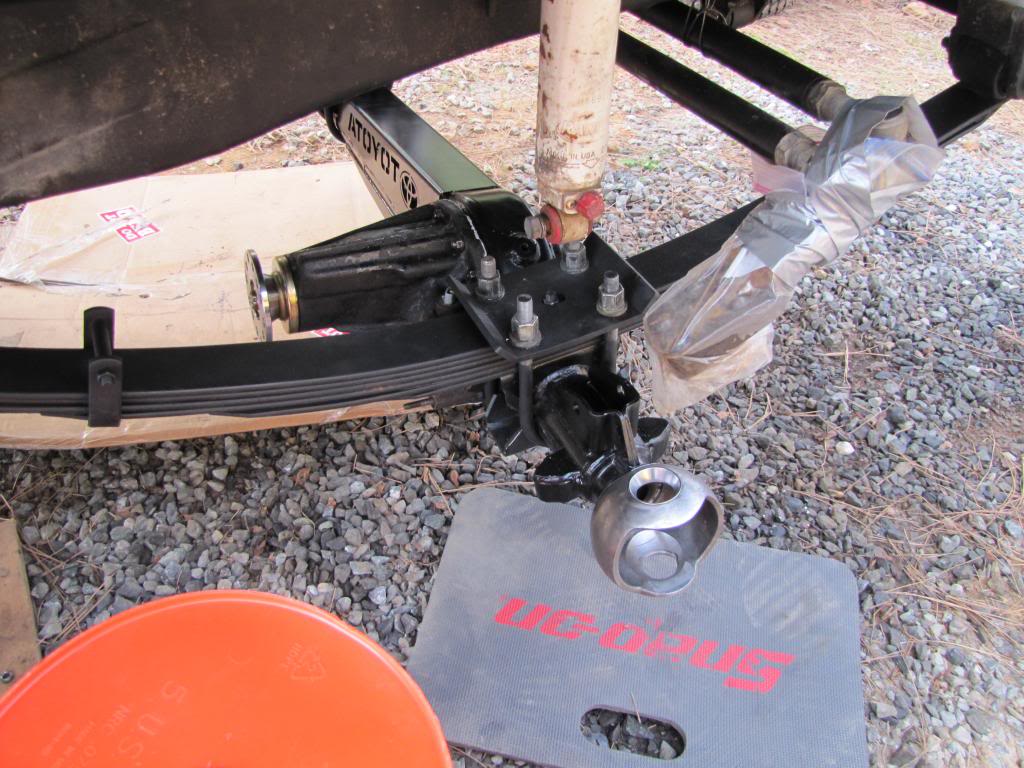
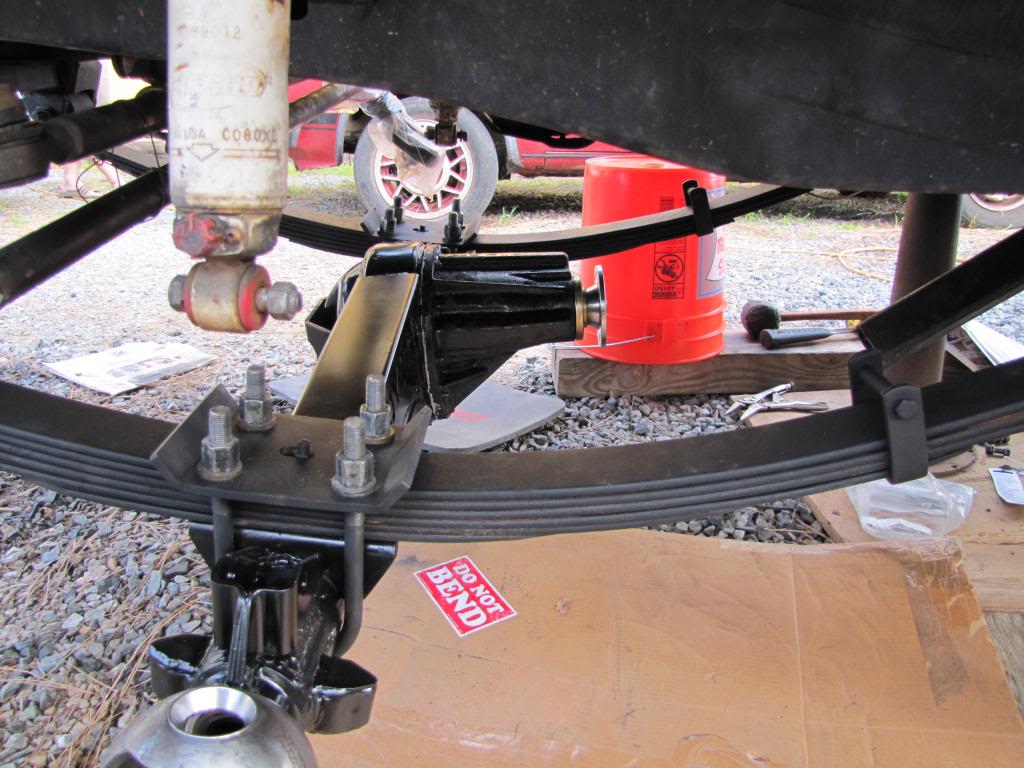
Here it is installed in the axle housing
Thats as far as we have gotten so far, hopefully me and my pops can get it finished before my spring break ends.
So heres the backstory on how I got this 4runner. My dad and I rebuilt a 1997 SR5 4runner with a 5 speed in 2011. It was a great truck for high school, never gave me any problems and it handled everything we threw at it from towing to trails like Barney Riley. I put a 3" OME lift on it and I bought 285/75/R16 Duratracs after saving up. It was pretty fun and rode well, but I wanted a rig that I could wheel harder, since I'm not too far from the Rubicon.
The '97 got me hooked on 4runners, and I decided that a 1st gen would be badass. So after 6 long months of looking, we finally found an SAS'ed 86 with dual cases, 33's, and only a little rust. The paint is rough, but it was supposed to be a wheeler. I bought it cheap since it had a blown headgasket. We had a buddy tow it home from Reno and after I graduated high school we started to get to work. Unfortunately I don't have any pictures of the engine work, but we ended up getting a new head since the old one was cracked. We used a Engnbldr gasket kit, except for the headgasket, which was a genuine Toyota part. After sorting out all the other miscellaneous issues, I drove it to college without any major work.
I drove the truck for my first semester at UNR with no problems until my last day, when traveling home after finals. The transmission died outside of Truckee while on I-80. It wouldn't shift out of 5th gear and there would be no way to make it over the pass with a 22RE in 5th gear. I had it towed home but unfortunately the tow company lost my driveshaft since they didn't send out a flatbed or adequately tie up the driveline, but they ended up reimbursing me, which was perfect since I ended up having to get a shortened driveshaft.
Before my tranny died, I had been planning to rebuild and upgrade the front axle, so during the Black Friday madness, I bought everything I thought I might need for the rebuild along with some other goodies which were waiting for me when I got home
I bought a complete front axle rebuild kit from Marlin, a Trail Gear front bumper, front and rear axle armor, Dirty 30's, Creeper gussets, a high lift, tow strap, Sky axle truss, vented rotors, an e locker for the rear and a high pinion e locker for the front. The nice thing was that after buying all this plus the cost of my 4runner, it was still less than what I had sold my '97 for.
We started to look at transmissions, and decided to get a used transmission so we scoured craigslist until we found an appropriate W56. We replaced the input shaft bearing just to play it safe. The reason we didn't look into rebuilding the tranny I had was because its an L53, out of an earlier truck! Whoever put it in there wasn't thinking long term....
While searching for the new tranny, me and my pops pulled the front axle in preparation for a complete rebuild. We were in a crunch for time so we did it all in the rain...
Putting that new high lift to use
My dad grinding away in the rain. That axle was pretty heavy but we managed to get it in the bed of my friend's pickup and take it to a buddy's house to get all the armor welded on. Heres what it looked like with all the armor on in our garage. And thats about 1 of 6 VW diesel engines my dad has in the background along with an aircooled Porsche motor and a 356 SC project.
Here's the beginning of the dis assembly of the axle, right before I started wrenching.
My mom is so used to my dad working on cars (he has around 10 VW projects and parts stored all over the house), this didn't even faze her. Rebuilding my hubs on the kitchen table.
Painting
Cut up backing plates
Rebuilt the wheel hubs and put on the new vented rotors. It turns out that I had IFS calipers but solid rotors... not the best combo. I rebuilt the calipers after painting them and put on new pads, they look as good as new
New races in the front axle
I mounted up the new Trail Gear front bumper, I'm pretty happy with it. I was having a hard time deciding between the Addicted bumper and this one, but when this went on sale on Black Friday I couldn't resist. It cleans up the front alot, we will see how functional it is once I get to wheel it.
Unfortunately we didn't get it finished before my break ended so I took my dad's Audi Coupe Quattro up to Reno. When I came back for a 3 day weekend, we pulled the tranny and tcases
So in order to get the crossmember to work with the early tranny, the previous owner had cut then rewelded the flanges, meaning the W56 wouldn't mount correctly. Fortunately I had dropped my 2 e lockers off at Davez Offroad to be rebuilt and regeared to 4.88, and he needed a plate like this and had a spare one so we traded. Although rebuilding the high pinion took a while because of backordered reverse cut gears, I would recommend Davez, they were helpful and the prices were right on.
While we were in there, I decided to put in a new clutch, the old one had about half its life left but I want to avoid pulling the tranny again.
Heres the housing all ready for the high pinion elocker
And the housing is finally hung after a few long months of neglect
High pinion about to go in
But we ran into some clearance issues with the leaf spring, but it wasn't something that a countersunk bolt and little grinding couldn't fix
Here it is installed in the axle housing
Thats as far as we have gotten so far, hopefully me and my pops can get it finished before my spring break ends.
Last edited by sweet_madness94; 06-02-2013 at 07:19 PM.

 03-20-2013, 04:00 PM
#3
Registered User
Thread Starter
Join Date: Mar 2011
Location: Reno, NV/ Cool, CA
Posts: 10
Likes: 0
Received 0 Likes
on
0 Posts
03-24-2013, 06:05 PM
#4
Registered User
Thread Starter
Join Date: Mar 2011
Location: Reno, NV/ Cool, CA
Posts: 10
Likes: 0
Received 0 Likes
on
0 Posts
So I finished putting everything back together up front and have a few pics.
It was a scramble to put everything back together but we pulled it off. New vented rotors on the axle
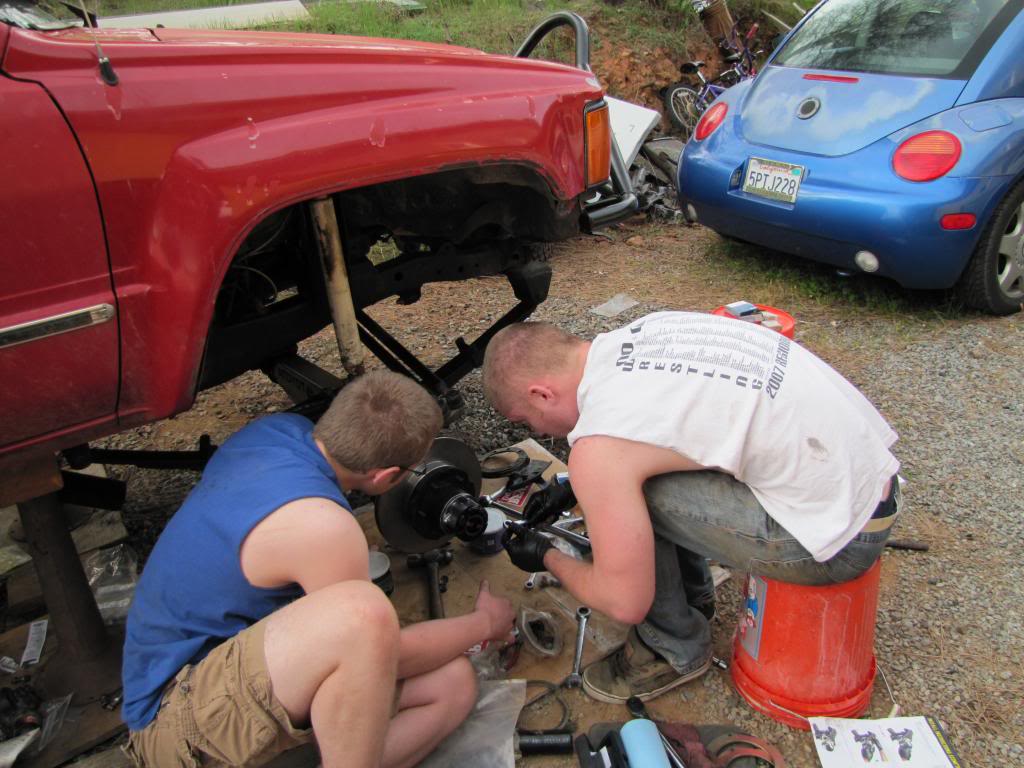
Me and my bro Peter wrenching away
Wheels back on
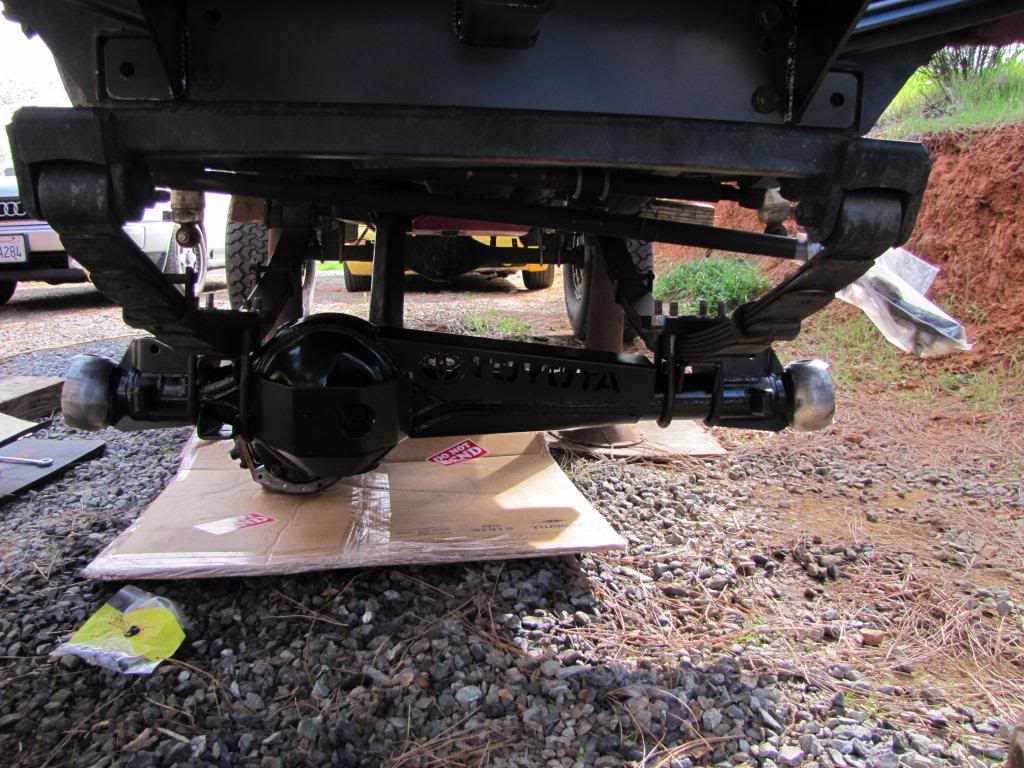
Front axle all buttoned up
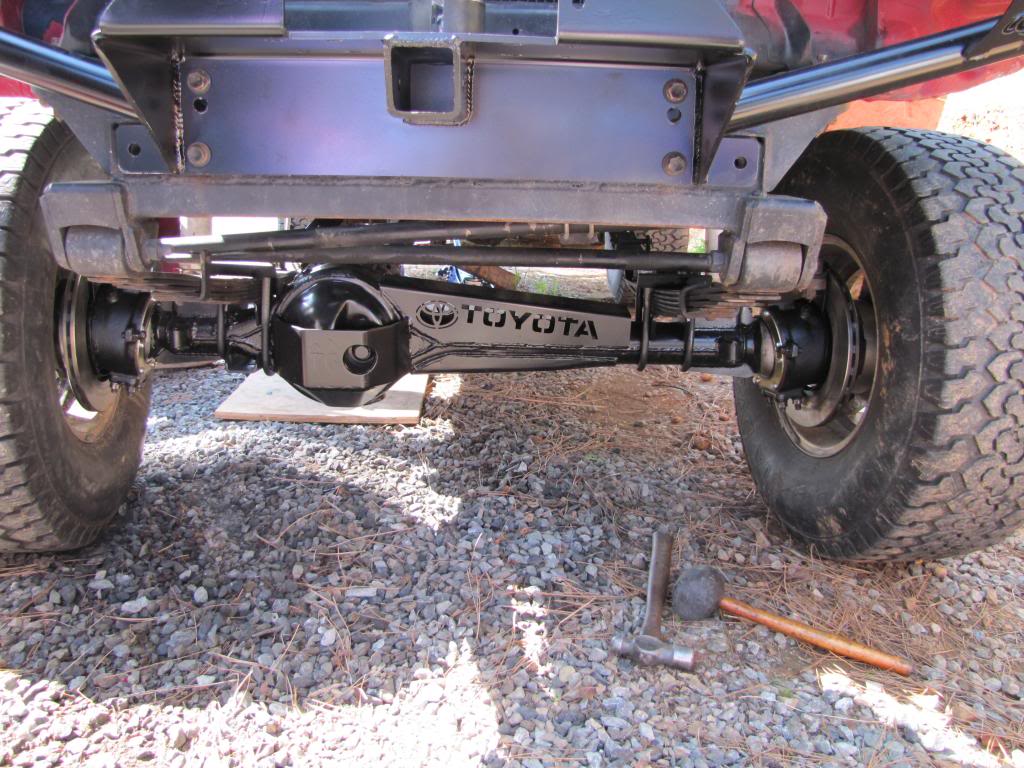
Front diff breather
New rear driveline. We hooked it up just to make sure it would drive with the new tranny and clutch. It was a good feeling getting behind the wheel for the 1st time in 3 months. We couldn't put it in 4wd tho since the rear still had 4.10's and the front has 4.88s
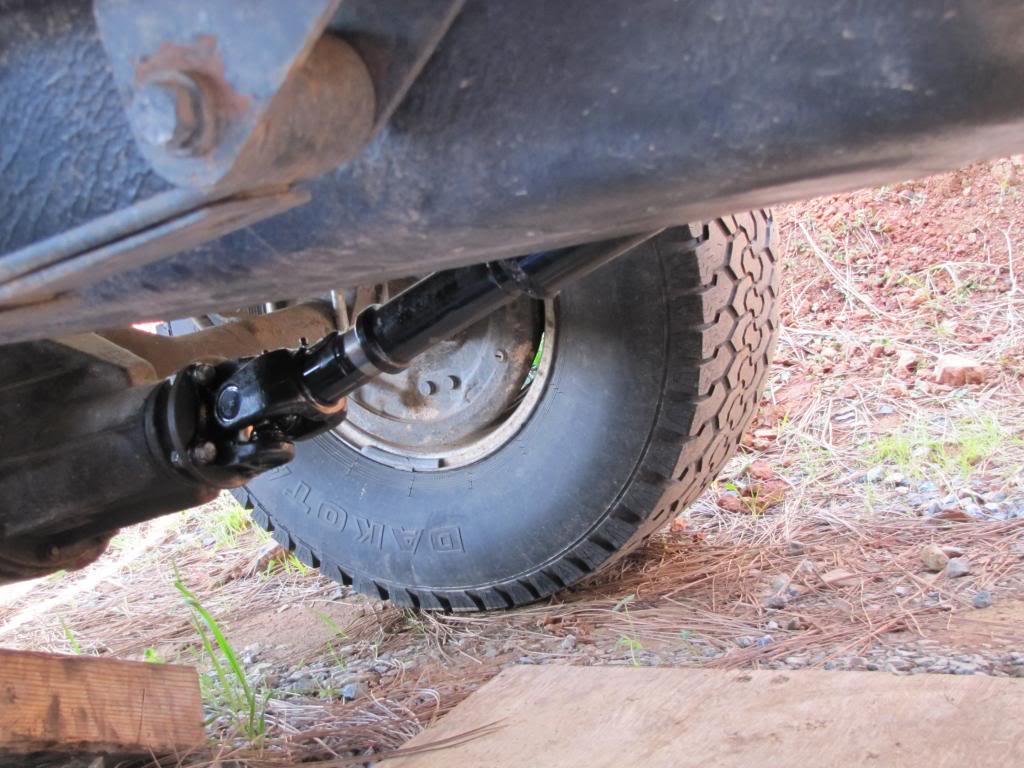
The front driveline angle is great with duals and the high pinion
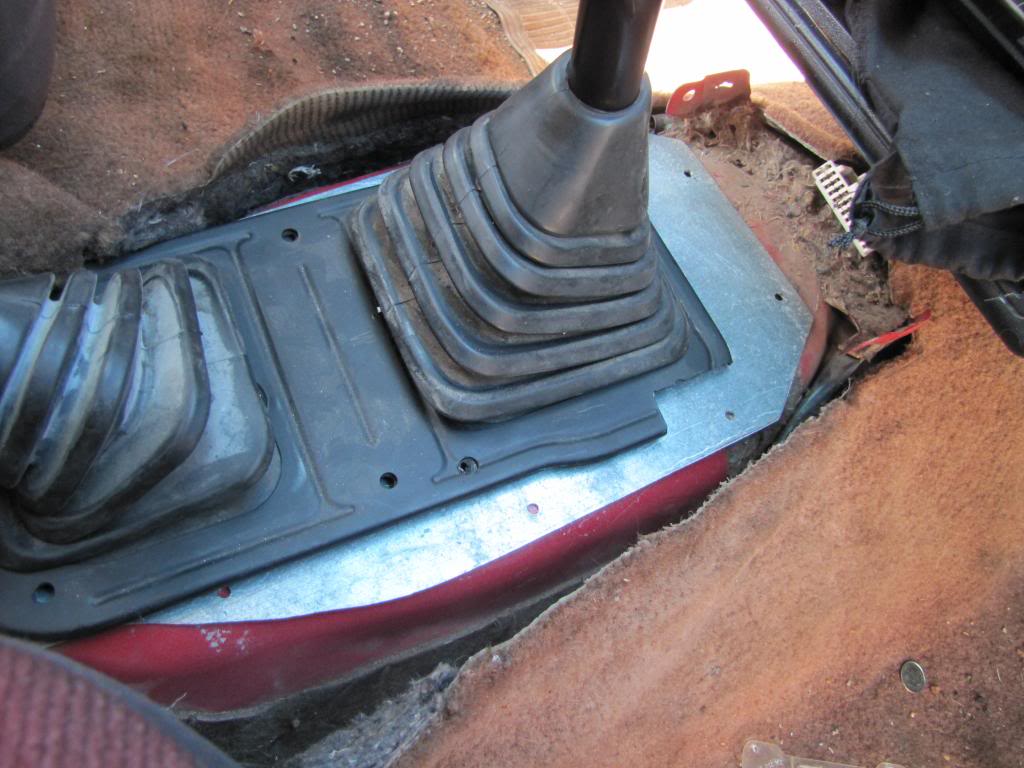
Some sheet metal to cover up the holes from the other tranny
After we knew the tranny worked, we tore into the rear end. Its so much simpler than the front, we pulled it in about an hour and had out neighbor cut and weld the housing for the e locker
We put everything back together and drove it around, and everything seems to be ok. The lockers aren't wired yet tho, I'll get to that next time I have a free weekend away from school. 4.88's are nice tho, I didn't have to shift into 3rd gear once driving up I80 to Reno. I also need to get new shocks since my Ranchos are blown. 35's are soon to come as well with some steel wheels, I've been looking and am thinking about getting the Falken Wildpeaks since they are an A/T that can handle the rocks as well as the road. I have a round eye conversion planned as well since I love the look of those early trucks.
It was a scramble to put everything back together but we pulled it off. New vented rotors on the axle
Me and my bro Peter wrenching away
Wheels back on
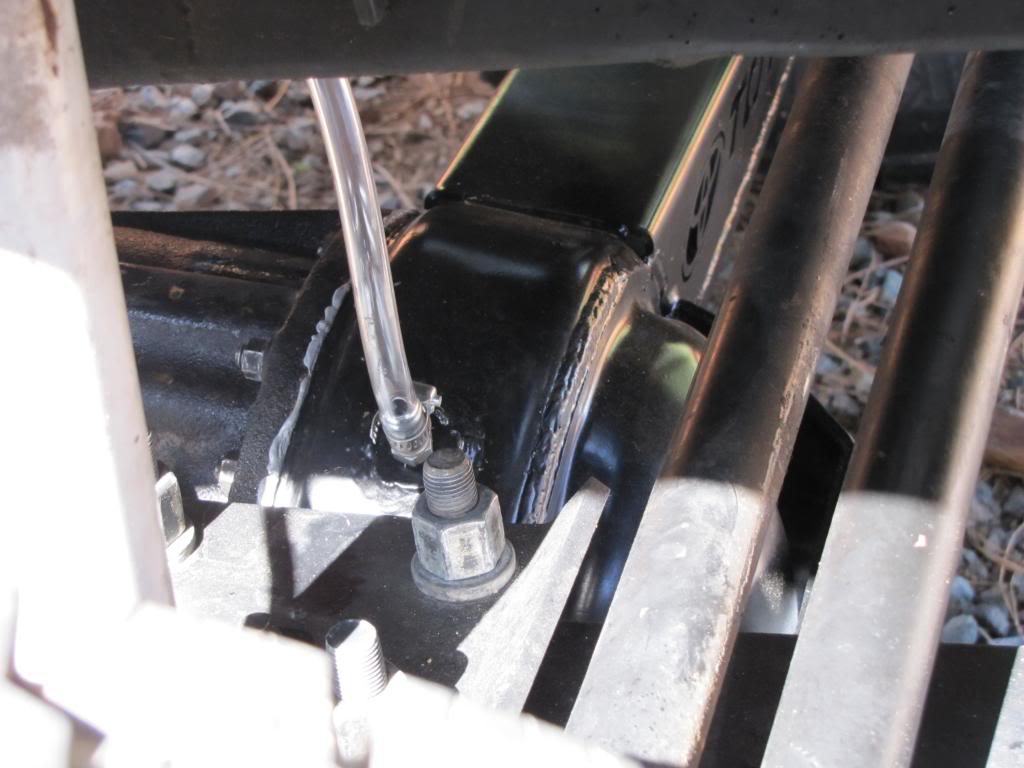
Front axle all buttoned up
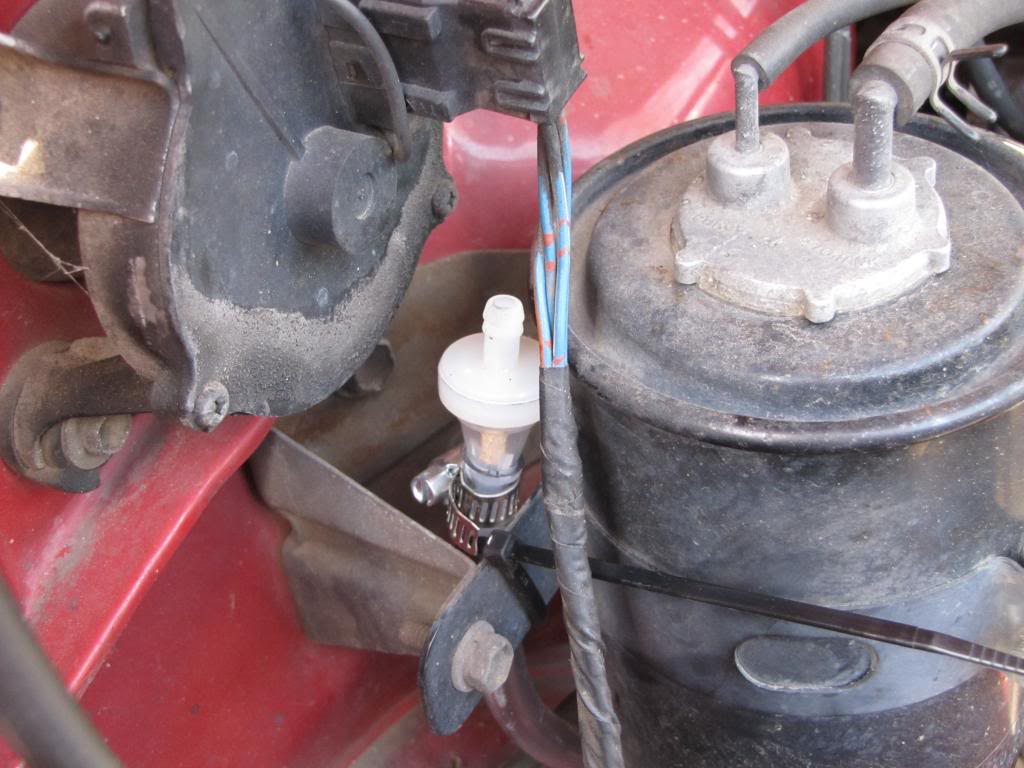
Front diff breather
New rear driveline. We hooked it up just to make sure it would drive with the new tranny and clutch. It was a good feeling getting behind the wheel for the 1st time in 3 months. We couldn't put it in 4wd tho since the rear still had 4.10's and the front has 4.88s
The front driveline angle is great with duals and the high pinion
Some sheet metal to cover up the holes from the other tranny
After we knew the tranny worked, we tore into the rear end. Its so much simpler than the front, we pulled it in about an hour and had out neighbor cut and weld the housing for the e locker
We put everything back together and drove it around, and everything seems to be ok. The lockers aren't wired yet tho, I'll get to that next time I have a free weekend away from school. 4.88's are nice tho, I didn't have to shift into 3rd gear once driving up I80 to Reno. I also need to get new shocks since my Ranchos are blown. 35's are soon to come as well with some steel wheels, I've been looking and am thinking about getting the Falken Wildpeaks since they are an A/T that can handle the rocks as well as the road. I have a round eye conversion planned as well since I love the look of those early trucks.
03-27-2013, 09:32 AM
#6
Registered User
Thread Starter
Join Date: Mar 2011
Location: Reno, NV/ Cool, CA
Posts: 10
Likes: 0
Received 0 Likes
on
0 Posts
03-29-2013, 12:01 AM
#8
Registered User
Thread Starter
Join Date: Mar 2011
Location: Reno, NV/ Cool, CA
Posts: 10
Likes: 0
Received 0 Likes
on
0 Posts
 03-31-2013, 03:25 PM
#10
Registered User
Thread Starter
Join Date: Mar 2011
Location: Reno, NV/ Cool, CA
Posts: 10
Likes: 0
Received 0 Likes
on
0 Posts
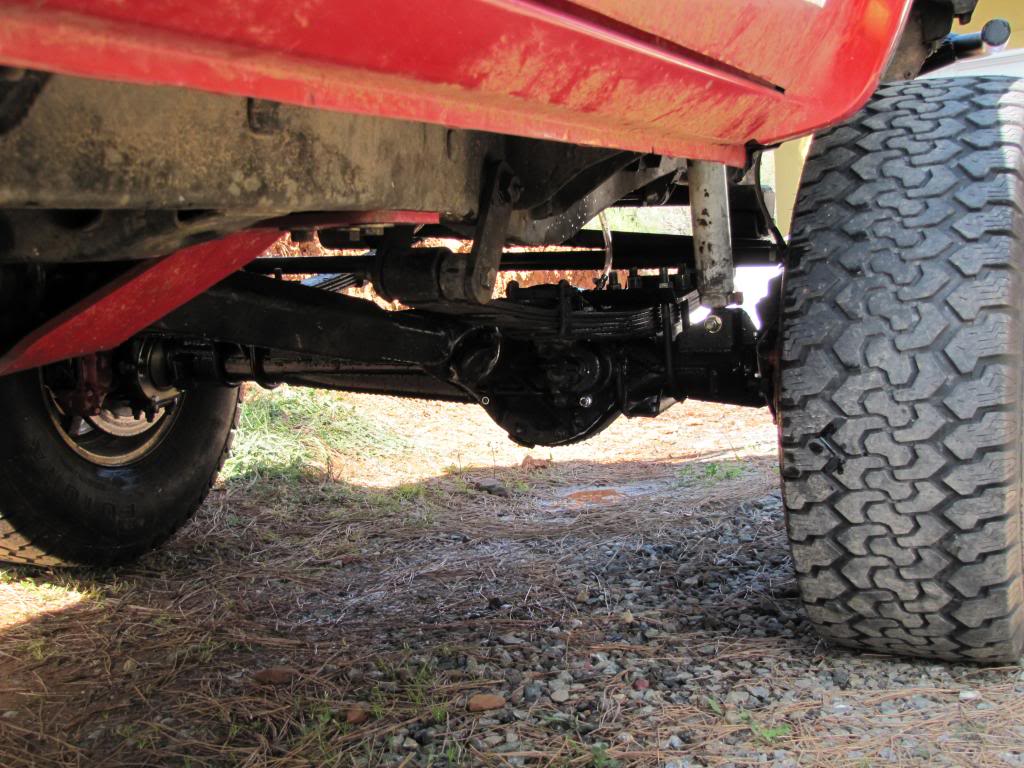
Honestly I wish I knew, they flex ok but eventually I'm planning to swap them out with something different and do Chevy 63's in the rear. I need to get Bilsteins as well, the old Ranchos I have on there are totally blown
03-31-2013, 06:03 PM
#11
Could always do Toyota RUF, and use the leafs from the fronts you have for some of the pack. You definitely have some aftermarkets on the rear too because the hanger looks like it was moved forward.
04-01-2013, 08:58 AM
#12
Registered User
Thread Starter
Join Date: Mar 2011
Location: Reno, NV/ Cool, CA
Posts: 10
Likes: 0
Received 0 Likes
on
0 Posts
I was thinking RUF would be best, I'll have to look into it more tho. I'm not sure how to assemble a pack or what type of leafs to put in in what position. The rears are definitely not stock, and not 63's either. After I get 35s I'll be swapping the springs to bring down the height a little and get more flex. I want to ditch the lift blocks too
06-03-2013, 11:50 AM
#13
Registered User
Thread Starter
Join Date: Mar 2011
Location: Reno, NV/ Cool, CA
Posts: 10
Likes: 0
Received 0 Likes
on
0 Posts
We ended up getting everything back together the day that I had to drive up to Reno. The drive up was sort of the first test, and everything went smoothly. No leaks or grinding noises, the tranny shifted fine and nothing was wrong with the 4runner. It drove well for the last weeks of school. So before I left Reno after my first year of college, I stopped by Summit Racing in Sparks to pick up some seats. They are just generic beige Summit Racing Sport seats covered in simulated leather. I'm excited to get rid of the stock seats, they're very uncomfortable and not supportive at all. Plus the seat covers didn't look very good.
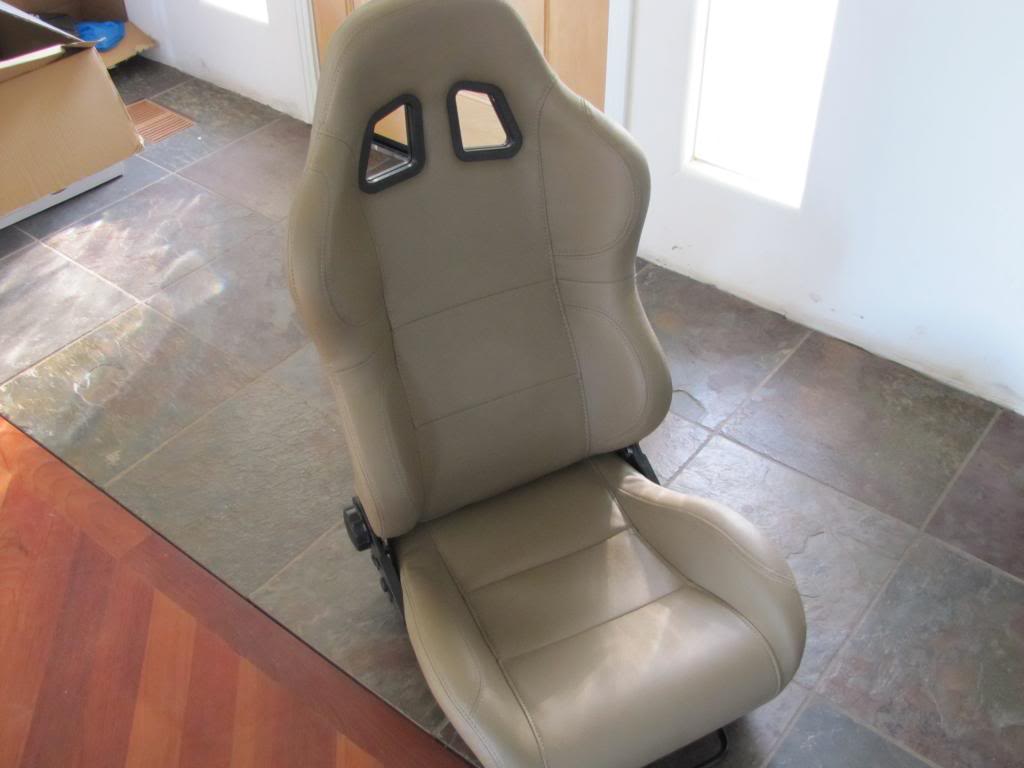
The seats aren't in quite yet, just need to make a run to the hardware store. We had to cannibalize the original seats a little bit, and we are using some steel plate and angle iron to mount them.
Another purchase I made before I left school was new rims. I picked up some 15x8 Ultra type 164's in 3.75 in backspacing with a polished finish. I like the styling but wanted something different with the finish. So I cleaned them up and prepped them for paint
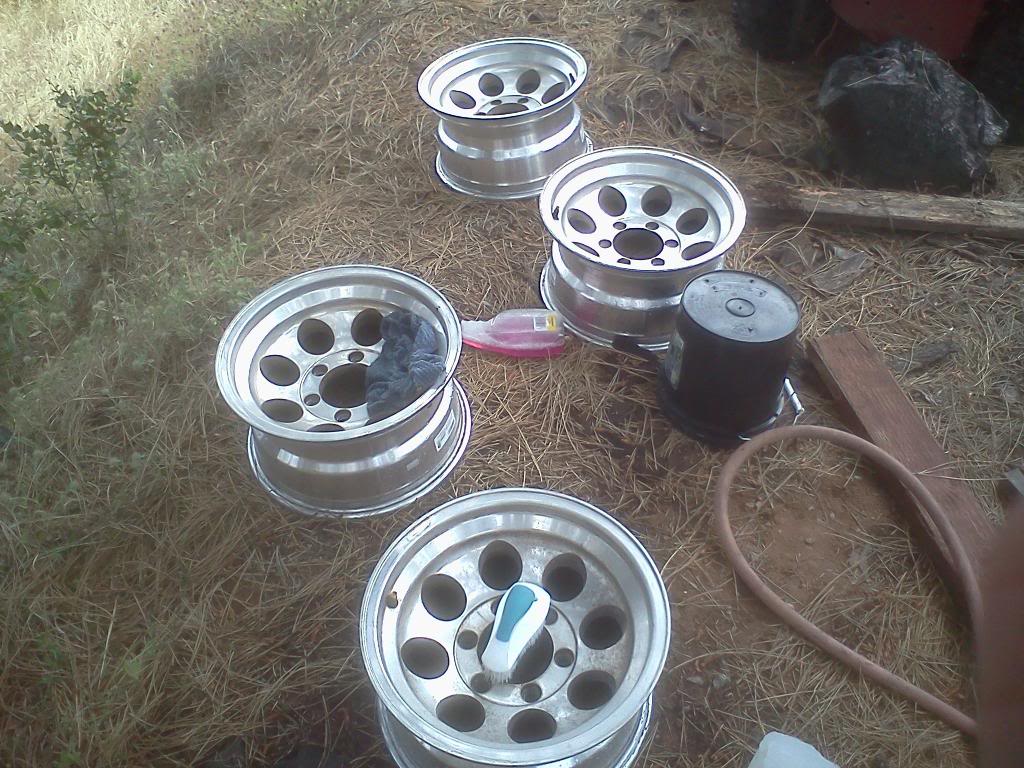
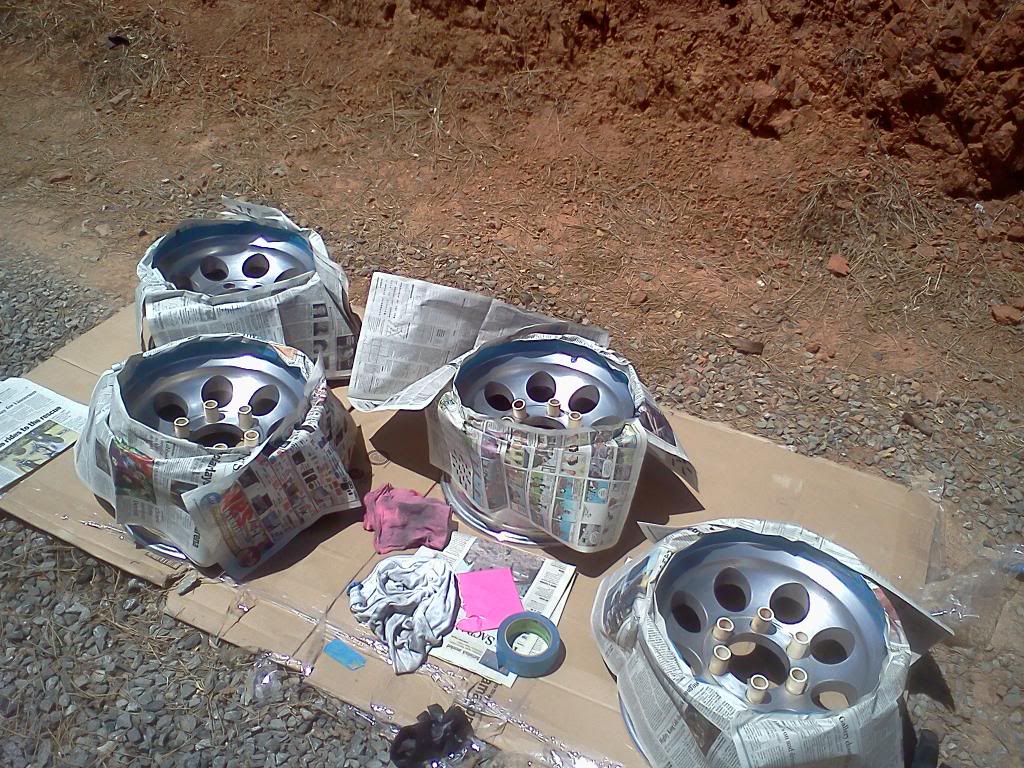
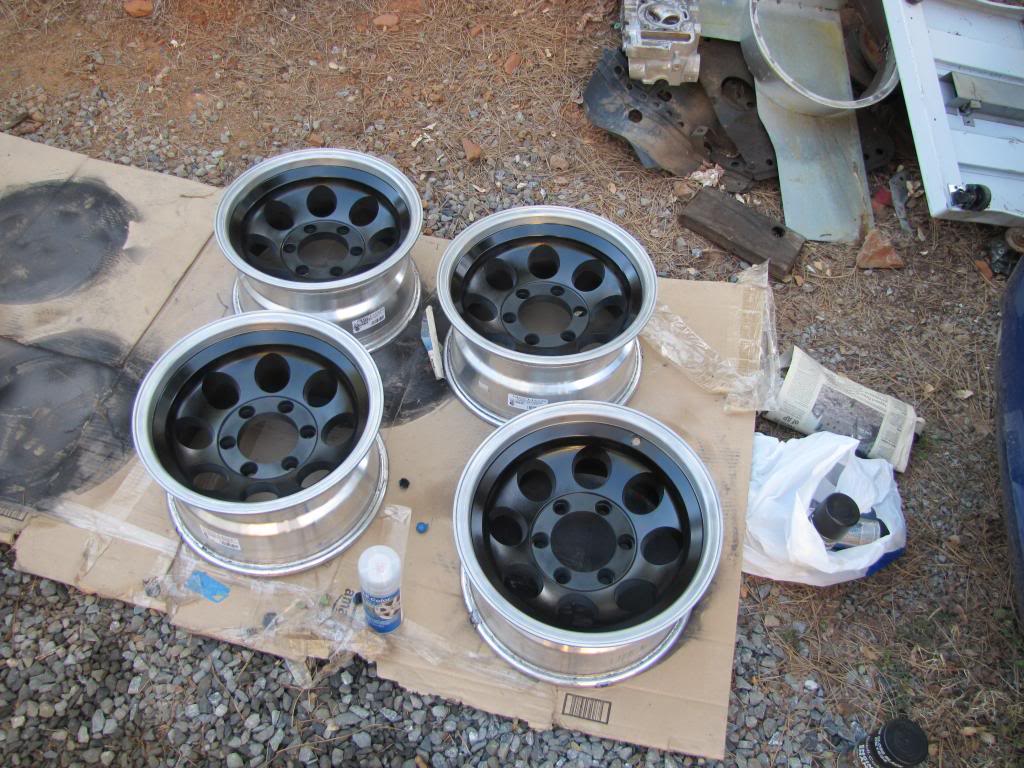
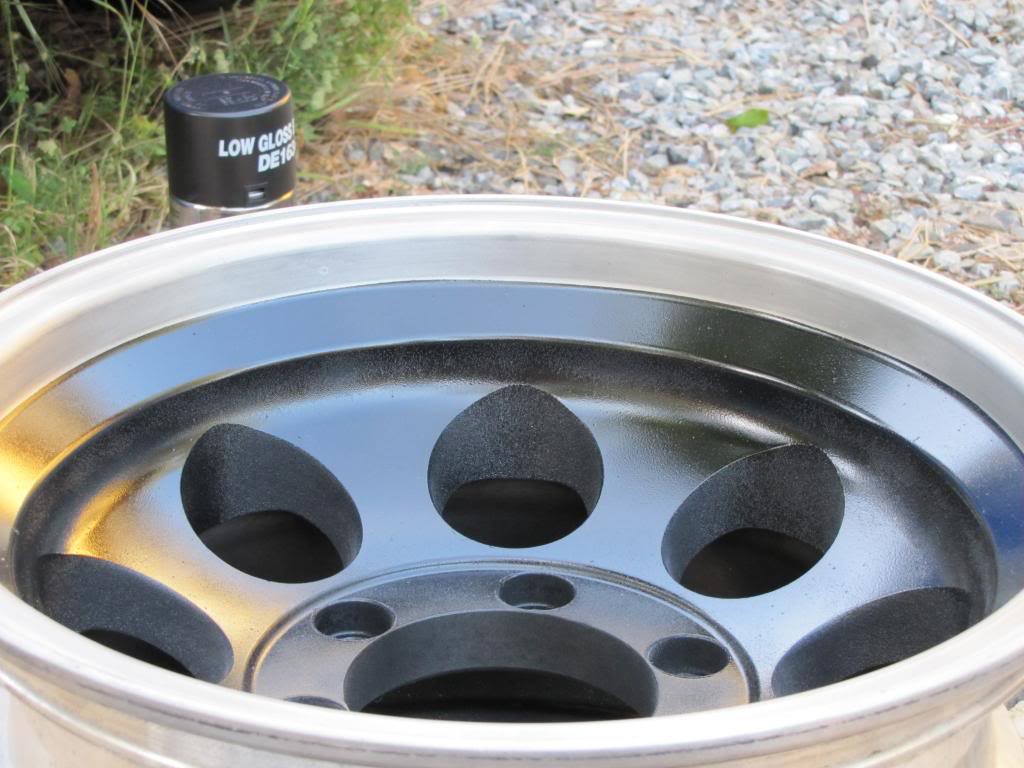
I think they turned out well, I used Duplicolor wheel paint. All they needed was some new rubber. Poser shot with my 33's before I got new meats.
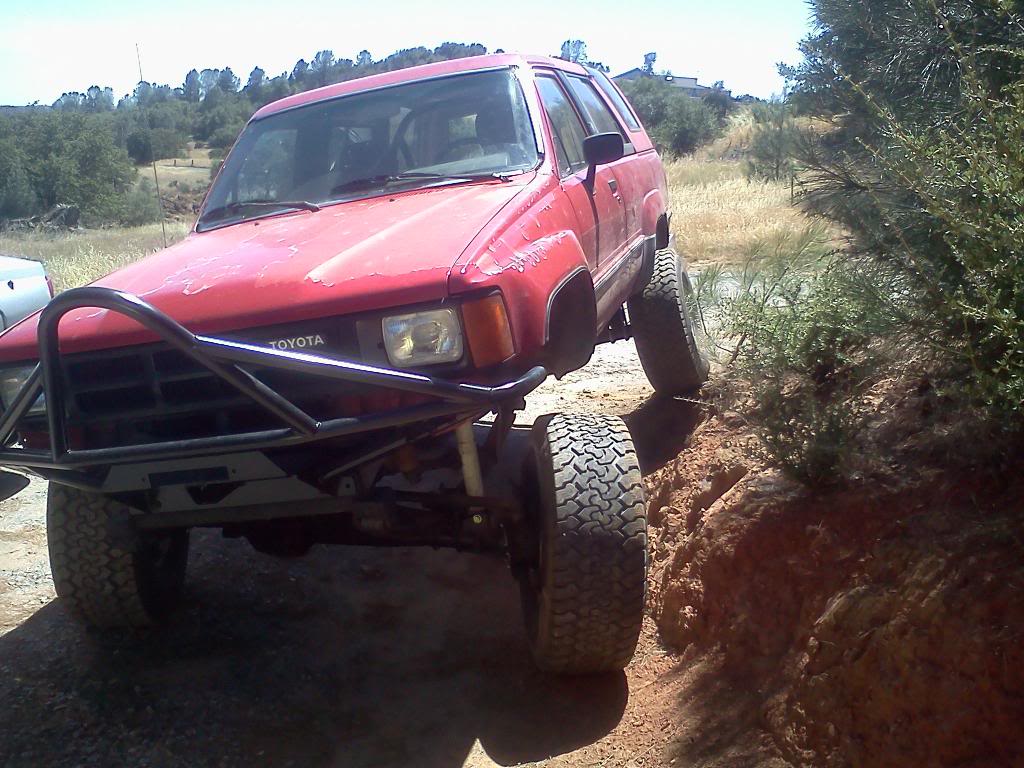
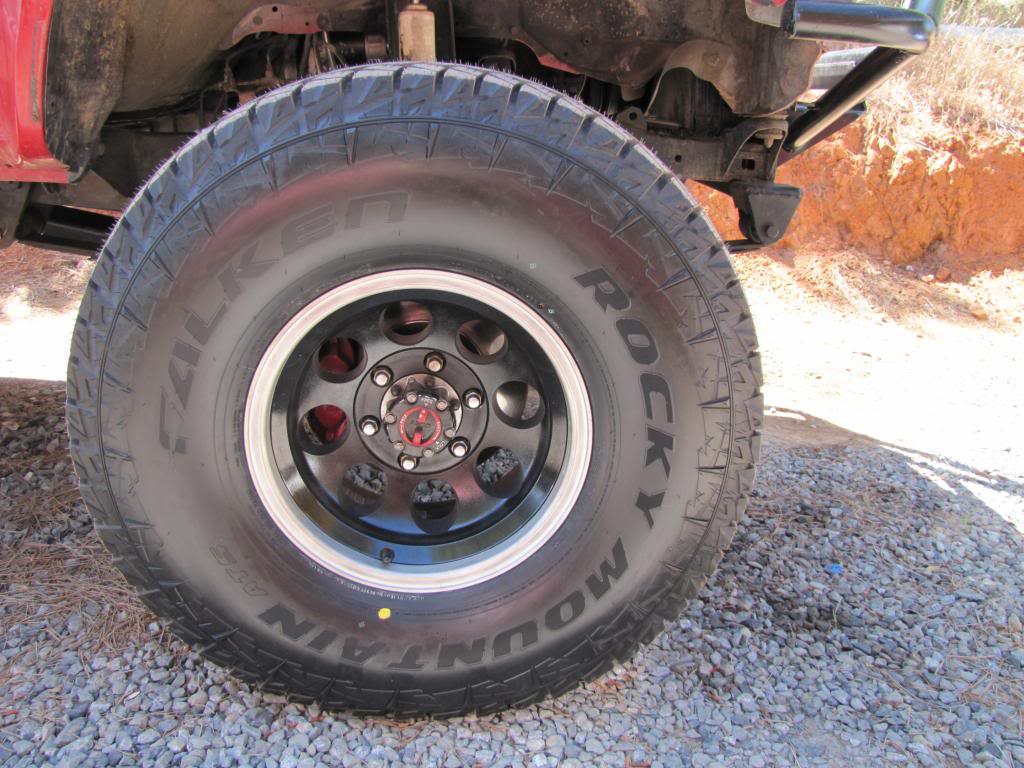
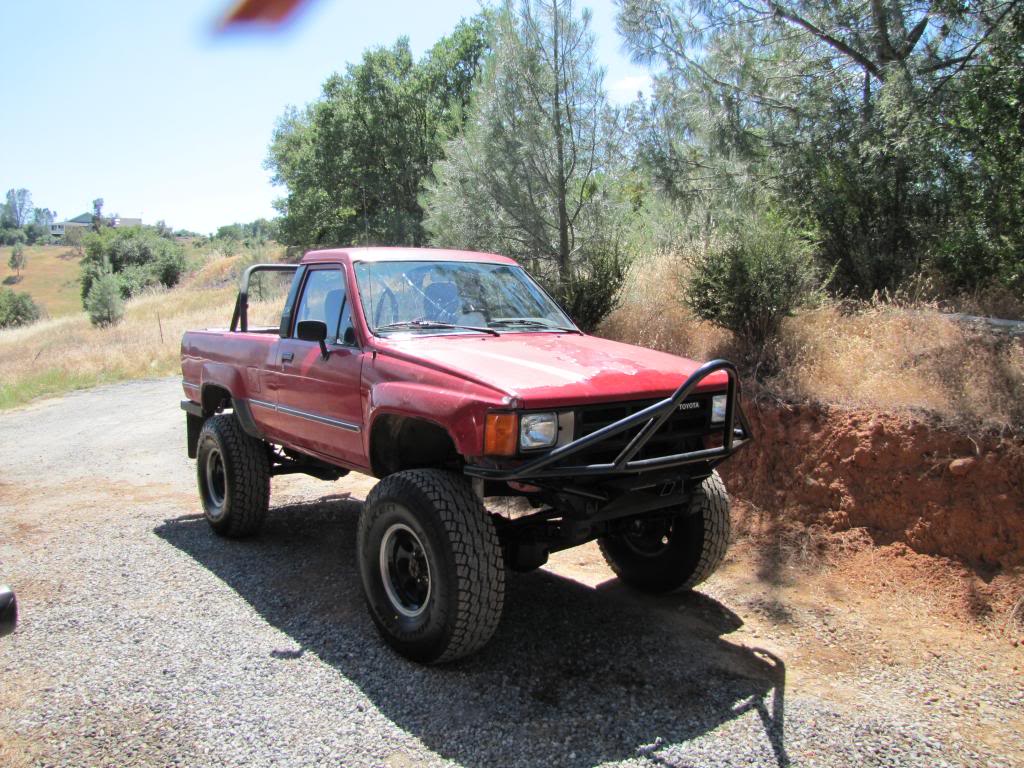
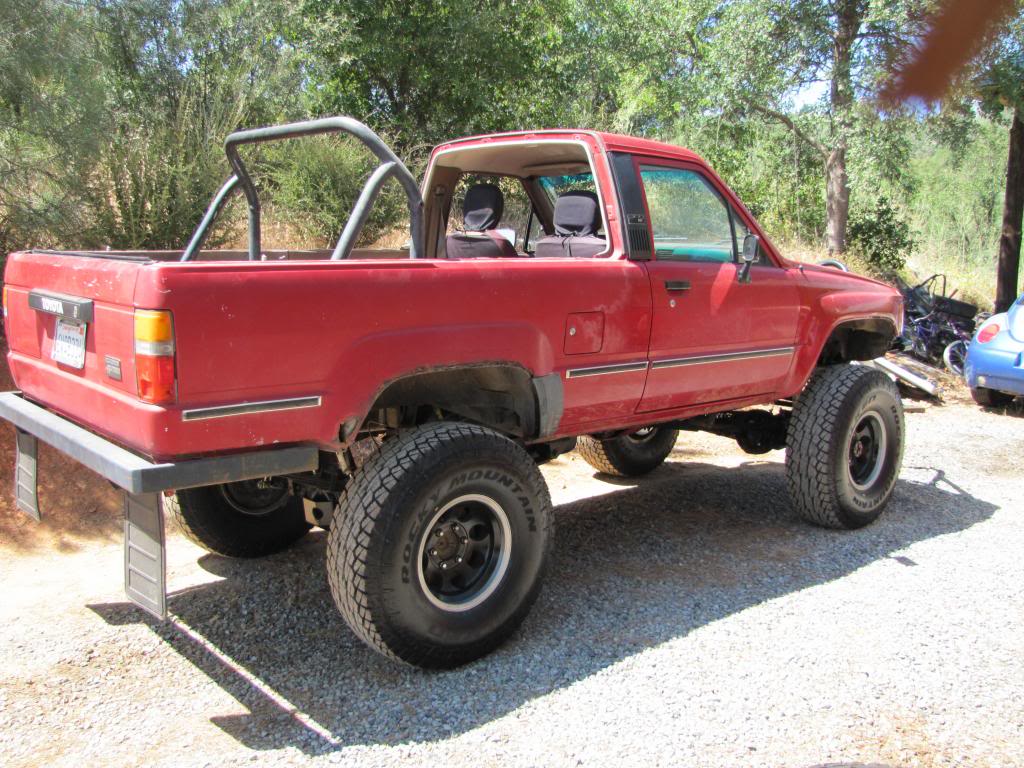
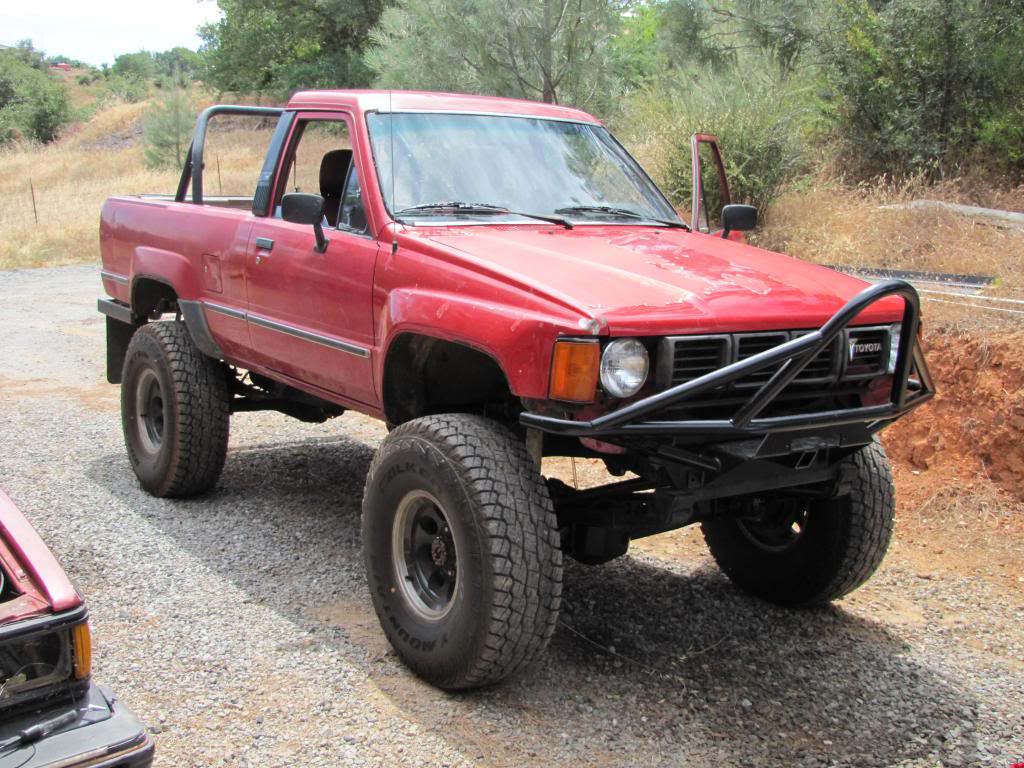
So I had been looking around for tires for a while, and I wanted something that can handle a lot of road miles while also taking abuse on the trail. I was looking at mild M/T's and more aggressive A/T's. The Falken Wildpeak was really attractive especially at the price point because I'm on a college budget. I haven't had the chance to test the out on the rocks yet but they are very quiet on the road. They don't look too aggressive but as long as they perform well I'll be happy. I also decided to go topless
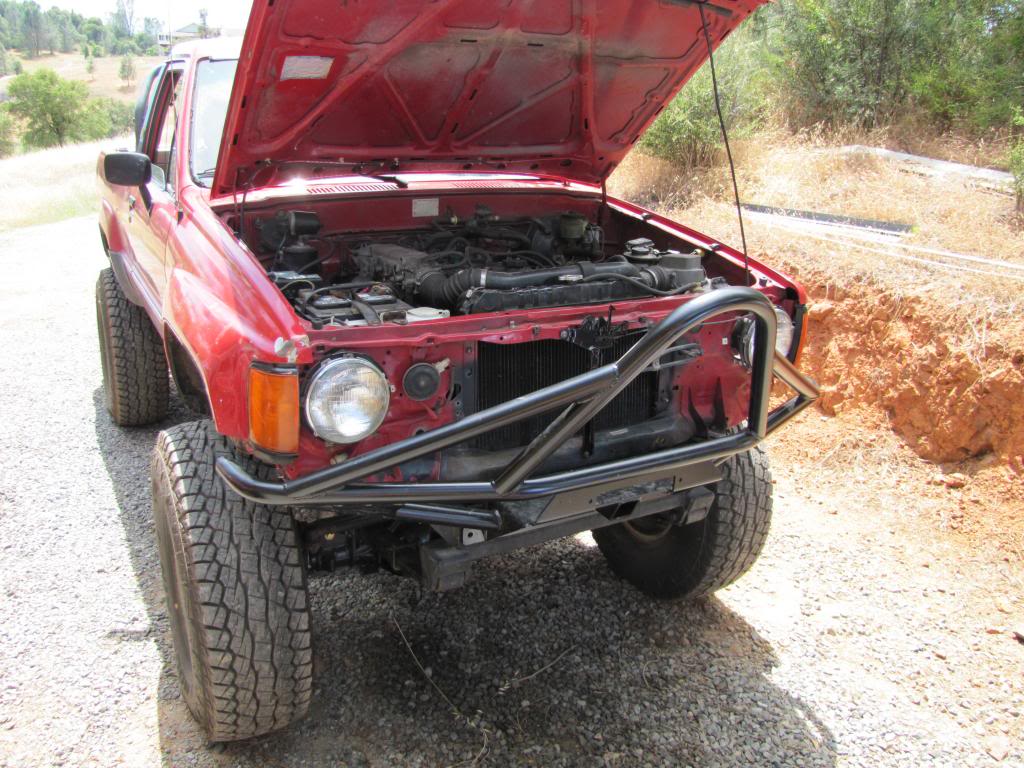
I really love the front end of first gen pickups, round headlights look correct and much more rugged to me. So after searching around and finding some people who did the conversion, I decided to go for it. 3YLSYKR's 4runner was a big inspiration.
Off came the grill and soon the lights and buckets were out.
Gave the hood latch a little paint
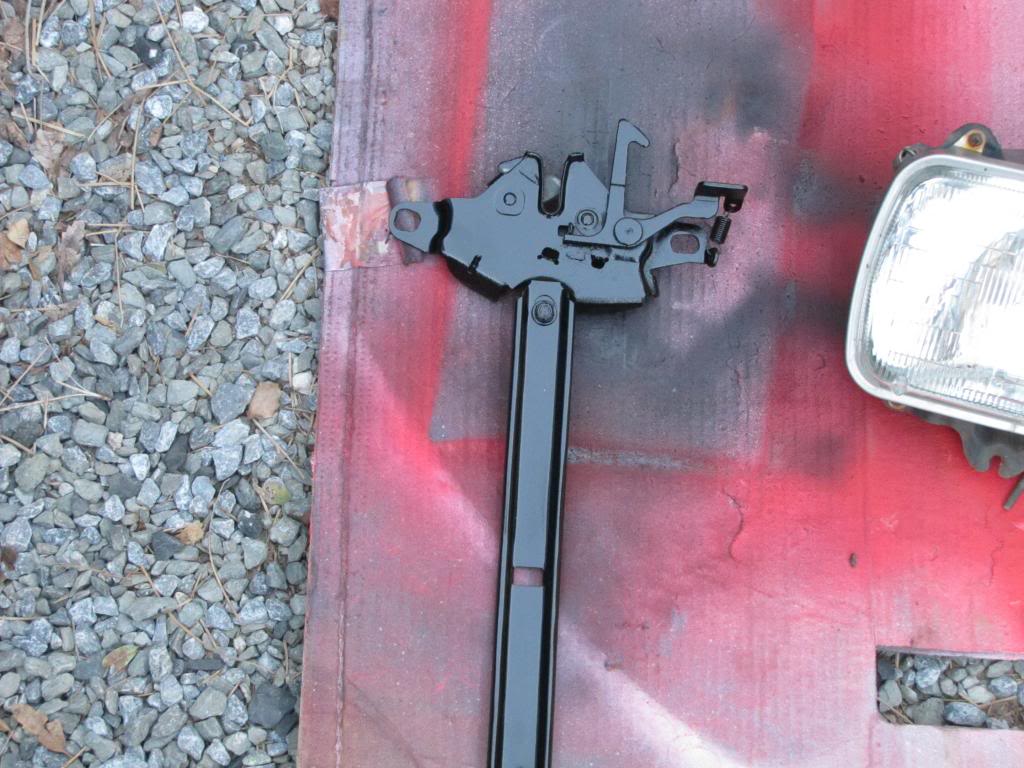
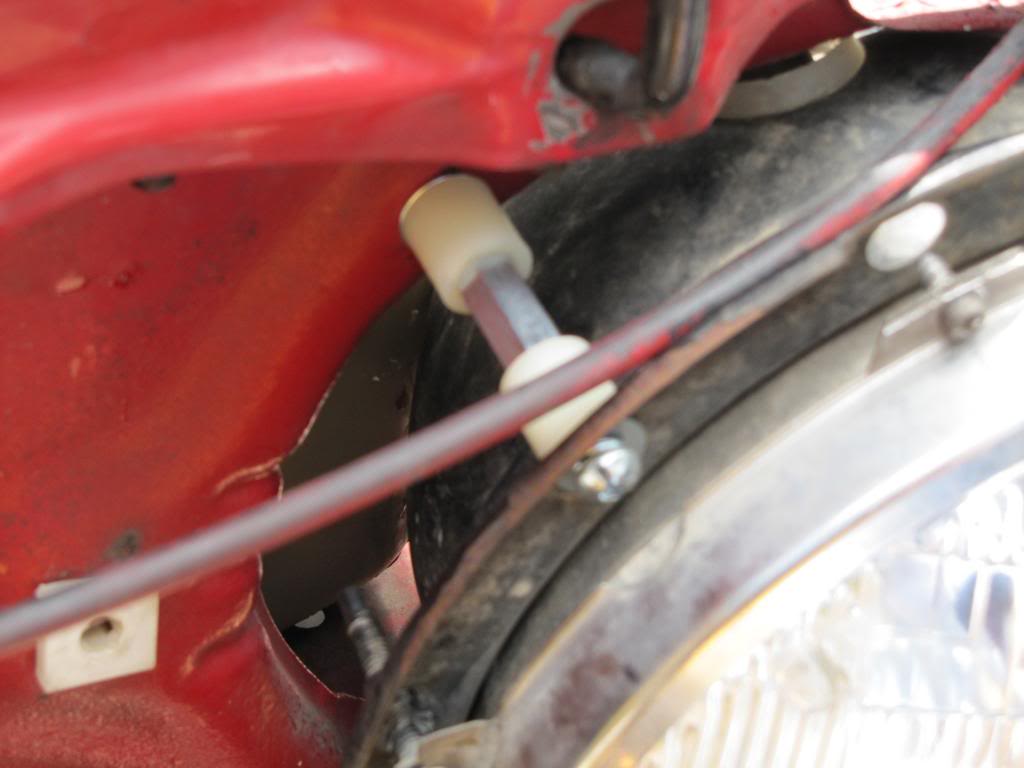
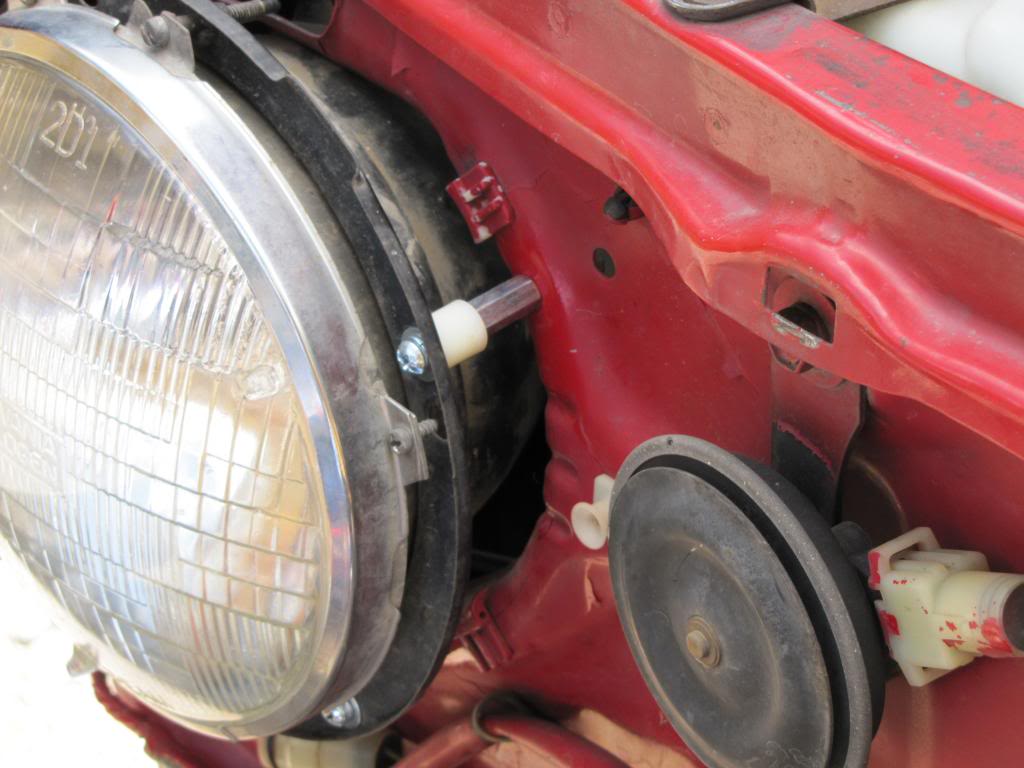
The buckets we used were off of a Range Rover Classic from pick n pull. They fit pretty well with some machine screws, spacers and a coupling nut. There are 3 mounting points that we used, only 1 hole had to be drilled though
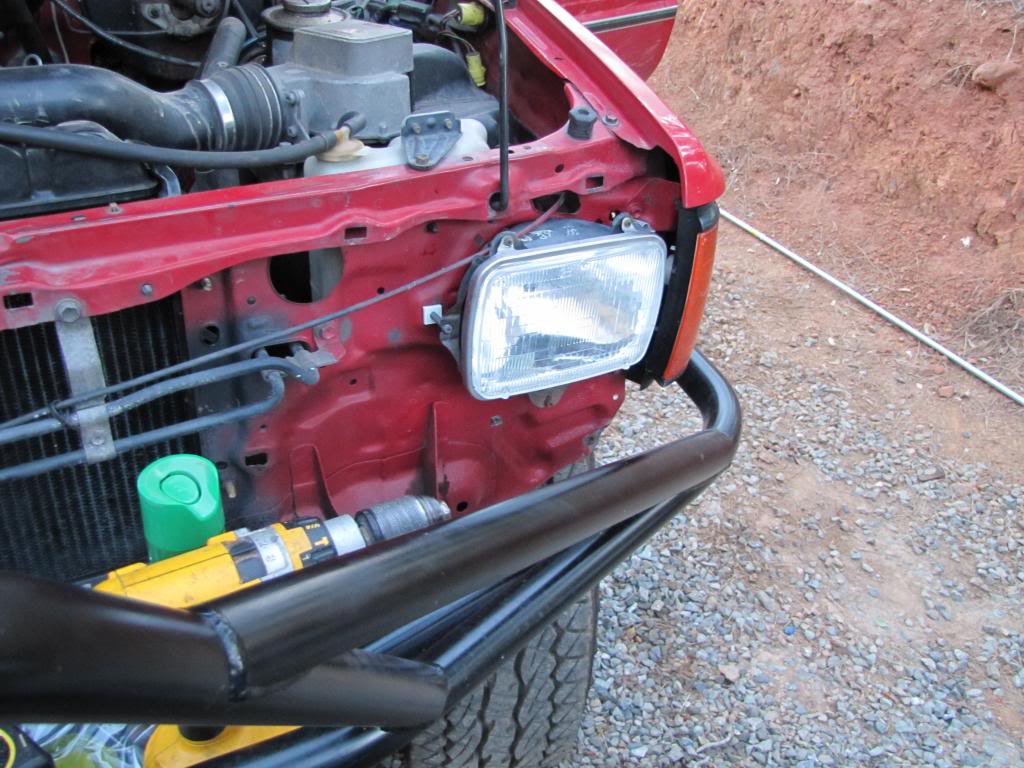
I also just picked up some sealed beam 7 in headlights from pick n pull until I buy a pair of H4 replaceable type, probably from vision x.
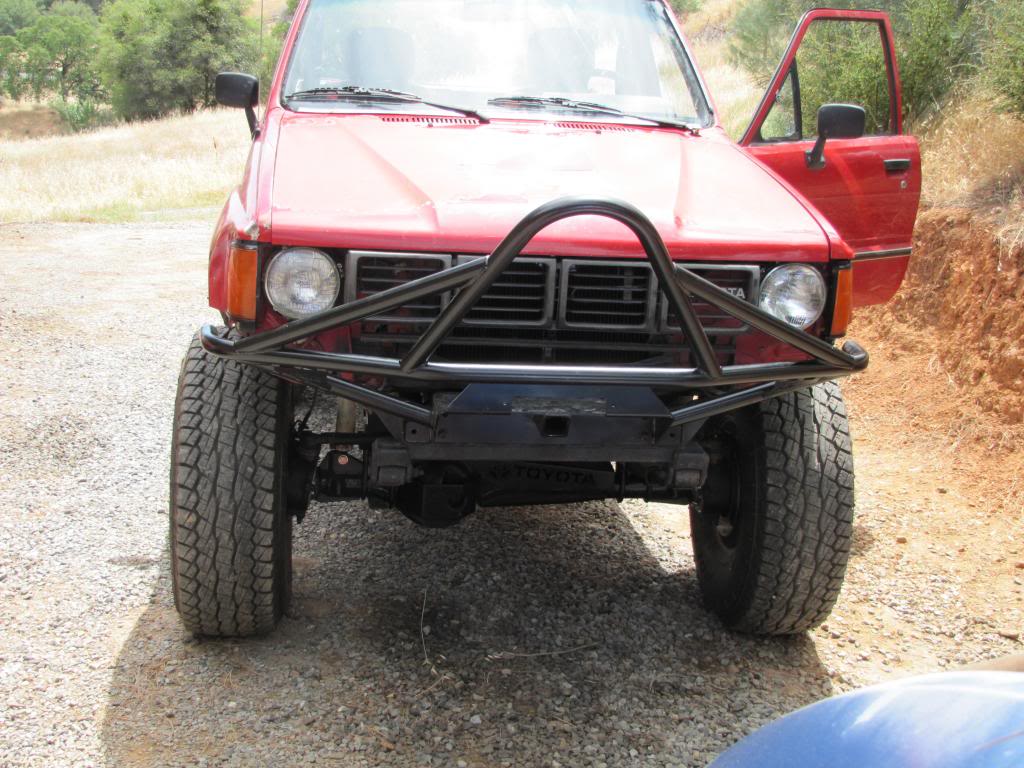
To complete the round eye look, I needed a first gen pickup grill and got one off craigslist. Its in pretty good shape, and some of the mounting holes lined up with the original holes. I drilled a hole through the hood latch bracket as well. A few more mounting points are gonna get brackets, but its on there well enough for now.
The seats aren't in quite yet, just need to make a run to the hardware store. We had to cannibalize the original seats a little bit, and we are using some steel plate and angle iron to mount them.
Another purchase I made before I left school was new rims. I picked up some 15x8 Ultra type 164's in 3.75 in backspacing with a polished finish. I like the styling but wanted something different with the finish. So I cleaned them up and prepped them for paint
I think they turned out well, I used Duplicolor wheel paint. All they needed was some new rubber. Poser shot with my 33's before I got new meats.
So I had been looking around for tires for a while, and I wanted something that can handle a lot of road miles while also taking abuse on the trail. I was looking at mild M/T's and more aggressive A/T's. The Falken Wildpeak was really attractive especially at the price point because I'm on a college budget. I haven't had the chance to test the out on the rocks yet but they are very quiet on the road. They don't look too aggressive but as long as they perform well I'll be happy. I also decided to go topless
I really love the front end of first gen pickups, round headlights look correct and much more rugged to me. So after searching around and finding some people who did the conversion, I decided to go for it. 3YLSYKR's 4runner was a big inspiration.
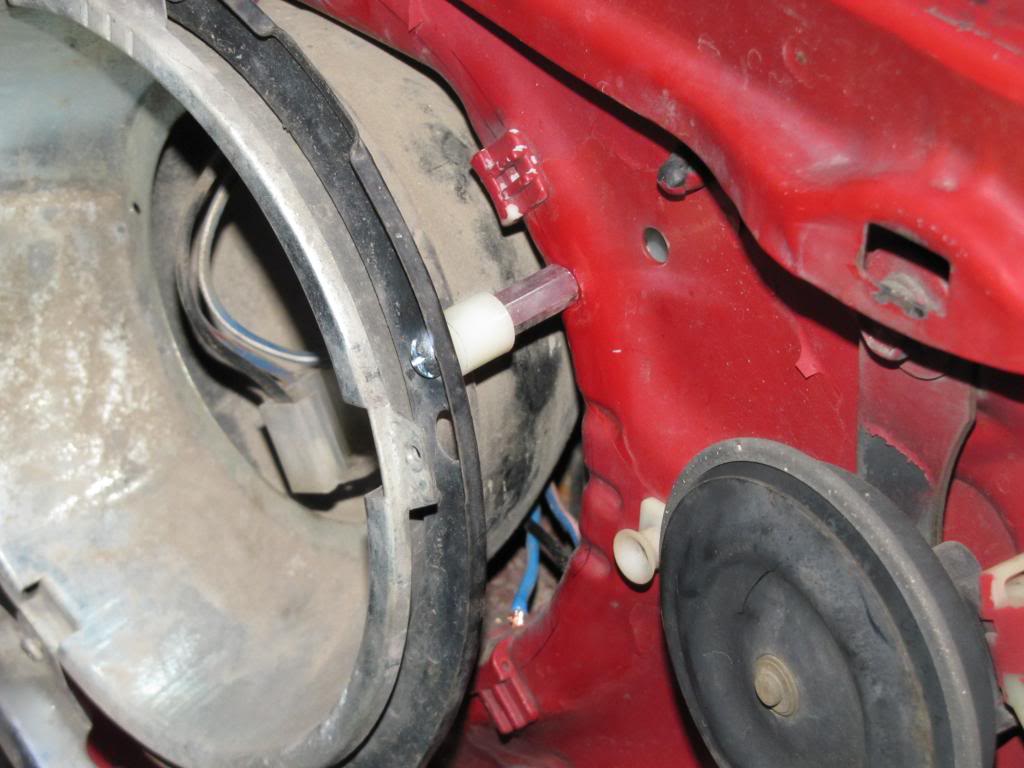
Off came the grill and soon the lights and buckets were out.
Gave the hood latch a little paint
The buckets we used were off of a Range Rover Classic from pick n pull. They fit pretty well with some machine screws, spacers and a coupling nut. There are 3 mounting points that we used, only 1 hole had to be drilled though
I also just picked up some sealed beam 7 in headlights from pick n pull until I buy a pair of H4 replaceable type, probably from vision x.
To complete the round eye look, I needed a first gen pickup grill and got one off craigslist. Its in pretty good shape, and some of the mounting holes lined up with the original holes. I drilled a hole through the hood latch bracket as well. A few more mounting points are gonna get brackets, but its on there well enough for now.
Last edited by sweet_madness94; 06-03-2013 at 11:56 AM.
06-05-2013, 08:17 PM
#17
Registered User
Thread Starter
Join Date: Mar 2011
Location: Reno, NV/ Cool, CA
Posts: 10
Likes: 0
Received 0 Likes
on
0 Posts

Thread
Thread Starter
Forum
Replies
Last Post
RedRunner_87
95.5-2004 Tacomas & 96-2002 4Runners (Build-Up Section)
84
06-01-2021 01:51 PM


