dark_fairytales 1986 Pickup Build-Up Thread

 10-22-2011, 11:49 PM
#43
Registered User
Thread Starter
Join Date: Oct 2008
Location: Sacramento, Crawlifonia
Posts: 1,621
Likes: 0
Received 7 Likes
on
4 Posts
I just got home not long ago. Its 12:42AM now. I started working on the install of the LT just be for 11:00AM. There were a few issues and I will describe them in a following post. As of now, the truck is sitting on all fours and is fully compressed on the bump-stops. I was checking for clearance and it is AWESOME!!! I will try to get the update with all the pics. up tomorrow evening, but I have a pretty busy day tomorrow, so do not get your hopes up.
10-24-2011, 12:33 AM
#46
Registered User
Thread Starter
Join Date: Oct 2008
Location: Sacramento, Crawlifonia
Posts: 1,621
Likes: 0
Received 7 Likes
on
4 Posts
OK, its time for pics ladies and gents.
After a busy week of moving I had this great idea, "Hmm, I should install the Long-travel kit on Saturday". It was hell of time consuming. I am wore out now but I am happy it is done.
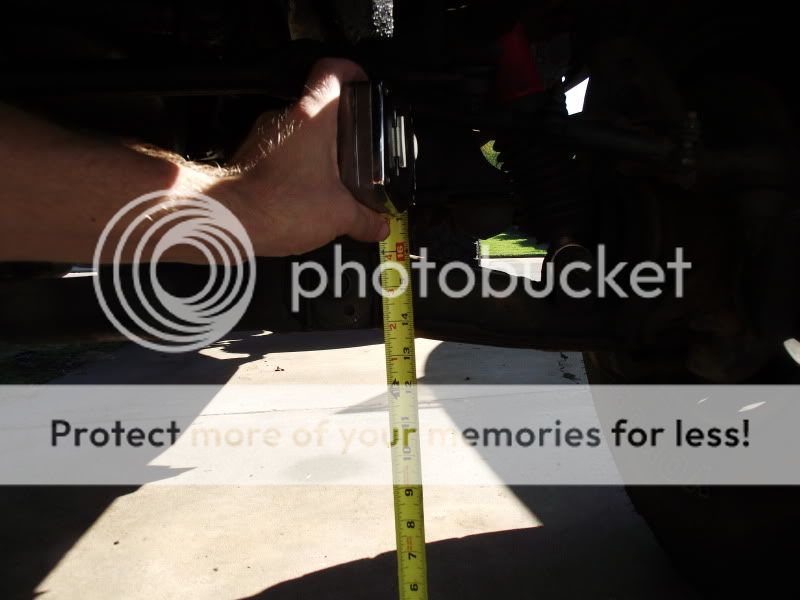
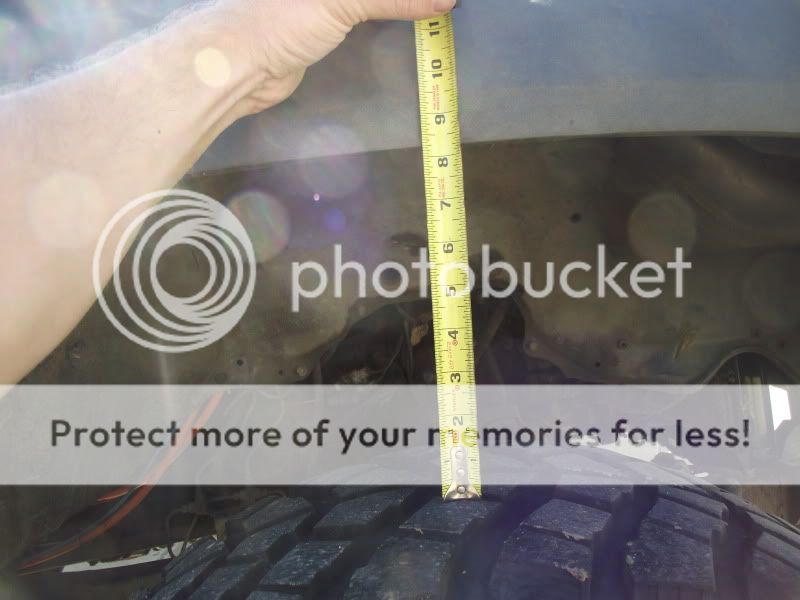
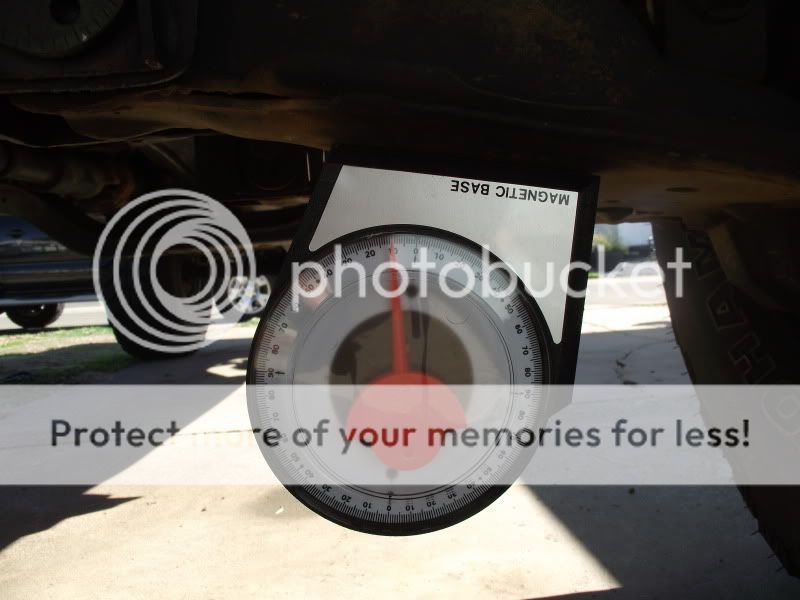
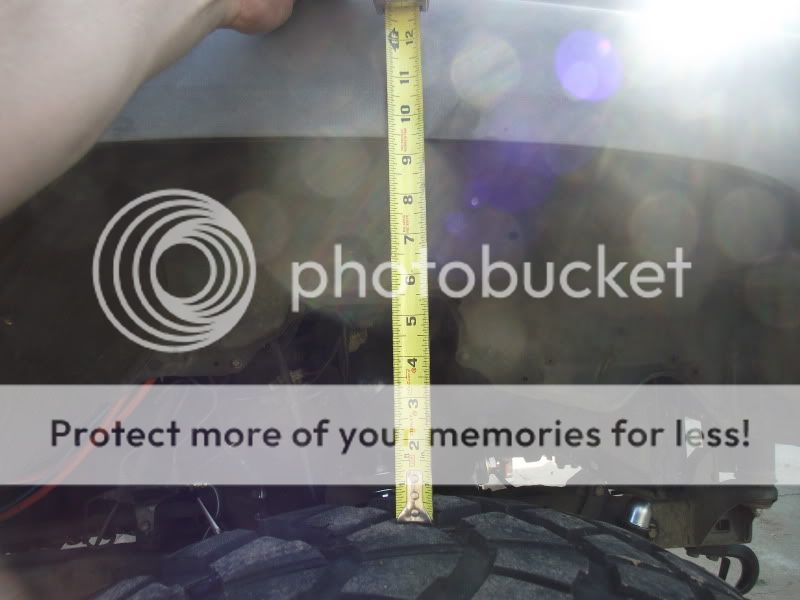
I started by taking some initial measurements. I measured the current height of the front cross member, the height from the tire to the bottom of the fender and also the angle of the Lower Control Arms.
I then proceeded to remove the old worn out Idler Arm. the bushings were shot and it is the stock arm with 416K miles on it. Besides it makes for a bad wheel alignment.
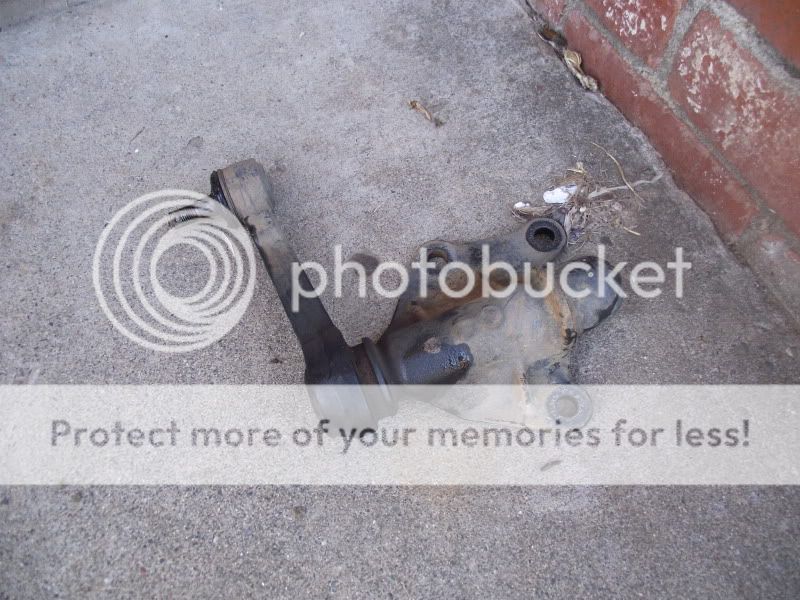
I then replaced the Idler Arm with a new 5040 arm from Auto Zone.
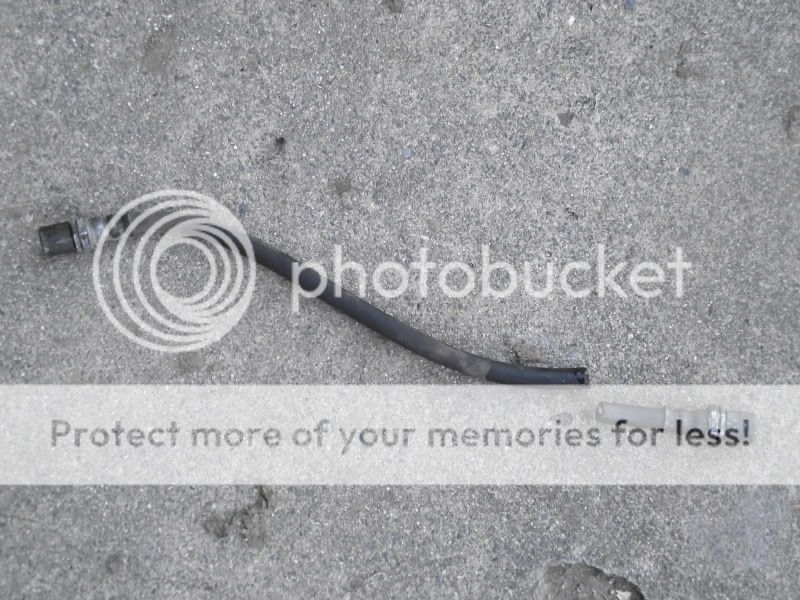
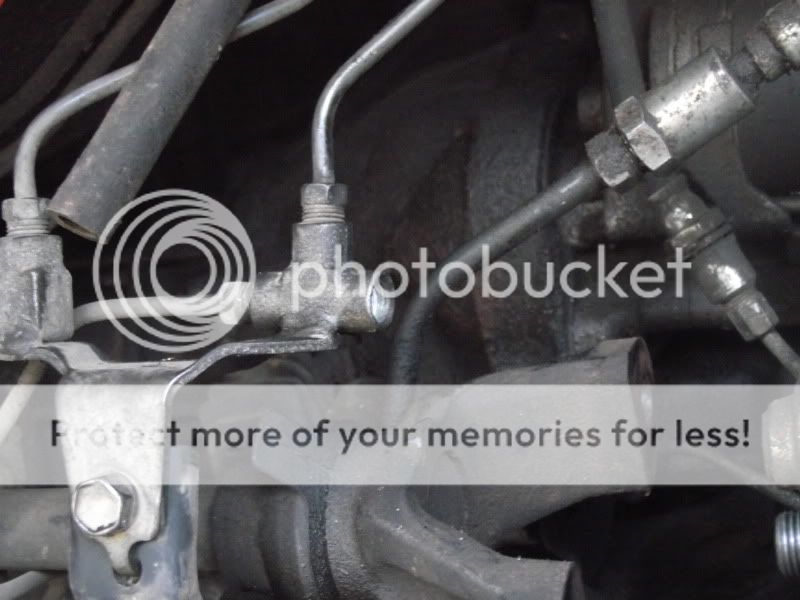
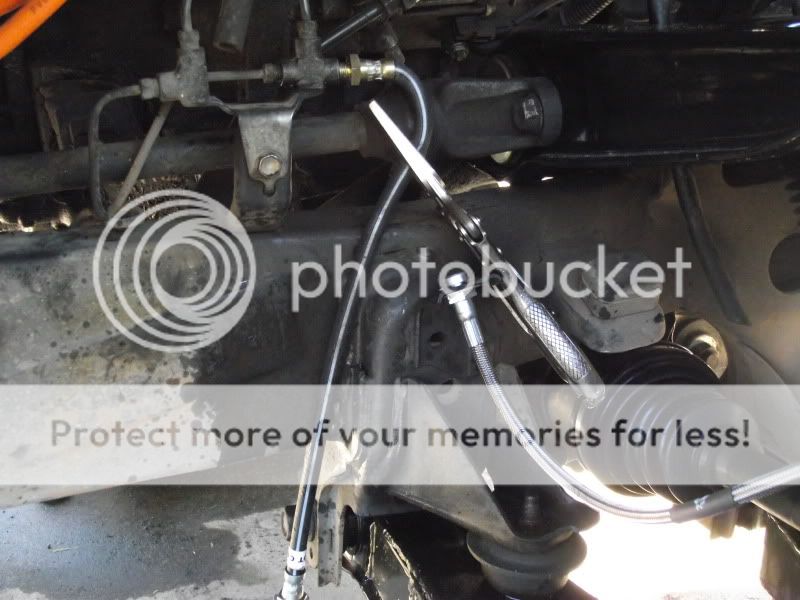
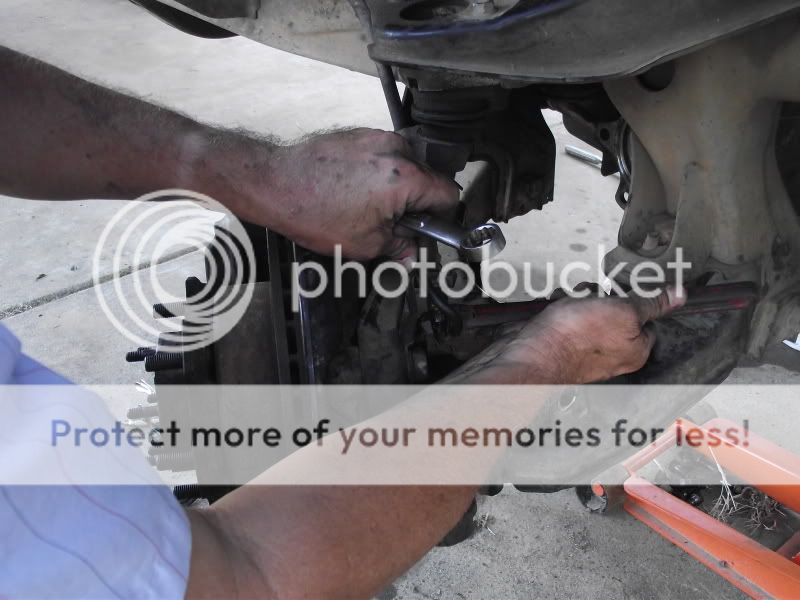
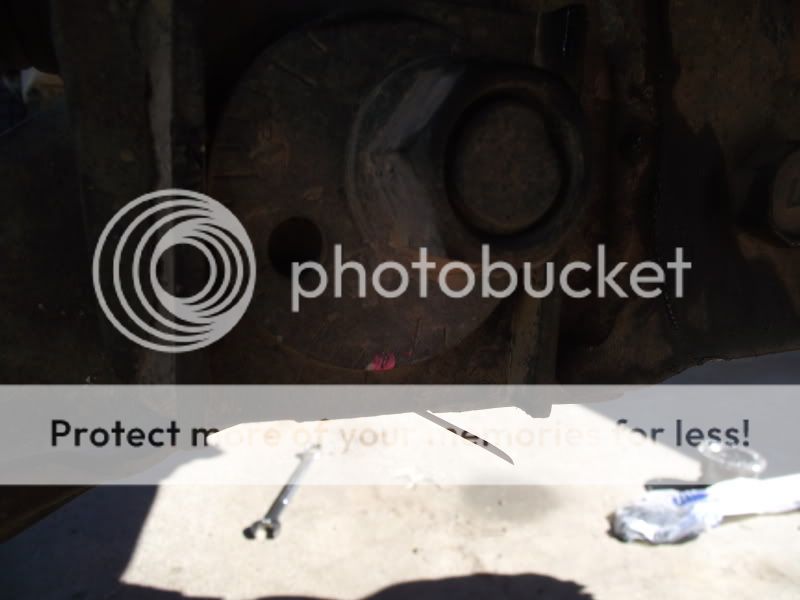
I then continued to remove the rest of the steering linkage, Hubs and Axles. No real need to take pics of that. We have see all that in the past. I finally worked my way to disconnecting the brake hose from the hard lines. This became an issue on the passenger side. I am guessing there was some work done on the brake system in the past. I have no clue what was done, but here is what happened. I used a 10mm line wrench to free the hard line fittings. On both ends the fitting rounded off. I hate this as I am sure most of you have experienced as well. This was truly aggravating as the driver side loosened with out a hitch. This brake line was holding up progress and I wanted this done in one day. After taking a break and finally eating, I got back to the dilemma with the Brake line. I proceeded with a pair of vise-grip pliers. This helped only to chew up the surface and kept doing so with each try. At this point I decided to cut the flex hose and pull each end of the hose through the mounts. From there I could break free the opposing end of the hard line to the T-fitting mounted on the frame. I was figuring I could plug the T-fitting to later bleed the brakes. I planed to just have FireStone fix the brake line when I take the truck in for an alignment on Monday. In the end I wound up fitting a rear brake hose in the T-fitting and clamping off the hose with a pair of vise-grip pliers. My Father found and interesting way of finally getting the old chewed up fitting off of what was left of the original brake hose. He used a Pipe Wrench. I was impressed as to how well it did. We discovered the reason the fittings were so tight. Who ever did work on it in the past, used some kind of sealant or loc-tite on the fittings. ( What a Fool. ) So here are a few pics of the carnage, fix and use of Pipe Wrench.


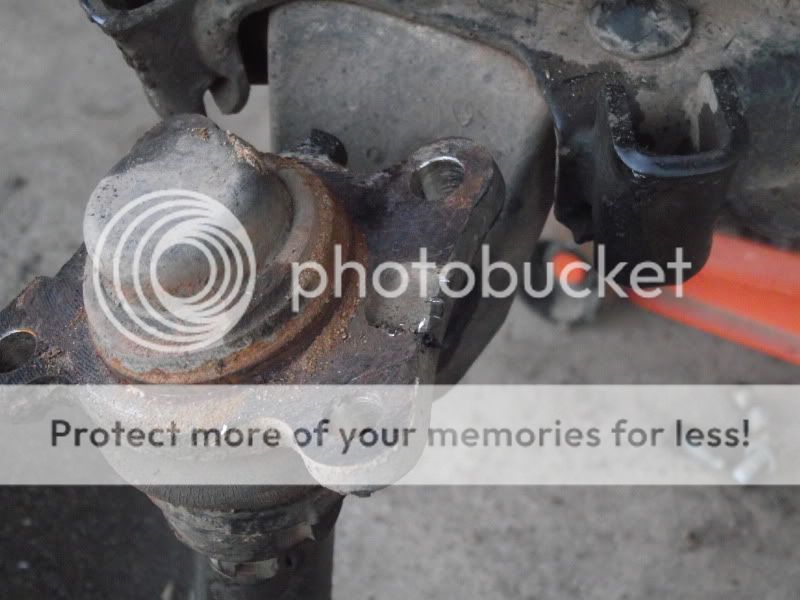
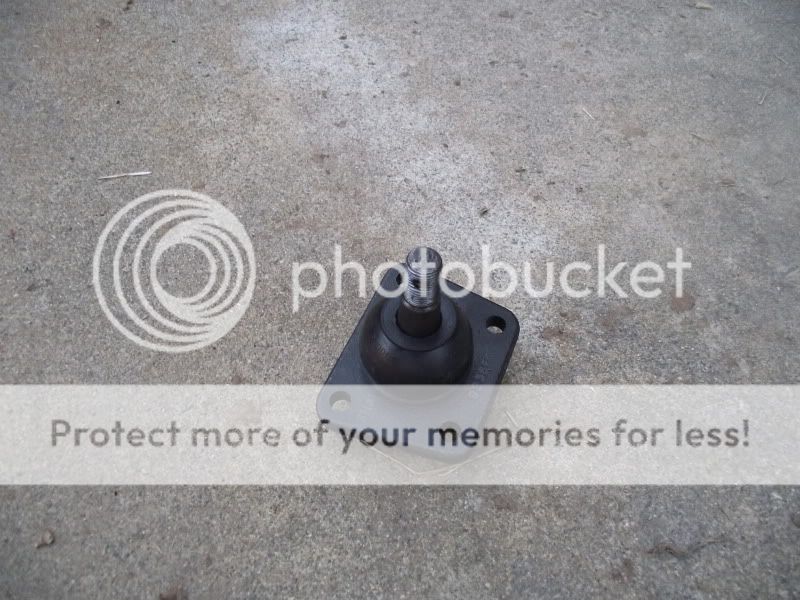
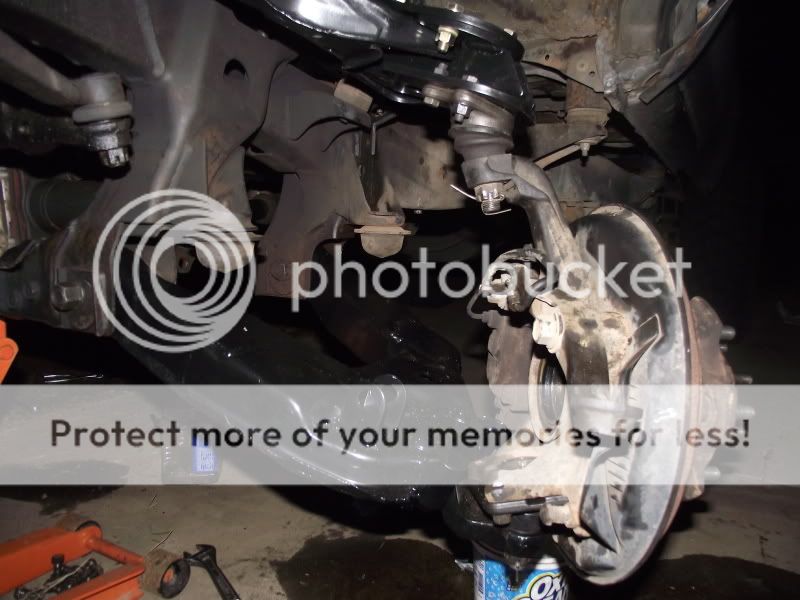
Once the brake issue was solved, I could then make more progress. Next I removed the Spindle and Brake assembly from the up and lower Control Arms. I removed them via the bolts that hold the ball joints to the Control Arms. I found out the Spindle really likes to hug the lower Control Arm. So I took a large screw driver and pounded it in a notch that sits between the Spindle and the lower ball joint. You can see the notch in the lower ball joint clearly in this pic. I am guessing that notch is there for just the purpose I used it for.
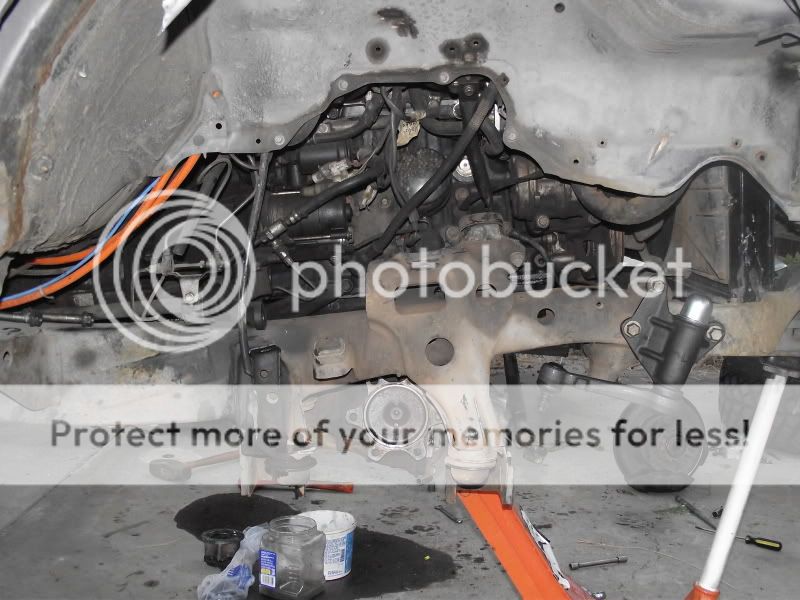
Here she is with the Spindles removed.
Removing the all four Control Arms is pretty strait forward. Just undo bolts and or nuts. Remember to mark the alignment adjusters with paint and keep them organized. Also don't forget to remove the T-bars first. Of course I did not miss either of these steps. Here are some pics of the fingernail polish I used to mark the adjuster and all the Control Arms removed.
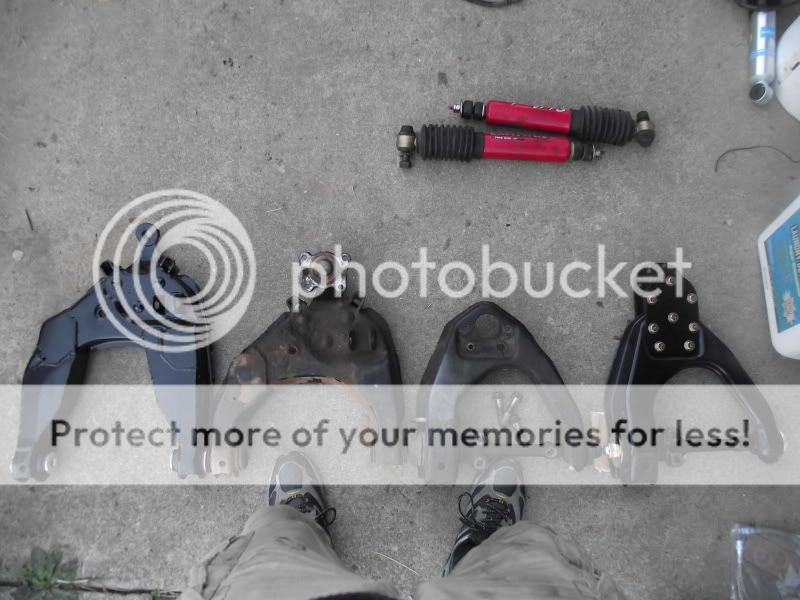
Yes I made it. All the old worn out stock suspentions is completely off. I have been planing this day for far too long. Here are some compairisons of the new equipment I am replacing the stock stuff with.
New lower Ball-joint
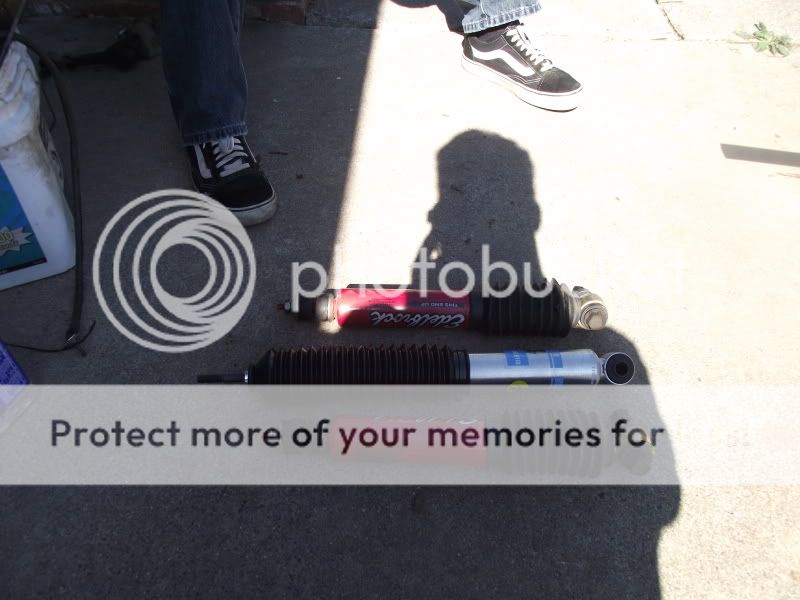
New shocks, the Edlebrocks are just over a year old at this point.
The new Control Arms.
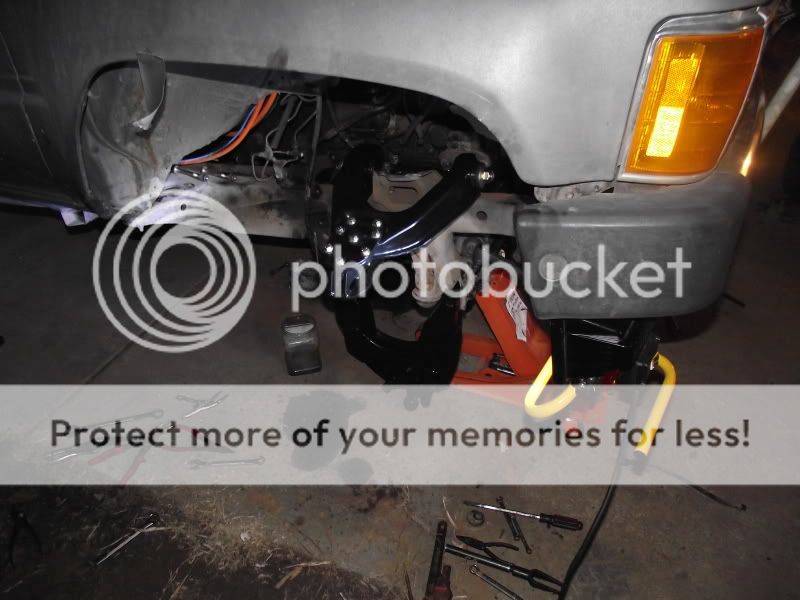
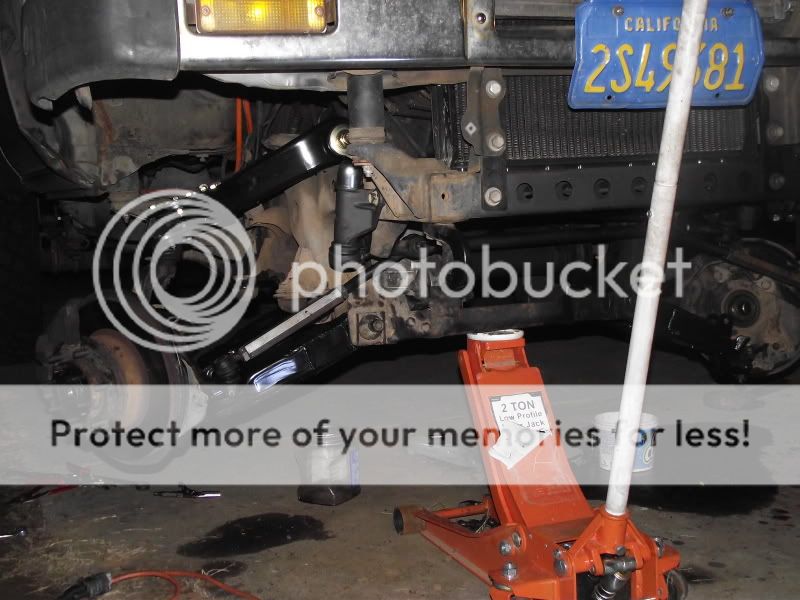
It was starting to get dark and I had to carry on. So I picked up the driver side lower control arm and attempted to mount it in place. I found out the frame mounts looked to be bent apart by 1/8" and the new arm would not fit. I then went to the passenger side and found the same issue. Now I knew the mounts were not bent as both sides had the same issue. I am guessing the Jig Blazeland uses is a bit different then my frame. This is not surprising as my truck is truly a very early IFS truck. The truck was built in 85 and my guess would be the specs. changed just a little over the years as IFS came into full swing. The solution I came up with worked quite well. I put the arm in a vice and crushed the poly bushing some. This did the trick just barely and I was able to fit both lower control arms with little trouble. The uppers has no issues, bolted right up as meant too. Here are the pics. of all four control arms mounted.
Next I thew the Spindles and Brake assembly back on with new lower Ball-joint to match the recently new uppers.
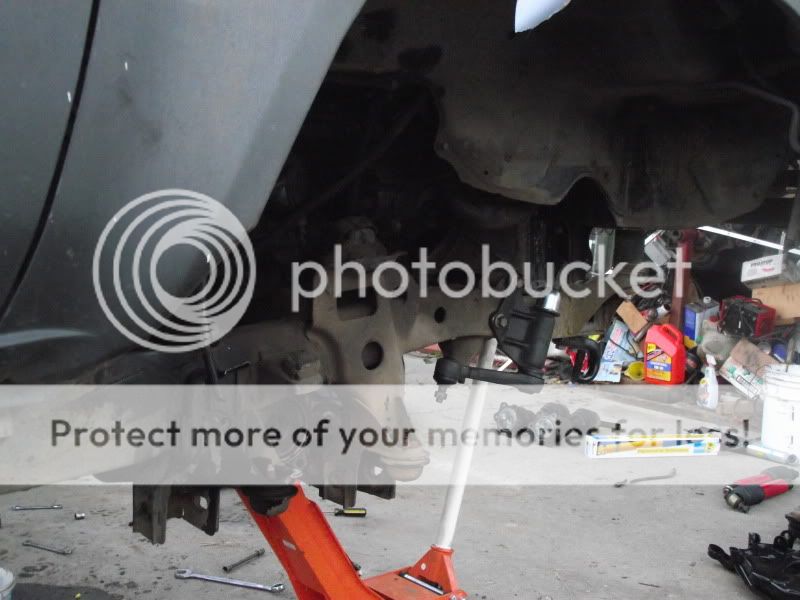
After marking the old tie-rod adjusters with some more fingernail polish. I replace the old adjusters with the newer extended ones and resembled all of the steering linkage.
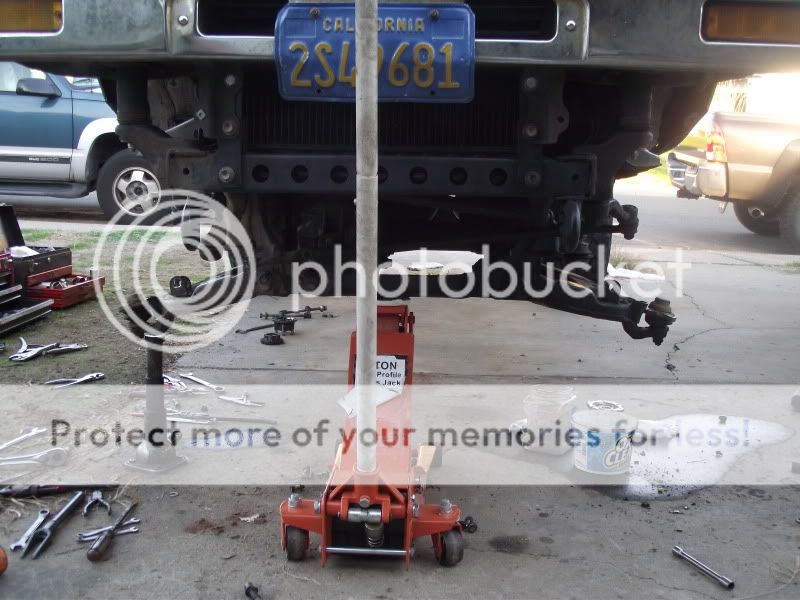
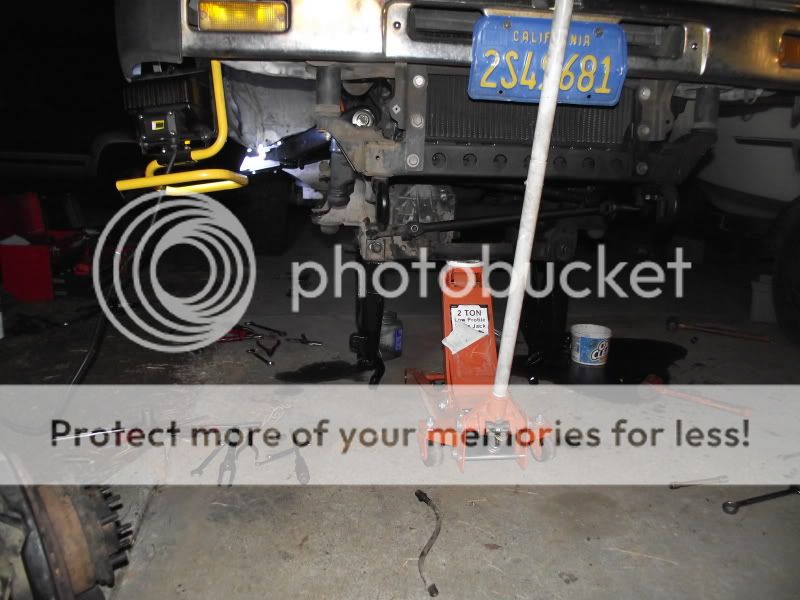
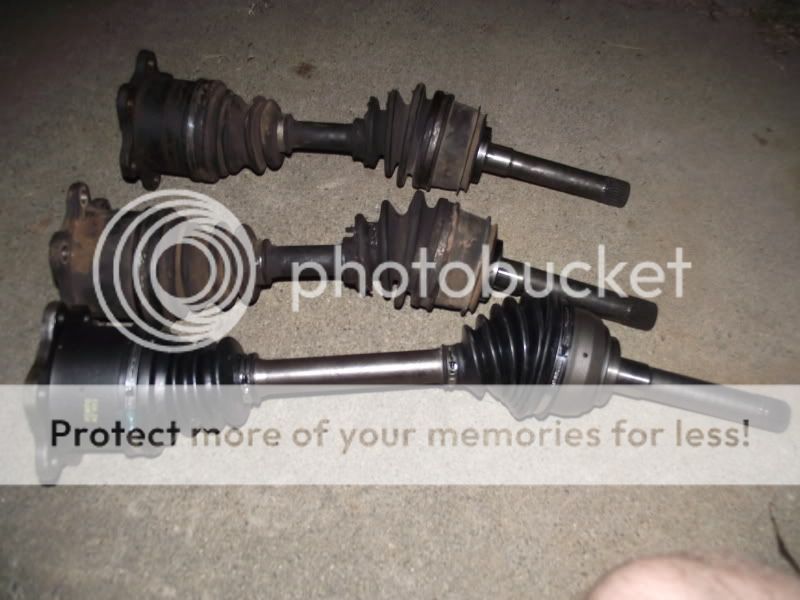
I then put the tires back on and removed the jack from under neath. It was nice to see her back on all fours. I have not tighten up the T-bars at this point, so the truck was sitting at full compression. I wanted to check for clearance issues if any and to simply satisfy my curiosity. I then got under neath to slide the axles in. Here is a comparison of the stock pick-up axles vs. the T-100 axles.
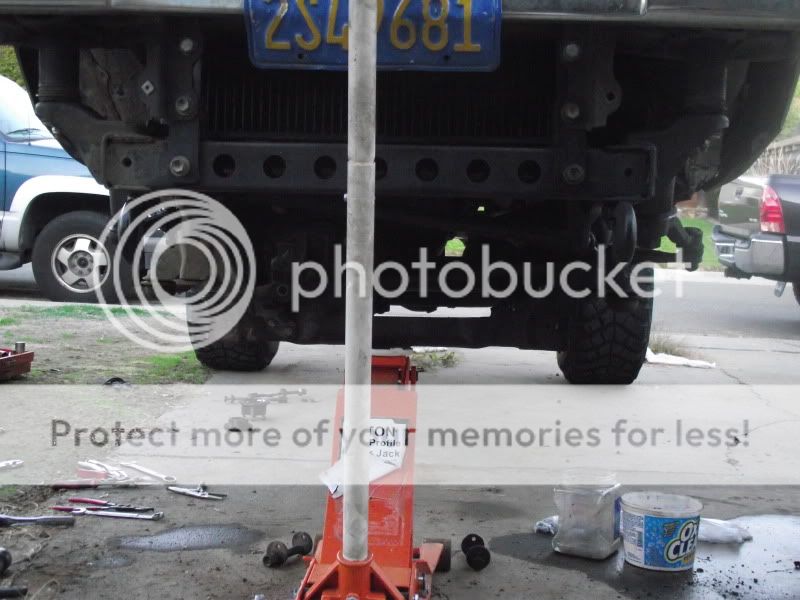
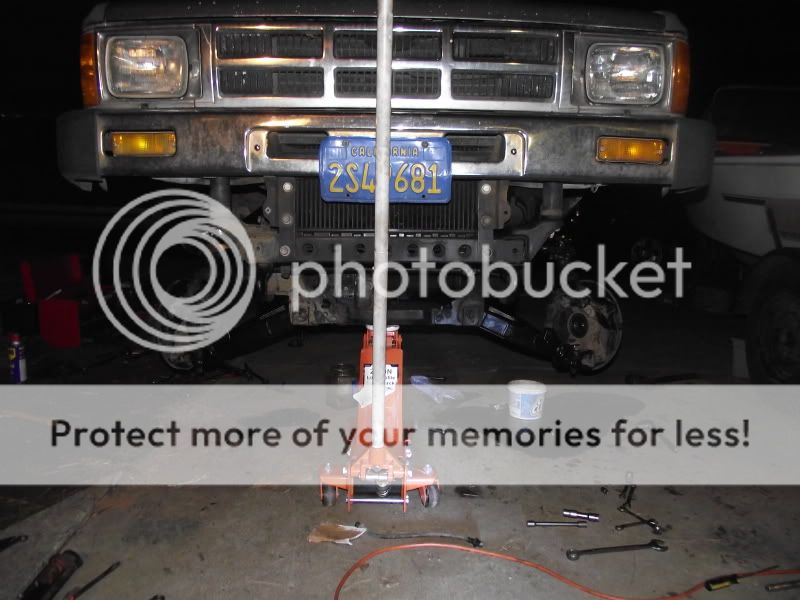
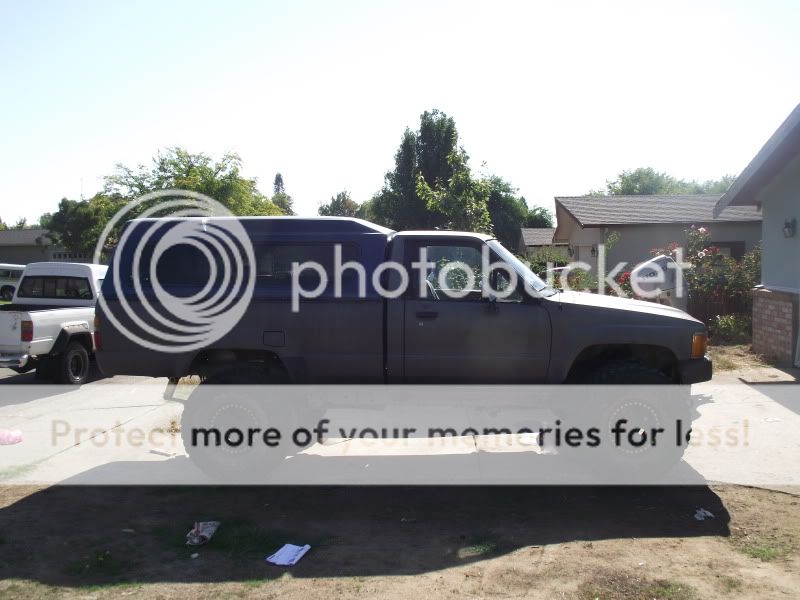
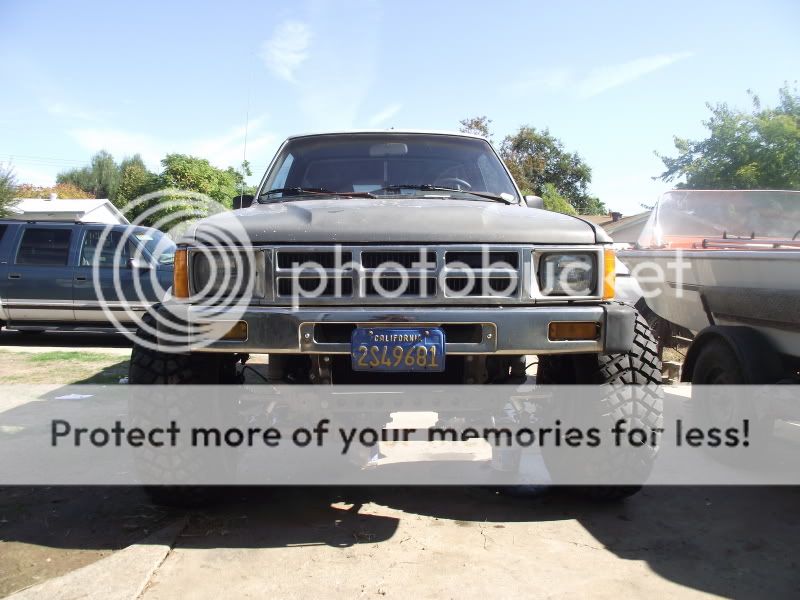
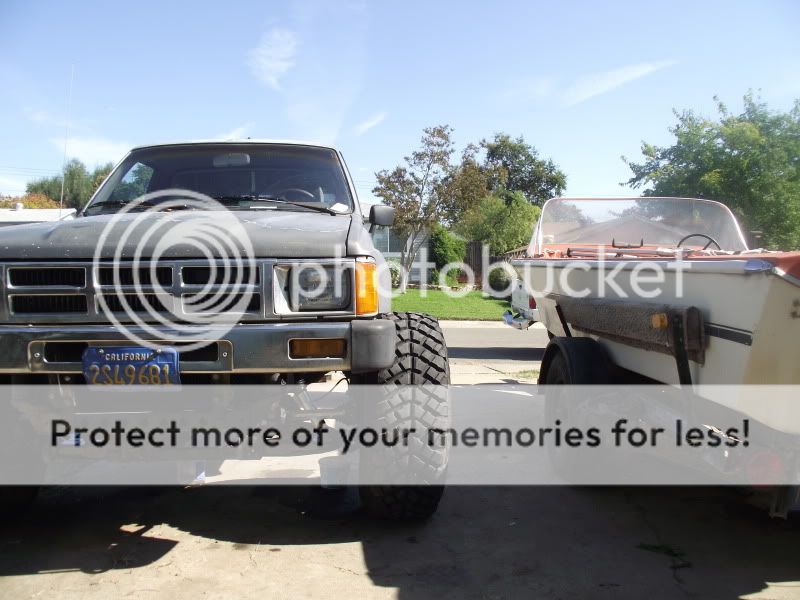
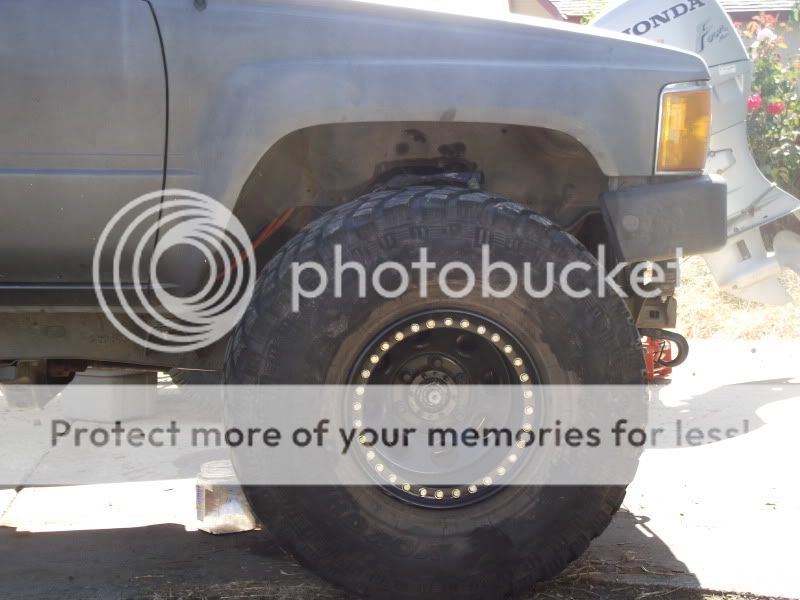
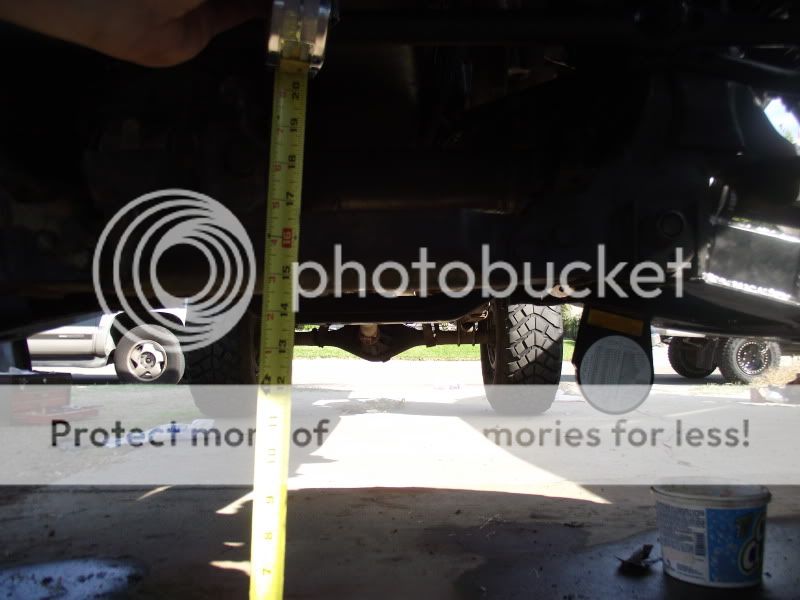
At this point I called it a night. I then came back Sunday to finish up what little was left. Shocks, Hubs and tighten up some loose ends, but first I took some pics of the new stance at full compression.

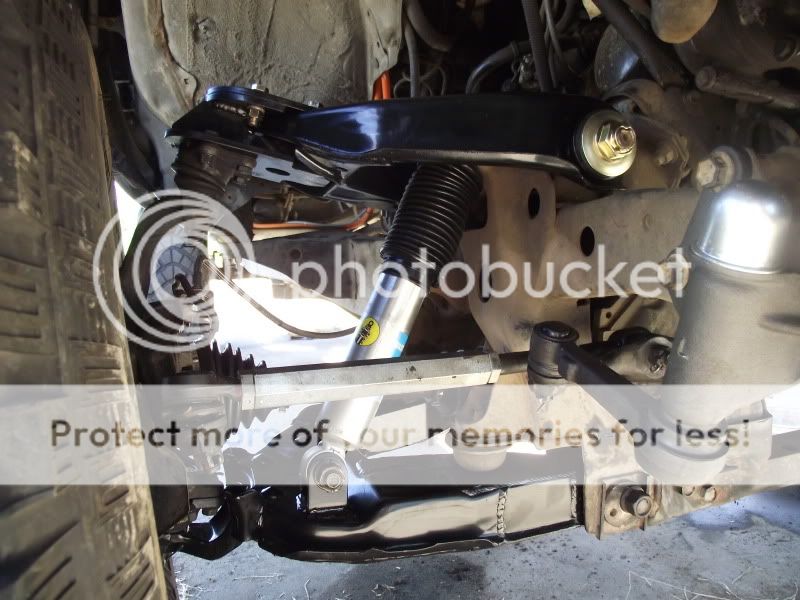
Next were the bilsteins, which I am loving already.
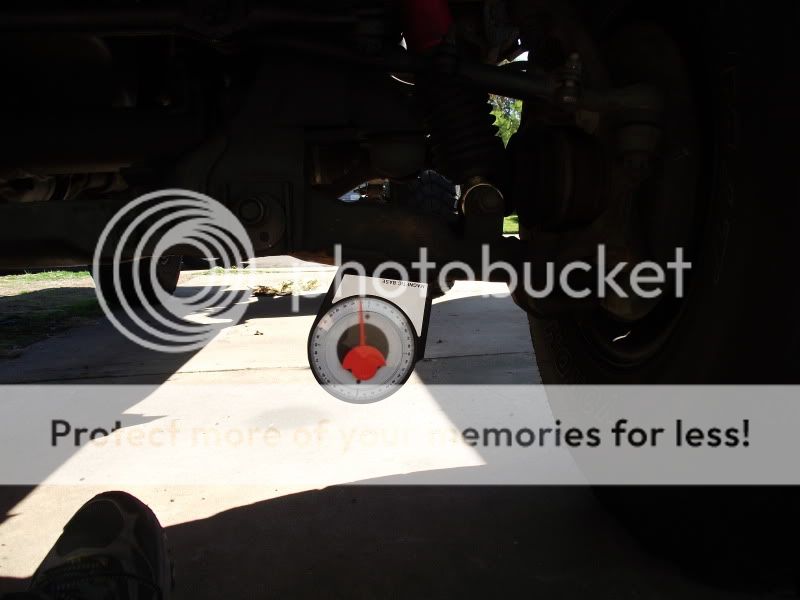
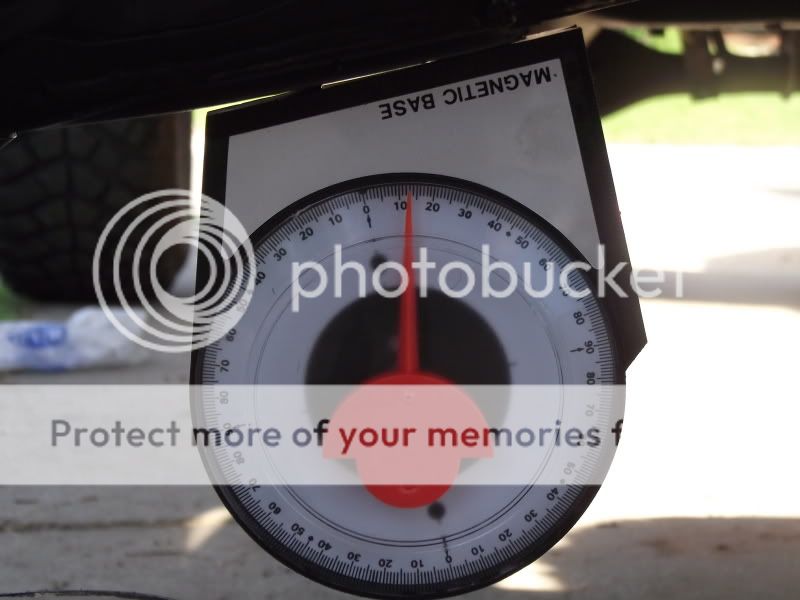
Then I adjusted the T-bars, setting the lower control arms to 13 degrees. I set them to 13 instead of the stock 10 to compensate a little for the added leverage of the longer arms. I then took some final measurements.
I may mess with the ride height some later, but I am betting I will still keep it low. I will not take it any higher then 3" past what it was prior to the Long-travel install.
Hopefully next weekend will be 63's. Till next time mates.
After a busy week of moving I had this great idea, "Hmm, I should install the Long-travel kit on Saturday". It was hell of time consuming. I am wore out now but I am happy it is done.
I started by taking some initial measurements. I measured the current height of the front cross member, the height from the tire to the bottom of the fender and also the angle of the Lower Control Arms.
I then proceeded to remove the old worn out Idler Arm. the bushings were shot and it is the stock arm with 416K miles on it. Besides it makes for a bad wheel alignment.
I then replaced the Idler Arm with a new 5040 arm from Auto Zone.
I then continued to remove the rest of the steering linkage, Hubs and Axles. No real need to take pics of that. We have see all that in the past. I finally worked my way to disconnecting the brake hose from the hard lines. This became an issue on the passenger side. I am guessing there was some work done on the brake system in the past. I have no clue what was done, but here is what happened. I used a 10mm line wrench to free the hard line fittings. On both ends the fitting rounded off. I hate this as I am sure most of you have experienced as well. This was truly aggravating as the driver side loosened with out a hitch. This brake line was holding up progress and I wanted this done in one day. After taking a break and finally eating, I got back to the dilemma with the Brake line. I proceeded with a pair of vise-grip pliers. This helped only to chew up the surface and kept doing so with each try. At this point I decided to cut the flex hose and pull each end of the hose through the mounts. From there I could break free the opposing end of the hard line to the T-fitting mounted on the frame. I was figuring I could plug the T-fitting to later bleed the brakes. I planed to just have FireStone fix the brake line when I take the truck in for an alignment on Monday. In the end I wound up fitting a rear brake hose in the T-fitting and clamping off the hose with a pair of vise-grip pliers. My Father found and interesting way of finally getting the old chewed up fitting off of what was left of the original brake hose. He used a Pipe Wrench. I was impressed as to how well it did. We discovered the reason the fittings were so tight. Who ever did work on it in the past, used some kind of sealant or loc-tite on the fittings. ( What a Fool. ) So here are a few pics of the carnage, fix and use of Pipe Wrench.
Once the brake issue was solved, I could then make more progress. Next I removed the Spindle and Brake assembly from the up and lower Control Arms. I removed them via the bolts that hold the ball joints to the Control Arms. I found out the Spindle really likes to hug the lower Control Arm. So I took a large screw driver and pounded it in a notch that sits between the Spindle and the lower ball joint. You can see the notch in the lower ball joint clearly in this pic. I am guessing that notch is there for just the purpose I used it for.
Here she is with the Spindles removed.
Removing the all four Control Arms is pretty strait forward. Just undo bolts and or nuts. Remember to mark the alignment adjusters with paint and keep them organized. Also don't forget to remove the T-bars first. Of course I did not miss either of these steps. Here are some pics of the fingernail polish I used to mark the adjuster and all the Control Arms removed.
Yes I made it. All the old worn out stock suspentions is completely off. I have been planing this day for far too long. Here are some compairisons of the new equipment I am replacing the stock stuff with.
New lower Ball-joint
New shocks, the Edlebrocks are just over a year old at this point.
The new Control Arms.
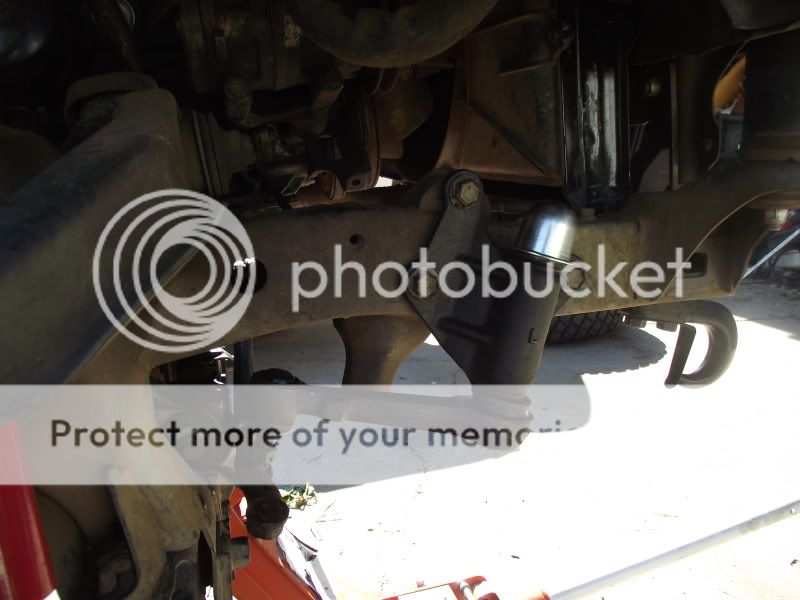
It was starting to get dark and I had to carry on. So I picked up the driver side lower control arm and attempted to mount it in place. I found out the frame mounts looked to be bent apart by 1/8" and the new arm would not fit. I then went to the passenger side and found the same issue. Now I knew the mounts were not bent as both sides had the same issue. I am guessing the Jig Blazeland uses is a bit different then my frame. This is not surprising as my truck is truly a very early IFS truck. The truck was built in 85 and my guess would be the specs. changed just a little over the years as IFS came into full swing. The solution I came up with worked quite well. I put the arm in a vice and crushed the poly bushing some. This did the trick just barely and I was able to fit both lower control arms with little trouble. The uppers has no issues, bolted right up as meant too. Here are the pics. of all four control arms mounted.
Next I thew the Spindles and Brake assembly back on with new lower Ball-joint to match the recently new uppers.
After marking the old tie-rod adjusters with some more fingernail polish. I replace the old adjusters with the newer extended ones and resembled all of the steering linkage.
I then put the tires back on and removed the jack from under neath. It was nice to see her back on all fours. I have not tighten up the T-bars at this point, so the truck was sitting at full compression. I wanted to check for clearance issues if any and to simply satisfy my curiosity. I then got under neath to slide the axles in. Here is a comparison of the stock pick-up axles vs. the T-100 axles.
At this point I called it a night. I then came back Sunday to finish up what little was left. Shocks, Hubs and tighten up some loose ends, but first I took some pics of the new stance at full compression.
Next were the bilsteins, which I am loving already.
Then I adjusted the T-bars, setting the lower control arms to 13 degrees. I set them to 13 instead of the stock 10 to compensate a little for the added leverage of the longer arms. I then took some final measurements.
I may mess with the ride height some later, but I am betting I will still keep it low. I will not take it any higher then 3" past what it was prior to the Long-travel install.
Hopefully next weekend will be 63's. Till next time mates.
10-24-2011, 07:38 AM
#48
Registered User
Thread Starter
Join Date: Oct 2008
Location: Sacramento, Crawlifonia
Posts: 1,621
Likes: 0
Received 7 Likes
on
4 Posts
If I did that, I would get rubbing at the fender near the door when at full compression on full lock. I will have to take a pic of it when I get the truck back from the shop today.
10-24-2011, 07:44 AM
#49
Registered User
you take it in for an alignment? it looks pretty good, I'm interested to see what the ride is like with it and 63" chevies...
what're you gonna do about the tire sticking out though?
what're you gonna do about the tire sticking out though?
10-24-2011, 08:50 AM
#53
Registered User
Thread Starter
Join Date: Oct 2008
Location: Sacramento, Crawlifonia
Posts: 1,621
Likes: 0
Received 7 Likes
on
4 Posts
No problem Brian, just let me know when you want to come over. My place is full of boxes still though. Just send me a text or give me a ring.
10-24-2011, 12:11 PM
#57
Registered User
Thread Starter
Join Date: Oct 2008
Location: Sacramento, Crawlifonia
Posts: 1,621
Likes: 0
Received 7 Likes
on
4 Posts
I sure am glad I do not have to dream of LT anymore. I am still waiting to get the truck back from FireStone. I have been told they are having a hard time finding a replacement or fix for the brake lines.
I may have to fix it my self, as always.
I may have to fix it my self, as always.
Last edited by dark_fairytales; 10-24-2011 at 12:12 PM.


