Bone Collector's 94 xcab 3.0 build thread


 05-16-2013, 03:18 PM
#66
Registered User
Thread Starter
There was a minimal power gain in switching from the 3 inch pipe to the 2.5 inch pipe. It was probably due to the fact that the airflow is smoother going in to the throttle body now. The old pipe had a lot of turns and places for turbulence in it. Overall I am happy with it. It is a clean install, I can now check the oil with ease and it works great. And best of all it was about 7 bucks 
05-18-2013, 06:31 PM
#67
Registered User
Thread Starter
well guys the killer deal on the bed is gone. the guy I bought it from asked for my old bed since he needed a bed and couldn't build a flat bed quick enough. It was a guy from my 4x4 club so I was happy to help him out. I gave him his old bed back since I hadn't messed with it yet. He paid me the 40 bucks and we put it on his truck tonight. I got a killer tailgate from him tho so I am happy. All that being said, I am really looking forward to doing a bed bob soon. I am probably going 4wheeling tomorrow with him and some others from the club. I will post some pics if I go.
05-19-2013, 03:26 PM
#68
Registered User
Thread Starter
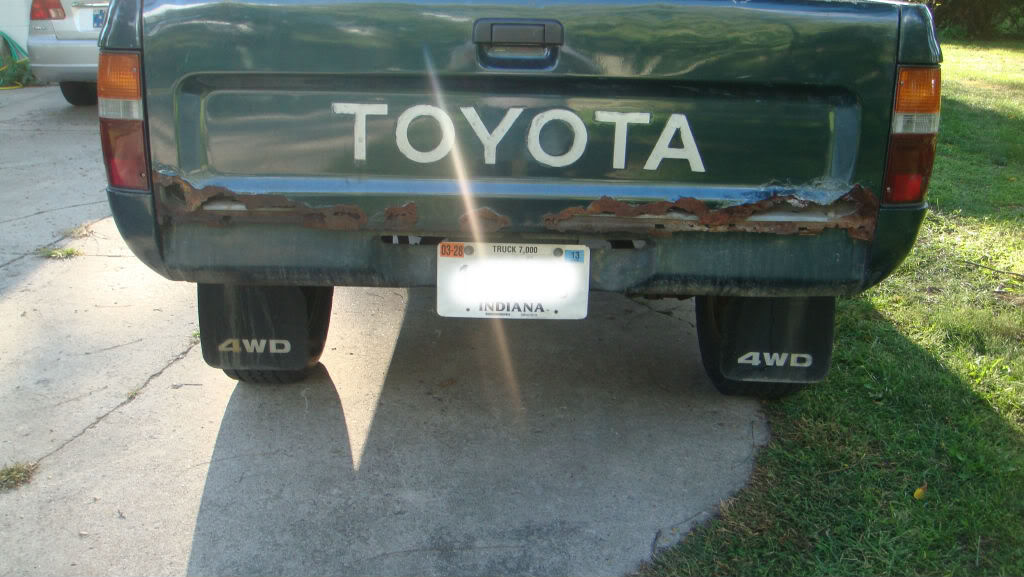
Here is the new tailgate I got. 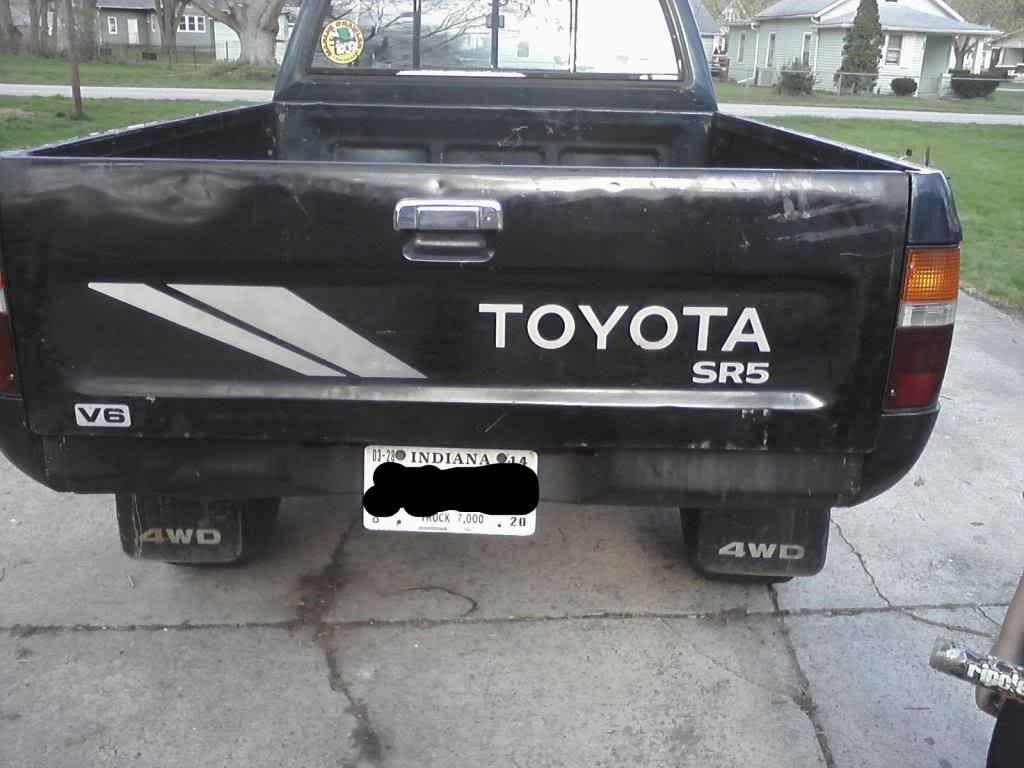
much better than this old one...
I got bored while waiting for the charcoal to start so I could grill some chicken legs and brats, so I started removing the decals on the truck. Here are the tools I used.
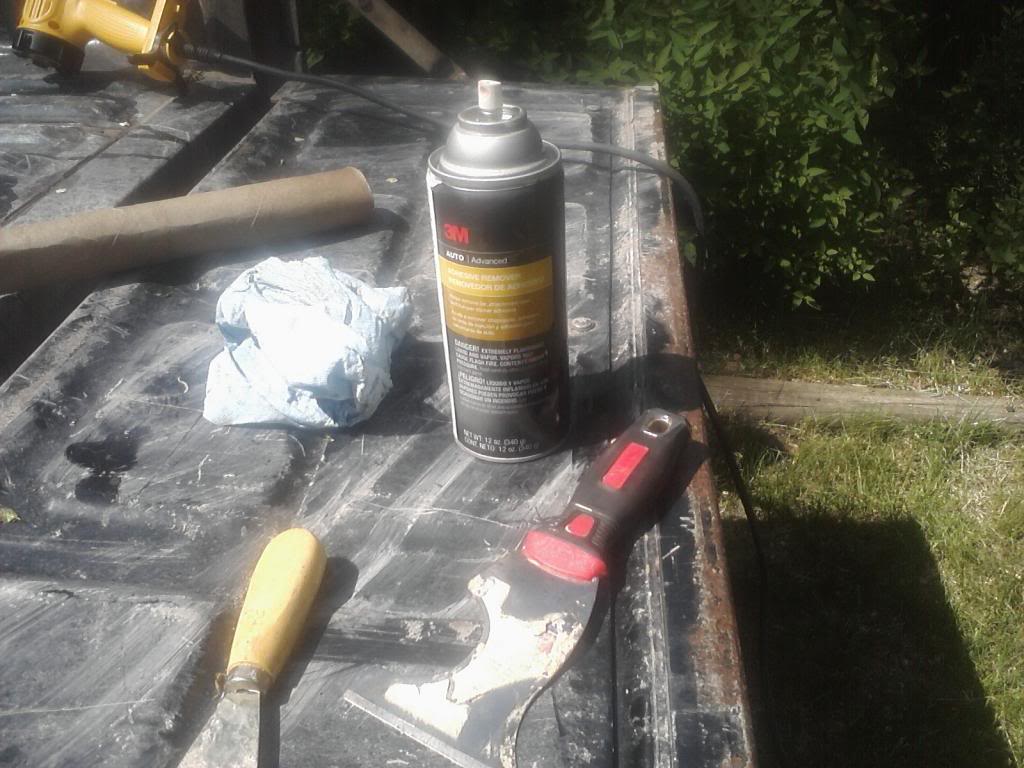
The heat gun and the large paint scrapper worked best for me. The smaller scrapper actually scratched the truck in a few spots. I wasn't that worried about it since there are many many scratches in the truck but I am just warning those of you who are worried/paranoid about your paint. the 3M adhesive removal spray worked very well in small sections.. At first I tried to scrub half of the bed at once, but realizing that didn't work very well I had to spray and scrub in approximately 1 foot sections.
In this picture you can see the 3 different stages of the day. The bed has the sticker removed and the 3M adhesive removal applied. The extra cab part just has the decal removed with the adhesive still on and the door still has the decal on.
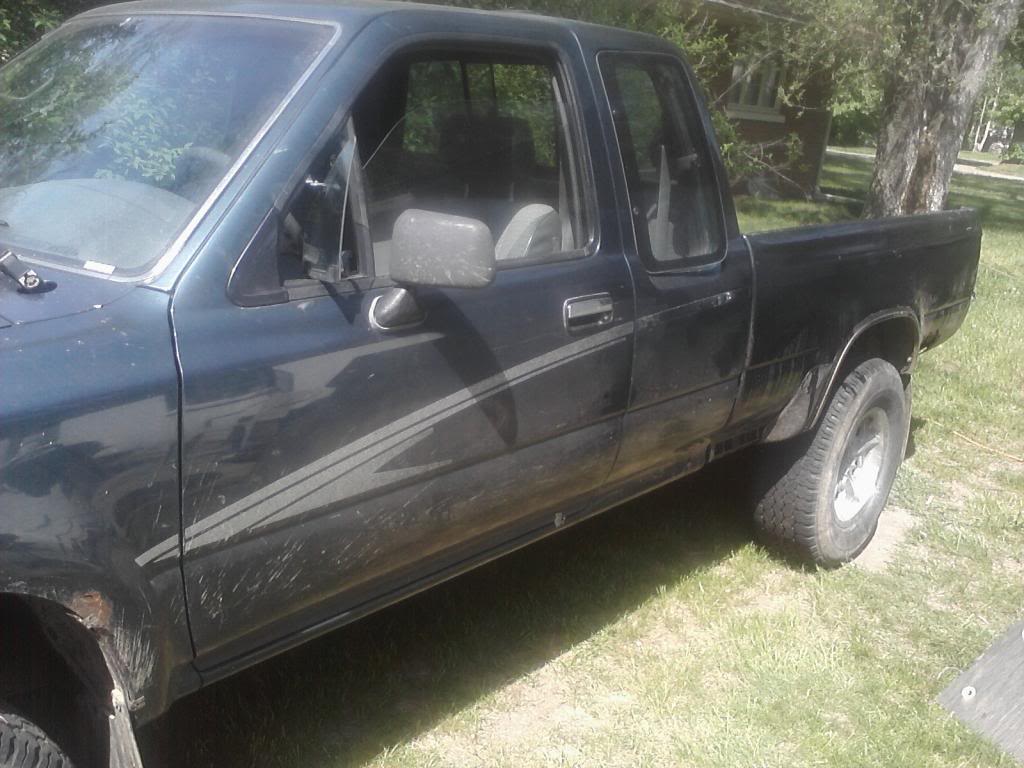
Here you can see the size of some of the decal I was able to pull off. In a fine balance of heat and pressure I was able to get some big pieces. At other parts I was only able to get inches at a time.

much better than this old one...

I got bored while waiting for the charcoal to start so I could grill some chicken legs and brats, so I started removing the decals on the truck. Here are the tools I used.

The heat gun and the large paint scrapper worked best for me. The smaller scrapper actually scratched the truck in a few spots. I wasn't that worried about it since there are many many scratches in the truck but I am just warning those of you who are worried/paranoid about your paint. the 3M adhesive removal spray worked very well in small sections.. At first I tried to scrub half of the bed at once, but realizing that didn't work very well I had to spray and scrub in approximately 1 foot sections.
In this picture you can see the 3 different stages of the day. The bed has the sticker removed and the 3M adhesive removal applied. The extra cab part just has the decal removed with the adhesive still on and the door still has the decal on.

Here you can see the size of some of the decal I was able to pull off. In a fine balance of heat and pressure I was able to get some big pieces. At other parts I was only able to get inches at a time.
 05-19-2013, 03:35 PM
#69
Registered User
Thread Starter
At the end of the day it only took me about 2 hours to get all the decals off the truck. During that time I did scrub the bed with the adhesive remover all while cooking dinner. I ran out of the adhesive remover so I just skipped that step for now.
After dinner:
the slaves, errr I mean the children and I washed the truck...

all in all I am very pleased with how it turned out and I am amazed at how different my truck looks now with some elbow grease and a heat gun
After dinner:

the slaves, errr I mean the children and I washed the truck...

all in all I am very pleased with how it turned out and I am amazed at how different my truck looks now with some elbow grease and a heat gun
05-19-2013, 03:52 PM
#70
Registered User
Thread Starter
In other news, I just got this 6x10 blank frame. This used to be a pop up camper that belonged in the family. I have the title, and got a bigger axle to be able to carry more weight. My plan is to turn it into a long term camper/expedition trailer. Much like Dirtco https://www.yotatech.com/forums/f88/...roject-219053/did or what rustedyota 83 doing currently https://www.yotatech.com/forums/f88/...-build-266807/
anyways, its on the back burner for now til I get some steel, money and time. the main problem is time and money.
anyways, its on the back burner for now til I get some steel, money and time. the main problem is time and money.
 05-19-2013, 04:37 PM
#72
Registered User
Thread Starter
that's my plan. In my head I see visions on a fully built pickup and a fully outfitted Cruiser with the trailer in tow on some long desert road chasing the sun.... kids, food and a campfire..... doesn't get much better than that. Maybe I should start building ..... lol
05-21-2013, 01:49 PM
#73
The new tailgate made a big difference, looks good! The blank trailer frame looks like a good solid foundation for your offroad/camping trailer project, look forward to seeing some progress on that!... I hear ya on time and money, seems like that is in short supply lately, lol.
05-21-2013, 06:39 PM
#74
Registered User
Thread Starter
The new tailgate made a big difference, looks good! The blank trailer frame looks like a good solid foundation for your offroad/camping trailer project, look forward to seeing some progress on that!... I hear ya on time and money, seems like that is in short supply lately, lol.
 05-25-2013, 02:33 PM
#76
Registered User
Thread Starter
well I just finished removing the adhesive from the decals on my truck. Top Gear top tip for ya'll..... brake parts cleaner works better than the 3M adhesive remover and it does not hurt the paint......
05-26-2013, 10:54 PM
#77
Registered User
Join Date: May 2013
Location: Siletz, Oregon
Posts: 62
Likes: 0
Received 0 Likes
on
0 Posts
So today I did a little tinkering on the truck. Nothing major but an improvement none the less. I changed the intake pipe on the 3vze. I was tired of having to remove the entire intake assembly just to check the oil. So I made a new one. Out with the old 3" plumbing pipe, in with the 2 1/2 " electrical schedule 40, 90 degree angle.
While I was under the hood i quickly adjusted the afm from 6 teeth rich to 5 teeth rich. the truck was stumbling slightly when cold, so I was thinking it is slightly flooding when the cold start injector is running as well. a quick test says whoa baby!! and yes I can easily check the oil
While I was under the hood i quickly adjusted the afm from 6 teeth rich to 5 teeth rich. the truck was stumbling slightly when cold, so I was thinking it is slightly flooding when the cold start injector is running as well. a quick test says whoa baby!! and yes I can easily check the oil

I'm totally gonna do this to my truck also now because I don't how long that sour cream container can last. Thanks for showing the picture and telling us what was used. I appreciate it! And man your truck is looking good, its coming along.
05-28-2013, 03:13 PM
#78
Registered User
Thread Starter
Ya you better fix that quickly!!! good luck with the fix hope it works out for you. the black rubber connectors I used are from the plumbing section at Lowes. They are called fernco rubber grommets. I used 3 inch I believe. So once you go get the electrical 90 go to the plumbing dept and get the connectors. lol. Thanks for the compliments on my truck, I appreciate it. Im just glad I can help out Yotatech after all the times it has helped me out.
05-30-2013, 06:24 PM
#80
Registered User
Thread Starter


