94 pickup 1uz with R150 swap build
 09-17-2014, 08:27 AM
#21
Registered User
Thread Starter

won't rev
Ok so I took it out for a spin yesterday and it seems like it is going to be a great ride once all the bugs are worked out. I am looking for help with the classic will not rev beyond 2500 RPM (approx, the tach is not working correctly yet). I will be checking out the ingnitor modules tonight as I think I have a couple of the V-6 ones sitting around, and they are the supposed to be the same. I will check out running it without the AFM. I also read yesterday that there is a blue wire for the hydraulic fan that needs to be grounded which causes this issue, so I will look into that tonight. After those three things I will be stumped, so anyone with ideas feel free to chime in.
On another note, I am pretty sure I burnt out my oil pressure gage on the stock toyota dash, didn't realize I needed to use the sending unit from the truck at first, and the gage would just pin itself, and drop off to 0. I put the sending unit on it but it doesn't do anything, I have an aftermarket on there now so I know there is oil pressure. So my question is, is there a way to fix the guage? these clusters are getting pricy on ebay.
Thanks,
 09-23-2014, 04:11 AM
#22
Registered User
Thread Starter
figured out the not reving issue. It was the incorrect igniter modules. I was using the ones from a 1995 newer 1UZ which are not the same. Once I change them to the correct ones it revs just like it should.

 How's your swap doing? I put a 94 1uz in my fj62 and just need to finish some small stuff. Keep it up.
02-20-2015, 04:50 PM
How's your swap doing? I put a 94 1uz in my fj62 and just need to finish some small stuff. Keep it up.
02-20-2015, 04:50 PM
#24
Registered User
Thread Starter
It's going well, I think I have figured most of the wiring issue out, no check engine light now for 300 miles. Found that the company that made my wire harness wired the main O2 sensors backwards. I think I have around 3000 miles on the build. Just need to work out the ac in the spring

 09-13-2015, 05:09 AM
#28
Registered User
Thread Starter
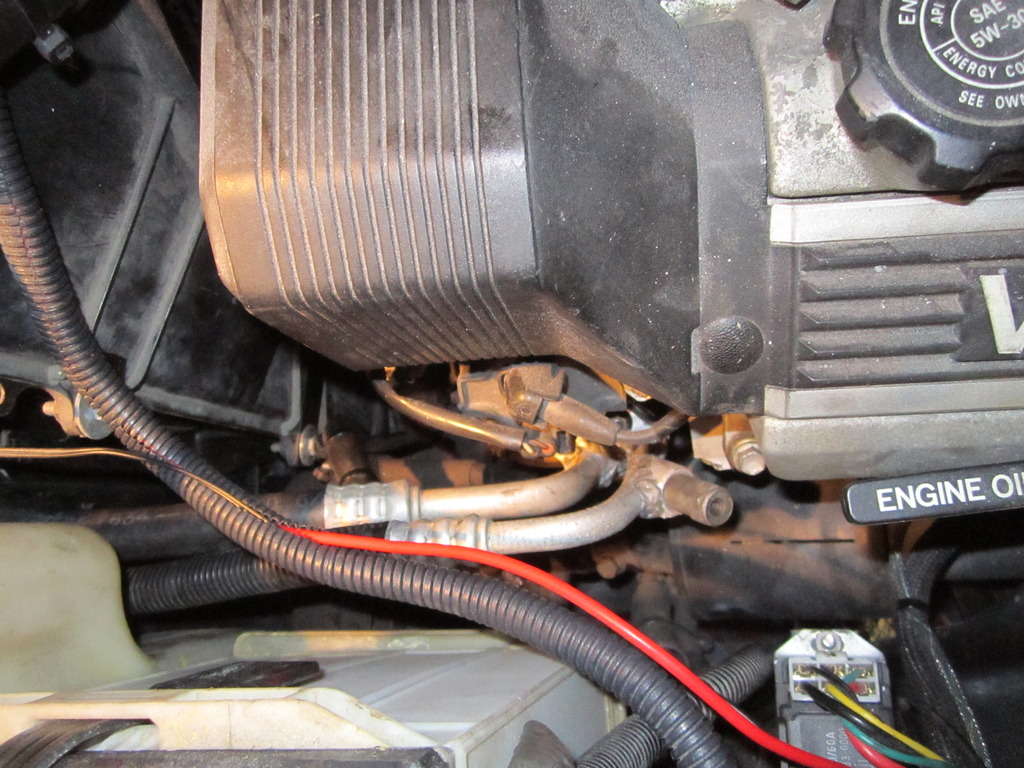
This is part of the EGR unit, I took it apart and wired it in under the dash, this got rid of a lot of EGR codes the computer was throwing.
This was the spacer I machined to extend the front drive shaft
The AC lines going into the compressor. I custom welded these up to fit
Here is how I routed the AC lines across the front of the truck.
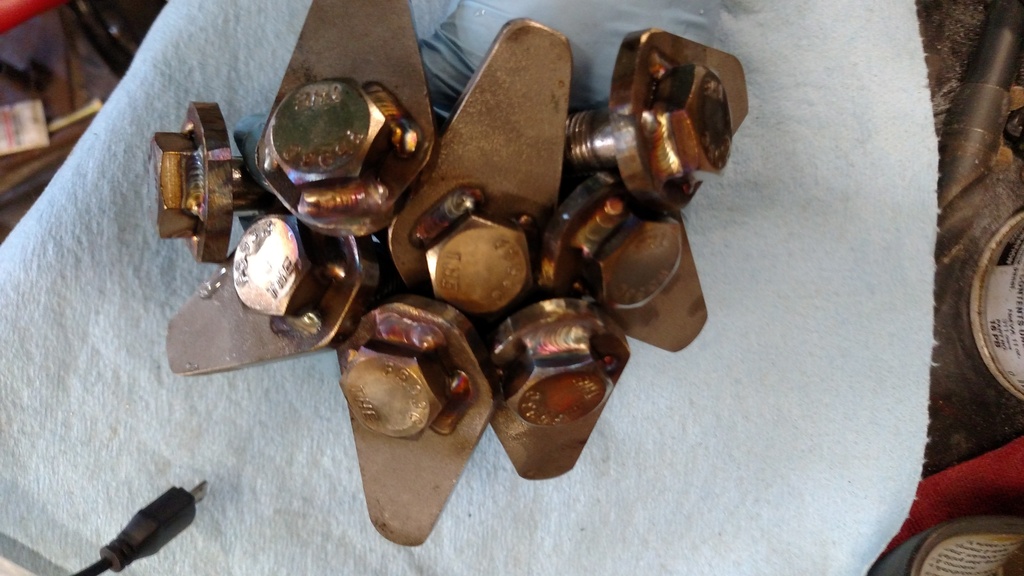
Made some new stainless hold downs for the bed, the original ones were all rusted or snapped off from when I removed them.

This was the spacer I machined to extend the front drive shaft

The AC lines going into the compressor. I custom welded these up to fit

Here is how I routed the AC lines across the front of the truck.

Made some new stainless hold downs for the bed, the original ones were all rusted or snapped off from when I removed them.

Last edited by JAR3289; 09-13-2015 at 05:12 AM.
09-13-2015, 05:14 AM
#29
Registered User
Thread Starter
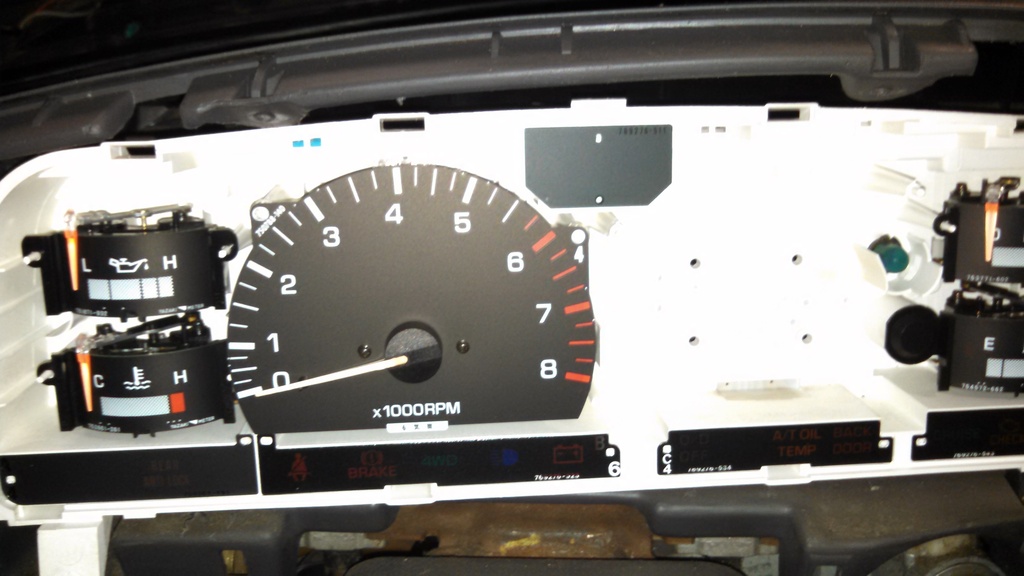
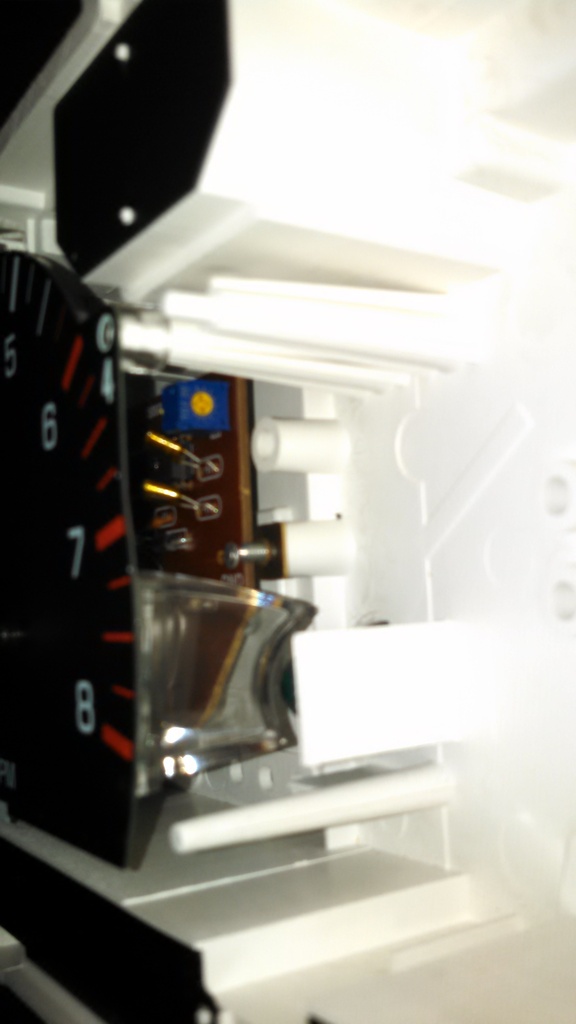
adjusting the V6 tach
So I have read on here that you can adjust the V6 tach and calibrate it to run on the 1UZ. I could not find any pictures on here so I took some decent ones for anyone else trying to do this. In the second picture you can see the little blue and yellow variable resister. all you have to do is connect your auxiliary tach to the truck and then while its running spin the variable resister until it matches your aftermarket tach. Very simple.


Last edited by JAR3289; 09-13-2015 at 05:16 AM.
09-13-2015, 05:21 AM
#30
Registered User
Thread Starter
Wrapping the exhaust

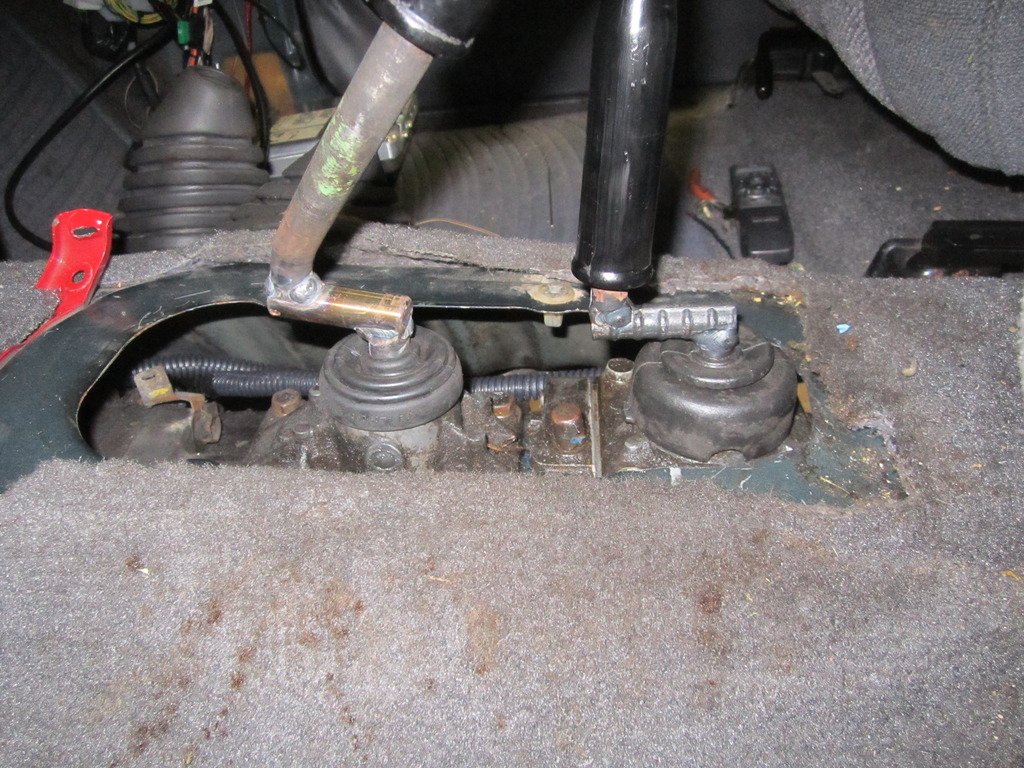
relocating the shifters so they are back in there normal place, I saw this on someone else's build on here
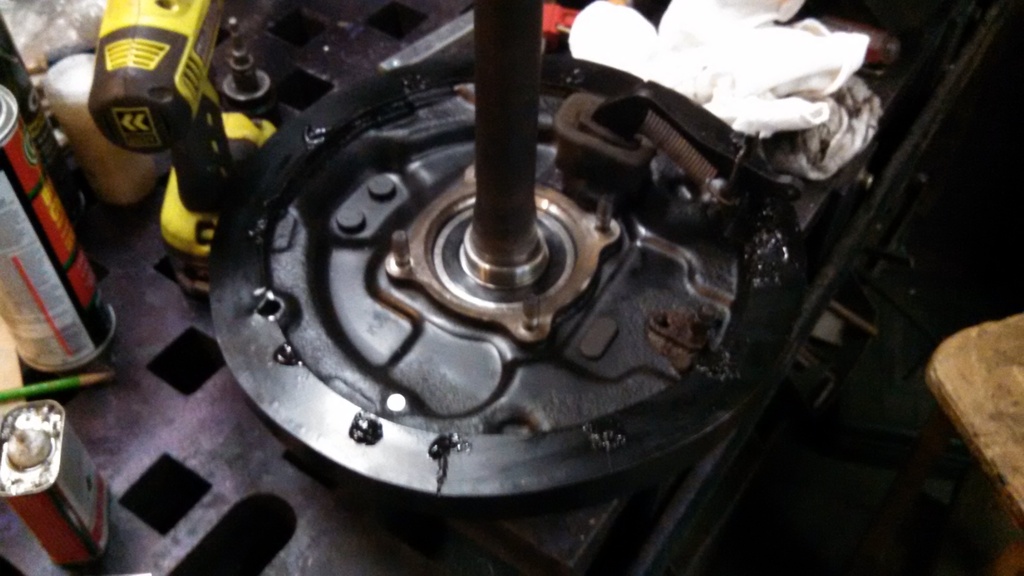
rebuilding the backing plates and replacing the axle shaft bearings just for good measure.
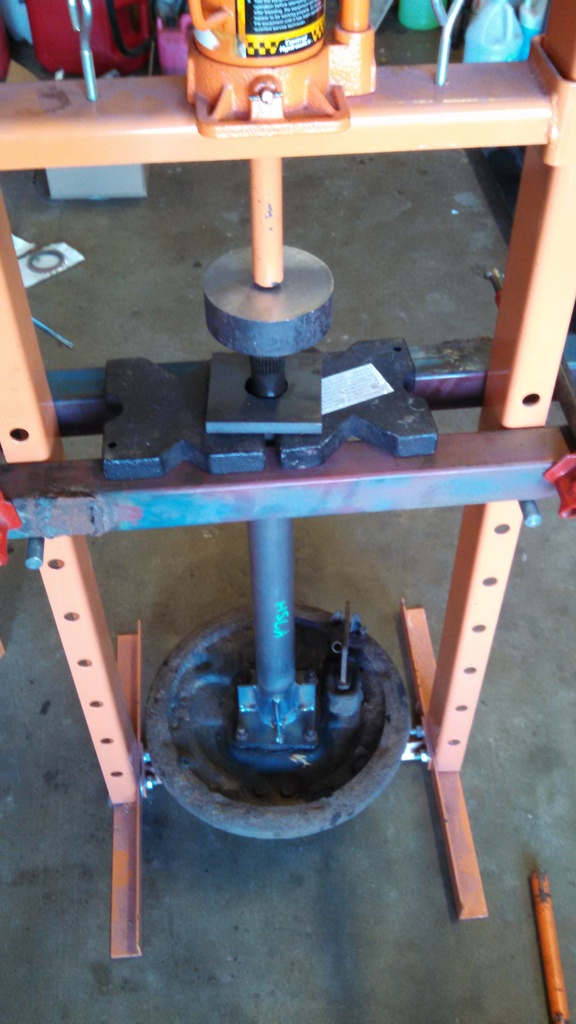
had to make a jig to press off the bearings, sorry for the not so good pick
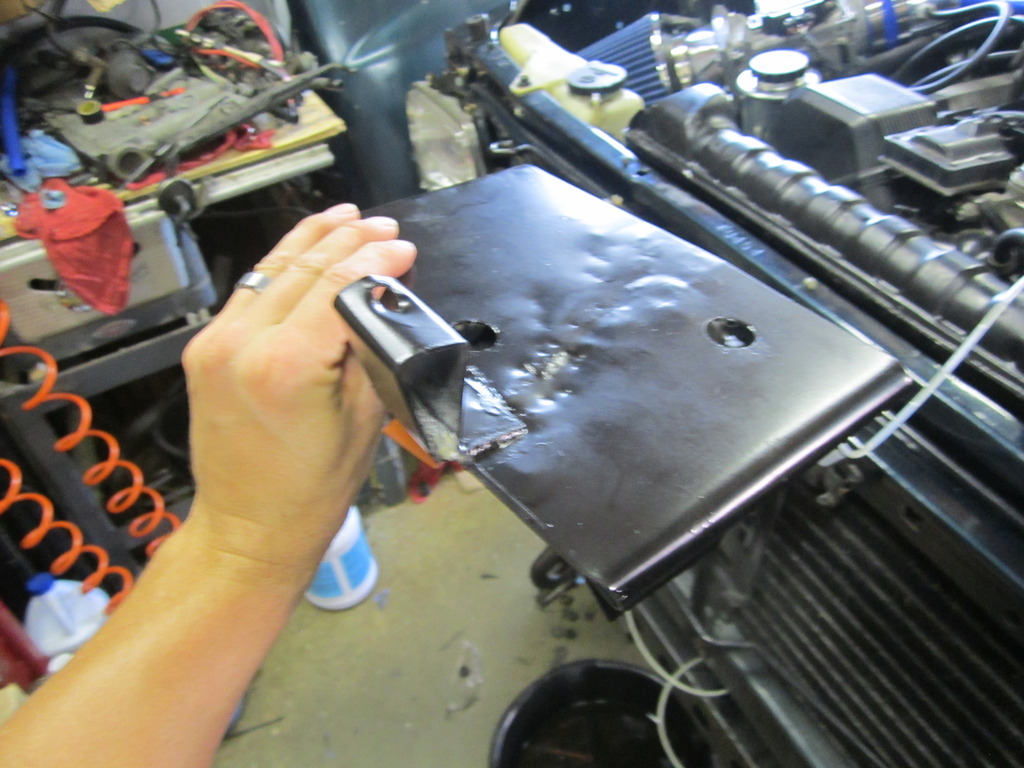
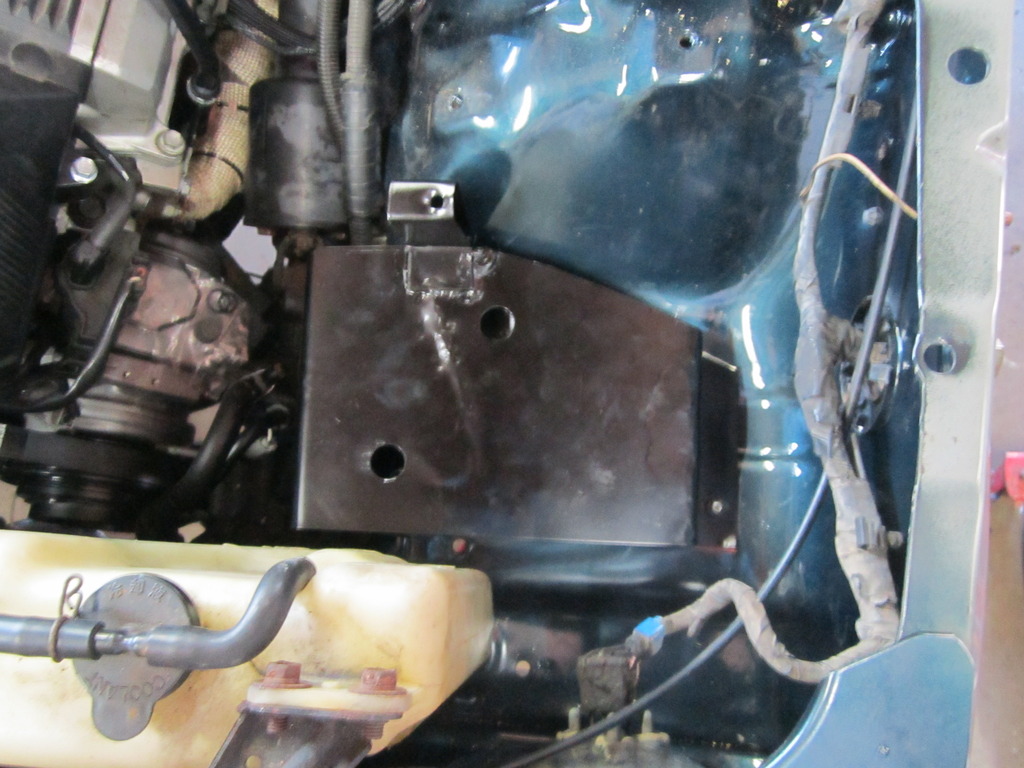
Making a battery tray for the opposite side of the truck.
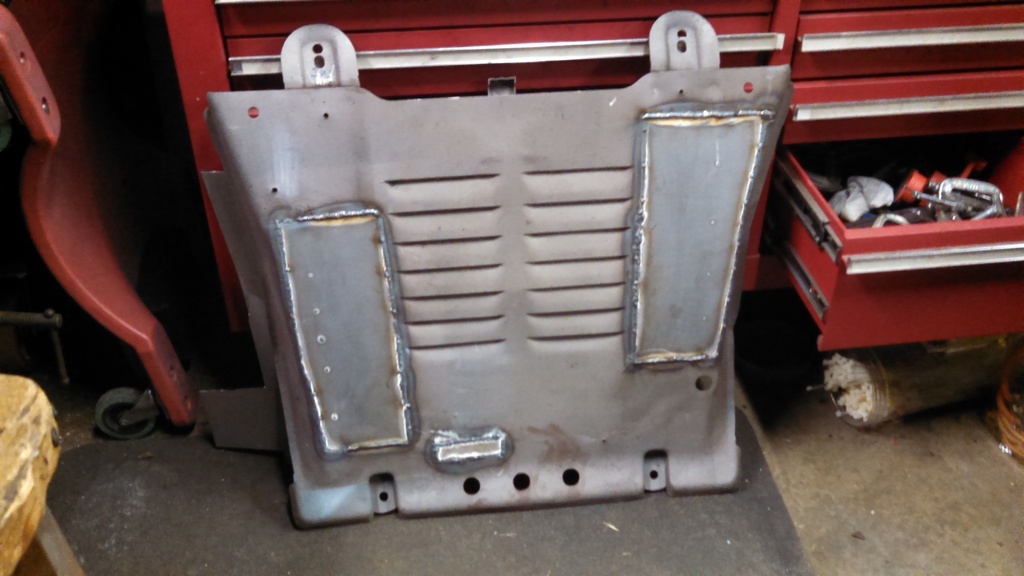
Sand blasted and welded up some patches to fill the holes in the skid plate.
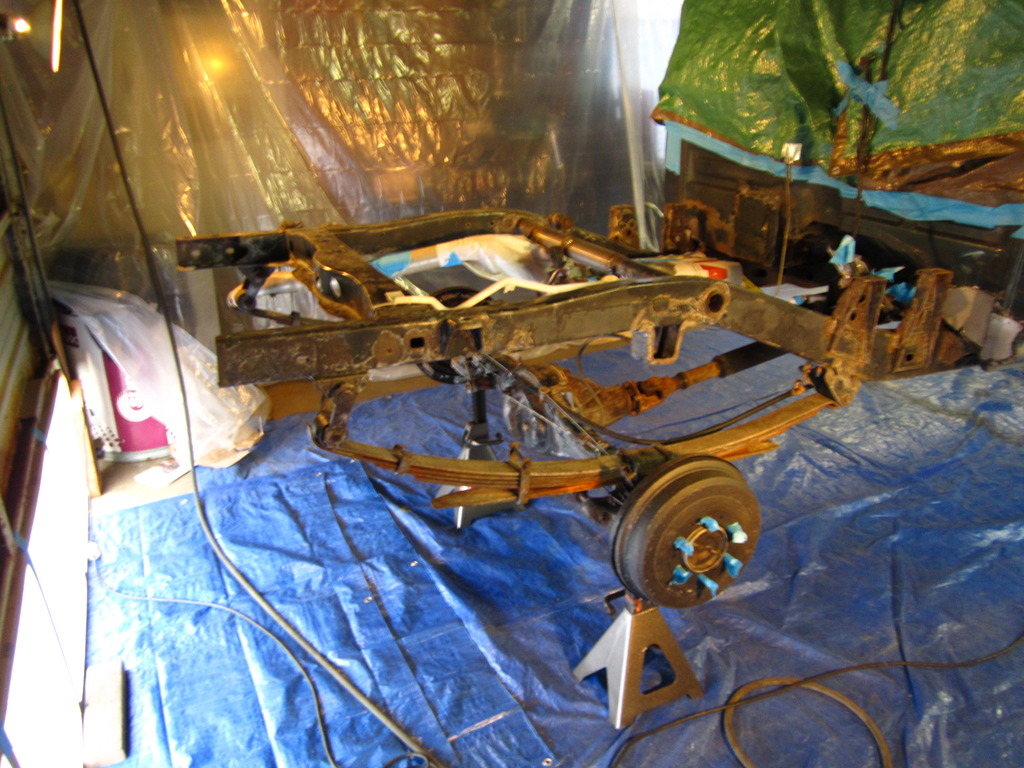
Cleaning the frame before paint
Prepped for paint
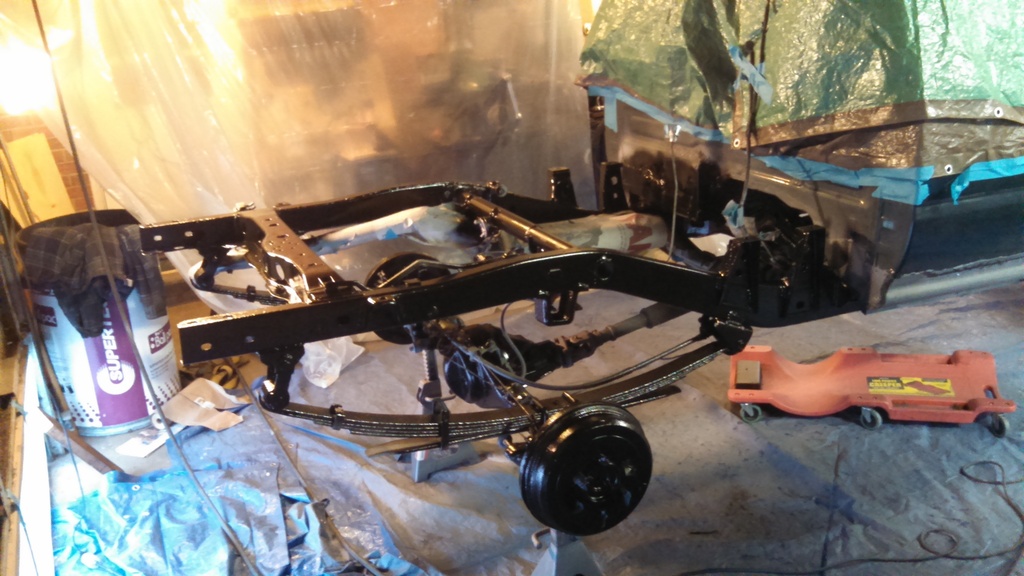
After painting

relocating the shifters so they are back in there normal place, I saw this on someone else's build on here

rebuilding the backing plates and replacing the axle shaft bearings just for good measure.

had to make a jig to press off the bearings, sorry for the not so good pick

Making a battery tray for the opposite side of the truck.


Sand blasted and welded up some patches to fill the holes in the skid plate.

Cleaning the frame before paint

Prepped for paint

After painting


 09-13-2015, 05:30 AM
#32
Registered User
Thread Starter
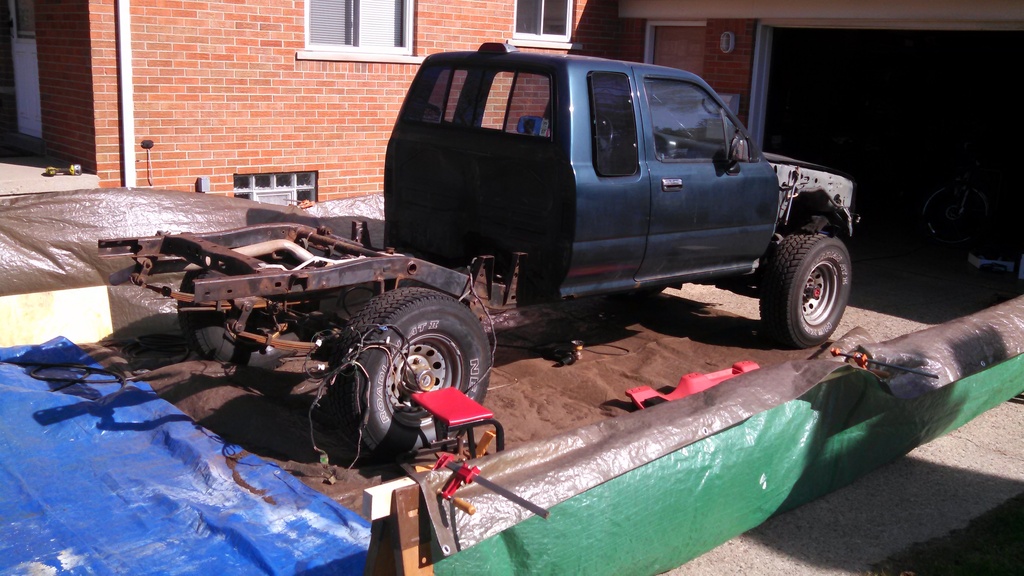
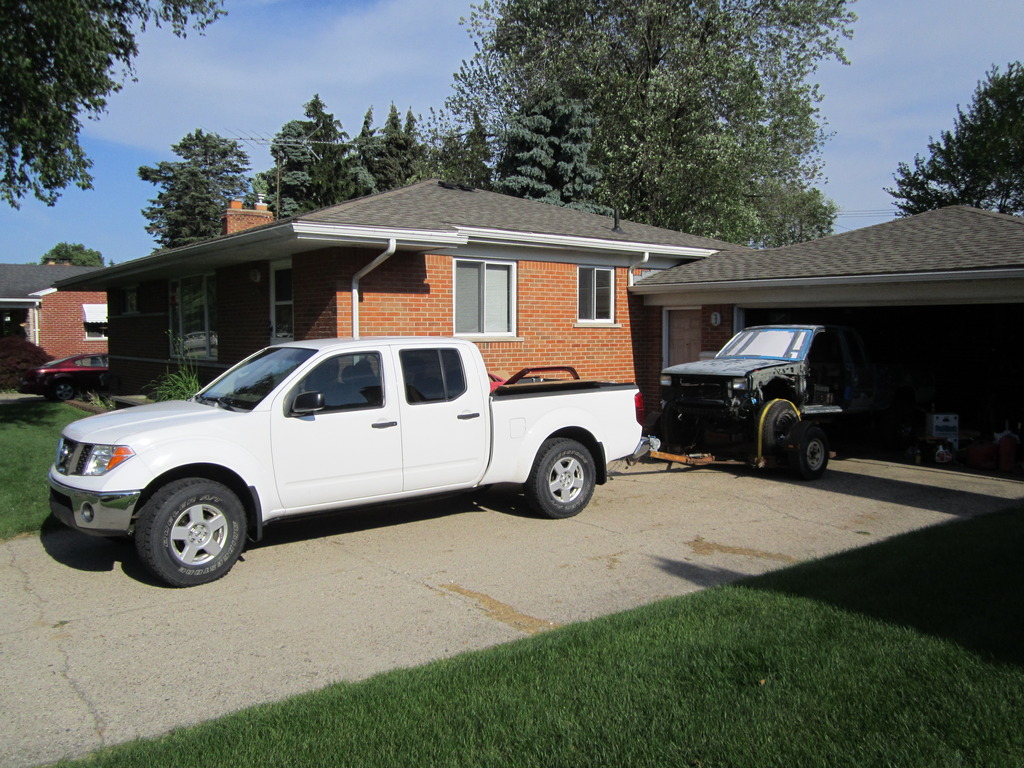
Leaving to go to the paint shop
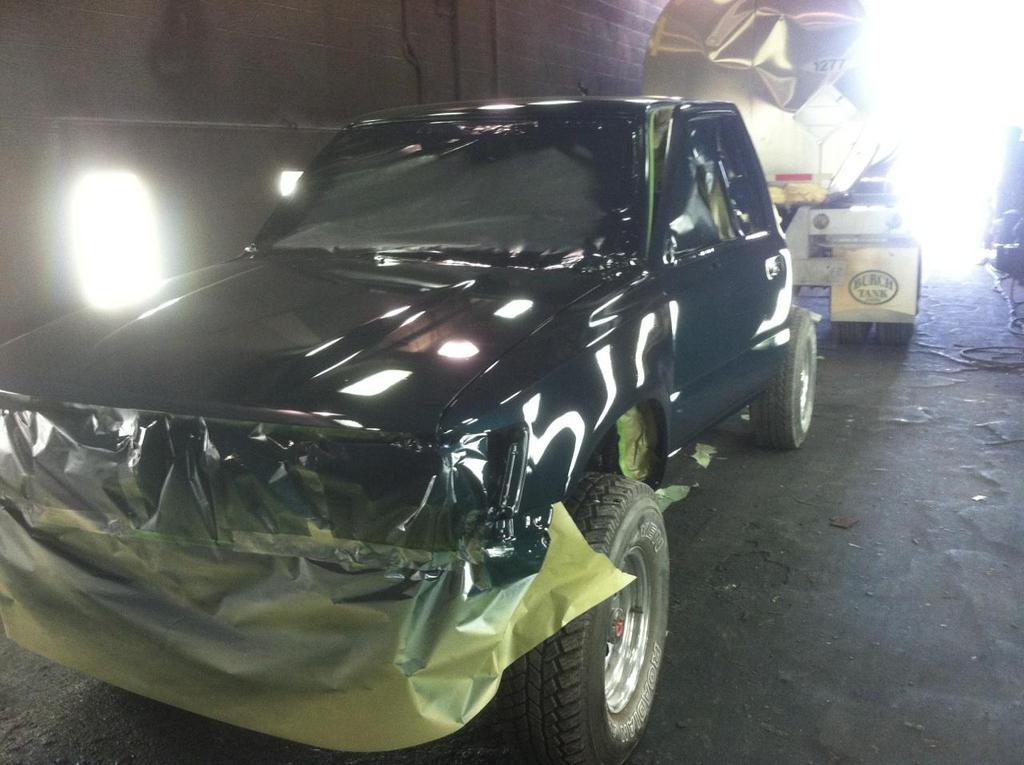
At the paint shop painting the original Evergreen Pearl
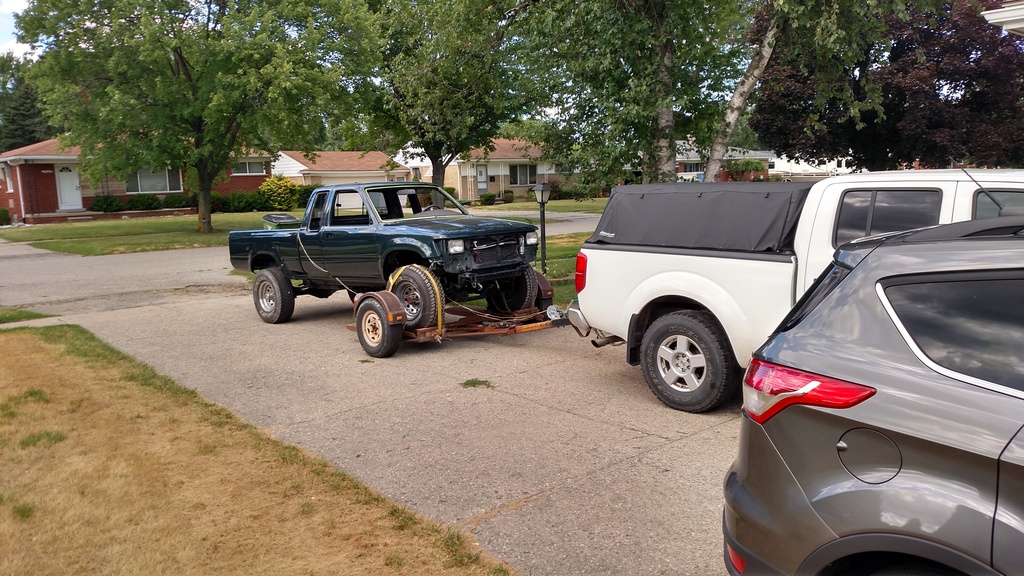
Coming back from the paint shop
Getting a new windshield
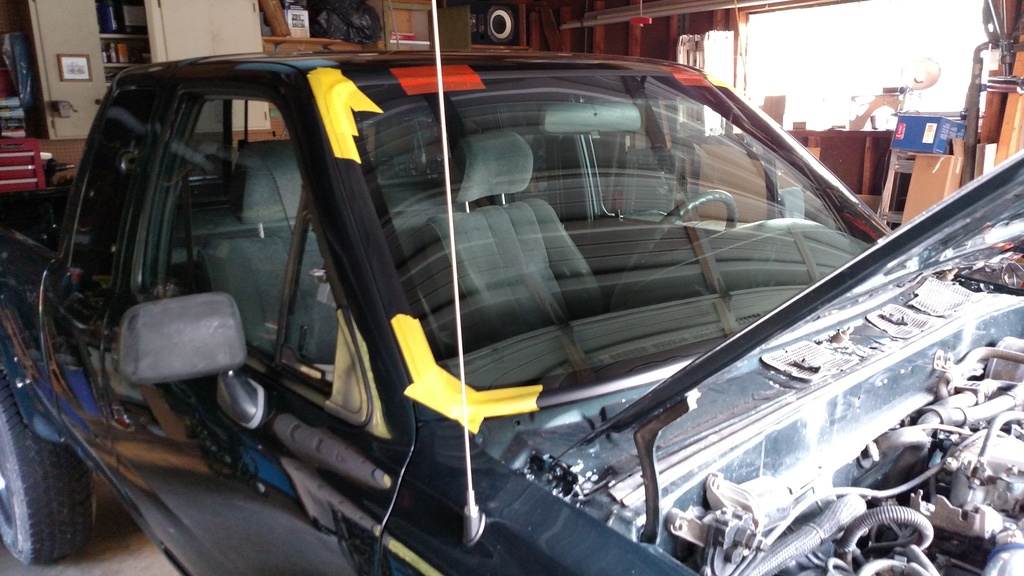
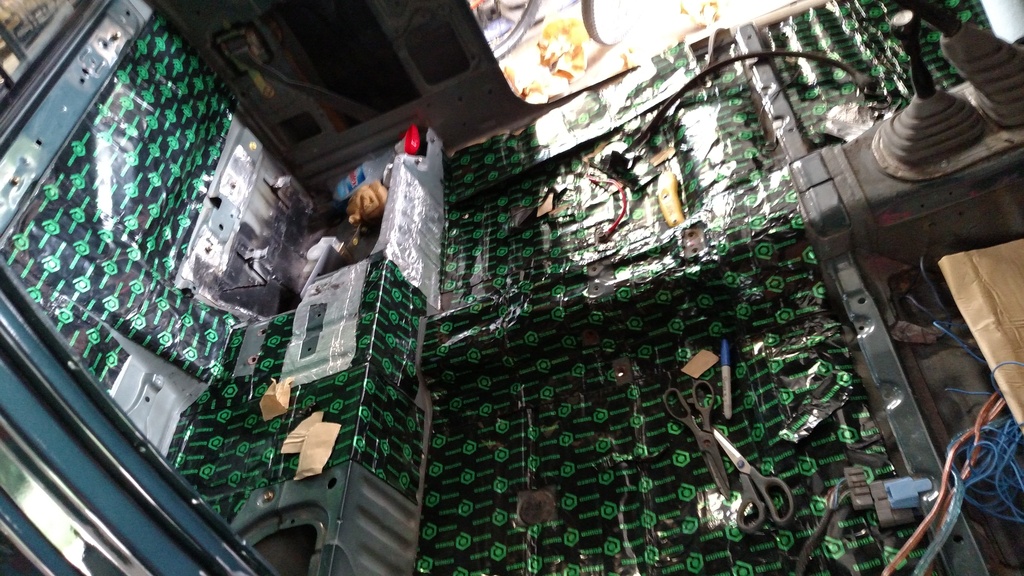
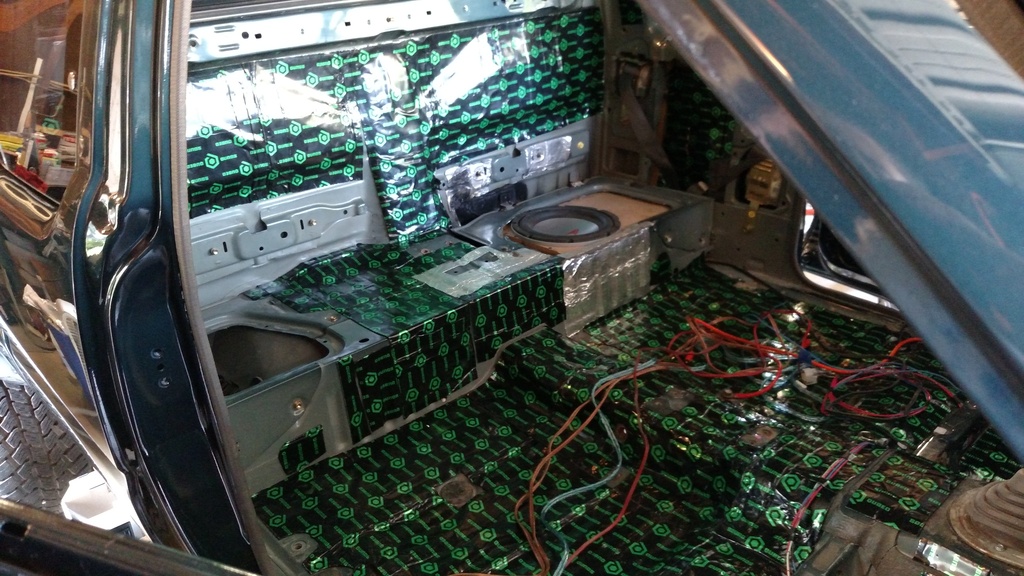
Sound Quobed the entire cab

At the paint shop painting the original Evergreen Pearl

Coming back from the paint shop

Getting a new windshield

Sound Quobed the entire cab


 09-13-2015, 05:40 AM
#34
Registered User
Thread Starter
If anyone is struggling with a build like this feel free to ask questions, it took a long time to figure out all the engine codes but I am finally running without any. Fuel mileage is not great, so I am still working through some things, but for the most part it is running great. It does have issues with overheating when the AC is on and its hotter than 85 degrees. Of course that is when I am in a stand still in traffic, if I am moving on the road or free way its not an issue. This is with just one 16" fan that pulls 2500 CFM. I have since bought 3 10" fans that pull 23oo CFM so that should help, but I have not had the chance to put those on, its colder out now so the overheating is not a big issue.
The following users liked this post:
N_Aviles (04-26-2020)
 09-15-2015, 04:50 AM
#36
Registered User
09-18-2015, 02:21 PM
#38
Registered User
Thread Starter
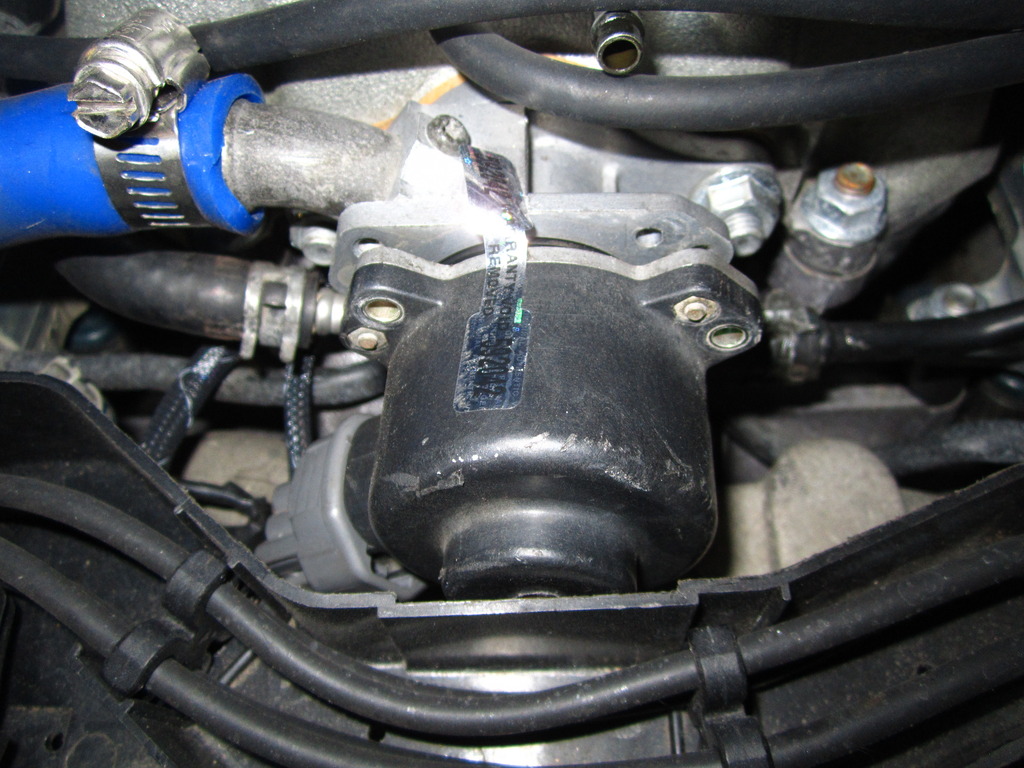
IAC Valvle / getting the idle to work correct
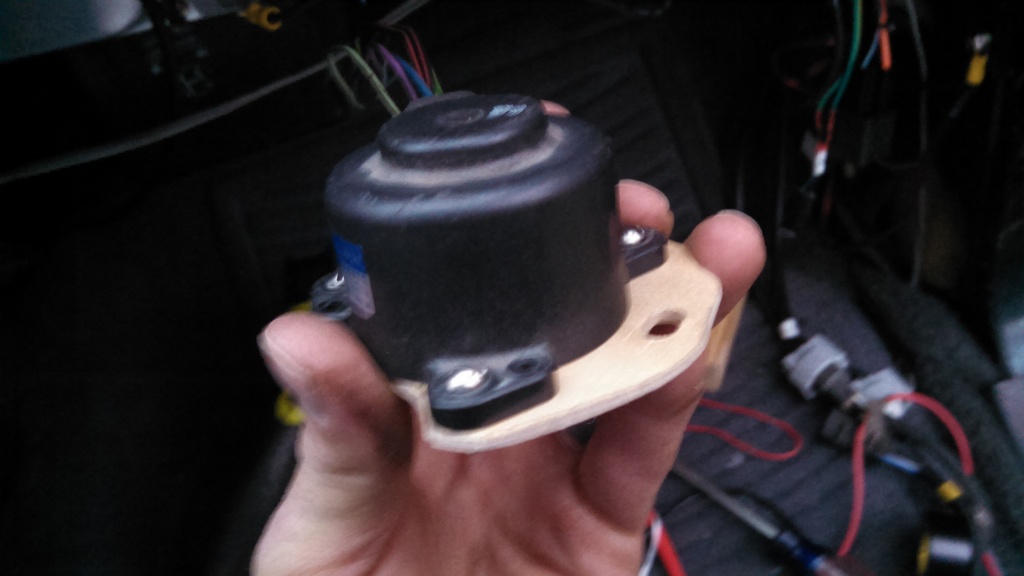
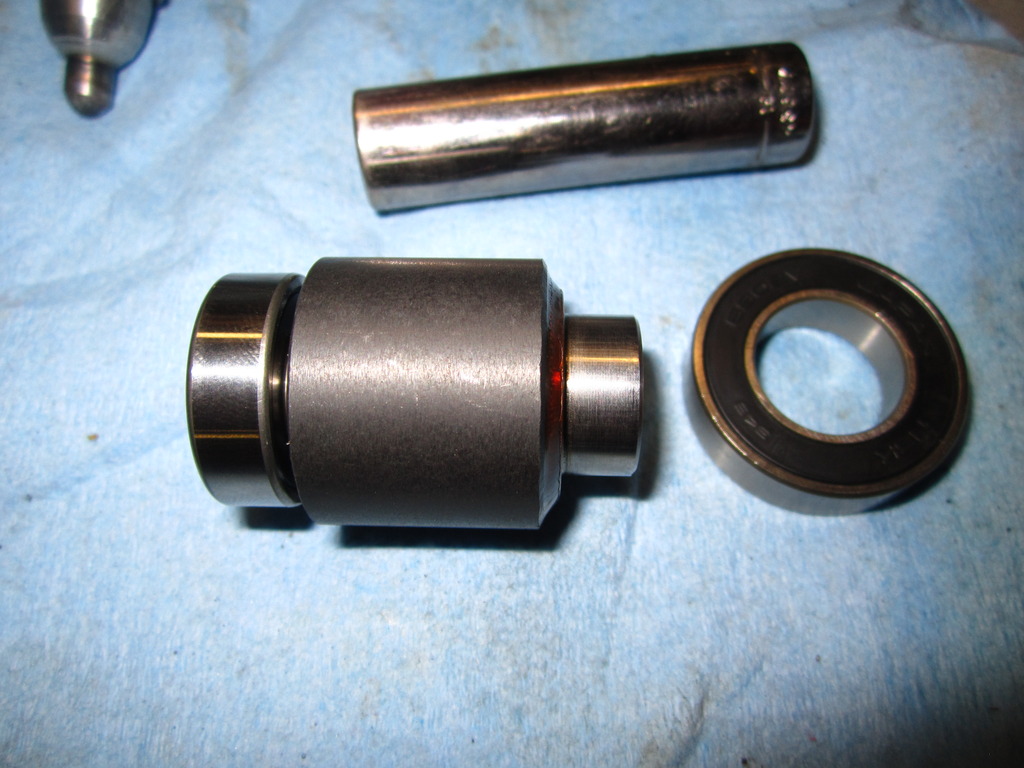
So this post is to help everyone with there idling issues. There are two kinds of IAC valves (Idle Air Control Valve), there is the older style that is serviceable and the new ones that are not. I bought one of the older serviceable ones on ebay so I could repair it. So you can remove the plastic part without taking anything on the engine apart.
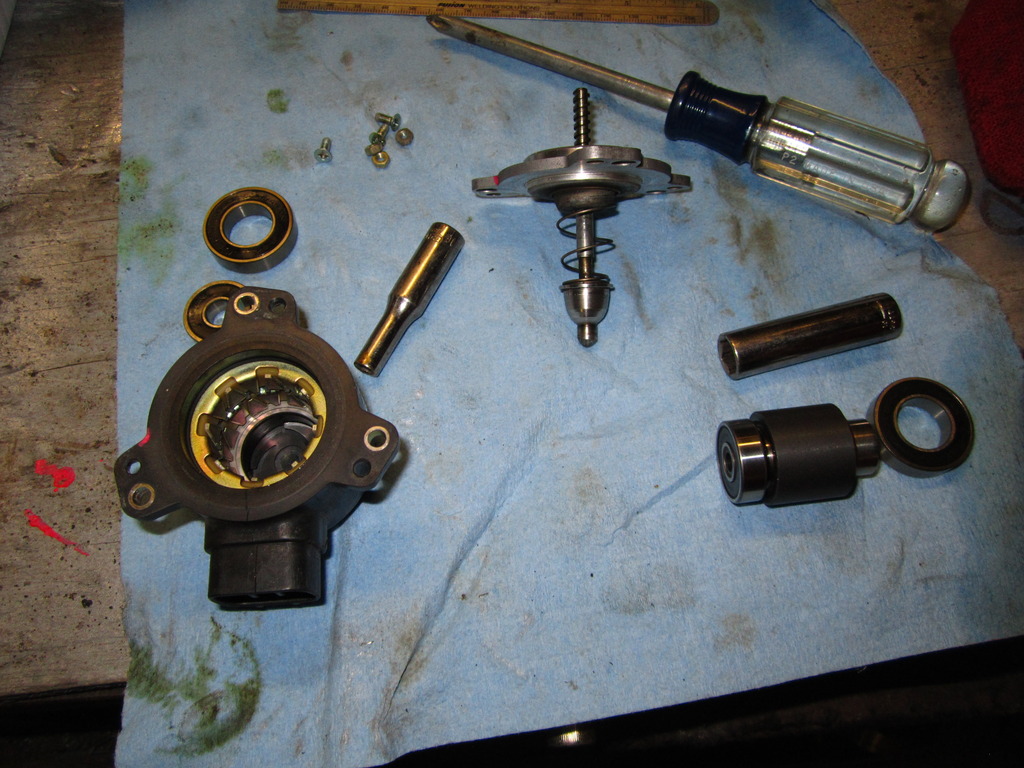
Once you have it apart you can either buy the bearings new or clean up the old ones. I opted to get some new ones, found them on ebay, but I am sure a bearing place would have them.

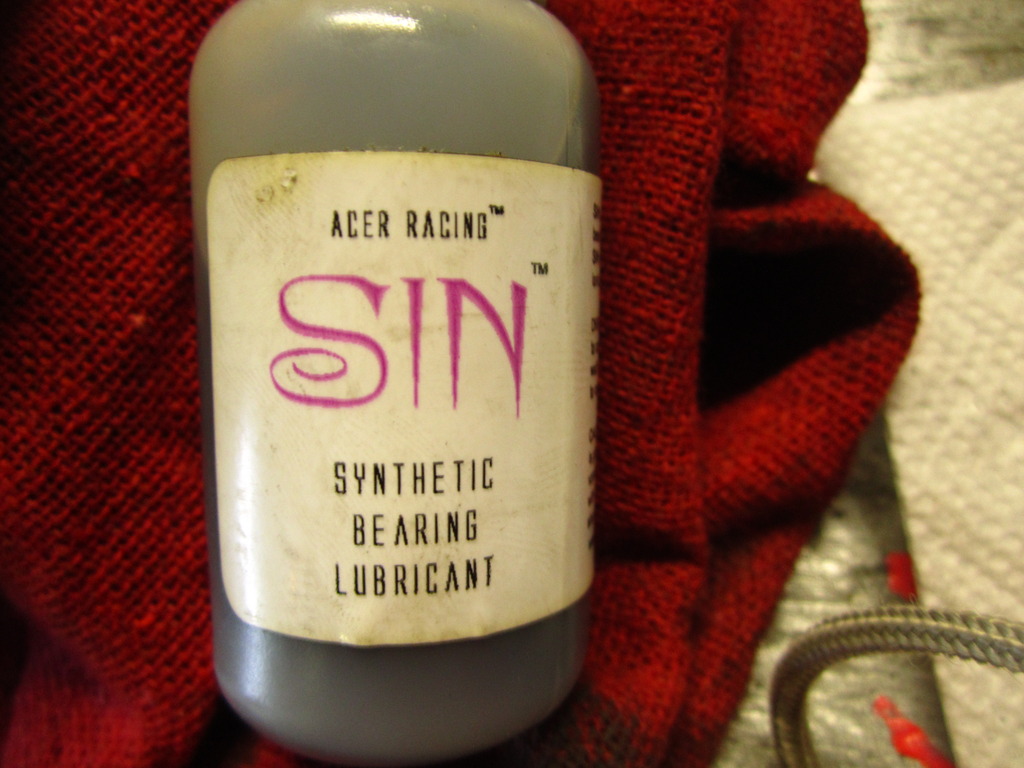
Now I found that the grease that came in the bearings was way to thick for this to operate properly so I took the seals off carefully and washed them clean of grease. below is a picture of what oil I used to lube them up. It is made for the ball bearings for RC cars. It is super thin and allows the bearings to spin free.
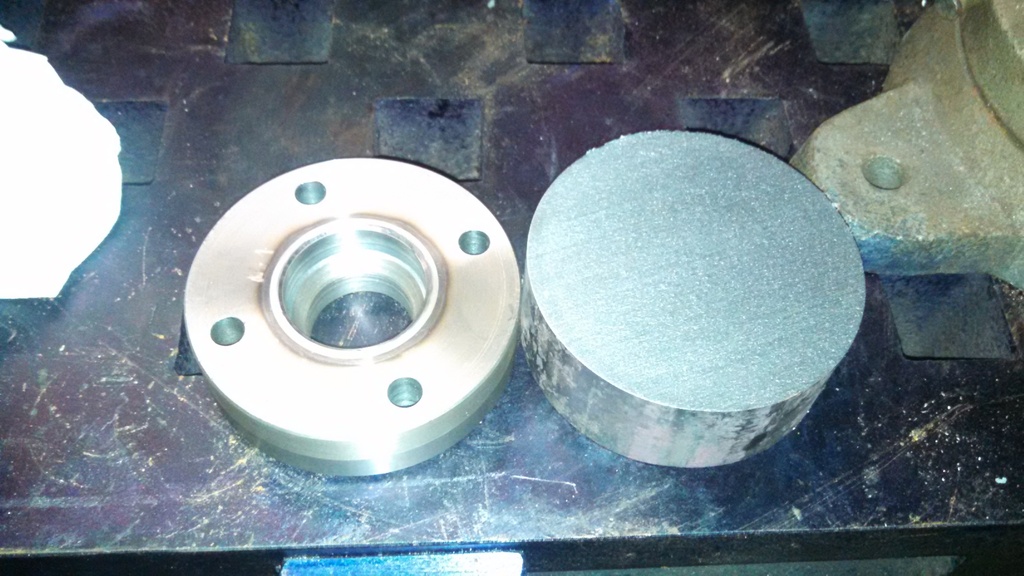
after that you just need to press the bearing on carefully with something, I used a vice to do it as seen below.
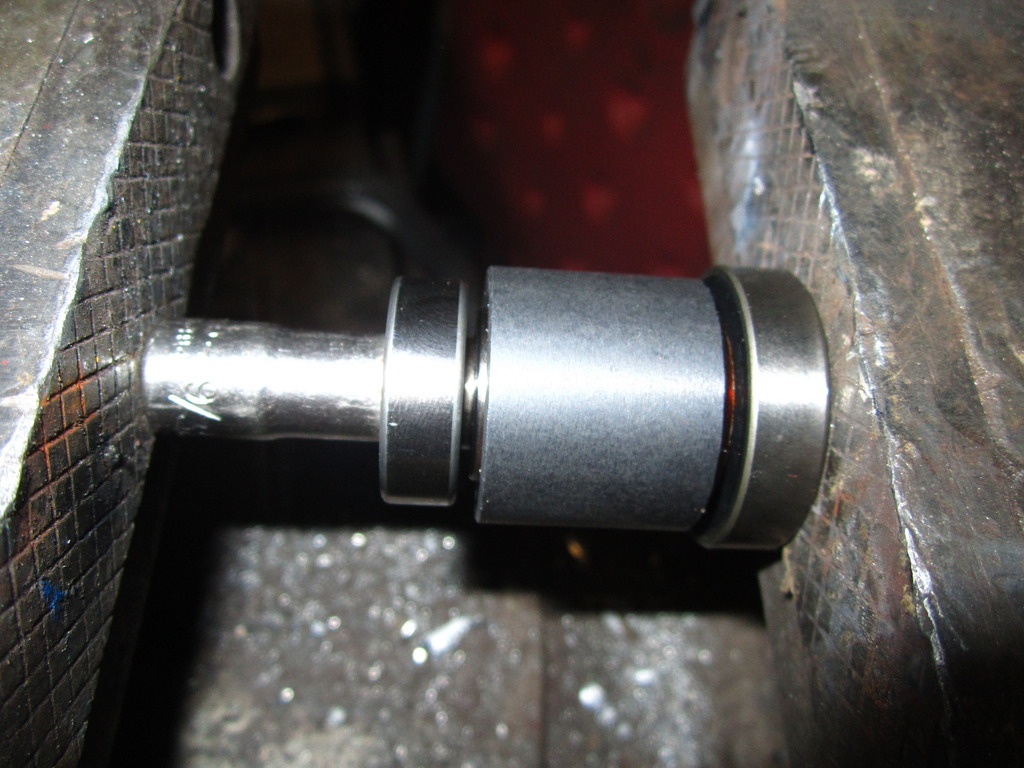
Then you can put it all back together. as far as how far to put the shaft in the magnet I put it all the way in until it bottomed out. the computer should figure out the rest. Mine works great now, it even idles up when I turn the AC on.


Once you have it apart you can either buy the bearings new or clean up the old ones. I opted to get some new ones, found them on ebay, but I am sure a bearing place would have them.

Now I found that the grease that came in the bearings was way to thick for this to operate properly so I took the seals off carefully and washed them clean of grease. below is a picture of what oil I used to lube them up. It is made for the ball bearings for RC cars. It is super thin and allows the bearings to spin free.

after that you just need to press the bearing on carefully with something, I used a vice to do it as seen below.


Then you can put it all back together. as far as how far to put the shaft in the magnet I put it all the way in until it bottomed out. the computer should figure out the rest. Mine works great now, it even idles up when I turn the AC on.
Last edited by JAR3289; 09-18-2015 at 02:23 PM.
09-18-2015, 09:12 PM
#39

Dude what an awesome build!! Thanks for providing all the info too. How did you get the A/C to work because I've heard that the compressor hits the steering shaft? Also how are you liking the swap so far, besides the overheating problem? What about an aluminum radiator?


