1995 4Runner 3.0L Head Gasket/ Mall Crawler Lift
 11-28-2012, 10:55 AM
#1
Registered User
Thread Starter
Join Date: Nov 2012
Location: Spartanburg, SC
Posts: 25
Likes: 0
Received 0 Likes
on
0 Posts
1995 4Runner 3.0L Head Gasket/ Mall Crawler Lift
Alright im a newb at 4x4 so take it easy on me. The only other 4wd i have ever owned is a 2002 Grand Cherokee Overland and its my wifes rig. This will be my first build for an off road vehicle and it seemed like a 4Runner was the perfect choice. I liked the styling and the amount of parts available for it. The only down fall of the 2nd gen runners is the 3.0 head gasket issues.
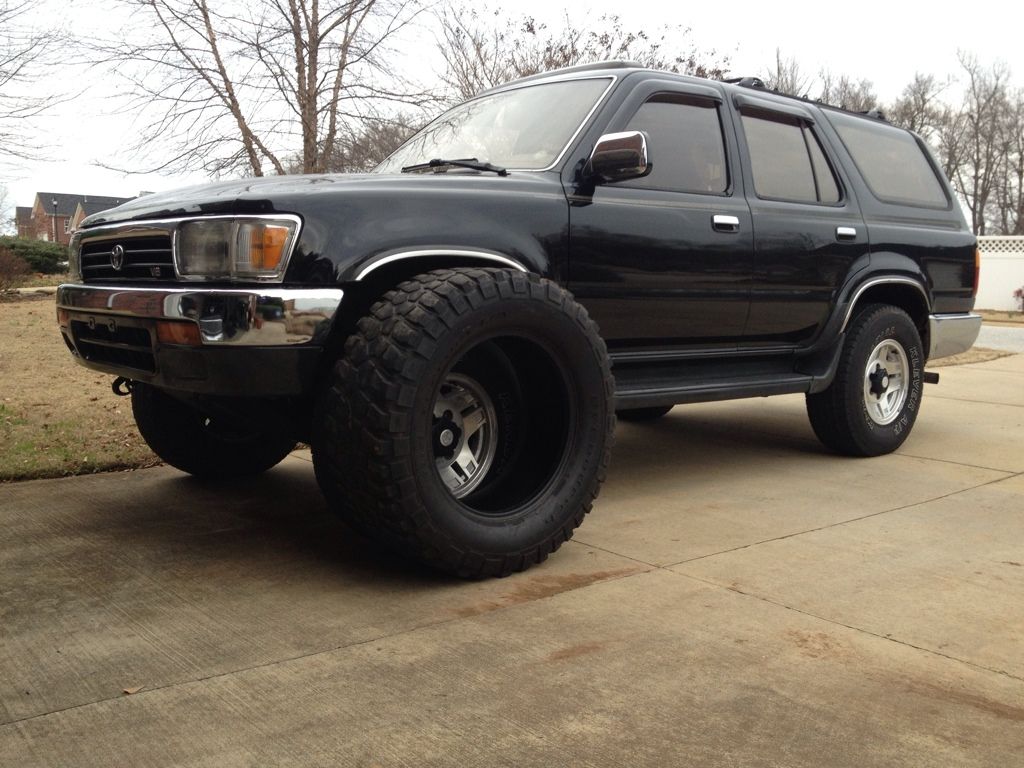
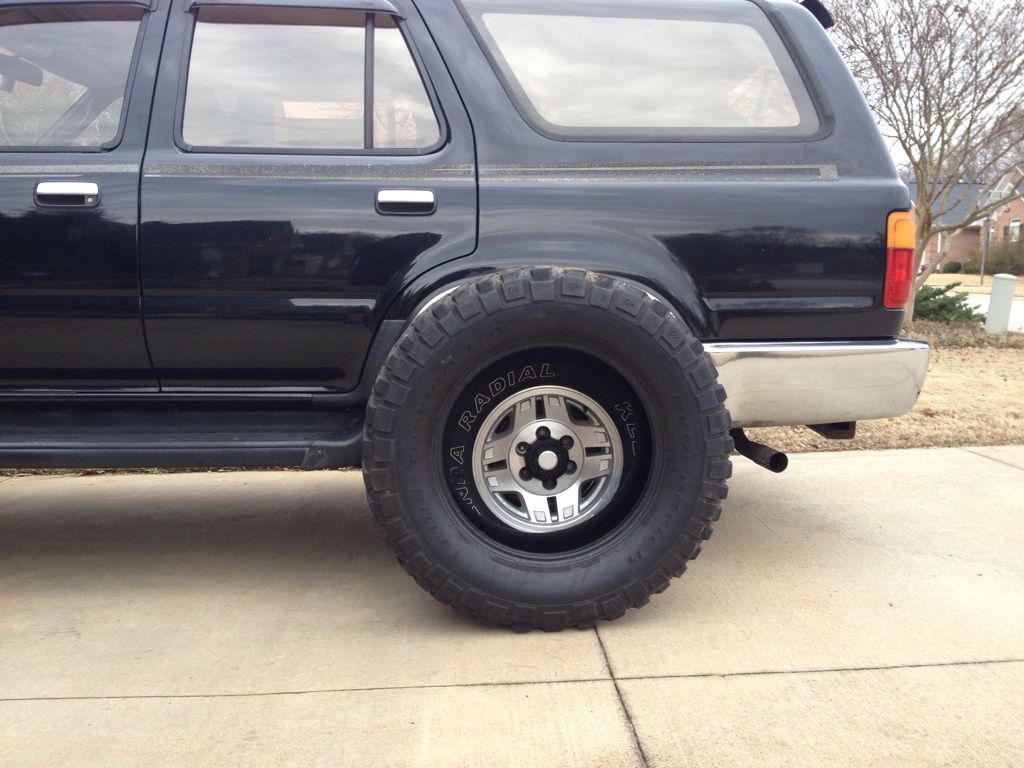
I found my victim locally with of coarse a blown head gasket, i was able to pick it up for 1250$. It was cosmetically in great condition. Previous owner had put a rebuilt transmission and new front axles with boots in, drove it 50 miles and blew the head gasket. here is how it sat when i first brought it to its new forever home.
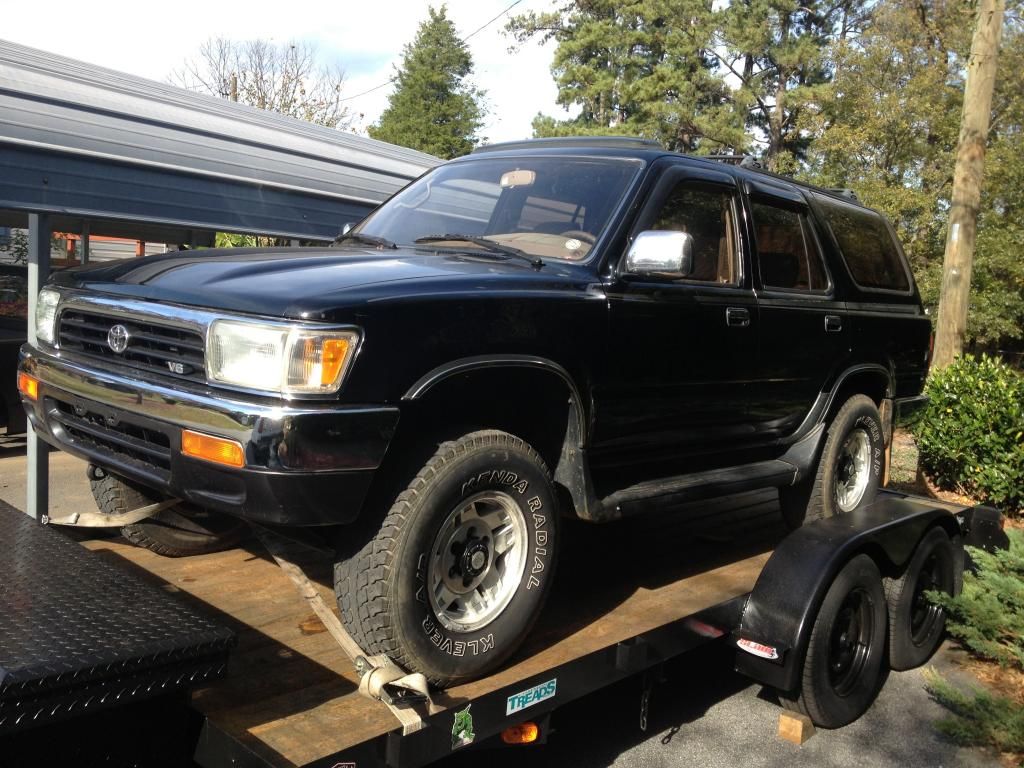
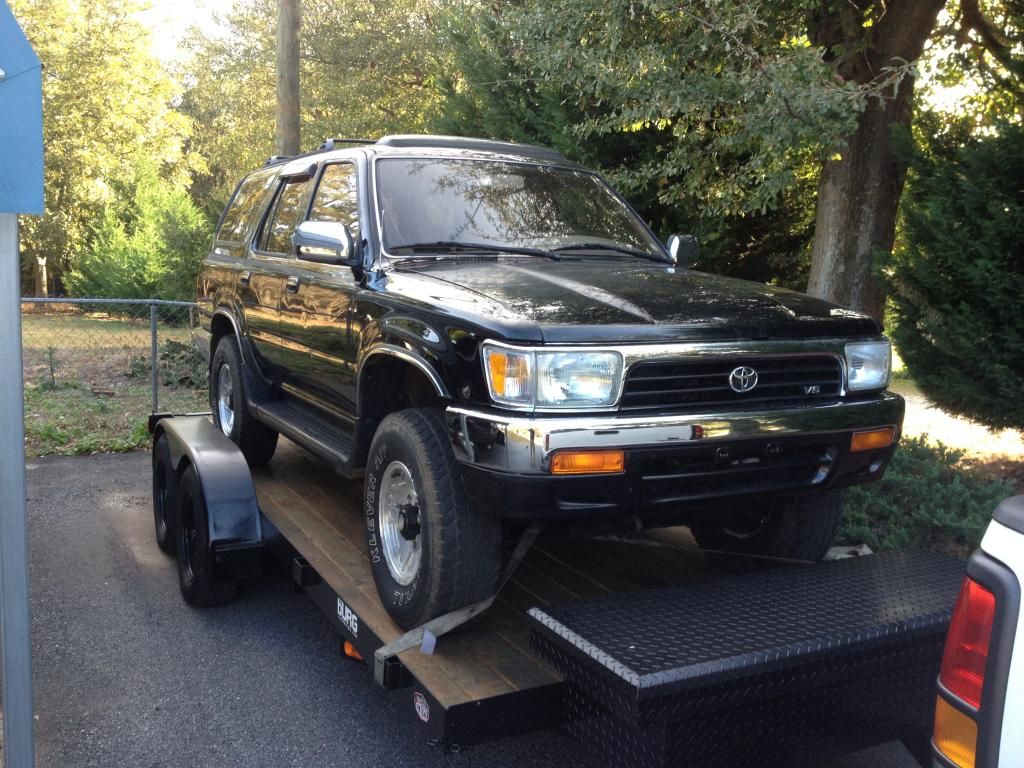
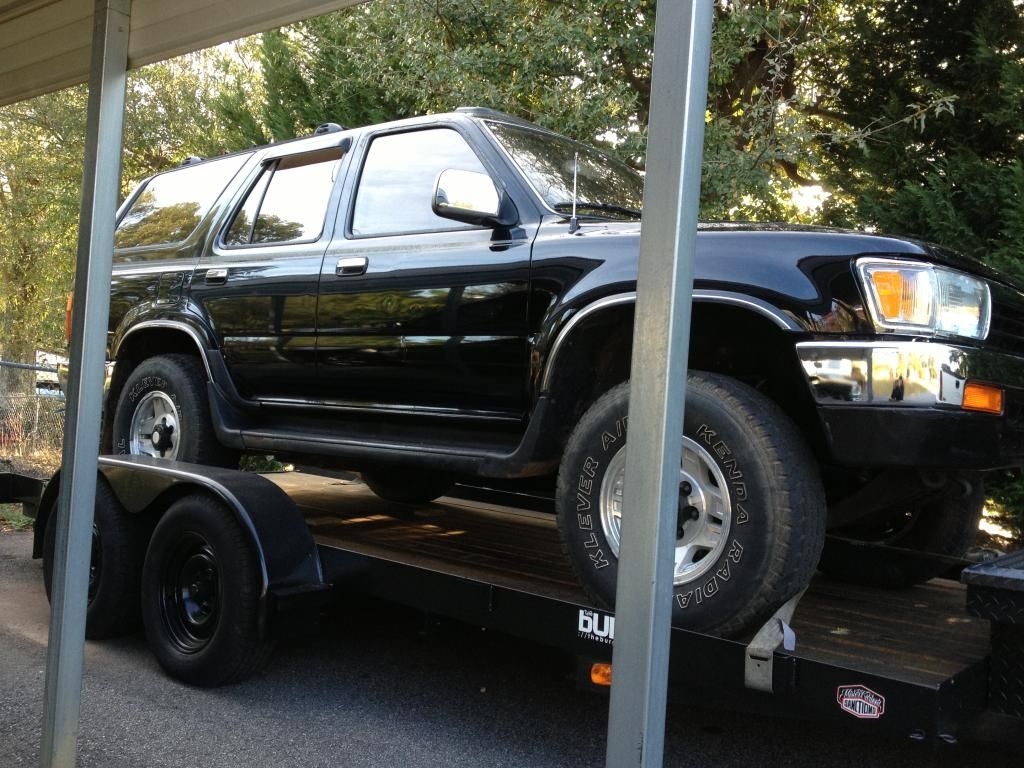
I found my victim locally with of coarse a blown head gasket, i was able to pick it up for 1250$. It was cosmetically in great condition. Previous owner had put a rebuilt transmission and new front axles with boots in, drove it 50 miles and blew the head gasket. here is how it sat when i first brought it to its new forever home.
 11-28-2012, 11:00 AM
#2
Registered User
Thread Starter
Join Date: Nov 2012
Location: Spartanburg, SC
Posts: 25
Likes: 0
Received 0 Likes
on
0 Posts
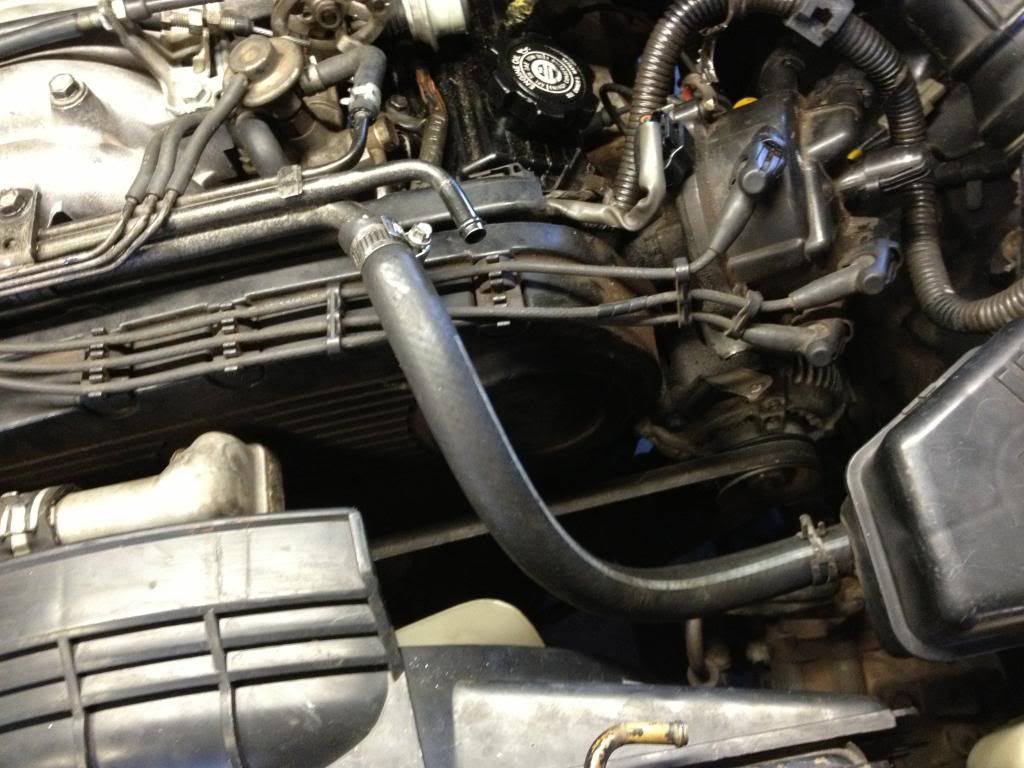
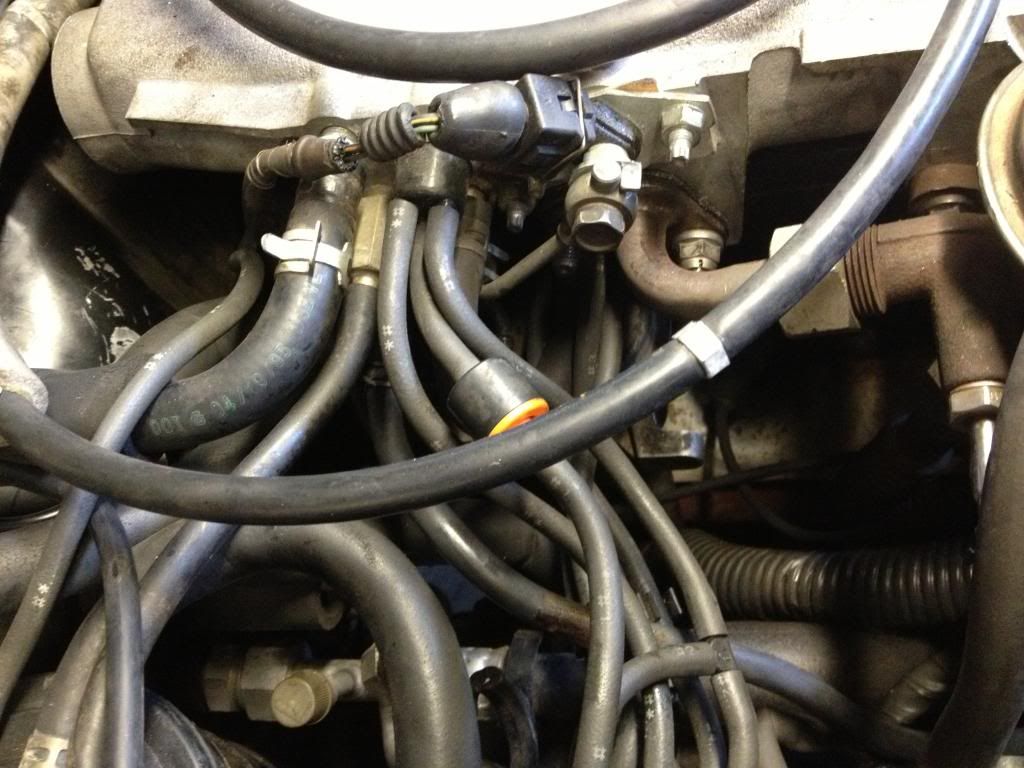
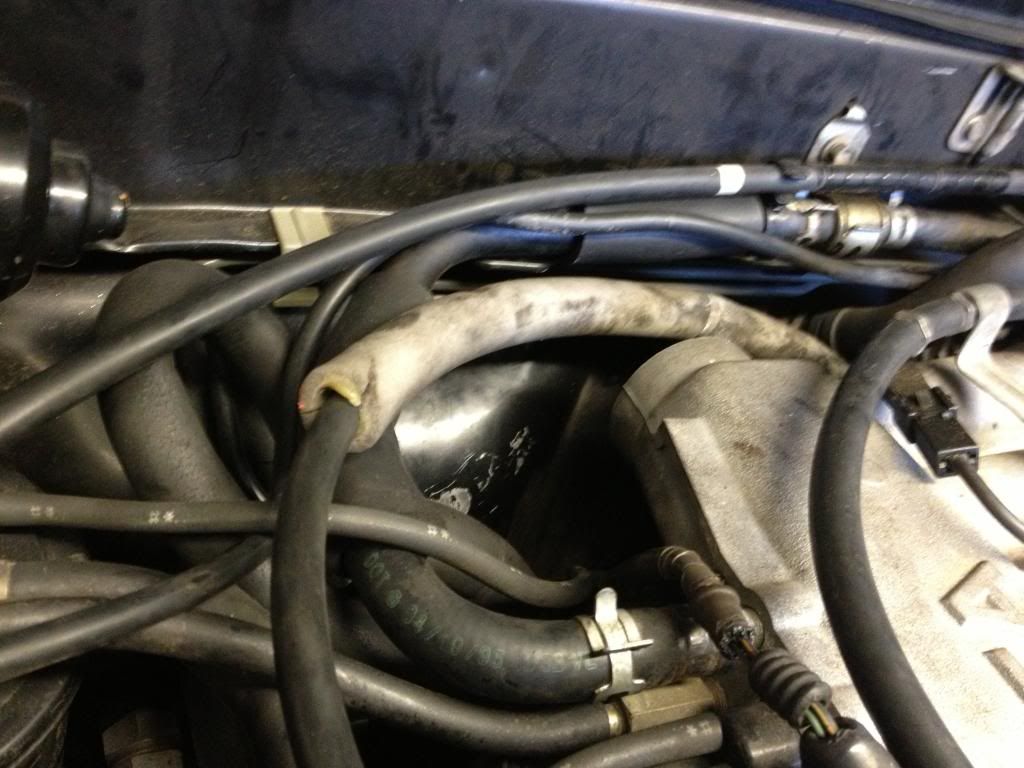
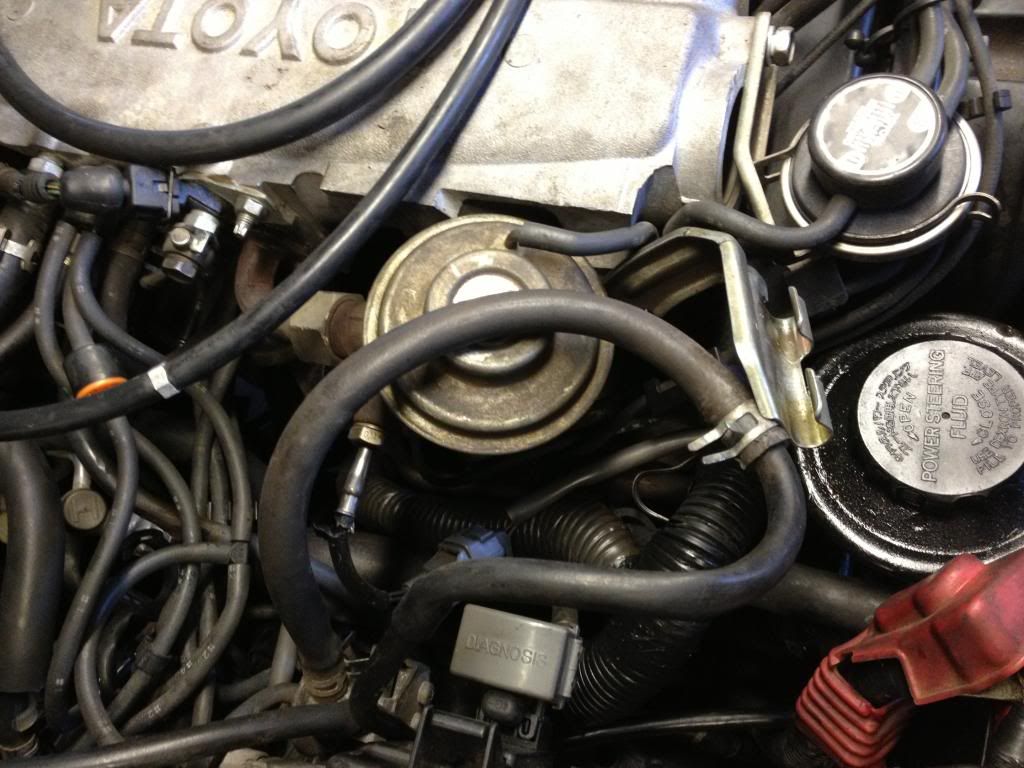
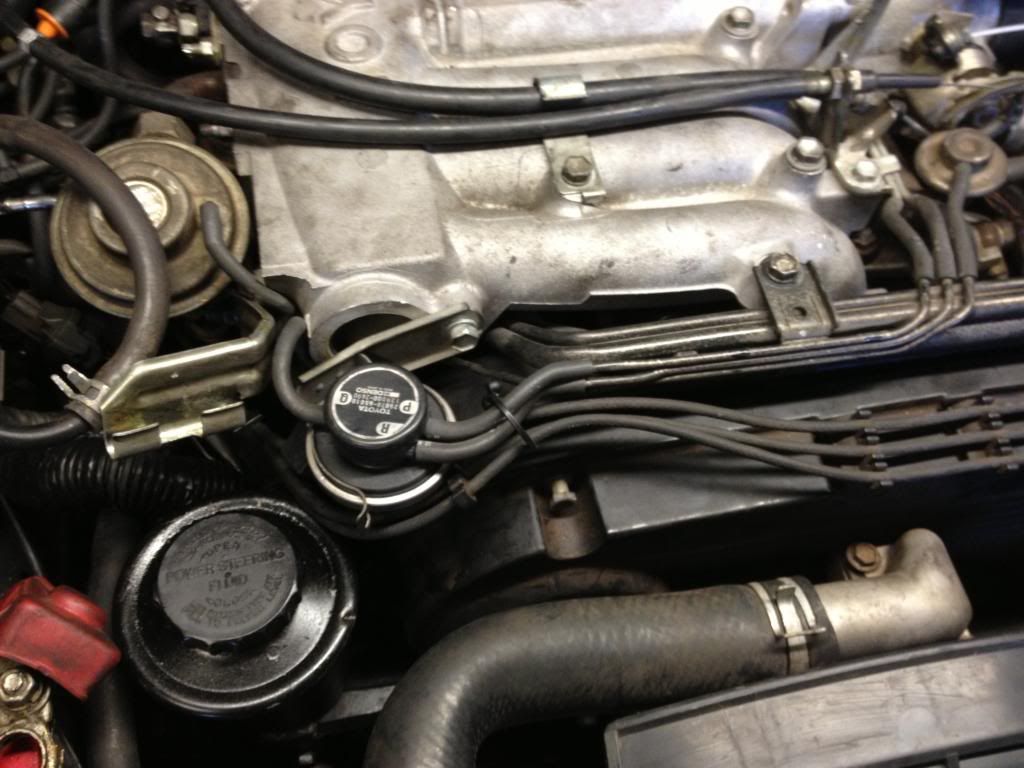
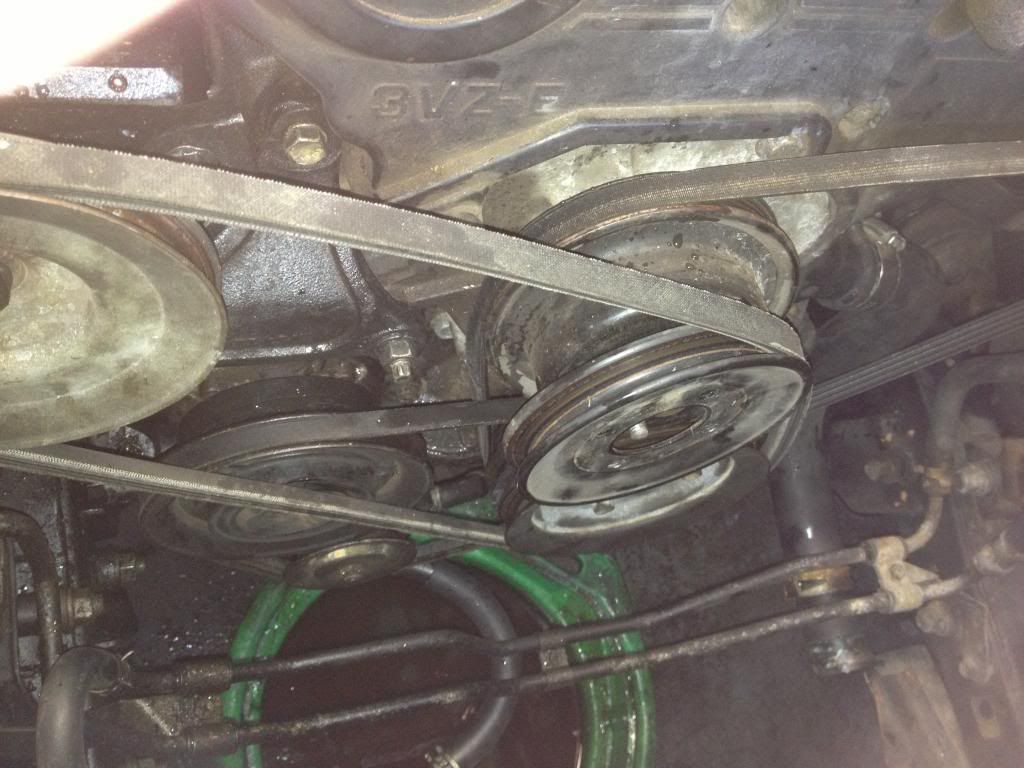
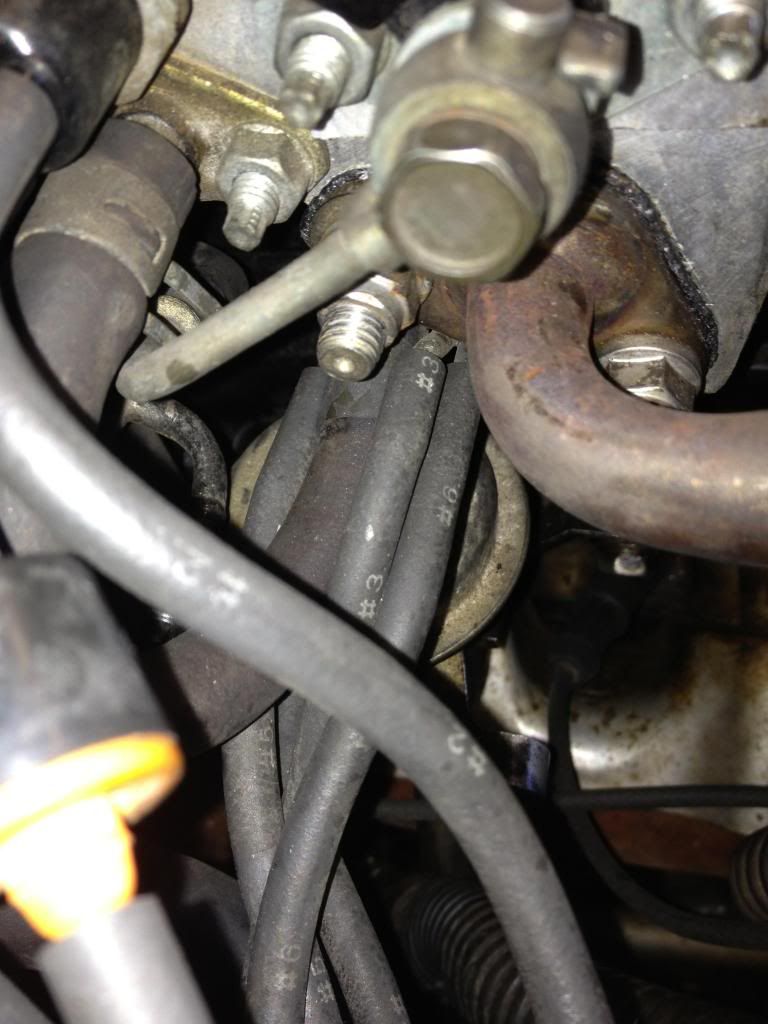
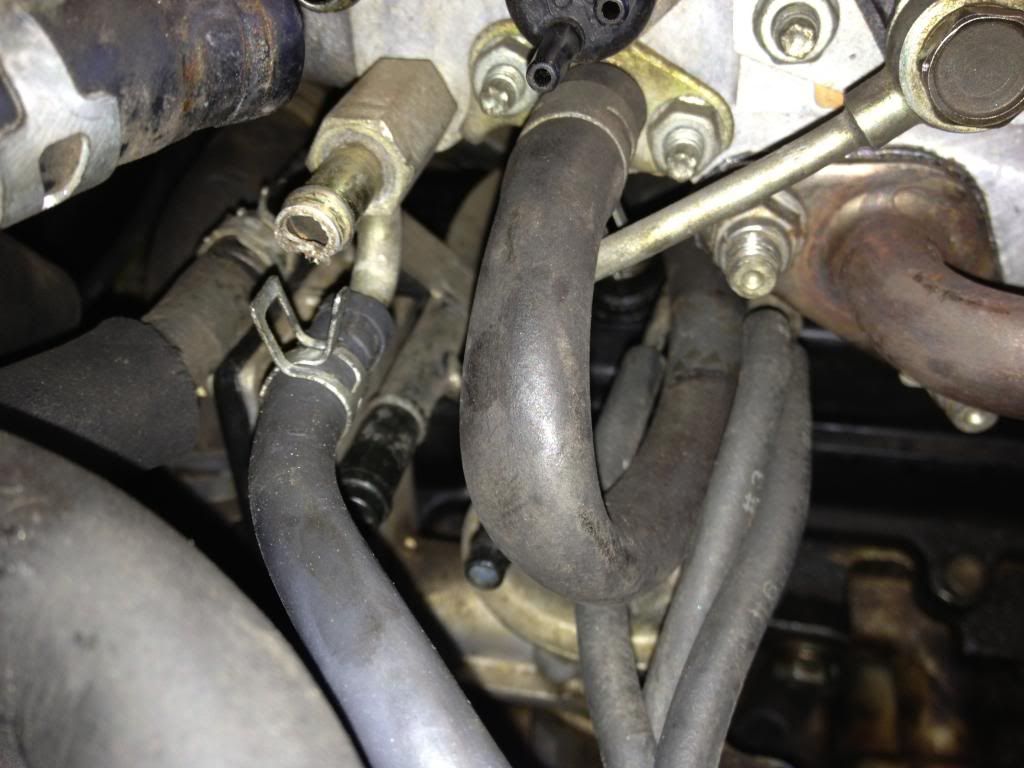
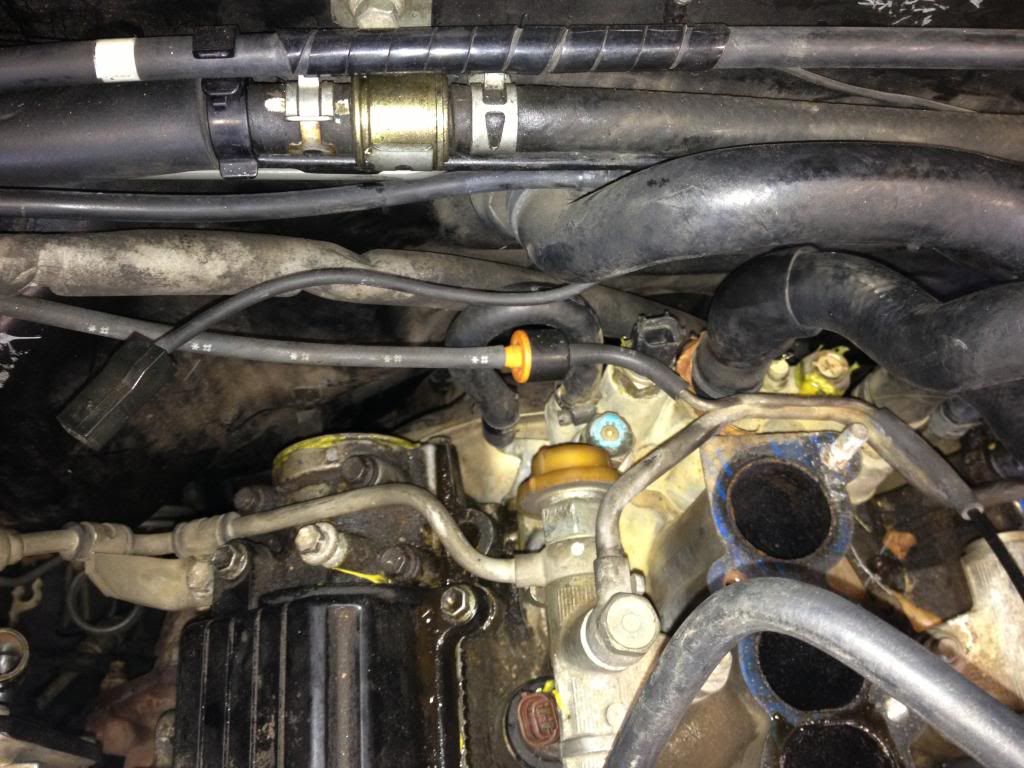
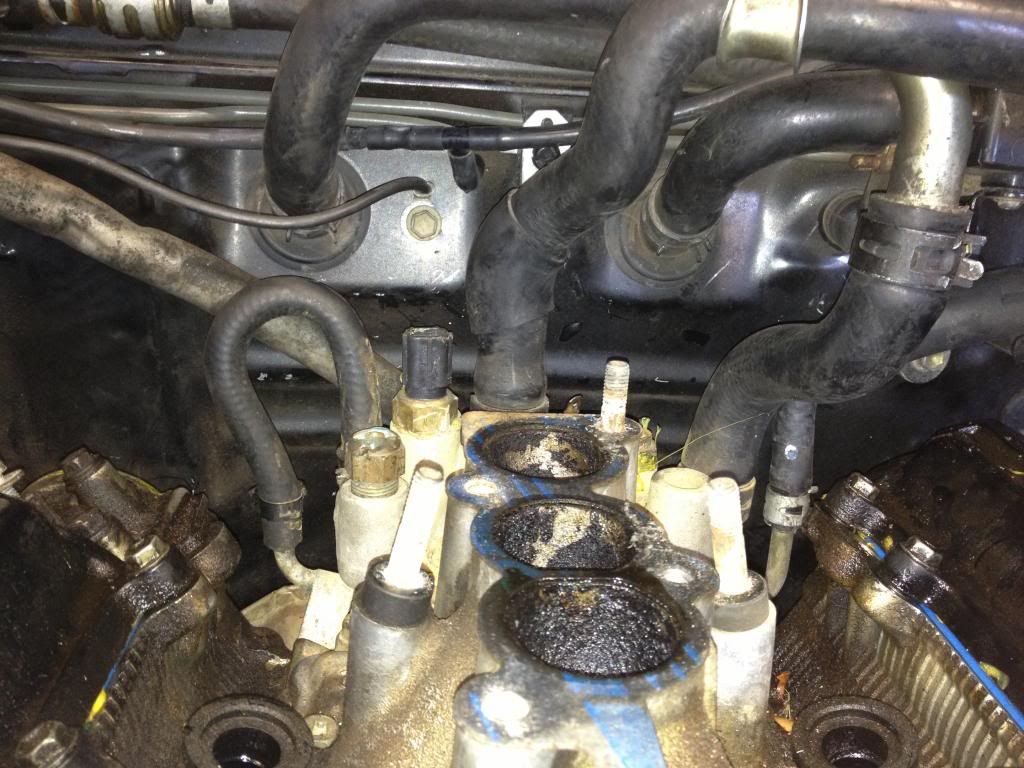
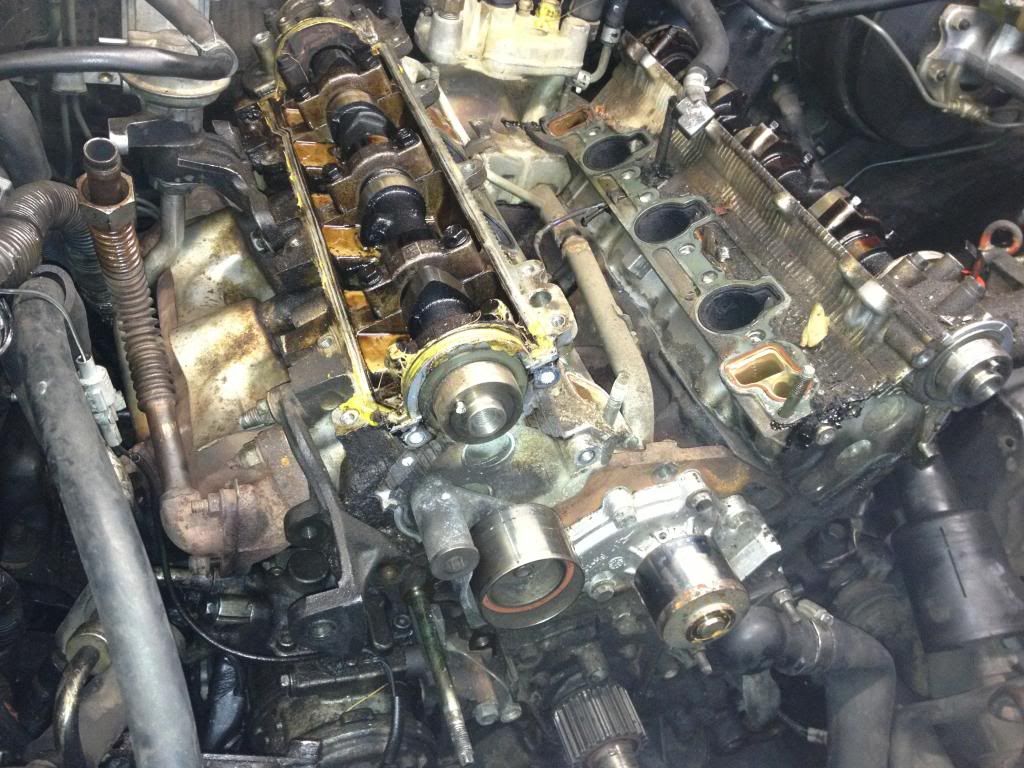
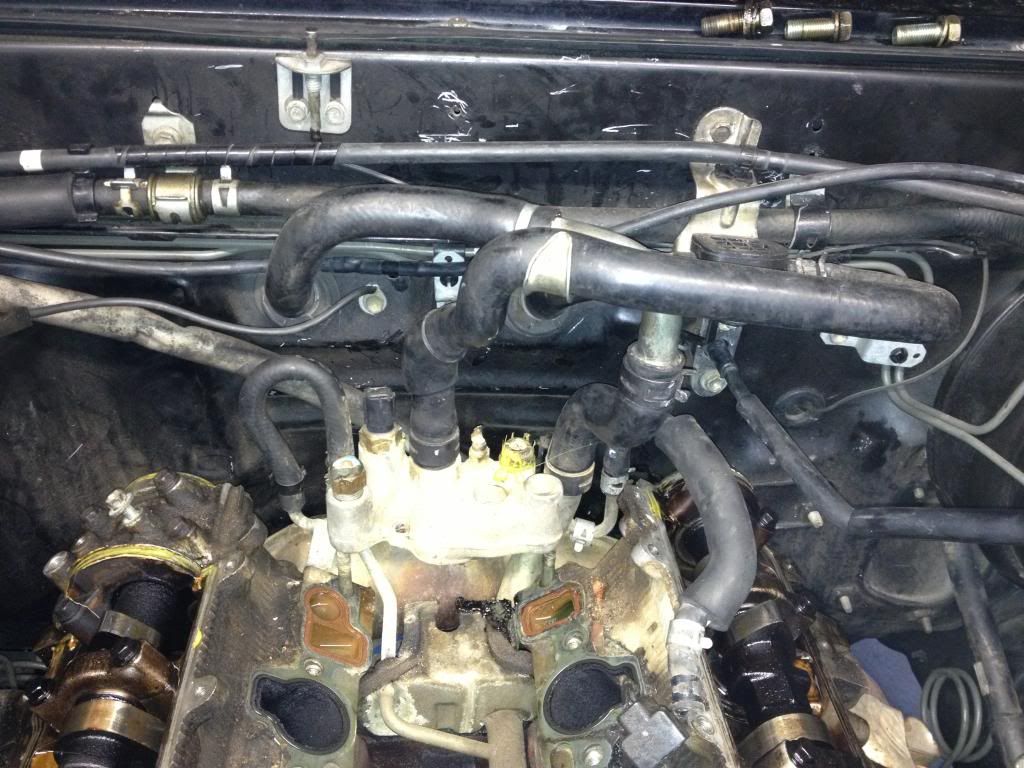
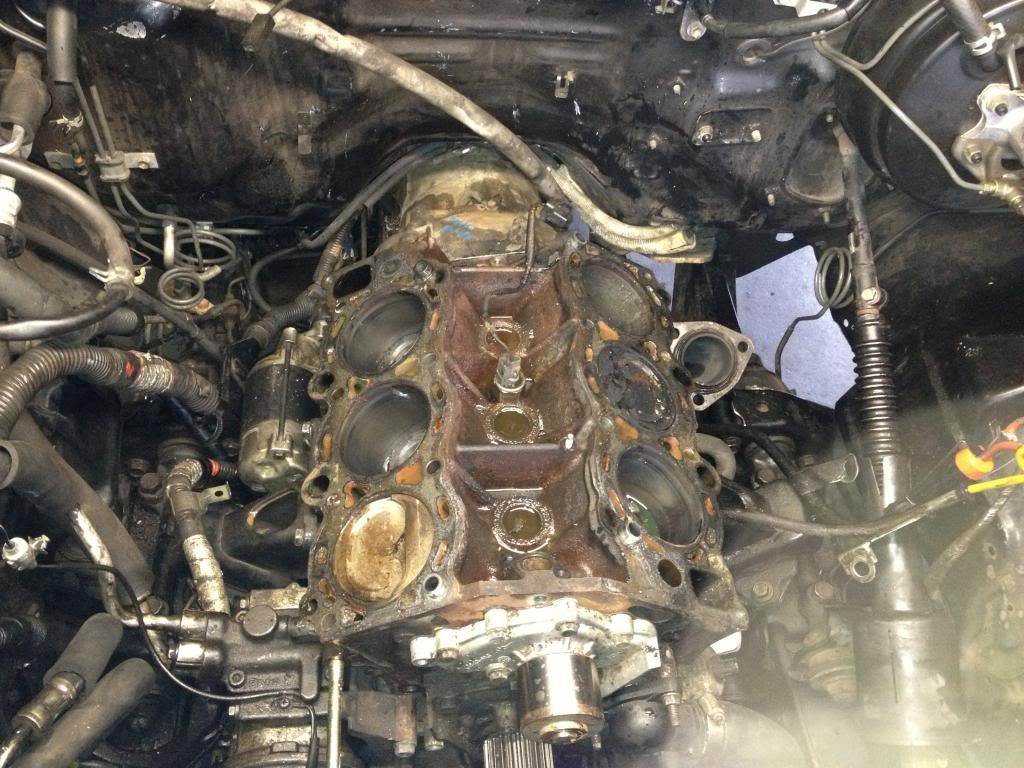
First thing i had to do is tear the top of the engine down to replace the head gasket with quality parts. along with the head gasket i planned on spend 1k on new parts belts filters and tune up. I took lots of pics during the process, i have never had to deal with so many vacuum lines in my life.


Trending Topics
 11-28-2012, 08:04 PM
#9
Registered User
Thread Starter
Join Date: Nov 2012
Location: Spartanburg, SC
Posts: 25
Likes: 0
Received 0 Likes
on
0 Posts
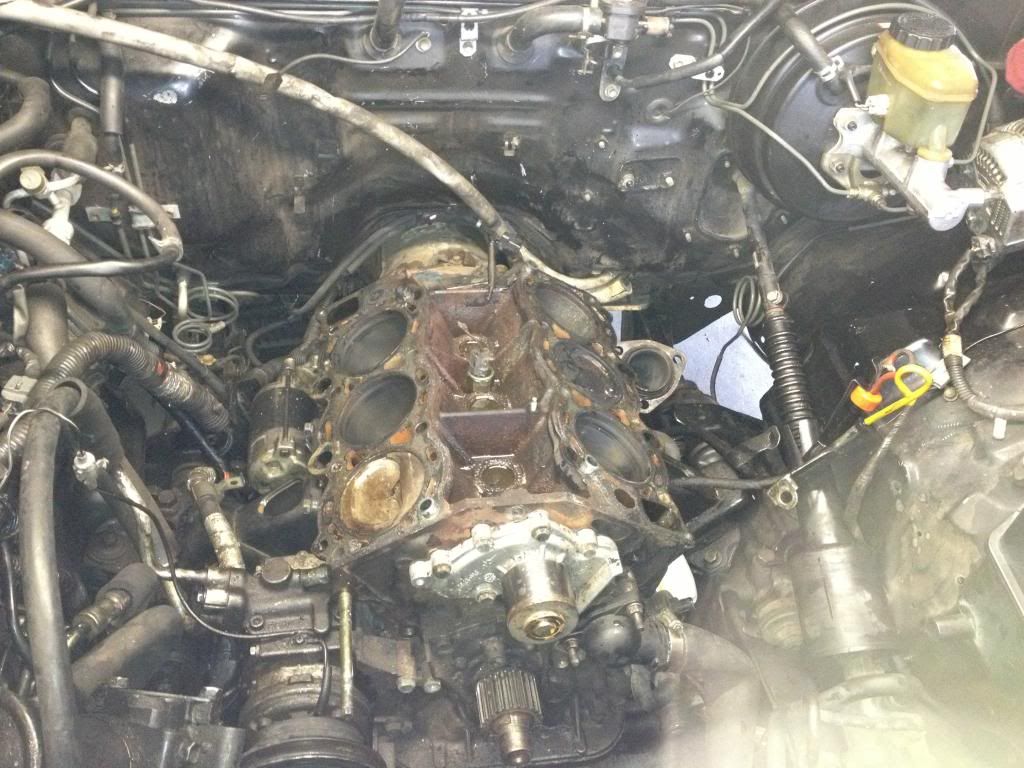
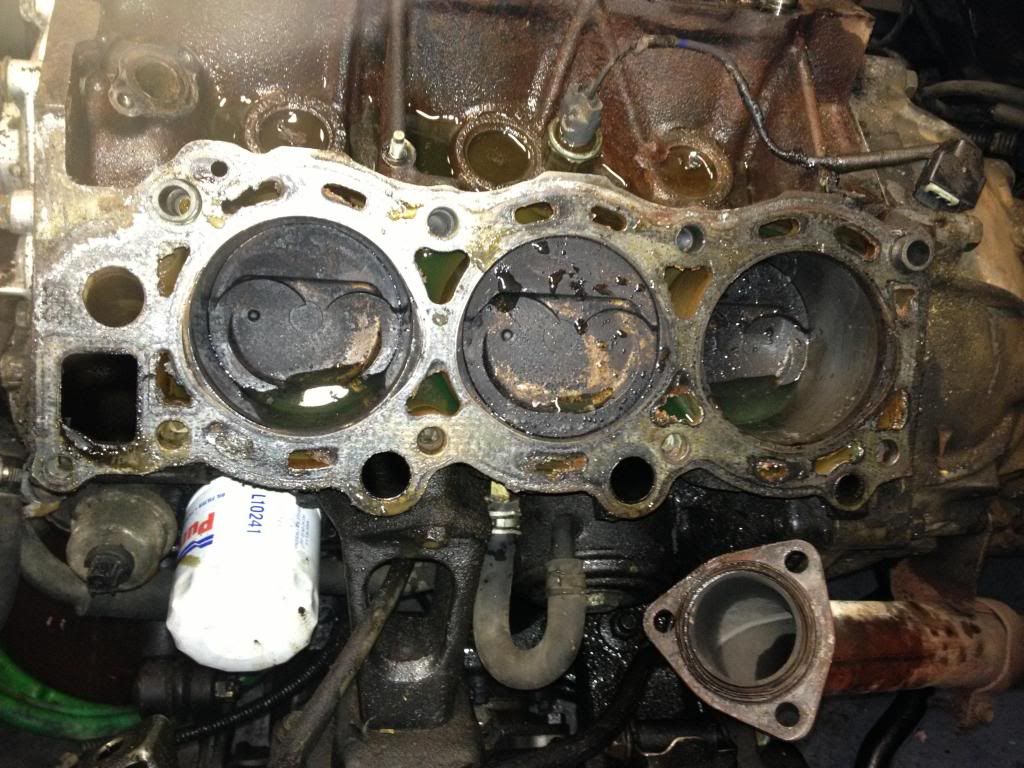
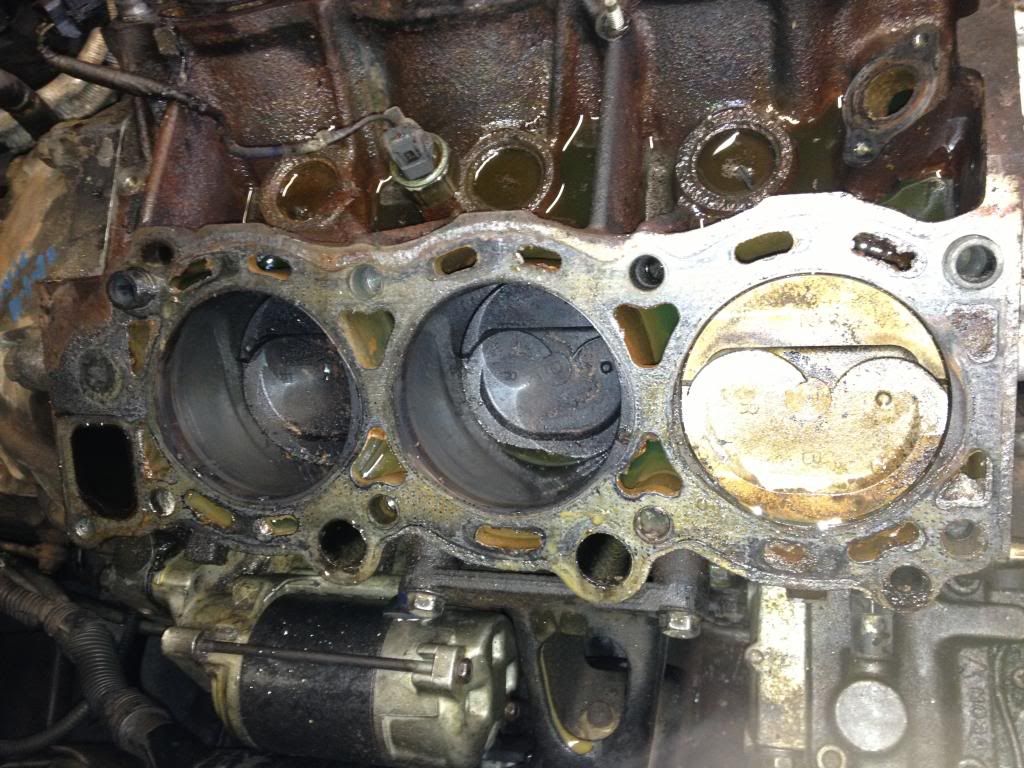
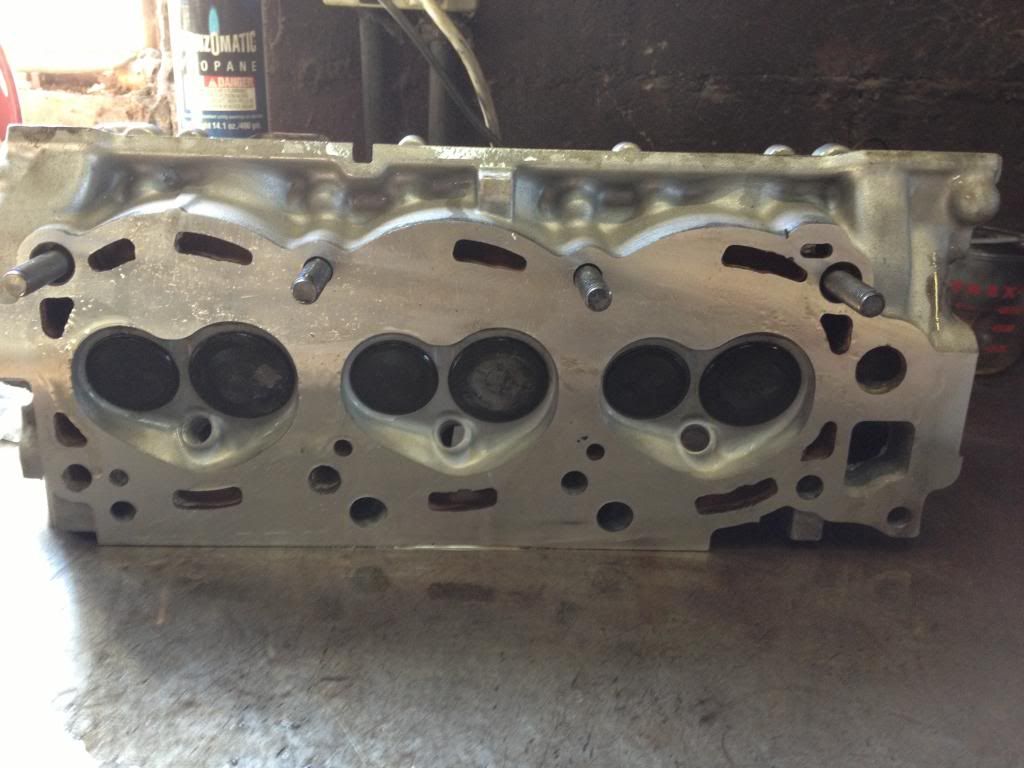
Here you can see that it actually blew the head gasket at the #1 cylinder. I did alot of reading and seems most of the time they go out on the back two cylinders #5 or #6 because of the heat from the crossover pipe. This makes me believe that when the gasket recall was done or if the gasket was just replaced that they didnt check for the warpage in the the cylinder head. Probably reused the stock head bolts too, at least they use felpro gaskets.....
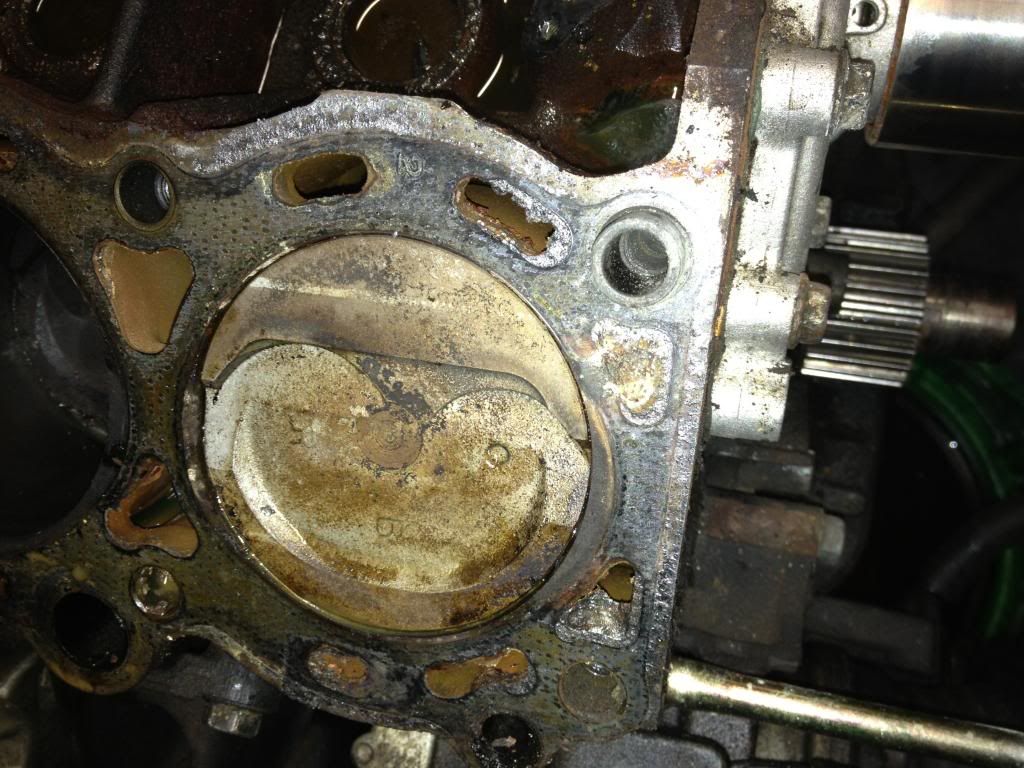
You can also tell the coolant was leaking because of how clean the top of the piston is in this pic. the coolant cleaned all the carbon off of it.
You can also tell the coolant was leaking because of how clean the top of the piston is in this pic. the coolant cleaned all the carbon off of it.
11-28-2012, 08:09 PM
#10
Registered User
Thread Starter
Join Date: Nov 2012
Location: Spartanburg, SC
Posts: 25
Likes: 0
Received 0 Likes
on
0 Posts
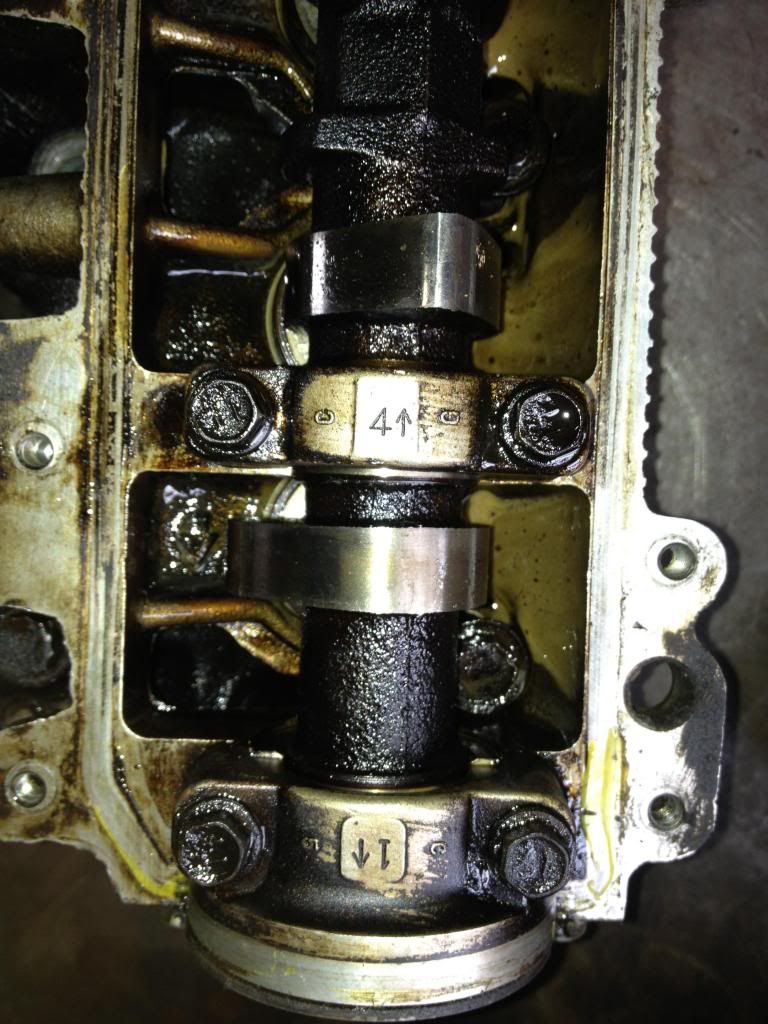
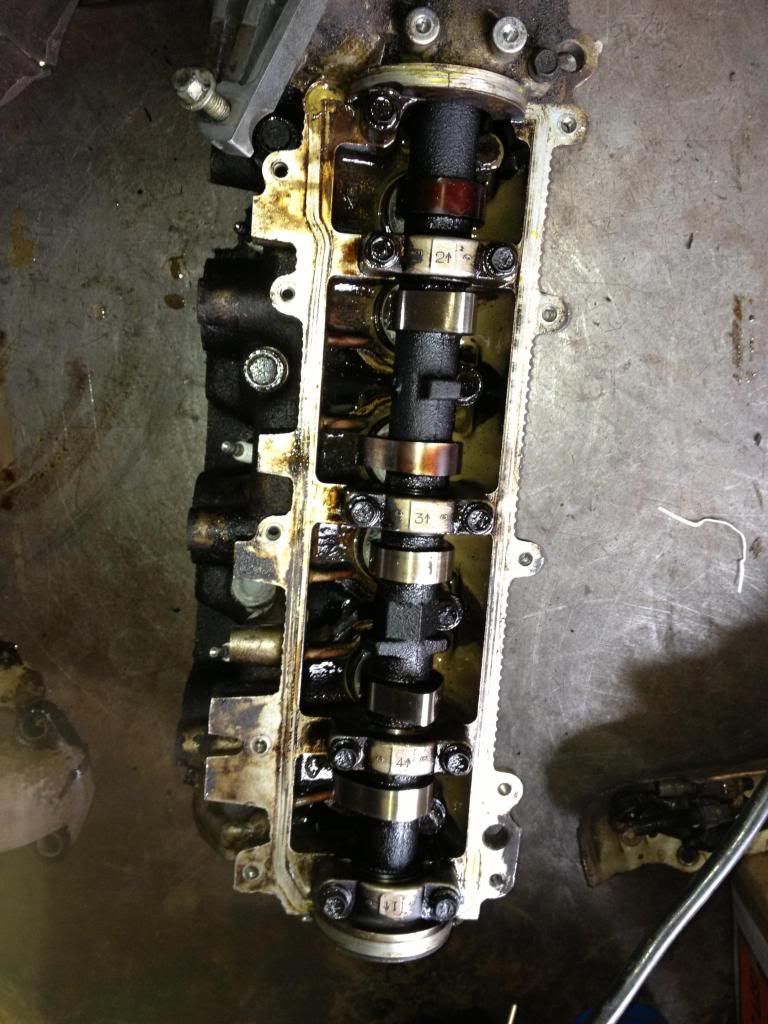
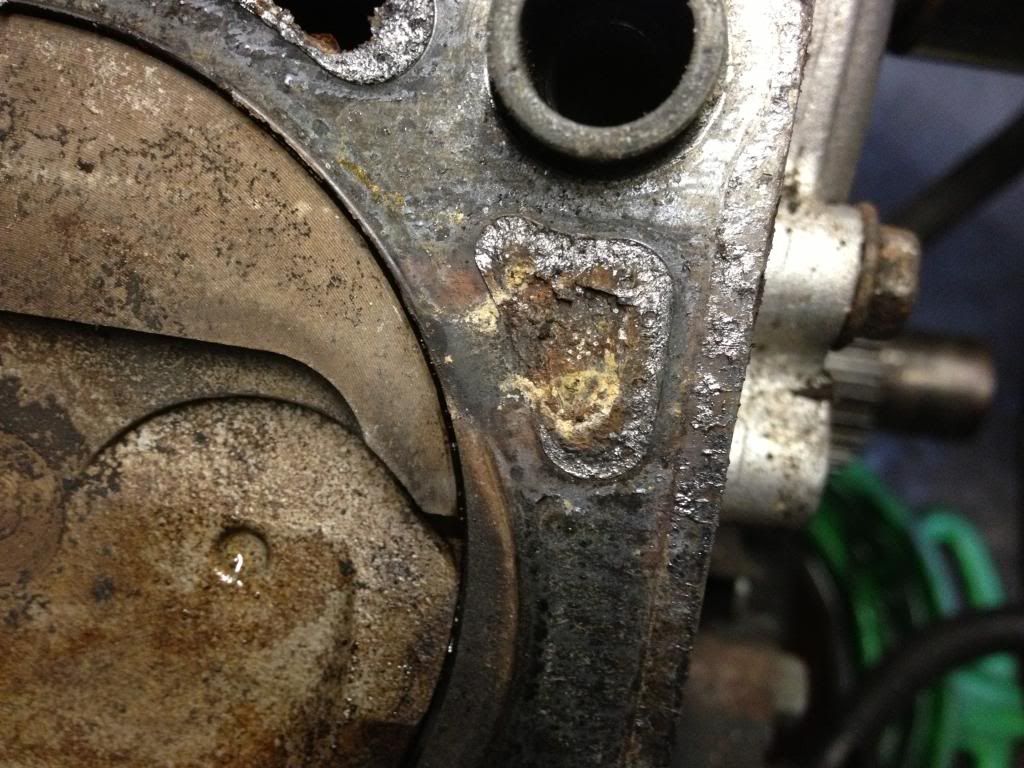
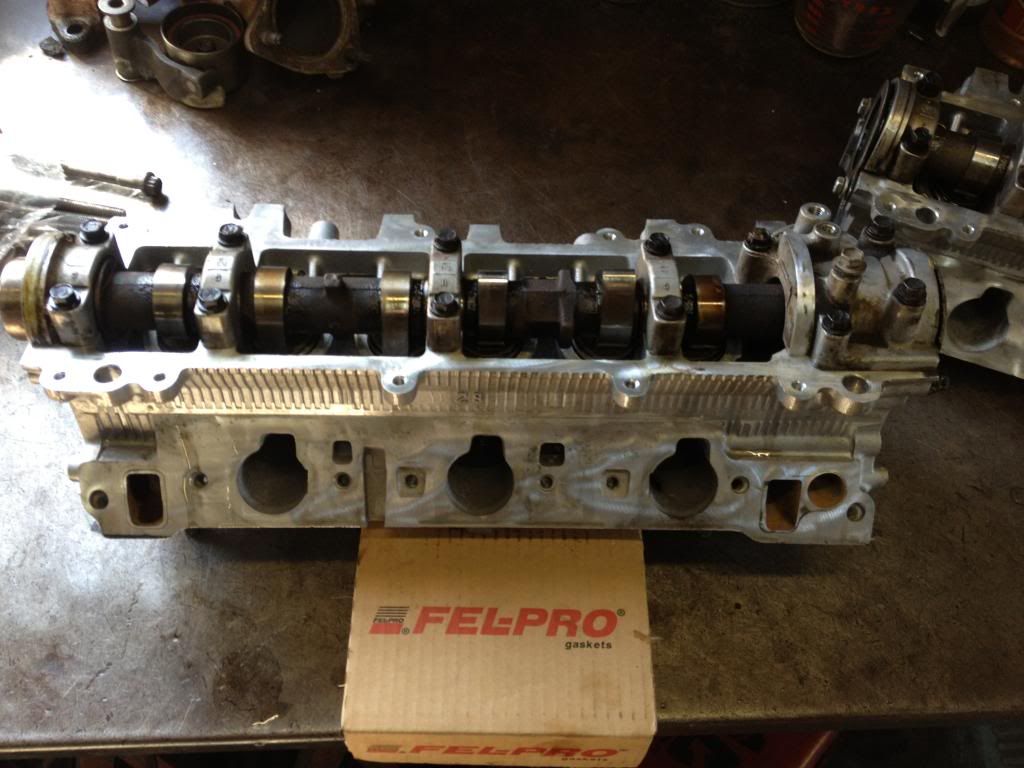
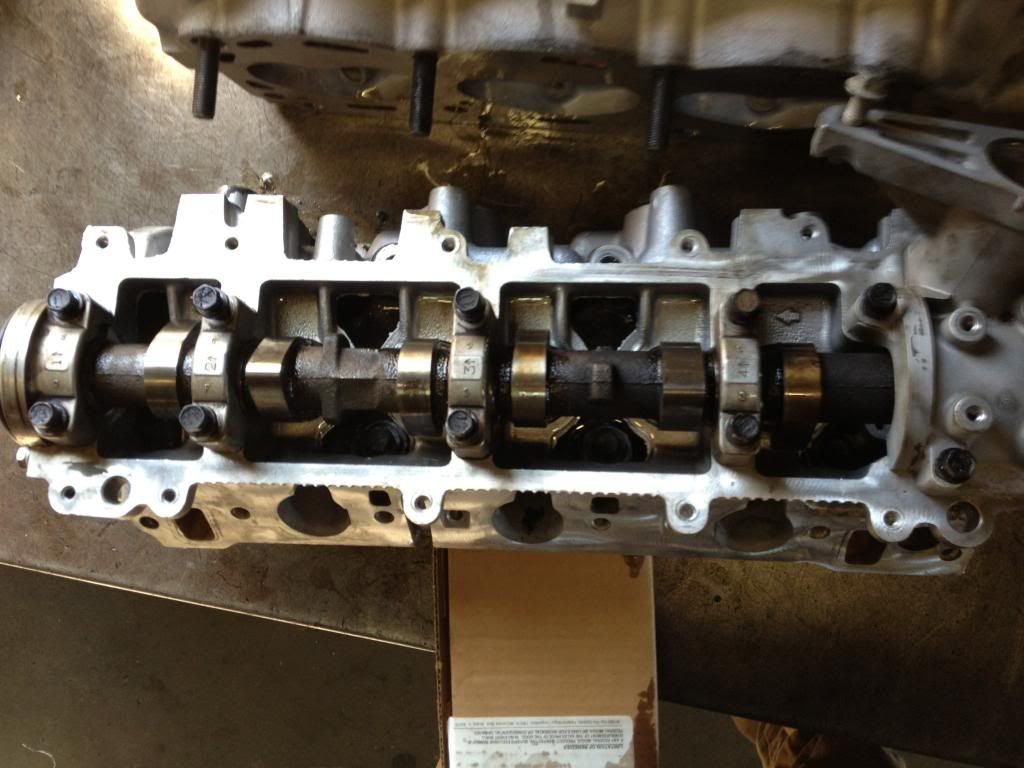
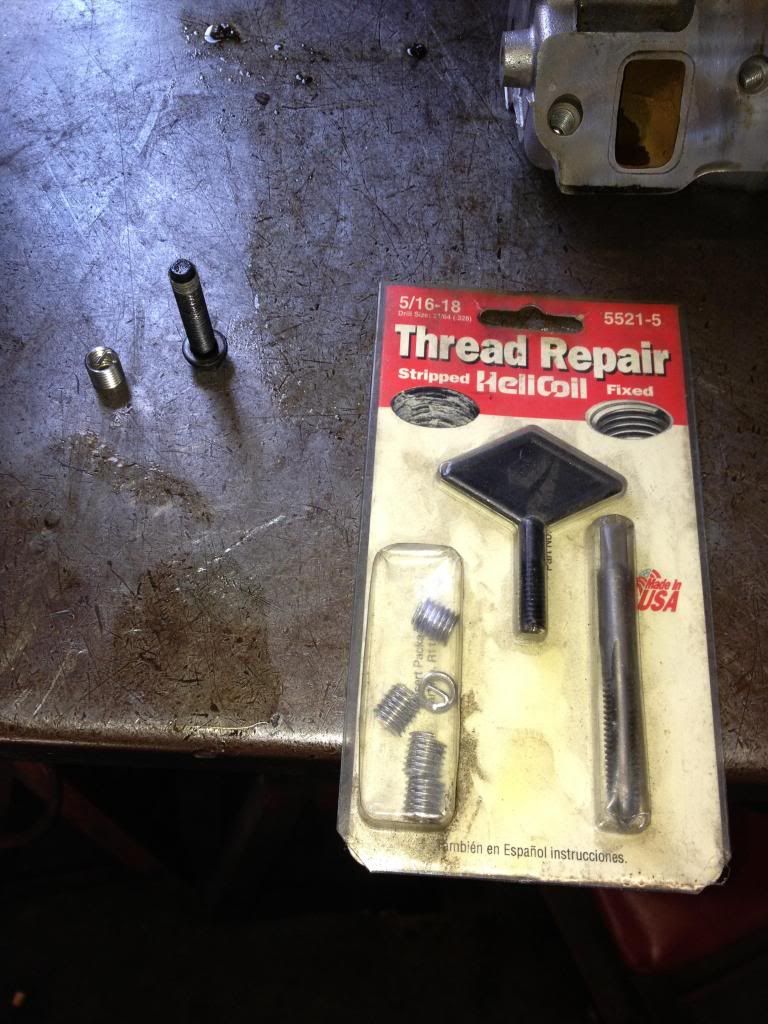
And of coarse when i got the heads back from the machine shop, where they did shave the heads and do a full valve job because i had to intake valves that failed a pressure test. I went to torque the cams back down i pulled the threads out of 3 bolt holes....figures.
Here is one of the bolts with the aluminum threads still on it
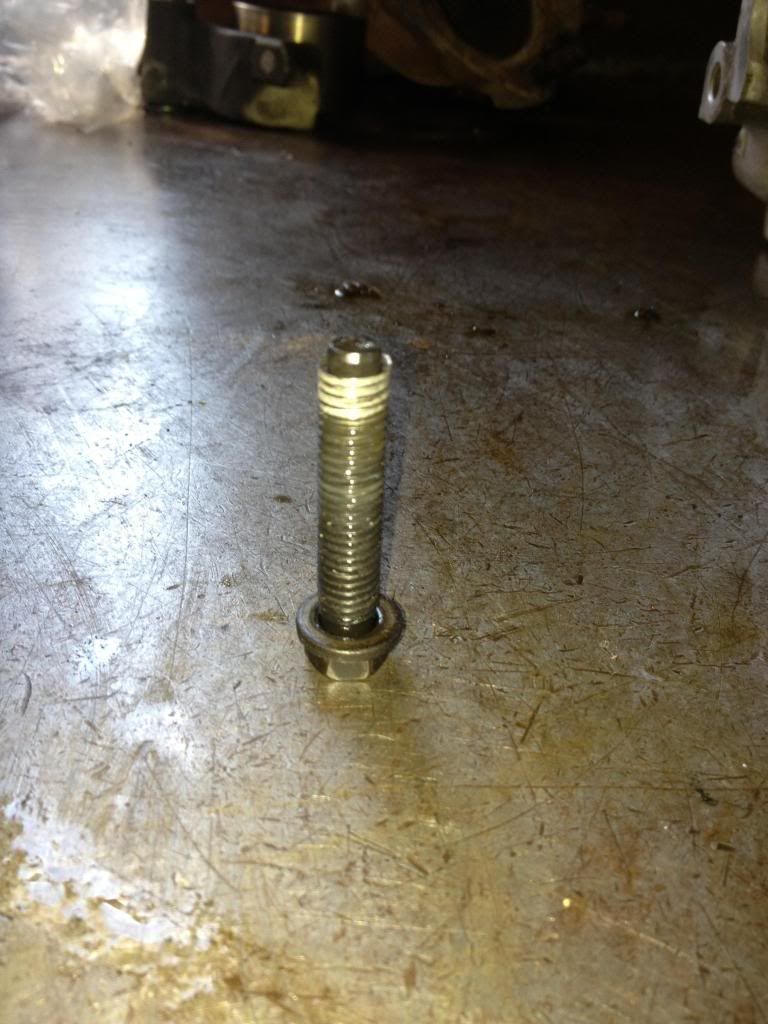
Thank god for helicoils
Here is one of the bolts with the aluminum threads still on it
Thank god for helicoils

 11-28-2012, 08:33 PM
#12
Registered User
Thread Starter
Join Date: Nov 2012
Location: Spartanburg, SC
Posts: 25
Likes: 0
Received 0 Likes
on
0 Posts
Next on the list is doing a small lift that consists of
2.5" Fat Bobs BJ Spacer:
+3'' FrontPro Comp ES3000 Twin Tube Gas Shock
+4'' Rear Pro Comp ES9000 Nitrogen gas-charged Shock Item Number:
+4" Pro Comp Rear Coil Springs Manufacturer Number:
i kinda stole that list of things to do from digitaldisciple but is there anything that im missing. didnt know if i need the panhard drop kit? I did some searching and this will suit me as far as the lift goes. The tire of choice is going to be some 33x12.50 rubbers maybe on the stock wheels. What do you guys think?
11-28-2012, 08:58 PM
#13
Registered User

Well if the last time the heads were off was for the recall, you wouldn't have felpro gaskets on there. I'd bet it wasn't a Toyota tech that installed the caps wrong.
I would recommend the panhard drop bracket. I only have 1.25" spacers in the rear of mine, and the panhard bar is not parallel with the axle like it is supposed to be.
I would recommend the panhard drop bracket. I only have 1.25" spacers in the rear of mine, and the panhard bar is not parallel with the axle like it is supposed to be.
11-28-2012, 09:19 PM
#14
Registered User
Thread Starter
Join Date: Nov 2012
Location: Spartanburg, SC
Posts: 25
Likes: 0
Received 0 Likes
on
0 Posts
Well the cat at the machine shop said since there wasn't any scaring on the caps or cam then it was fine to replace them in the right order. From the broken sensors I found and broken intake bolts, didn't look like the work of a tech.
01-09-2013, 11:08 AM
#16
Registered User
Thread Starter
Join Date: Nov 2012
Location: Spartanburg, SC
Posts: 25
Likes: 0
Received 0 Likes
on
0 Posts
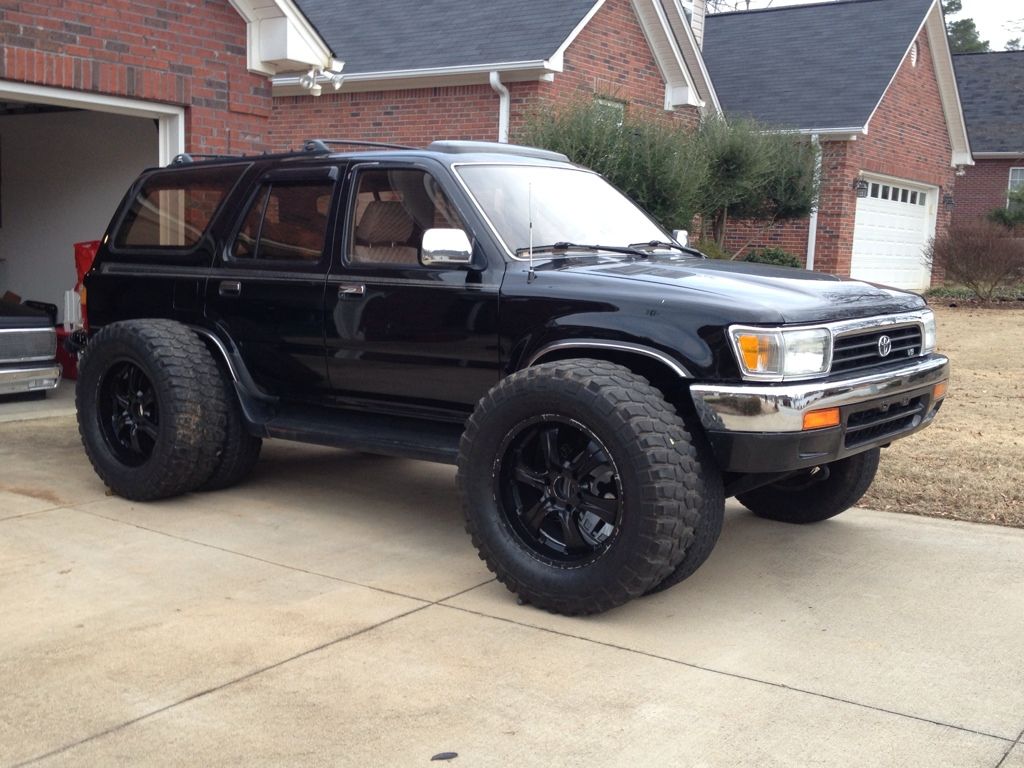
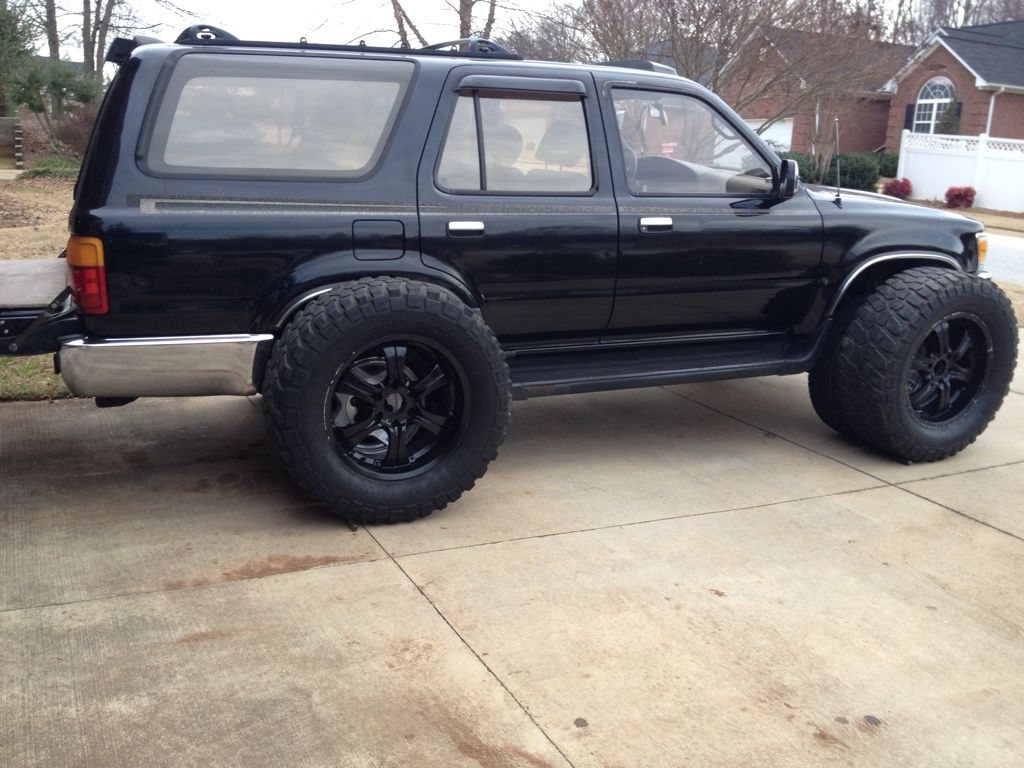
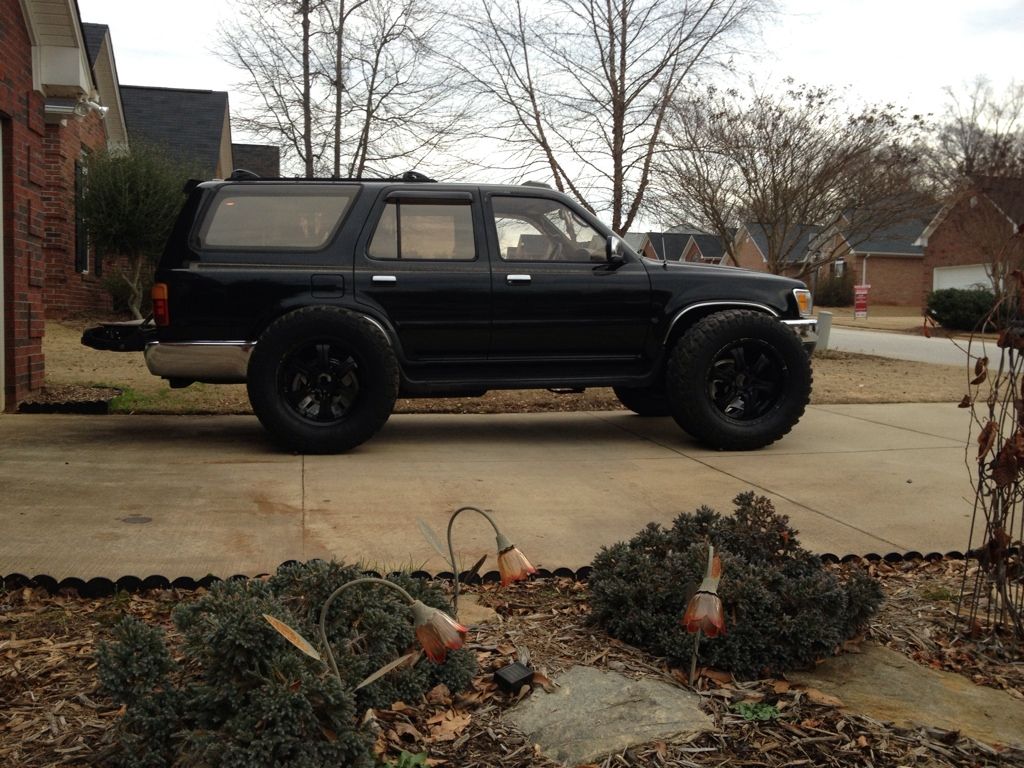
Time to catch everyone up on some progress with my mall crawler.
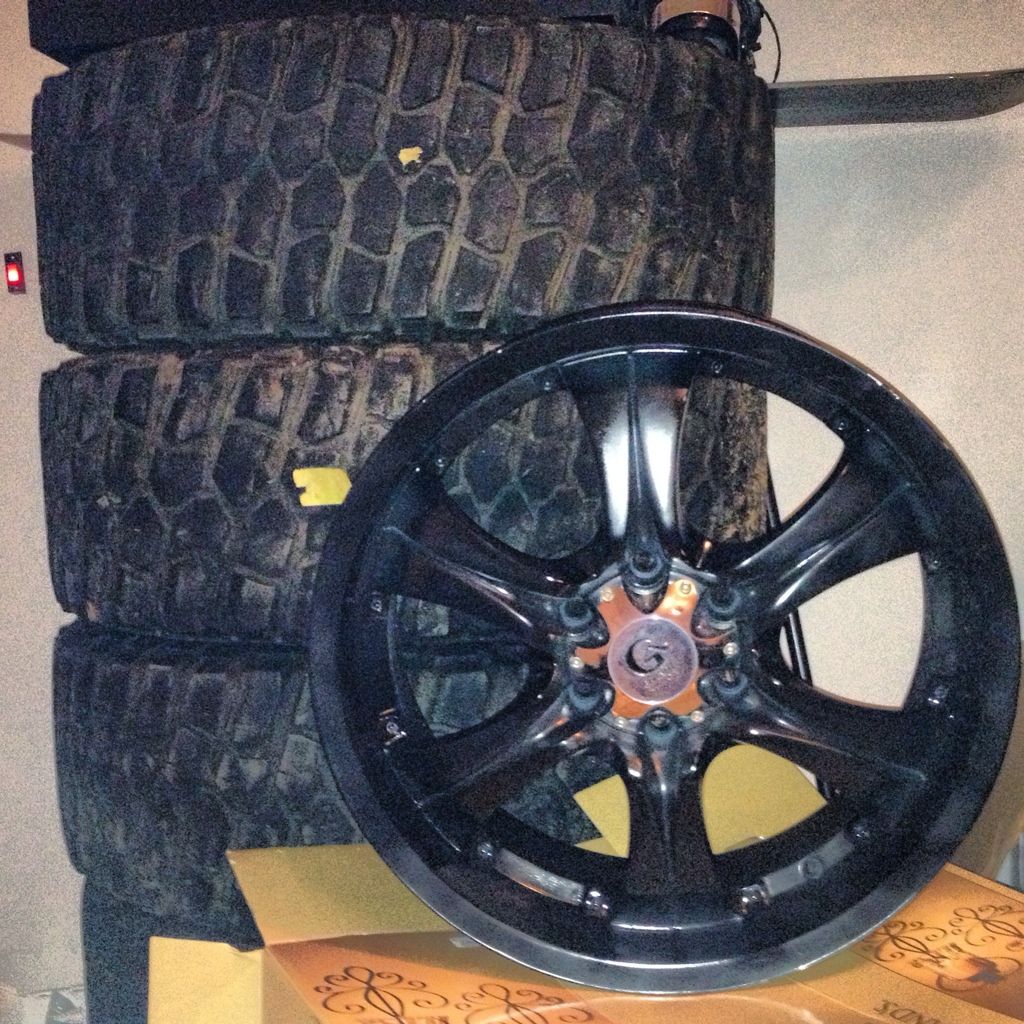
I have decided on going with a 325/60R20 KM2 tires for my 4runner. I know that running a 35" tire on a 20" wheel doesnt leave a lot of sidewall for grip on the rocks. I dont plan on doing my rock crawling here in SC.

I have decided on going with a 325/60R20 KM2 tires for my 4runner. I know that running a 35" tire on a 20" wheel doesnt leave a lot of sidewall for grip on the rocks. I dont plan on doing my rock crawling here in SC.
 01-09-2013, 11:19 AM
#18
Registered User
Thread Starter
Join Date: Nov 2012
Location: Spartanburg, SC
Posts: 25
Likes: 0
Received 0 Likes
on
0 Posts
I not 100% set on a lift yet but im leaning towards the rough country 5" lift. I am also planning to do a small body lift. And i have already bought my 2"wheel spacers so that way i can run these late model 20's with ease and give the runner a wider stance.
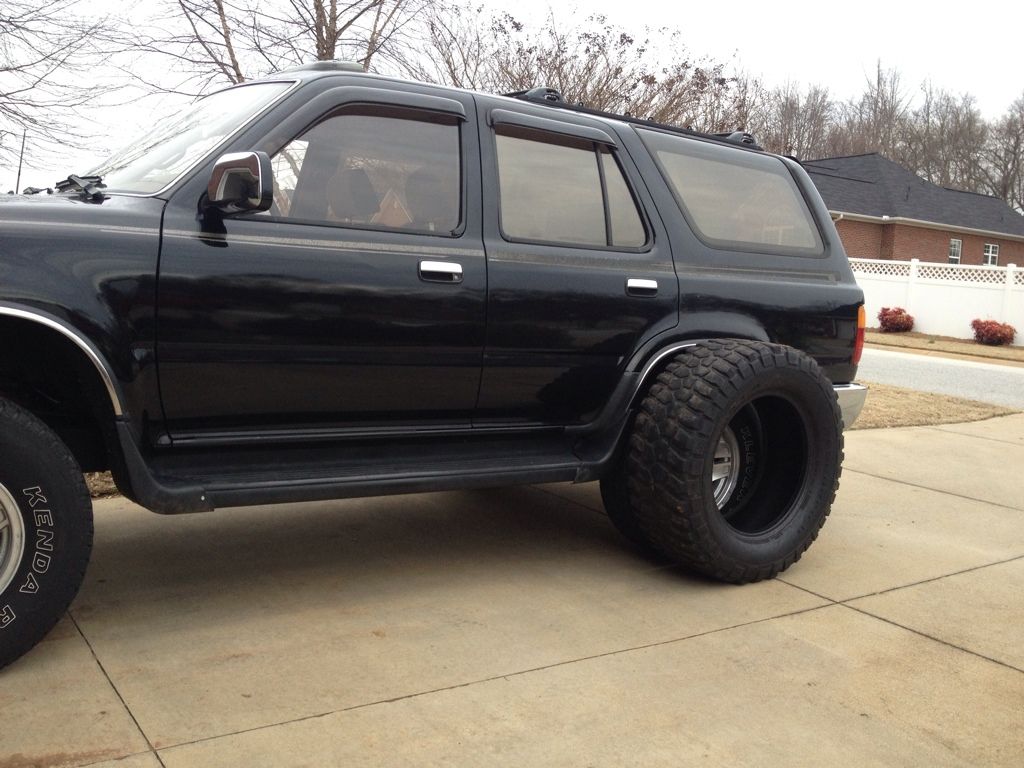
My whole goal with my runner is to make it a trail capable rig that i can pack my family into and go camping or to the river. I hope that it will perform good enough to go play in a mud hole or two.
I have been into custom rides my whole life, but as previously stated this is my first 4x4. there are still several things i have been playing around with in my head. Since it has coil springs in the rear, how hard would it be to actually fabricate a air ride suspension so it would have some adjustment for heavier loads....?